Quick Links
Following the defeat of Nicholas and the Inquisition, Amicia and Hugo de Rune believed the turmoil in their lives had passed. Unfortunately, new dangers have emerged in A Plague Tale: Requiem, with the Macula in Hugo’s blood acting up and the Order looking to imprison the young boy.
This chapter has Amicia, Hugo, and Sophia digging deeper into the history of the Macula. Unlike other chapters, Bloodline allows you to explore a previous area of the game, giving you another chance to investigate the island. This guide will highlight all you need to know as you navigate through the tenth chapter of the game.
A New Foe
After exiting the sewers of the sanctuary, head back down the steps from the gate. If you missed out on the Screeching souvenir in the previous chapter, you can collect it now in the tower before the bridge.
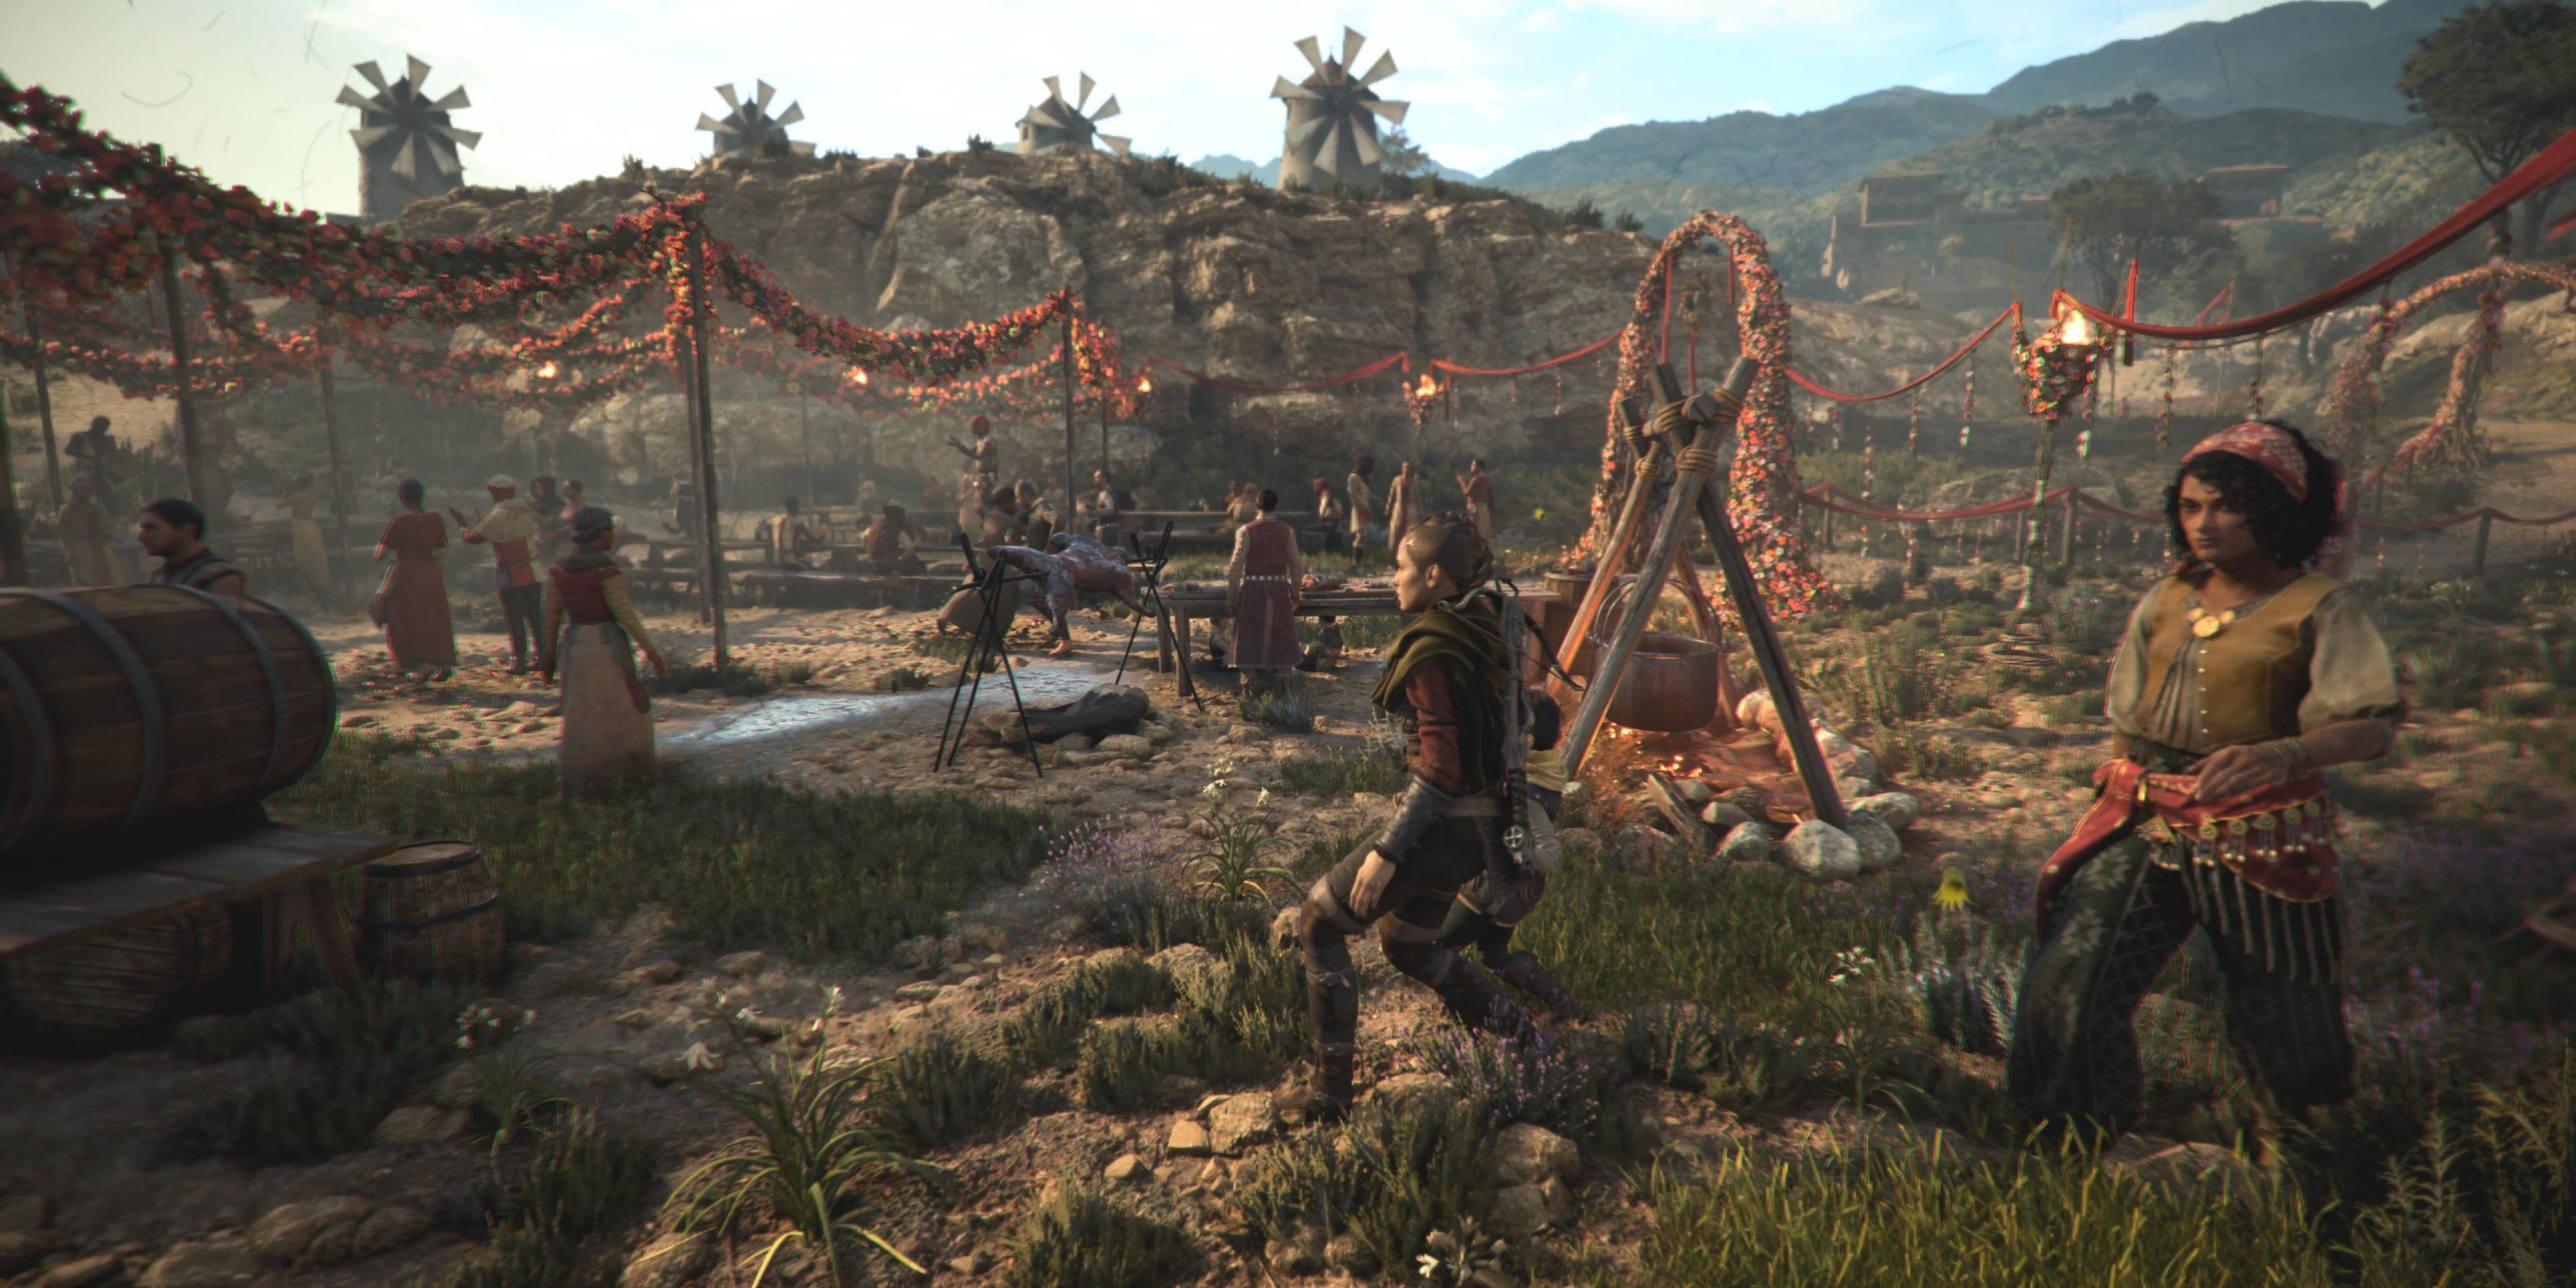
Run to the other side of the cliff through the festivities until you reach the gate near the windmills. Walk up the steps to arrive at the tower, but the door is locked. Head around the side of the tower to jump through the window, then open the chest in the room to find Alcohol and Sulphur.
Climb the ladder to find another chest with Alcohol and Saltpeter, then cross against the ledge to pick up a pot and shoot the latch through the hold to unlock the door. Hop out of the window and enter the tower through the door.
Climb the steps and enter the gate to proceed into the next area. Head down the grassy hill and arrive at a broken bridge.
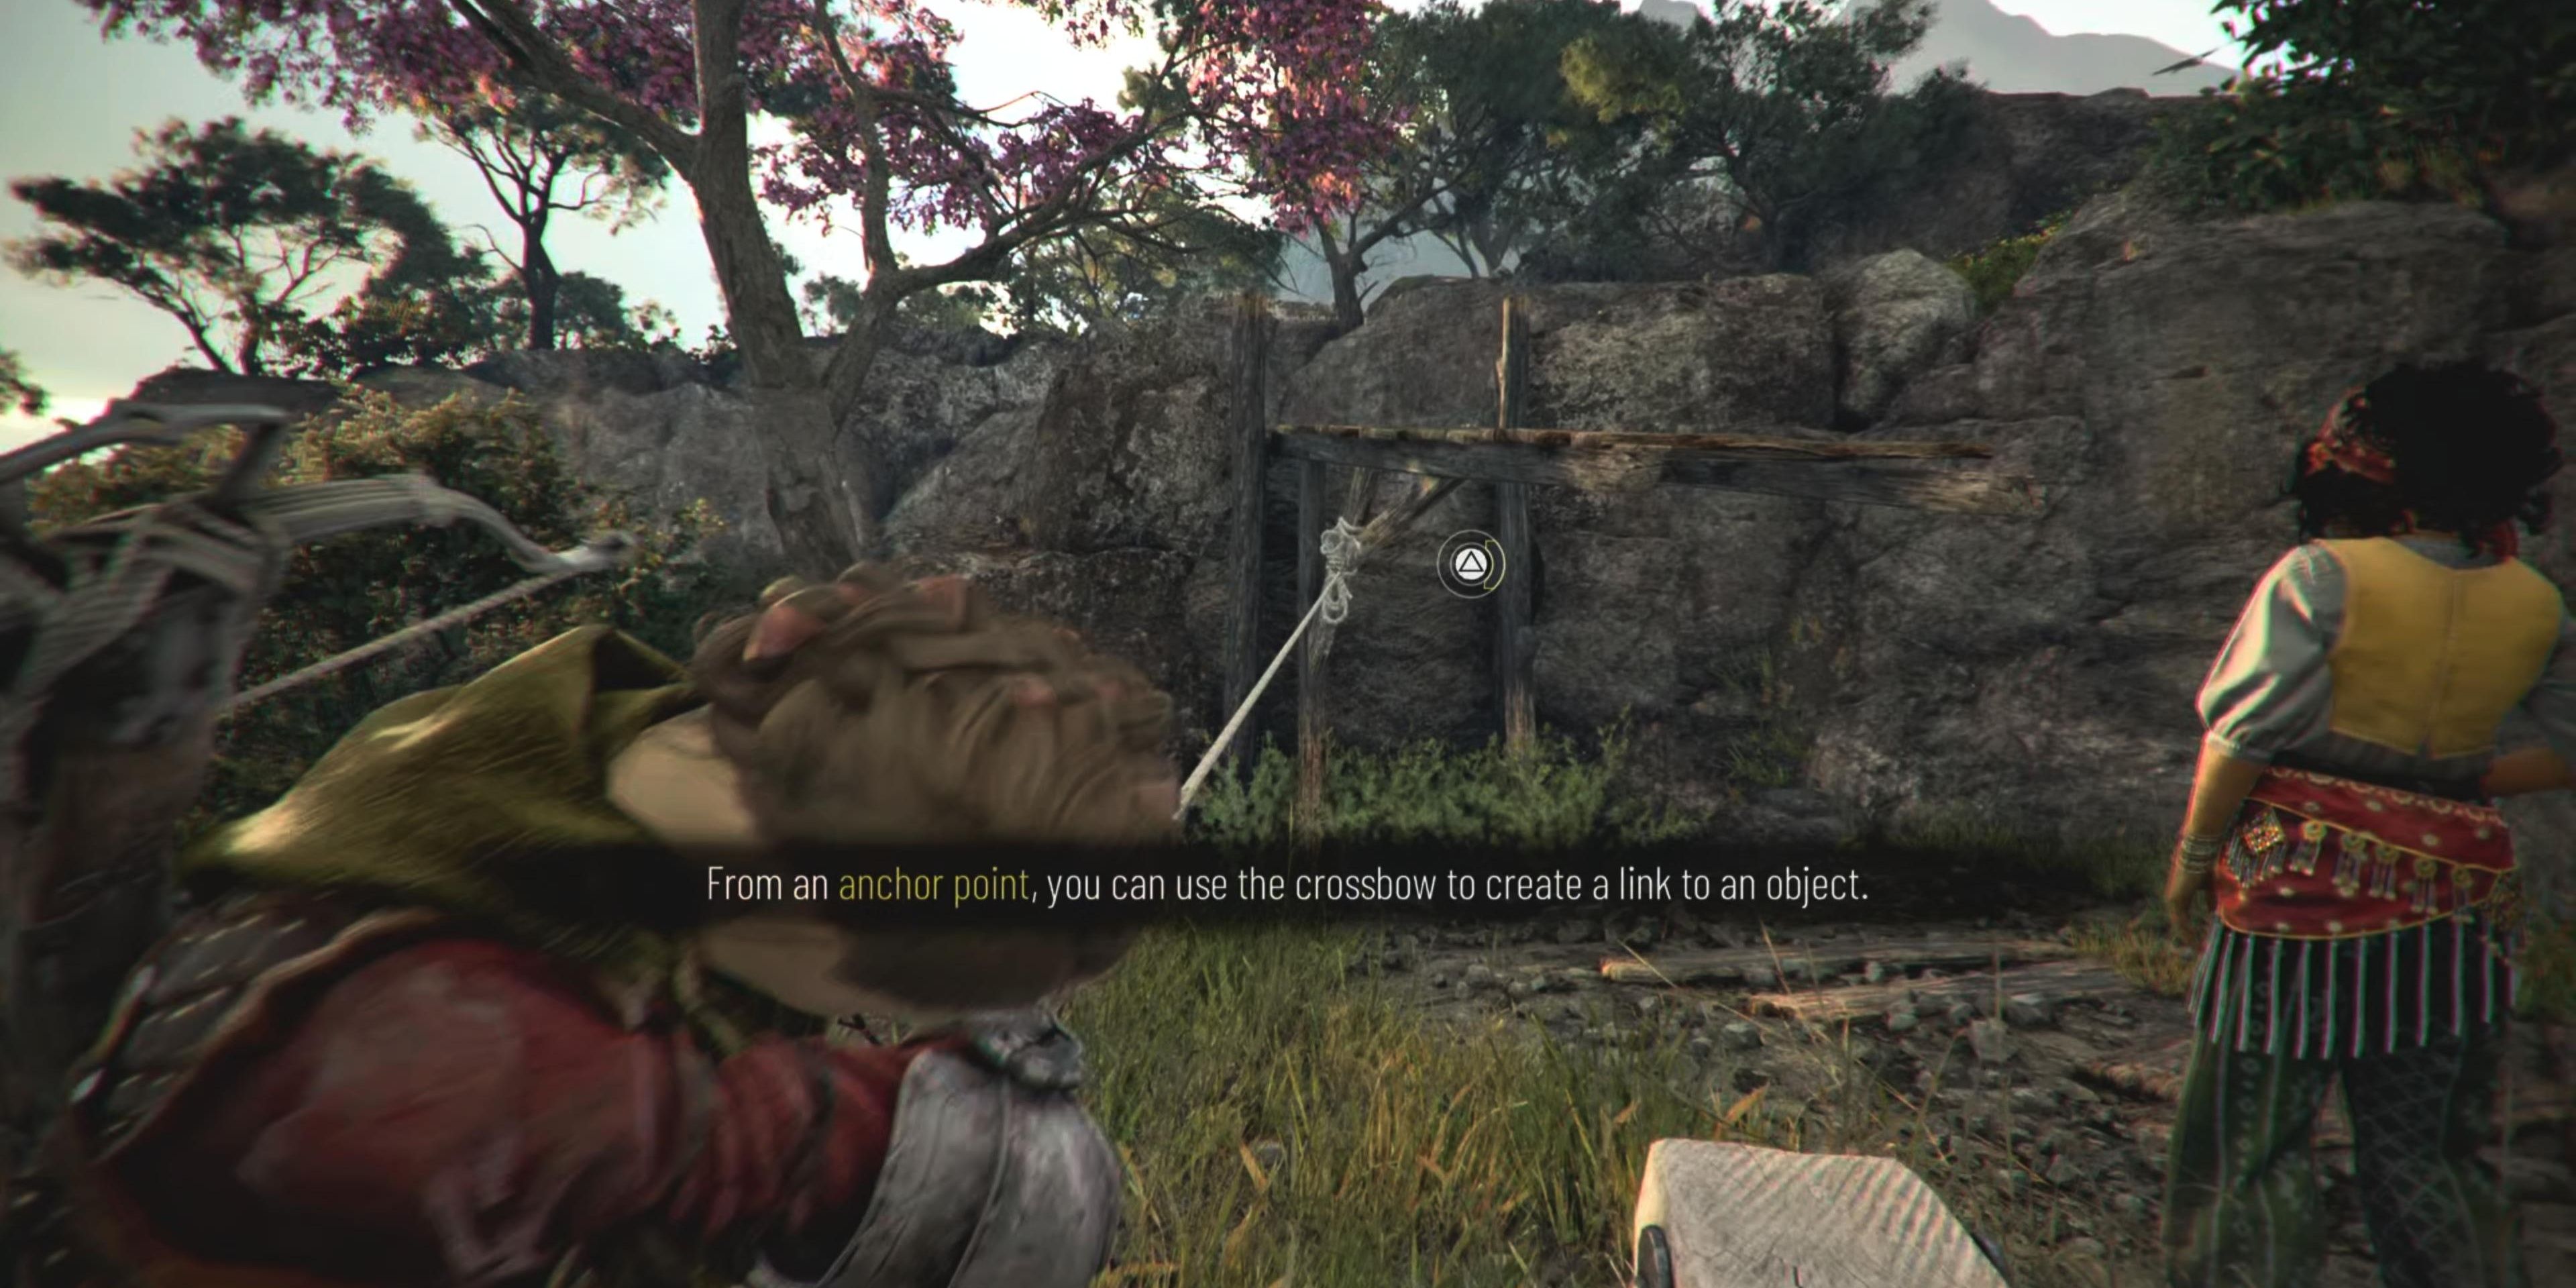
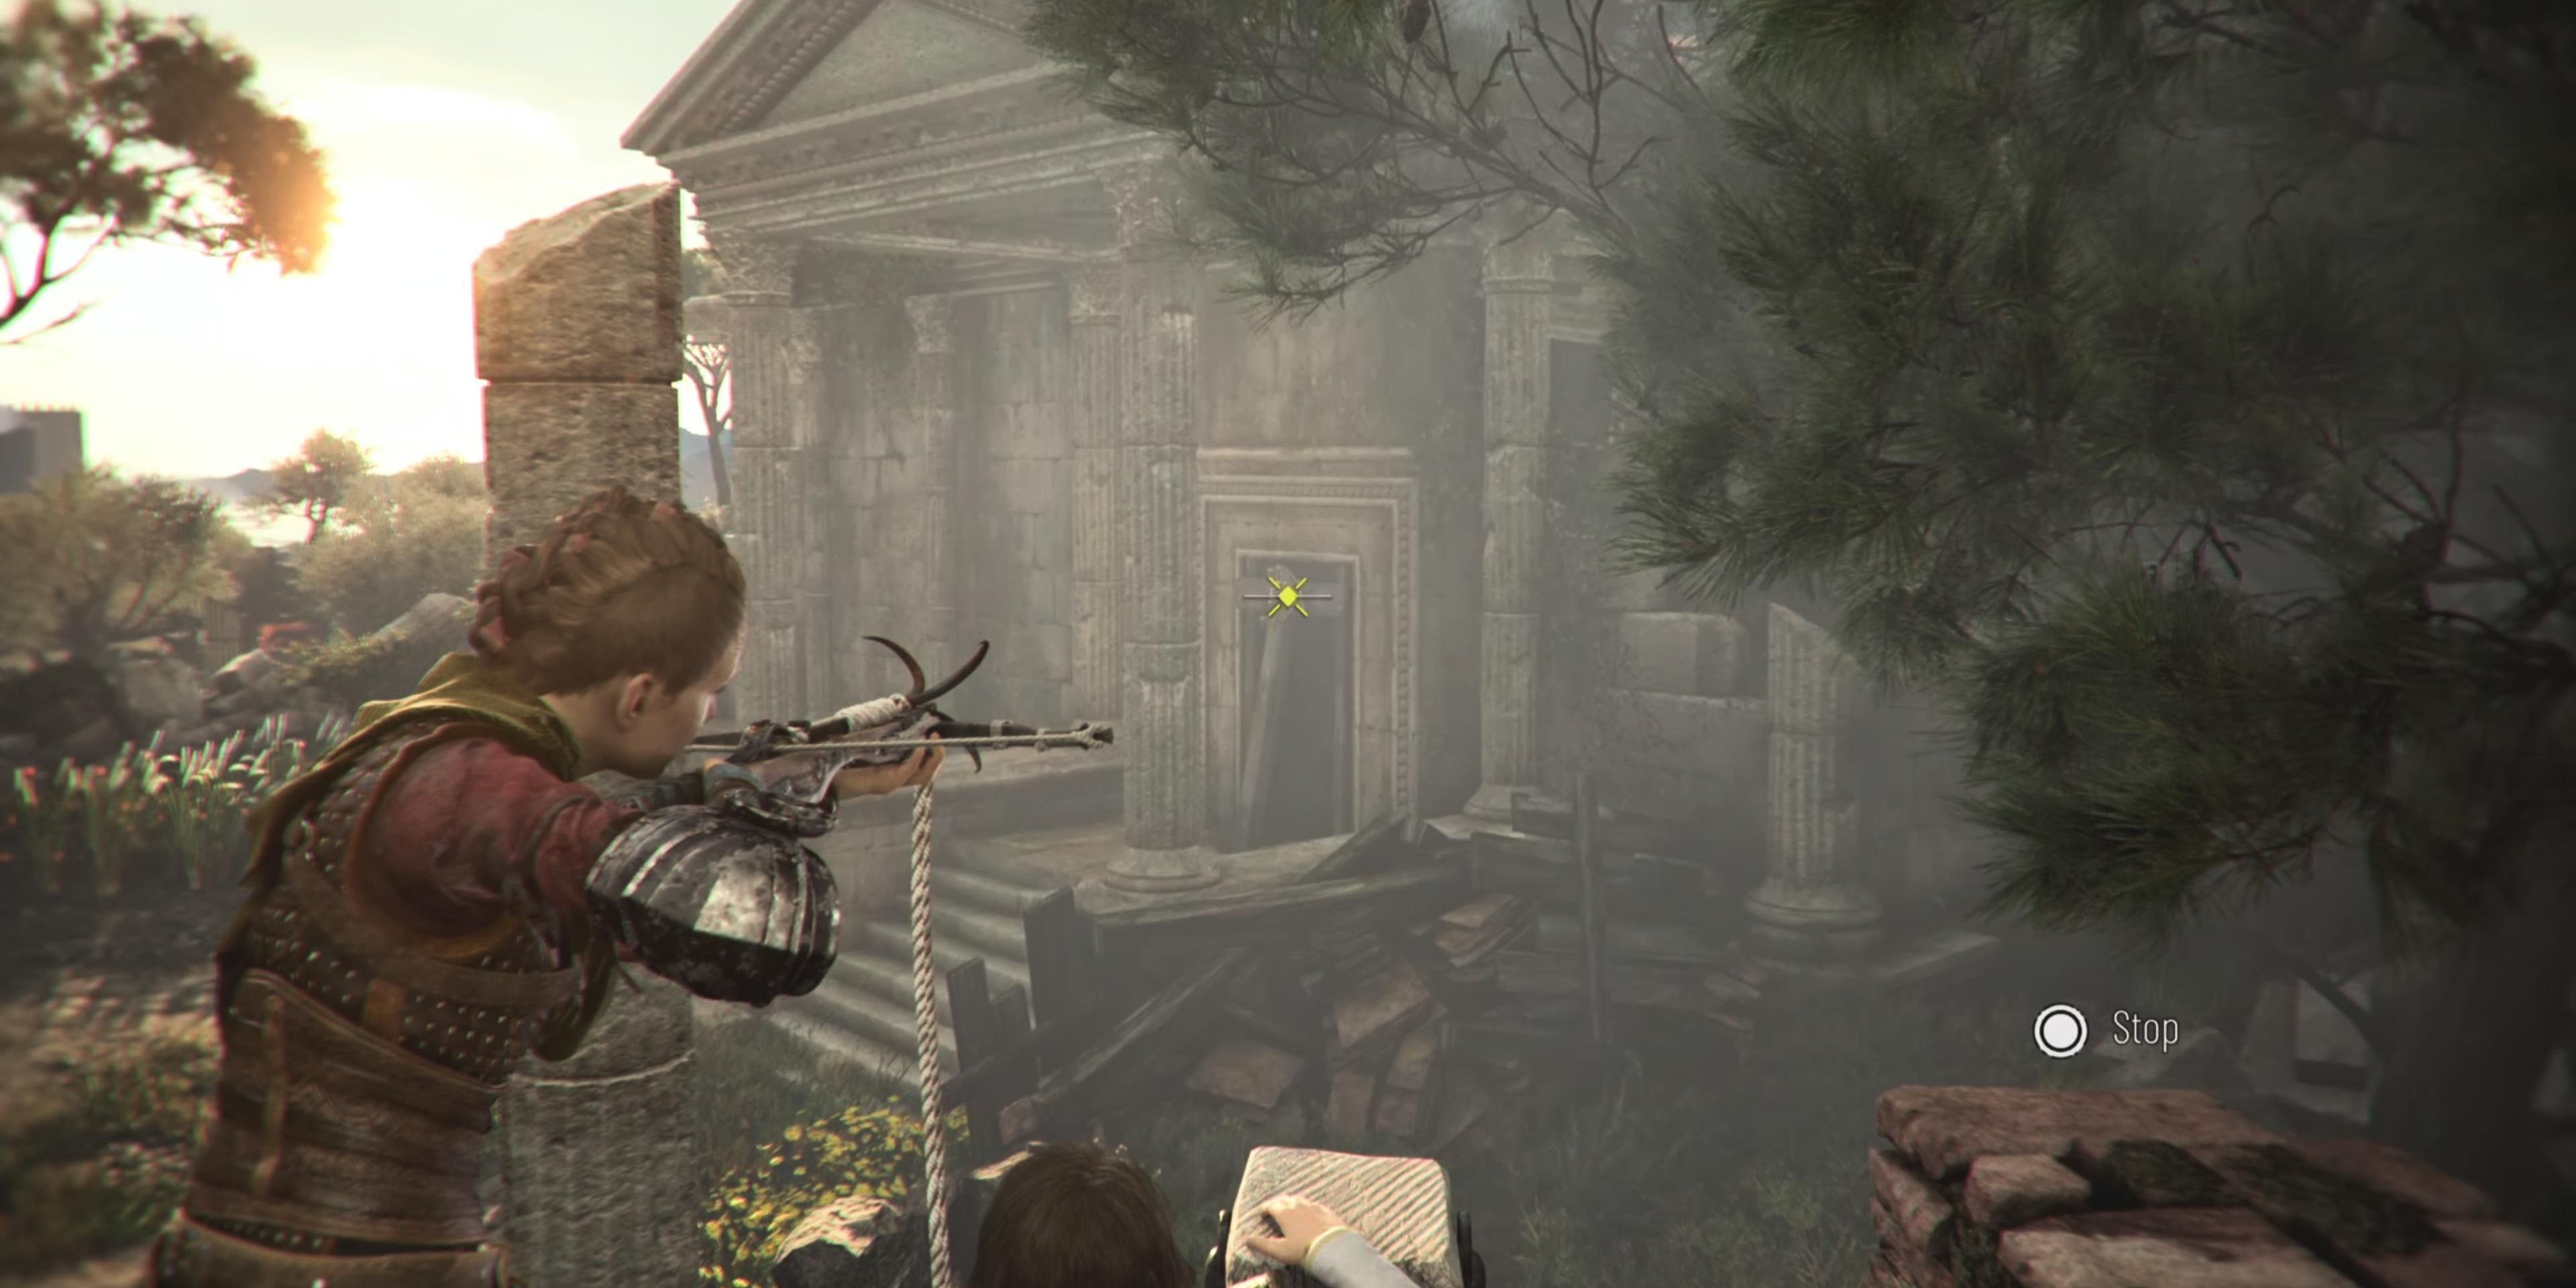
Drop from the ledge and use your Crossbow to attach a rope from the anchor point with the broken bridge. Pull the rope to yank down the bridge, creating a ramp to run up.
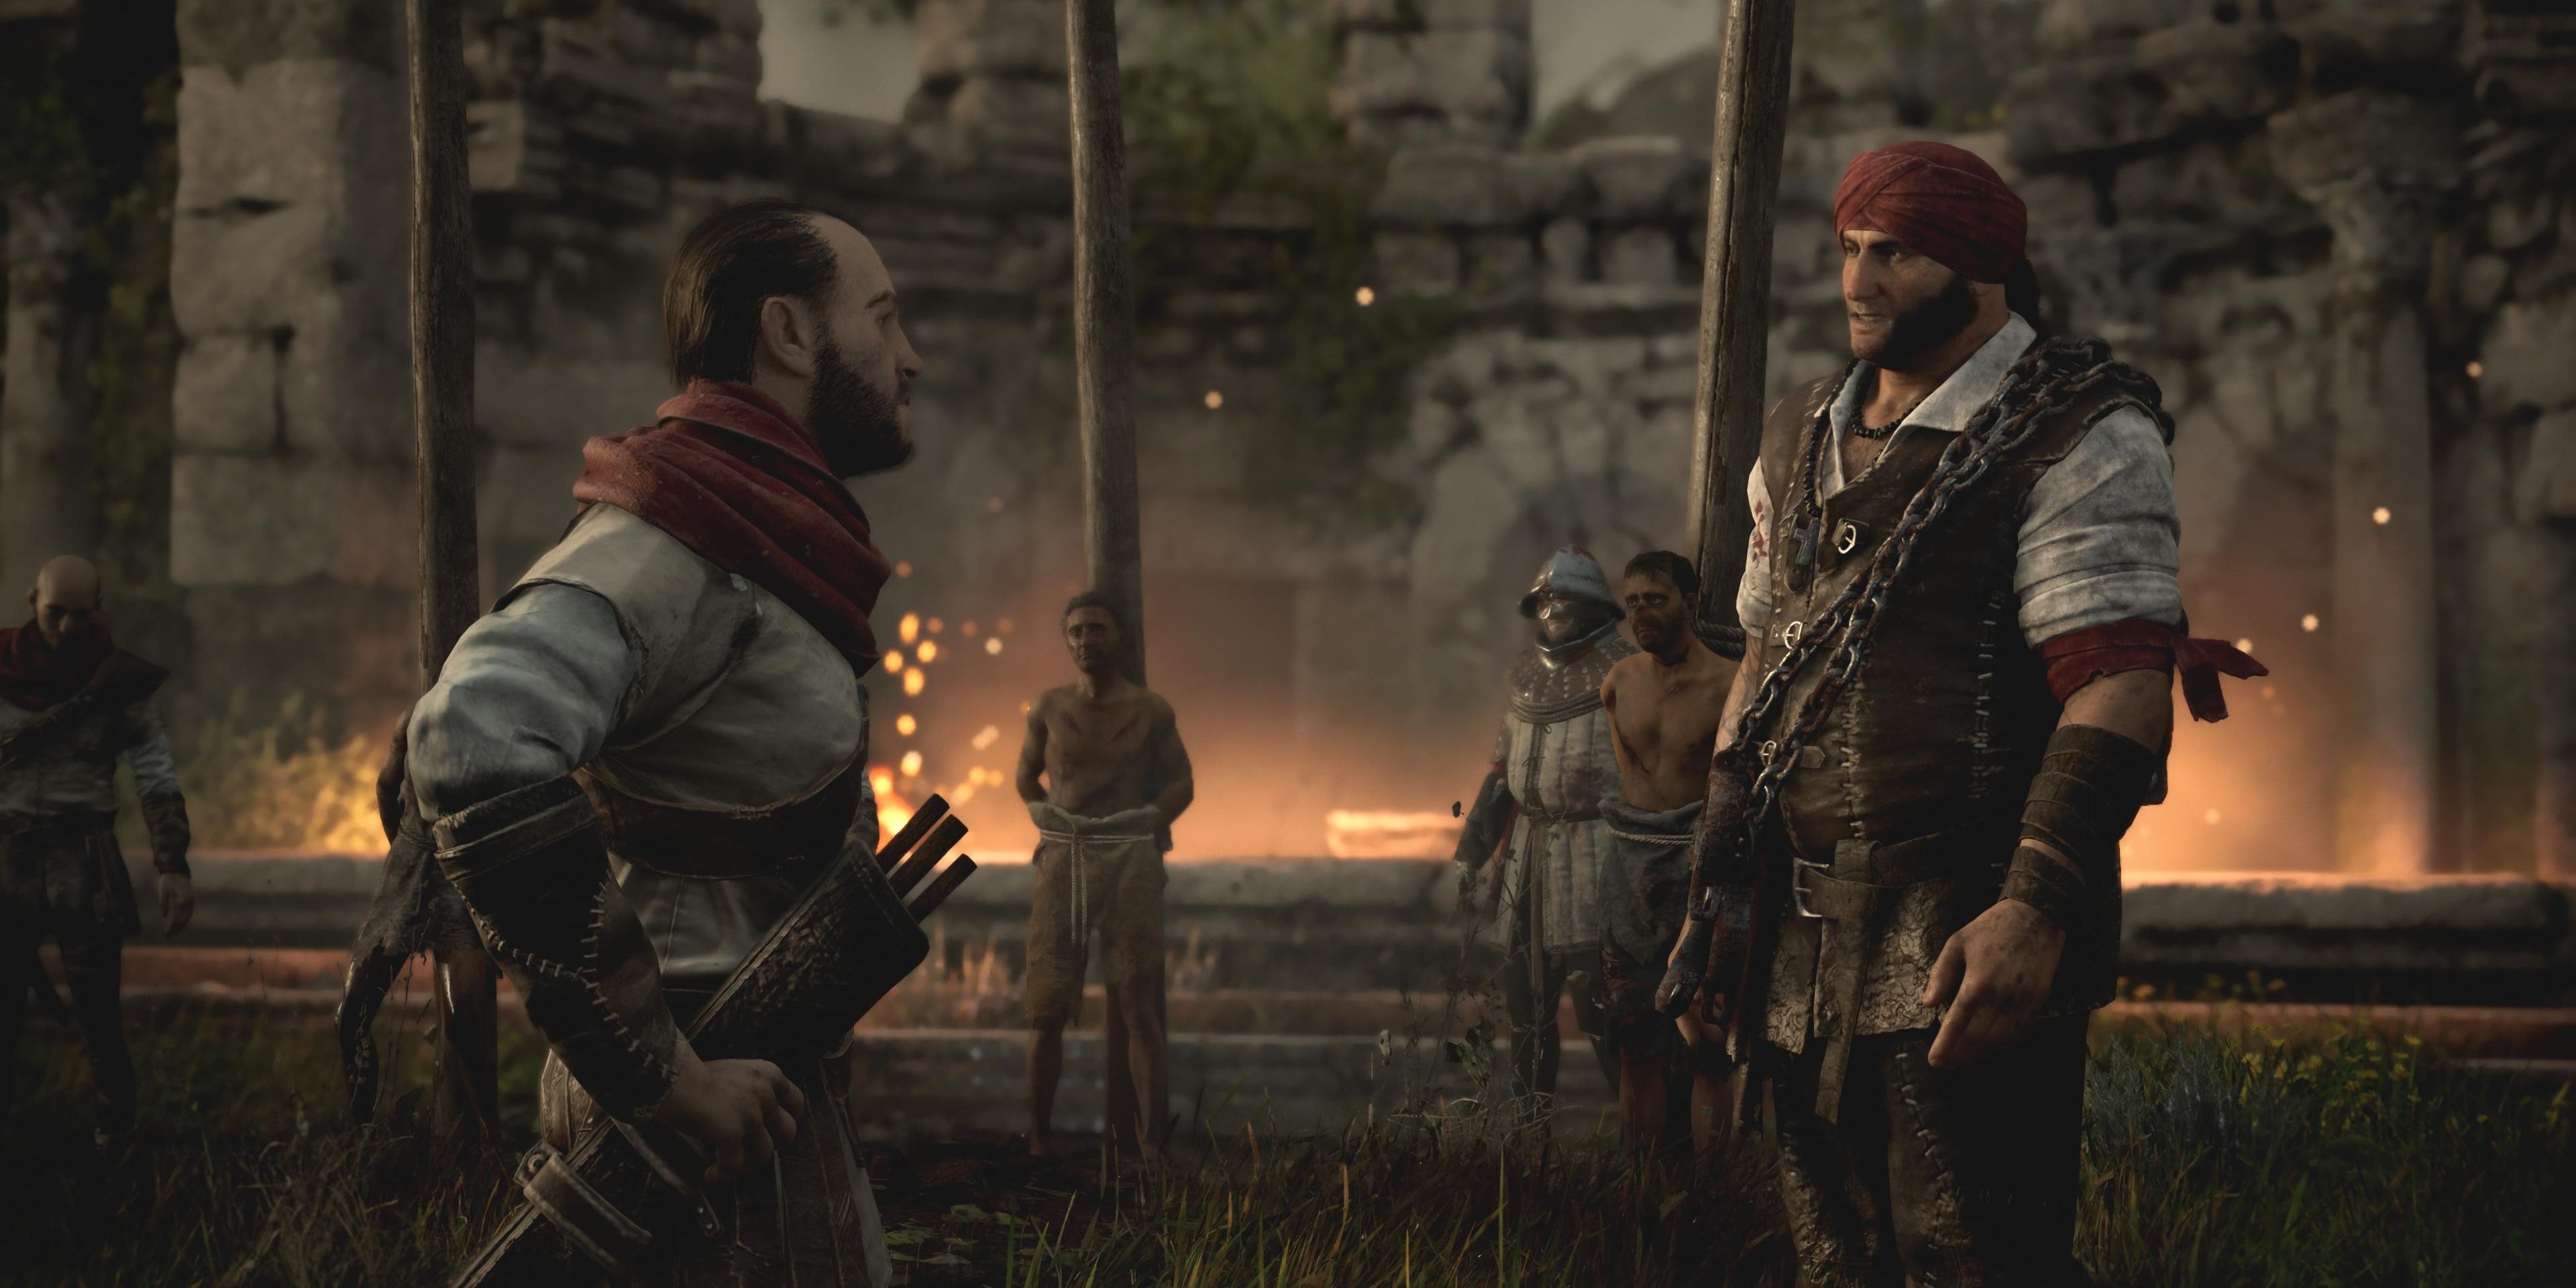
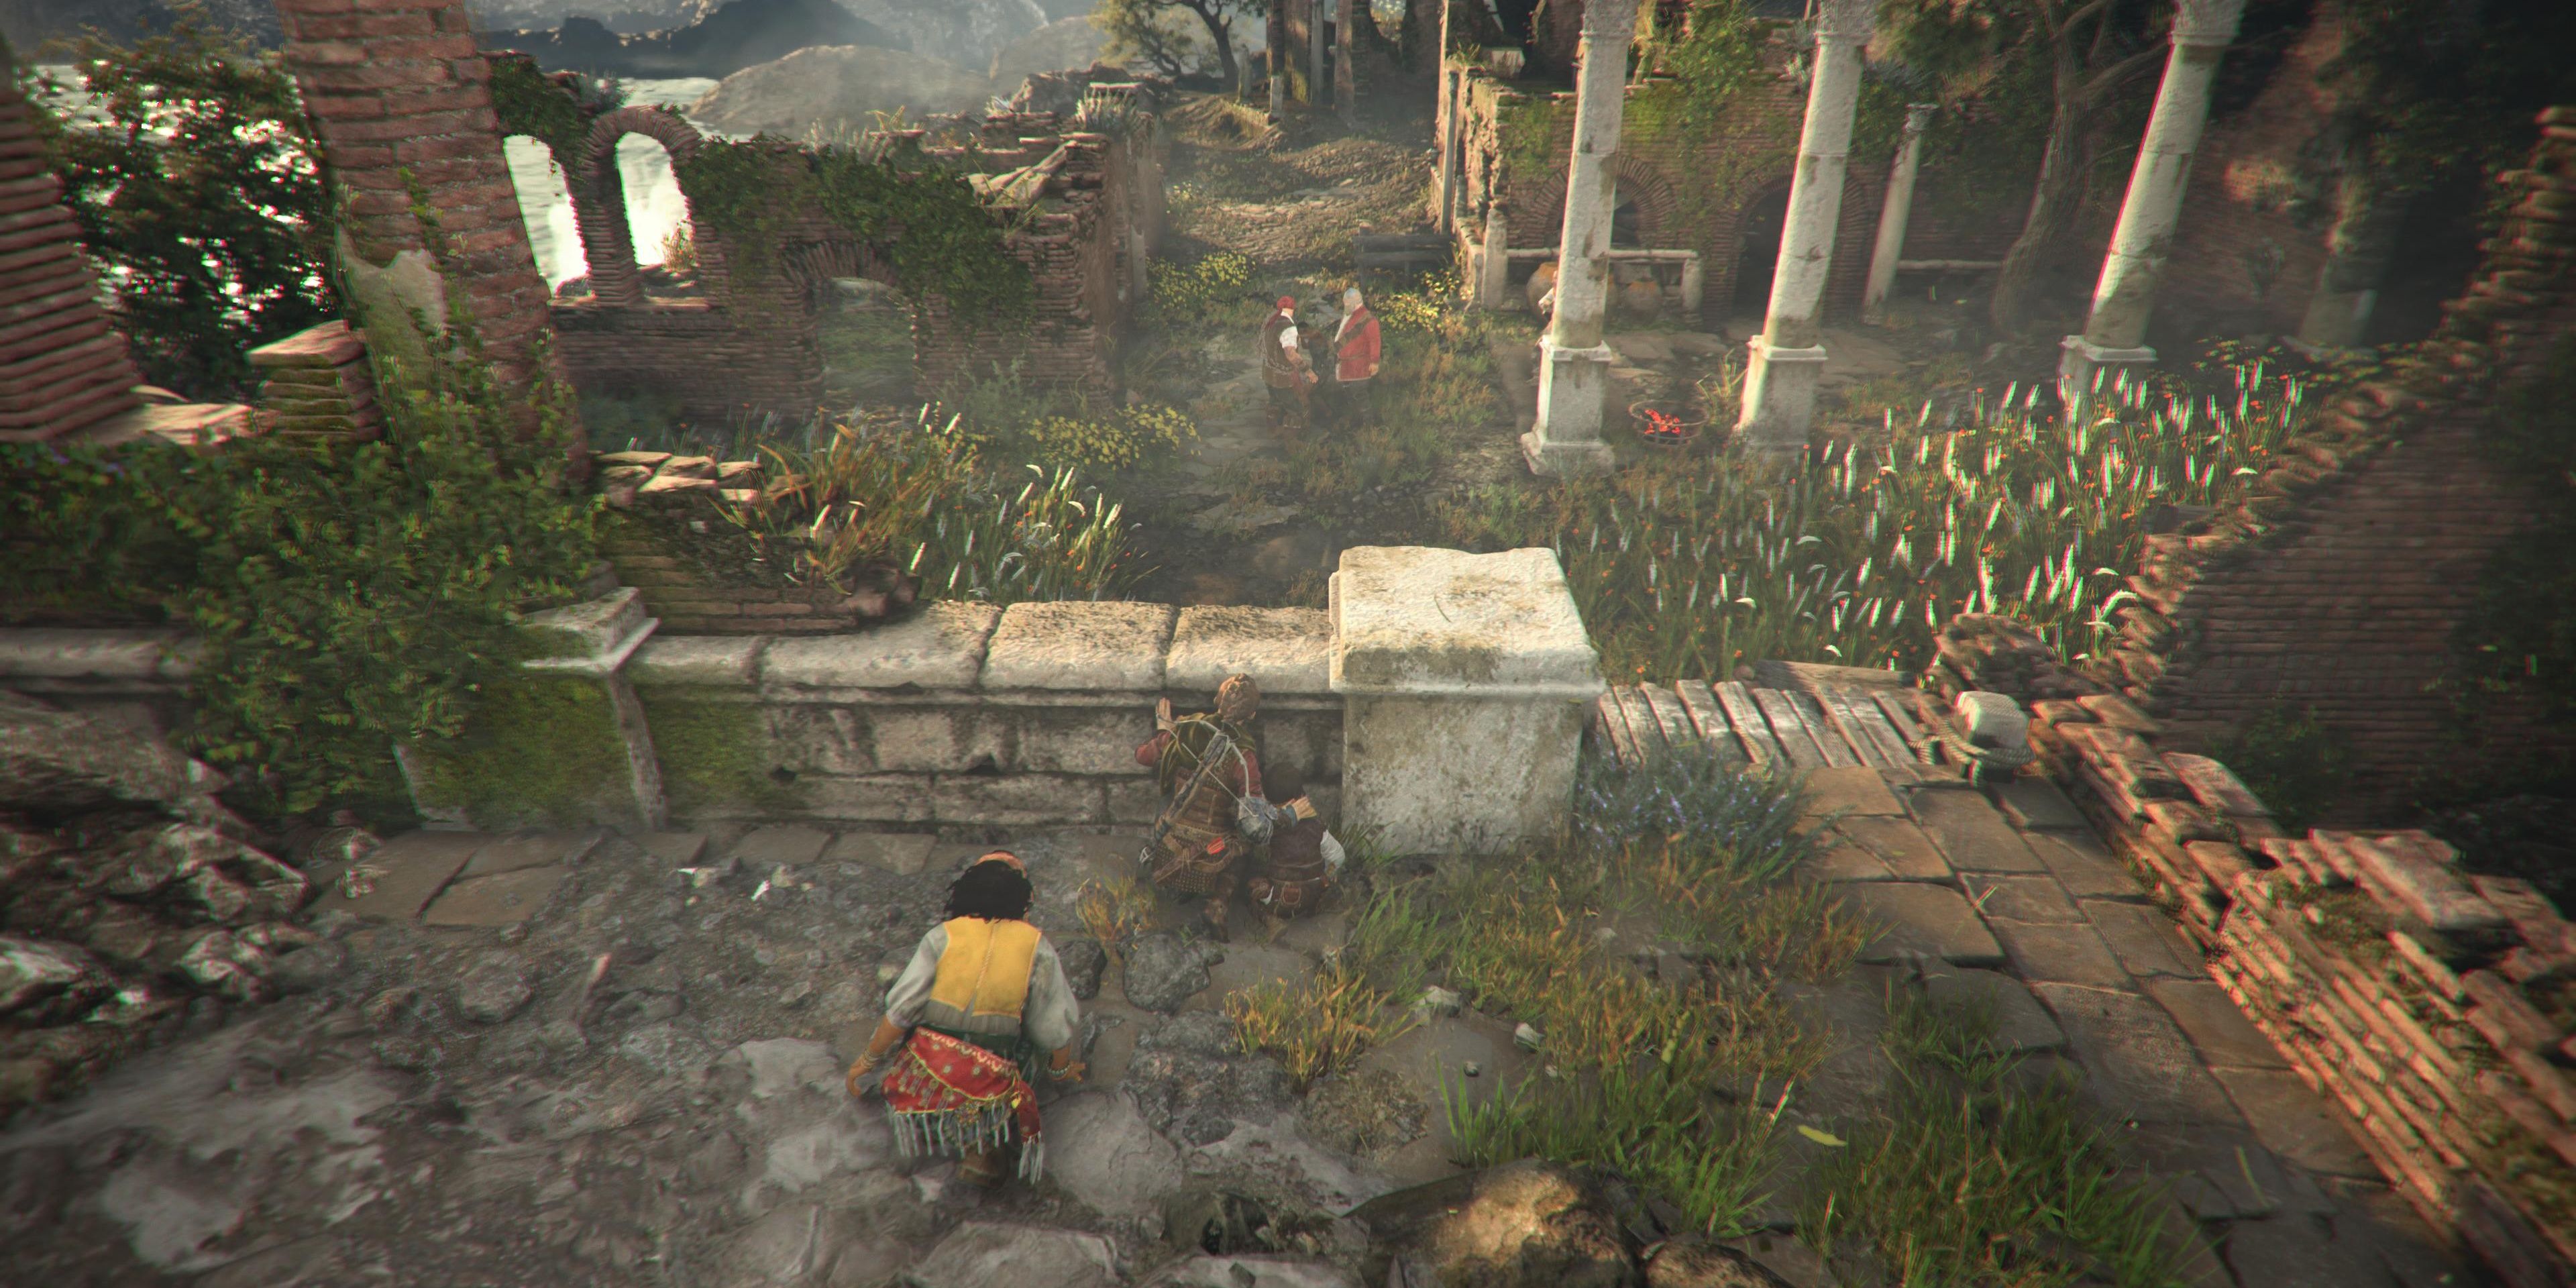
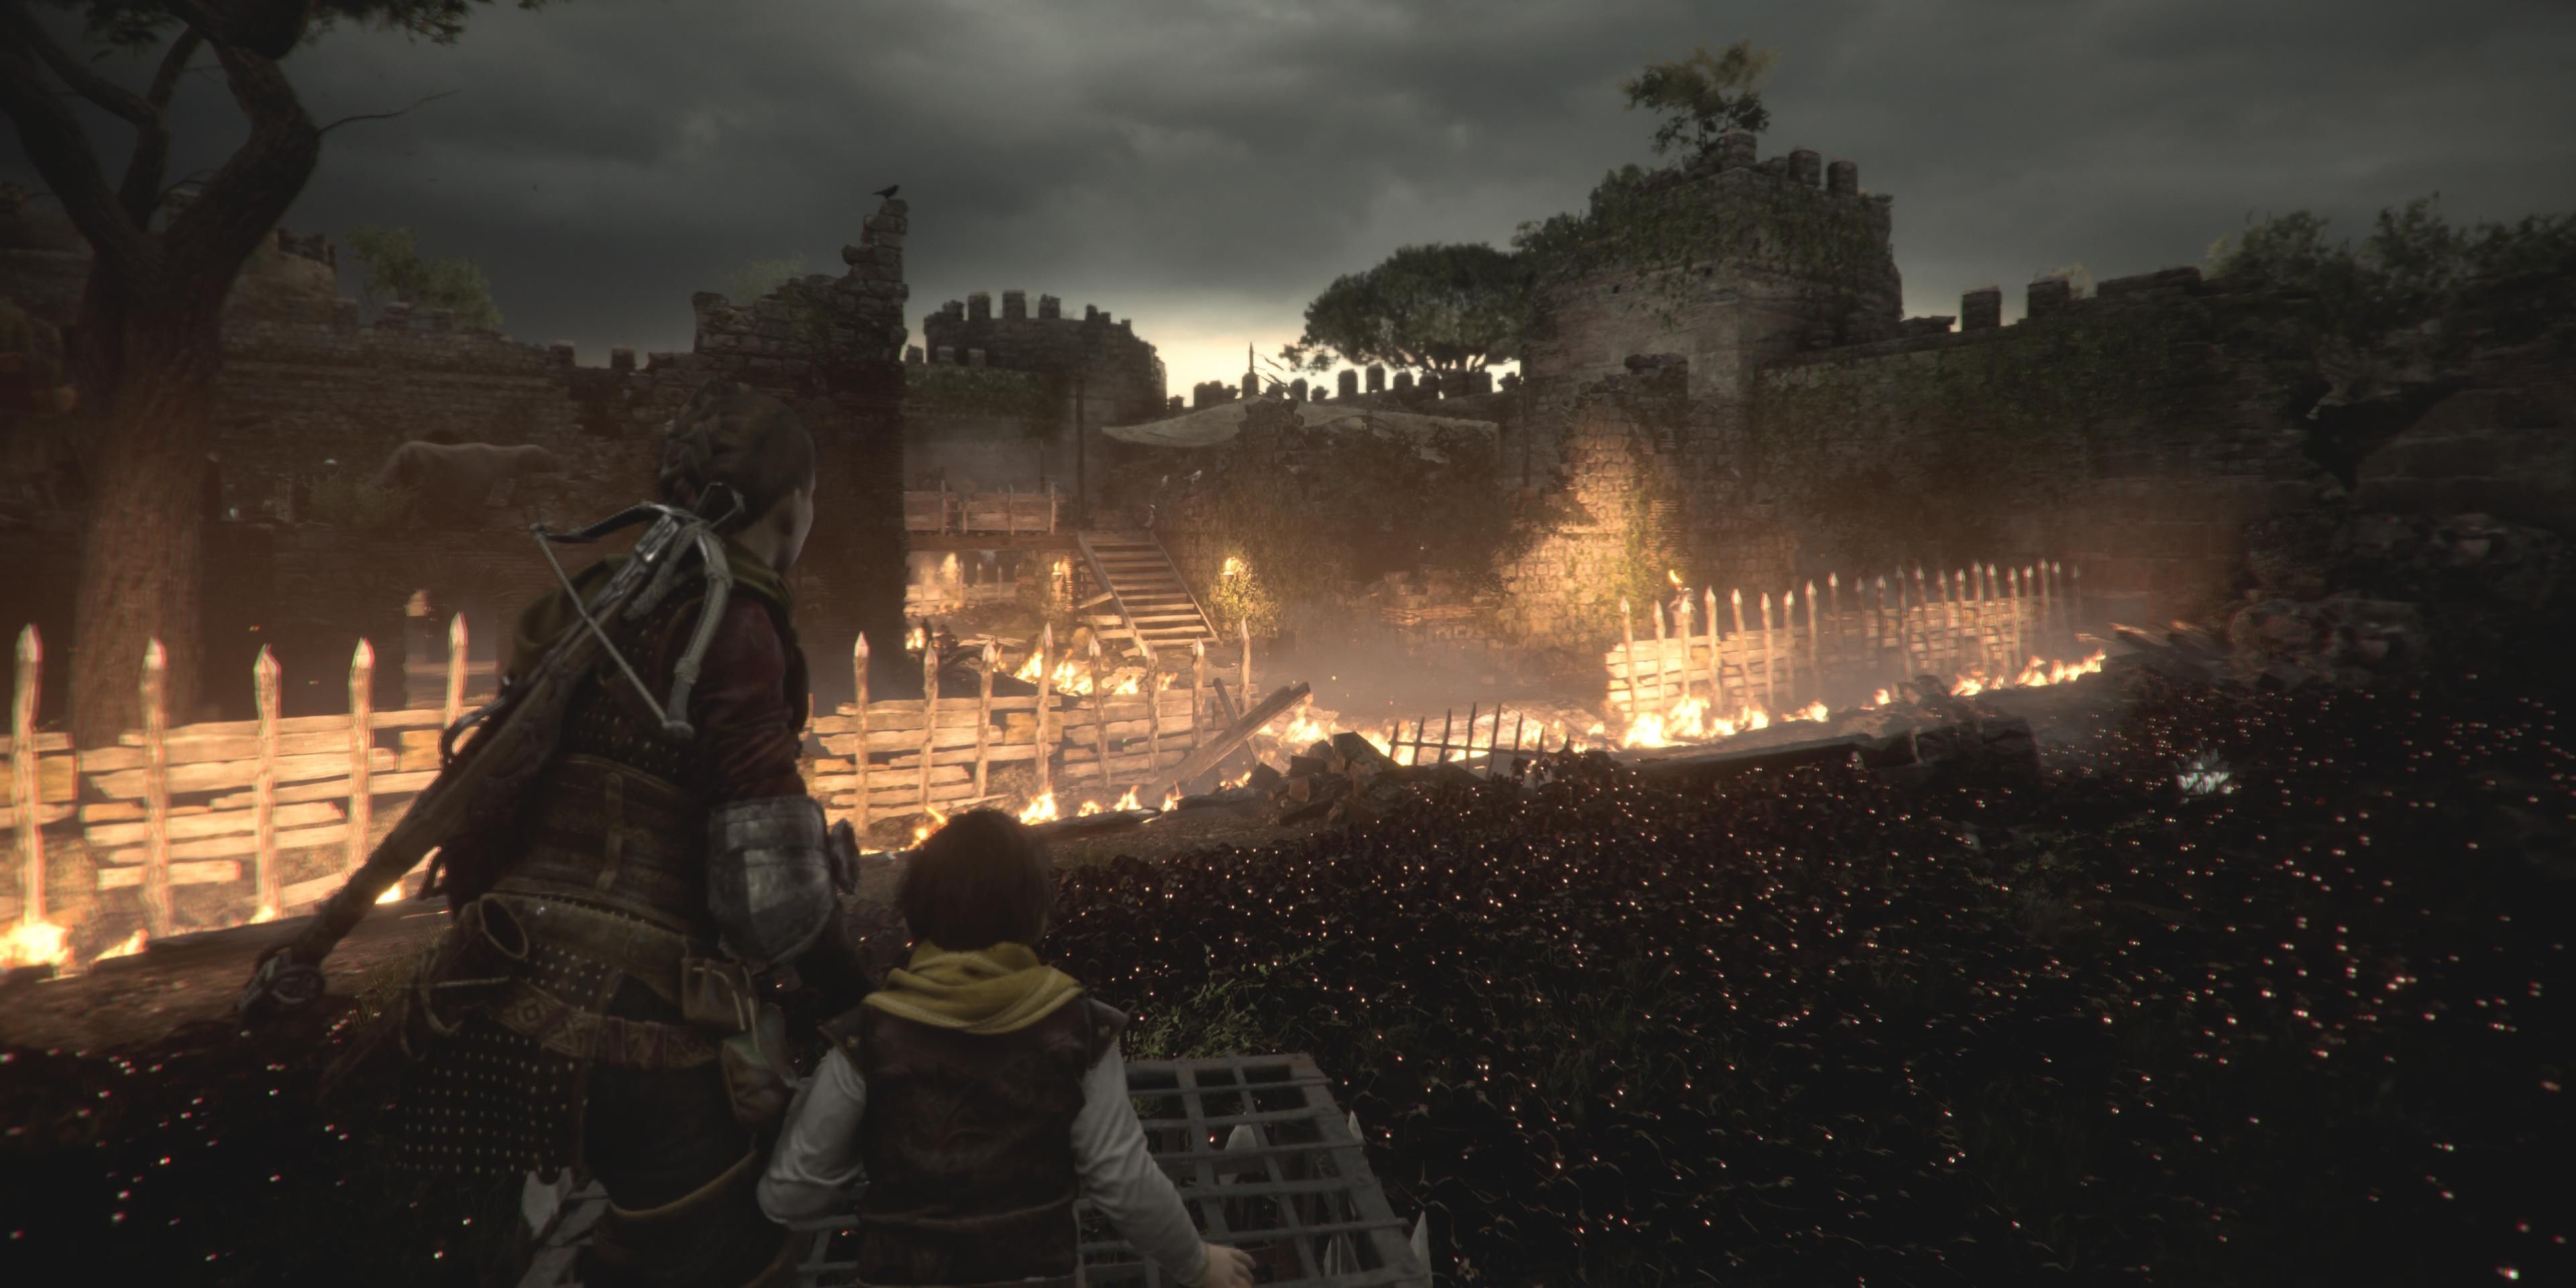
Continue running toward the beach and turn left to find a chest with Pieces and Alcohol at the end of the path. Return to the other side of the beach to see the fort you’re looking for. Climb up the ledge and crawl under the tree to hide in the tall grass from a new enemy: Milo and his slavers.
Storming The Fortress
Wait for the slavers to leave the area, then drop from the ledge, but the ground will give out. Complete the quick time event to push the slaver into the fire and meet back with Sophia and Hugo up the steps.
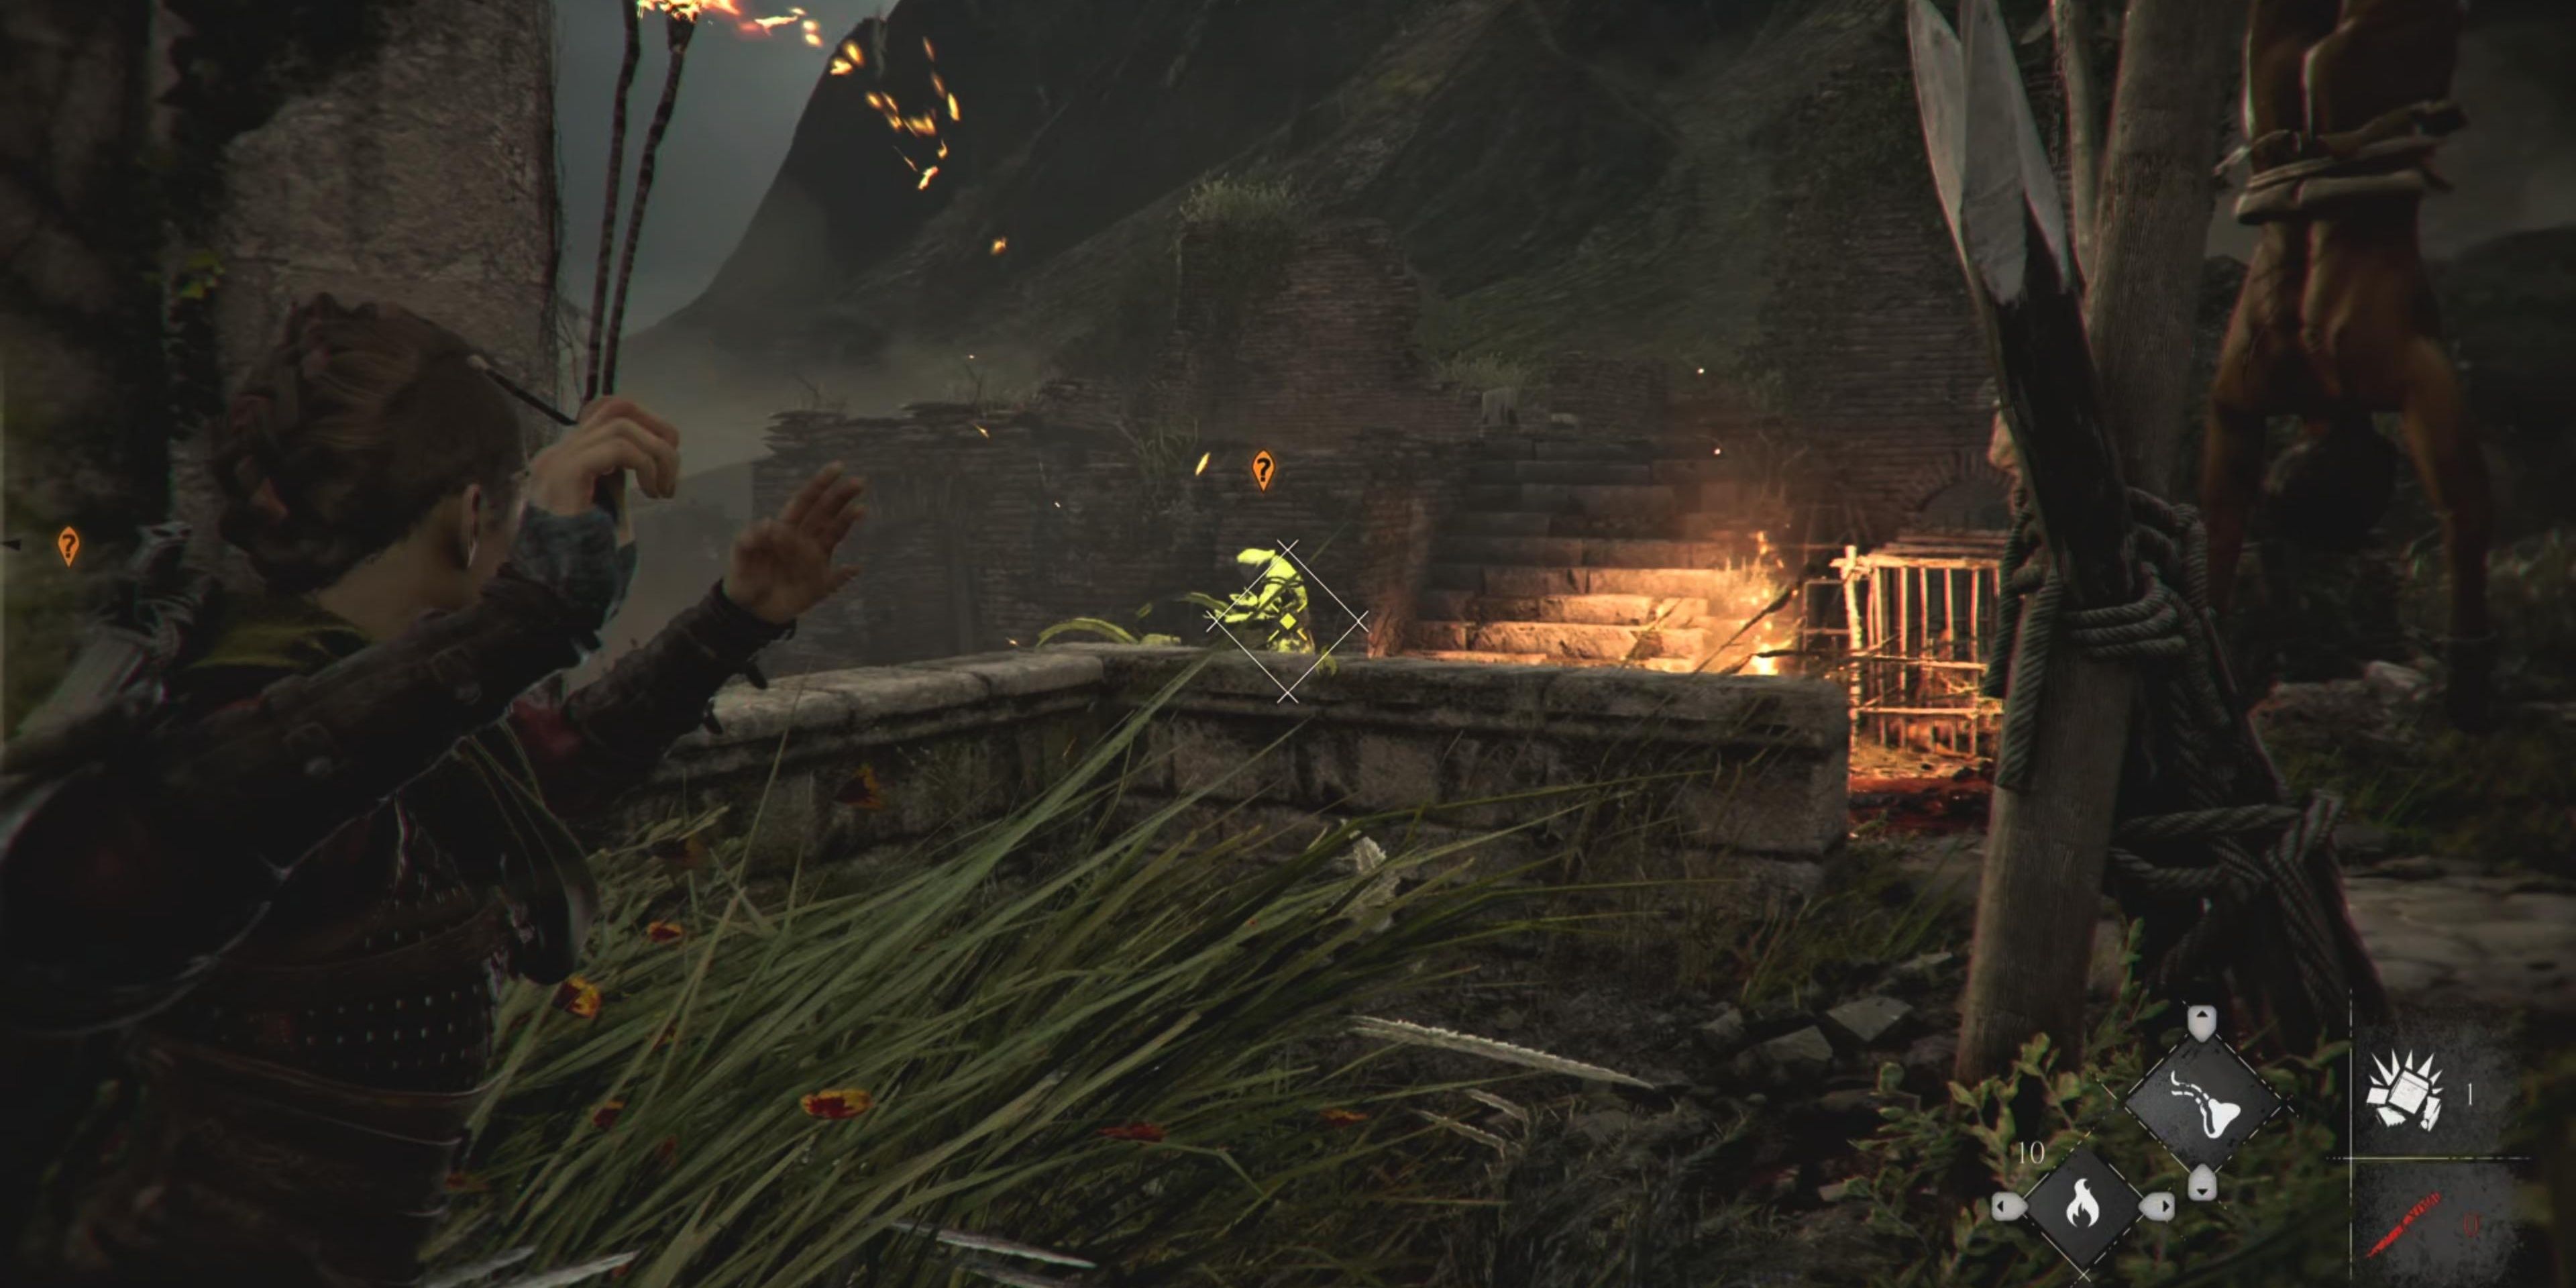
Your Sling can shoot the archer on the roof, but the noise will alert other enemies in the area. Luckily, most enemies won’t have a helmet, so you can use your Sling to take them out.
If you wish to take a more stealth approach, utilize Sophia’s prism to create distractions.
- Two more helmeted enemies might approach as well, but the Crossbow will kill them quickly.
- Head to the left to open a crate for Sulphur and Resin, then walk down the steps under the ground to find a bolt and chest with more alchemical resources.
- Walk back outside and return to the main path. The bridge will be broken, so take the steps to the right.
- Hide in the tall grass around the fountain to avoid the slavers, or take the violent approach and use your Sling and Crossbow to kill them.
Walk up the right side steps to reach the top of the side building and head to the end to find an anchor point. Use your Crossbow to fire the rope at the frame of the building in front of you and pull the barrier down.
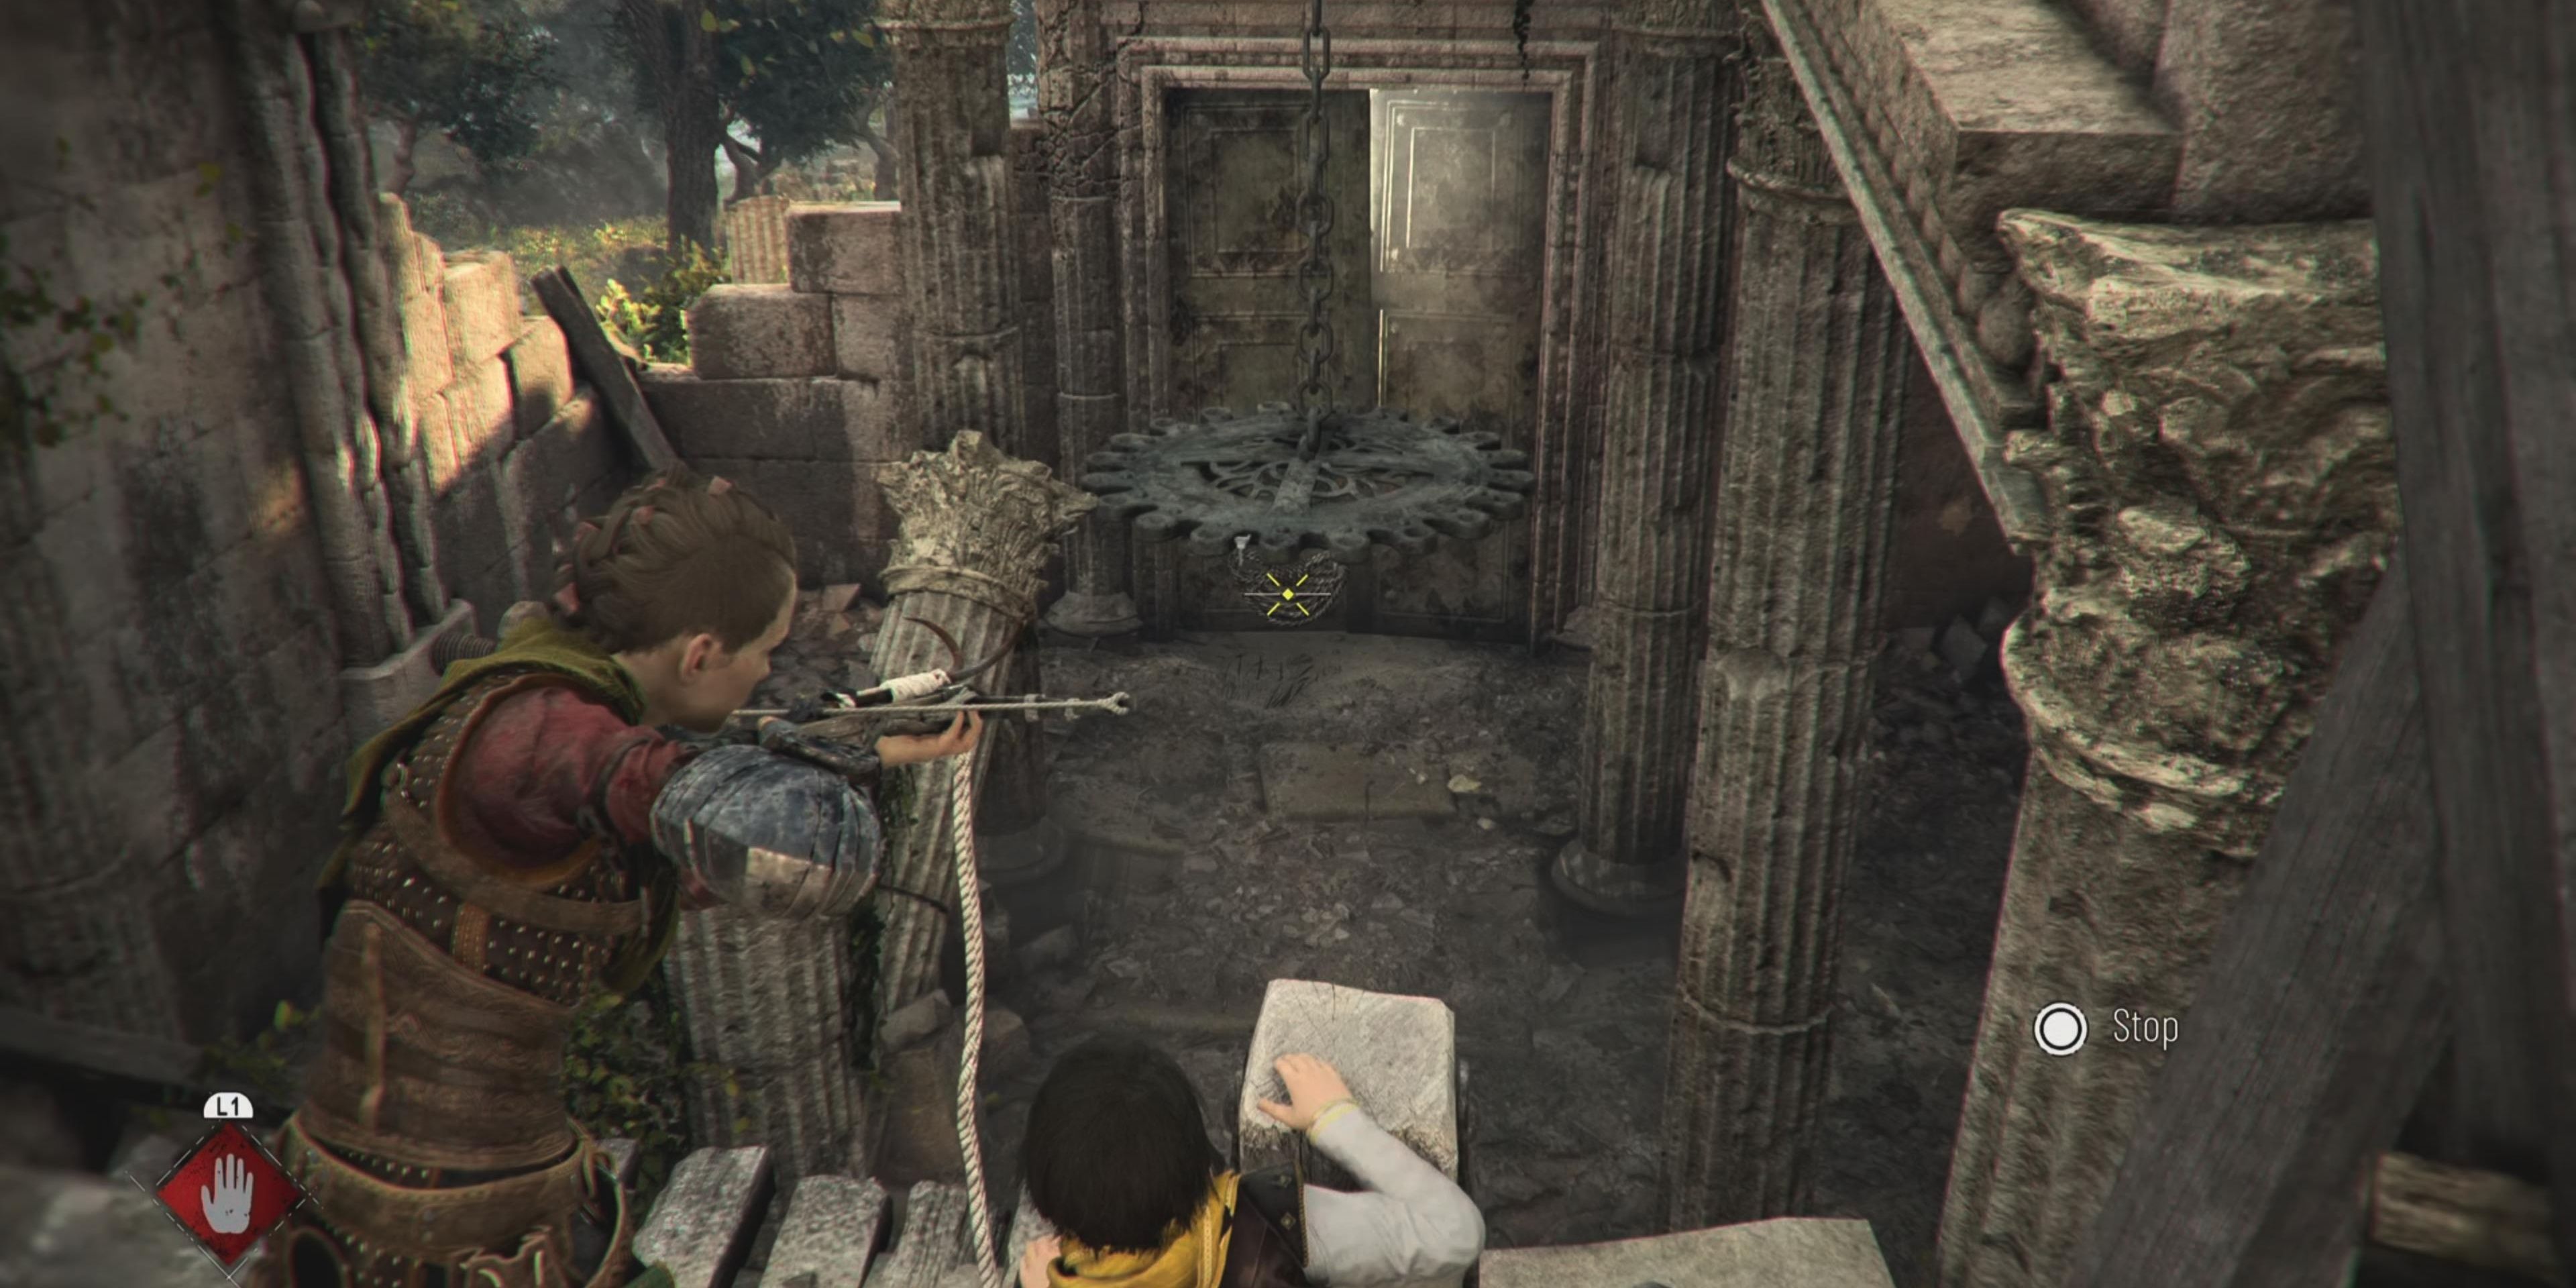
Drop from the ledge and sprint to the door to safely find your way win. Now inside, investigate the left door, but it’ll be stuck. Crawl through the opening behind the center rumble, and climb up the ledge to find another anchor point.
Command Sophia to operate the crank on the left, which will lift the metal chandelier. Shoot the bolt to attach the rope and pull the chandelier toward you.
Let go of the chandelier to break open the doorway, then drop from the ledge to proceed forward. Continue outside and walk down the main path to find a workbench; once you’re done upgrading your equipment, climb up the ledge at the end of the path to trigger the next cutscene.
Amicia Against The Slavers
Follow Hugo after his outburst and head through the stone archway. Turn left and use the anchor point to pull down the barrier to access the ledge. Walk to the right to find the Rag Doll souvenir. Drop from the ledge and continue heading toward Milo’s fortress. Slavers will be patrolling the area, so hide in the tall grass to avoid them.
Utilize Hugo’s Echo and Sophia’s prism to locate and distract slavers.
Open the chest to the left to find Resin and Pieces, then use your Sling to take out the enemy on the left. The shot might alert other slavers, so stand ready for any approaching enemies.
There’s a pot of Tar next to the helmeted slaver in the main path that you can break and then shoot an Ignifer rock to set him ablaze. Search the nearby chest for more Resin, then head down through the tall grass to the left. On the other side of the wagon, there’s a building with more dead bodies but, more importantly, a knife stuck in the table.
- Drop into the trapdoor to hide from any slavers and walk out from the cellar. Walk to the right to find a chest with Saltpeter but be careful of the archer in the left tower.
- There’s another large helmeted slaver leaning against the wall near the brazier and won’t move, so toss a pot of Tar and ignite him.
- Eliminate the archer, then pick off the unarmored enemies that might attack from the noise.
- Once the coast is clear, drop from the ledge on the side of the bridge when the slaver isn’t looking. There’s a chest of Resin and Pieces to the right, so utilize Hugo’s Echo to see where the guard is looking.
After searching the chest, run to the left and squeeze through the narrow passage, then climb the ledge to reach the first part of the stronghold. Head up the stairs, and there will be a workbench in the room. You won’t need to use the crank, so for now, continue walking through the castle and down the steps.
Return Of The Rats
With Sophia’s help, sneak inside the inner part of the stronghold. Unfortunately, the rats have arrived, and it’s too many for Hugo to control. Light the brazier, allowing Sophia to use her prism on the light and create a pool of light around her to safely cross through the rats. This unlocks another companion ability for Sophia called Refract, which lets her use her prism to create a pathway through rats.
If you move too far away from the source of Sophia’s Refract, her light will flicker and go out.
Jump down from the wagon and light the next brazier to use Sophia’s prism to move forward. Open the crate near the brazier to find Alcohol, then use an Ignifer pot or Sophia’s prism to cross into the lit room.
Walk up the steps to find a locked workbench. Keep moving to each brazier in the area by using Refract, then open the chest at the final one to find Sulphur and Saltpeter. Before grabbing a stick, use Exstinguis to snuff out the flames in the trench, then light a stick and push through the rats.
- Head upstairs and search the chests in the area, but there will be more slavers patrolling.
- Make your way to the other side to find another fiery trench. Use another Estinguis pot to kill the flames, then pick up another stick to continue moving forward.
- Arrive at the torch over the barrier, search the nearby chest for Sulphur, and pick up the Episanguis in the rock.
- Fire an Ignifer bolt into the side of the cover in the tunnel, then use Refract to cross through the rats.
The remaining rats can be cleared with another Ignifer pot or Hugo’s Imperium. Once the rats are gone, reach the next lit area, and you’ll see the pathway toward the door on the right.
This is where you need to go; however, the door is gated shut. Refract the light off the two torches in the pathway and move toward the other side of the courtyard.
Clear the rats and head upstairs to find the crank above the door. The sound of the gate might attract other guards, so deal with them before jumping down and giving up your height advantage.
Losing Control
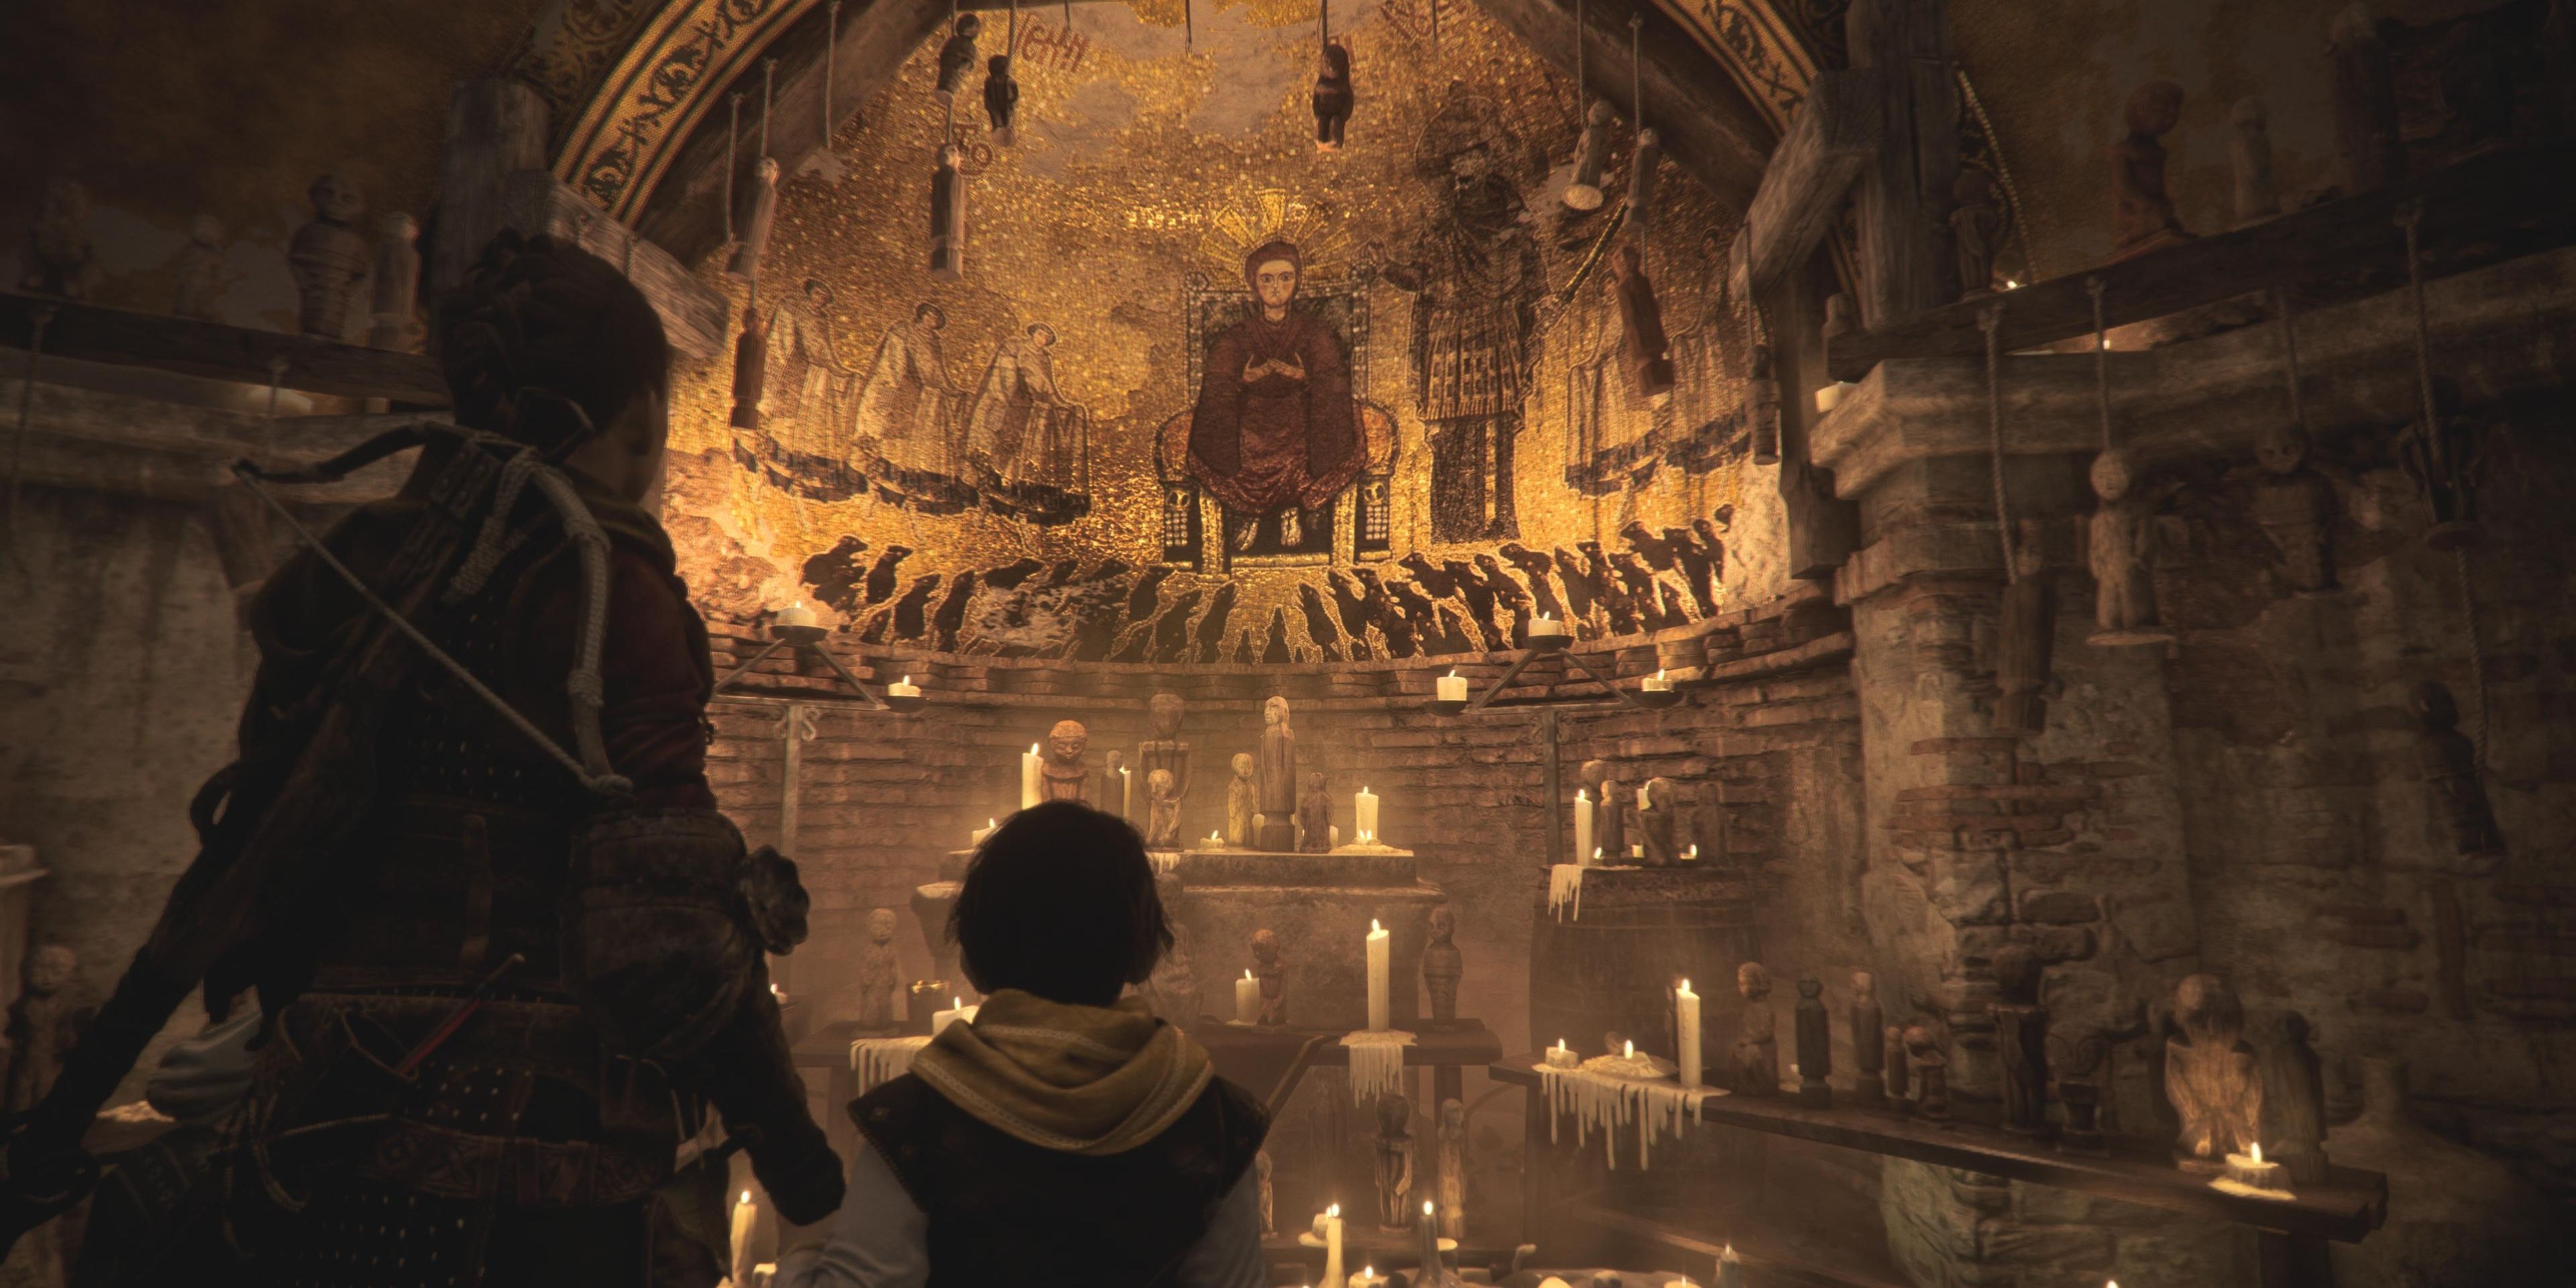
When it’s safe, drop from the ledge with a stick and light it on the torch to safely cross to reach the door. You’ll arrive in the inner courtyard and continue walking straight to enter the chapel.
Pick up the pouch of Pieces on the right bench, then walk down the steps on the left to reach the crypt. After investigating the crypt, head back upstairs and exit the chapel to trigger a cutscene.
Target the archers on the second floor first because their arrows won’t miss unless you’re behind pillars.
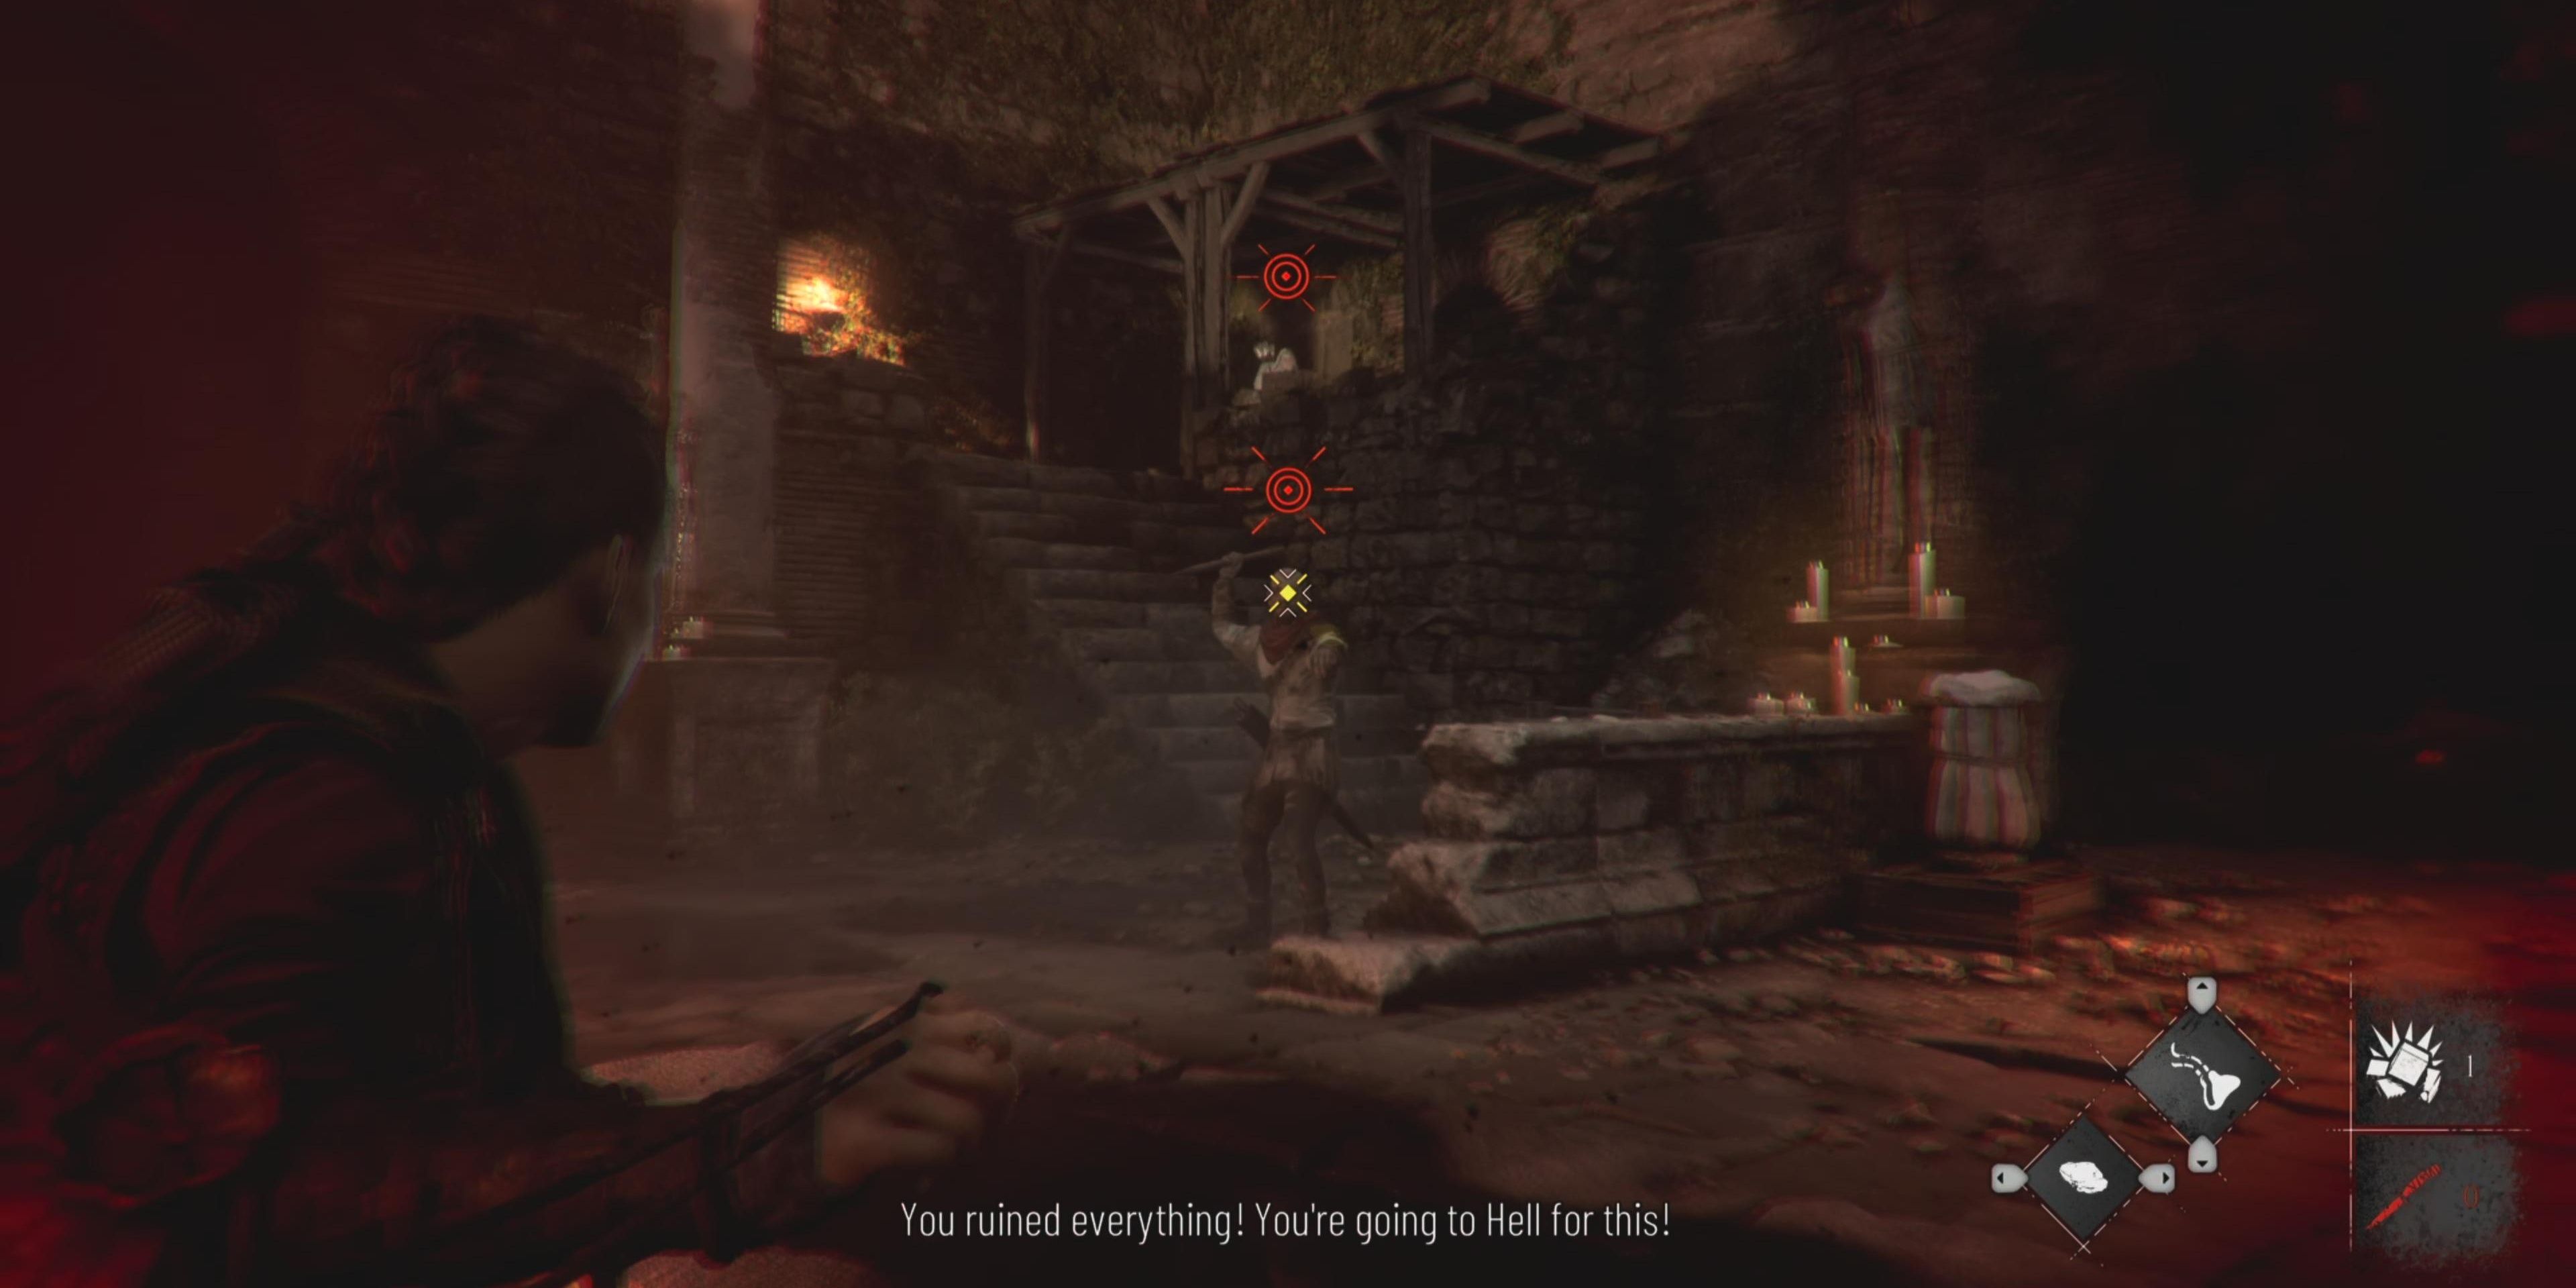
Once it’s finished, Amicia will be attacked by several slavers. Utilize the Crossbow and Sling to take out the enemies that appear near the top and on the ground level.
The larger enemies will toss Ignifer pots, so try to hit them out of their hands to drop them on themselves. Collect bolts and knives throughout the area to combat the enemies. After surviving the onslaught of enemies, another cutscene will commence, and that’ll be the end of the tenth chapter.

.jpg)
