Quick Links
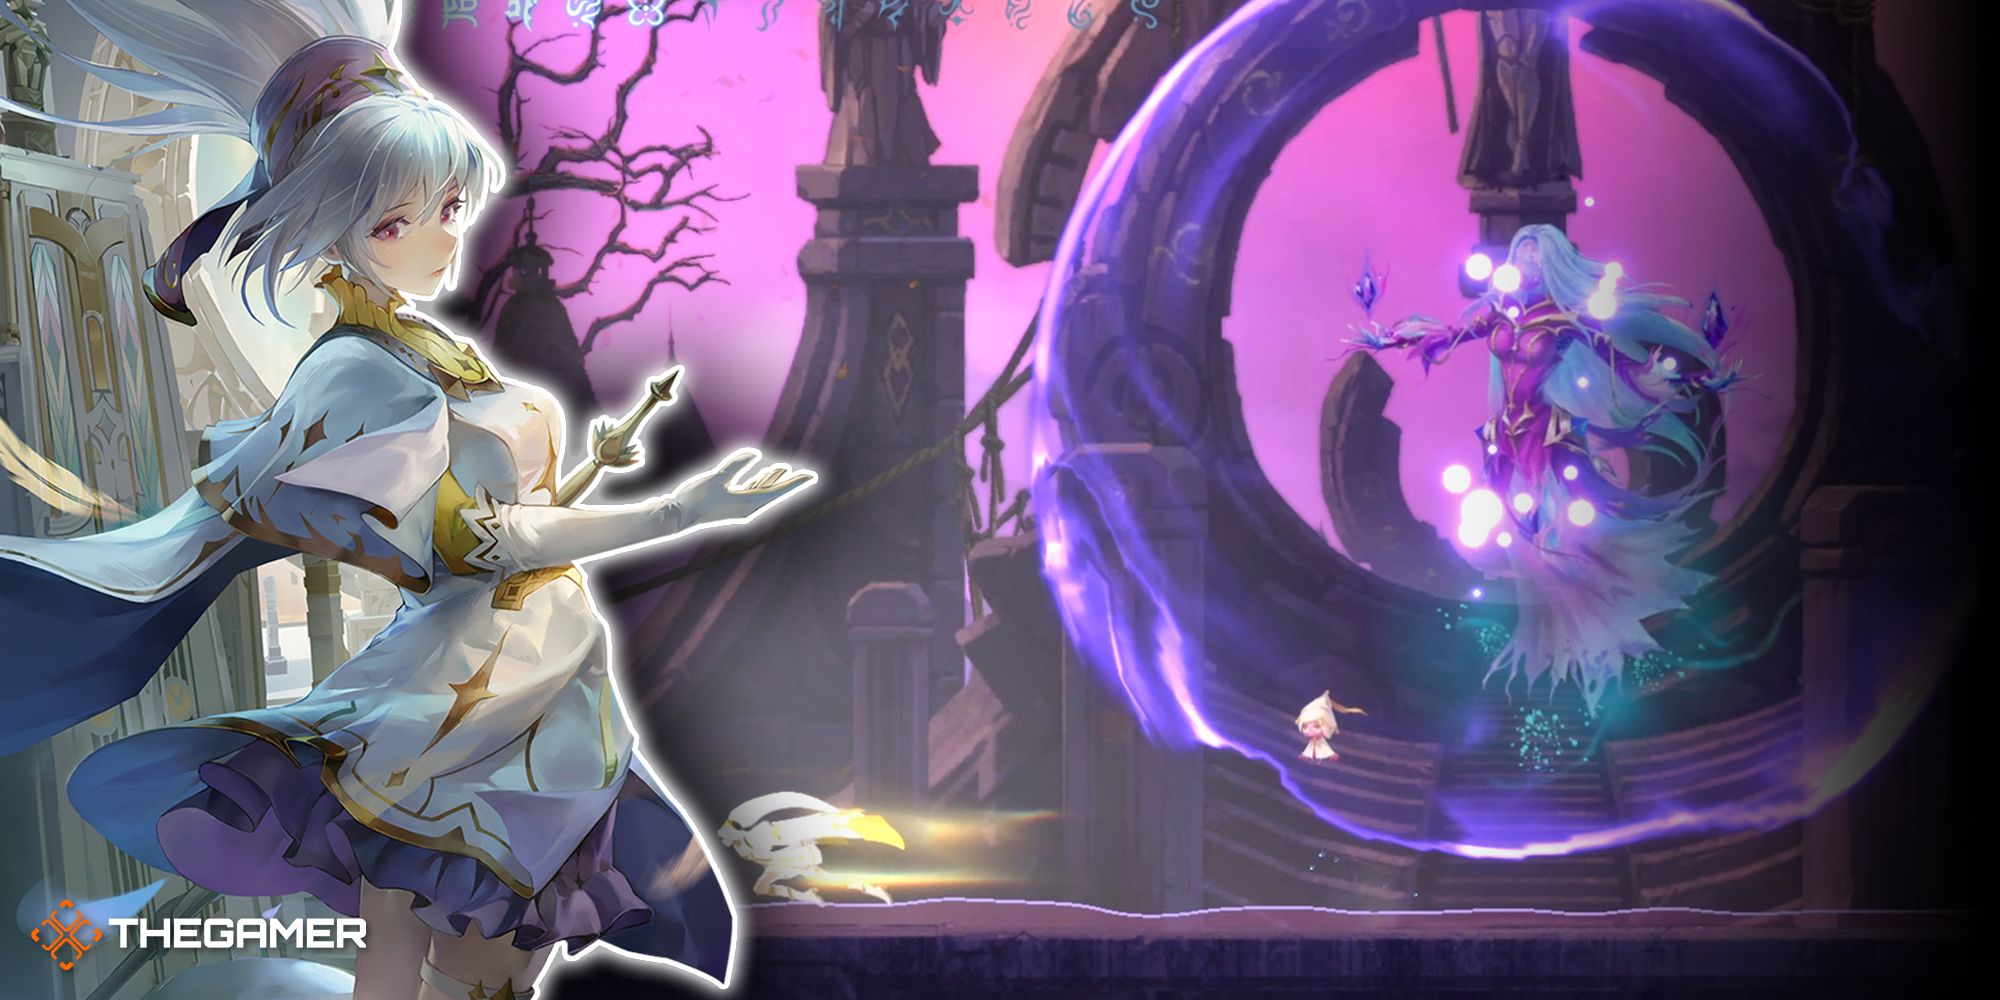
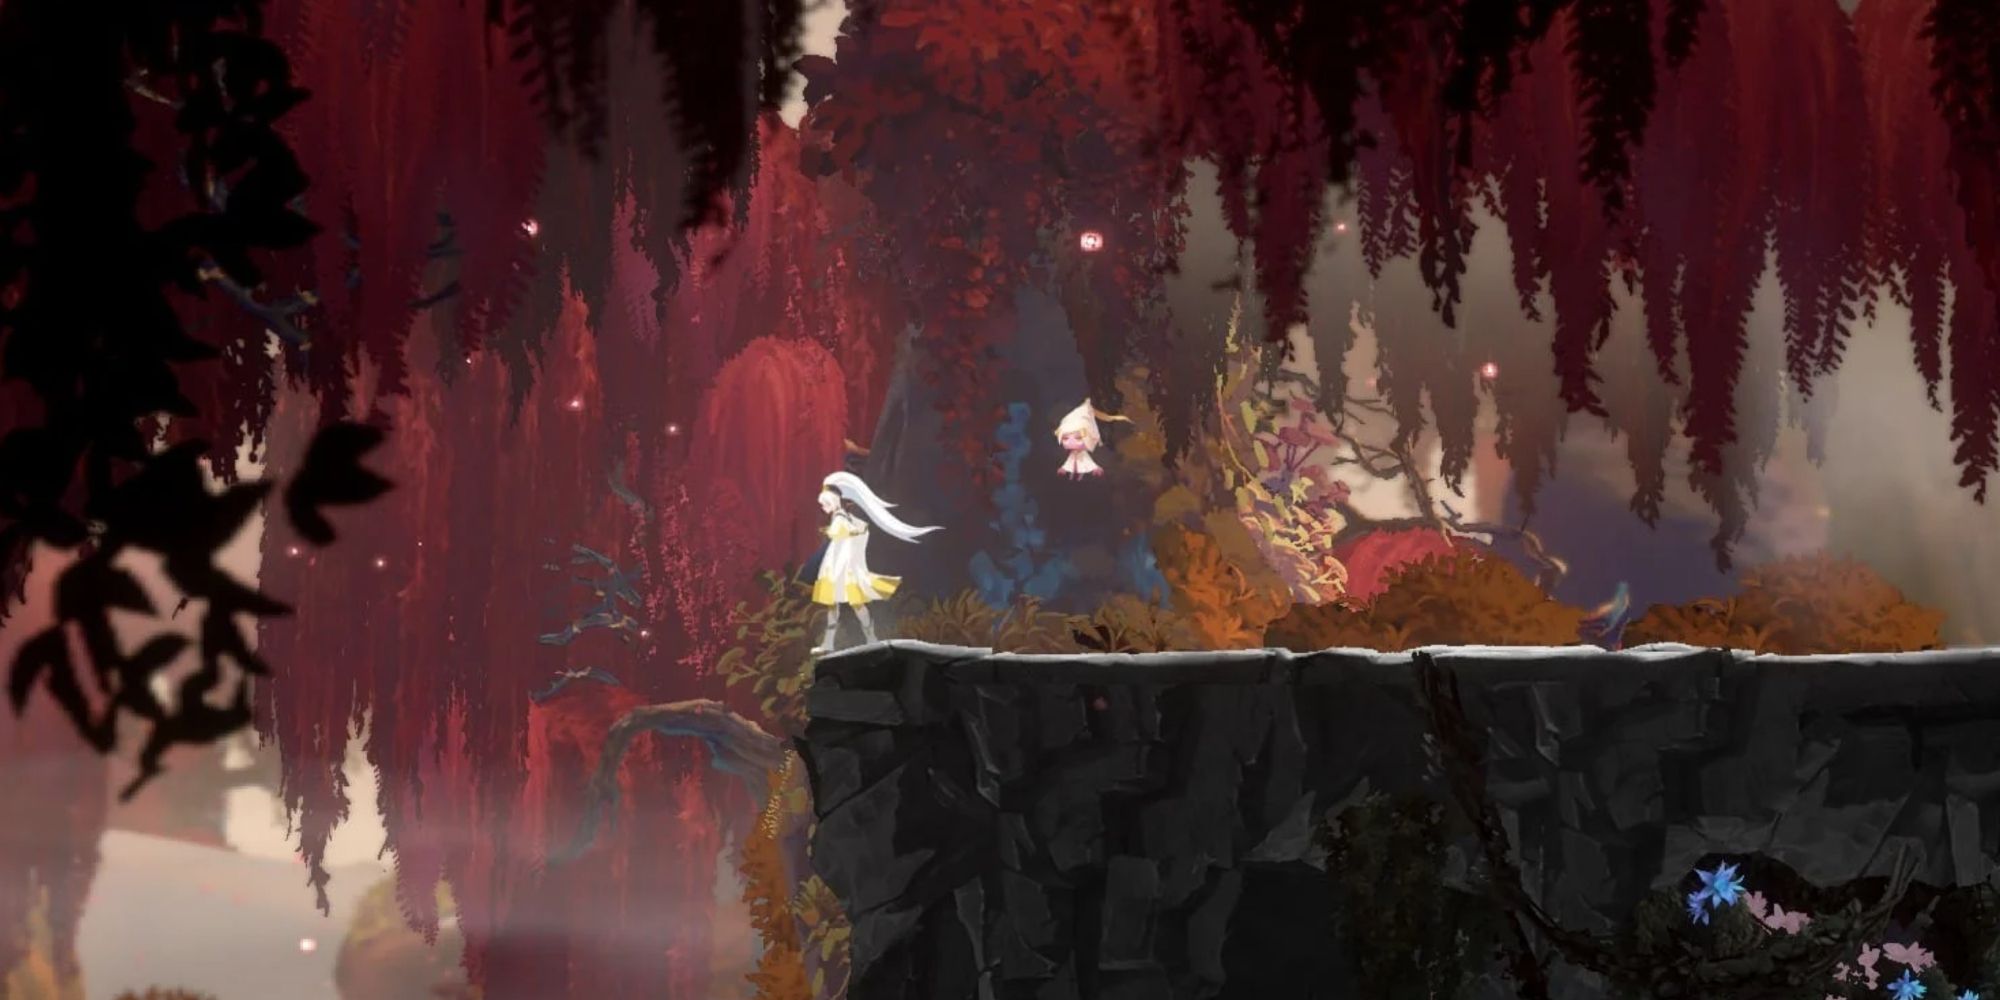
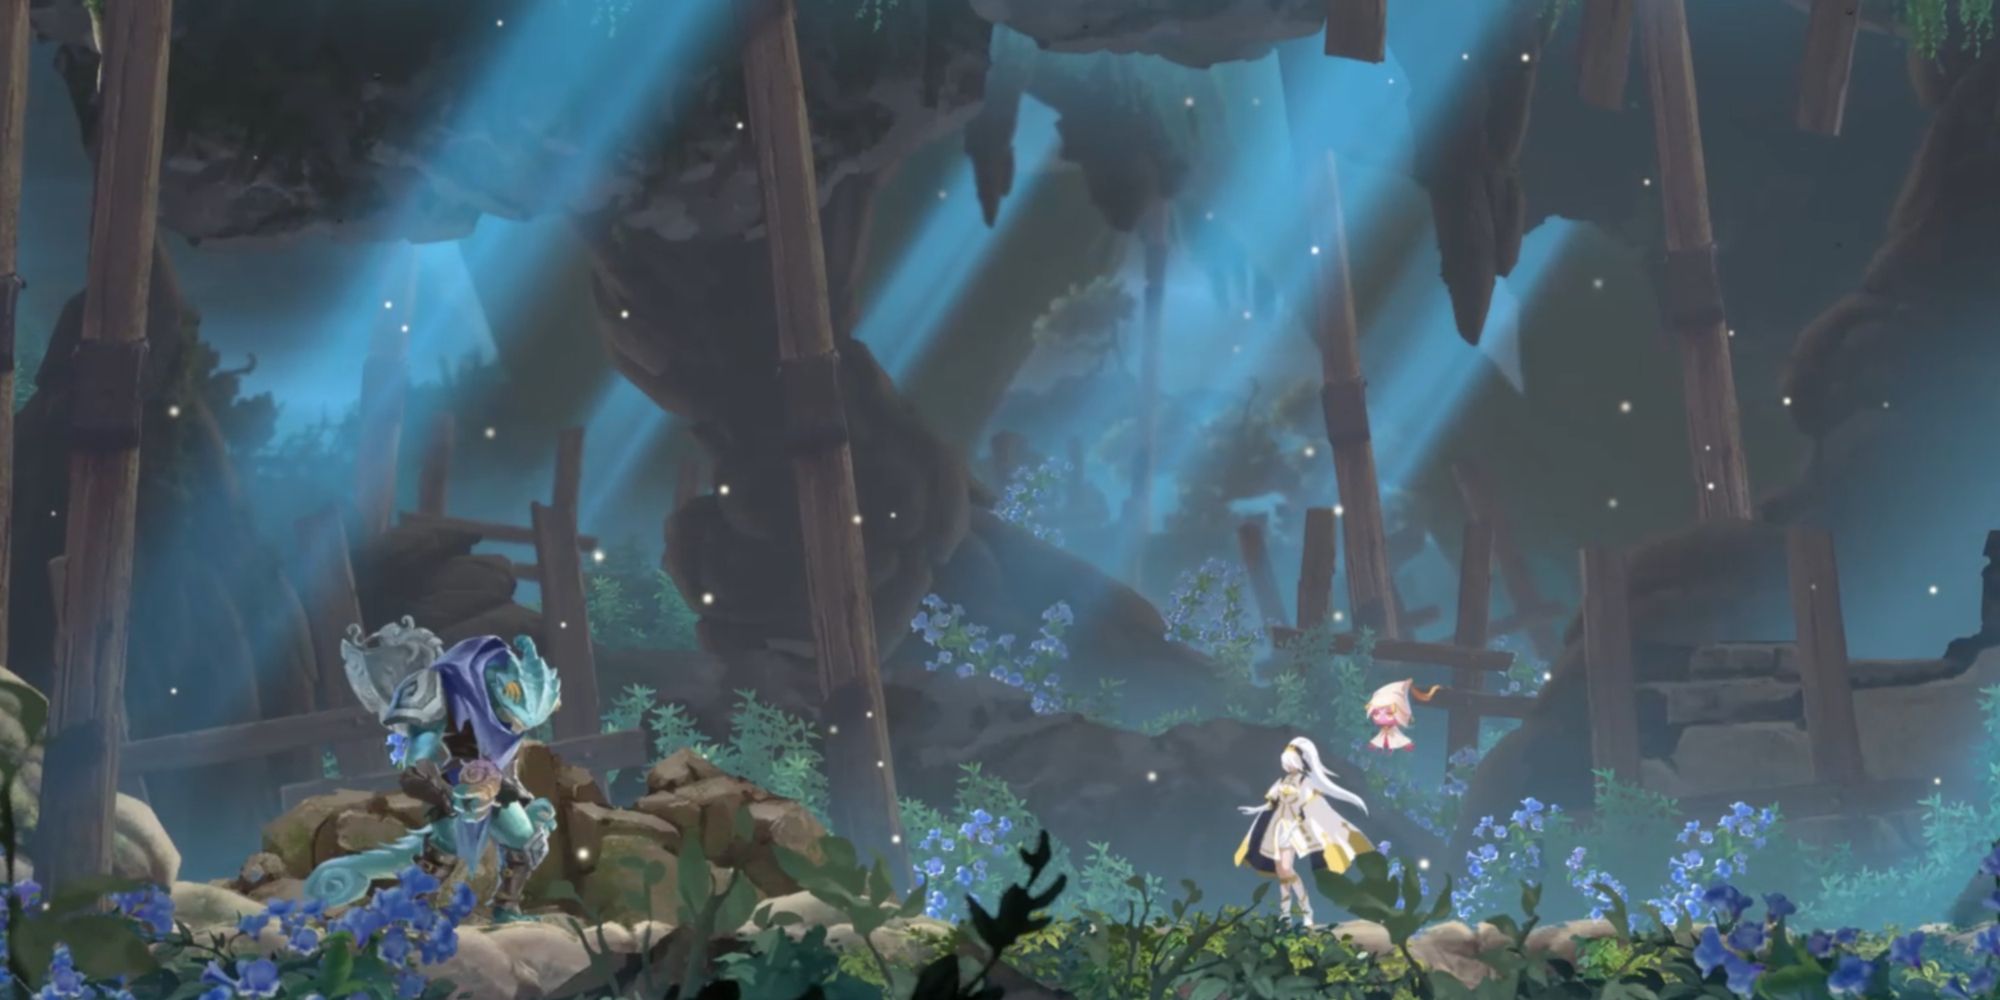
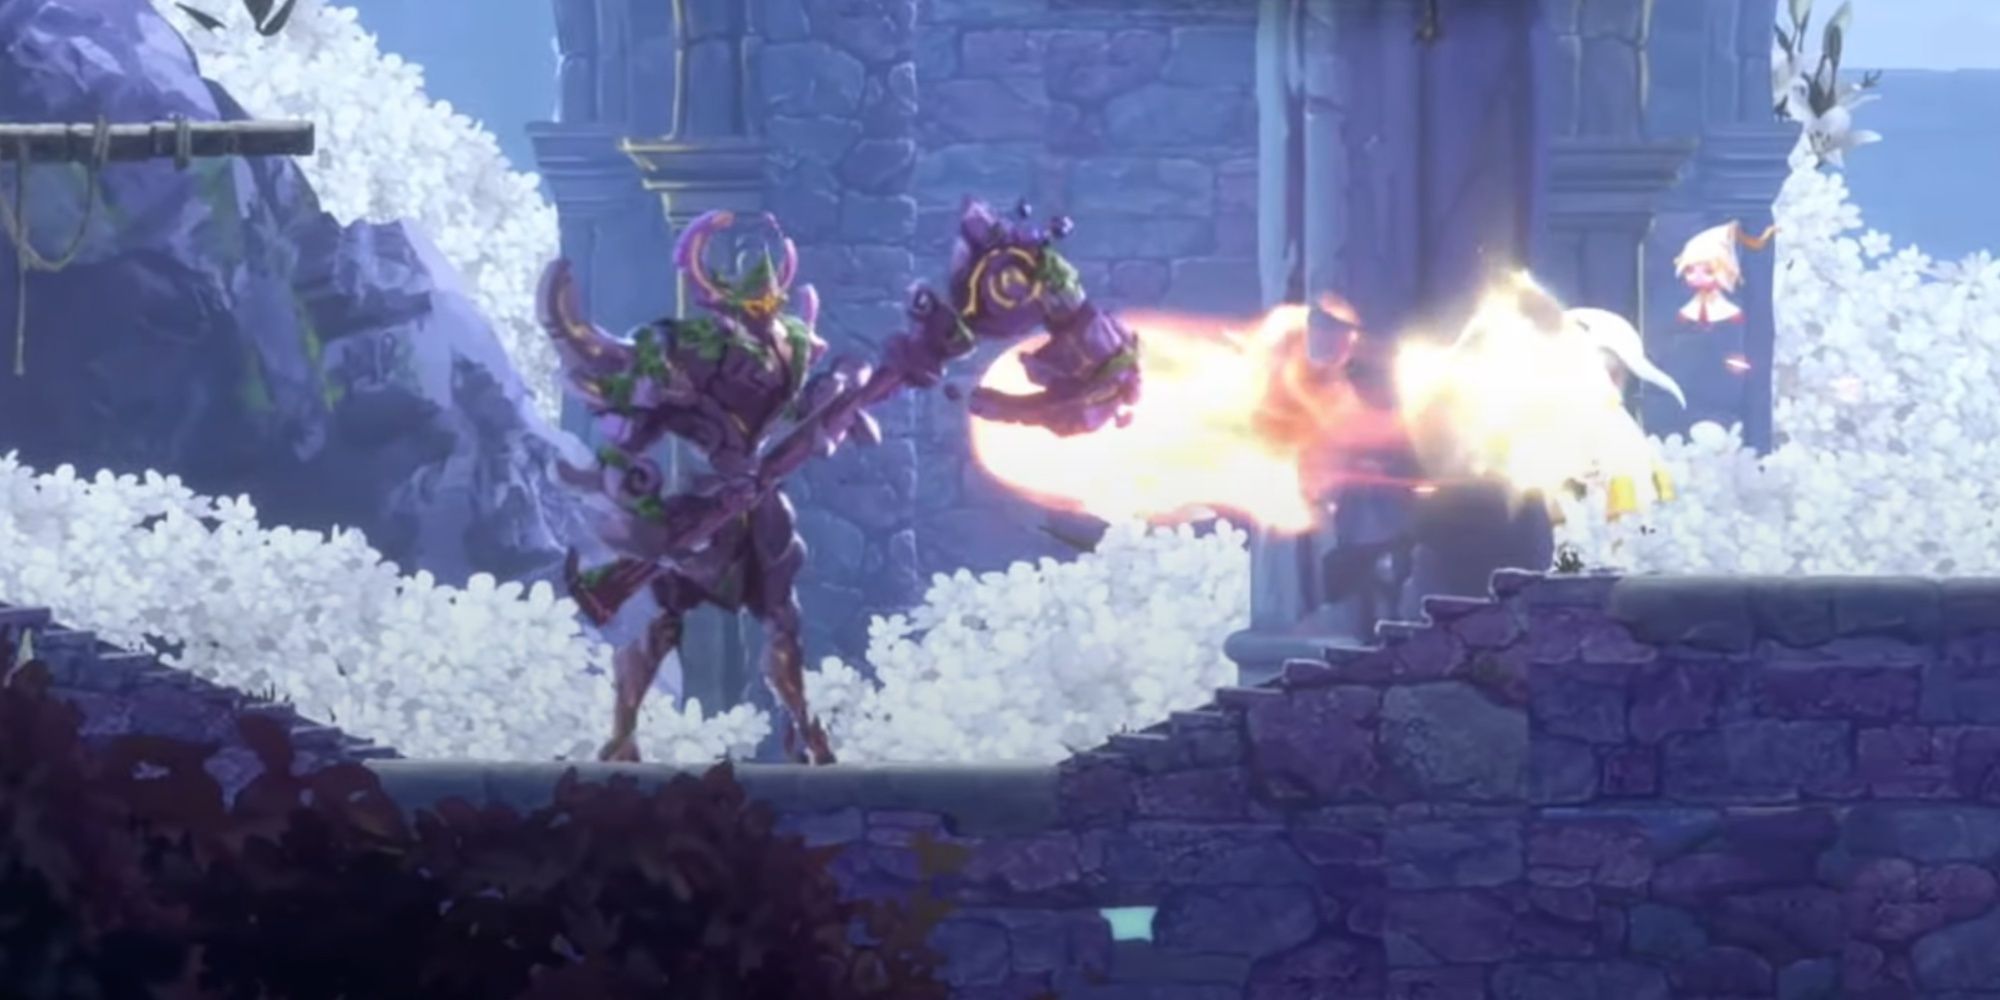
Afterimage is a beautiful hand-drawn Metroidvania with intense boss encounters, excellent exploration, and an intriguing world that pulls you through with its stunning art direction, fluid combat, and creative enemies. There will always be something waiting for you to stumble into in the world of Engardin, making it crucial to check out every nook and cranny.
Being of this Genre, you will obtain abilities that will unlock more of the world, encouraging you to revisit zones to access previously gated-off areas, giving you access to more bosses, secrets, and powerful gear. These abilities, known as Afterimages, will be your key to success in exploration and battle.
All Afterimage Locations
Overall, you can obtain a whopping 32 Afterimages, ranging from passive abilities to the more crucial ones. The ones we will focus on today are what we classify as the 'Core Afterimages,' or the ones needed to traverse the world of Engardin.
These Afterimages are located in the ring-like menu above the Passive Afterimages and are the ones that offer things such as Double-Jumping, Dashing, Wall-Climbing, etc.
There are twelve Core Afterimages to find across the many zones in the game, all offering some benefits that will help you in combat and exploration. You can learn more about these Core Abilities, what they do, and how to get them in the sections below!
All Core Afterimages
- Emblem of Windwalker
- Wandering Warrior's Necklace
- Windwalker's Anklet
- Left-wing Feather of Windwalker
- Clammy Whistle
- Flower of Confluence
- Agile Claw
- Plate of Kingworm
- Eye of Gongor
- Blessing of Samsare
- Crimson Cape
- Right-wing Feather of Windwalker
Emblem Of Windwalker
Allows you to Dash while grounded or airborne, enabling you to clear large gaps or reach far-away areas. The Emblem of Windwalker is obtained by defeating the Lamellar Warrior in the Rainbow Plains zone and will be the first Afterimage you acquire.
You can find the Lamellar Warrior by navigating eastward from the first Confluence you can rest at in the Rainbow Plains zone. From there, you will see a raised drawbridge, drop down into the area beneath it, and continue descending until you reach the bottom.
From here, head west until the Lamellar Warrior greets you in their arena. Defeat this boss to obtain the Afterimage, allowing you to pass over the raised drawbridge from earlier!
All Core Afterimages
Wandering Warrior's Necklace
Grants you the ability to Slide when crouching, allowing you to pass through tight spaces to reach new areas. This Afterimage can be found extremely early and is located in the Resting Path zone.
To obtain the Wandering Warrior's Necklace Afterimage, head to the Confluence near the southeast of the zone, then head northeast from it and take the lift to the area above. Once there, navigate west until you are suddenly locked into an arena.
Defeat the wave of Prismbone Punishers and Archers to acquire the Wandering Warrior's Necklace. Note that this encounter can be challenging due to how early you can access it, so if you find yourself struggling here, it may be wise to return later!
All Core Afterimages
Windwalker's Anklet
Unlocks the ability to perform a Divekick on specific objects and monsters, which will grant you the ability to perform another Divekick while also giving you the option to Dash before doing so, unlocking tons of potential for movement and exploration.
Despite being able to obtain the Windwalker's Anklet relatively early on, you will not be able to use it until you acquire the Left-wing Feather of Windwalker Afterimage. You can only be performed after you Double-Jump.
However, how you obtain the Windwalker's Anklet Afterimage is the most straightforward and effortless of the bunch. Upon reaching Resting Town, this Afterimage is purchasable from Alice, the Conjurer, for 1,377 Dew.
If you have enough Dew on hand, we suggest purchasing this as soon as possible, as it will come in handy the moment you get your hands on the Left-wing Feather of Windwalker Afterimage!
All Core Afterimages
Left-wing Feather Of Windwalker
As the entry above covers, the Left-wing Feather of Windwalker Afterimage allows you to Double-Jump, enabling you to reach greater heights and new areas, especially when chained together with a Dash or Divekick.
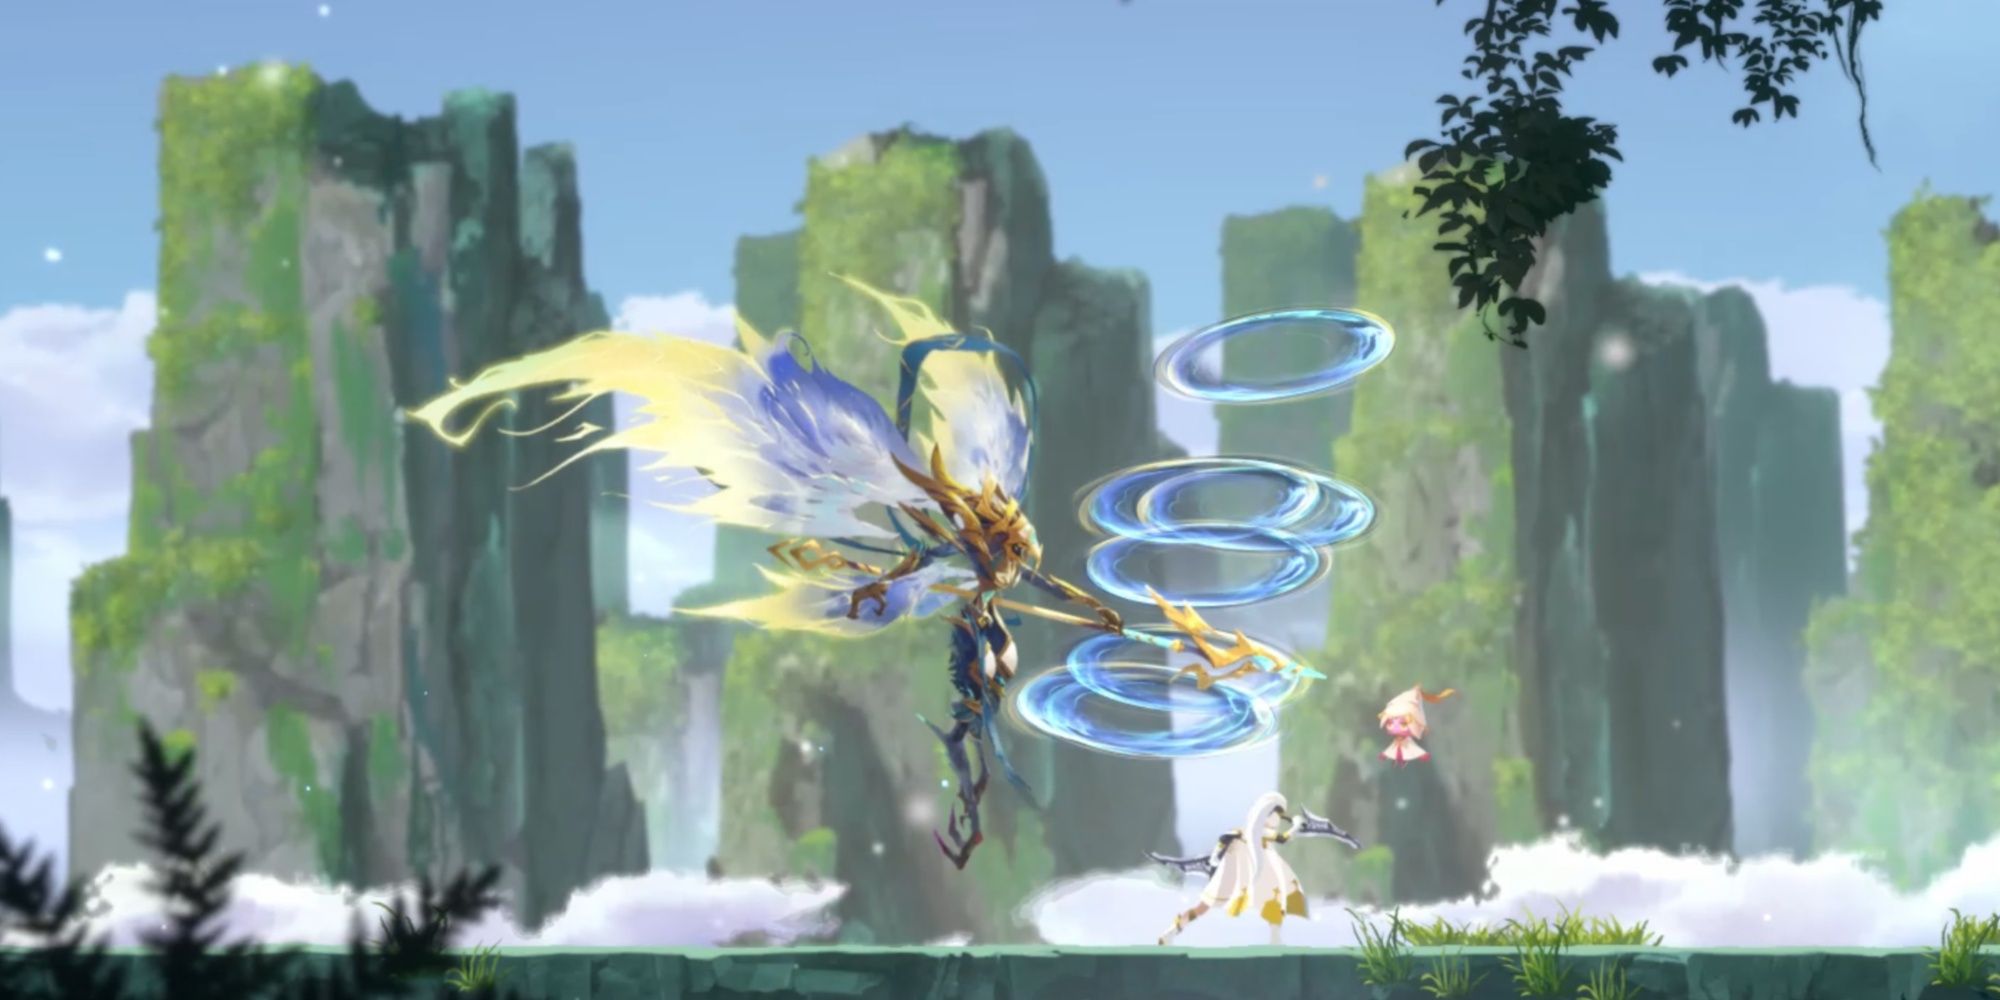
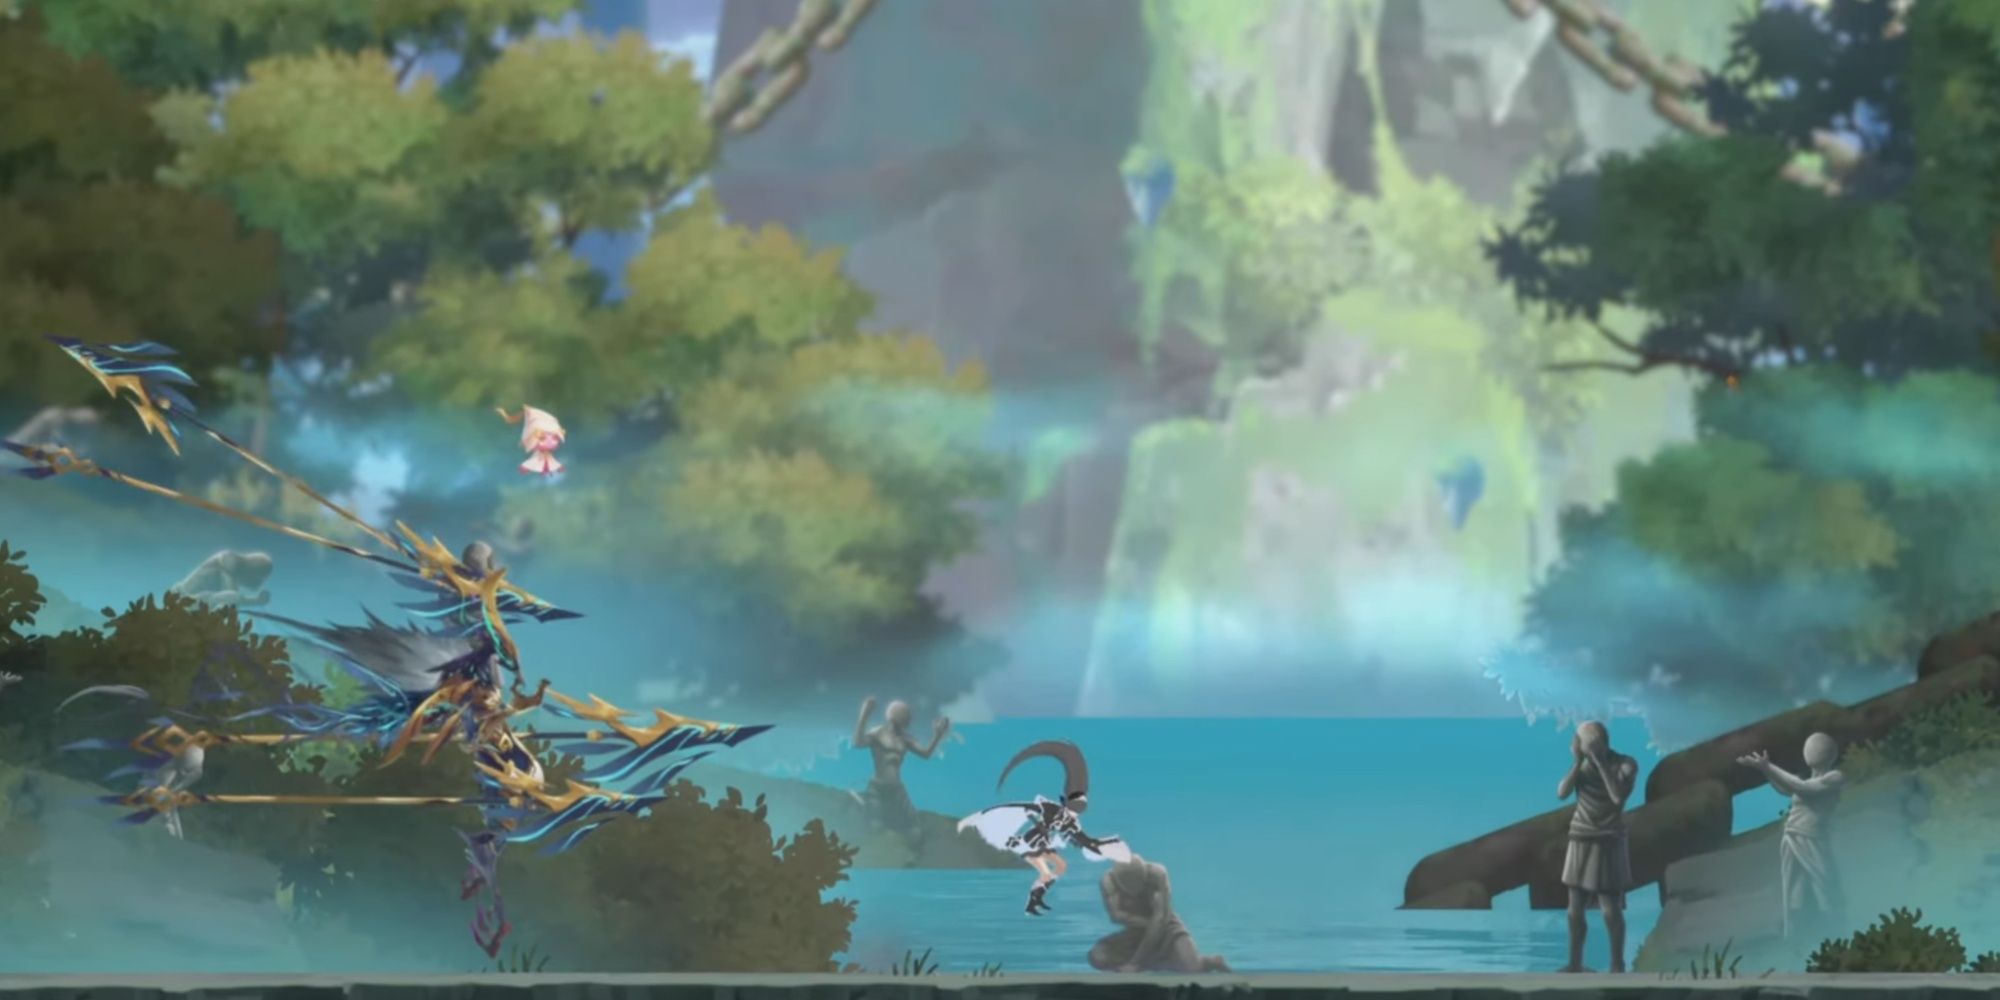
Getting your hands on this Afterimage requires you to make it to the Emerald Falls zone and defeat Loss, the Galefeather, one of the more challenging bosses you will face early on in your journey.
Loss can be found by heading eastward from the zone's first Confluence, then heading north until you reach the highest platform you can currently get to. From there, head east until you meet Loss, the Galefeather.
After defeating Loss, exit from the east side of his arena, then descend to the bottom of the area. Here, you will find the Afterimage on the ground and can speak to the Blacksmith found directly to the right of it!
All Core Afterimages
Clammy Whistle
One of the more unique Afterimages in the game is the Clammy Whistle, which allows you to use it in specific locations to summon a large Manta Ray-like creature, giving you access to navigate the oceans and reach new areas.
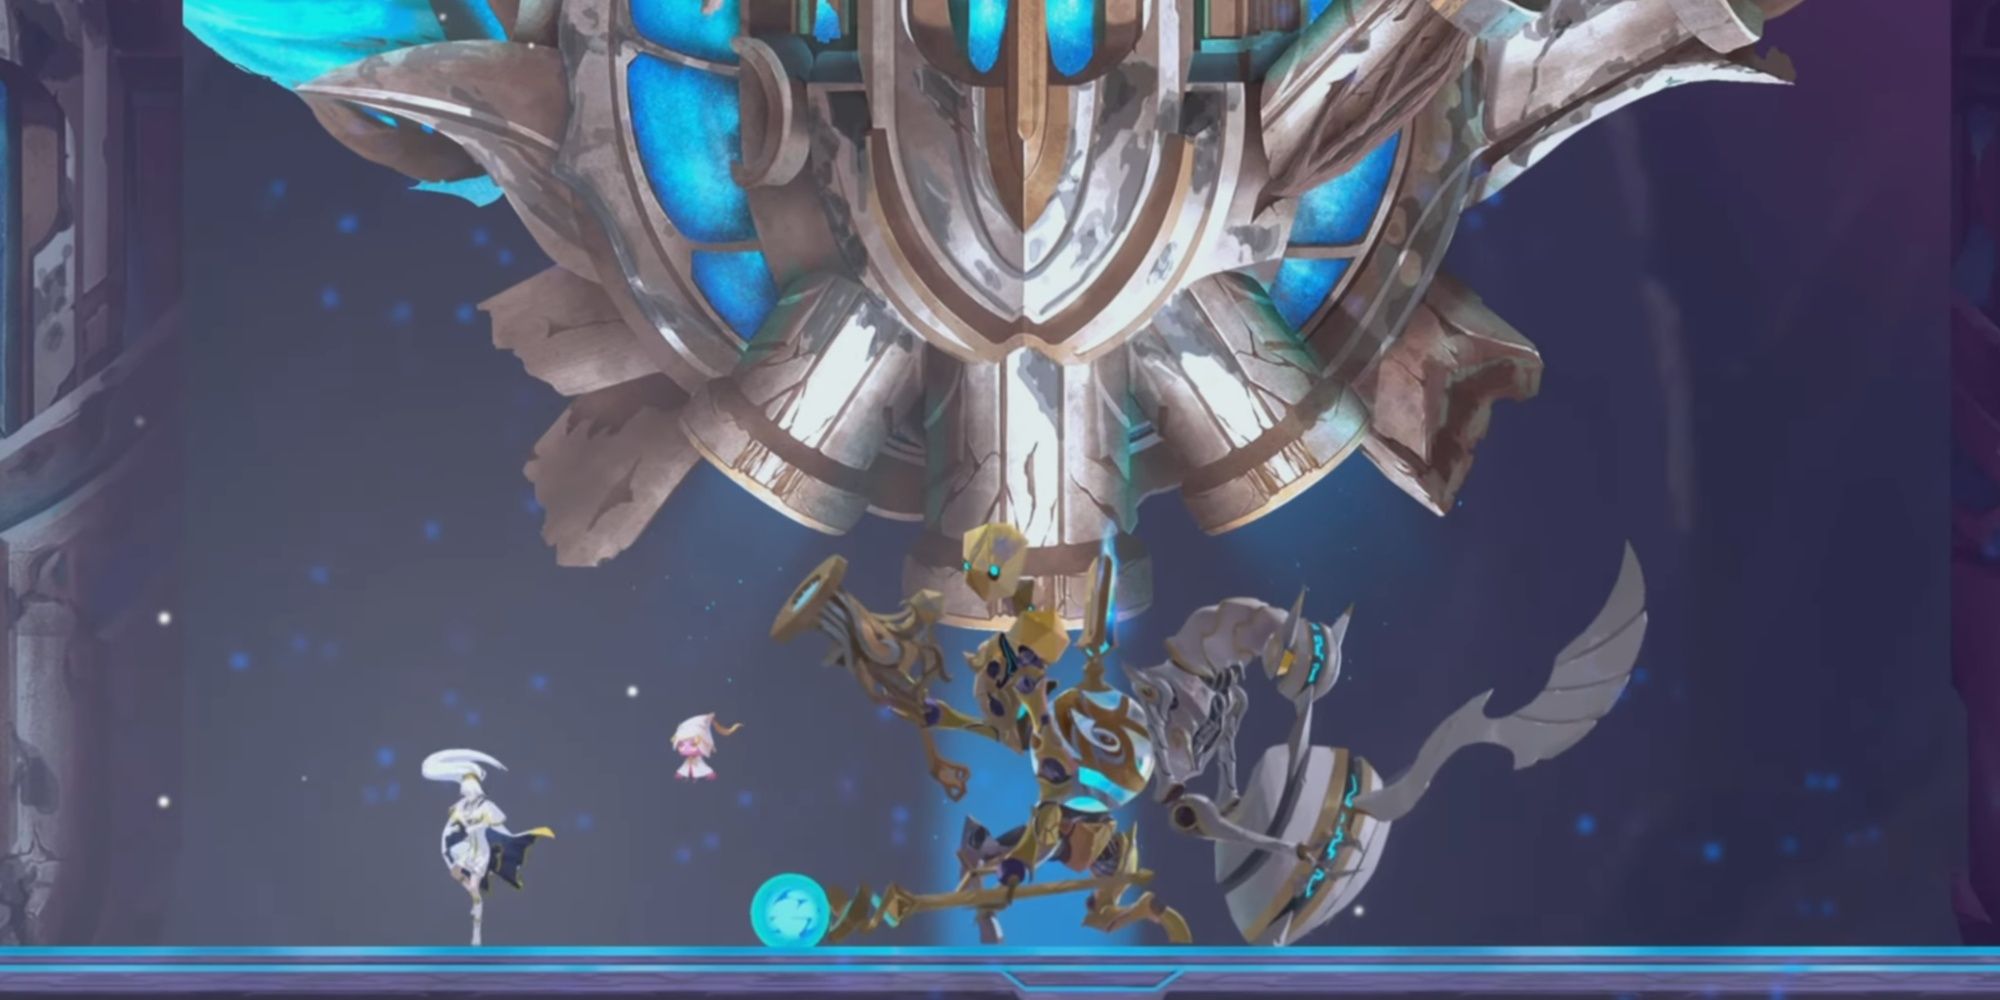
To get the Clammy Whistle, you must first defeat Auss, the Lunatic Mastermage, residing in the Town of the Exiled region. To reach them, you must navigate north from the centermost Confluence of the zone.
They are located near the center in the northernmost portion of the zone. To find them easily, head east from the Confluence, then navigate up the screen until you can no longer do so. From there, head west, then north once more until you find Auss!
All Core Afterimages
Flower Of Confluence
Another unique Afterimage is the Flower of Confluence, which is obtainable via the Clammy Whistle we covered just above this one. To use the Clammy Whistle, you must first reach a specific spot, so let's go over where that exactly is and how to get to it.
From where you defeated Auss, head east and continue in that direction until you reach the Ashen Canyon zone (which may be displayed as a bunch of random symbols when you first enter the area).
Once there, continue eastward until you reach a dock and walk to the end of it to see a golden Manta Ray-like creature in the water in front of the pier. Interact with the creature by pressing up on the Left Analog Stick.
This will kick you out to an overworld map, allowing you to navigate the waters with the Manta Ray. When on this screen, sail to the island all way in the southmost portion of the area, just beyond the wrecked ships.
When on the island, navigate to the west to find the Flower of Confluence Afterimage on the ground. This Afterimage will grant you the ability to Fast-Travel between the Main Confluences without needing to use Resting Potions.
All Core Afterimages
Agile Claw
Next up is the Agile Claw Afterimage, which allows you to cling to walls and leap off of them, allowing you to Wall-Jump and reach new areas.
For this Afterimage, you must defeat the Failure boss in the southeast portion of the Whispering Forest zone. There aren't many Confluences here, so you must descend the area using your Afterimages to reach this boss.
After defeating the Failure, take the exit to the east and continue in that direction until you find the Agile Claw Afterimage on the floor in front of a wall!
All Core Afterimages
Plate Of Kingworm
The Plate of Kingworm is another excellent Afterimage, as it allows you to dive downward with tremendous force, smashing through weak barriers on the ground. Like most Afterimages, you must defeat a boss before obtaining it.
This boss is Xenal Watcher, the Conjoined, located in the Forest Foregone zone, northwest of the eastmost Confluence. You will have to use your Agile Claws to reach the top of the area. Just head for the top center of the zone, and you will find the boss.
After defeating them, head west to find the Plate of Kingworm on the ground on top of a breakable barrier, which you can then use your newly acquired Afterimage on!
All Core Afterimages
Eye Of Gongor
Following that Afterimage, the next one you will likely acquire after is the Eye of Gongor, an Afterimage that grants you the ability to cure Petrified Targets and Objects, giving you access to new areas and Quests.
Getting the Eye of Gongor requires you to take down Gongor, the Eldritch Fusion boss in the Whispering Forest zone. You can find them near the center of the area just northeast of the first Confluence in the zone!
All Core Afterimages
Blessing Of Samsare
The Blessing of Samsare is one of the more essential Afterimages as it enables you to breathe underwater, giving you access to many previously blocked areas.
To obtain this Afterimage, you must speak with Samsare, the Goliath of Hydro, in the Field of Hydro just beyond the Silent Coast and Misty Waters zones. After speaking with them, you will receive the Afterimage.
Due to this being part of the story and main path, you will naturally come across this area and moment as you follow the Main Quest, so don't sweat it if you aren't near this zone yet!
All Core Afterimages
Crimson Cape
Throughout your journey, you likely encountered red or yellow beams of light blocking entranceways into rooms or other areas. While you can't pass through them normally, you can Dash through them via the Crimson Cape Afterimage, making it one of the best in the game.
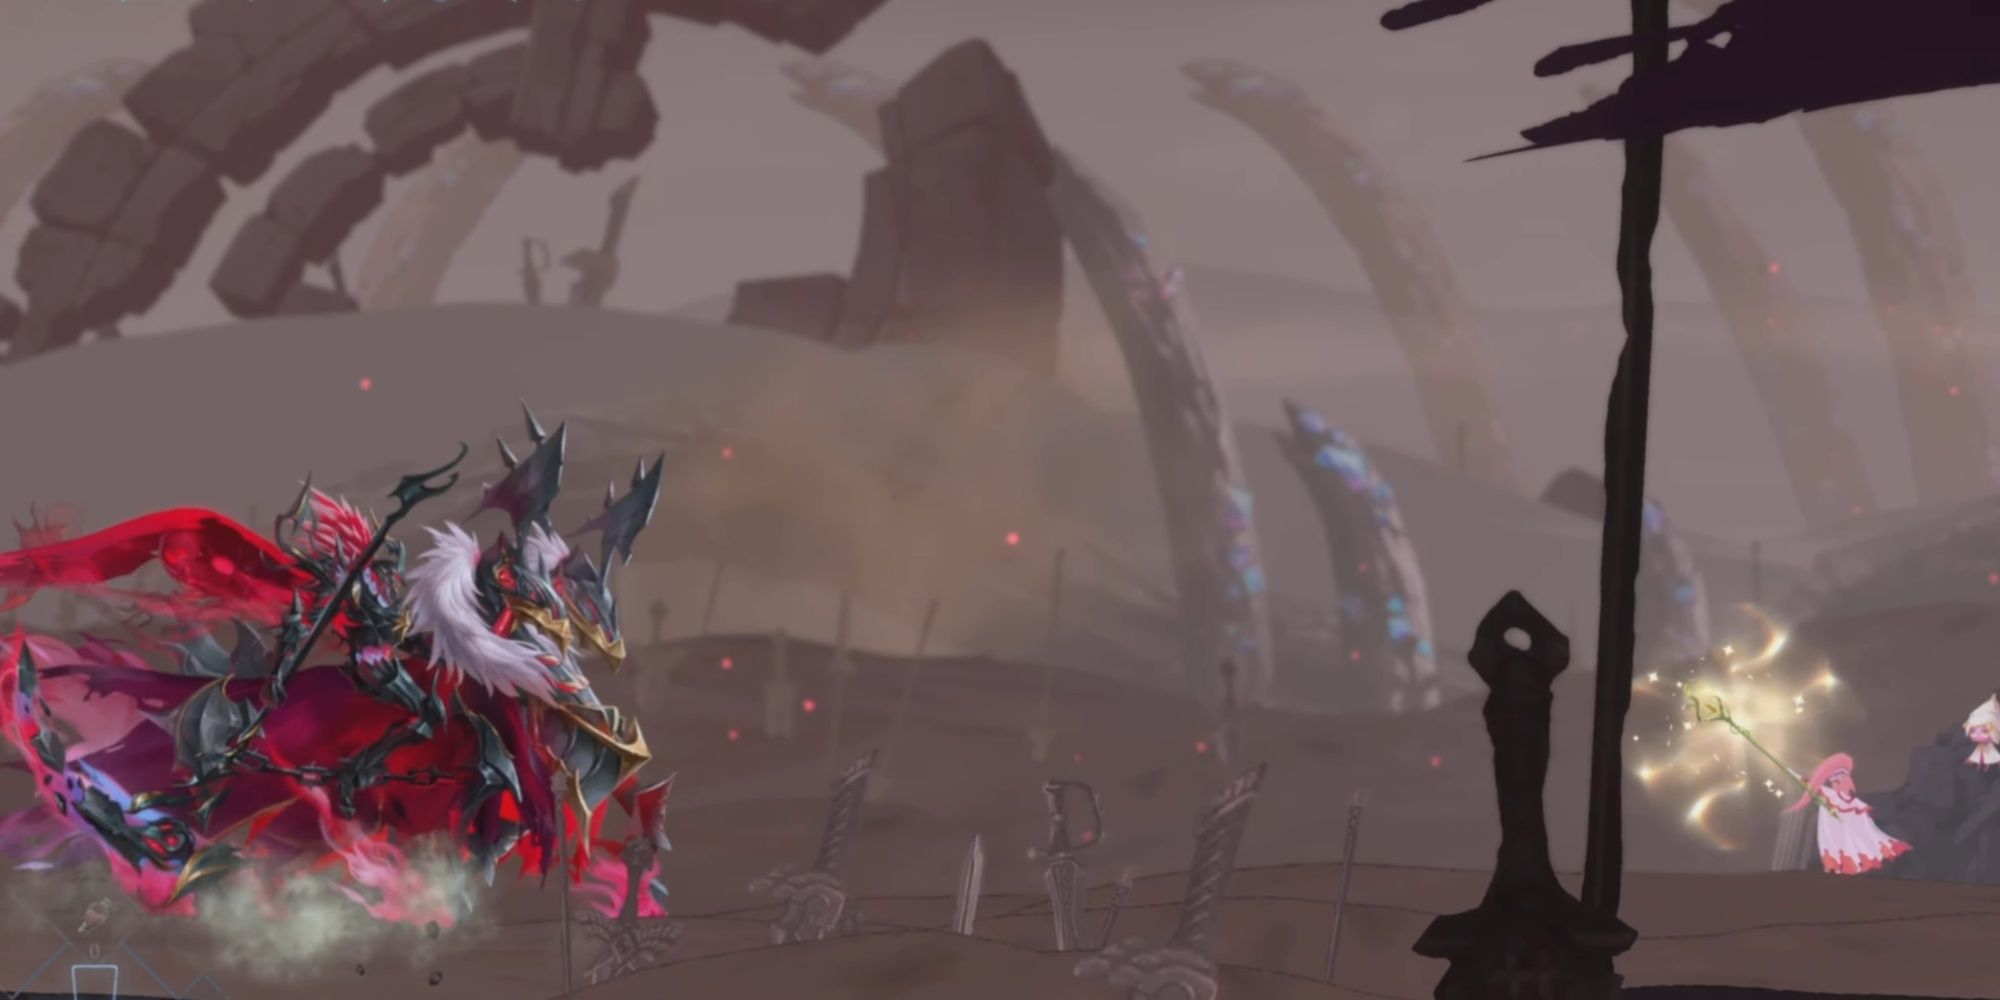
However, before you can get your hands on this Afterimage, you must first defeat Reaping Scythe, the Crimson Hollow, found in the Goliathfall zone just before you reach the exit on the far left side of the area. Take them down to obtain the Crimson Cape!
All Core Afterimages
Right-wing Feather Of Windwalker
One of the best movement-based Afterimages is the Right-wing Feather of Windwalker due to its ability to grant you the option to Triple-Jump, giving you much greater height than ever before.
This Afterimage is acquired upon defeating Loss, the Broken Wings, in the Heart of Veins. You can locate Loss by heading to the southwest exit of the area. There's only one Confluence in the zone, so follow the path that will take you back to Rainbow Falls to run into them!
All Core Afterimages

