You can basically do whatever you want in Animal Crossing: New Horizons, whether it be making friends with the residents, completing the museum, fishing your nights away, or whatever else you can think of. But, the real freedom comes once you unlock terraforming — a new feature that lets you completely change the cliffs, bodies of water, and paths of your island to your heart's content.
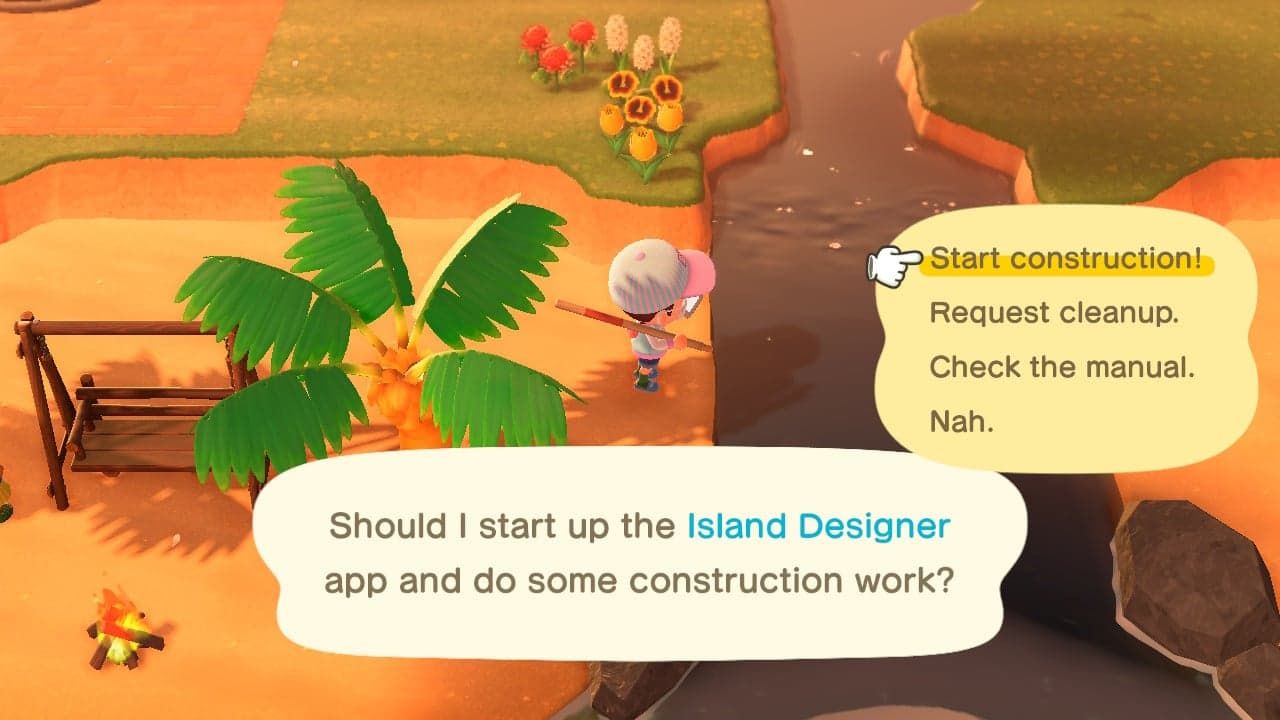
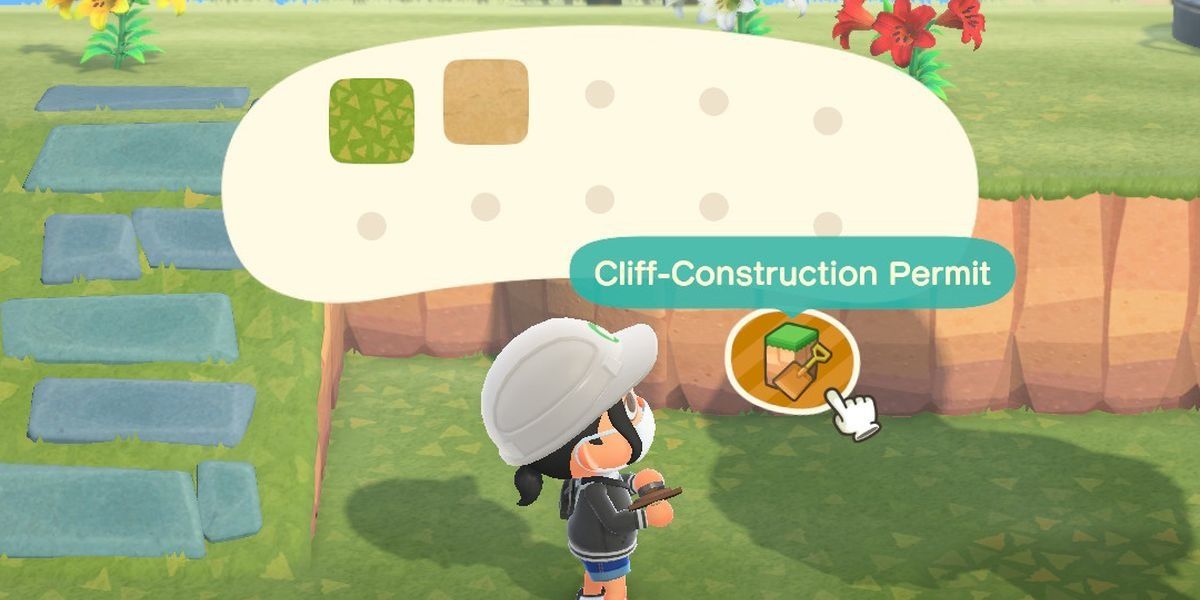
Once you've completed the short questline, you'll unlock the Island Designer app and be able to terraform almost everything. If you're looking for some tips to get started, here are just a few tricks and bits of information to help.
Updated August 3rd, 2020 by Hayley Mullen: New Horizons is a game designed to satisfy the most creative of Animal Crossing players, offering endless possibilities for construction and design like no other title before it. From those who want to make their fantasy home a virtual reality to whose wishing to recreate their favorite fictional and real-life places, New Horizons offers it all through terraforming, and players have gotten even savvier with the controls since its release. We've added some extra tips to maximize the productivity of your hard-working villager in their quest to achieve that five-star rating.
15 Plan Ahead
Terraforming gives you a ton of freedom, but you can accidentally lock yourself into a layout that you aren't happy with. Or you can have houses and other buildings in the way of creating the cliffs and rivers you envisioned from the jump.
In order to ensure you don't mess things up, plan ahead! Make a rough sketch on a pad of graph paper or use one of the many freely-available planners online. Even having a rough idea can help you plan things out to your vision.
14 Use Paths
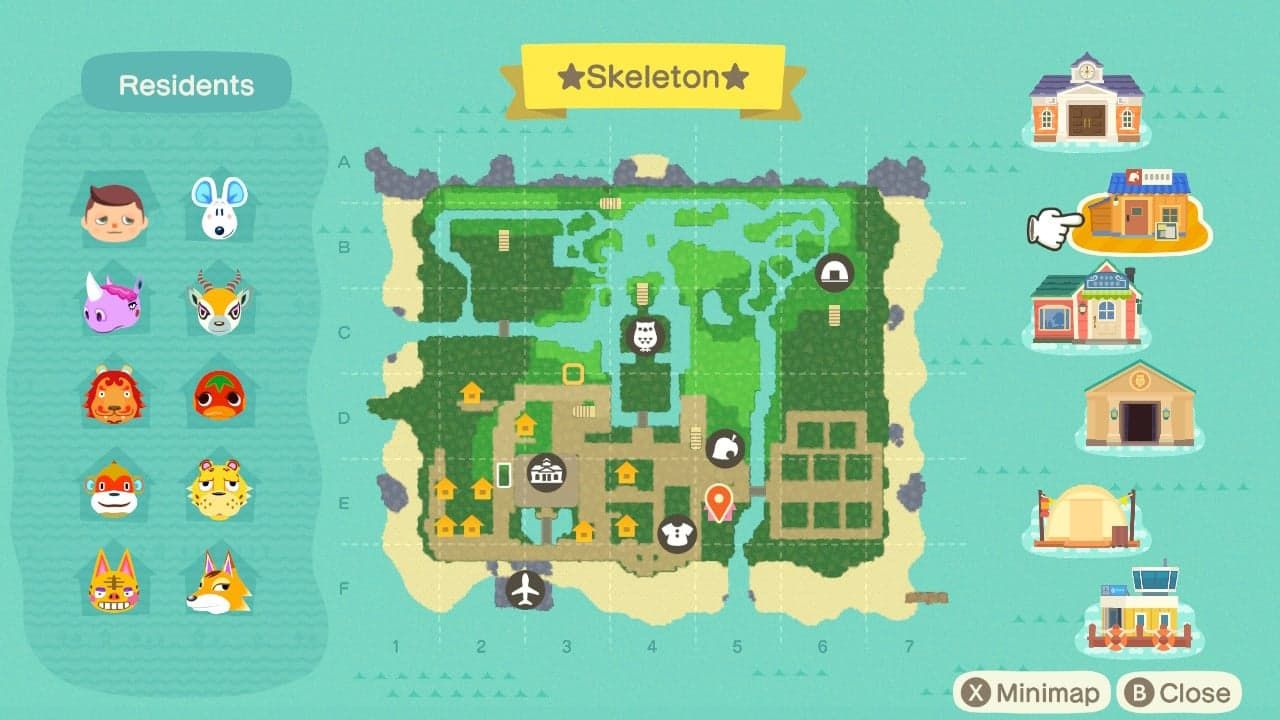
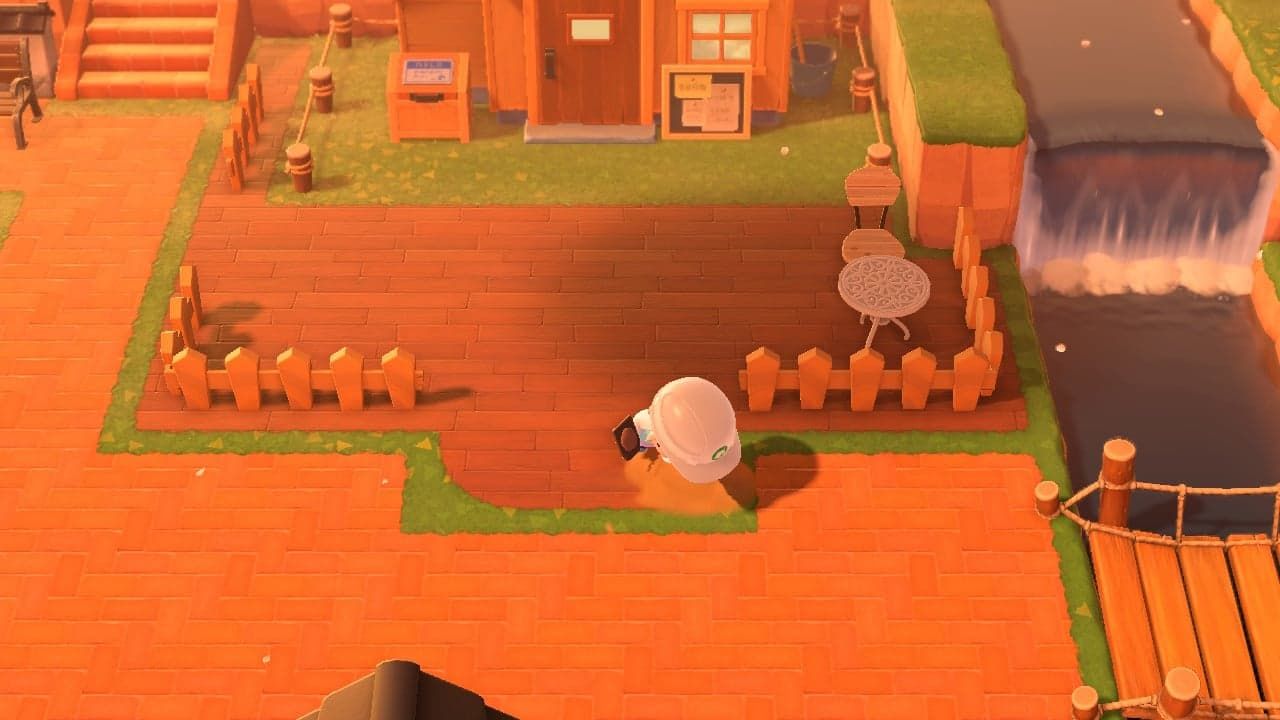
The new Island Designer paths actually show up on the mini-map, unlike most custom design paths in past games. You can absolutely use this to your advantage when laying things out.
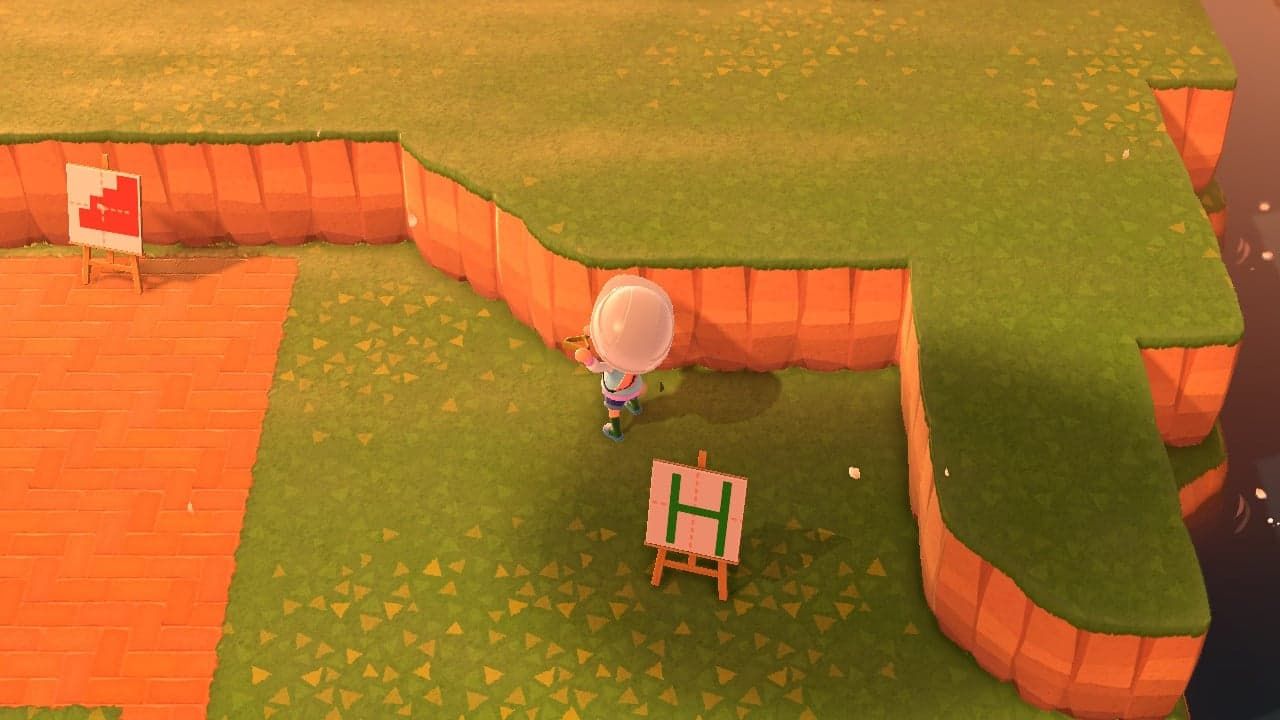
Mark the squares of the island's grid to help you translate your graph paper design into the game, or mark the shapes of where you want buildings and other features to go eventually. Being able to visually see your layout before getting started is very helpful. Just remember to clear them after. If you're still unsure, using outside help like island planner websites is never shameful.
13 Leave Room For Inclines
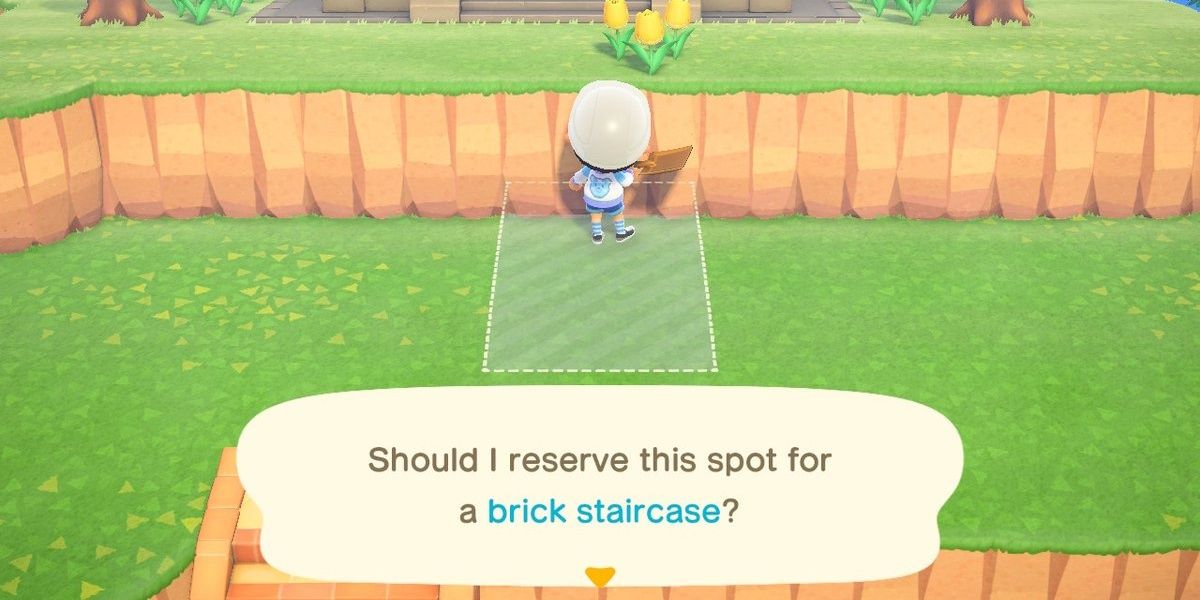
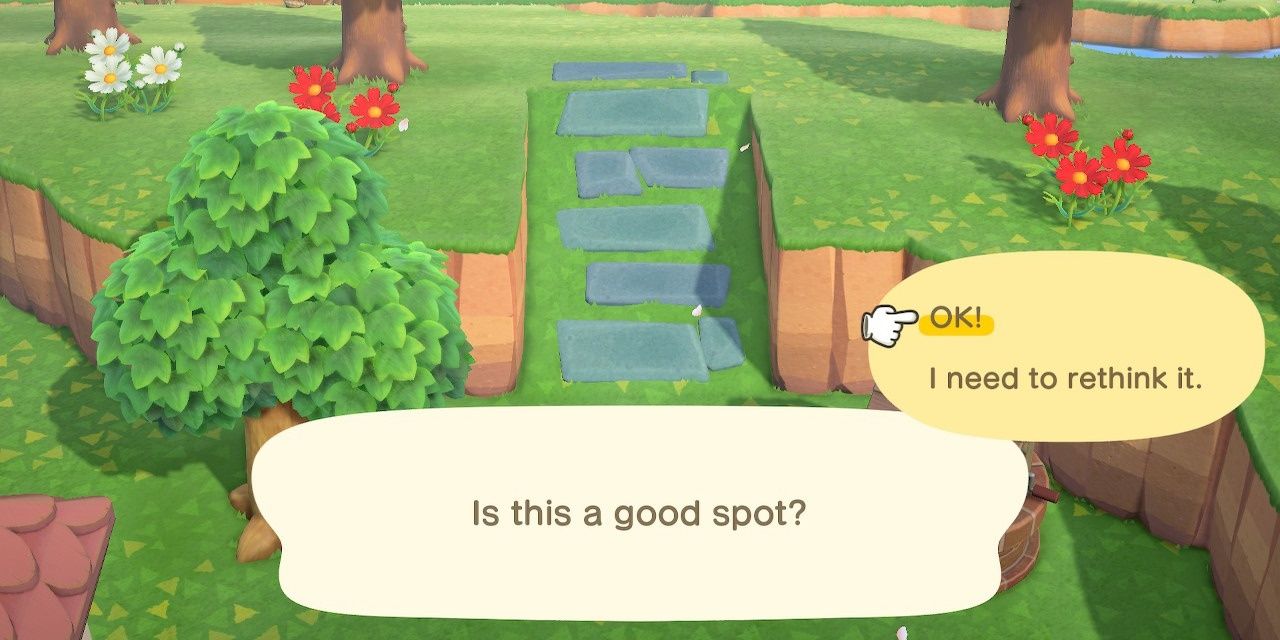
Inclines open up a whole new level of possibilities (literally), and you may find yourself using up all eight of them in order to make your island as accessible as possible. Inclines can even be put next to each other to create a double staircase effect if desired. However, they do tend to take up some space, sometimes more than expected since the path in front of it needs to be clear for access. Fortunately, all projects and structures can be imagined/visualized beforehand to minimize post-construction regret, but make sure it doesn't interfere with any paths or plans you may have in mind for the future.
12 ...Or Embed Them
If you're finding that an incline sticks out awkwardly from a cliff or takes up too much space on the lower level, it's possible to embed or nest an incline so that it sits comfortably into the side of a cliff. This can provide a much more natural and sensible structure design as well as allow for multiple winding inclines up a cliff.
Players can embed an incline before or after its construction, either by making a space in the chosen cliff before construction, or building cliffs around an existing incline.
11 Don't Forget a Ladder
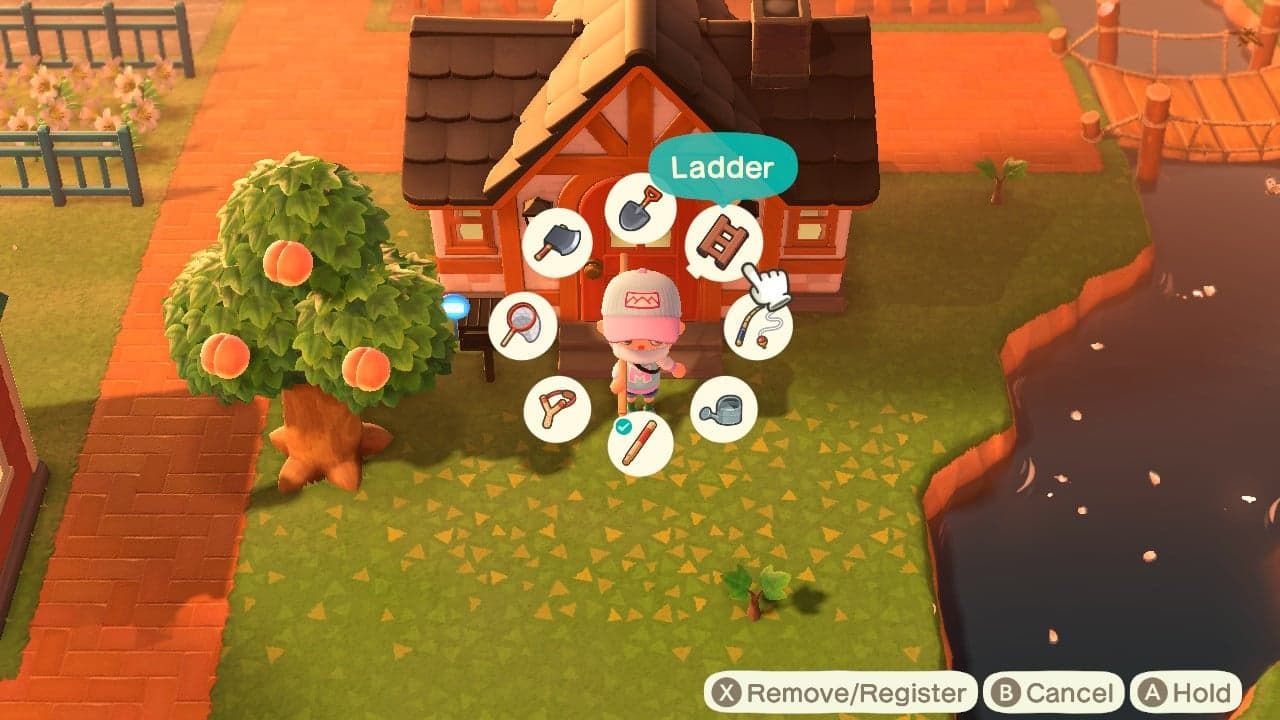
Many terraforming dreams have been cut temporarily short by a misplaced cliff or unfunded incline project in the way. You can use the rescue service or the cleanup option in the Island Designer app to get unstuck in some situations, but why bother if you don't need to? Burning 100 Nook Miles on a rescue is a waste.
Avoid many of these mishaps by ensuring you don't leave the house or start a terraforming project without a ladder and vaulting pole. They'll save you from getting stuck in most cases.
10 Keep The Area Clear
Flora such as trees and flowers can make an island absolutely beautiful, but they can also get in the way during construction. There's nothing more frustrating than having your whole plan derailed by some trees and weeds, but cliffs can't be destroyed when there's any object on top of them. This can be especially frustrating in an inaccessible area, causing you to backtrack and undo all your hard work just to pluck some weeds, so make sure to clean up ahead of time.
9 Know What You Can't Change
When planning your terraforming dreams, you must keep in mind that there are some island features that cannot be changed. It's crushing to plan out a beautiful river before realizing that it won't have a deposit into the ocean to connect to.
The resident services building and the two estuaries (the spot where the river deposits into the sea) cannot be moved. Furthermore, the beach cannot be edited or terraformed. This includes the line of tiles where the grass and sand connect. You also won't be able to edit or build on top of any of the rocky portions that line the beach.
8 Make Your Own Bridge
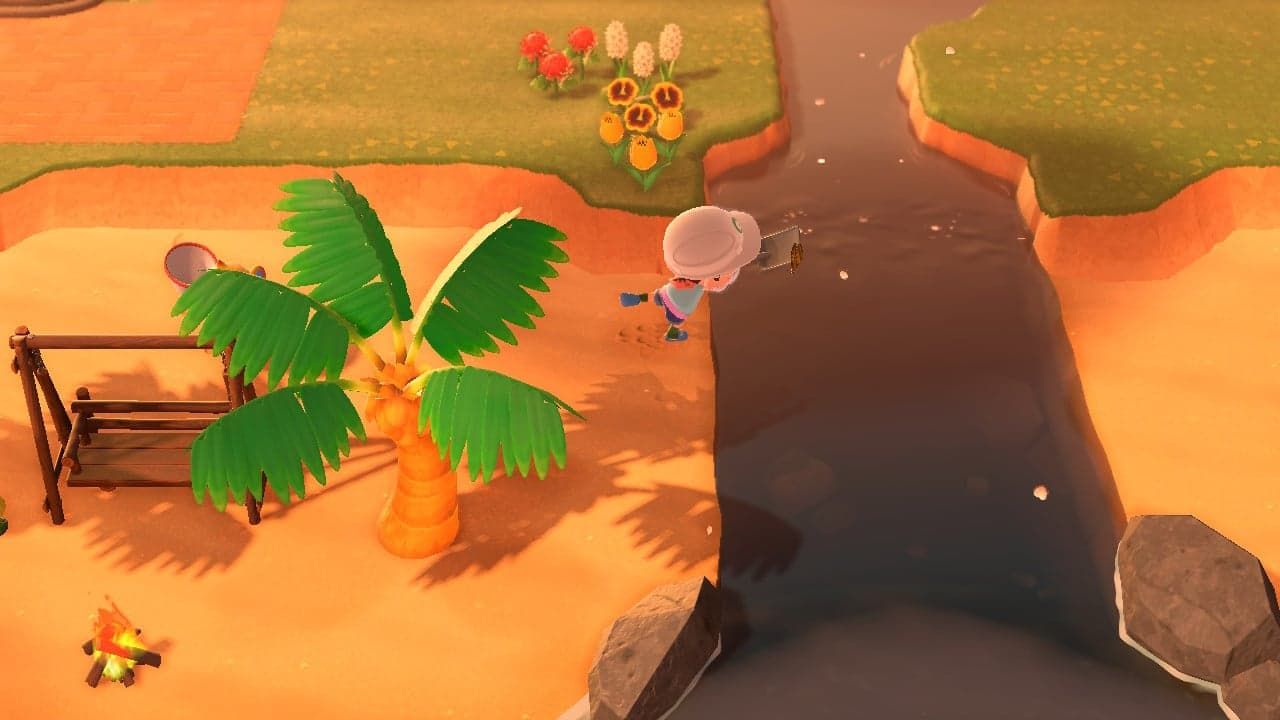
Bridges are expensive and they take a long time to build, especially if they take a while to fund. The vaulting pole is a fantastic addition that allows you to jump rivers and small bodies of water with ease, but it can be annoying to switch to it when you're in the middle of something else requiring a different tool.
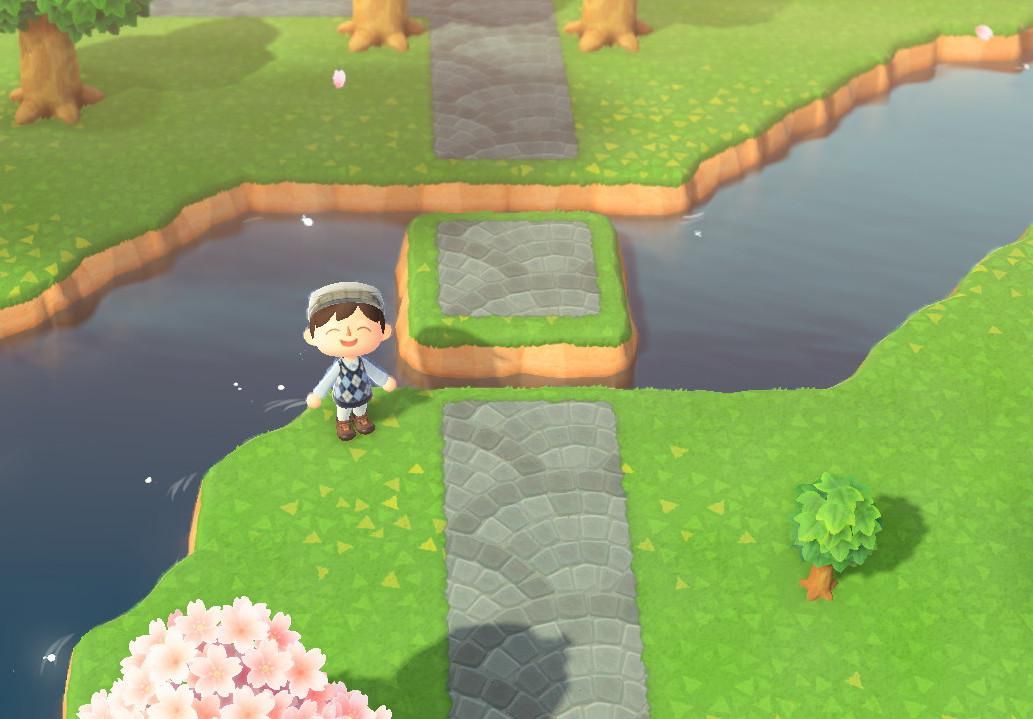
Luckily, you can create your own land bridges with the terraforming tool. The character is able to jump water that is one or two tiles wide, meaning you can place bits of land in the water to create a short hop from one side of a river to another. This can be temporary when working on a project, or permanent.
7 Carry Food
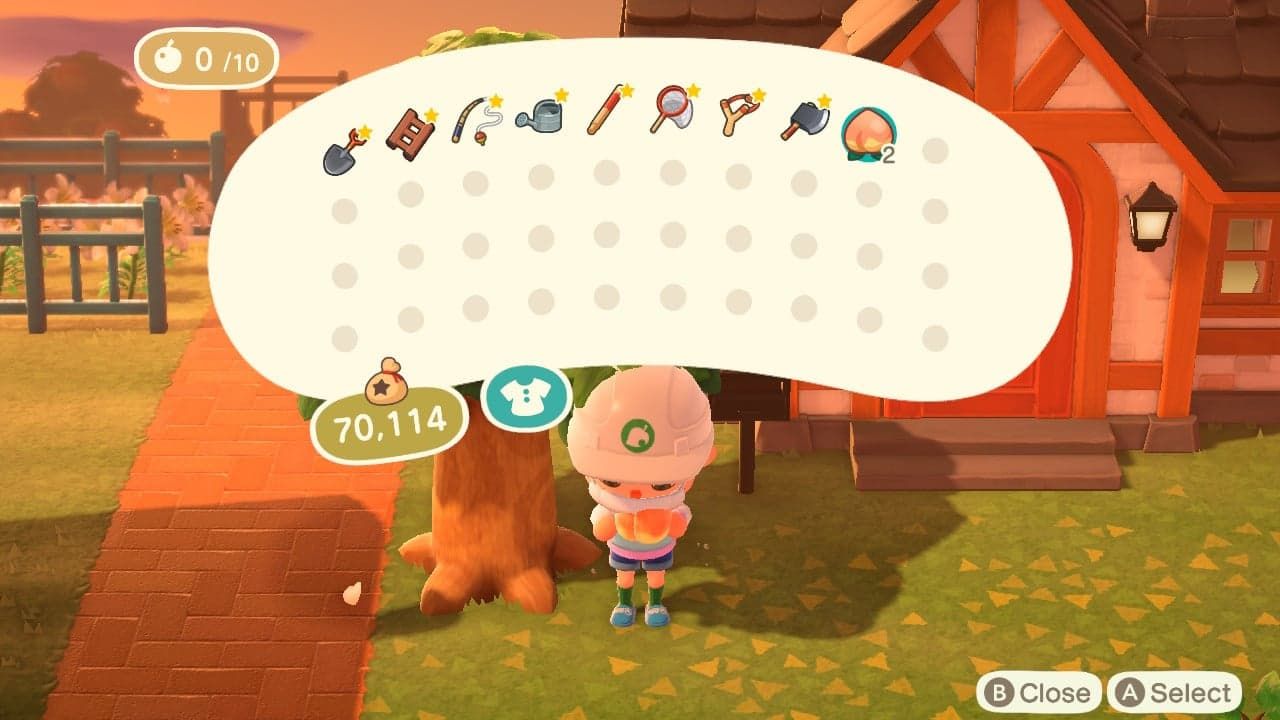
As you're moving cliffs and water around, you'll definitely find trees and rocks in your way. Instead of chopping those trees down, you can move them by digging them up, if you've eaten some food such as fruit. The small counter in the top left shows how many "food points" you have to complete actions requiring the energy boost.
With this boost, you can smash rocks (they'll respawn one at a time in the following days in another place) and pocket full-grown trees. Make sure to carry some fruit — or some of those pesky Bunny Day eggs — in your inventory for these situations.
6 Learn the Rules of Waterfalls
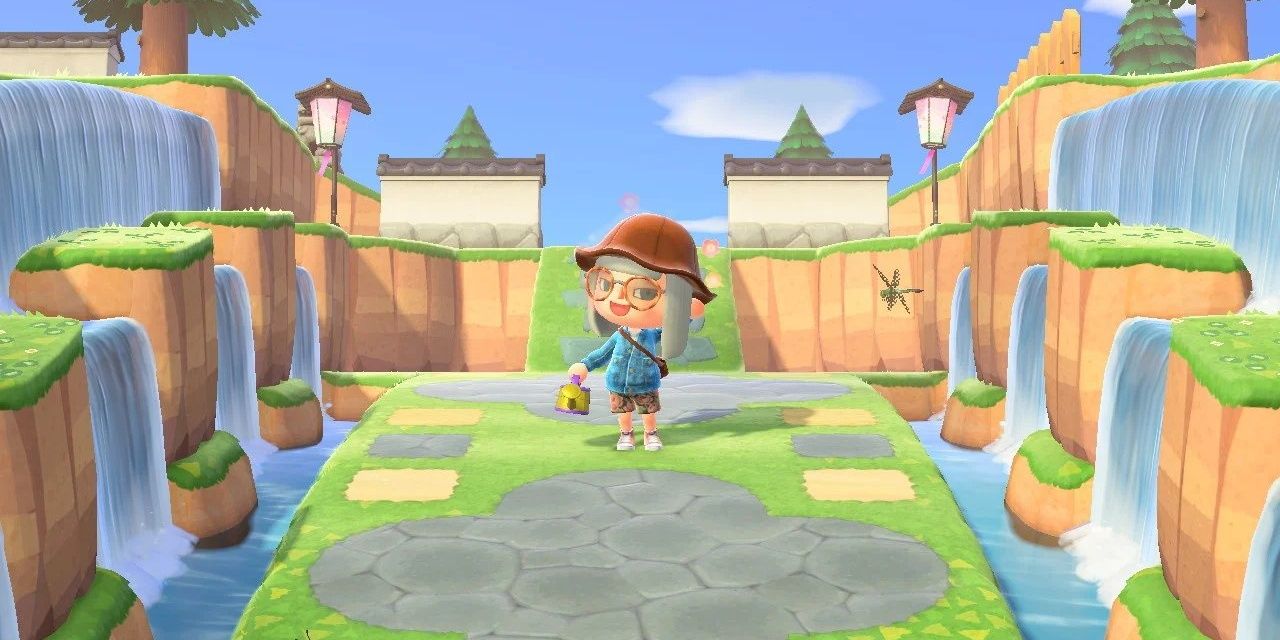
Lots of players have defied physics and created absolute works of arts using the Waterscaping permit, and you can too! Memorizing the way waterfalls operate will make it much easier to create and execute the aquatic landscaping that suits your island best. Waterfalls are made when the permit is used on a cliff that has at least one space on either side of it, and can be made on the second and third level of the island (as the player cannot climb any higher). Double waterfalls can only be made on the lowest level of the island, as it requires two cliffs to work, but this makes them perfect for island entrances.
5 Curving Paths
Like many similar games, Animal Crossing is built on a series of tiles, meaning much of the terrain and all the buildings are squares or rectangles. However, squares are not the only option in terraforming.
Paths, water, and cliffs can all have a "curve" to them — basically a diagonal line that gives them a more rounded appearance. Simply terraform a tile twice to make it have a curve to it. This can be used to make different path shapes and more natural terrain.
4 Avoiding Curves
One downside to the ability to curve terrain and paths is that it happens when you don't want it to. If you are trying to remove the corner piece of something, the first strike will add the curve, and you'll have to strike it again to cut it off completely.
You can speed this process up by striking the piece next to it. If there's a curve connected to a full tile of cliff, smashing the full piece will break both. Smashing full tiles will almost always destroy any connected half-tiles.
3 Watch Your Fish
The game distinguishes between different bodies of water, labelling them ponds, rivers, oceans, lakes, waterfalls, or river mouths (the aforementioned estuaries). Furthermore, water on top of cliff levels is considered different than the bottom level in some cases.
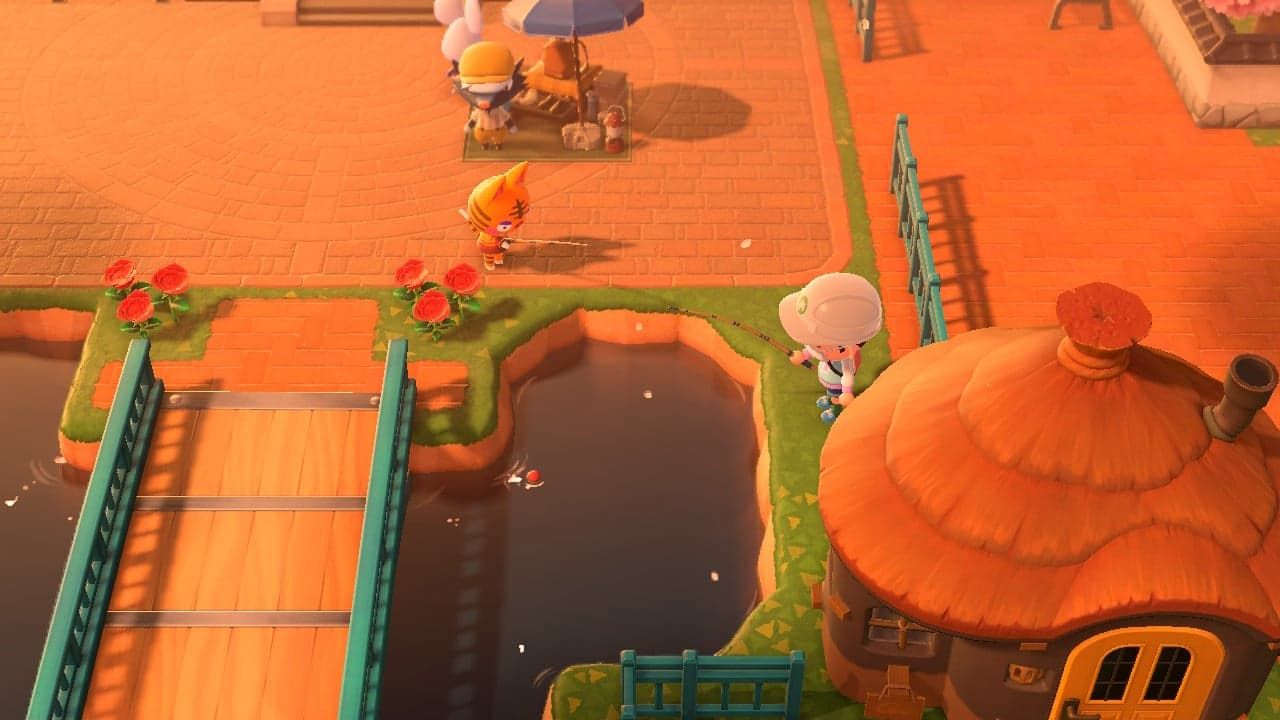
Not only do certain fish only appear during certain times, but they also have particular bodies of water, like the Stringfish, which only spawns in clifftop rivers. When you're moving water around, make sure you leave a bit in each place you need it in order to not miss out on any rare or profitable fish.
2 Use Forced Perspective
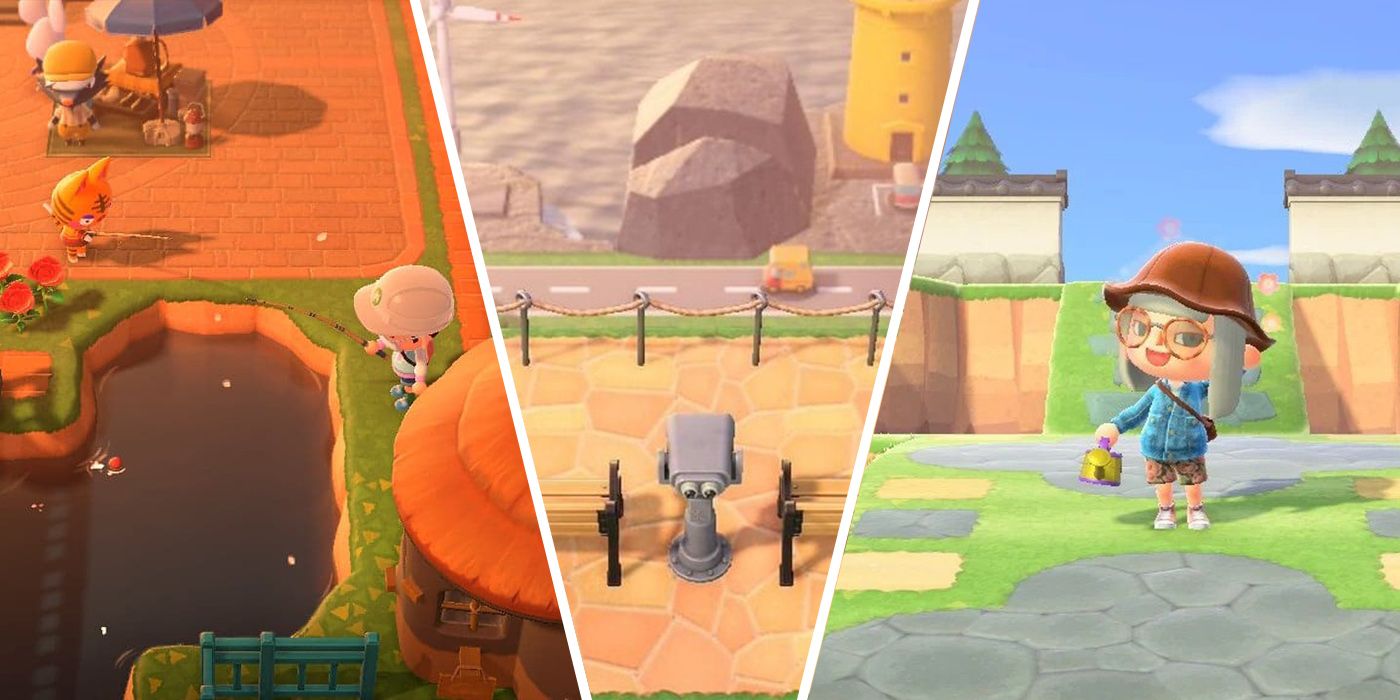
Another ingenious trick used by New Horizons players is the use of forced perspective, which is the use of distance to make an object look bigger or smaller. Many players have used items such as the Wind Turbine and Lighthouse (which are rather small in the game) to create forced perspective and make it seem like they're far in the distance. Players can create lookout points, complete with railings and a Tourist Telescope, to enhance the illusion of a coastal view. This player has even utilized a custom road path and Pocket Camper items for greater effect.
1 Transparent Pixels
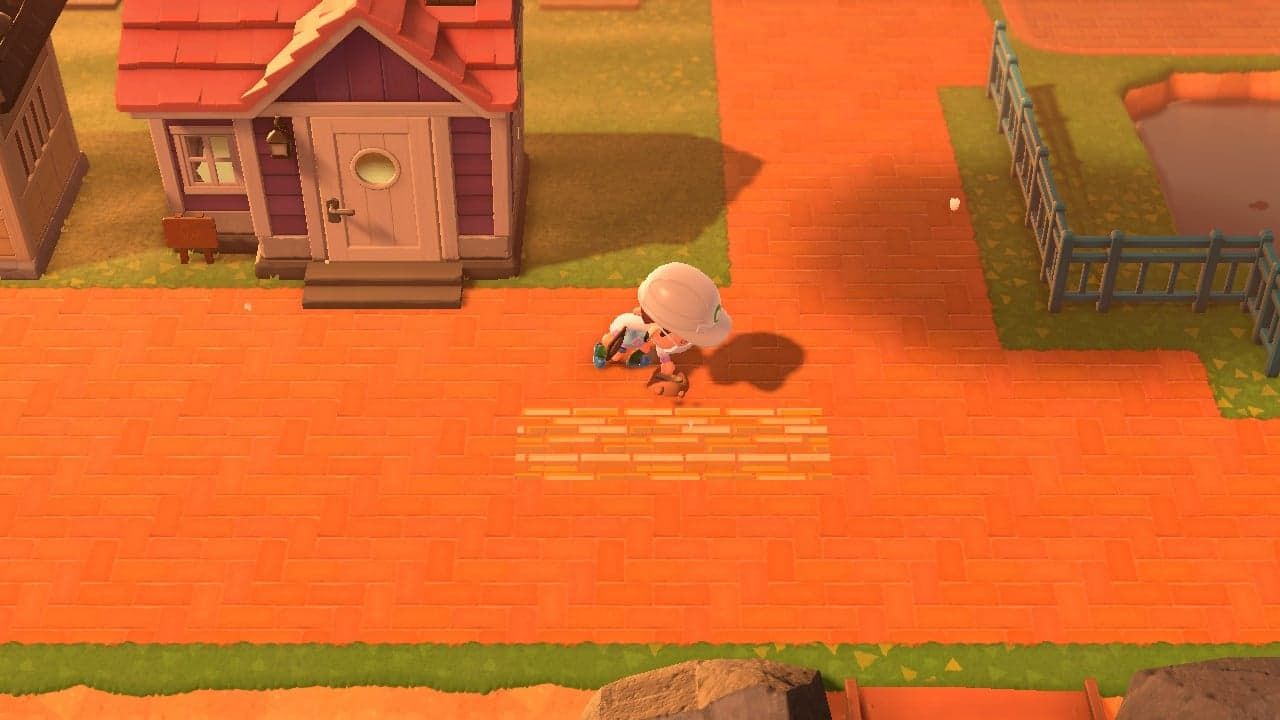
Many people have been thrilled to learn that they can use the path editor to lay down their own custom-made path designs. Further, they can be laid down on top of the preloaded custom designs. However, the preloaded designs are smaller squares when placed down than custom designs.
Luckily, if your custom design has any transparent portions, the underlying path will be visible, while also locking the custom design to the shape of the path. If you leave a single transparent pixel in your design, this will work, meaning you can curve your custom paths as well.

