Runes are an important part of the combat in Assassin's Creed Valhalla, but players are always on the hunt for diamond-shaped runes. These can be placed in certain weapons and armor after they have been upgraded with certain ingots. Unfortunately, many players think these runes to be just a legend, as no matter what they do they still can't figure out how to get them.
The one thing to keep in mind when searching for these runes is that much of it comes down to luck, but the included list can help you know which ones to look for. There are certain things you can do and specific places you can look, but at the end of the day, the placement of these runes is fairly random in Assassin's Creed Valhalla.
Updated on May 22nd, 2021 by Rebecca O’Neill: Assassin’s Creed Valhalla just released its first DLC which is called Wrath of the Druids. It sends you to Ireland and with it comes the addition of several new weapons. You should be prepared with all of the knowledge on diamond-shaped runes so you have the ones you want when you upgrade these new items to their mythical status.
It can take some time to acquire them all but knowing how to find and get these runes put you one step closer to adding them to your inventory. There are over 50 in all for you to collect and playing Wrath of the Druids can help you reach the level you need to acquire them!
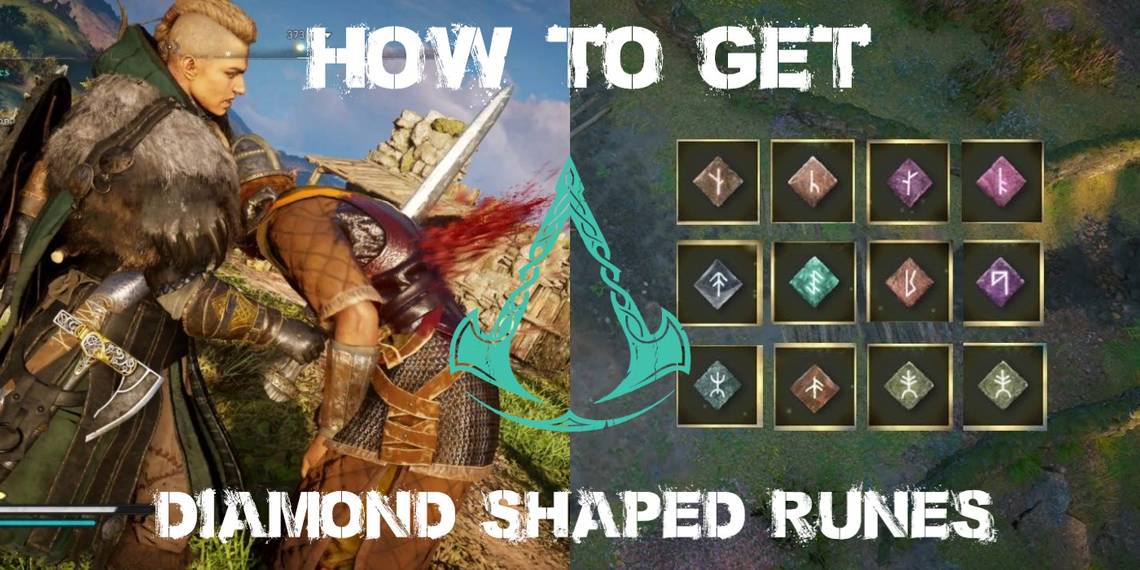
Types Of Diamond Runes

The one thing players often wonder about these runes is if they are even worth the struggle to find them. There are two main categories for diamond runes, which include:
- Weapon Diamond Runes
- Armor Diamond Runes
The weapon diamond-shaped runes are easier for players to find in comparison to the latter, as there are so many more of these for you to find. Players have also noticed that the runes seem to correlate with the special perks offered by certain armor sets or their weapons.
How To Get Diamond-Shaped Runes

Diamond-shaped runes are fairly scarce, however, there are some methods that raise your chances of finding these coveted objects. They may not be useful until you start collecting higher-level ingots, but that doesn't mean you shouldn't always be on the lookout for them.
Killing Zealots

The easiest and most reliable way to collect these runes is by hunting down Zealots across the map. Not every single one will drop a rune, but killing all of them will guarantee you at least one.
It will take some searching, and you will also want to wait until later in the game seeing as some of their power levels can be quite high. These enemies are also worth tracking down as some will drop Treasures of Britain, which puts you one step closer to unlocking Excalibur.
Killing Order Members

Zealots are not the only members of the Order of the Ancients you can kill for these runes, but make sure you have your best bow equipped for these fights. Those located in the main tree will offer you a chance at some of these runes, but again, it is completely random. However, some say that the rare armor diamond runes can only be acquired by killing these members.
Searching Small Chests

There are small chests located across the map and they are marked by a small gold dot. It is fairly rare, but sometimes players say they are lucky enough to receive a diamond rune from one of these chests.
If this is the route you are going then it is best you stick to higher-level regions with gold or tungsten ingots, as these will allow your armor and your best weapons to begin to carry these coveted runes.
Killing Mobs Of Elites

You probably never stop to fight the random groups of elite opponents that traverse the roadways, but maybe you should. Sometimes they are marked with a golden dot as they are carrying an ingot, however, they also drop diamond-shaped runes.
If you happen to be running along to your next objective or side quest and see one of these parties, it might be worth it to kill them all and see what prizes they have in store. There is no guarantee they will drop anything, but it is worth a shot seeing as you can hop on your horse and ride away if the fight is too much for you.
Fulfilling Contracts At The Fisherman's Hut And Hunter's Hut

The Fisherman's Hut and Hunter's Hut are two upgrades to your settlement that you should look to add sooner than later. They both have a perk where you can trade them animal goods in exchange for items such as tattoos and diamond-shaped runes, so it pays to fight all of the legendary animals.
The runes take a bit more work and exploration than others on the list, but it is well worth it seeing as you are guaranteed one of these runes once you finish the contract.
List Of All The Diamond-Shaped Runes

Weapon Runes
- Block Fury: Attack is increased after performing a block with a shield
- Blunt Joint: Stun increases when you hit an opponent's weak points
- Chain Finisher: Attack is increased after completing a combo finisher (up to five times)
- Chained Deft: Critical chance is increased after each successful hit (up to ten times)
- Chained Fury: Attack is increased after each successful hit (up to ten times)
- Chained Perfection: Critical Damage is increased after each successful hit (up to ten times)
- Chained Swiftness: Speed is increased after each successful hit (up to ten times)
- Critical Knockdown: Performing a heavy critical hit will knock enemies to the ground
- Critical Spark: Your weapon will ignite after performing critical hits
- Curative Block: Restores some health after performing five blocks
- Curative Guard: Parrying restores some health
- Curative Joint: Hitting weak points restores some health
- Curative Perfection: A low amount of health is restored for each successful critical hit
- Dash Fury: Dodging increases melee damage
- Damaged Fury: Attack increases after taking melee damage
- Death Smoke: A smoke bomb will be deployed after a kill when you are outnumbered
- Deft Joint: Critical chance increases when hitting weak points
- Desperate Deft: Critical chance increases when your health is low
- Desperate Perfection: Critical damage increases when your health is low
- Desperate Swiftness: Speed increases when your health is low
- Desperate Tactics: Ability damage increases when your health is low
- Emergency Smoke: After a close-range shot a smoke bomb will be thrown
- Expert Range: Attack increases the further you are from your opponent
- Fire Execution: Performing a heavy hit causes fallen opponents to light on fire
- Fire Guard: A parry gives you the chance to create a ring of fire around you
- Flanking Dash: Back damage is increased when dodging
- Forceful Block: Blocking an attack increases your heavy damage
- Forceful Dash: Dodging an attack increases your heavy damage
- Heavy Fury: Ranged damage increases based on the weight of Eivor's armor and weapons
- Light Deft: Critical chance increases the lighter your build
- Light Momentum: Light damage increases after completing a heavy finisher
- Melee Block Rune: Melee damage increases when blocking
- Momentum: Heavy damage increases after each successful light hit (up to six times)
- Momentum Fury: Attack damage increases after completing a heavy finisher
- Overwhelmed Deft: Critical chance increases when more than three enemies are attacking you
- Overwhelmed Fury: Attack increases when more than three enemies are attacking you
- Overwhelmed Perfection: Critical Damage increases when more than three enemies are attacking you
- Poison Guard: After a parry, there is a chance to spawn a poison cloud
- Ranged Block: Ranged damage is increased after blocking a ranged attack
- Spark Guard: Your weapon has a chance to ignite after a successful parry
- Stalwart Flanking: Ranged damage increases when your health bar is almost full
- Stalwart Fury: Attack increases when your health bar is almost full
- Stalwart Perfection: Critical damage increases when your health bar is almost full
- Stalwart Swiftness: Speed increases when your health bar is almost full
- Stealth Sleep: After a successful stealth headshot, a sleep cloud will form around the body
- Strong Chain Finisher: Heavy Damage is increased after a successful Heavy Finisher (up to five times)
- Strong Guard: Heavy damage is increased after a successful parry
- Stun Momentum: Stun increases after landing a heavy hit
- Swift Block: Speed increases after a successful block (up to five times)
- Swift Dash: Speed increases after a successful dodge
- Swift Joint: Speed increases after hitting an opponent’s weak points
- Tactical Block: Heavy damage increases the longer you hold a block stance
- Trap Shot: Performing a stealth headshot kill will spawn a trap on the body
- Venom Guard: Parrying gives you the chance to add poison to your weapon
- Venom Momentum: Performing heavy combo finisher hits has a chance to form a poison cloud
Armor Runes
- Brigandine: Increased speed when more than two enemies are attacking
- Galloglach: Range resistance is increased after using finishers on enemies
- Hidden One: Back damage is increased when in a crouching position and undetected for ten seconds
- Huntsman: Range resistance is increased when hitting enemies that are greater than 20 meters away
- Magister: Evasion is increased at night
- Mentor: Evasion is increased after each successful hit
- Raven: Ranged damage is increased the lower your health becomes
- Thegn: Speed is increased after a successful parry
- Thor’s Rune: Armor is increased after stunning an opponent
- Vinland: Assassination damage is increased when your health bar is almost full