As though one dream sequence wasn't enough when Assassin's Creed Valhalla introduced Asgard, you'll end up getting a second one with Jotunheim. The area itself might not be as luxurious or traditionally picturesque as Asgard, but you better believe it's every bit as populated, diverse, and easy to get turned around and lost.
So don't enter Jotunheim and hope for the best. Following the markers won't be enough as occasionally the people and locations don't even exist unless you approach them correctly. This guide will go over every objective that you'll get while you're here and provide details from the veterans who have played through the game multiple times. That way, you'll not only be successful, but you'll get the questline done in the most expeditious way possible.
Updated on June 8th, 2021 by Hodey Johns: Community support and use for this guide has been overwhelming and after the release of Wrath of the Druids, players are experiencing more side content than ever before. This includes Jotunheim. While nothing has effectively changed, many gamers were curious as to what Jotunheim offers and how to get there, so a section for beginners has been added at the start of this guide.
Getting To Jotunheim
Understandably, players will be excited to get to Jotunheim early, either for the extra romance option, the abundance of in-game advantages, or the mythological importance of the location. However, Jotunheim cannot be visited until after completing the first quest arc in Asgard.
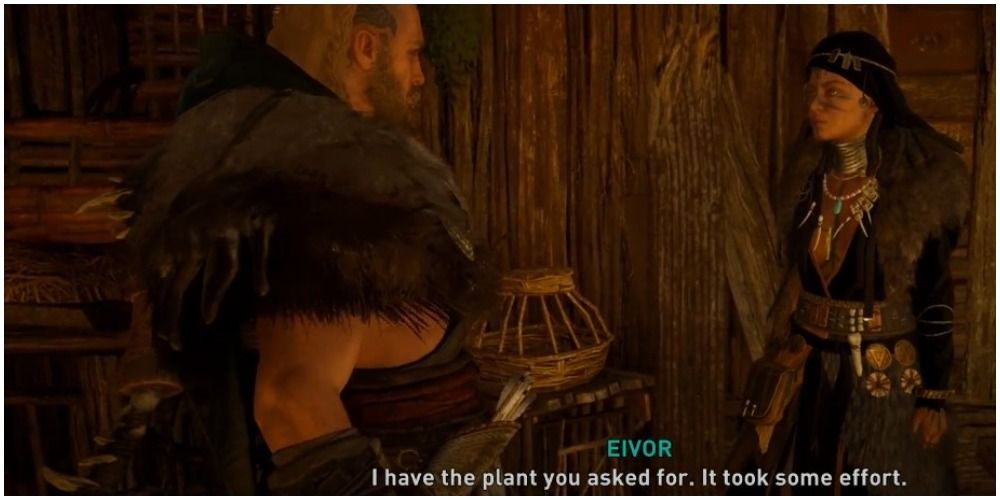
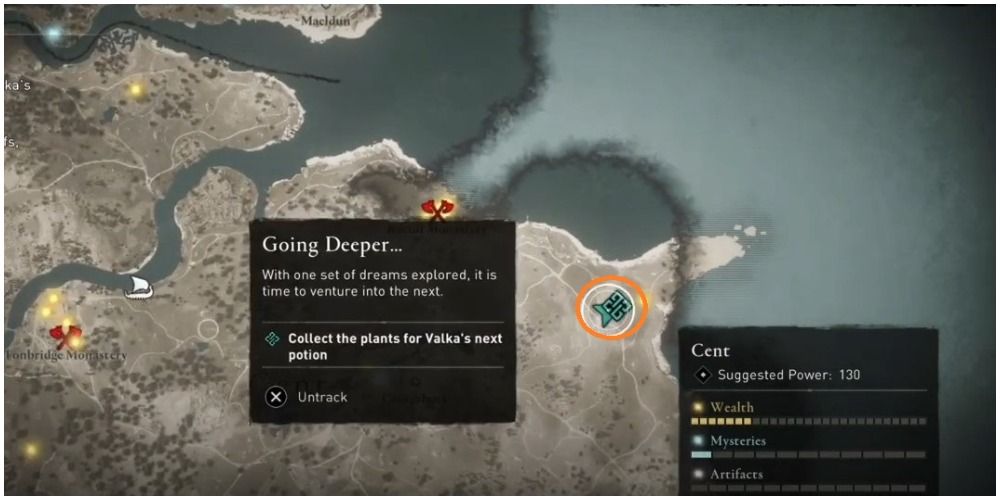
Speak to Valka after completing the Asgard missions and get a quest called "Going Deeper." Eivor will be instructed to pick Fireweed and St. Johns's Wort. St. John's Wort only grows in a very specific location, which will be marked on the map. Enter the house and go through the basement. The cave contains a special relic (necessary for getting Excalibur later on), but make sure to pick the St. John's Wort and the Fireweed while you're here.
Return to Valka, drink another portion, and it's off to Jotunheim!
Mistress Of The Iron Wood
- Find And Speak To Angrboda
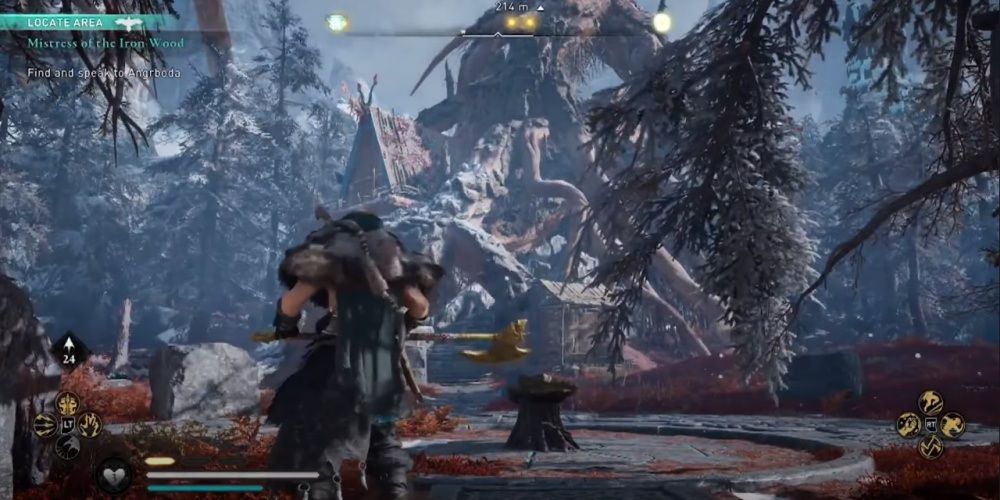
You will see nothing but a weird-looking tree with the roots coming out of the ground unless you look at it from the right angle. Find a pedestal in the middle of some rocks, then look at the tree, and you'll see the elaborate treehouse in its full glory. Speak to Angrboda and get your next directive.
- Find And Enter The Waterfall
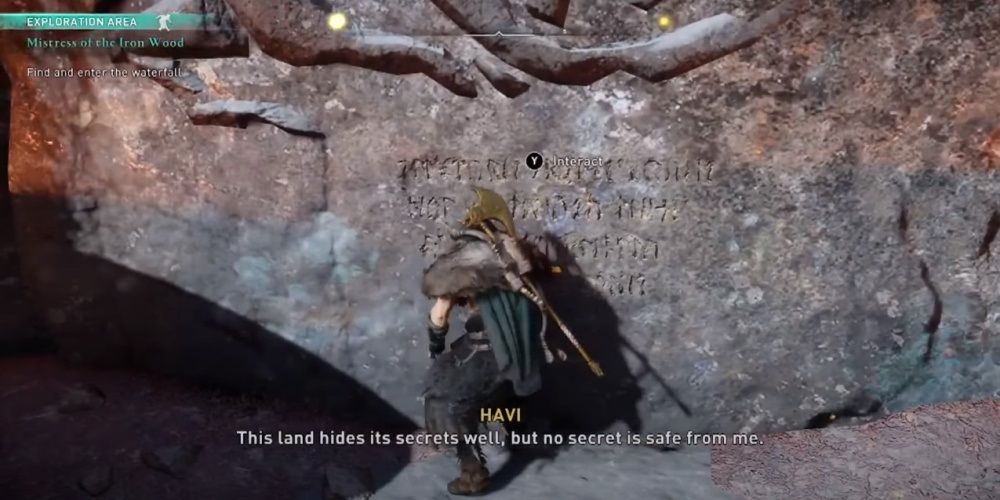
Once again, you'll only see dry land at first. Read the inscription between the braziers on the cliffside, then turn around and you'll see a waterfall in the middle of a newly created lake. Dive on down.
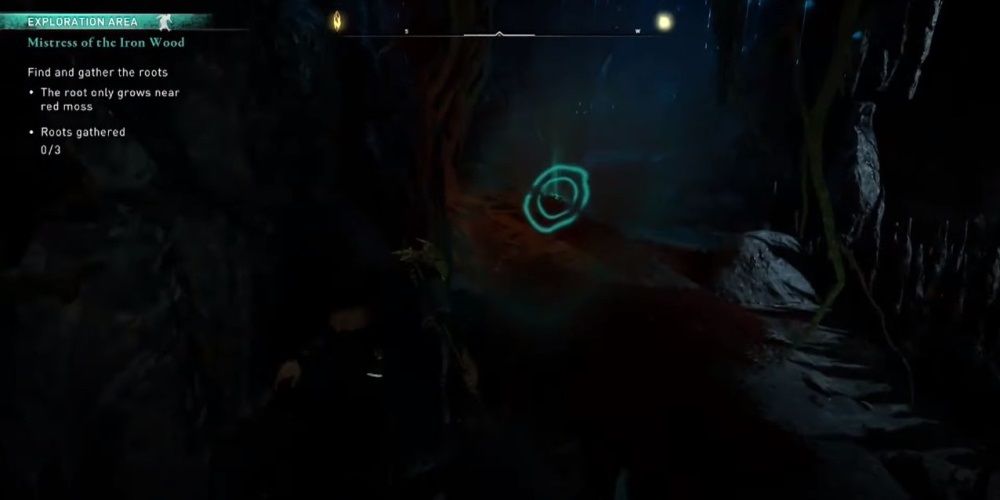
- Find And Gather The Roots
The roots won't be marked until you're extremely close, so while you are in the cave, constantly pulse your blue vision wave to cause the roots to light up.
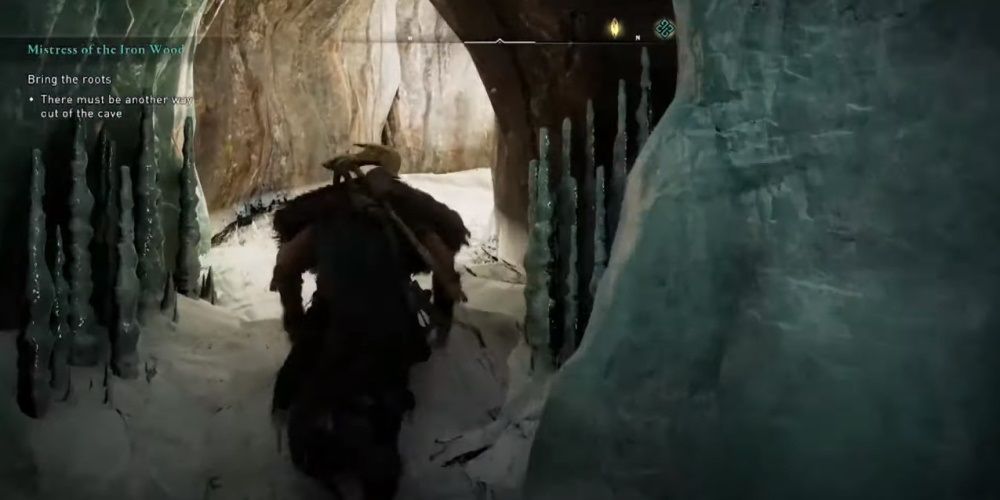
- Bring The Roots
The cave can get a little complicated, but if you hug the right wall up, you'll find the correct and fastest exit. Make sure to go past the same pedestal so that Angrboda's home appears, just like last time.
After a seven-minute cutscene, you'll go to the next stage of your mission.
The Lost Cauldron
- Find The Cauldron's Trail
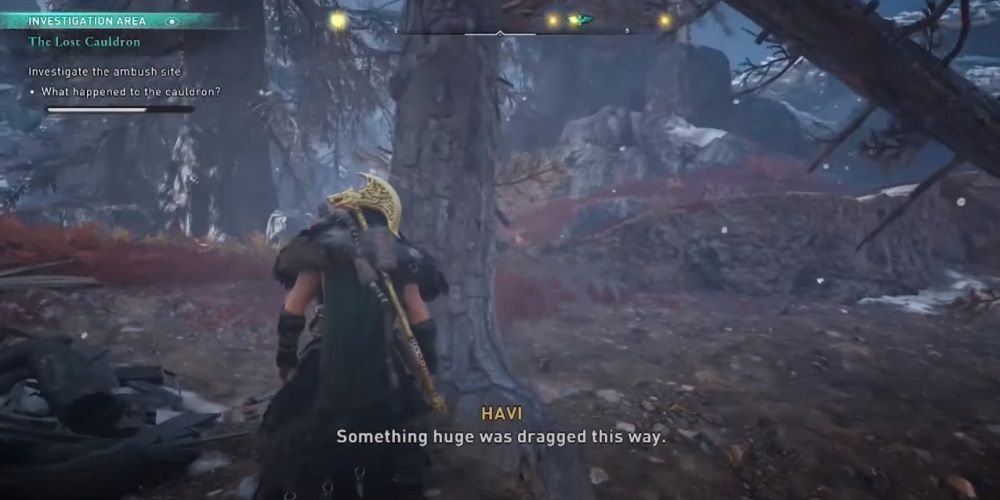
- Investigate The Ambush Site
When you get close to the location, the objective will change from "find" to "investigate." Start with the side of the tipped-over cart. Then check out the large tree that has been broken in half. The last piece of the puzzle is a cracked wheel in a shallow ditch by the cart.
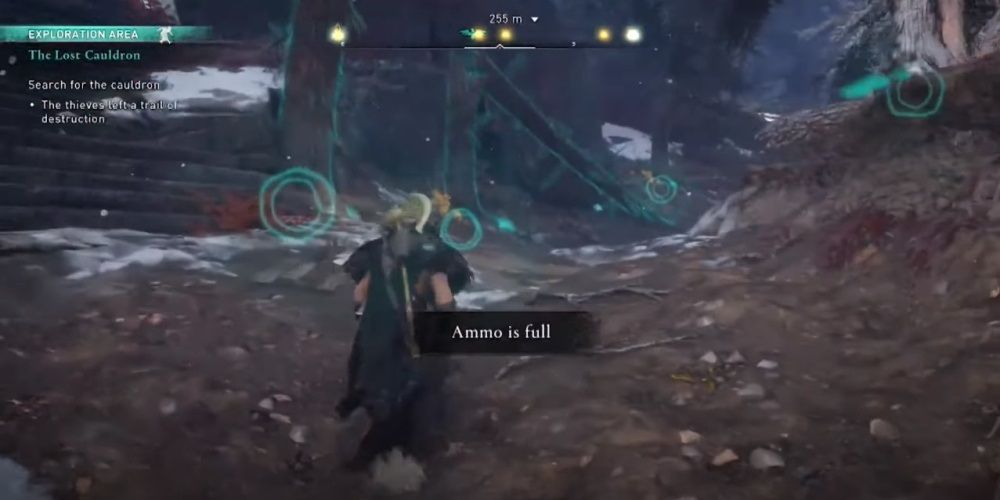
- Search For The Cauldron
No markers will guide you, but use your vision pulse to light up the trail adorned with blue breadcrumbs.
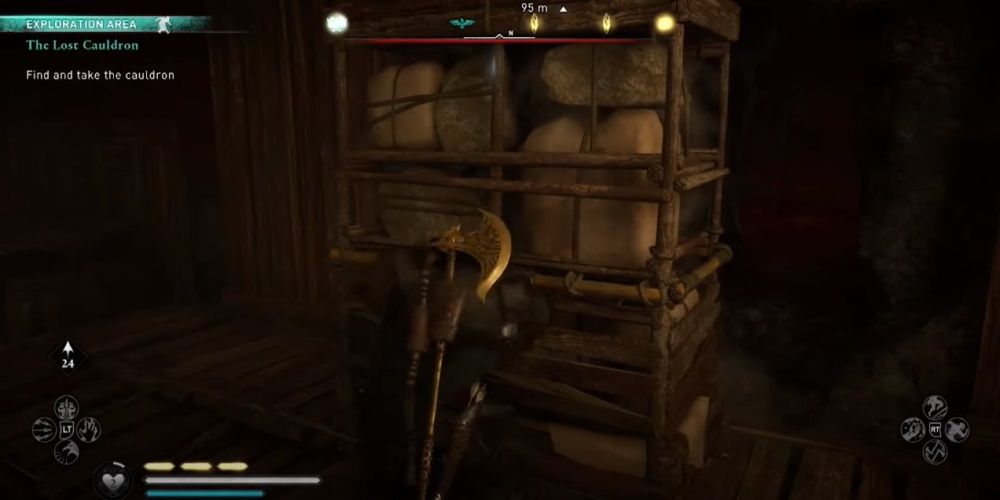
- Find And Take The Cauldron
You'll end at a structure. Once you enter, a maze will begin. You will hit a locked door at a dead end, but when you turn around, the path behind you will have changed. Move the obstacle and continue through the new tunnel.
After a room full of sleeping guards, you'll find a key located on the right side; the cauldron is in the next room. Go past this room, then come back and you'll see it's shrunk enough to carry out.
A Gift From The Past
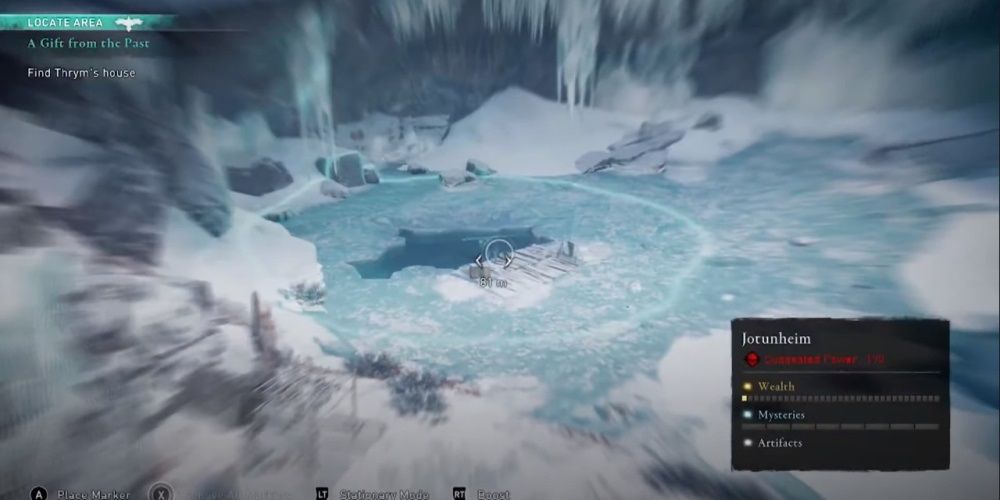
- Find Thrym's House
Exit the cave and use your bird to spot where Thrym's house should be since you won't have a convenient marker. This is not some kind of illusion, the house itself is no longer standing. Dive into the crack in the ice and swim through the tunnels. After smashing through a breakable ice wall, you'll receive your next objective.
- Search For A Present
You'll arrive at a complex area, but the correct direction is into the water and through another capsized tunnel. Break another ice door to reveal Thrym's underwater home and pull a bridal circlet off of a severed arm to reveal the next quest. Continue forward up some snowy stairs and out of a door to the surface.
A Feast To Remember
- Find And Speak To Suttungr
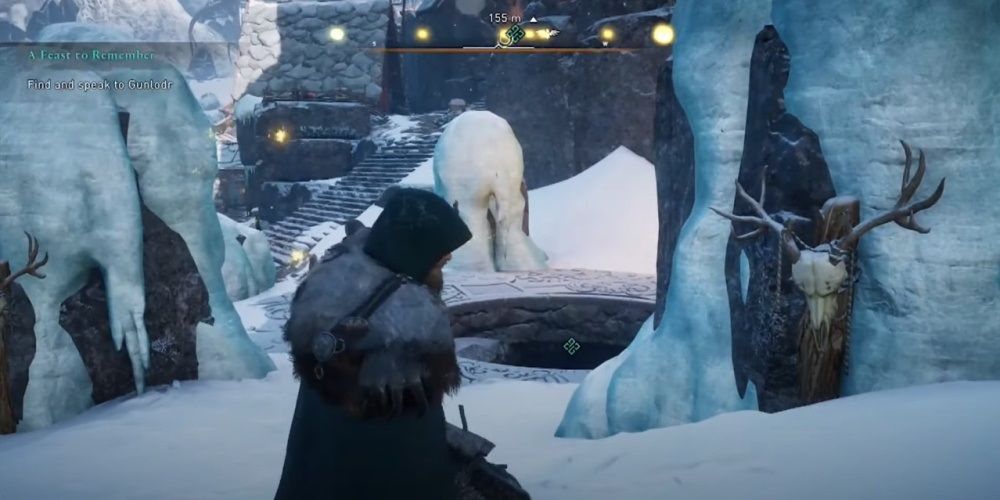
- Find And Speak To Gunlodr
After a chat with her father, you'll be tasked with tracking down Gunlodr. She's hidden her entrance in the middle of some rock pillars. Pass between the rocks with the animal skulls posted on the front of them and you'll be in business.
- Follow Gunlodr
Ride the mount to keep up with Gunlodr, use it to get back to the feast where you'll be asked to make a speech. Nothing substantial is affected by your choices, but the ones that make the participants the happiest are "I am a mighty warrior," then "I respect you," and finally, "Let us just get to drinking!"
- Empty The Cauldron
Now you're assigned to do a litany of tasks that inspire drinking. Talk to the Jotun and arrange a fistfight. Fight and defeat "Hag" in bare-knuckle combat. She's not too tough, but her blows land like a ton of bricks, so just be good about dodging. There's a thrall here that would like to play his harp, but it's been stolen. Find the thieves by the mead pool and then accept their task and jump into the mead from a perch above the pool.
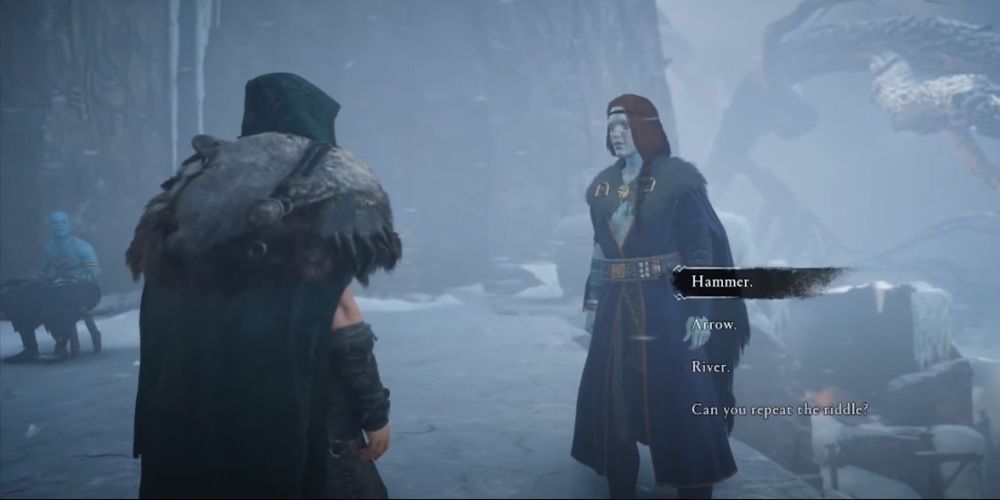
The archery game is tricky and there aren't any do-overs, so save the game before giving it a shot. Drink a flagon of mead, then shoot the jar in front of the barrel the mead is resting on. Repeat drinking and shooting until all three jars are down. With a sliver left to go, talk to Gunlodr and solve her riddles. The answers are: "Ale," "Hammer," and "Swans and eggs."
This will drain the pool dry.
- Speak To Suttungr
- Find And Get The Mead
Inform Suttungr that the guests have had all of their mead and he will order the vault opened.
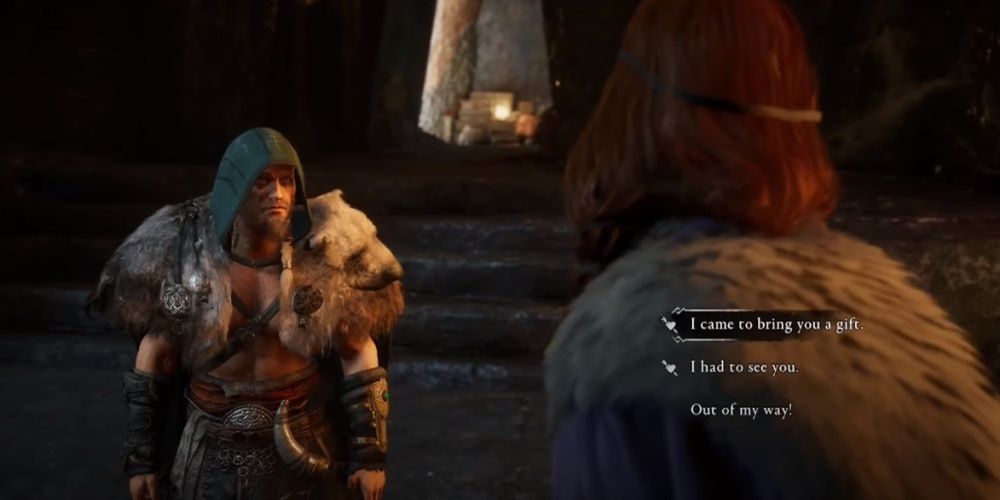
After you enter, Gunlodr will find you. You can begin Havi's only available romance now, though you will be breaking her heart fairly shortly. If you would like to complete this romance on better terms, return to Jotunheim and find her after these quests have been completed for another round of romance.
- Reach The Well Of Mimir
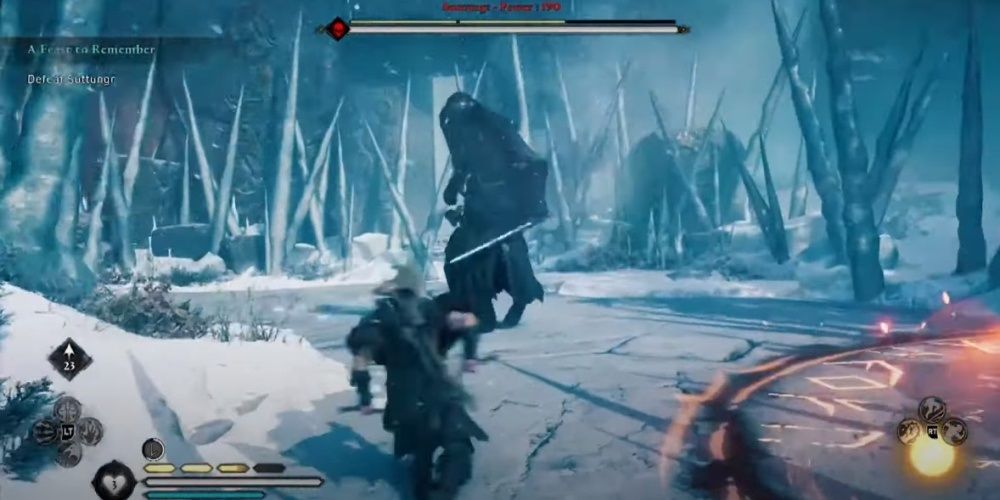
A boss fight will commence with Suttungr the instant you leave the vault. Look for weak points on his belt buckle and his knees to make him tumble if you're a good shot. Otherwise, he attacks in flurries but will fall down and stumble precariously after his combos are completed, making him vulnerable to attack. Finally, he will summon ice from the skies that can't be dodged, but you won't be hit if you stand in the orange circles by the various braziers.
Defeating him and going toward the well of Mimir will advance you to the final stage of the questline.
The Price Of Wisdom
- Defeat Loki
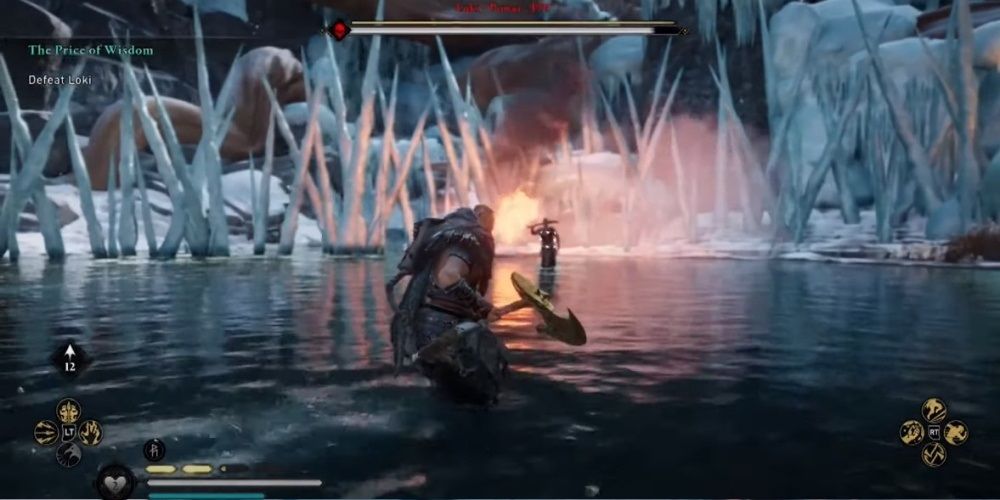
Back-to-back boss fights! Loki seems complicated until you understand how he works, then he falls apart. If you continually dodge his ranged and melee attacks, he will teleport and appear to be walking away with his sword over his shoulder. This is supposed to trick you into running at him, but don't fall for that. Instead, shoot him as he strolls with arrows.
- Reach The Well Of Mimir
- Leave Jotunheim
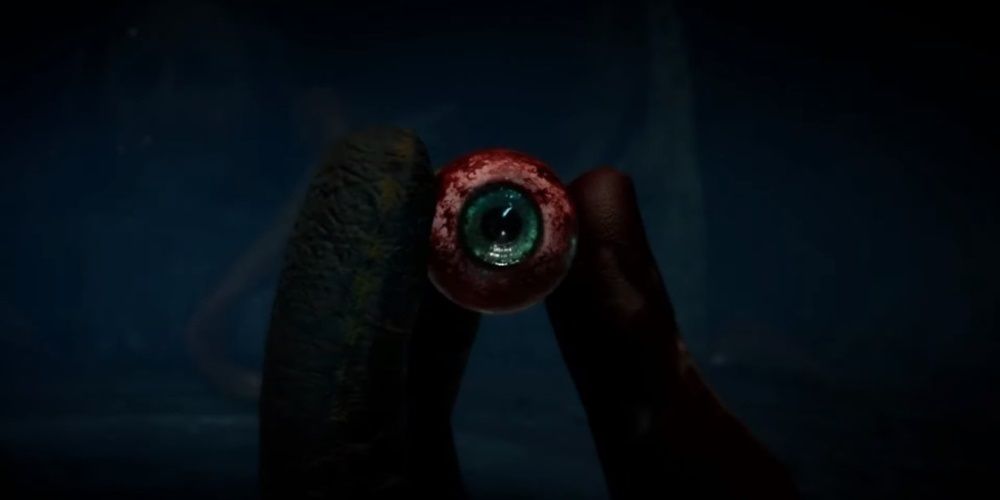
Go into the cave, watch a disturbing cutscene, then exit out the same way that you came and you'll be all done with Jotunheim! Come back anytime you'd like through the seer's potions.

