It shouldn't be surprising that the tale of Assassin's Creed Valhalla is one filled with tragedies. The Viking expedition into England was unsuccessful and King Aelfred, an antagonist in the game, was the one who historically drove them back. So failures are merely part of an accurate portrayal.
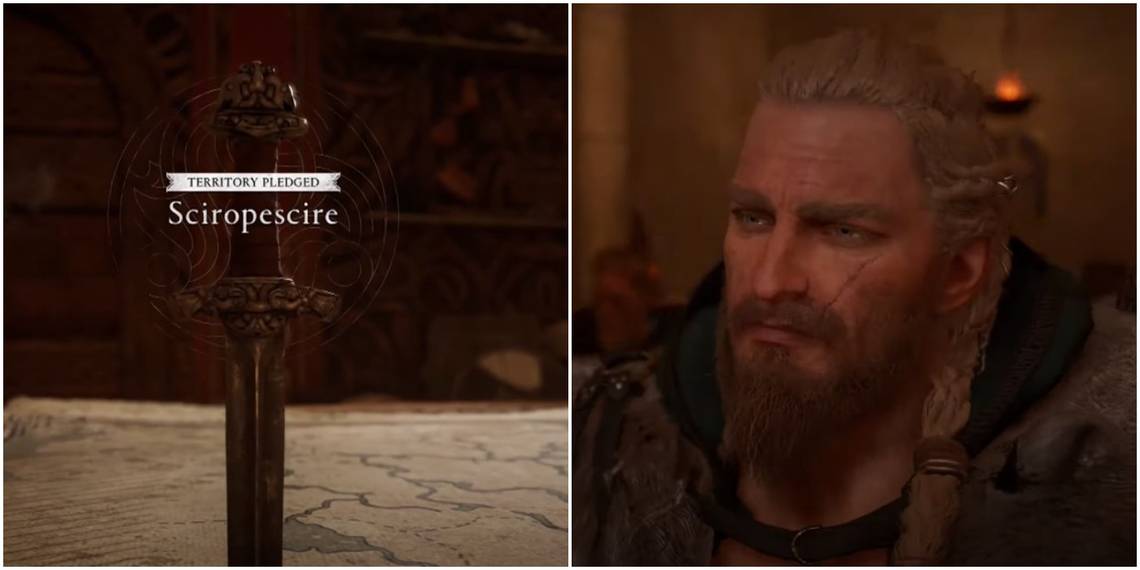
Still, gamers need to find a way to succeed even when the mission is hopeless if they want to complete the game. Sciropescire is hardly straightforward and veterans of the series will still find themselves turned around without any guidance. Every single quest point will be listed here along with some details to help with any tricky parts.
War Weary
- Find And Speak With Ceolbert

You'll find him duking it out with Ivarr in some friendly sparring. Watch the cutscene and kick off the saga.
- Follow Ceolbert

He'll hop on a horse and you'll be granted a horse to follow him on, but if you would like to use your personal mount, feel free to do so. He'll hop down and proceed on foot right before entering the Church, you will have to do the same to make sure the escort quest doesn't break.
- Enter The Church

Head inside to view a cutscene and face a tough decision.
- Decide Who Gets The Silver

This choice is merely an illusion. Your decision will not come to fruition. You can profit by giving the silver to Gwriad who will (spoiler alert!) be dead in a few seconds and you can loot the silver from his body. Or you can make whatever decision you feel fits the role-playing aspect of the game best.
- Secure the Church

Again, this combat is unavoidable. There aren't any big baddies here to worry about, so just kill every enemy to get to the next cutscene.
- Clear Out The Briton Soldiers In Quatford

Bust down a door with Ivarr and defeat the small army that has you and your allies trapped. This battle is extensive and, while you won't fight it alone, it does span a larger distance than you'd think, so make sure to loot bodies and stay geared up.
- Speak To Deorlaf

Bishop Deorlaff is none too happy, but you'll have to go back in and tell him that the perfectly avoidable battle has been won before starting the next leg of the journey.
The Supply Line
- Speak With The Refugees

You'll have to make a bit of a jaunt, but the refugees are labeled, so you won't get misdirected. Speak to the one by fire.
- Find Dhustone Quarry

If you've explored the area already, you can fast travel to the location. If not, it's not too far on foot, just be sure to pick up the location while you're there to make the back-and-forth easier going forward.
- Find And Burn The Supplies

Only burning the supply carts counts toward the completion of this goal, but with so many guards, it'll be a great deal of help to free the prisoners who are trapped in the bottom portion of the area, in a short cave. The miners will automatically join your side as Eivor passively yells out their favorite catchphrase.

Burning the supplies will complete the quest and start the next stage.
Ransacking Wenlocan
- Find Wenlocan Outpost

Following the marker leads to Wenlocan Outpost. You won't get any details on what to do there until you've entered the area officially.
- Steal The Briton Cargo

Much like the last mission, you won't actually be required to save anyone, but it can help. There aren't any prisoners here, so simply entering combat around sympathetic allies in wait will make them join your side.
You won't have any official supplies to loot, just a bunch of normal chests scattered about the camp. Looting them completes the quest and lines your pockets in the process. Win-win!
Bloody Path To Peace
- Find And Speak To Ivarr

Follow the map marker to locate Ivarr who is scouting with Ceolbert. You'll be given the choice between stealth or an all-out attack. This option does not matter because the two will join in the combat as soon as the attack begins. If you want to start stealthy, then go ahead and select that.
- Burn The Cottages

Enemies will spawn here regularly to try and stop you. You can fight them for fun, but if you just want to get this step done you can ignore enemy units entirely and dedicate yourself to throwing torches on cottage roofs. They will continue to spawn until this task has been accomplished.
- Clear Out The Remaining Briton Soldiers

After burning the cottages is the best time to do some actual fighting, since the opponents will cease to spawn infinitely and become marked on the screen to make them easy to hunt down.
- Kill Ynyr And His Men

Ynyr is a boss fight and can be frightening because he dual-wields a greatsword and a spear. Despite his terrifying appearance and the ability to use these two-handed weapons and one-handed, he's not given the usual boss health bar and that makes for a quick fight.
- Regroup With Ivarr And Ceolbert

Meet your two allies who are reluctantly celebrating the victory.
- Go Fishing With Colbert

For those of you who aren't keen on the fishing mini-game, keep in mind that you can shoot the eels at this part and it will count toward quest completion. After several consecutive cutscenes, you'll be free to roam again.
- Speak To Ceolbert

He'll be missing from his tent.
- Speak To The Guards Near Ceolbert's Tent

Though many possibilities are marked, only speaking with the guards in the furthest tent from Ceolbert's will give you the results you need.
- Get Information From The Sleeping Guard

You'll have to pick him up and toss him in the river to wake him up.
- Find And Speak To Ceolbert

The tooltip says to follow the stream south. While following this direction, keep your eyes open for a cave on the right side with a ton of blood in front of it.
- Search The Cave For Ceolbert

It's not a winding puzzle of a cave, so just keep following the blood trail to its conclusion.
- Carry Ceolbert Back To Wesberie

Retrace your steps and do it all with Ceolbert on your back. During the cutscene, you'll be given a choice to retaliate now or later. Prepare if you need to and then get your revenge.
King Killer
- Follow Ivarr

Once again, you'll be given a steed to ride, but call your own mount if you prefer. You'll end at an encampment.
- Speak To Ivarr

Tell Ivarr you're ready to begin the siege. This will be a straightforward assault.
- Breach The Main Gate
- Breach The Inner Gate
- Shoots Links To Lower The Drawbridge
- Enter The Castle Keep

You need to balance killing enemies with moving the cart forward for the first point. If the enemies are overwhelming, thin them out and then get back to pushing. Afterward, the tooltips will guide you. Ivarr will incapacitate Rhodri in a cutscene, so there is no big boss fight lying in store.
- Follow Ivarr With Rhodri

There are no obstacles here, just follow Ivarr with a semi-conscious Rhodri on your back.
- Kill Ivarr

Ivarr finally reveals his villainous scheme to get into the history books. The fight with him is widely regarded as one of the toughest boss fights in the game, so take some tips from the experts. He automatically dodges all standard attacks, so be sure to use special abilities and aim for his weakpoints with arrows to stagger him. Also, stay in mid-range against him as he has a flurry of attacks if you get too far and will dash and chop you if you are too close.
You'll have an opportunity to deny him the halls of Valhalla and, as much as he deserves to burn in Helheim, giving him his axe will bring peace to his brother later in the game.

- Speak To Deorlaf

Head back to camp and tell everyone how poorly this entire project went over.
Reporting On Sciropescire
- Report To Randvi

With a heavy heart, it's time to tell Randvi the results of your conquest in Sciropescire.