With its roots deep in the tabletop role-playing game Dungeons & Dragons, Baldur's Gate 3 is—naturally—replete with tons of dungeons, and venturing into these damp confines can often present both exciting challenges and rich rewards. One of the earliest introductions to this world of subterranean exploration is the Dank Crypt, also known as the Overgrown Ruins.
A classic example of what you can expect throughout the game, the Overgrown Ruins house a blend of deadly traps, creepy monsters, hidden secrets and valuable loot. This guide will teach you exactly how to navigate this dungeon, as well as how to secure every bit of treasure there is to grab within its walls.
Getting Into The Overgrown Ruins

The first step of conquering every dungeon is, of course, finding the entrance.
Thankfully, the game really wants to encourage you to explore this one—and gives you plenty of cues to find it as soon as you wake up from the Nautiloid crash. Heading north after the tutorial will reveal an Ancient Door (X:283 Y:300) that leads inside, and following the path through the Nautiloid wreckage will put you at the Chapel Entrance (X:277 Y:337), which also serves as another way in. Regardless of how you get there, you'll be given the "Explore The Ruins" quest, and this marks the start of your venture into the dungeon.

There are, however, numerous ways to get locked out. If you ended up breaking your lockpick in one of the doors—or doing an awful impression of Gimblebock while trying to lie your way in—don't worry! We explore alternatives to each entrance in detail in our How To Get Into The Abandoned Ruins guide.
The Dank Crypt: South Room
Once you've made it past the Refectory, you'll find yourself in the central chamber of the Dank Crypt. From here, you can go into either the north or the south room of the Dank Crypt; since the key to the north is in the south room, let's start with that.
If you don't want to go and grab the key, you can also break the door to the North wing of the Dank Crypt, provided that you can deal 22 damage to it in one single attack.
The door takes double damage from fire, slashing and force damage. Shadowheart's Fire Bolt cantrip will work well!
The south room consists of a large chamber with a central coffin, with many pillars and smaller coffins lining the sides of the room.

Entering the room will start a series of Perception checks—if successful, you'll reveal multiple vents across the room. Be warned—opening the middle coffin will trigger these vents to produce oil. Openings from the side of the room will then release fire, dealing an explosive death to any caught in the crossfire.
In order to disable these traps, grab the vases scattered around the room and drag them onto the oil vents on the ground.

If this is the first time you've been here, we also recommend heading to the northwest and grabbing the Soul Coin from one of the smaller coffins.
Once you've done all this, you're free to open the coffin in the middle of the room. Note that you may need to right-click the coffin to open it, as clicking on it directly may prompt you to try to use a trap-disarm kit.
To be extra safe, you may want to only send in your most dexterous companion and have the rest of your party standing outside the room. This way, even if your vase placement is a little off, there will only be one casualty.

Immediately after opening the coffin, you'll be put into turn-based mode and the traps will begin to spew bolts of fire; so even if you've correctly blocked all the oil vents, you still shouldn't stick around. Grab your rewards—a magical spear, and the key to the northern room—and get out of there as soon as you can.
Loot
|
The Watcher's Guide |
||
|---|---|---|
|
Rarity: Uncommon Magic Item |
Weapon: Spear |
Value: 200GP |
|
||
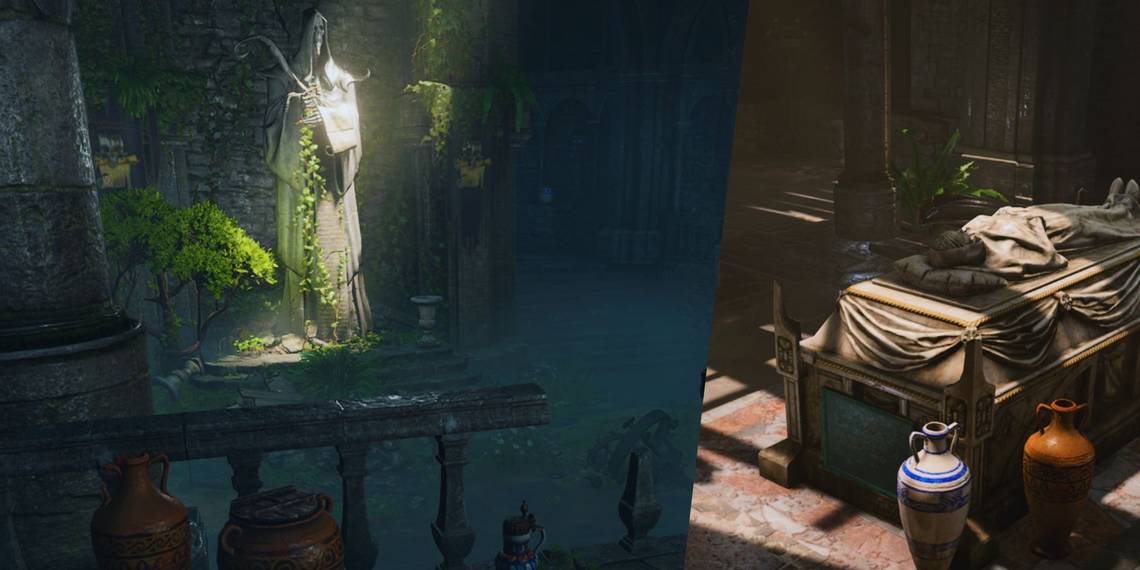
The Dank Crypt: North Room

So, you've unlocked (or blown up) the doors to the northern room of the Dank Crypt.
You'll immediately be greeted by a beautiful, sunlit statue—and lots of dead bodies. Fun! But not as fun as the fact that they'll get up later and attack you. To make things a little easier for future you, loot the weapons from all five Entombed Scribes while they're on the ground.
If this is the first time you've been here, we also recommend going to the room in the west and grabbing the Soul Coin from one of the coffins.
After this, head over to the northwest alcove behind the statue. You'll find a button. Pressing it will cause all the Entombed Scribes to animate and attack you, so make sure you're ready for a fight!

The Entombed Scribes are considered "undead"—a cleric's Turn Undead class action could incapacitate all of them at once. If you're having trouble with this fight, consider bringing Shadowheart along!
Once you've defeated all the Entombed Scribes, return to the button, where you'll find that a door has opened into a large crypt.

Before interacting with the coffin, make sure you open the Heavy Chest and grab the Amulet of Lost Voices—this amulet lets you cast Speak With Dead at will, allowing you to speak with dead corpses along your travels.
|
The Watcher's Guide |
||
|---|---|---|
|
Rarity: Rare Magic Item |
Type: Amulet |
Value: 40GP |
|
||
Withers
When you're ready, interact with the Richly-Adorned Sarcophagus to start a cutscene wherein a skeleton emerges from within. Don't be scared—he's friendly!
After a cryptic conversation, the Skeleton—whose name is Withers—will ask you what the worth of mortal life is. You can answer him in accordance to your character's personality: there's no right or wrong answer here.
After speaking to Withers, remember to peep into his Sarcophagus—you'll find another Soul Coin and lots of gold.
Once he has been satisfied, Withers will promise you that your paths will cross again. If you think that he means in the distant future, you'd be incorrect—the next time you head back to your camp to rest up, he'll be right there making himself at home!

From here onwards, you'll be able to speak to Withers for various functions:
- If one of your party members have died, and you're out of Scrolls of Revivify, you can speak to Withers to get him to revive them for 200GP.
- You'll be able to recruit hirelings for 100GP apiece. These are party members without personal quests or stories, who will fight alongside you if the going gets too tough.
- You'll also be able to change your class or respec your character here for 100GP apiece.