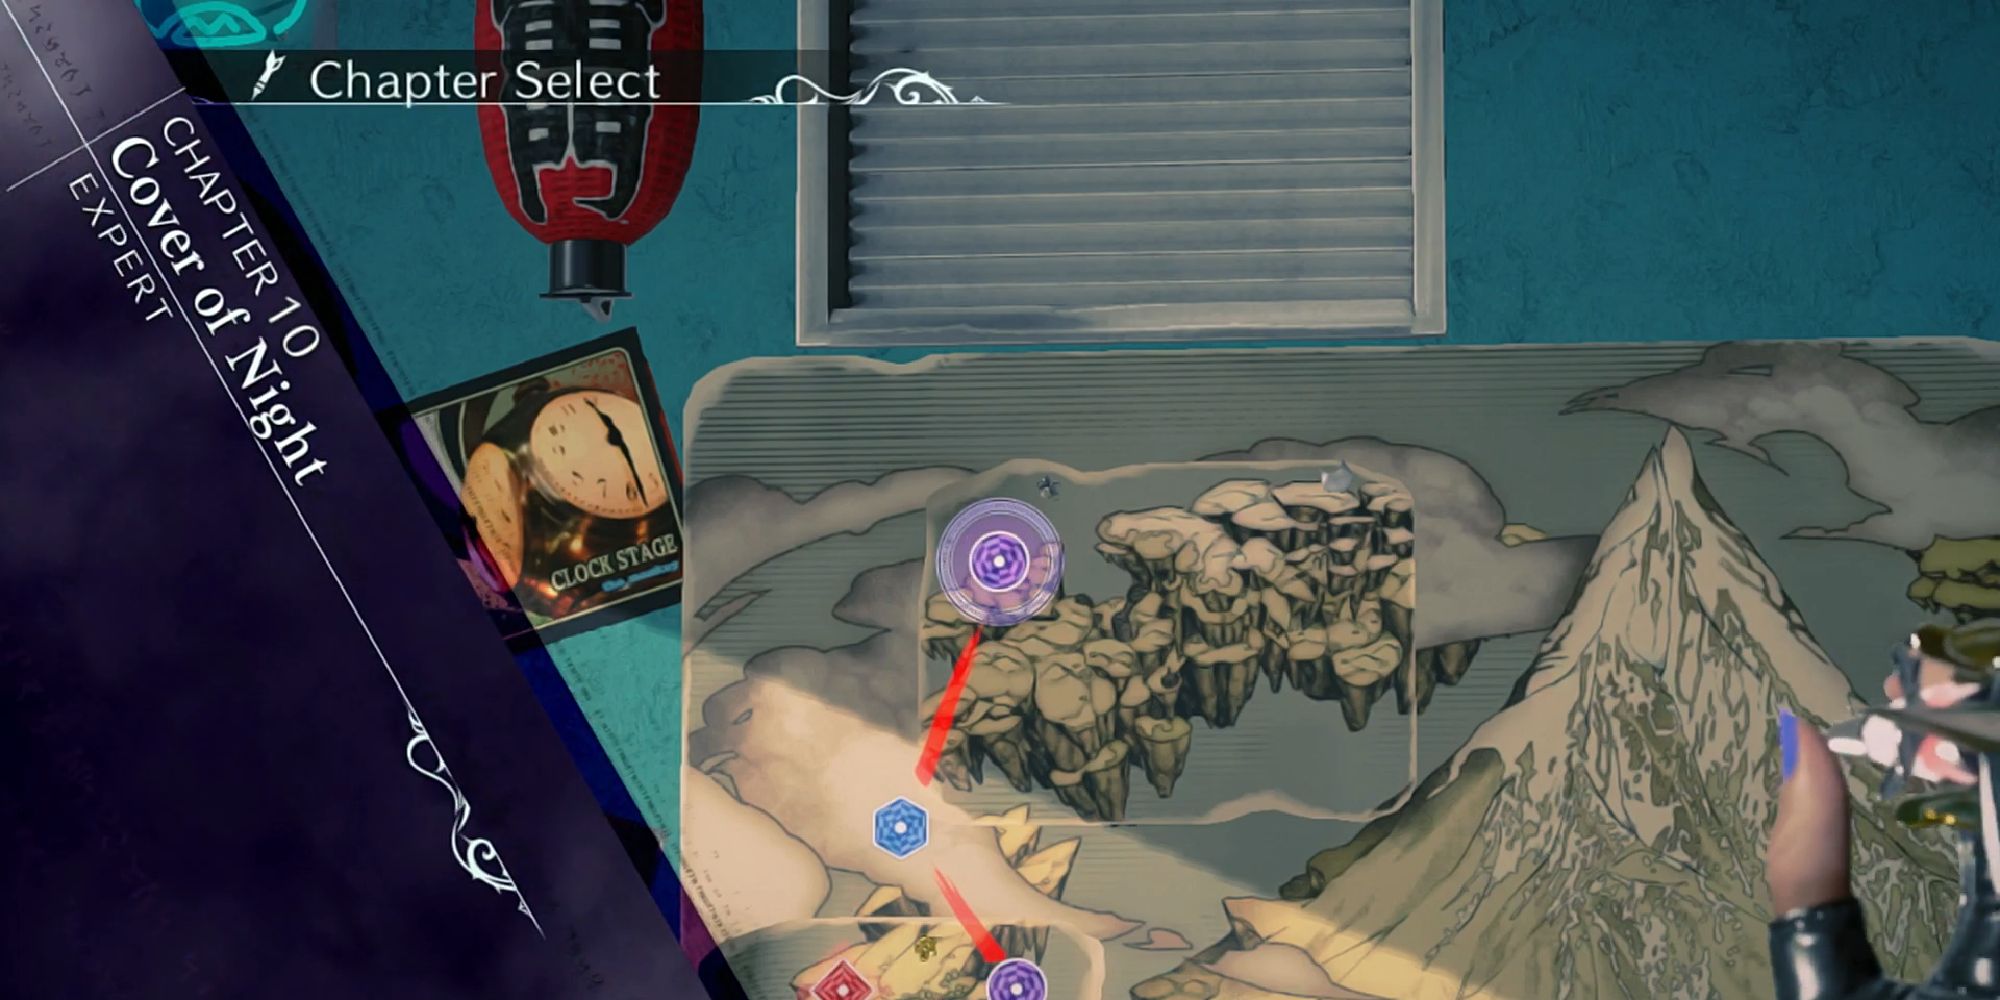
After finishing chapter nine in Bayonetta 3, you now get to play as Viola. In chapter ten, you will help Viola as she makes her way through Thule and ultimately to the new dimension, which happens to take place in Paris.
In this guide, we are going to go over how to fully complete each verse in chapter nine. Additionally, like our other walkthroughs, we will discuss how to obtain all five Bewitchments, as well as the Umbran creatures that appear throughout the chapter. In total, there are only eight verses in this chapter, making it a bit shorter than the previous one.
Verse #1
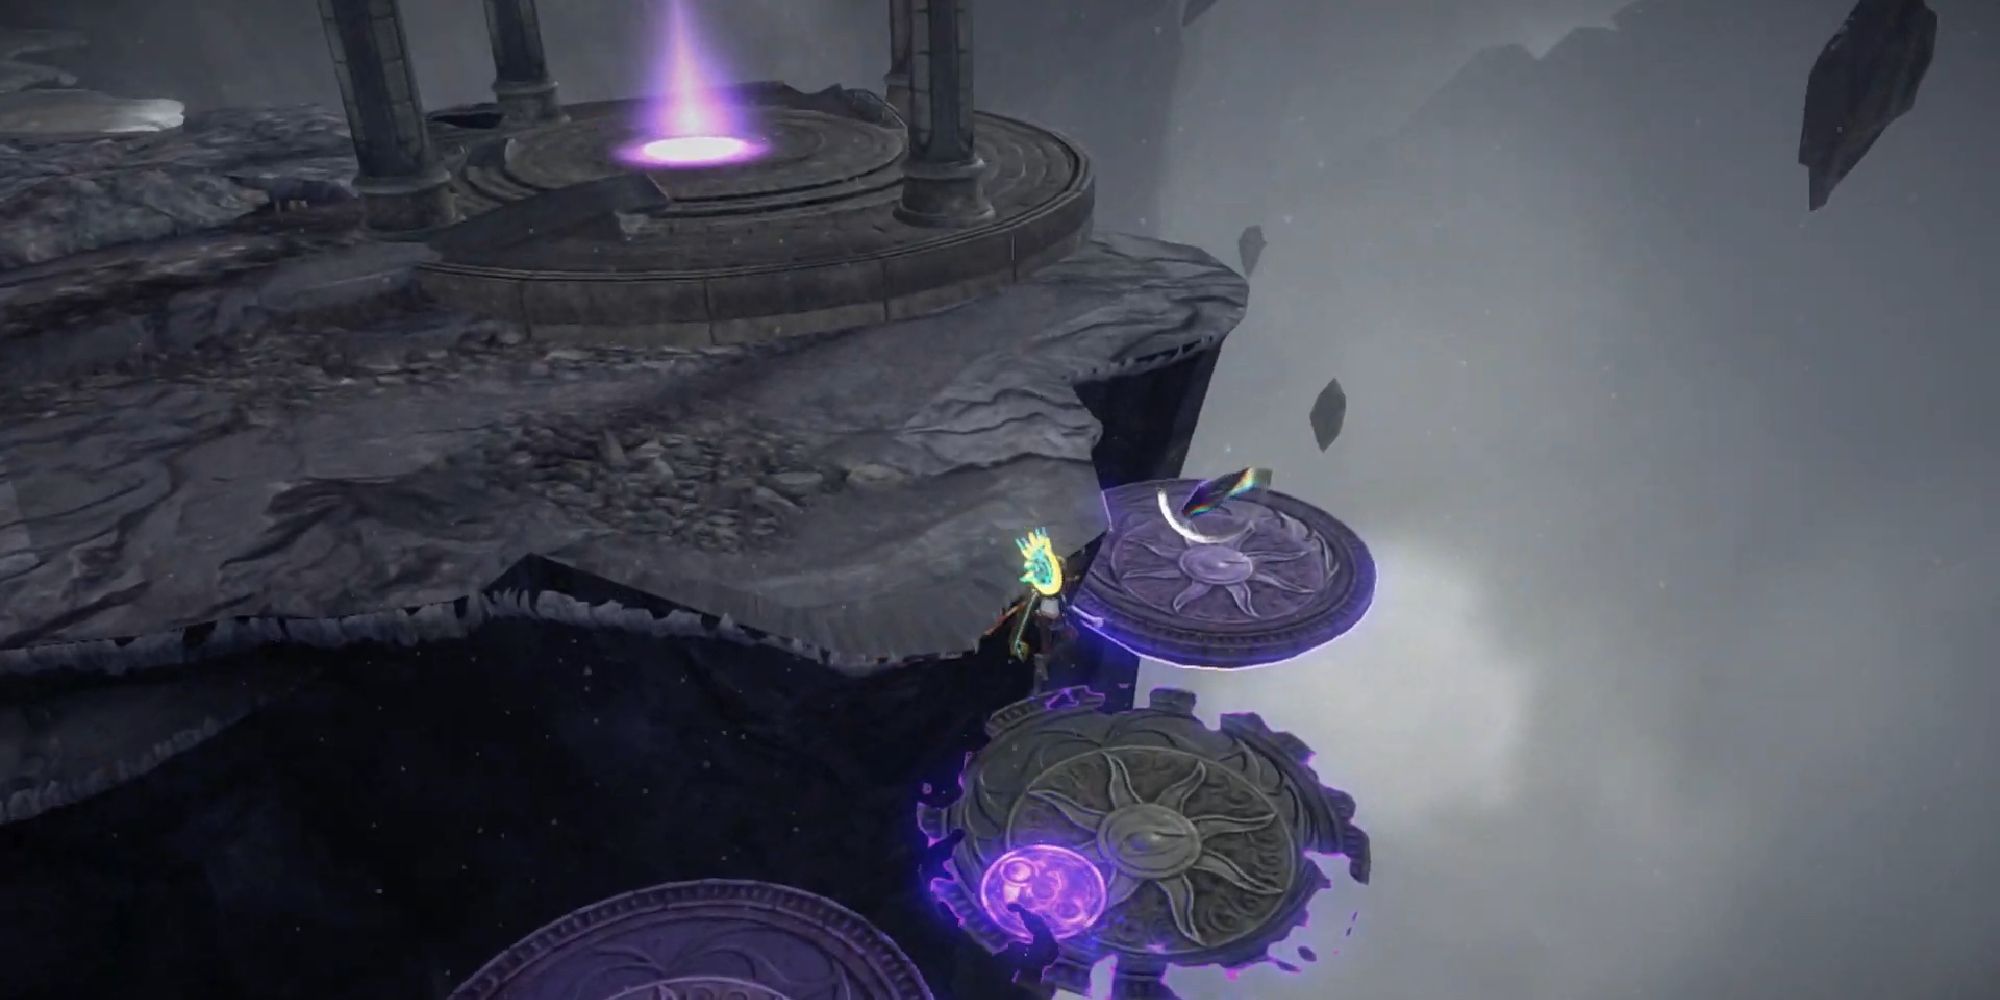
Shortly after the start of the chapter, you will see a path forward, as well as a floating rock chuck off to the right. On the ledge facing out, you will see one platform; when stood on, more will appear. All you need to do is take the platforms to the top, crossing the large gap. The platforms will begin to disappear, so be sure to move quickly!
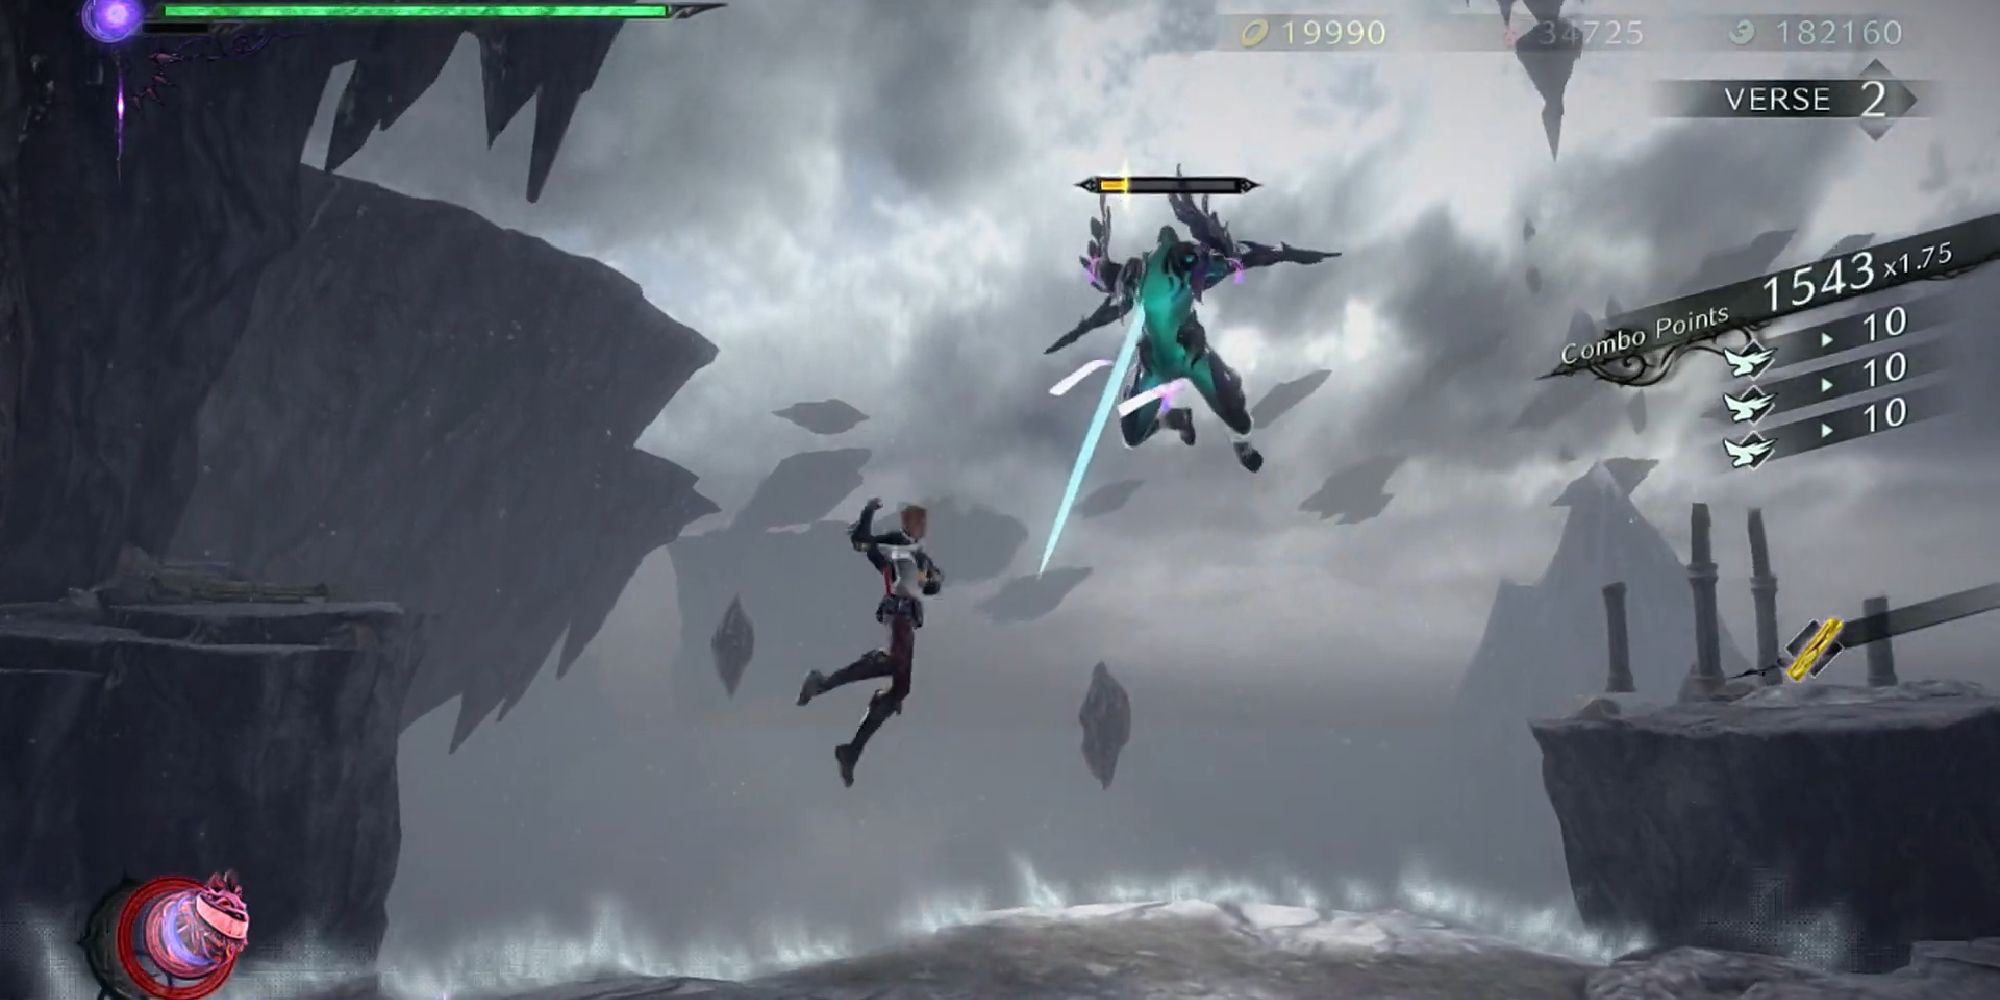
Once at the top, you will see the combat challenge, which serves as verse one. In the challenge, you can only deal damage in Witch Time, which activates after a perfectly timed block. If you struggle to activate Witch Time with Viola, we recommend heading into the controller settings and changing the controls to be similar to the layout you use for Bayonetta.
- Enemies: Mediocris, Lacunosus, Radiatus, Nebulosus
Verse #2
Back on the main path of the level, head forward past the towers. This is a mandatory chapter that will immediately trigger when you make it here. This verse isn't that notable; just defeat the smaller enemies to move on.
- Enemies: Stratus, Nebulosus, Cavum, Fractus
Verse #3
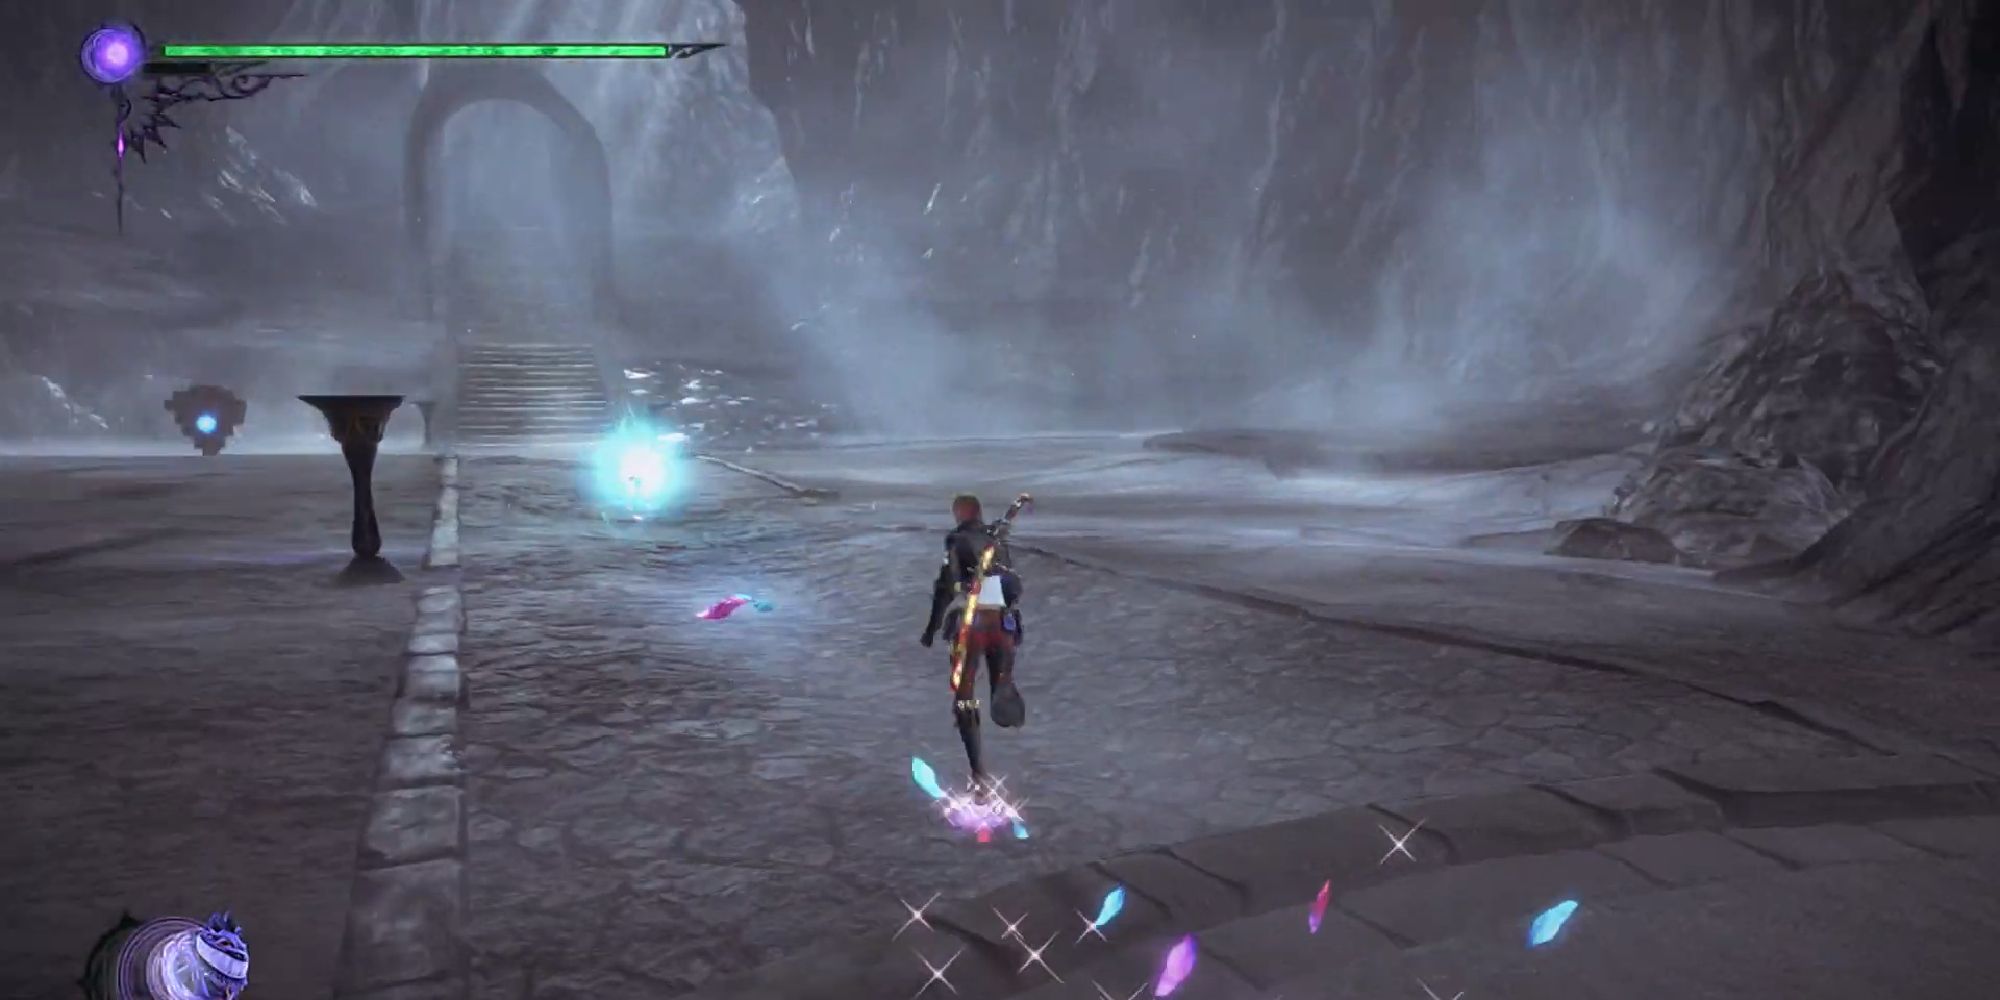
This is another verse that you will encounter while following the main path while following the glowing orb. Eventually, the orb will take you to a door that needs to be broken down with your attacks. When the door is broken, head forward into the next room, where you will find a single enemy waiting for you.
Murus is an enemy that you have encountered before while playing as Bayonetta. It will roll into a ball and charge toward you; this can be avoided by quickly dodging and using Witch Time to get your attacks in. Thankfully, there is a treasure chest in the arena that enables infinite magic use. If you stand here, you can keep Cheshire summoned the entire time.
- Enemies: Murus
Verse #4
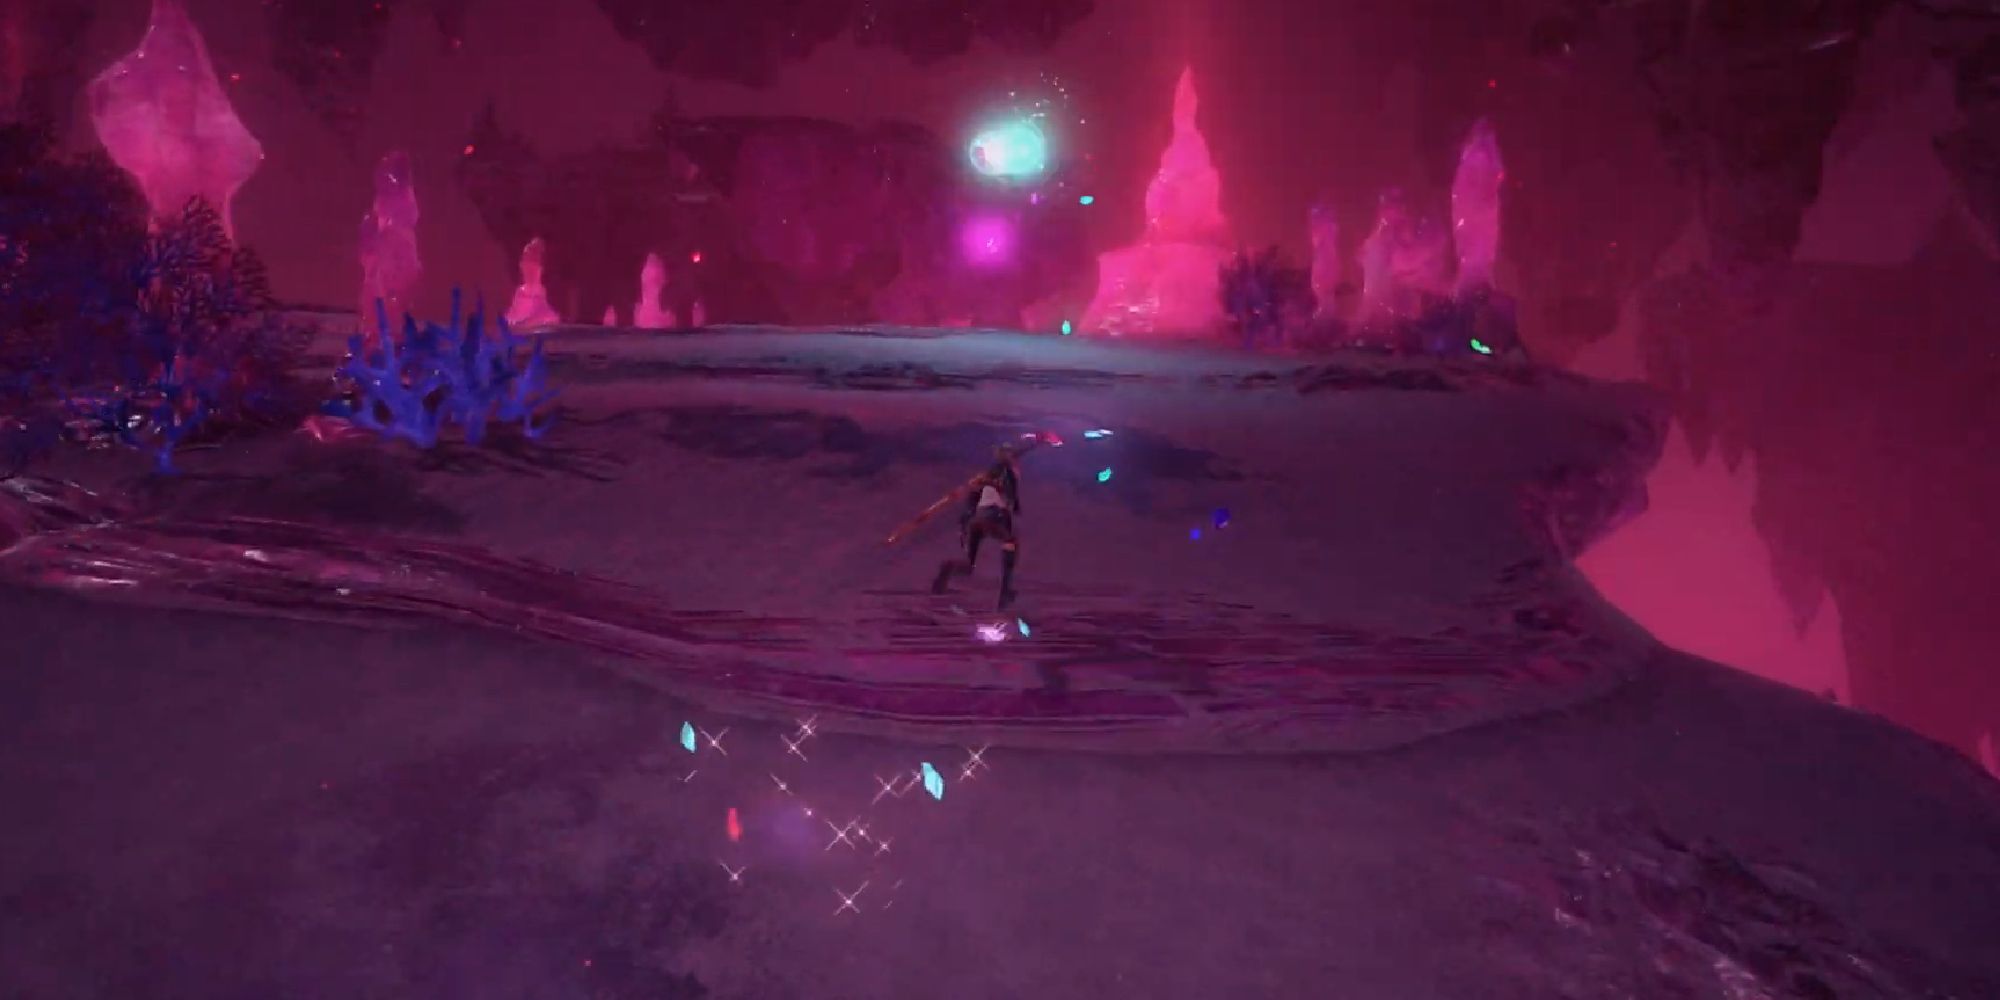
Shortly after verse three, you will enter into Ginnungagap. This time, it's a bit in shambles, but the orb will lead you to the correct path.
Soon after arriving in this dimension, you will enter into an area that automatically triggers verse four. This is another relatively easy fight; if you dodge and make use of Cheshire, you will come out unscathed.
- Enemies: Mediocris, Pannus, Lacunosus
Verse #5
Verse five begins pretty much right after verse four, so you don't have to find it.
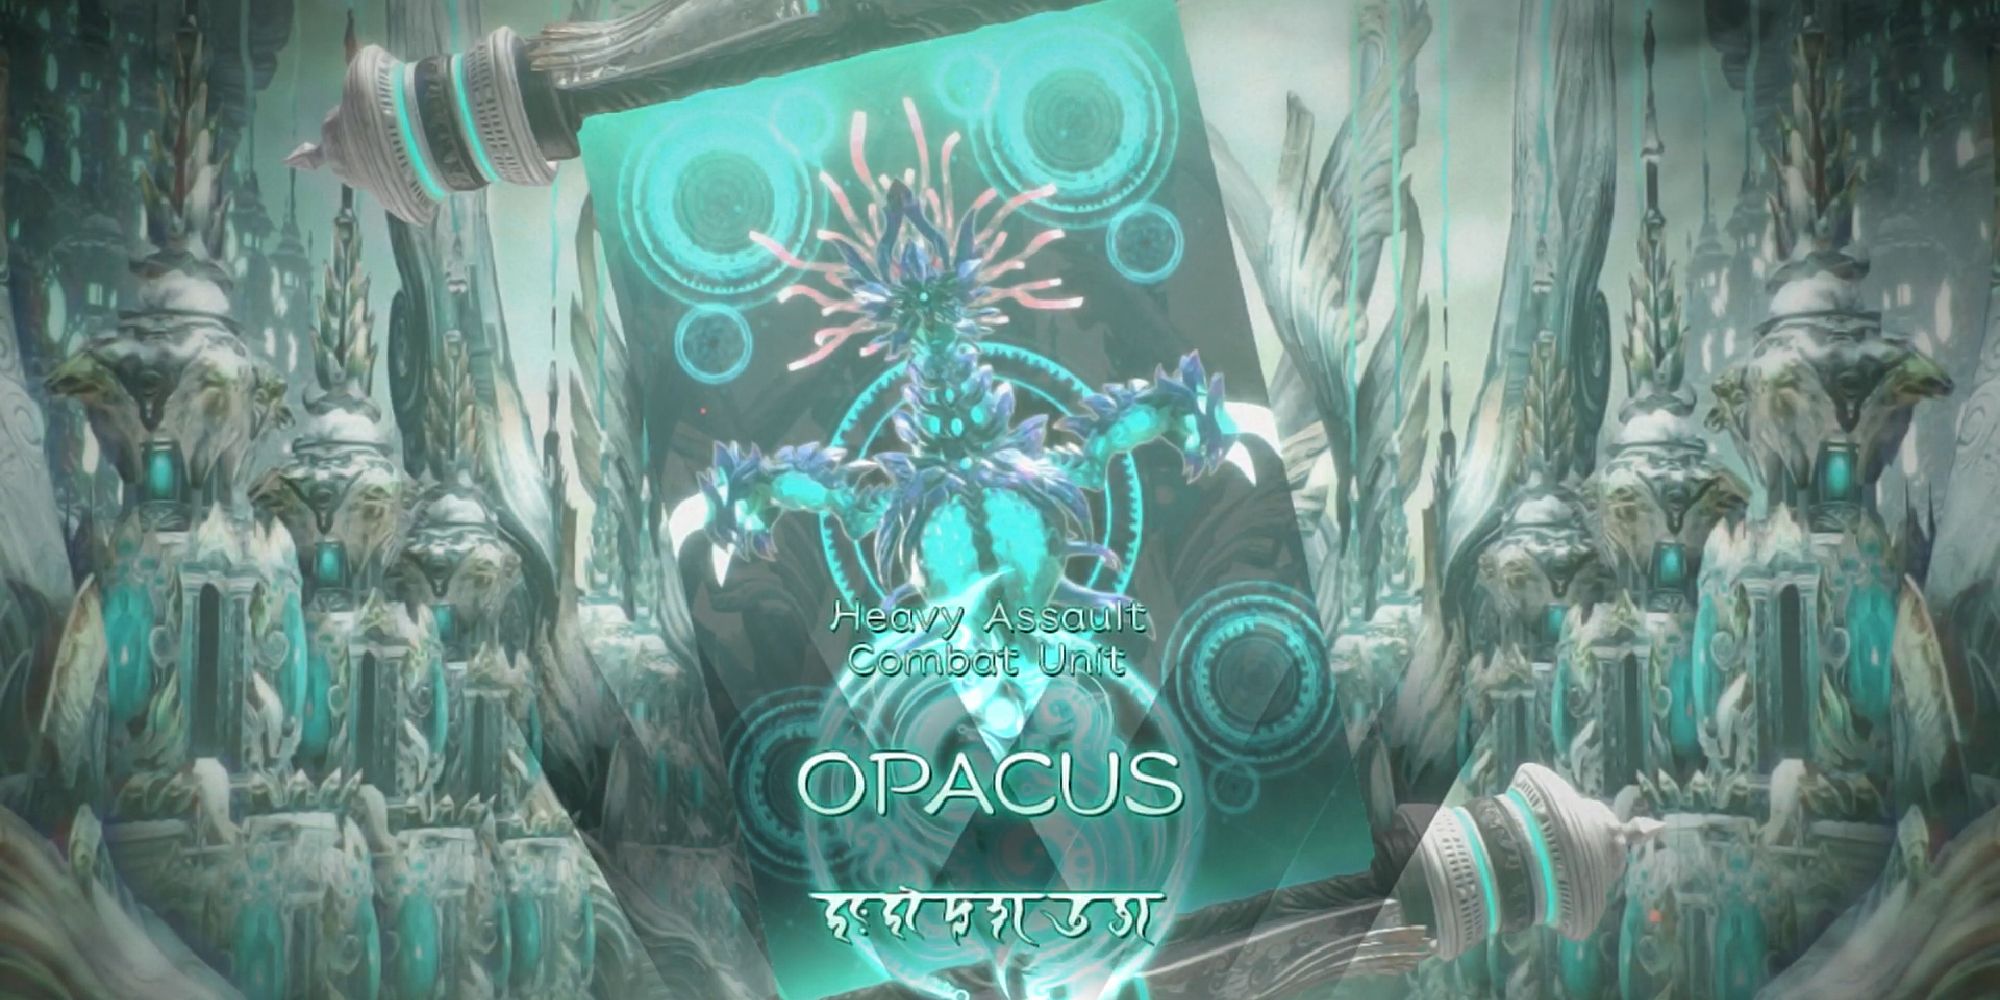
This verse introduces you to a brand-new enemy named Opacus. This is a rather large enemy that charges and spins, but overall, there are no complex mechanics that should stump you.
At times, Opacus may bury underground. When this happens, just avoid the marker that appears on the ground, denoting where it will emerge from.
- Enemies: Opacus
Verse #6
After verse five, you will continue to follow the orb and head through a portal. Once through the portal, you will be in Paris!
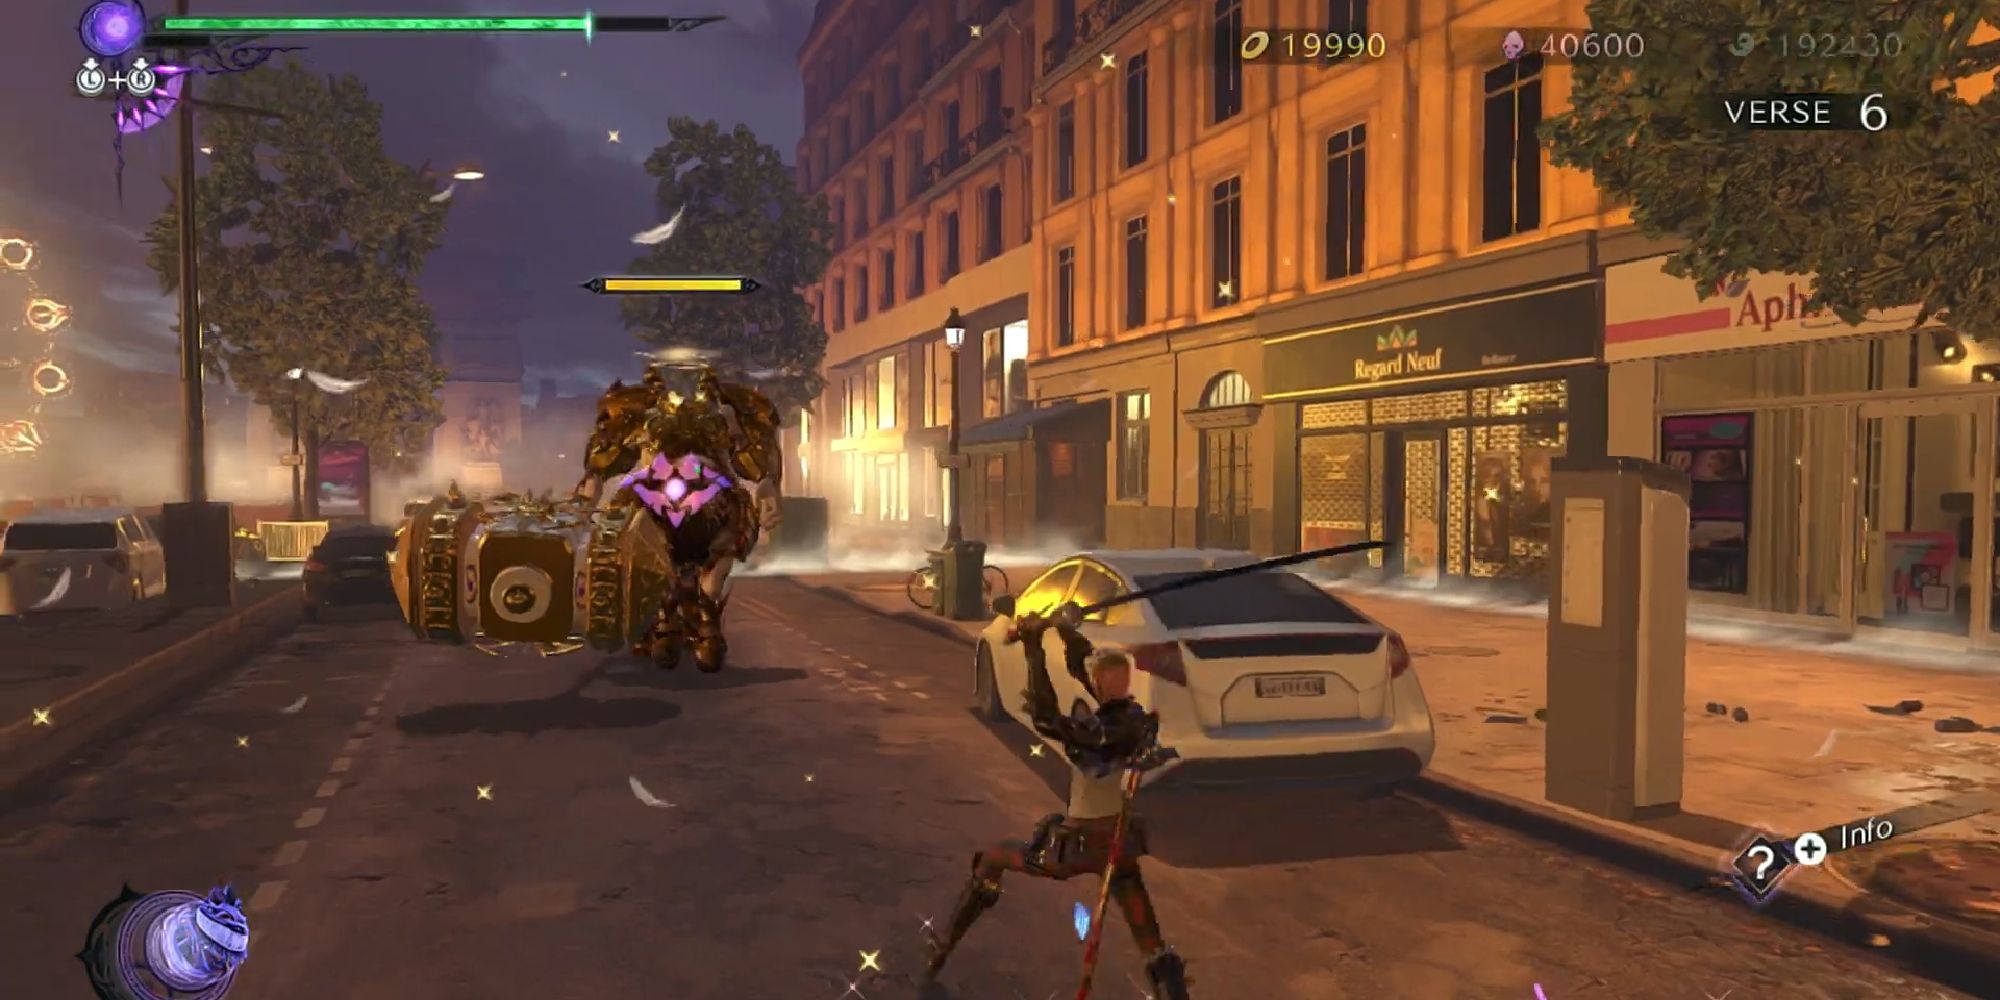
Right at the start of this section, you will see a double-decker bus with an angel portal next to it, close to the buildings. This is not a difficult challenge, but it's important to keep in mind that the Accolade enemy has a shield, meaning that it won't take damage from the front. Try to dart around the back, as well as use Cheshire to deal damage.
- Enemies: Accolade, Affinities
Verse #7
Now, we are on the second to last verse in the chapter. Once you complete verse six, continue to head forward, toward the Arc de Triomphe. On the way here, you will see a Gates of Hell record player; facing the Arc, turn left from here and go down a side alley.
The next verse is against Strider; if you struggle to fight against this enemy, we recommend stopping at the Gates of Hell and picking up some lollipops.
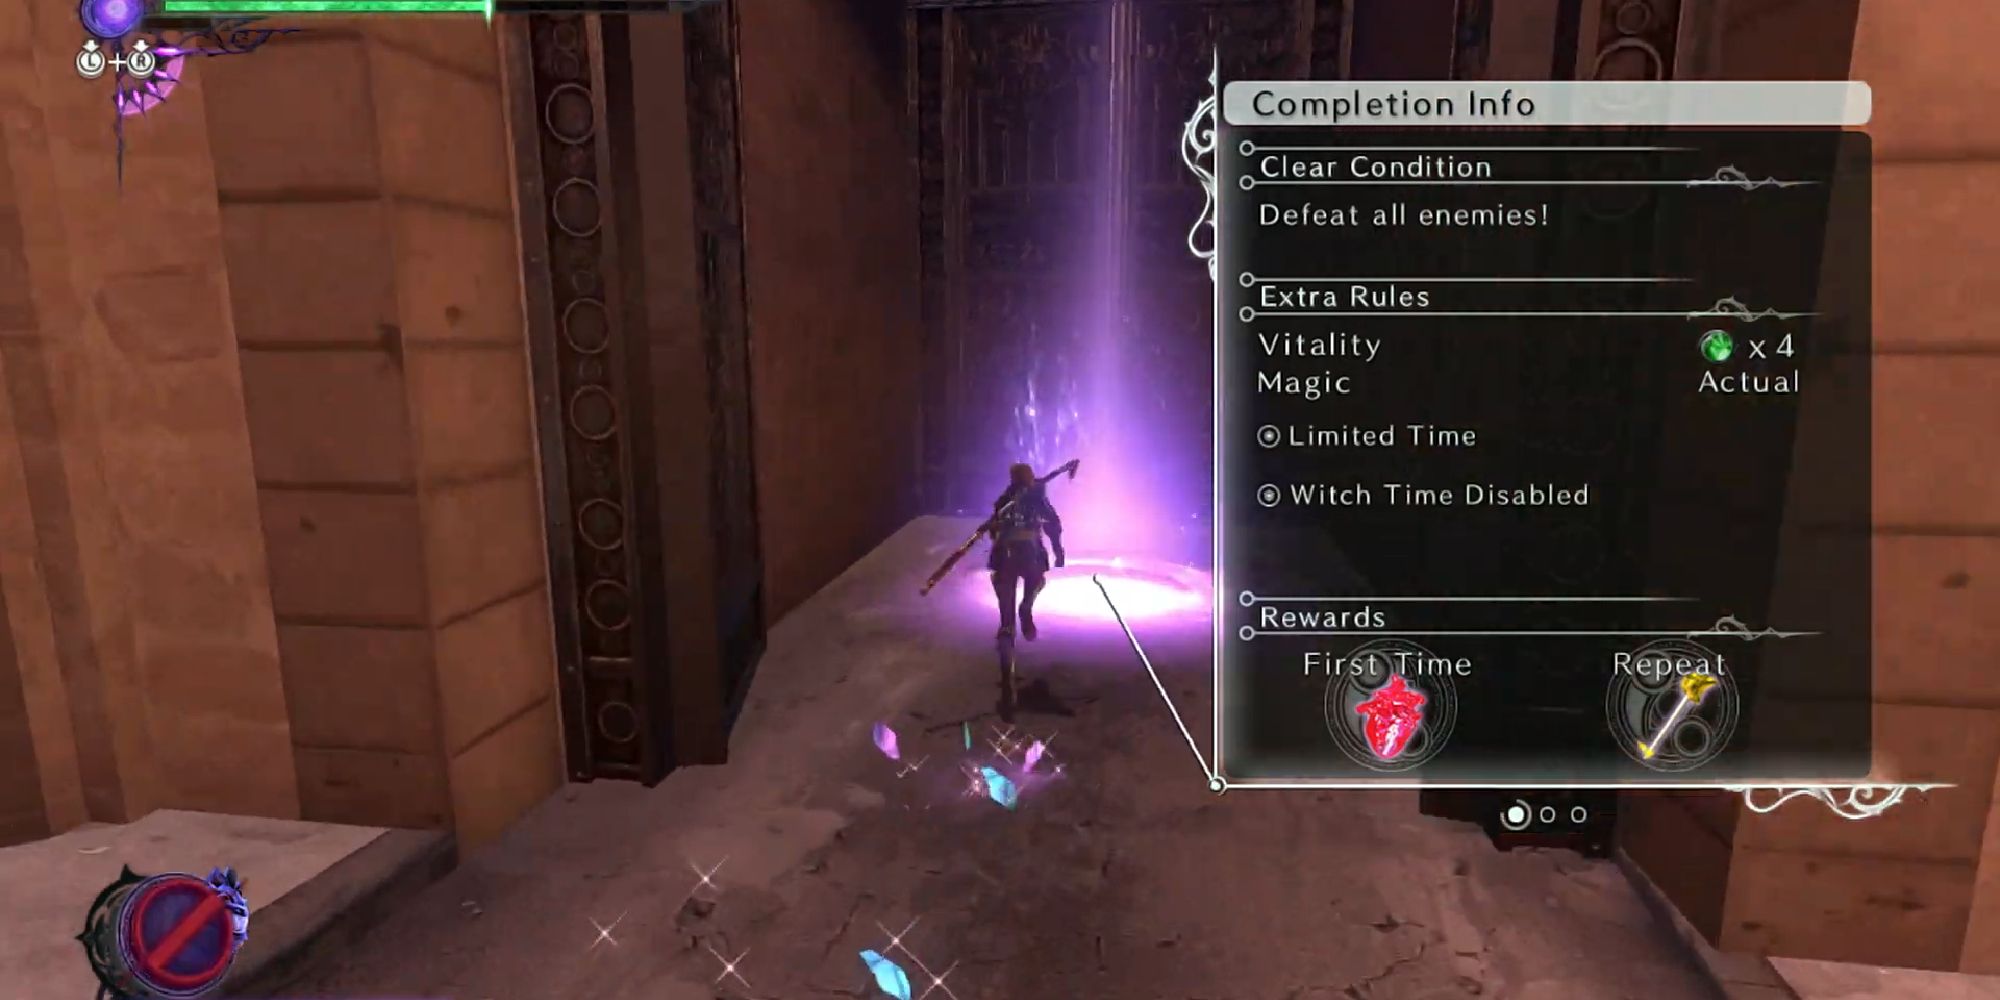
At the very end of this alley, you will find verse seven, which is a combat challenge. Here, your goal is to defeat enemies within the time limit, without activating Witch Time.
The enemies in this verse aren't exceptionally hard; although there is no Witch Time, attacks can still be dodged. Interestingly, this verse also allows you to team up with Bayonetta. Combined with Cheshire, this shouldn't be too challenging.
- Enemies: Hideous, Pain
Verse #8
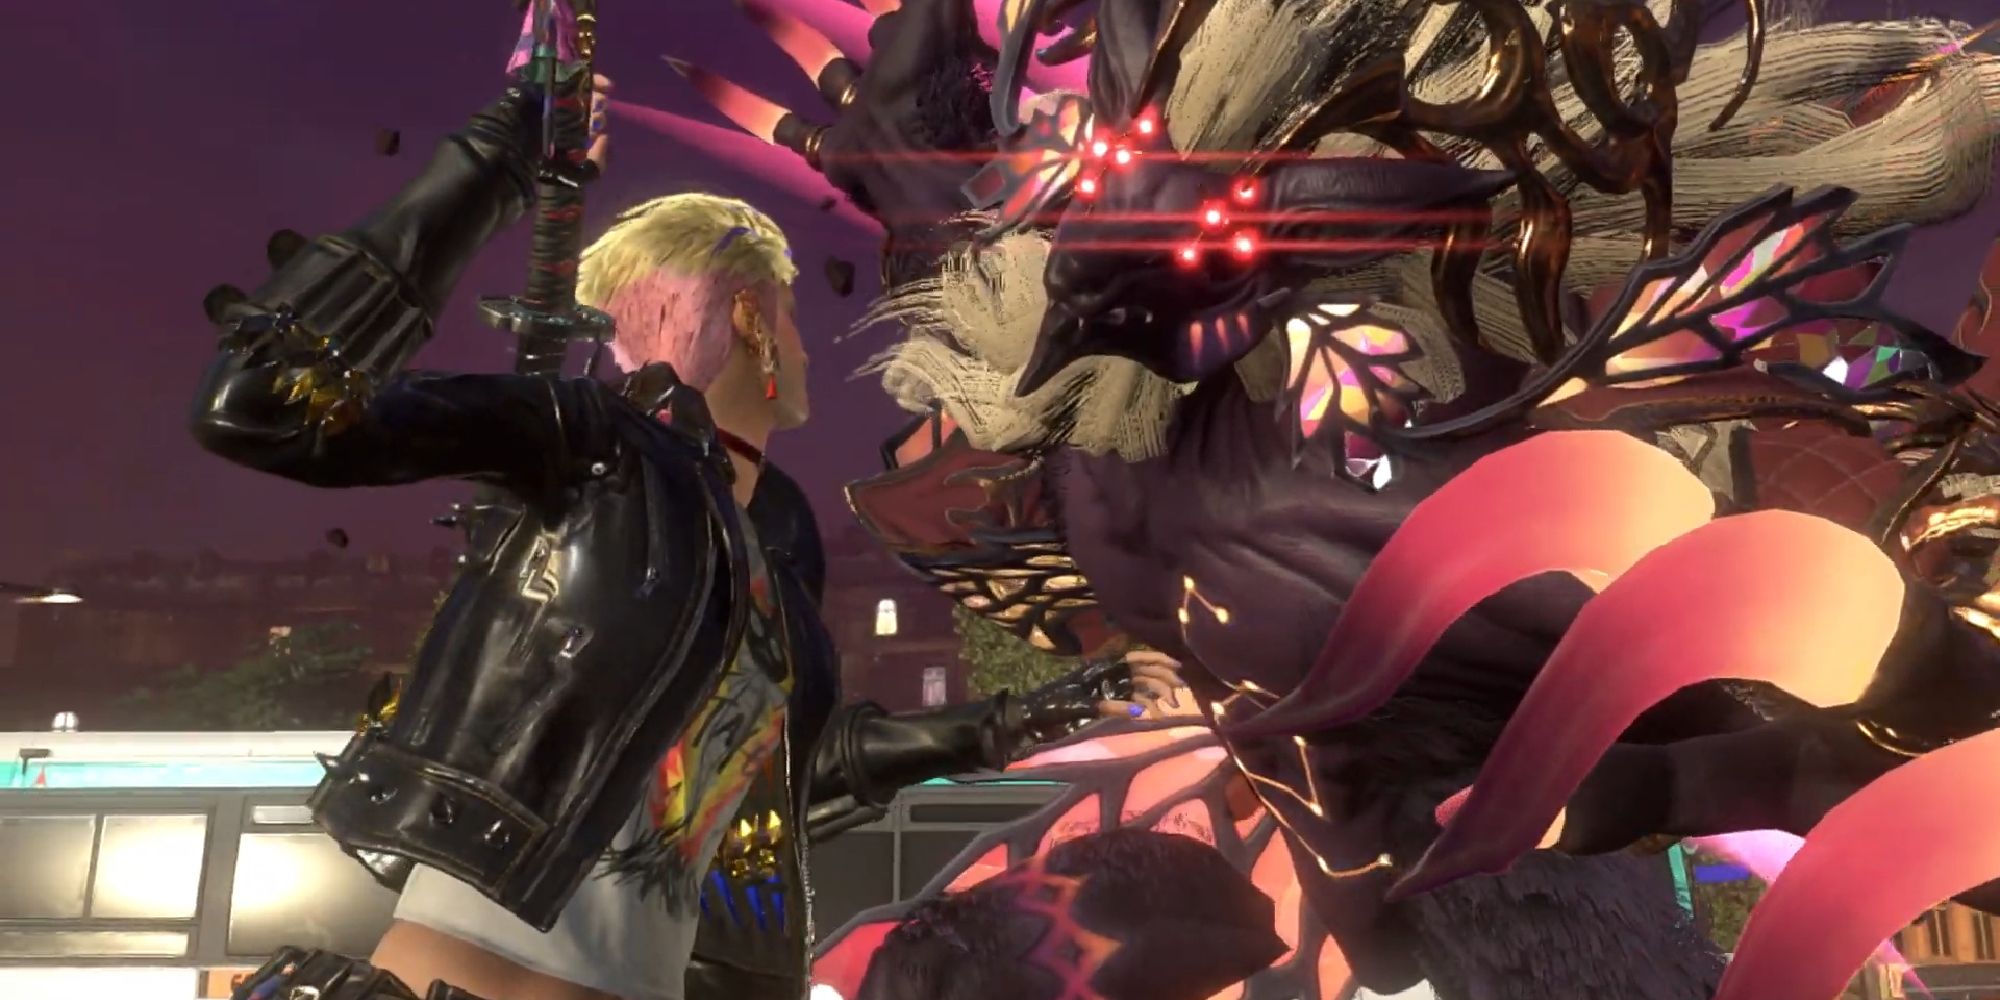
This is the final verse of the chapter, and it will begin after a cutscene when you approach the Arc de Triomphe. In this verse, you will face off against Strider. In general, Strider is a tough enemy to deal with; this time, there are four health bars standing between you and victory.
Overall, his fighting style is similar to the previous times that you have fought him. Strider is quick and will lunge at you, delivering powerful attacks.
We recommend dodging and activating Witch Time as often as possible, as well as summoning Cheshire. Strider can easily wipe Cheshire out, so be sure not to rely on him too heavily.
- Enemies: Strider
Bewitchments
Now, let's go over the five Bewitchments that can be found in this chapter. These will not appear the first time you complete the chapter, but afterward, you can go back from the chapter selection screen and see which Bewitchments you still need to obtain.
|
Bewitchment |
Requirements/Conditions |
|---|---|
|
#1 - Step on 10 of the fallen glass shards on Thule |
While following the orb in Thule, you can find colored glass along the path; simply walk on top of this glass. |
|
#2 - Climb to the top of the stone tower on Thule |
In the first area of Thule, you can find stone towers. You can break into the base of these towers by destroying walls at the bottom, and then proceed upwards. |
|
#3 - Travel through Ginnungagap without falling |
This is rather straightforward; try to move quickly and avoid falling while in Ginnungagap. |
|
#4 - Defeat 3 small Golems |
This can be obtained after verse seven. From the verse, head into the nearby courtyard. Here, you will find a treasure check that will turn into a Golem, who then summons two other Golems. Defeat all three to get this Bewitchment. |
|
#5 - Avoid getting hit by Strider inside his special field |
This is a difficult one, simply because Strider can be quite troublesome to deal with. When he creates a field to another dimension, dodge and avoid his attacks. During this portion, it's okay to not attack back as much, just focus on avoiding him. |
Umbran Tears Of Blood
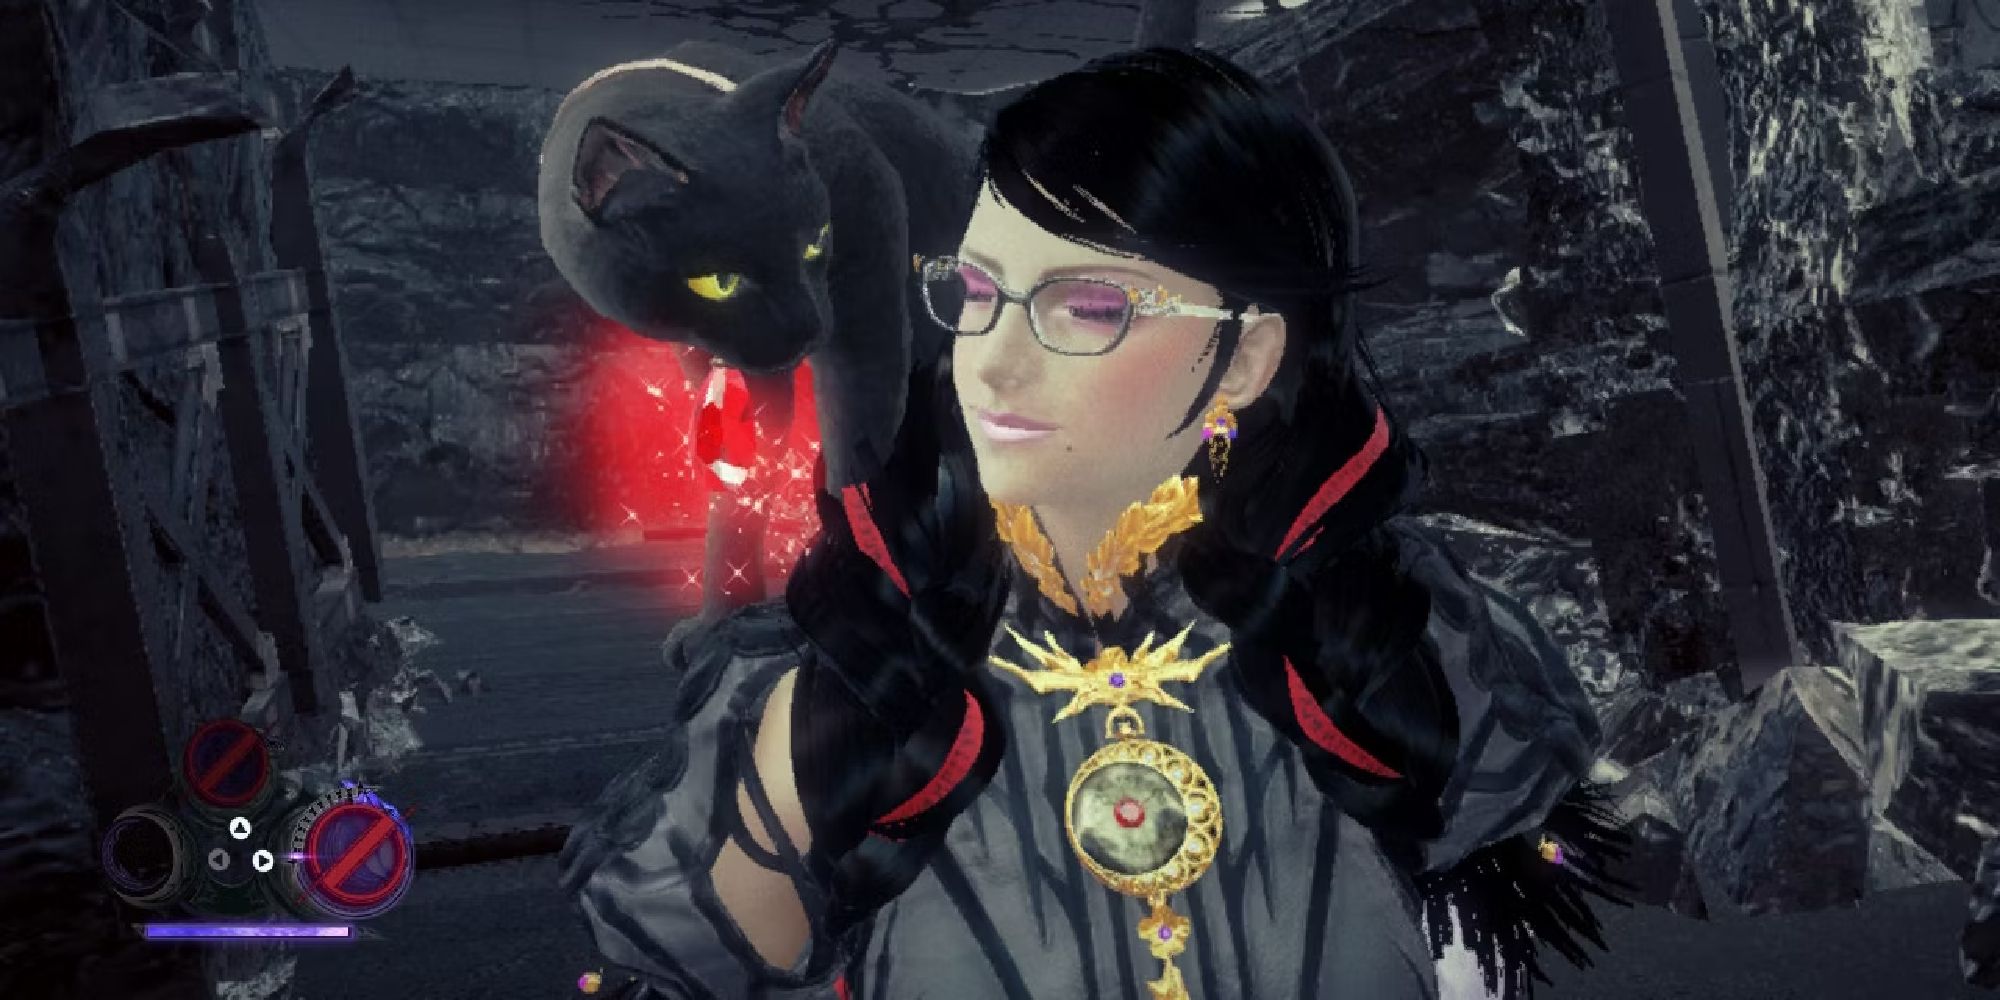
Lastly, let's go over where you can find the Umbran Cat, Toad, and Crow.
|
Animal |
Location |
|---|---|
|
Umbran Crow |
After verse two, make a left turn, where you will find a rocky ledge with the Crow perched on top. |
|
Umbran Cat |
Shortly after you make it to Paris, you can find the Cat. With verse six complete, you can find the Umbran Cat on the right side of the street, perched on a staircase that leads down to the subway. |
|
Umbran Toad |
The Toad is found in the same area as The golem Bewitchment and verse seven. In this small courtyard, you will see a dark garage door; destroying it will reveal the Toad. |

