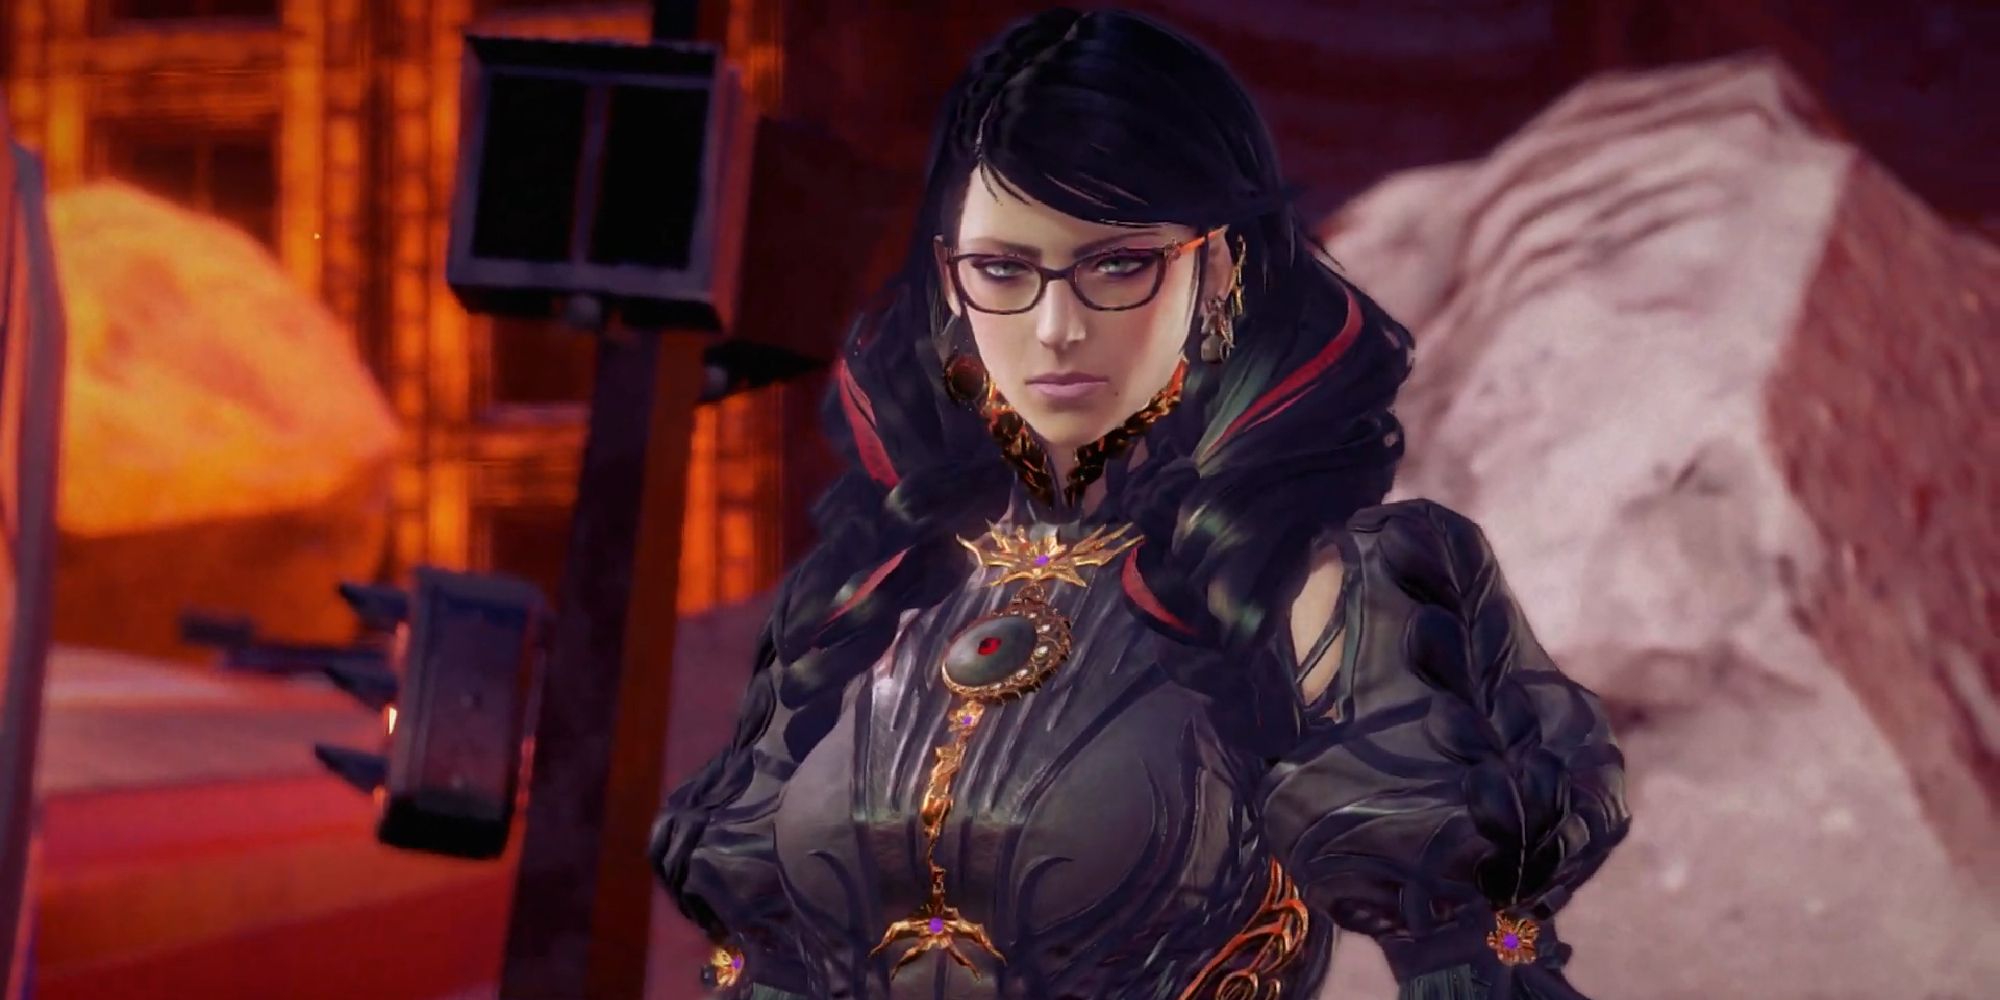
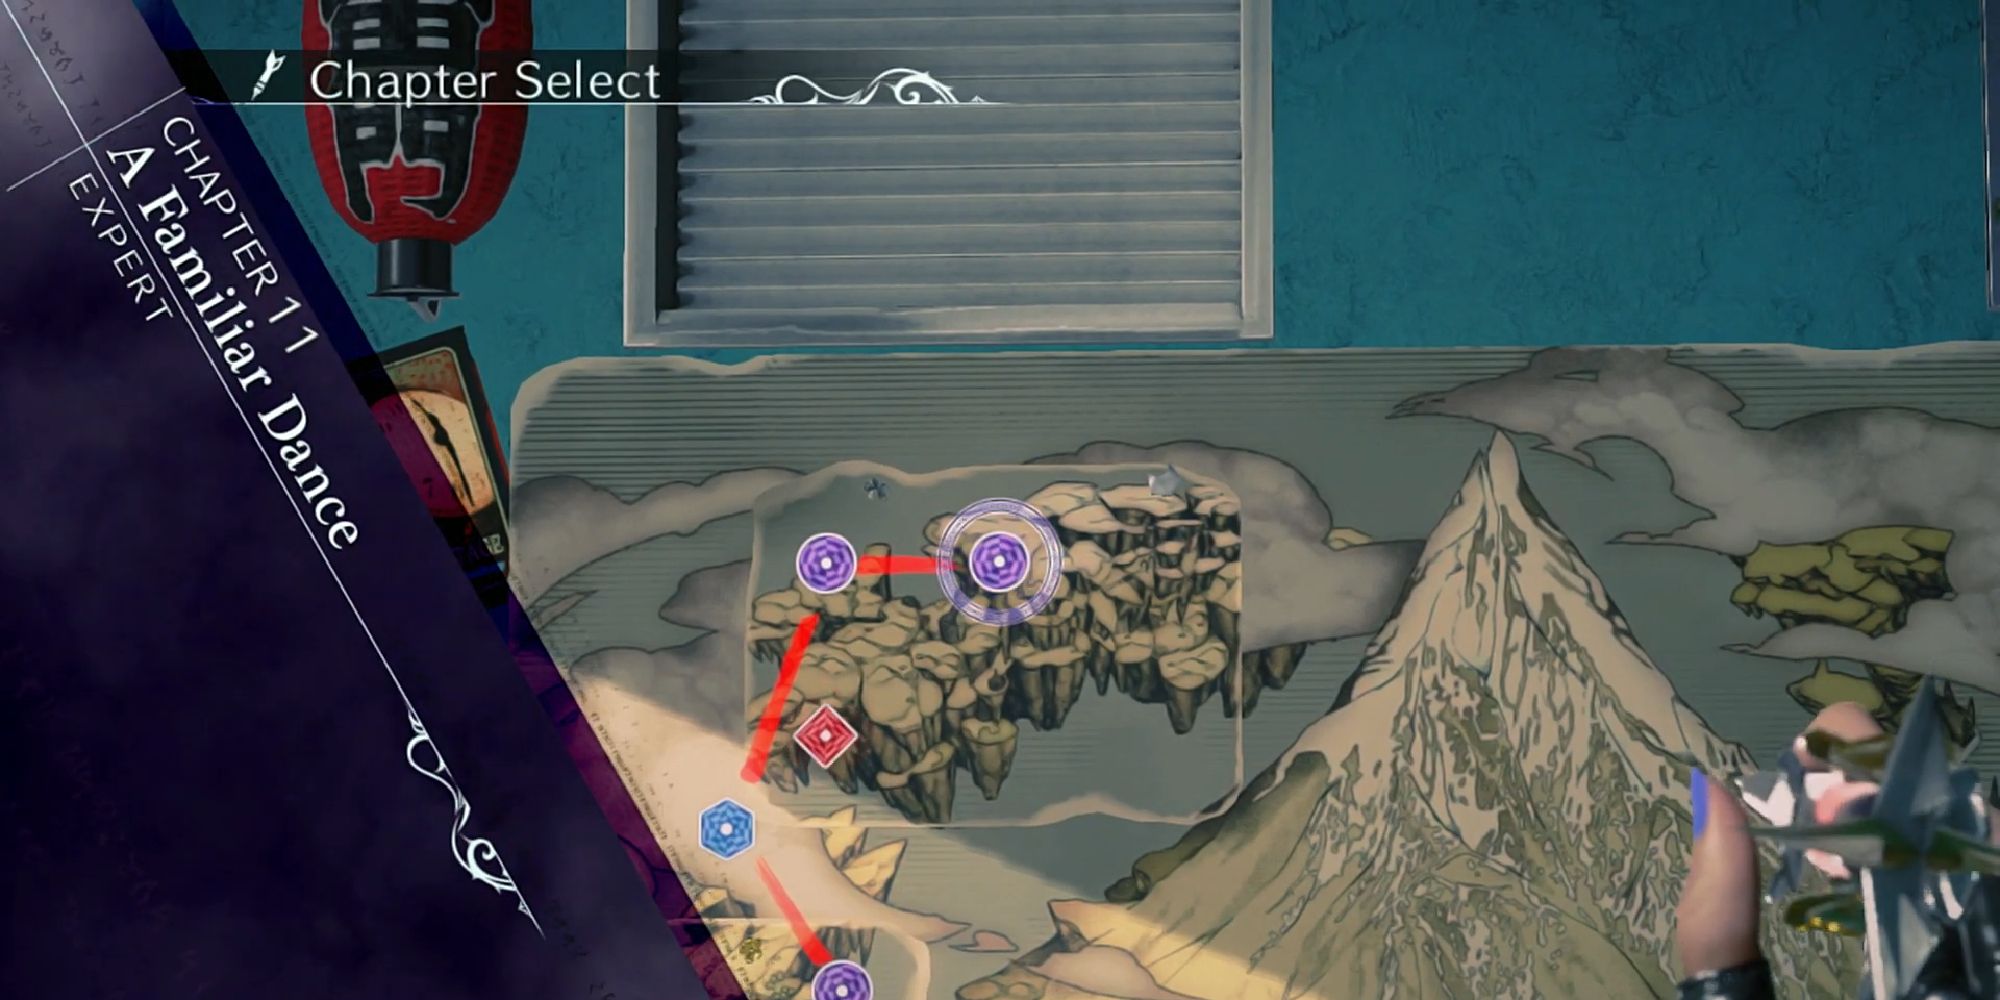
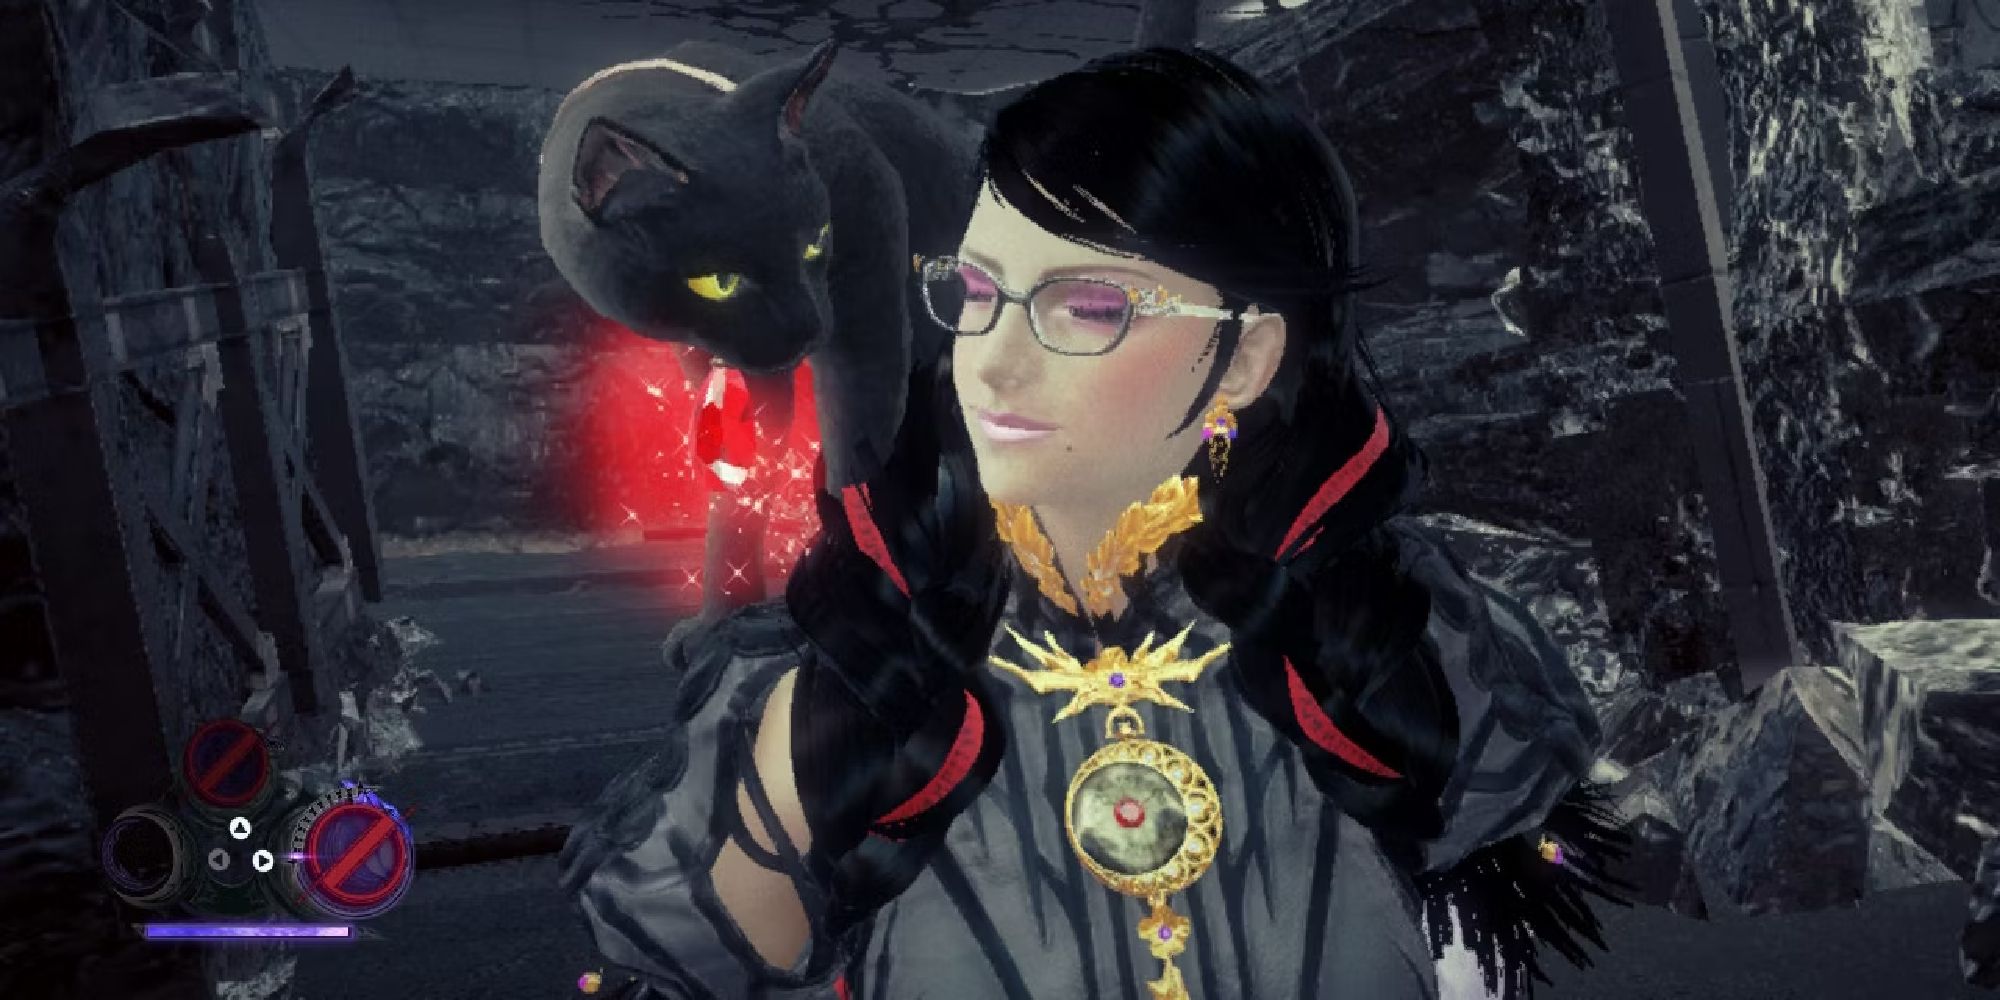
In the previous chapter of Bayonetta 3, you took to the streets of Paris as Viola. Now, we are back with Bayonetta in chapter 11. Here, you will make your way through nine different verses in search of the Chaos Gear.
In this guide, we are going to go over a complete walkthrough for chapter 11. At this point, we are nearing the end of the game, with three main chapters left, as well as one final side mission with Jeanne. For now, let's dive into verse one of chapter 11, called A Familiar Dance.
Verse #1
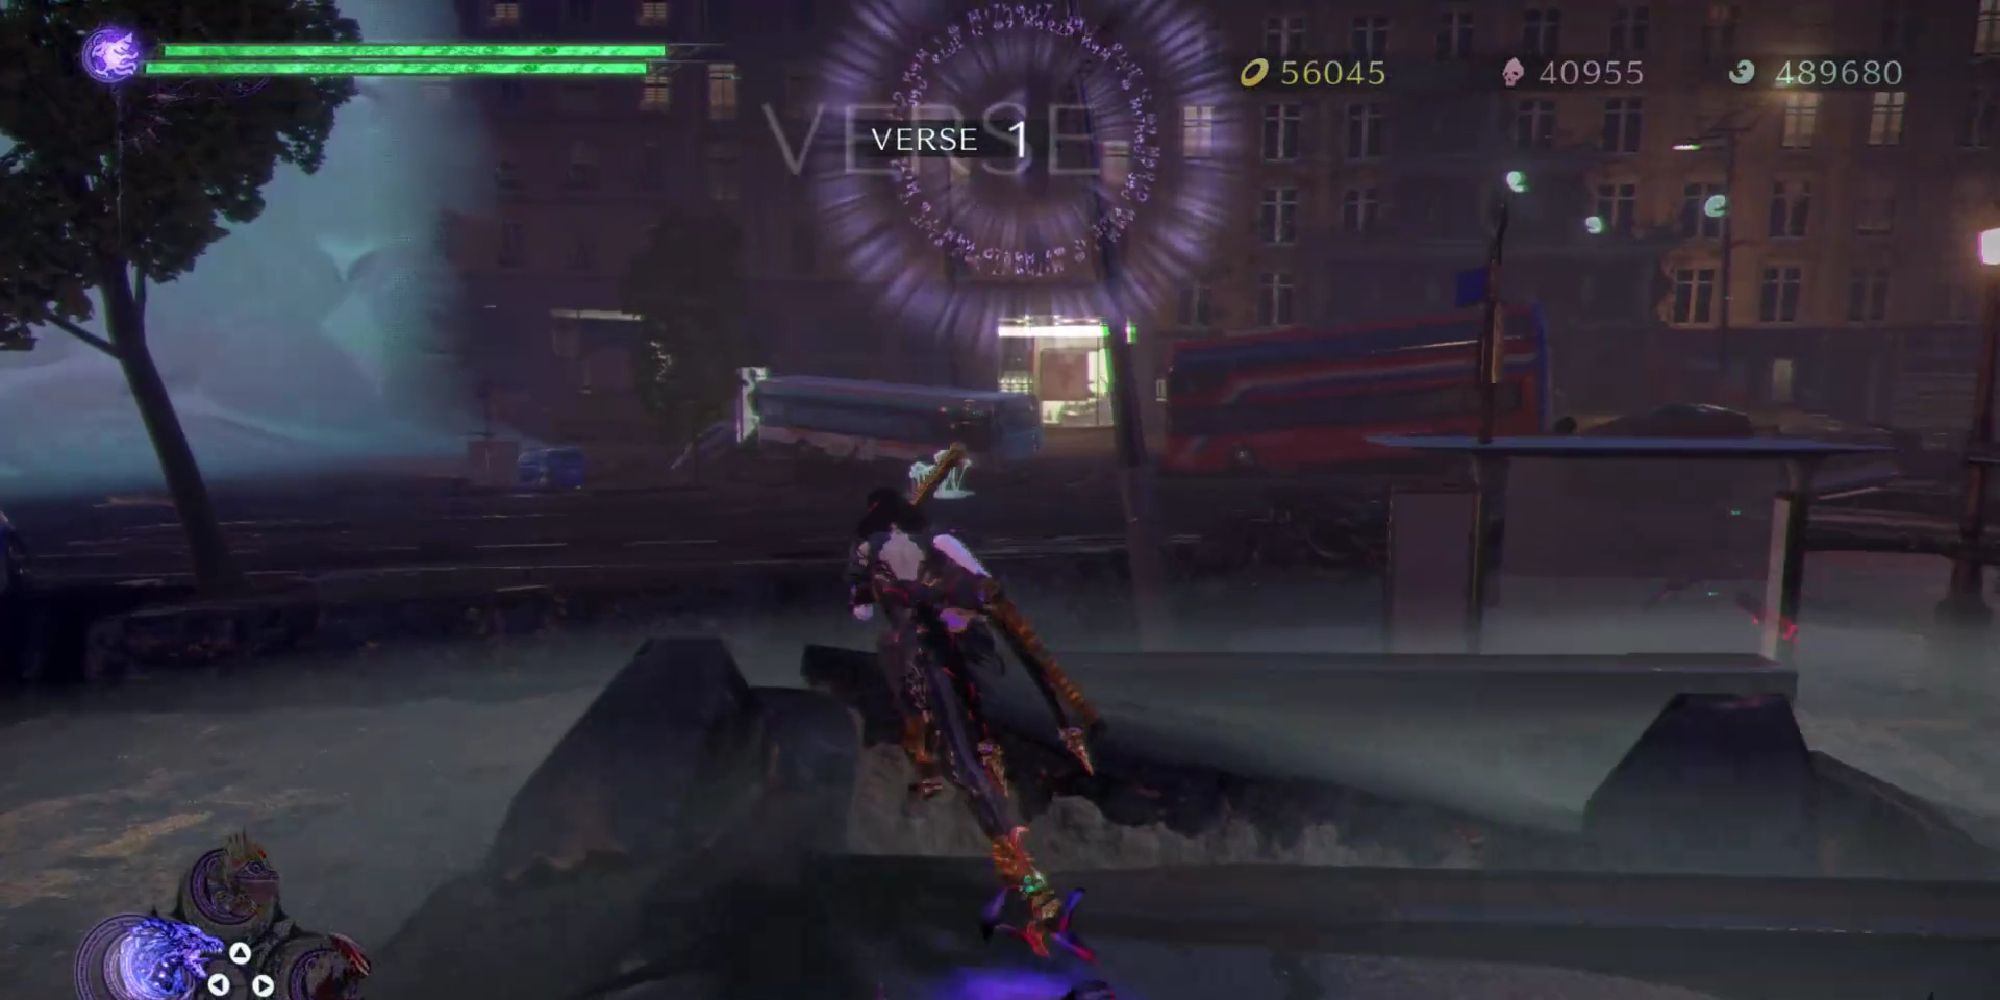
The first verse of this chapter is mandatory, and will begin when you proceed from the street into a large area. The enemy here is Virga, which we have seen a few times already.
Virga attacks with lasers, so be sure to avoid these. Overall, there is nothing new to this fight.
- Enemies: Virga
Verse #2
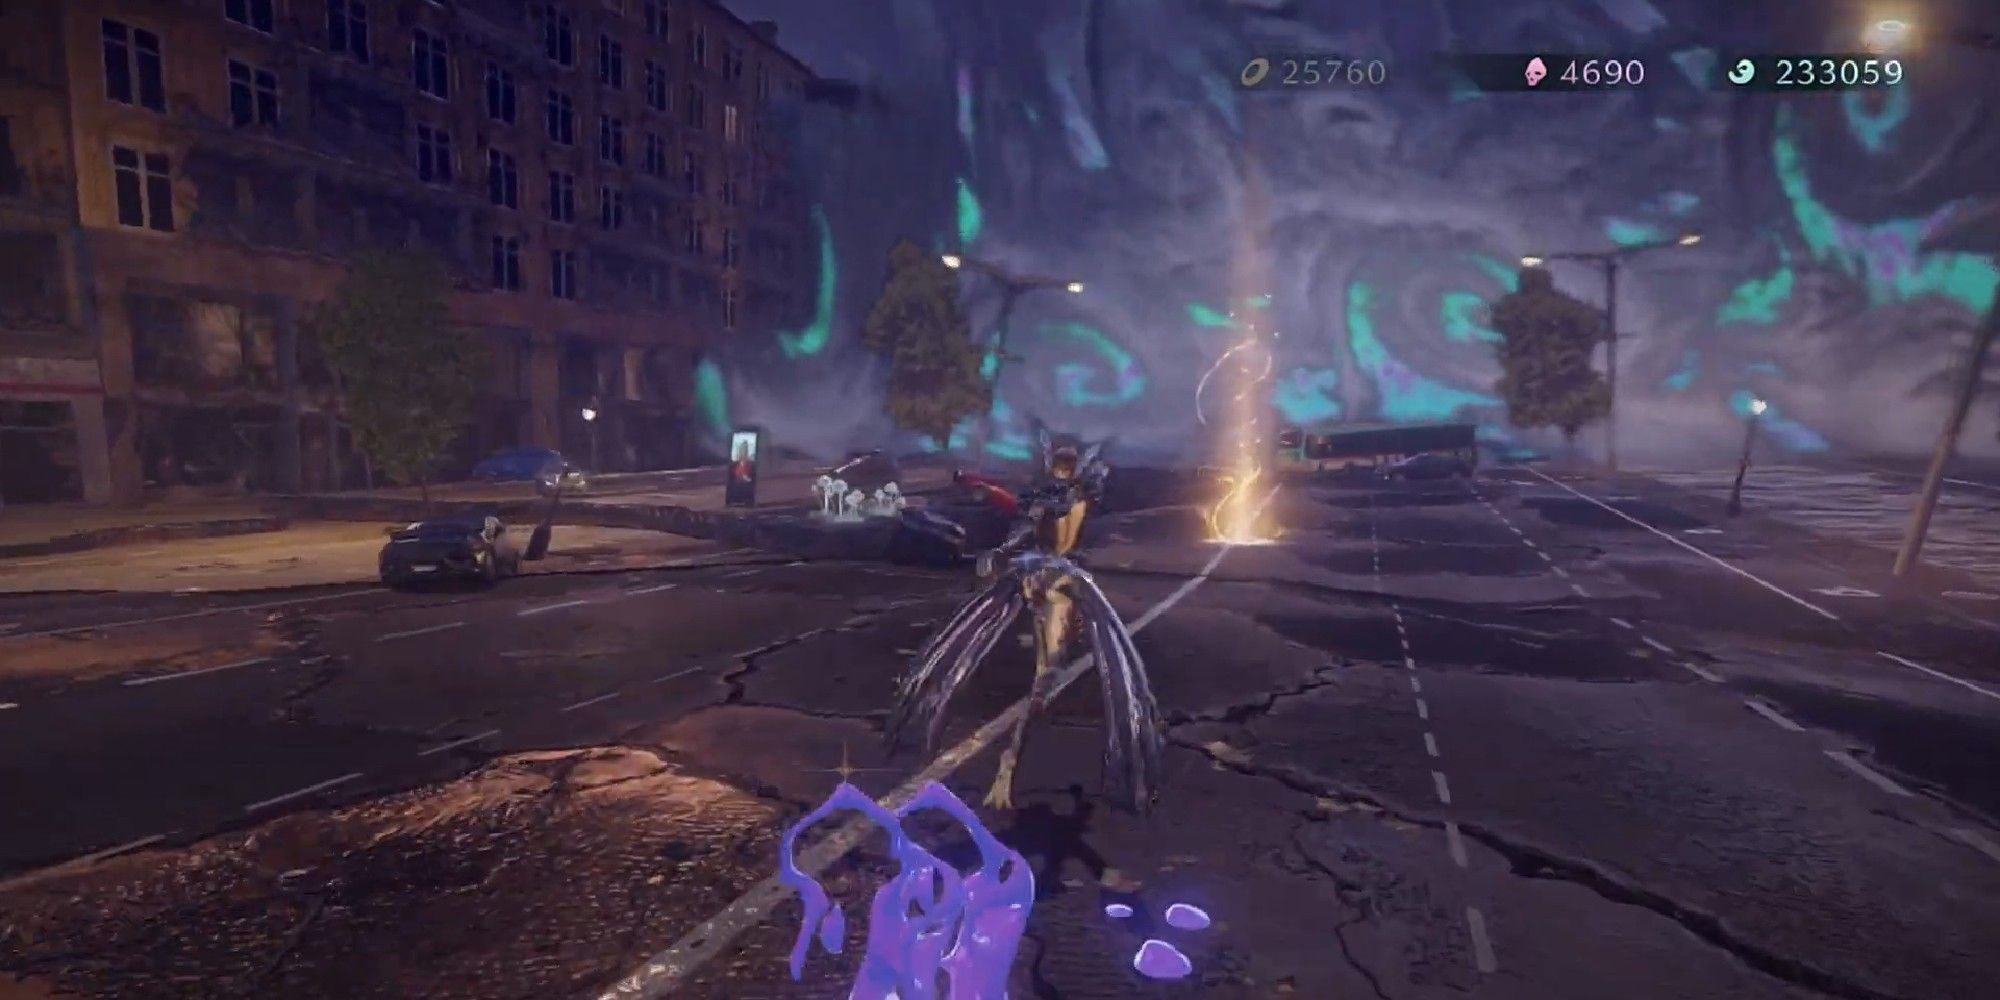
Right after verse one, face the left to an open area and you will see the second verse, which is an angel portal.
Grace and Glory are rather quick, but they have appeared several times throughout the Bayonetta series. Dodge their attacks and activate Witch Time to deal extra damage.
- Enemies: Grace, Glory, Acceptance
Verse #3
Verse three occurs after quite a bit of exploration. First, after verse two, you will need to progress through an underground section, using X Form of Mictlantecuhtli to show the way.
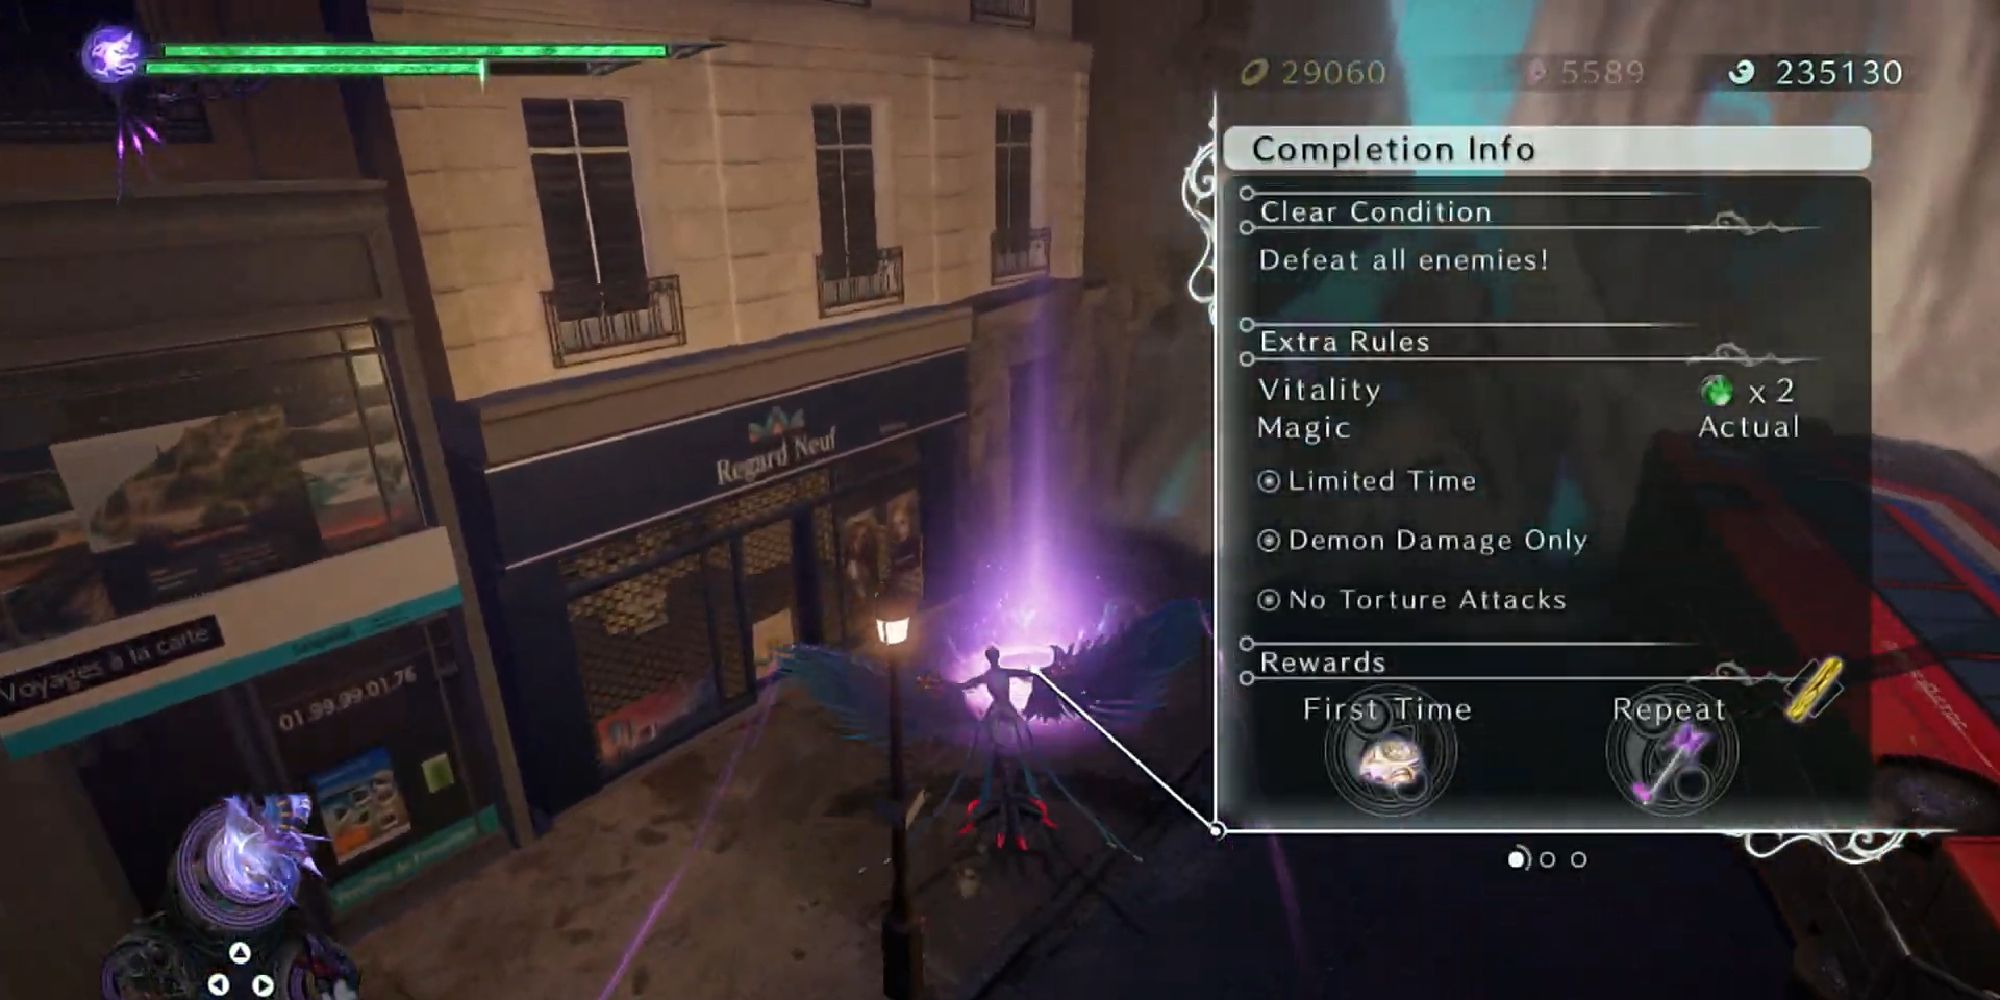
When you emerge from this underground area, you will be on a new street with a Gates of Hell record player. At this spot, turn around (back from the main path). While facing back towards the tunnel you came out of, you should see a street that leads to a dead end.
At the very end of this street, you can find verse three, which is a combat challenge. In this challenge, you can only deal damage with your demon, Mictlantecuhtli. This is quite simple; just stand in the infinite magic moon area and attack.
- Enemies: Cavum, Pannus
Verse #4
Back at the Gates of Hell, proceed forward, where verse four will automatically trigger.
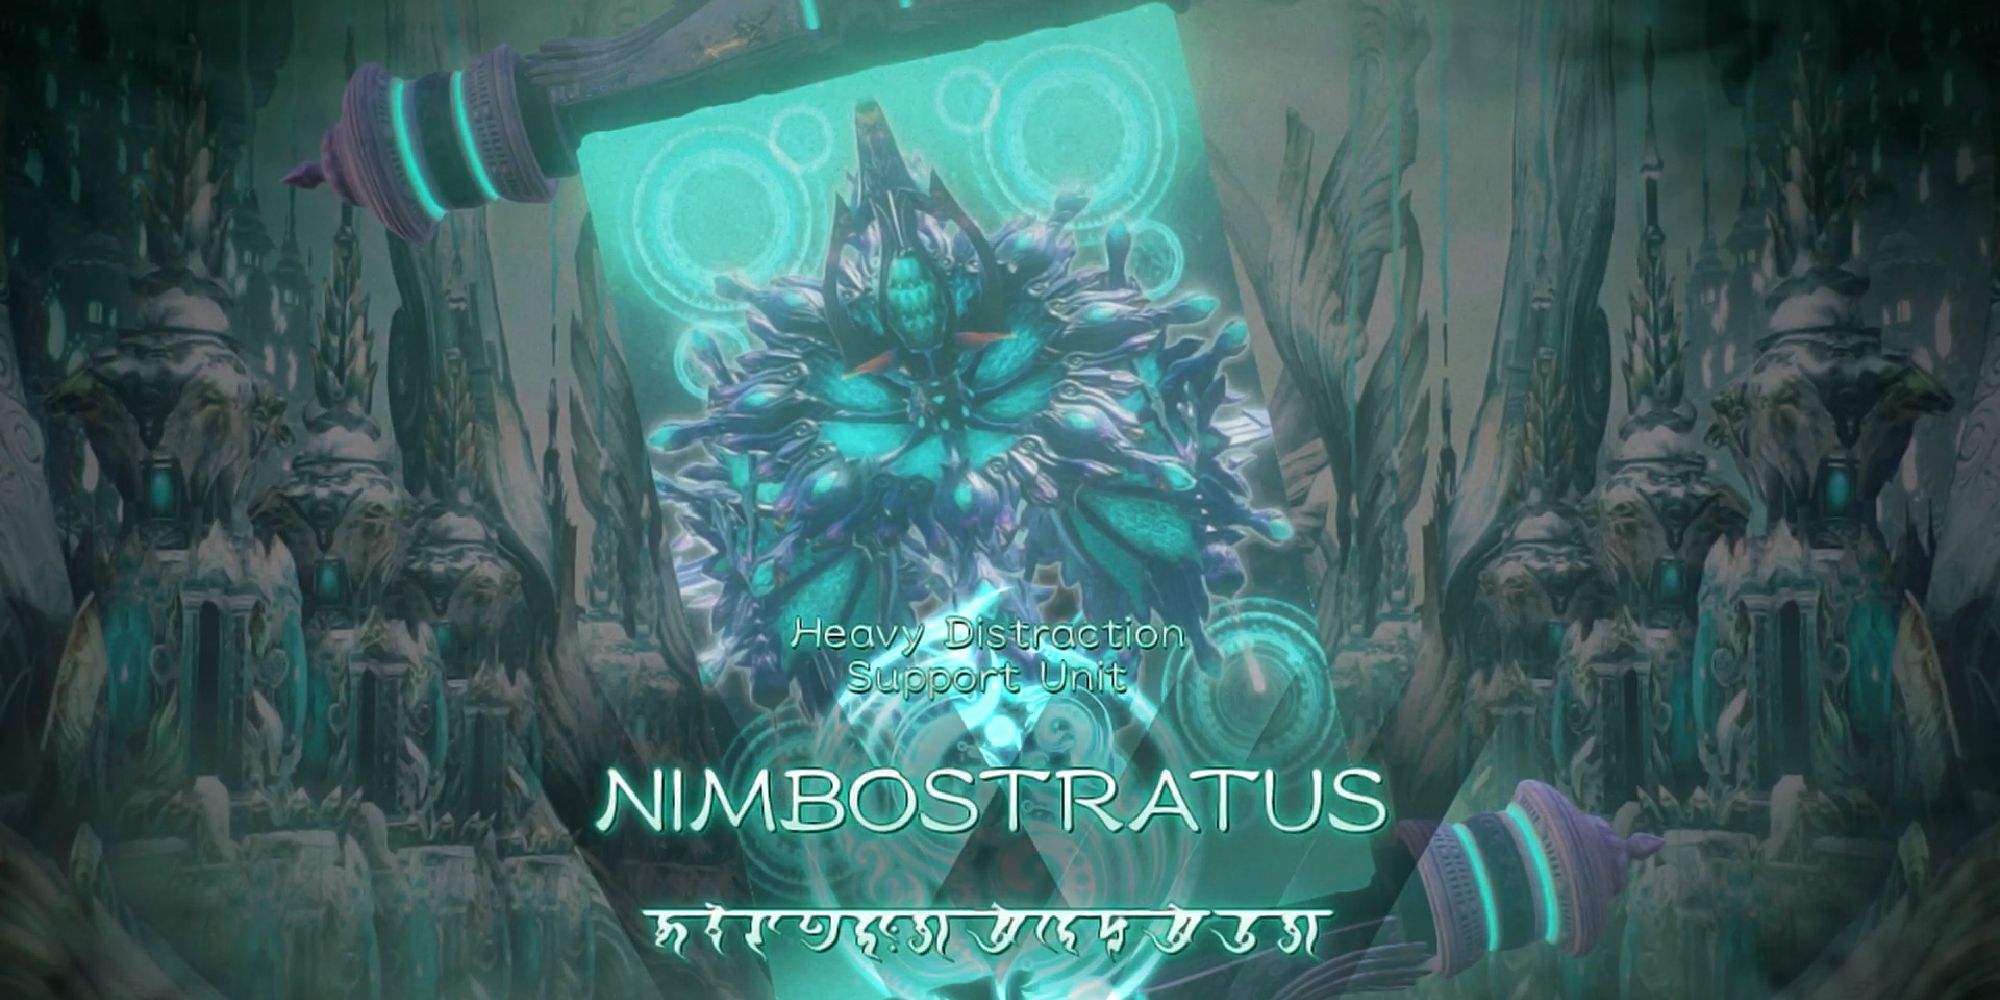
This verse has a new enemy that we haven't seen before, called Nimbostratus, which is very similar to Castellanus. Both of these enemies are tower-like in appearance, surrounded by a barrier that you cannot pass. Using demons, you can deal damage to Nimbostratus and knock down the segments of its tower.
During this fight, smaller enemies will become invisible, but with Mictlantecuhtli's X Form, you can reveal their location.
- Enemies: Nimbostratus, Stratus
Verse #5
From verse four, follow the marker, denoting the main path that you should take. While on this path, you should see a broken door along the wall, nearby some pieces of rubble. When you break this door, verse five will be revealed, which is another combat challenge.
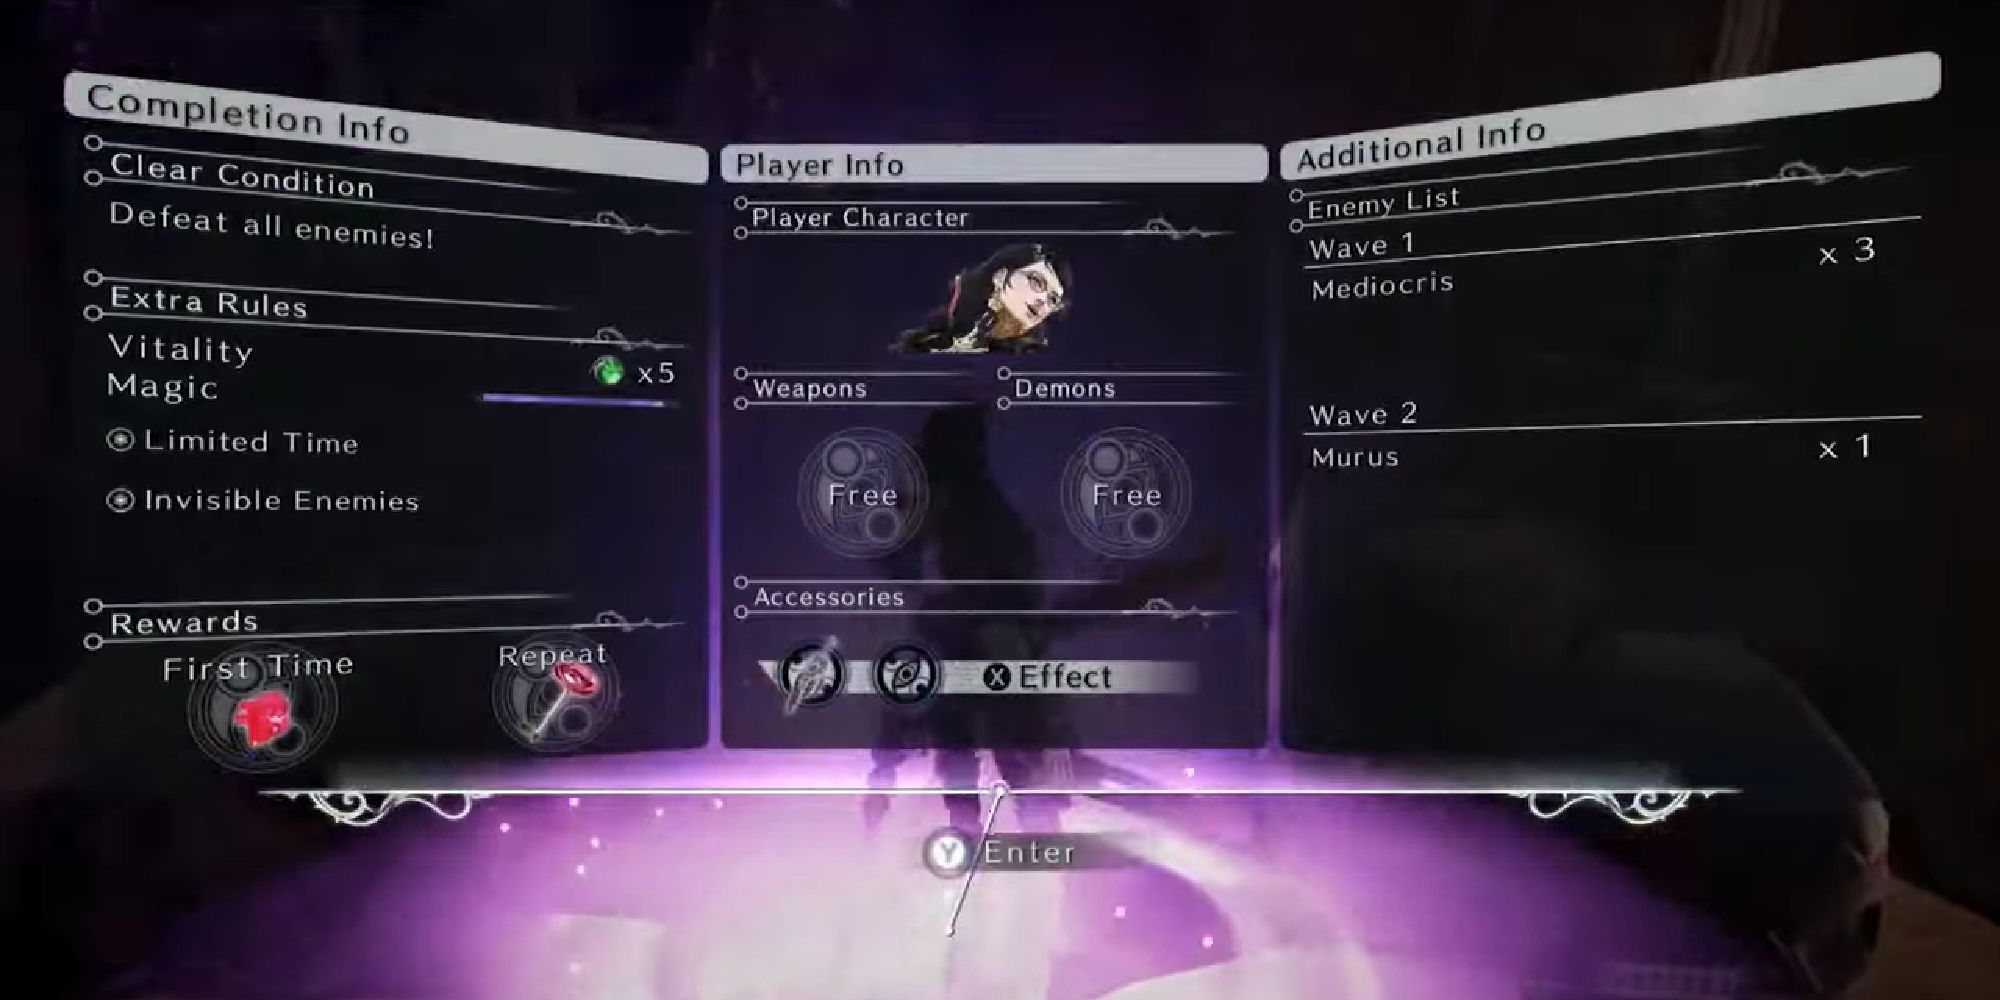
For this challenge, you will need to defeat invisible enemies within the time limit. As they are invisible, you will need to reveal their locations with Mictlantecuhtli's X Form.
Once revealed, you can continue to use Mictlantecuhtli, or switch to another demon. Eventually, the enemies will become invisible again, so you need to continue to periodically use the X Form.
- Enemies: Mediocris, Murus
Verse #6
At this point, you will now be in Ginnungagap. When you arrive, you will see a fight happening in the distance; head this way, and verse six will start.
For this verse, you will need to head across the floating islands quickly, while dodging attacks. You are not required to defeat every enemy you see, you just need to make it across unscathed.
To do so, move fast and dodge often, looking out for the laser that can hit you. Once you make it to the end of this portion, the verse will end and you will be back in Paris.
- Enemies: N/A
Verse #7
Right as you enter back into Paris, proceed forward, where you will watch a cutscene followed by verse seven.
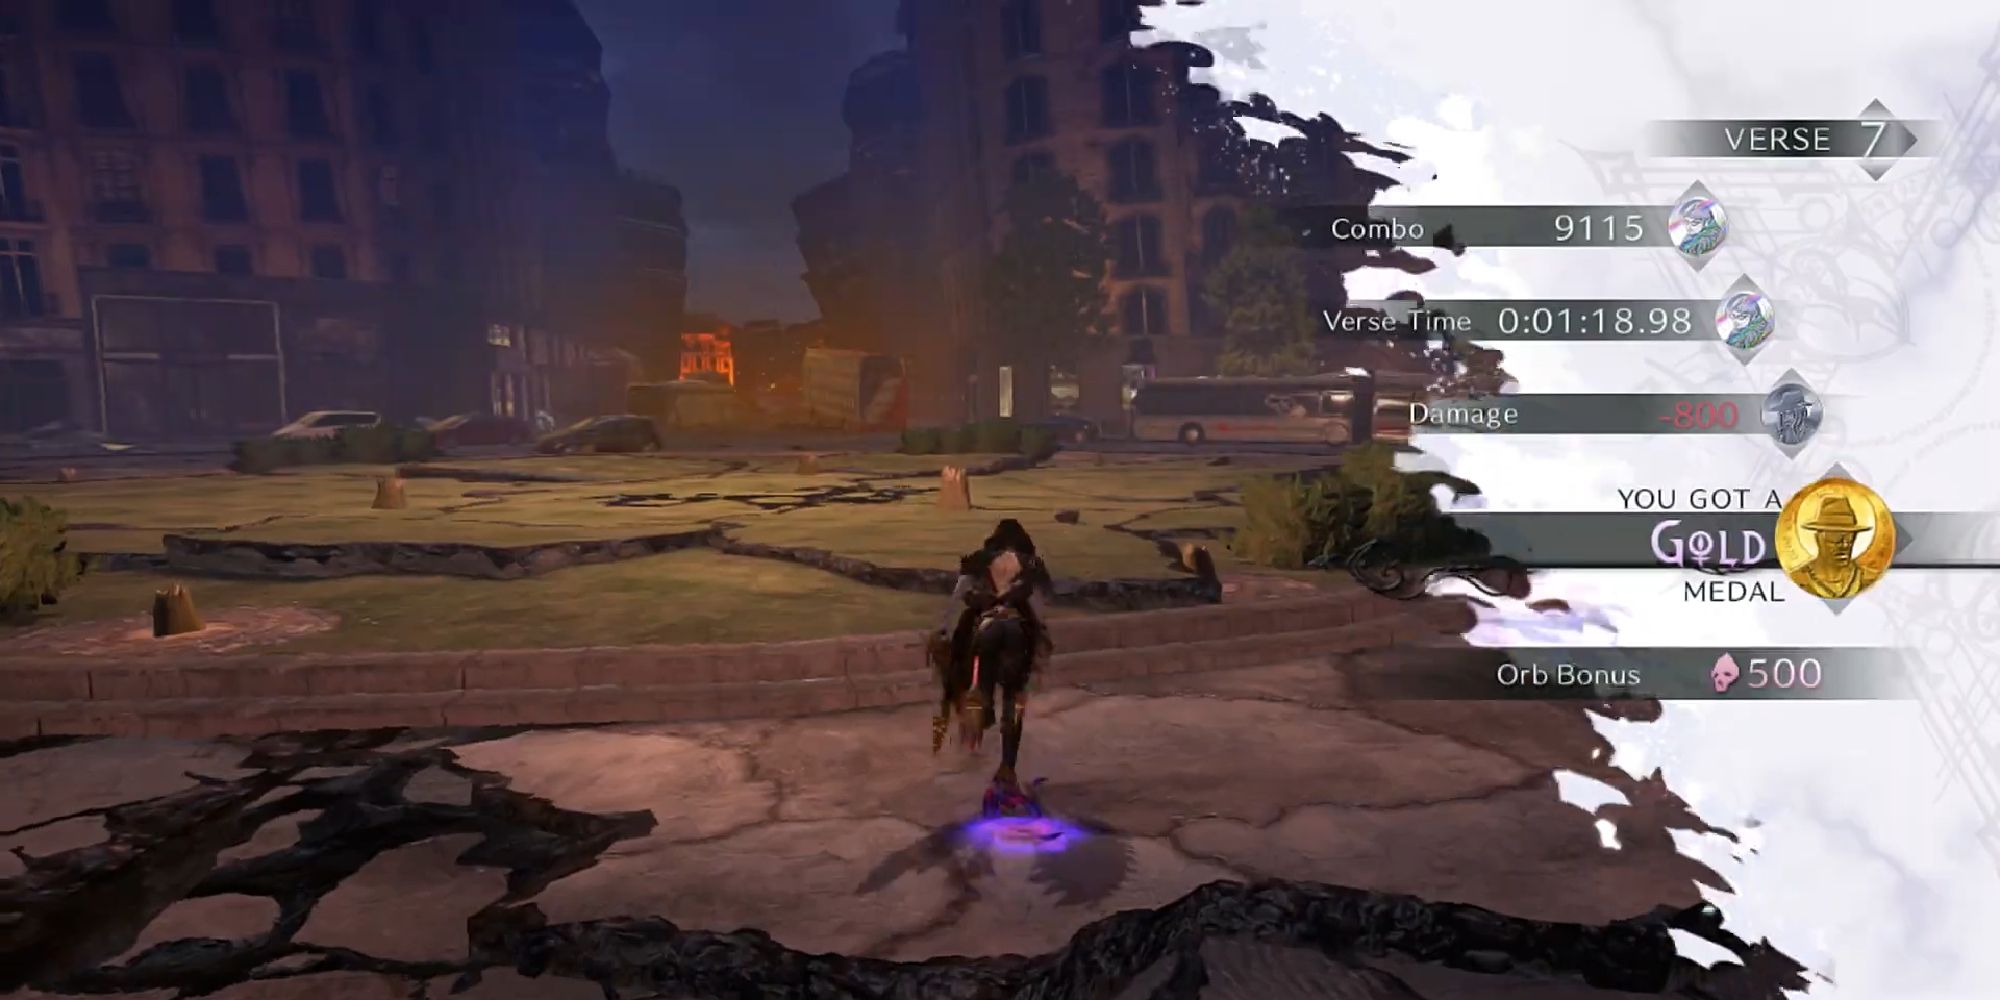
This verse requires you to fight Cumulonimbus, which is a large enemy that is capable of firing lasers. Thankfully, this is not the first time that you have encountered him, and there are no new mechanics to learn.
Defeat Cumulonimbus by attacking from a safe distance while activating Witch Time on his ranged attacks. During Witch Time, you can summon a demon to do extra damage, without the demon taking too much damage itself.
- Enemies: Cumulonimbus
Verse #8
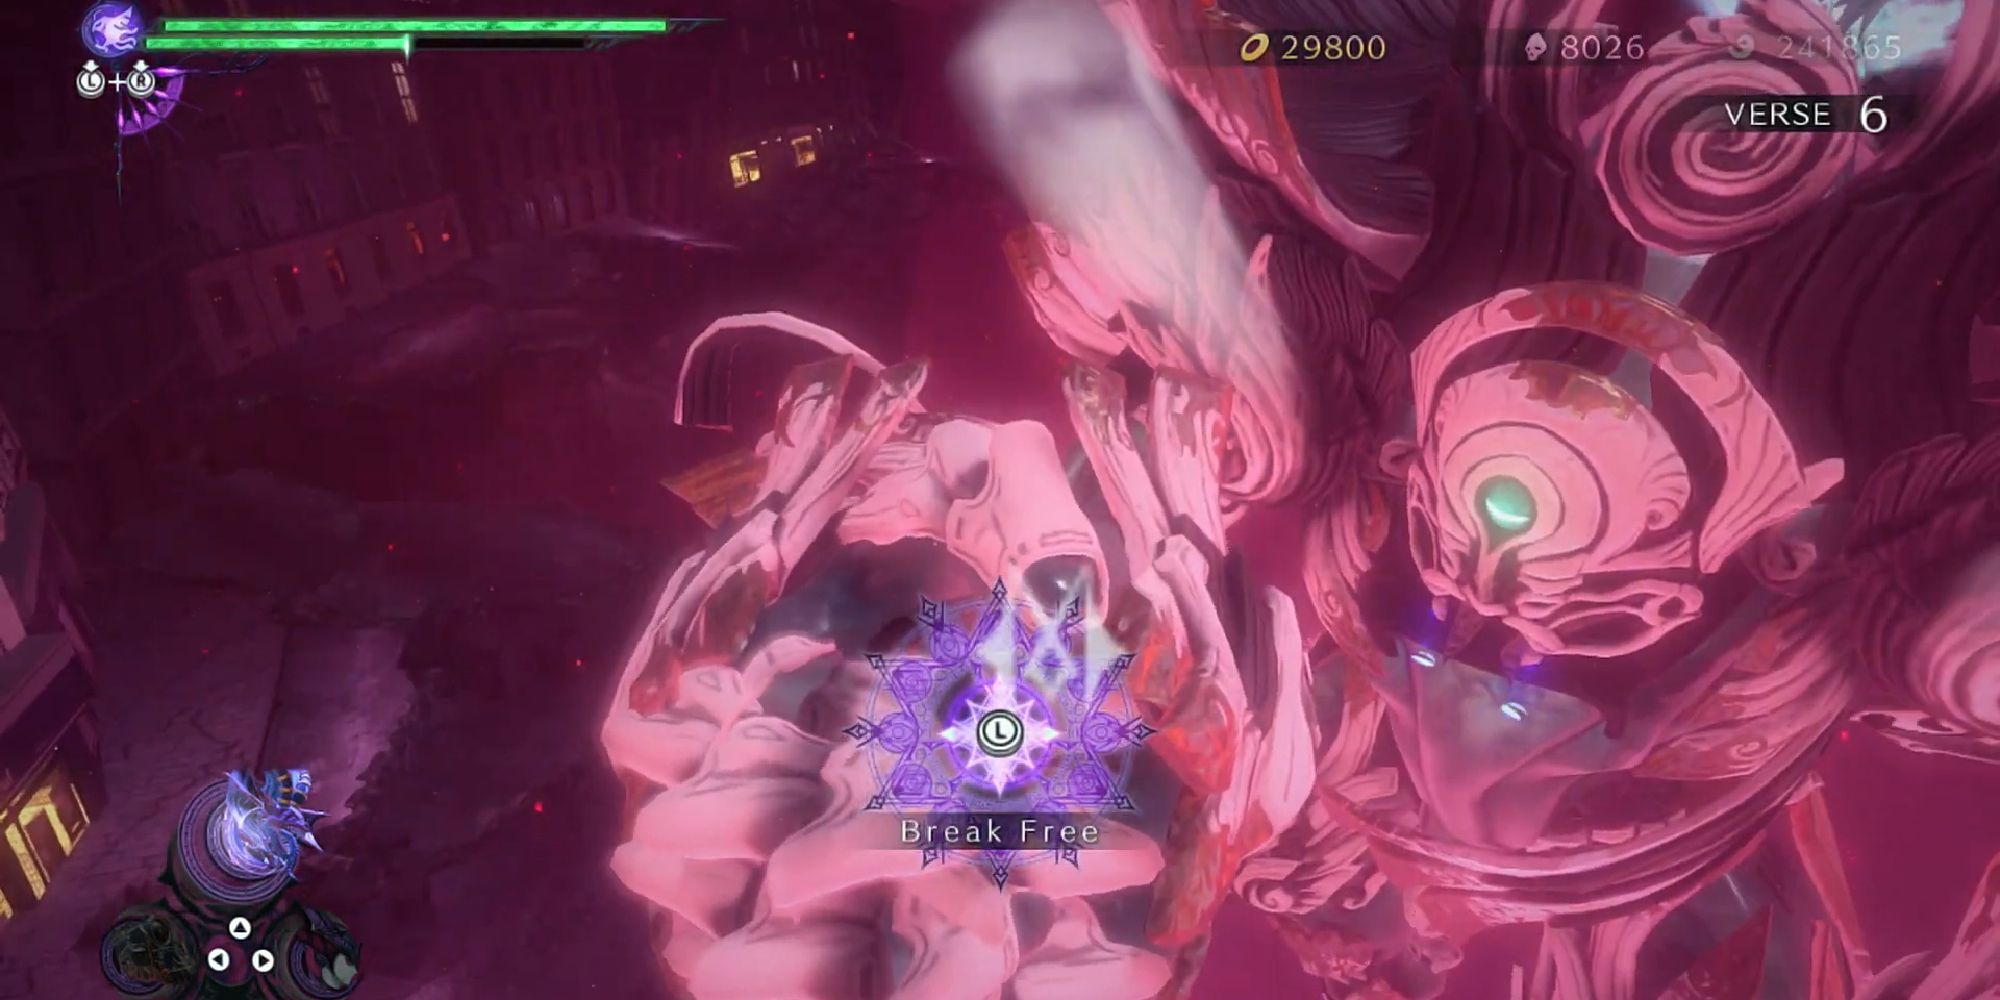
Once again, this is a verse that you cannot miss. Continue moving forward, where you will be face-to-face with Rosa. This Umbran Witch has three health bars and is accompanied by a weapon that can double as a giant shield. Like other Witches, Rosa is very fast, so you will need to stay locked onto her and dodge any incoming attacks.
Eventually, Rosa will summon a bunch of doors, with her true self behind only one. To get this on the first try, use Mictlantecuhtli's X Form. Now, just continue to attack Rosa until she eventually turns into a giant Marionette. Keep attacking, and the verse will end, leading straight into verse nine.
- Enemies: Rosa
Verse #9
This is the final verse of the chapter, which consists of two sections.
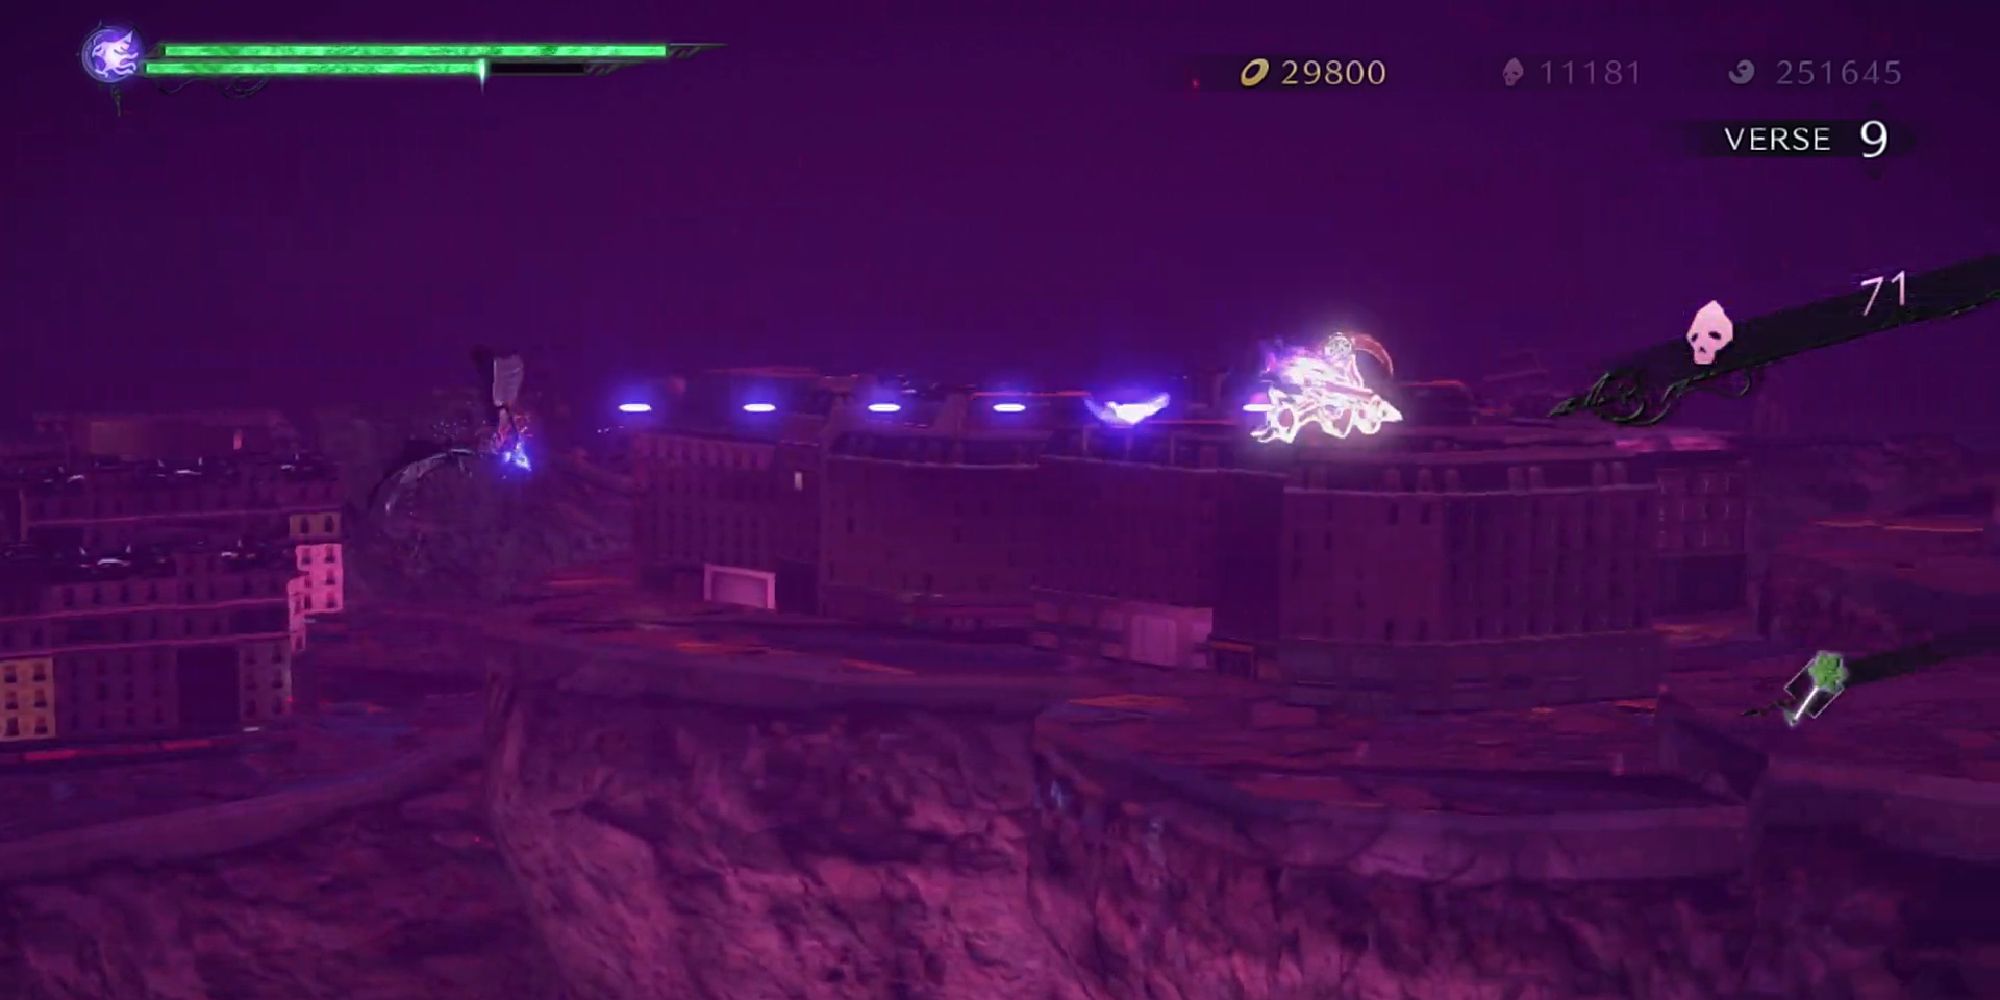
The first section requires you to use Mictlantecuhtli and follow Rosa. This is a side-scrolling type section; you are tasked with avoiding obstacles while shooting Rosa from a distance.
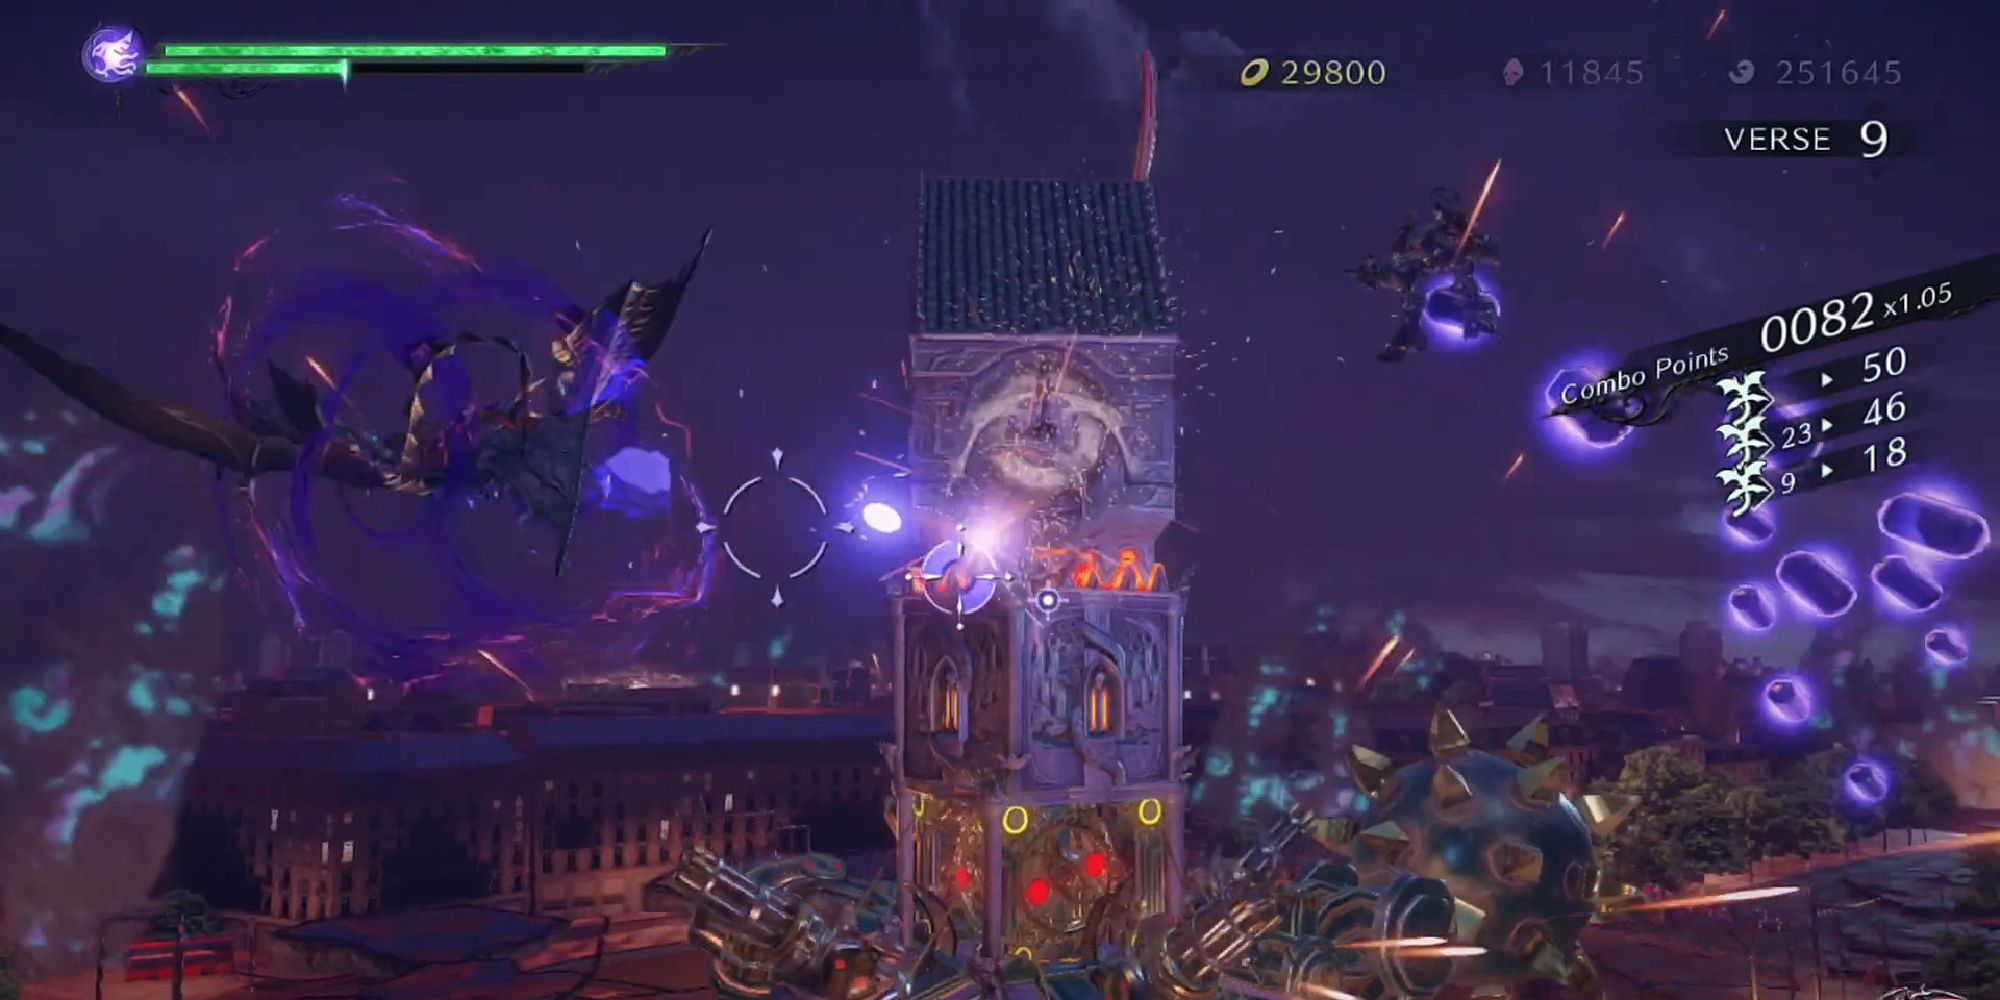
Once you have completed this flying section, the second part will start. It may seem a bit silly, but now you are face-to-face with an Umbran Clock Tower. The tower has four sections, with each section dealing damage. To make matters more complicated, you can only deal damage to a section that is opened.
Whenever a section opens, aim your attacks here until the clock tower runs out of health. When this happens, you will be done with chapter 11!
This is a long and cinematic section. The camera will change angles and prompt you on what to do next, making it easy to follow along.
- Enemies: Rosa, Umbran Clock Tower, Lacunosus, Nimbostratus, Affinity, Virga
Bewitchments
Below, you can find the five Bewitchments available to obtain in chapter 11.
|
Bewitchment |
Requirements/Conditions |
|---|---|
|
#1 - Find the item hidden in the underground tunnel |
While proceeding through the underground tunnel with Mictlantecuhtli's X Form, there is a hidden record that you can find. Check out this guide for its exact location. |
|
#2 - Attack Rosa's Umbran Armor and get the secret item |
During the first section of verse nine, continue to attack Rosa while flying to get this hidden item. |
|
#3 - Avoid all obstacles in the dark whilst riding Mictlantecuhtli |
Once again, during the first section of verse nine, avoid hitting any obstacle using Mictlantecuhtli's X Form. |
|
#4 - Find Rosa behind the right door and attack |
You can easily tell which door Rosa is behind by using Mictlantecuhtli's X Form. |
|
#5 - Defeat 50 Lacunosus while riding Mictlantecuhtli |
During the first section of verse nine, attack at least 50 enemies. There are way more than 50 enemies that can appear, so just be sure to attack any that you see. |
Umbran Tears Of Blood
Last but not least, we have the location of every Umbran Tear.
|
Animal |
Location |
|---|---|
|
Umbran Crow |
After verse two, you will see a vision-like scene, where you first meet Mictlantecuhtli. From the location of this scene, face the right, where the Crow is sitting on some rubble. |
|
Umbran Toad |
In the open tunnel area with the infinite magic spot, you will need to use Mictlantecuhtli and cross to the other side. Once you make it to the other side, face the exit and then do a sharp right turn; the toad will be on a ledge that you can jump down to. |
|
Umbran Cat |
From the location of verse three, you will see the Umbran cat perched on a little canopy in the alleyway. |

