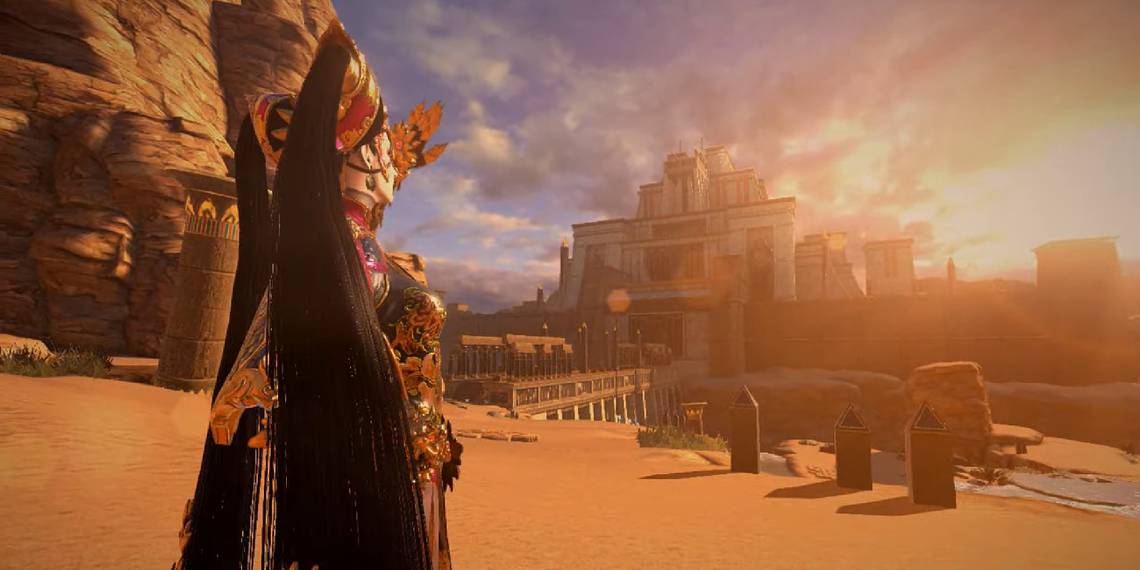
Welcome to the ninth chapter in Bayonetta 3, titled Learning to Fly. Here, you will get to explore Giza and the giant temple. In this guide, we are going to go over a complete walkthrough for this chapter, as well as the Bewitchments that you can obtain.
As usual, this will be broken up into verses, with descriptions of your task and enemies that are involved. Similar to other walkthroughs, we are not including records, card packs, or figure boxes; these can be found in separate guides. Now, let's dive into verse one.
Verse #1

The first verse in the game is an angel portal. From the start of the chapter, head forward and slightly right. Up a stepped cliff, you will see the verse at the top. Along the way, you can find the Umbran Toad in a bush, but we will take a look at that later.
- Enemies: Affinity, Beloved
Verse #2

Verse two begins when you enter the bottom floor of the temple with Malphas surrounding it. The verse looks a bit different than usual, marked with a red portal.
- Enemies: Infernal Demons, Pain
Verse #3

After verse two, head up the tower to the balcony, where you will find a combat challenge. Your goal is to gather 4,000 combo points.
Be sure to keep attacking and dodging, without taking too much damage or straying too far from the enemies.
- Enemies: Stratus, Cavum
Verse #4

Verse four is mandatory, which means you won’t have to go out of your way to find it. When you make it to the top of the temple, you will gain control of the Infernal Demon Malphas. This section is a bit of a tutorial for this demon, so it’s not very difficult.
- Enemies: Stratus, Lacuonosus
Verse #5

Once you enter the Temple of Temptest, you will come across a large room with columns. Here, you will start verse five, which involves fighting against Volutus. In a previous Viola chapter, you have encountered this enemy; once again, it returns with three health bars.
We recommend using Phantasmaraneae to attack from a distance as well as avoid Volutus’ fiery legs. This fight should go a bit smoother than the one with Viola, since it’s easier to activate Witch Time with Bayonetta.
- Enemies: Volutus
Verse #6

Past the entrance to the Gates of Hell, you will enter into a small hallway with columns making up the wall. This area is too small to summon an Infernal Demon, so you will need to rely on Bayonetta’s weapons and Witch Time.
- Enemies: Stratus, Nebulosus
Verse #7

Moving forward from verse six, you will head down a flight of stairs to a giant room. Using Malphas, take out the wave of Lacunosus that appear. This should be relatively easy.
- Enemies: Lacunosus
Verse #8

In the room after verse seven, you will then proceed into a smaller room with verse eight on the right side. This is a combat challenge that requires you to defeat a group of enemies on island-like terrain.
Using Malphas again, attack the enemies around you from the air.
- Enemies: Fractus, Laconosus, Cavum, Spissatus
Verse #9

From the combat challenge, head forward into another room filled with sand. At first, you will need to defeat two Radiatus’, followed by a Tuba. This enemy will burrow under the sand to attack; be sure to keep moving so it doesn’t attack you from below.
- Enemies: Radiatus, Tuba
Verse #10

After the puzzle room with large fans that need to be activated, you will come across a treasure room, where verse ten will immediately begin. This is another difficult enemy with three health bars.
Fortunately, the room is quite spacious, allowing you to summon Infernal Demons and make quick work of the Cumulonimbus.
- Enemies: Cumulonimbus
Verse #11

Climb the staircase after verse ten, and a cutscene will occur. When the cutscene ends, you will be flung into verse 11. Rather than fighting enemies, you will need to navigate through a tunnel without running into obstacles.
On occasion, Stratus will appear, with the camera focusing on them for you to attack. This is a very cinematic section, but at each new portion, your goal will be quite obvious.
- Enemies: Stratus
Verse #12

Once you finish verse 11, a cutscene will happen, which leads into verse 12. In this verse, there are two phases, with the first one tasking you to defeat Fractus and Nebulosus.
During phase two, you will need to defeat two enemies, named Cirrostratus and Cirrocumulus. These are large enemies that appear on both sides of the scale.
The scales in this verse move! This means that if you summon a demon, the scales will begin to move due to their weight.
Try not to make one scale get too low and dip into the clouds.
Cirrocumulus (red) will use electrical attacks while Cirrostratus (blue) will use wind attacks. Overall, this is a long fight; be sure to dodge any attack to avoid being stun-locked.
- Enemies: Fractus, Nebulosus, Cirrostratus, Cirrocumulus
Verse #13

This is the final verse in chapter 13! The two bosses from the previous section will now combine into one.
There is a 300-second time limit for this verse, which is exactly five minutes.
At the start, you will be in control of Phantasmaraneae. Here, you will just need to run in a circle while occasionally attacking the core of the enemy.
When the core moves to the head, you can switch to Malphas and do damage from above. Continue with a similar pattern, circling and doing damage.
Once again, switch back to Phantasmaraneae when the enemy moves forward. As Phantasmaraneae, you can jump onto the enemy and attack the core. Repeat this process a second time, and the verse will come to a close.
- Enemies: Stratocumulus
Bewitchments

Next, let's go over the five Bewitchments that can be completed in chapter nine.
|
Bewitchment |
Requirements/Conditions |
|---|---|
|
#1 - Scare off 20 resting wild Malphas demons |
Prior to verse two, attack all the small Malphas demons outside the temple. |
|
#2 - Escape from the clouds of erasure without touching them |
After verse nine, you will race down a hallway where clouds chase behind you. Avoid touching clouds to get this Bewitchment. |
|
#3 - Complete the sand sliding portion without hitting any obstacles |
During verse 11, there is a portion where you surf down a sandy path. Jump and dodge to avoid hitting obstacles here. |
|
#4 - Avoid touching clouds of erasure during the battle on the scales |
In verse 12, do not touch the clouds that are under the scales. If a scale is too low down, be sure not to summon an Infernal Demon; this will add weight to the scale. |
|
#5 - Perform 5 torture attacks during the battle atop the Tower of Pacts |
Malphas can easily trigger torture attacks, so during the tutorial section with this demon, just attack every enemy around you. |
Umbran Tears of Blood

Lastly, we have the Umbran Tears of Blood. There are three in this chapter, which you can find below.
|
Animal |
Location |
|---|---|
|
Toad |
Right after the second starts, head right toward verse one. On the way up the stepped cliff, you can find the Umbran Toad in a bush. |
|
Crow |
After verse five, you will come to a large puzzle room with several windmills. When the puzzle is complete, face the windmill the left of the exit. On this windmill, you can find the Umbran Crow. |
|
Cat |
After verse seven, head to the doors to the next room. Prior to leaving, face the right; here, you can find an Echoes of Memory, as well as the Umbran Cat. |