Quick Links
Part of what makes FromSoftware’s RPGs so great is the sheer amount of optional content at play. Demon’s Souls doesn’t have as much, but Dark Souls set a precedent that Bloodborne only ran wild with. Roughly half the bosses in the game are completely optional, which makes sense considering how few areas in Bloodborne are actually mandatory.
What’s surprising is which bosses specifically are optional. Quite a few feel like they’re in the path of regular gameplay, but everyone’s playthrough is naturally different. Bloodborne is a game that caters to dozens of play styles, which means not everyone is going to end up finding all the optional bosses – whether they want to or not.
Updated on May 21, 2022 by Ryan Bamsey: Bloodborne is a long, grueling challenge, but that's half the fun! While these bosses are technically optional, missing out on them means you're not experiencing everything the game has to offer - still, though, they can be pretty tough. We've gone ahead and added some more tips on how to beat these bosses, as well as some pointers as to why you should fight them in the first place!
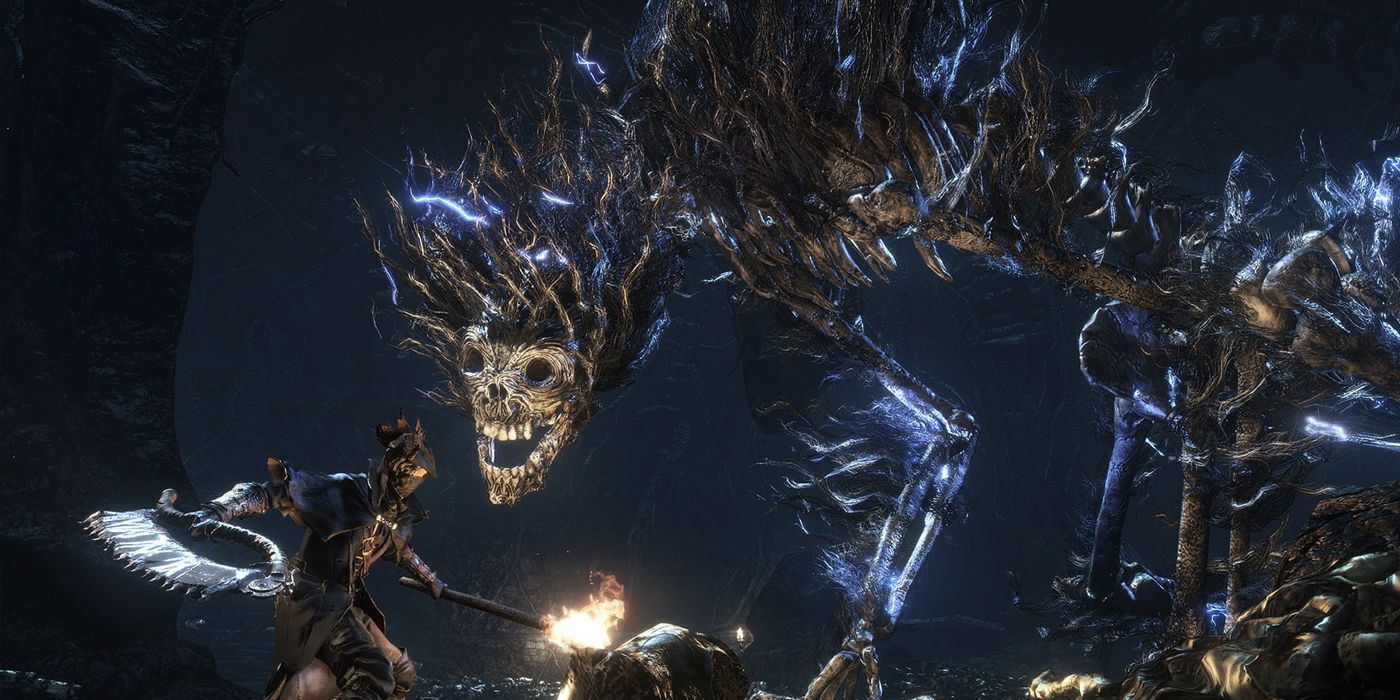
Cleric Beast (Great Bridge)
- HP: 3,015
- Blood Echoes: 4,000
- Drops: Sword Hunter Badge
The Sword Hunter Badge unlocks some items for purchase at the shop in the Hunter's Dream, including the Kirkhammer weapon.
Contrary to popular belief, the Cleric Beast is not the first mandatory boss in Bloodborne. That honor actually belongs to Father Gascoigne. That said, the Cleric Beast is clearly intended to be the first boss you come across. The road to Gascoigne is simply too long for a first-time player, and the Cleric Beast is stationed right at the end of the Great Bridge – an area most Hunters will be naturally drawn to, if not assume is where the game is outright leading them towards.
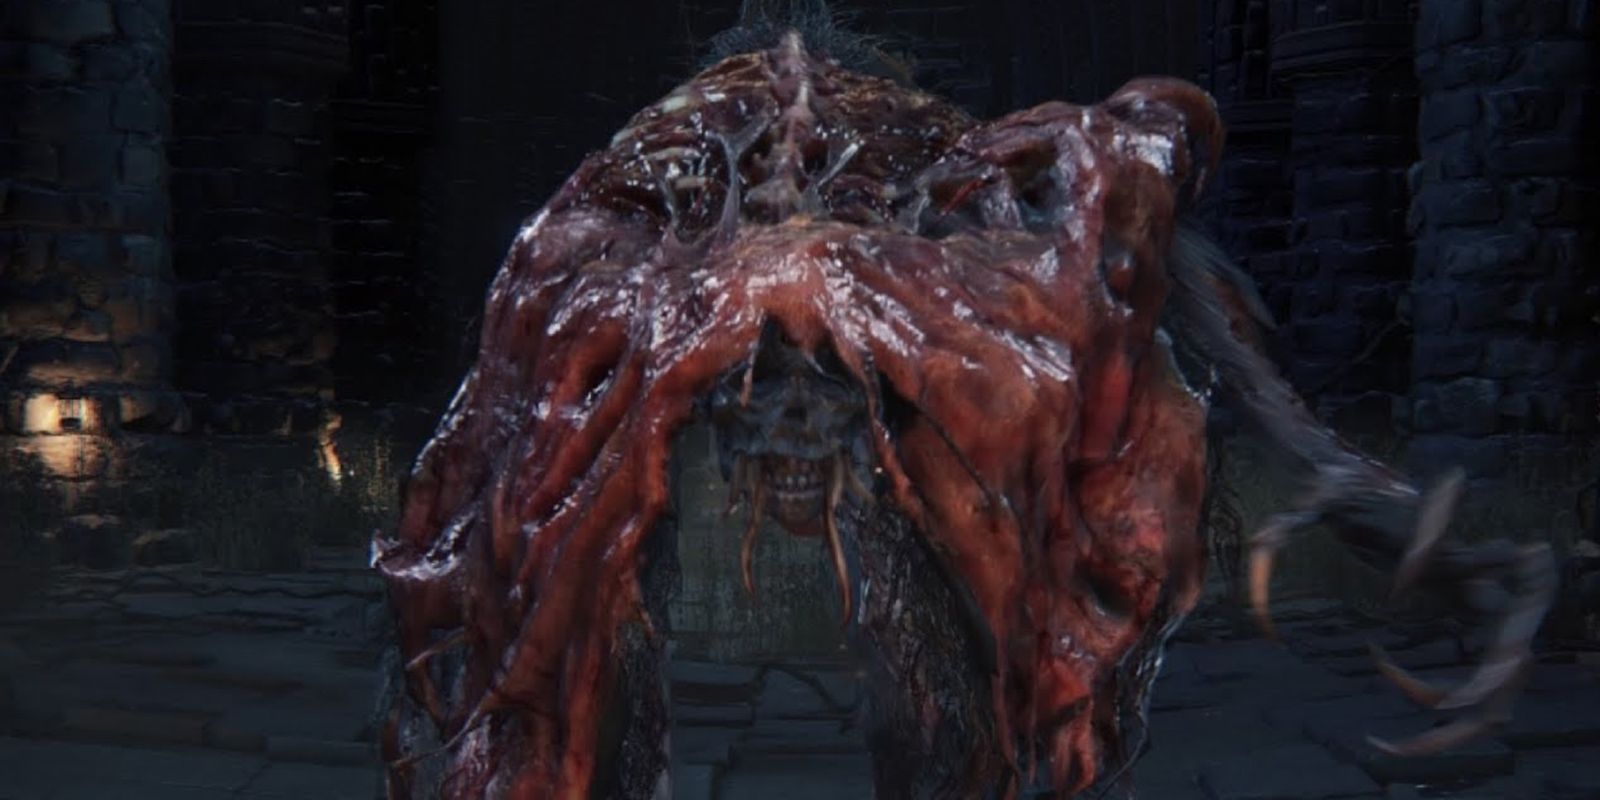
Despite potentially being the first fought boss in Bloodborne, the Cleric Beast is much harder than any opening fight from the Dark Souls games. The Cleric beast fights fast, hits hard, and goes through wild phase changes that demand you pay attention. Above all else, the key to this fight is focus. Keep an eye on the Cleric Beast's arms, dodge all the attacks you can, and get your hits in.
If you have the Old Hunter Bell, you can summon Father Gascoigne to help you out in this fight! Of course, you can't have killed him yet. His summoning sign is just down the flight of stairs to the left of the Central Yarnham warp point.
Blood Starved Beast (Old Yharnam)
- HP: 3,470
- Blood Echoes: 6,600
- Drops: Pthumeru Chalice
You'll need to fight this boss if you want to access Chalice Dungeons.
The Blood Starved Beast can be found at the very end of Old Yharnam, but never actually has to be fought if players don’t care about gaining access to the Hypogean Gaol. The Blood Starved Beast also plays a minor role in Djura’s questline. While the Blood Starved Beast isn’t too difficult to dodge or combo, it deals a nasty amount of poison damage, so be sure to keep a few Antidotes on hand while hunting through Old Yharnam.
The Blood Starved Beast has the potential to be a serious wall on account of its poison, but its regular strikes deal a nasty amount of damage too. Going through three distinct phases, the Blood Starved Beast can actually be parried consistently throughout the battle and is weak to Fire.
If you have the Old Hunter Bell, you can summon Alfred to help you in this fight. Once you beat Vicar Amelia, however, this strategy becomes unavailable. His summon sign is to the right of the chapel.
The Witch Of Hemwick (Hemwick Charnel Lane)
- HP: 2,611
- Blood Echoes: 11,800
- Drops: Bloodshot Eyeballs
While she doesn't drop the item herself, you need to beat this boss to acquire the nearby Rune Workshop Tool, which allows you to utilize Caryll Runes.
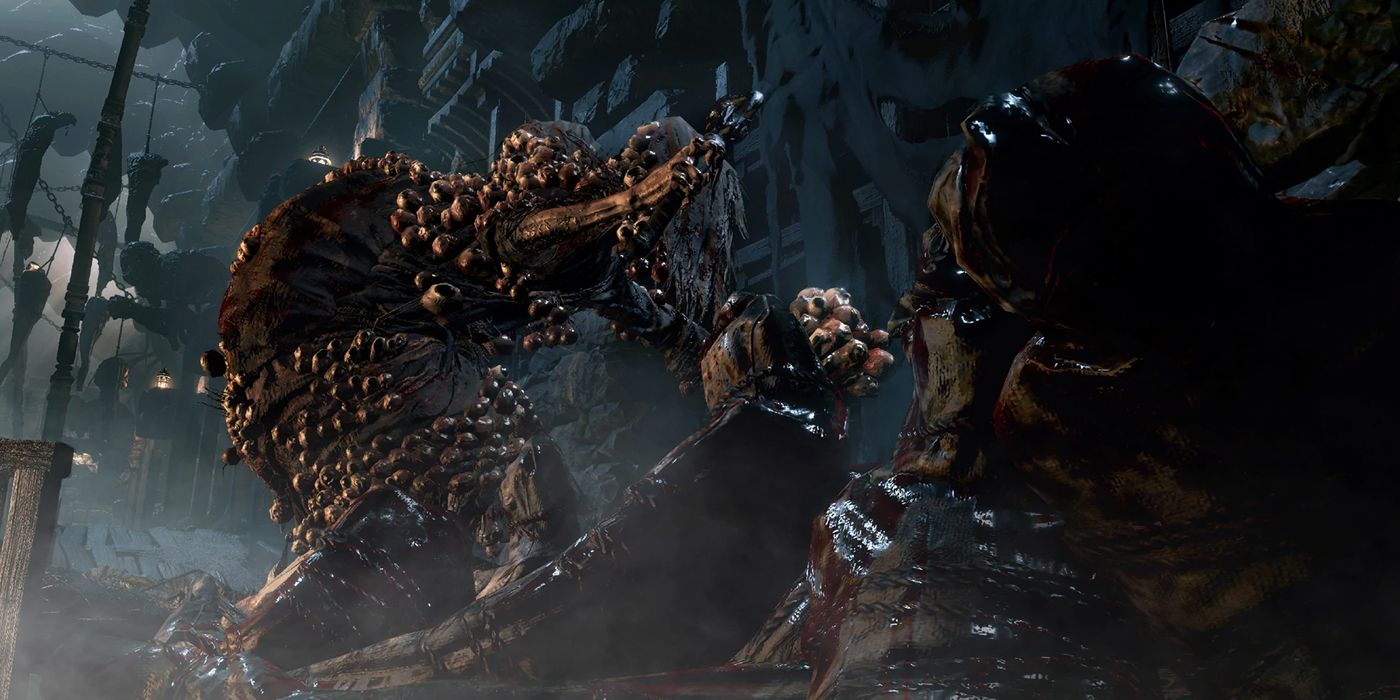
Conveniently located at the very end of Hemwick Charnel Lane (and virtually impossible to miss as a result), the Witch of Hemwick is one of the more creative bosses in Bloodborne. She’s actually a dual boss, but the second Witch of Hemwick isn’t immediately noticeable. The Witches will teleport around the room as well, making it difficult to keep track of which witch is where and which witch is which.
The Witches of Hemwick will also summon Mad Ones if you have at least one Insight (which will almost certainly be the case). It’s important to try and kill both Witches in close proximity to one another. If one Witch is killed early and the other is left alive for too long, she’ll revive her fallen sister.
Darkbeast Paarl (Hypogean Gaol)
- HP: 4,552
- Blood Echoes: 23,100
- Drops: Spark Hunter Badge
Like the Blood Starved Beast, Darkbeast Paarl plays a key role in Djura’s questline. To reach the Blood Starved Beast, players must first get kidnapped by a Snatcher outside of Cathedral Ward (only possible after defeating the Blood Starved Beast). Upon “dying” to the Snatcher, players will wake up in the Hypogean Gaol. Darkbeast Paarl will be at the very end of the area.
While intimidating, Paarl isn’t too difficult – especially if you prioritize Bolt resistance. Paarl's legs can actually be damaged to topple him over, and each leg will knock him down once per battle so take advantage of this fact. Beyond that, keep behind Darkbeast Paarl and dodge accordingly.
Paarl is particularly susceptible to fire damage! Bring along a few Molotov Cocktails and some Fire Paper for an easier time.
Martyr Logarius (Castle Cainhurst)
- HP: 9,081
- Blood Echoes: 25,600
- Drops: Crown of Illusions
You can use the Crown of Illusions to access a hidden room in the boss arena. It leads to Annalise, Queen of the Vilebloods, who lets you join her Covenant. Simply equip the Crown to dispel the illusion.
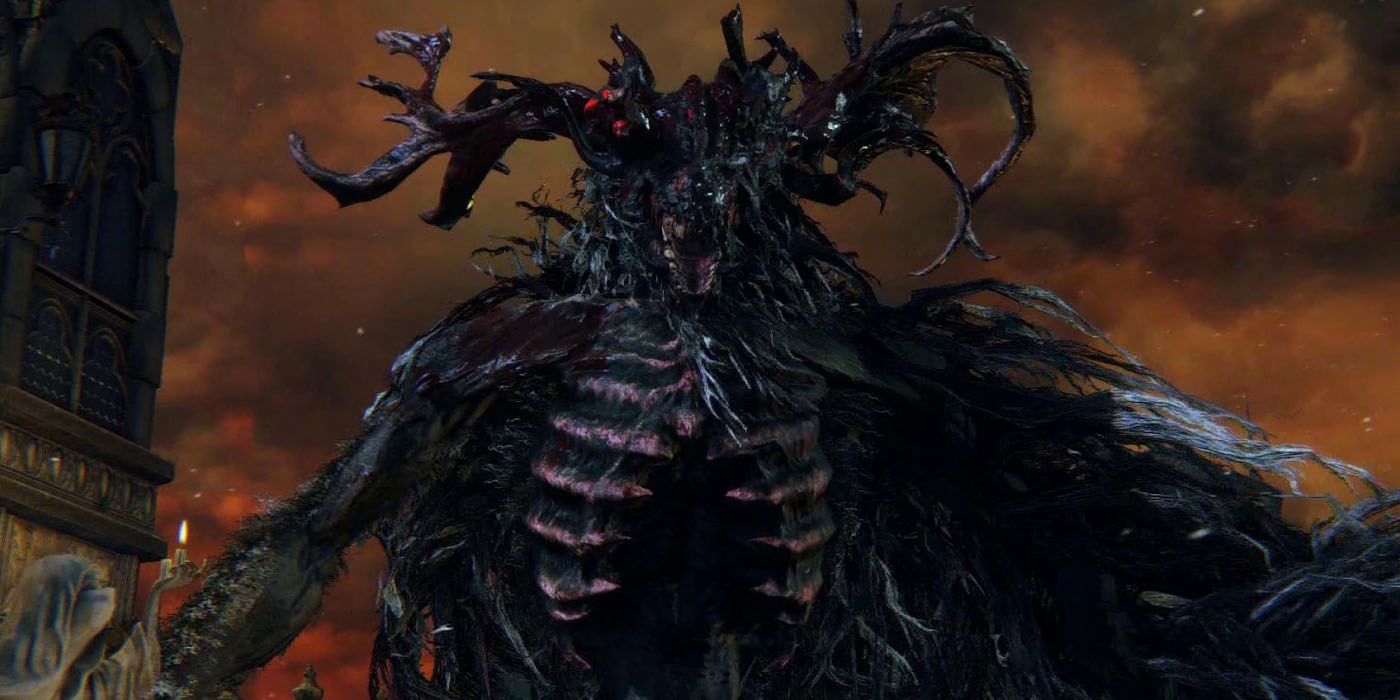
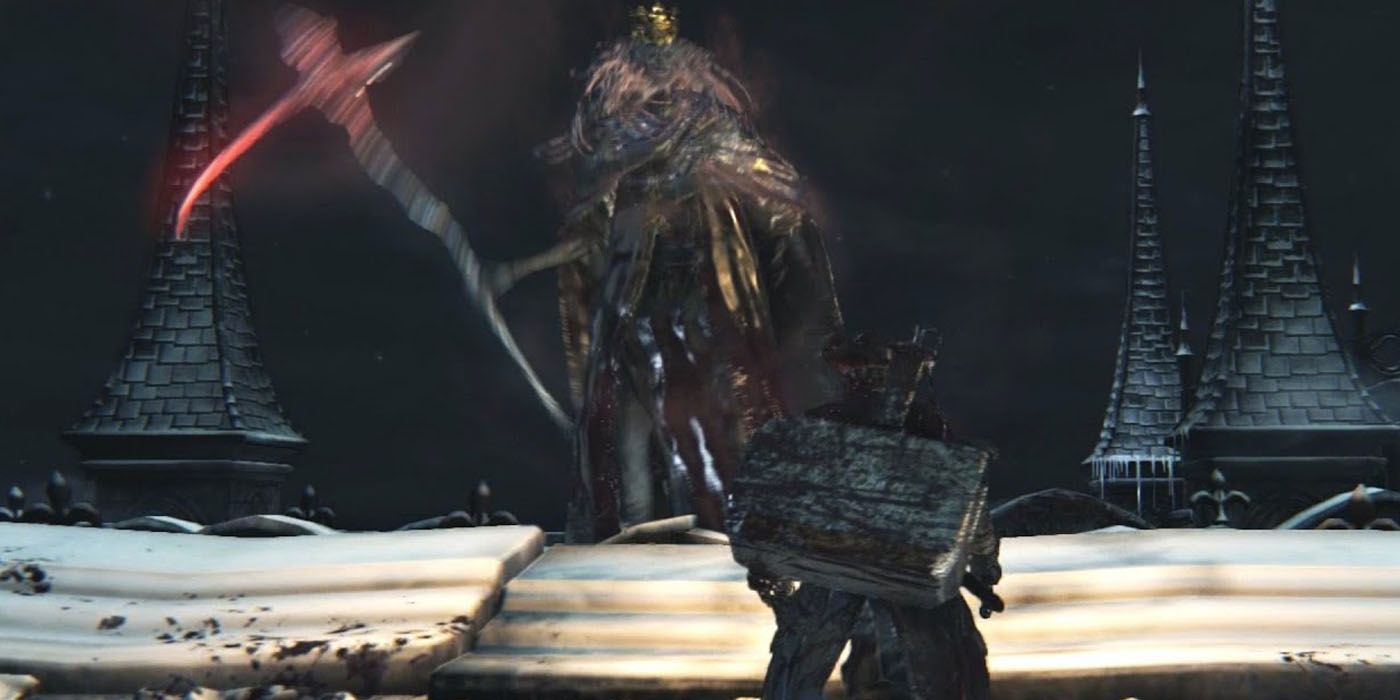
Found at the very top of Castle Cainhurst, Martyr Logarius is one of the hardest bosses in Bloodborne. His rooftop boss arena makes it easy for careless Hunters to roll to their deaths, and the fact Logarius suddenly starts fighting face to face in the second phase of the battle makes for a particularly tense reversal.
It might seem extremely dangerous, but the safest way to fight Logarius is to stay locked on, keep close, and respond to his actions. Actually getting to Castle Cainhurst requires the Cainhurst Summons from Iosefka’s Clinic – accessible through a shortcut in the Forbidden Woods swamps. The Summons can then be used at the obelisk in Hemwick Charnel Lane (right by the Witch’s Lantern) to take a coach ride to the Castle.
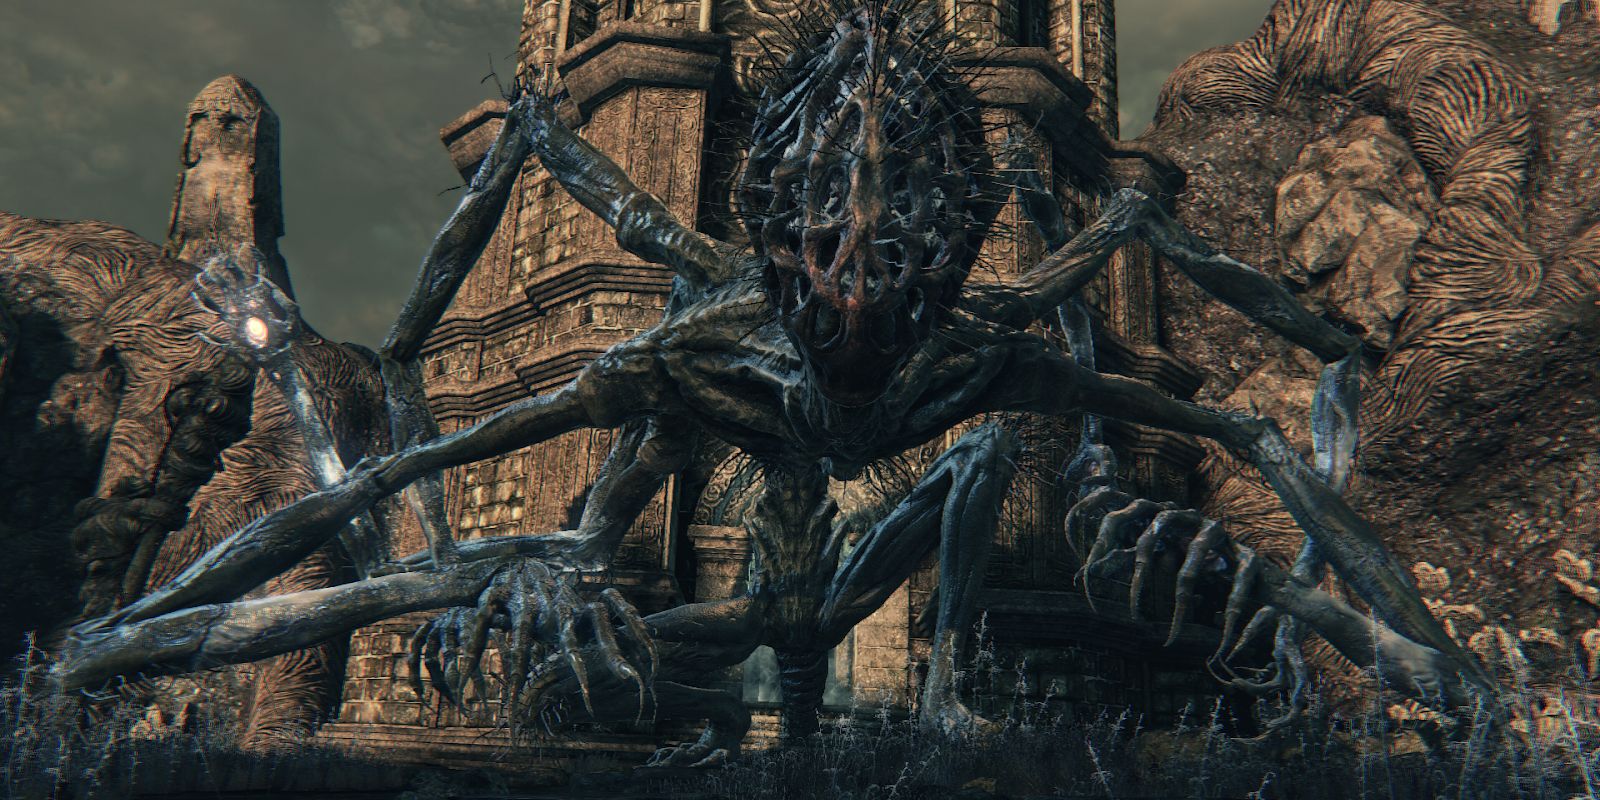
Amygdala (Nightmare Frontier)
- HP: 6,404
- Blood Echoes: 21,000
- Drops: Ailing Loran Chalice
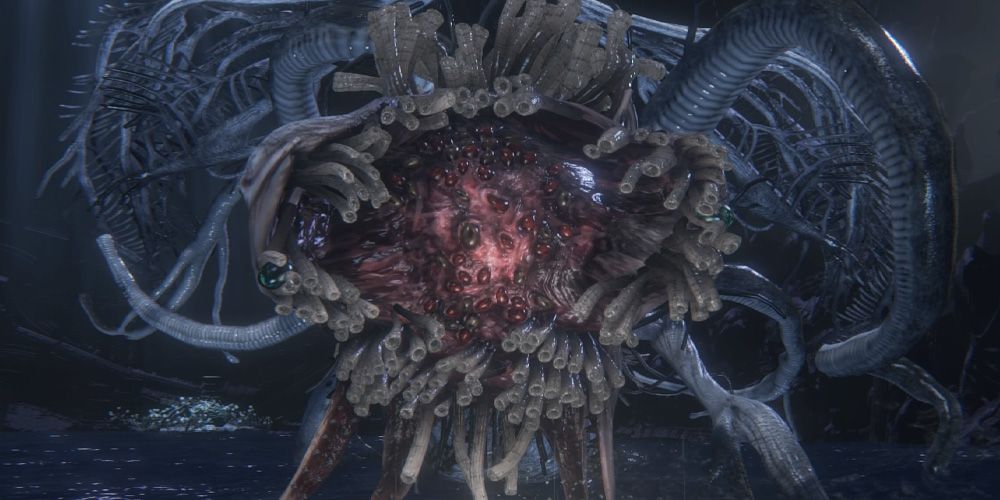
The boss of the Nightmare Frontier, Amygdala, is one of the harder Great Ones in Bloodborne. The Nightmare Frontier is a harsh area in general, but Amygdala is especially threatening for melee characters. Only its head and arms are susceptible to any real damage. Gunslingers and Arcanists will naturally have an easier time, but they have to contend with actually getting through the Nightmare Frontier in one piece.
Thanks to attacks with wide arcs and bizarre movements, Amygdala can prove to be challenging for even Bloodborne veterans. Fortunately, Amygdala is weak to Arcane, Bolt, and Fire damage along with sporting low health. Melee players should aim for either Amygdala's head or arms since they're the only parts of the boss actually weak to physical strikes, but try to avoid blunt damage if you can.
Try using A Call Beyond - this hunter tool emits multiple beams of light, and large enemies will be struck by most or all of them. You can find this tool in the Upper Cathedral Ward behind the boss fight detailed below - the Celestial Emissary.
The Celestial Emissary (Upper Cathedral Ward)
- HP: 2,764
- Blood Echoes: 24,640
- Drops: Communion Rune
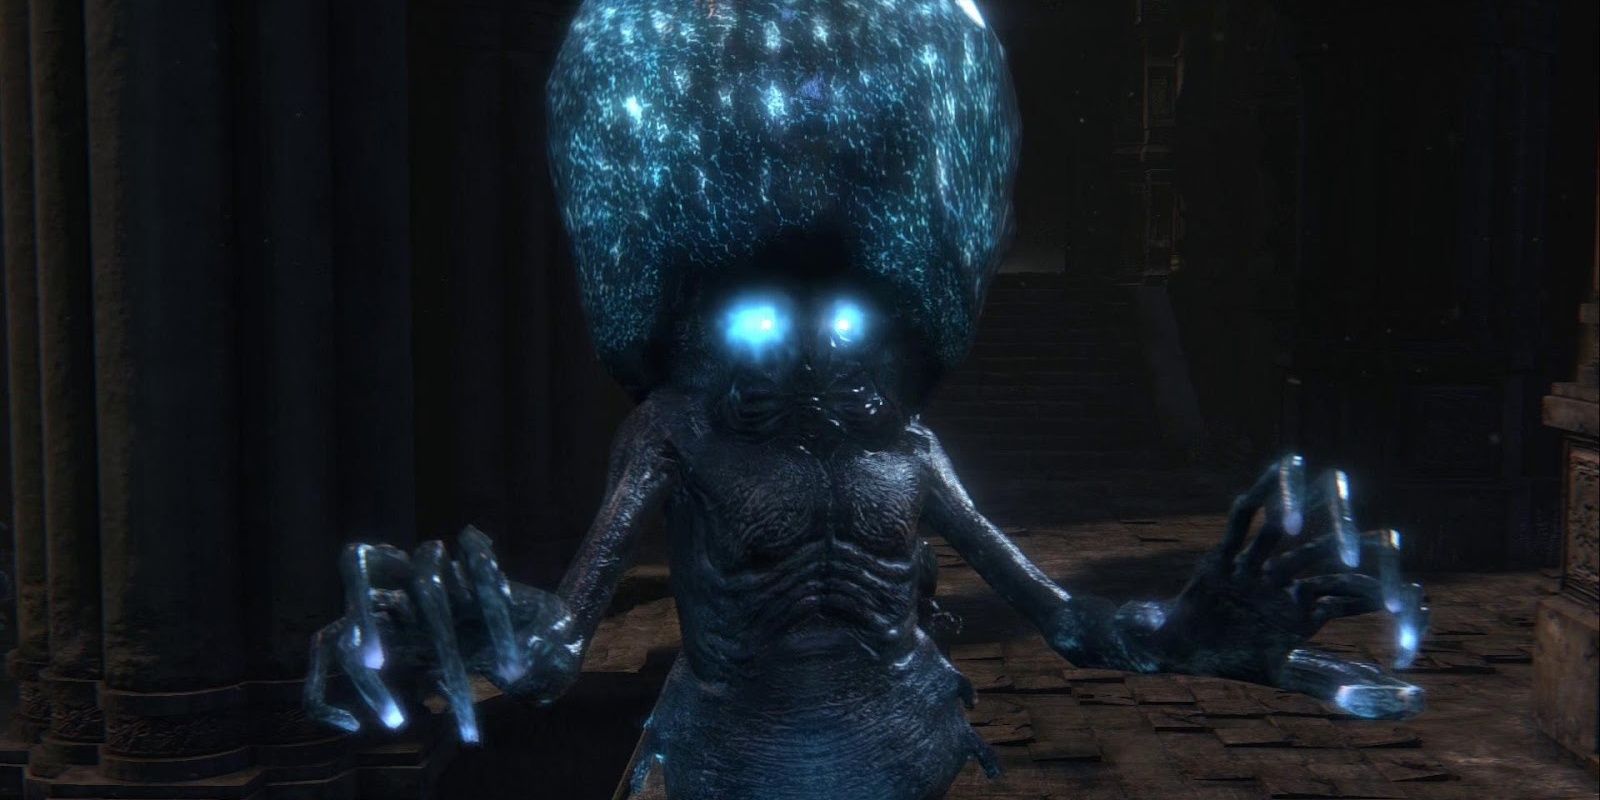
The Celestial Emissary is found at the very top of Upper Cathedral Ward. The boss fight starts as a group battle with swarms of Celestial Mobs attacking the player. The Celestial Emissary is hiding among the Mobs and will be the only enemy that doesn't immediately aggro the player.
Once the Emissary has been damaged enough times, it’ll grow larger and then tentacles. The key to taking on the Celestial Emissary is to target it ASAP. It’s possible to kill the Celestial Emissary before it transforms if you’re quick enough. Otherwise, keep the Mobs at bay while making sure to deal constant damage to the Emissary.
Ebrietas, Daughter Of Cosmos (Altar Of Despair)
- HP: 12,493
- Blood Echoes: 36,300
- Drops: Great Isz Chalice
Ebrietas is also found in Upper Cathedral Ward's Altar of Despair and directly connected to the Celestial Emissary, in fact. From the Lumenflower Gardens Lantern, break through the window nearby and take the elevator all the way down. Ebrietas, Daughter of the Cosmos will be waiting in a massive boss arena where she’s sure to kill players more than a few times.
Ebrietas is an enormous Great One, and trying to fight her from behind is an exercise in futility. Fighting from between her legs tends to be the safest space, but getting there is a challenge. Make sure to always dodge her charge attack, as well. More often than not, it’s a one hit kill in the making.
Gehrman, The First Hunter (Hunter's Dream)
- HP: 14,293
- Blood Echoes: 128,000
- Drops: Old Hunter Badge
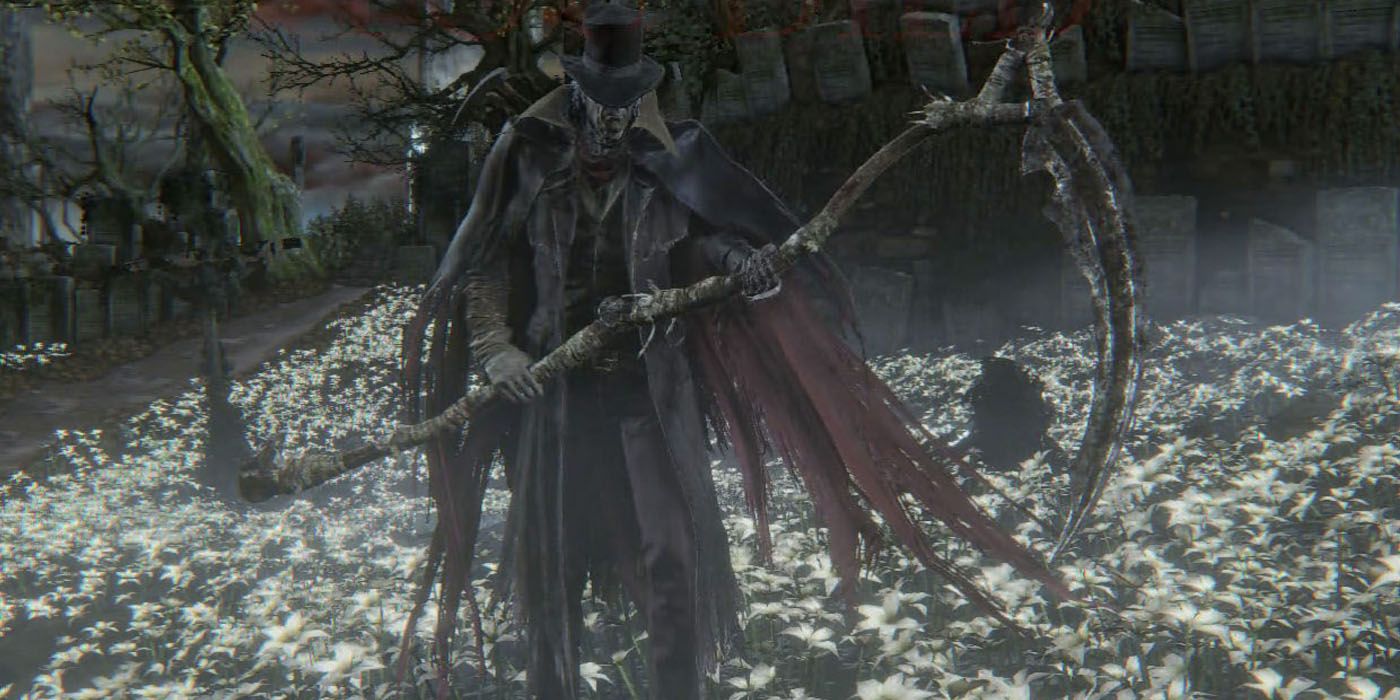
One of Bloodborne’s potential final bosses, Gehrman awaits Hunters in the Hunter’s Dream once they’ve defeated Mergo’s Wet Nurse. With the hunt, for all intents and purposes, over, Gehrman offers the player a choice: to wake up from the dream or stay in it. To refuse Gehrman means fighting him in the Hunter’s Dream.
A one on one duel, Gehrman is one of the toughest fights in Bloodborne. If players haven’t learned how to parry yet, they’re in for an uphill battle. It's best to treat Gehrman like a PvP battle and react to his actions. While it pays to stay on the offensive, make sure to actually learn his telegraphs beforehand. With proper parrying, he should go down fast.
Moon Presence (Hunter's Dream)
- HP: 8,909
- Blood Echoes: 230,000
- Drops: Absolutely nothing.
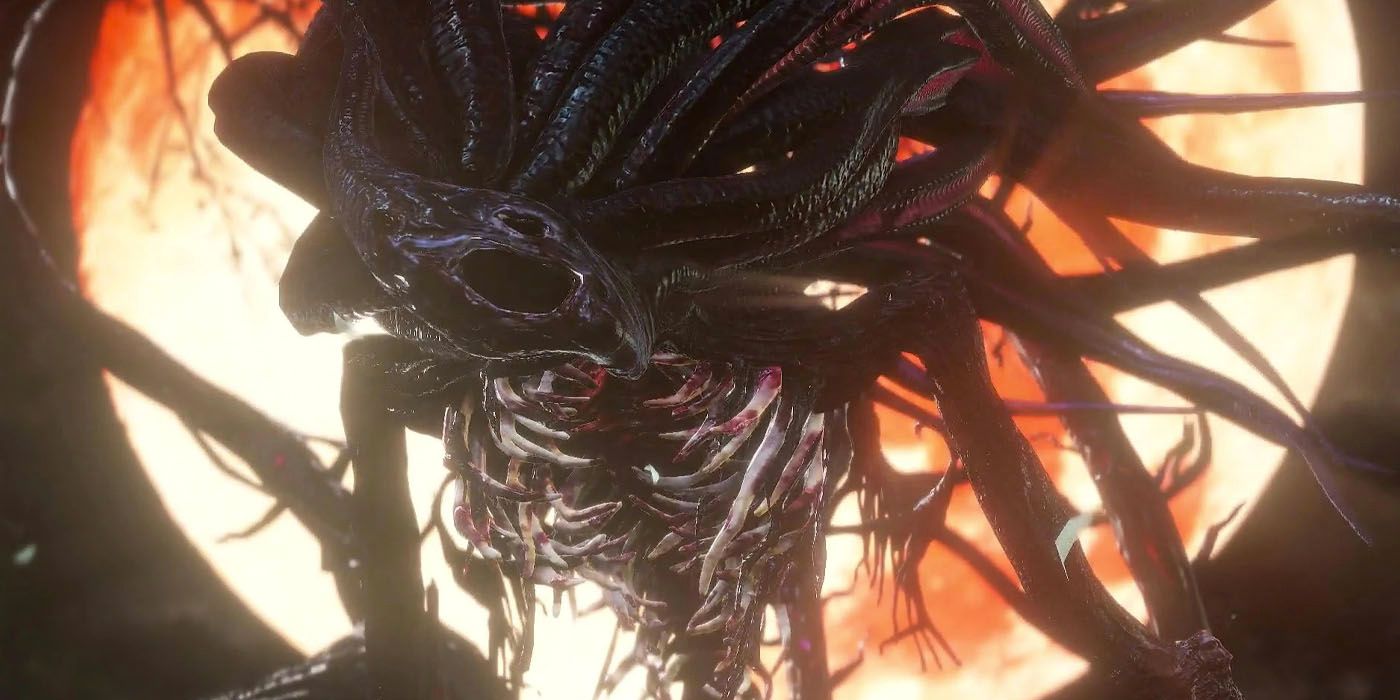
Defeating Gehrman isn’t enough to trigger the Moon Presence. You must also have found and consumed three Thirds Of Umbilical Cords hidden throughout Yharnam. Only by doing this will the Moon Presence descend into the Hunter’s Dream following Gehrman's death. Both bosses will be fought back to back the first time around, but dying to the Moon Presence doesn’t respawn Gehrman.
There are four Umbilical Cords in the game. Their locations are as follows:
- Acquired after killing Mergo's Wet Nurse.
- Acquired in Iosefka's Clinic after killing Rom, the Vacuous Spider - but only if Iosefka survived up to this point.
- Acquired either by killing Arianna at Iosefka's Clinic or the baby that she gives birth to in the Tomb of Oedon sewers.
- Acquired in the Abandoned Old Workshop.
Iosefka and Arianna's Umbilical Cords are missable - if you miss them both, you cannot fight Moon Presence.
The Moon Presence is surprisingly manageable compared to Gehrman, but it can lock player from healing with Blood Vials, so be mindful of its attacks. If fighting Gehrman and the Moon Presence back to back proves too much, you can actually die, restock on Blood Vials, and then start the final boss fresh. With considerably less health than Gehrman, the Moon Presence shouldn't take long to put down.

