You've finally done it. You've survived your journey through the twisted mind of Psycho Krieg and the Fantastic Fustercluck in the final Borderlands 3 DLC and reached Vaulthalla. You only have a short amount of time to grab as much loot as you can here, though, so there's no time to waste trying to puzzle out how to open up that secret room in the back.
The road to Vaulthalla is among the toughest challenges the game has thrown at you yet. Thankfully, Vaulthalla lives up to its name, albeit with a time limit on how much loot you can vacuum up. But if you're able to draw your eyes off the piles of chests and loot surrounding you, you might notice a secret locked room in the back. This secret door is actually a pretty complicated puzzle, but we've got the solution to Psycho Krieg's final secret.
Updated April 23, 2023, by Sean Murray: Vaulthalla is a mysterious realm, but that doesn't mean its secrets should remain a mystery. So we've updated this guide with better formatting and made the intro a little shorter, so you can uncover Vaulthalla's secret room a little faster.
How To Open The Secret Room In Vaulthalla
This guide will have spoilers for the ending of the Psycho Krieg DLC, including things like the name of the final boss. However, if you want to avoid spoilers until you beat the final boss yourself, you can come back to access the secret room again later.
Step One: Shoot The Yellow Switches
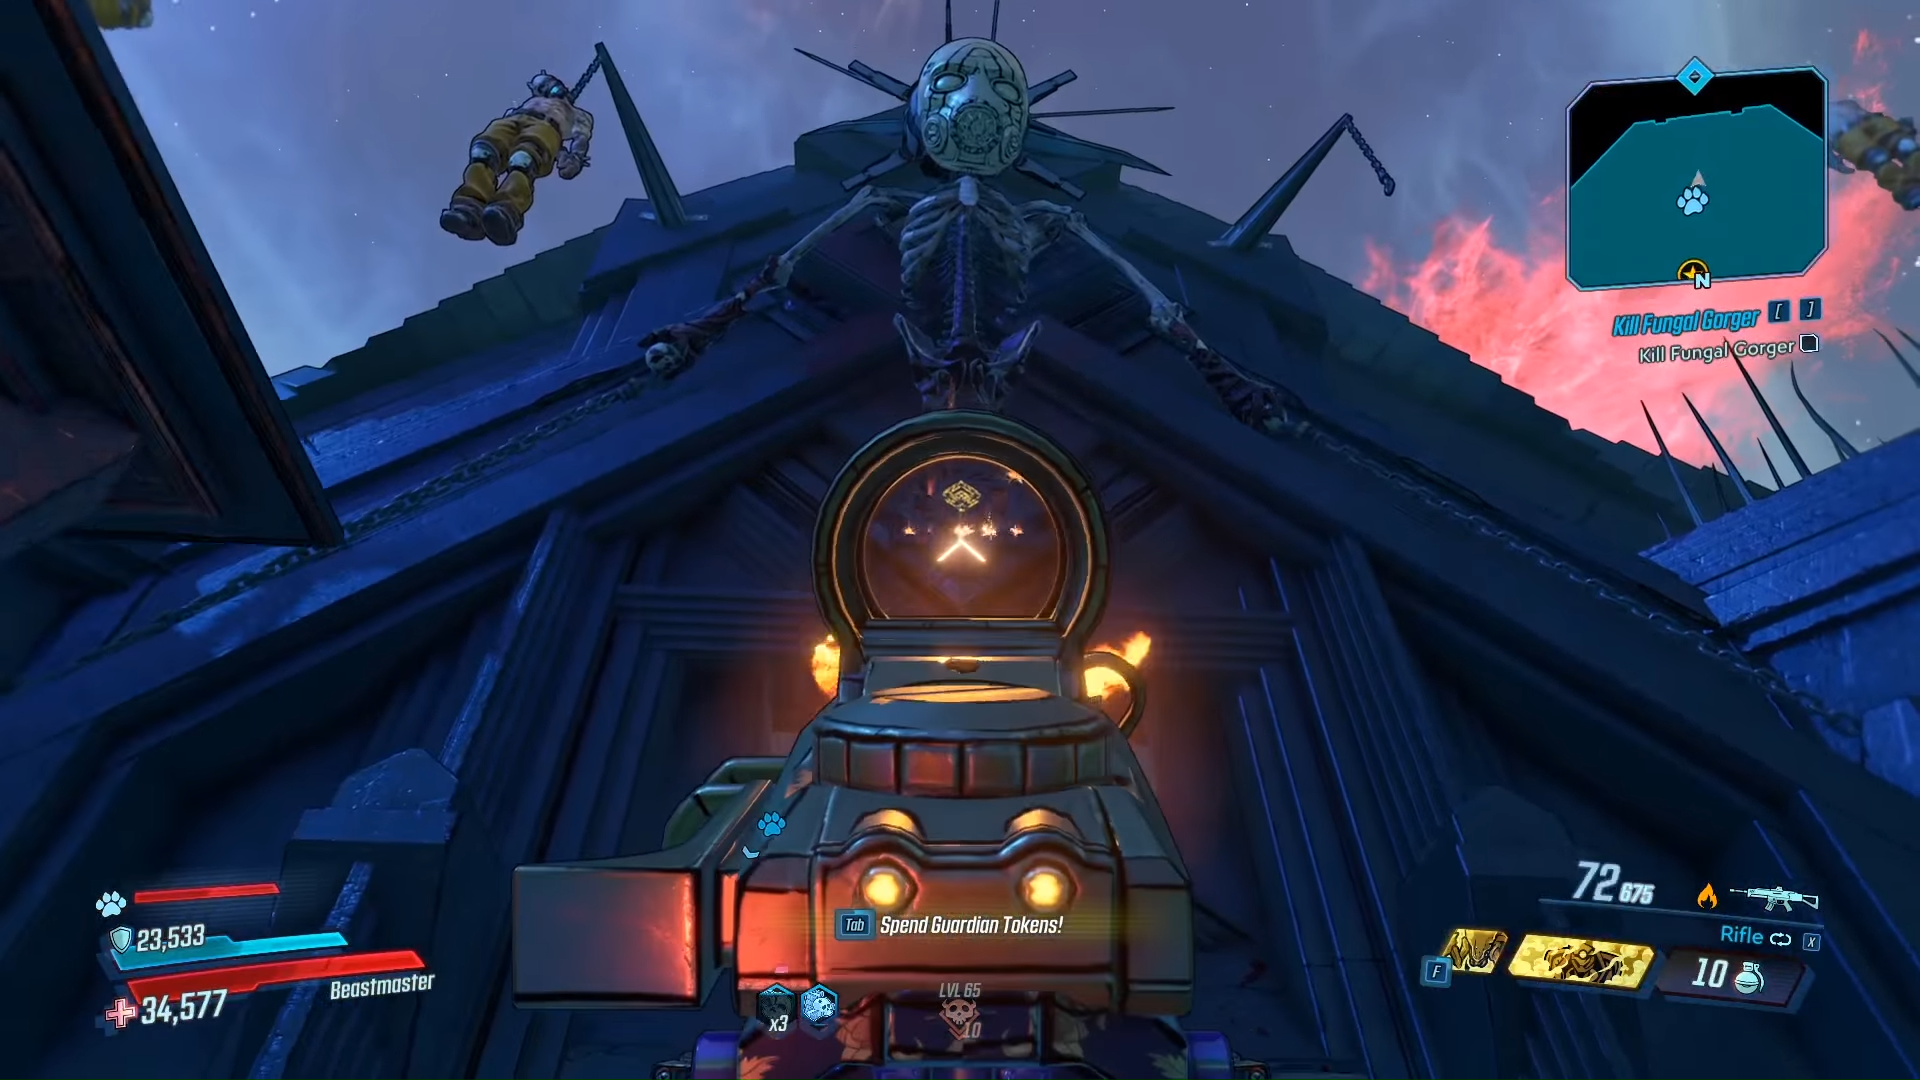
Just before you enter the final boss arena you will want to stop and shoot six hidden yellow switches on the walls, turning them green.
There are 12 in total, but the first six are in this Lesionhall area.
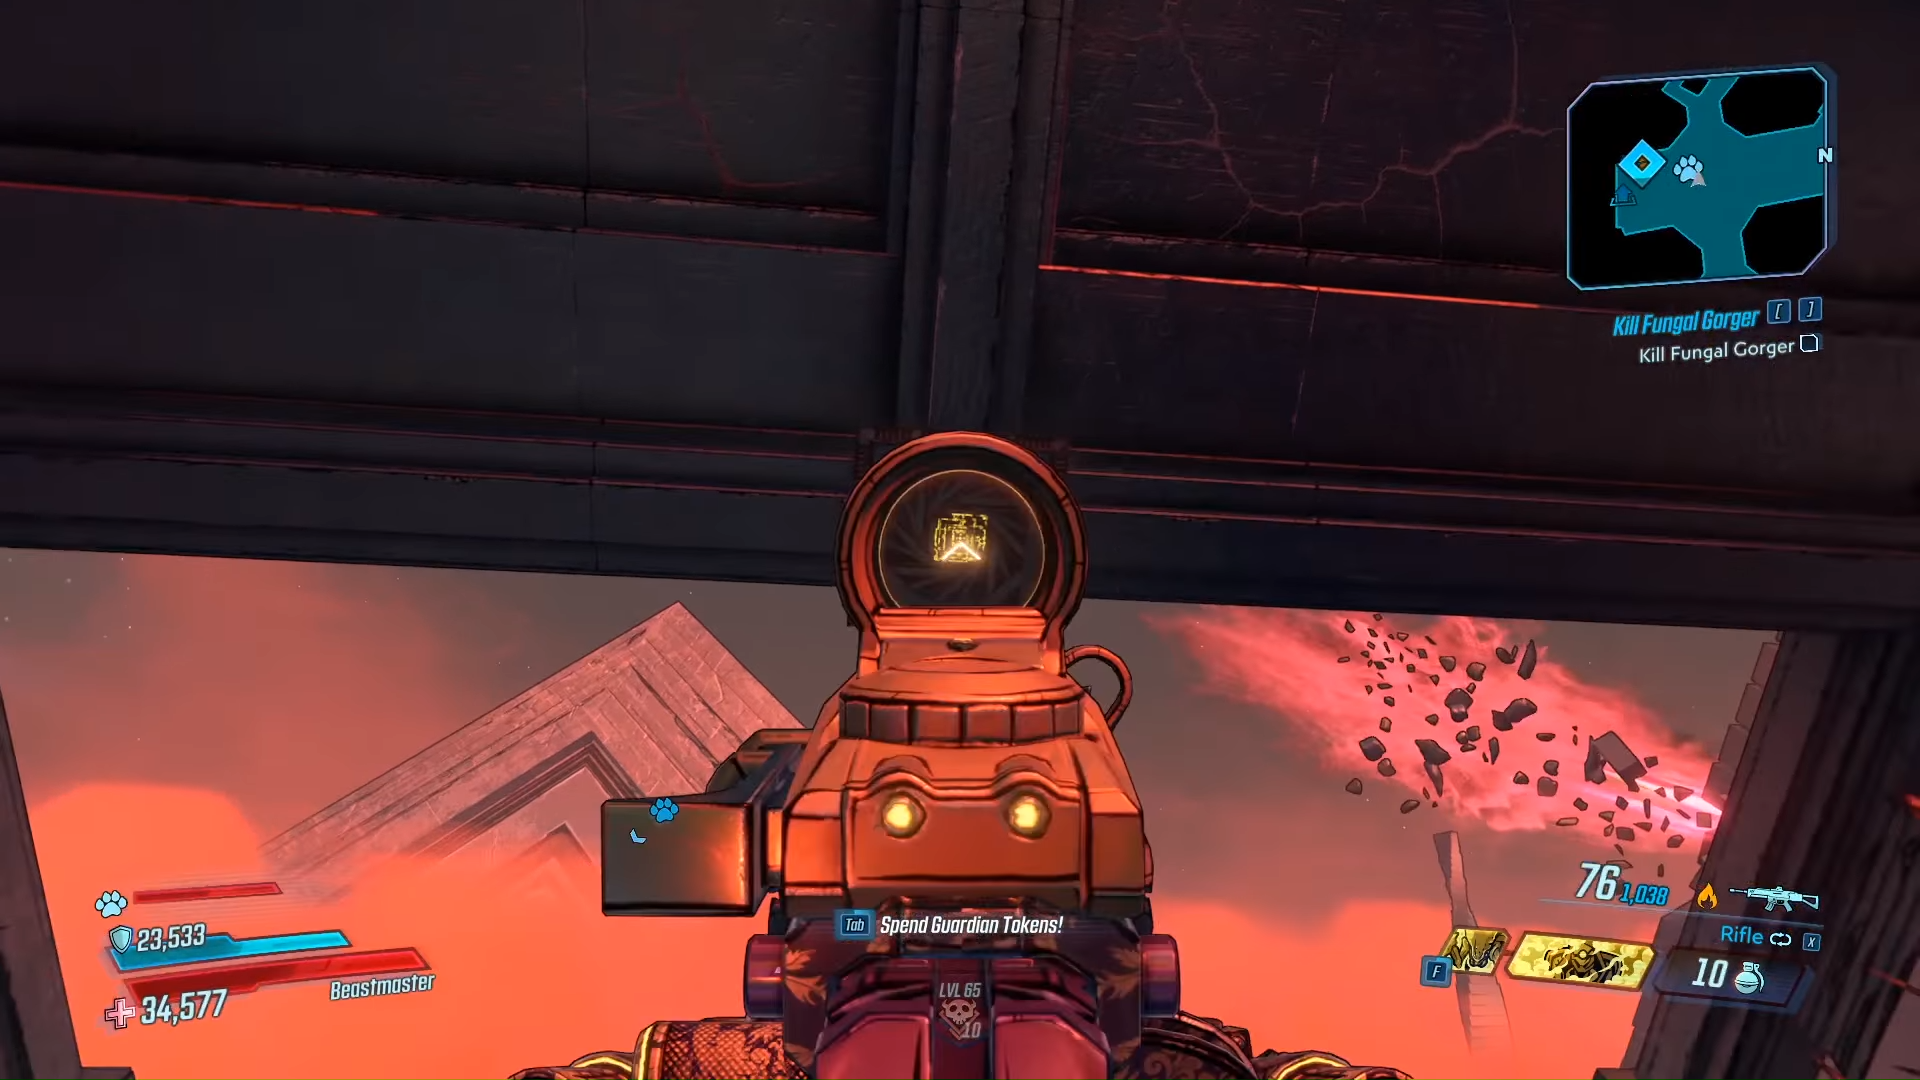
The first three are on walls around the giant skeleton wearing a crown decorating the archway. The first is on the left, the second is below the skeleton's rib cage, and the third is on the broken wall to the right. From there go forward through the first portal into the Lesionhall proper.
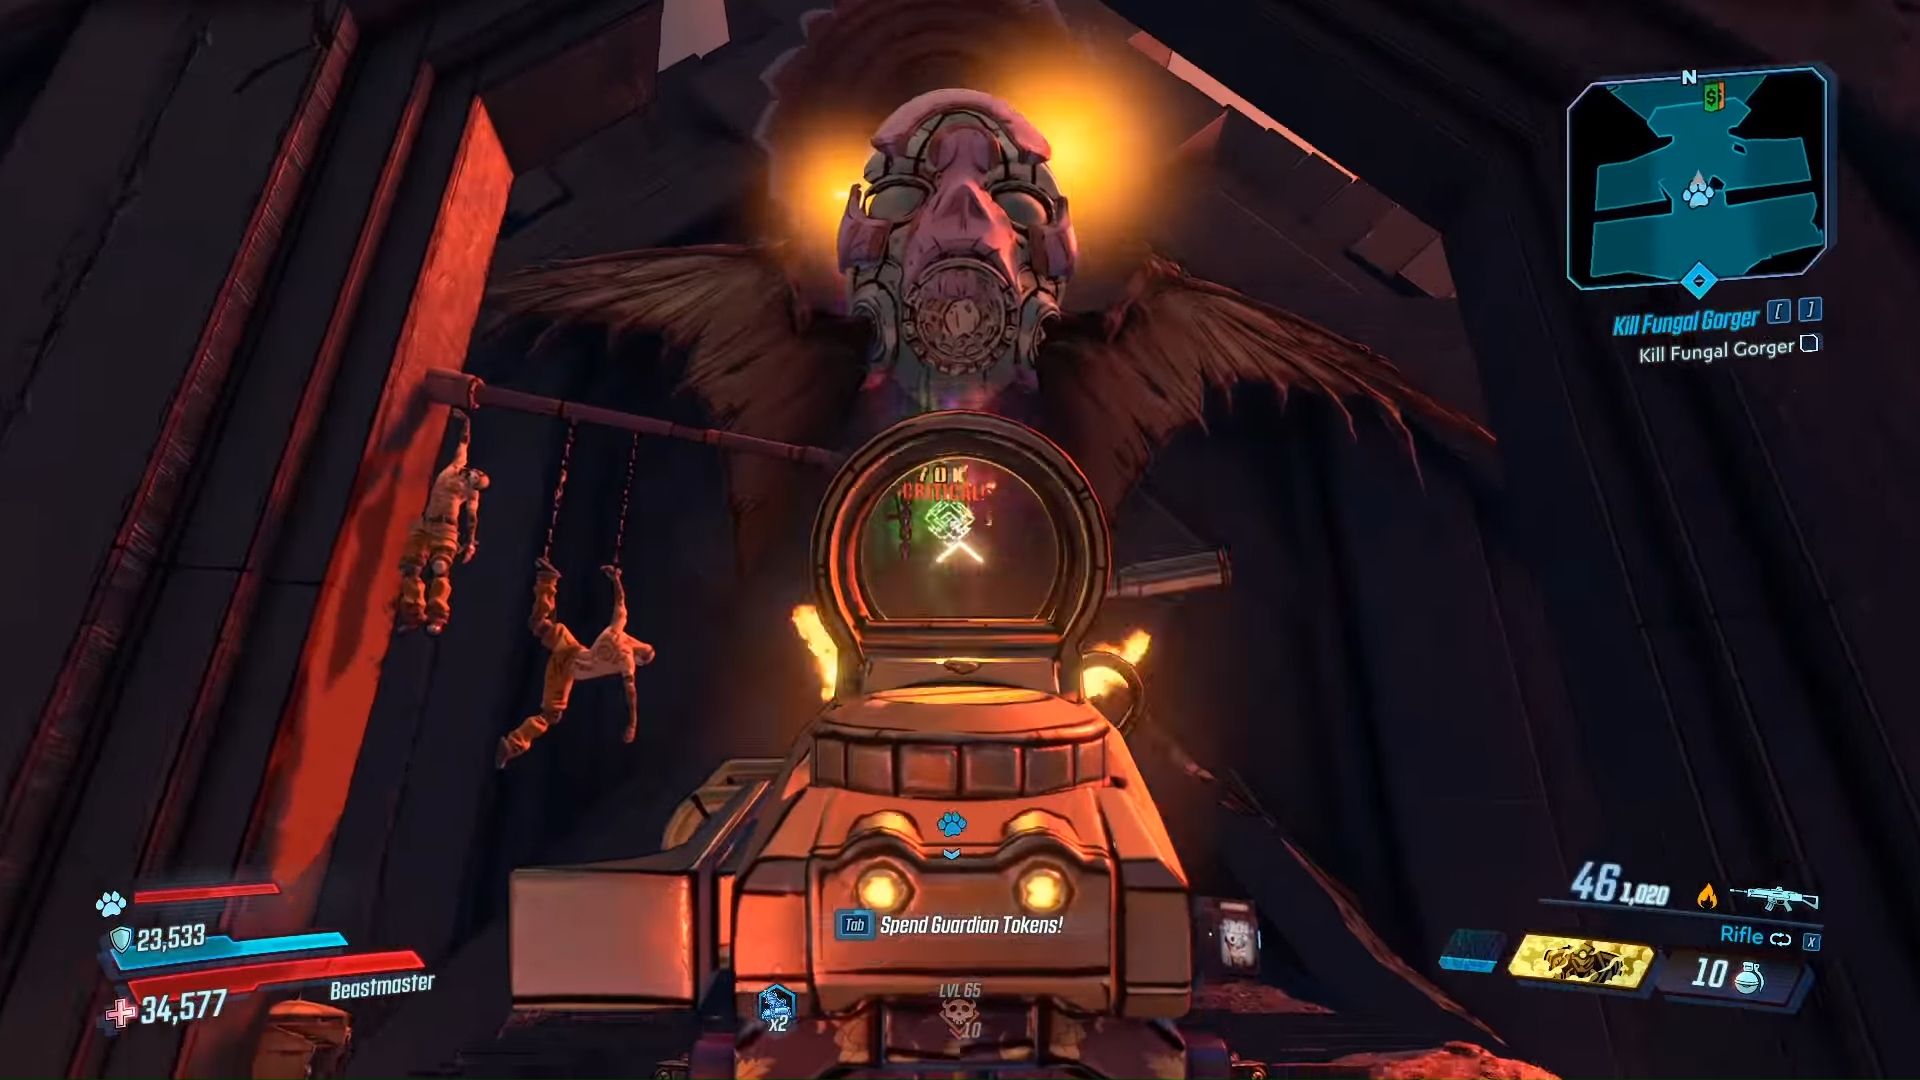
Once you enter through the giant stone doorway turn around and look above it to hit the first one above the door frame. The second is dead ahead of you below the big glowing head/mask thing with wings, and the third is on a square stone on the floor to the right.
Step Two: Beat Psychoreaver And Hit Three Switches
The first thing is to take down the final boss of the DLC, Psychoreaver. As mentioned before, you can fight this boss multiple times to enter the loot room of Vaulthalla. He's not a terribly difficult boss to take down, just unload whatever guns you've got on his head while avoiding his slow attacks, and you should be good to go.
Once he's dead, the portal will appear to the Trove of the Despoiler, but before you leave we have three more switches to hit. The first is way back behind you if you're facing the portal under another giant decorative skeleton. The second is to the left of that one on the ground level on one of the pillars, and the last on another pillar to the right. Once all these are hit go ahead and enter the portal.
Step Three: Shoot The Last Yellow Switches
If you've gone through the Trove of the Despoiler before, you already know that the sixty-second timer will start as soon as you leave the initial platform. However, don't feel rushed to hit the last three switches to get into the secret room.
In fact, you can hit the switches after the timer expires and still gain access to the room, so you might as well loot everything you can and then go for the secret room.
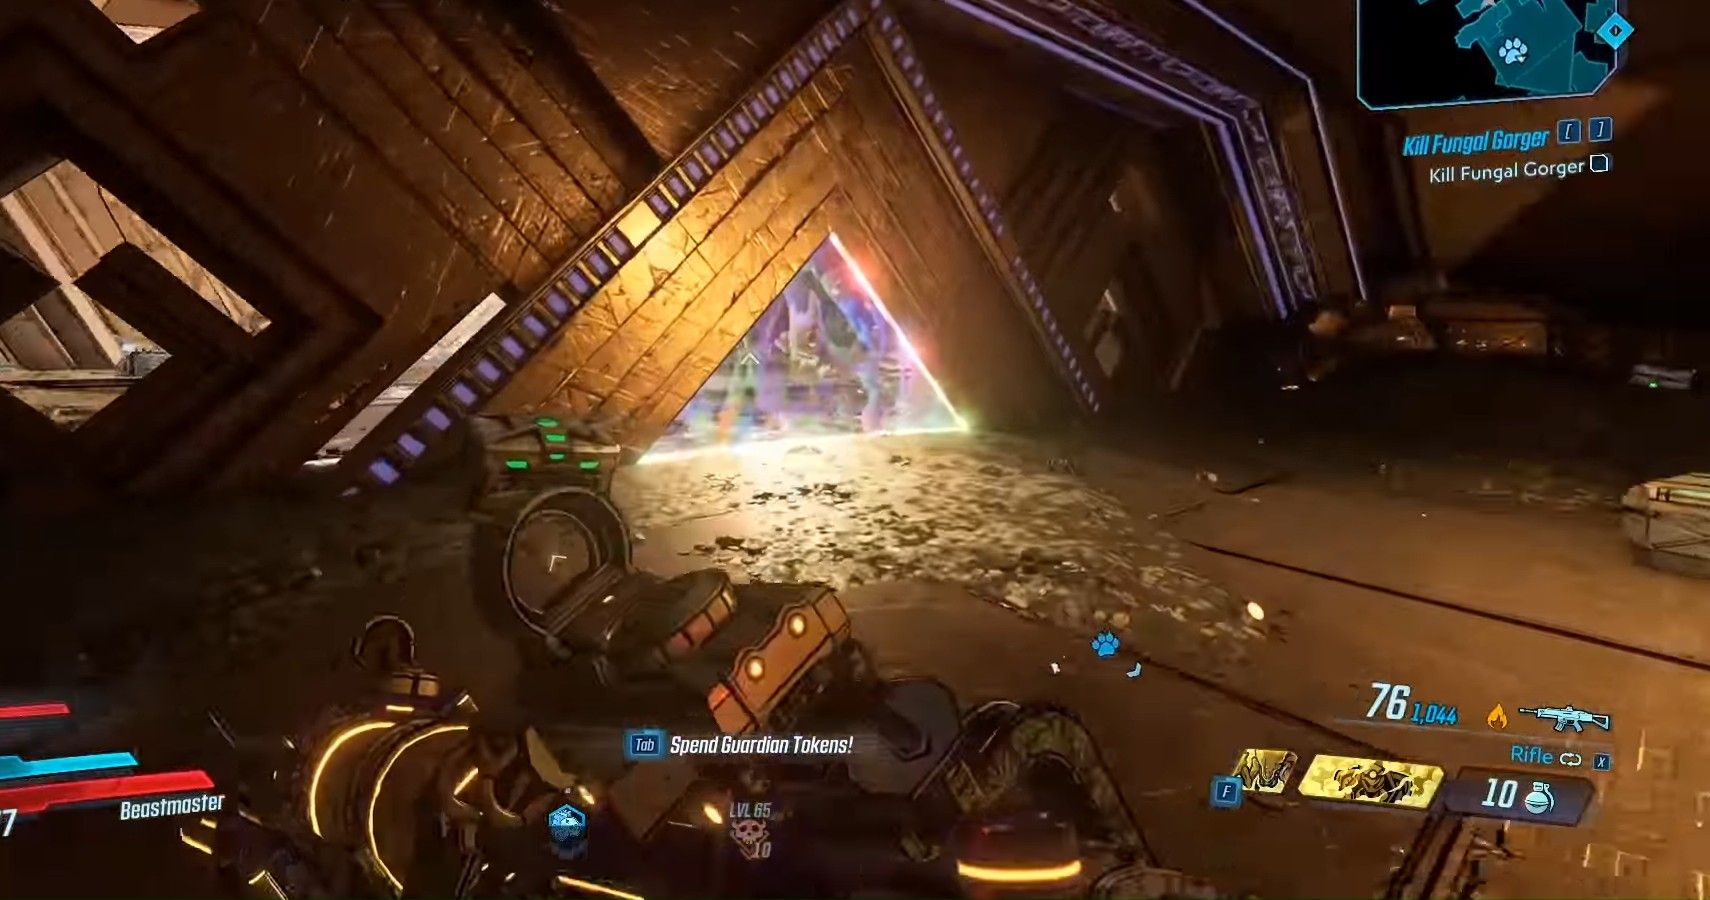
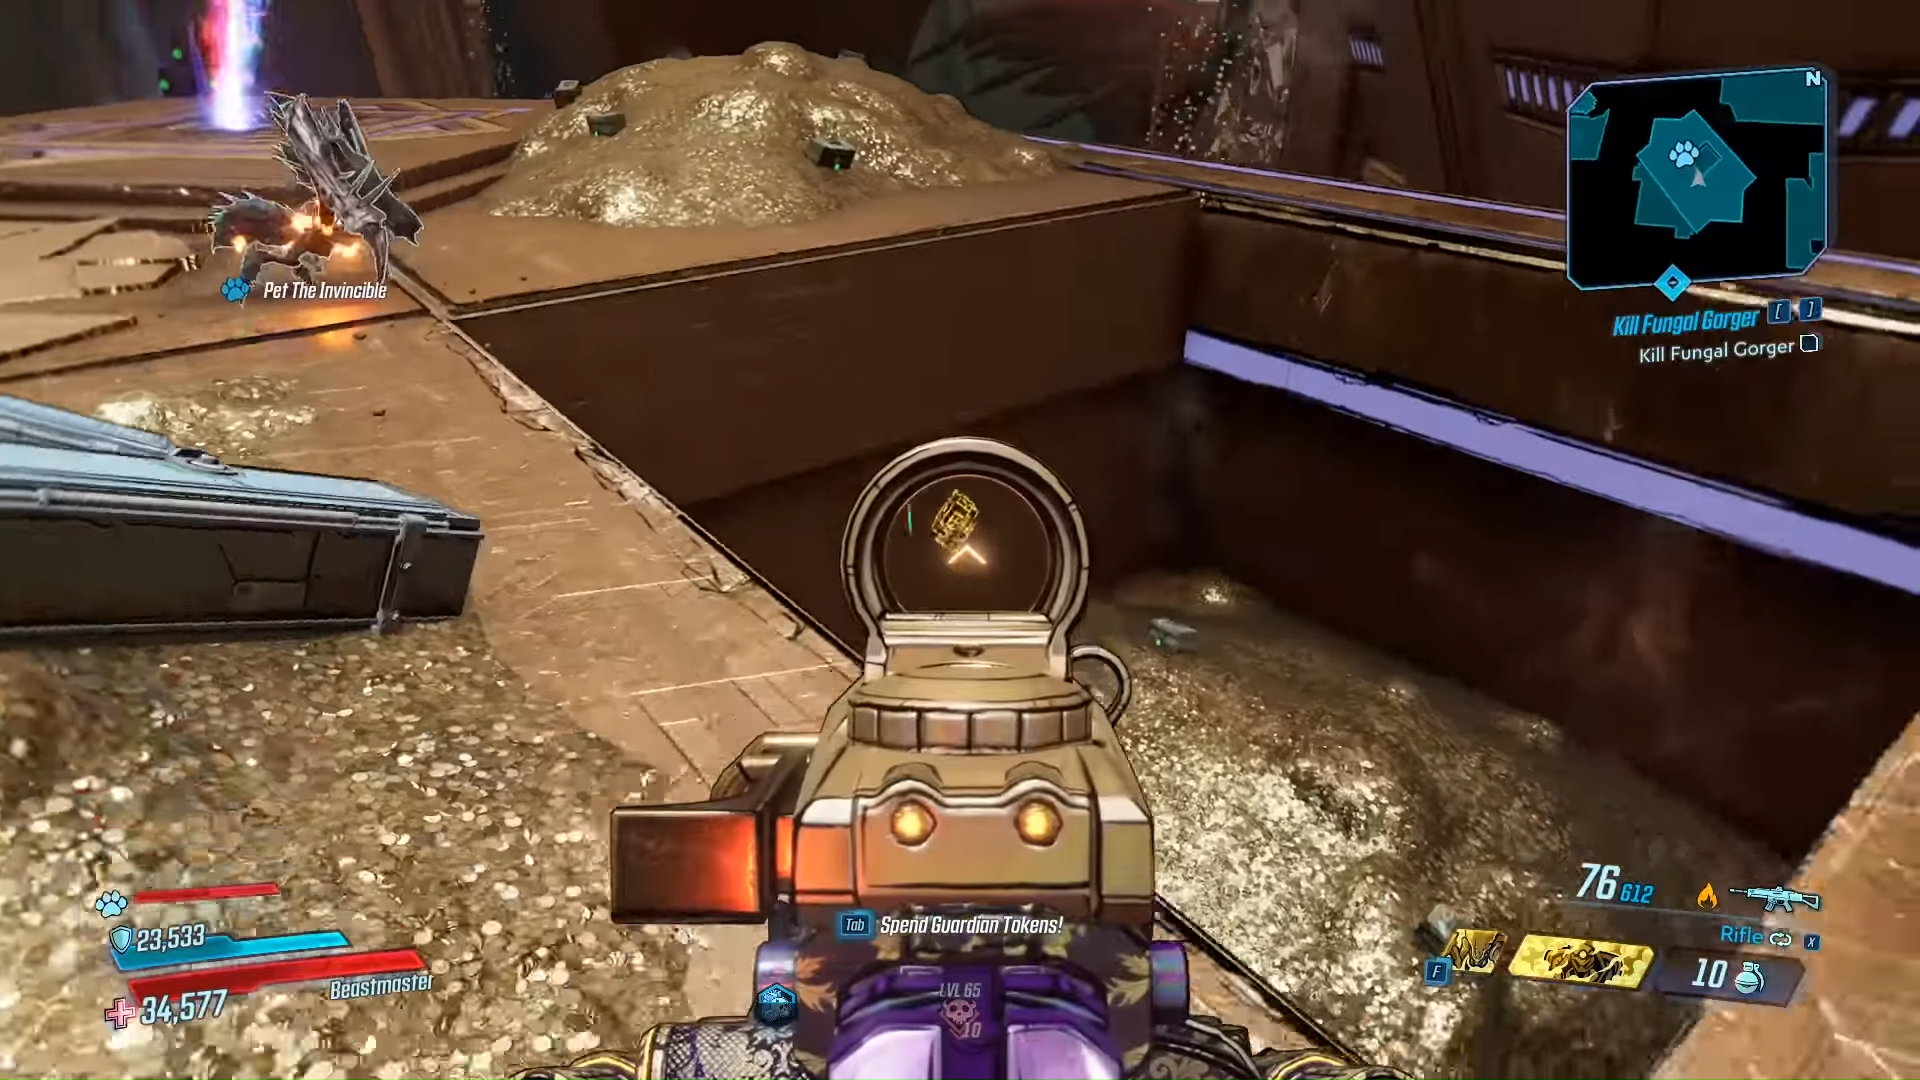
Once you've grabbed up all the loot you could within that sixty-second time limit, you have three switches left to hit to open the secret room. The first switch is found on the center platform of the armory. You'll see a cracked tile on the far side you can use your slam attack to break it open and reveal the switch on the bottom of the left wall.
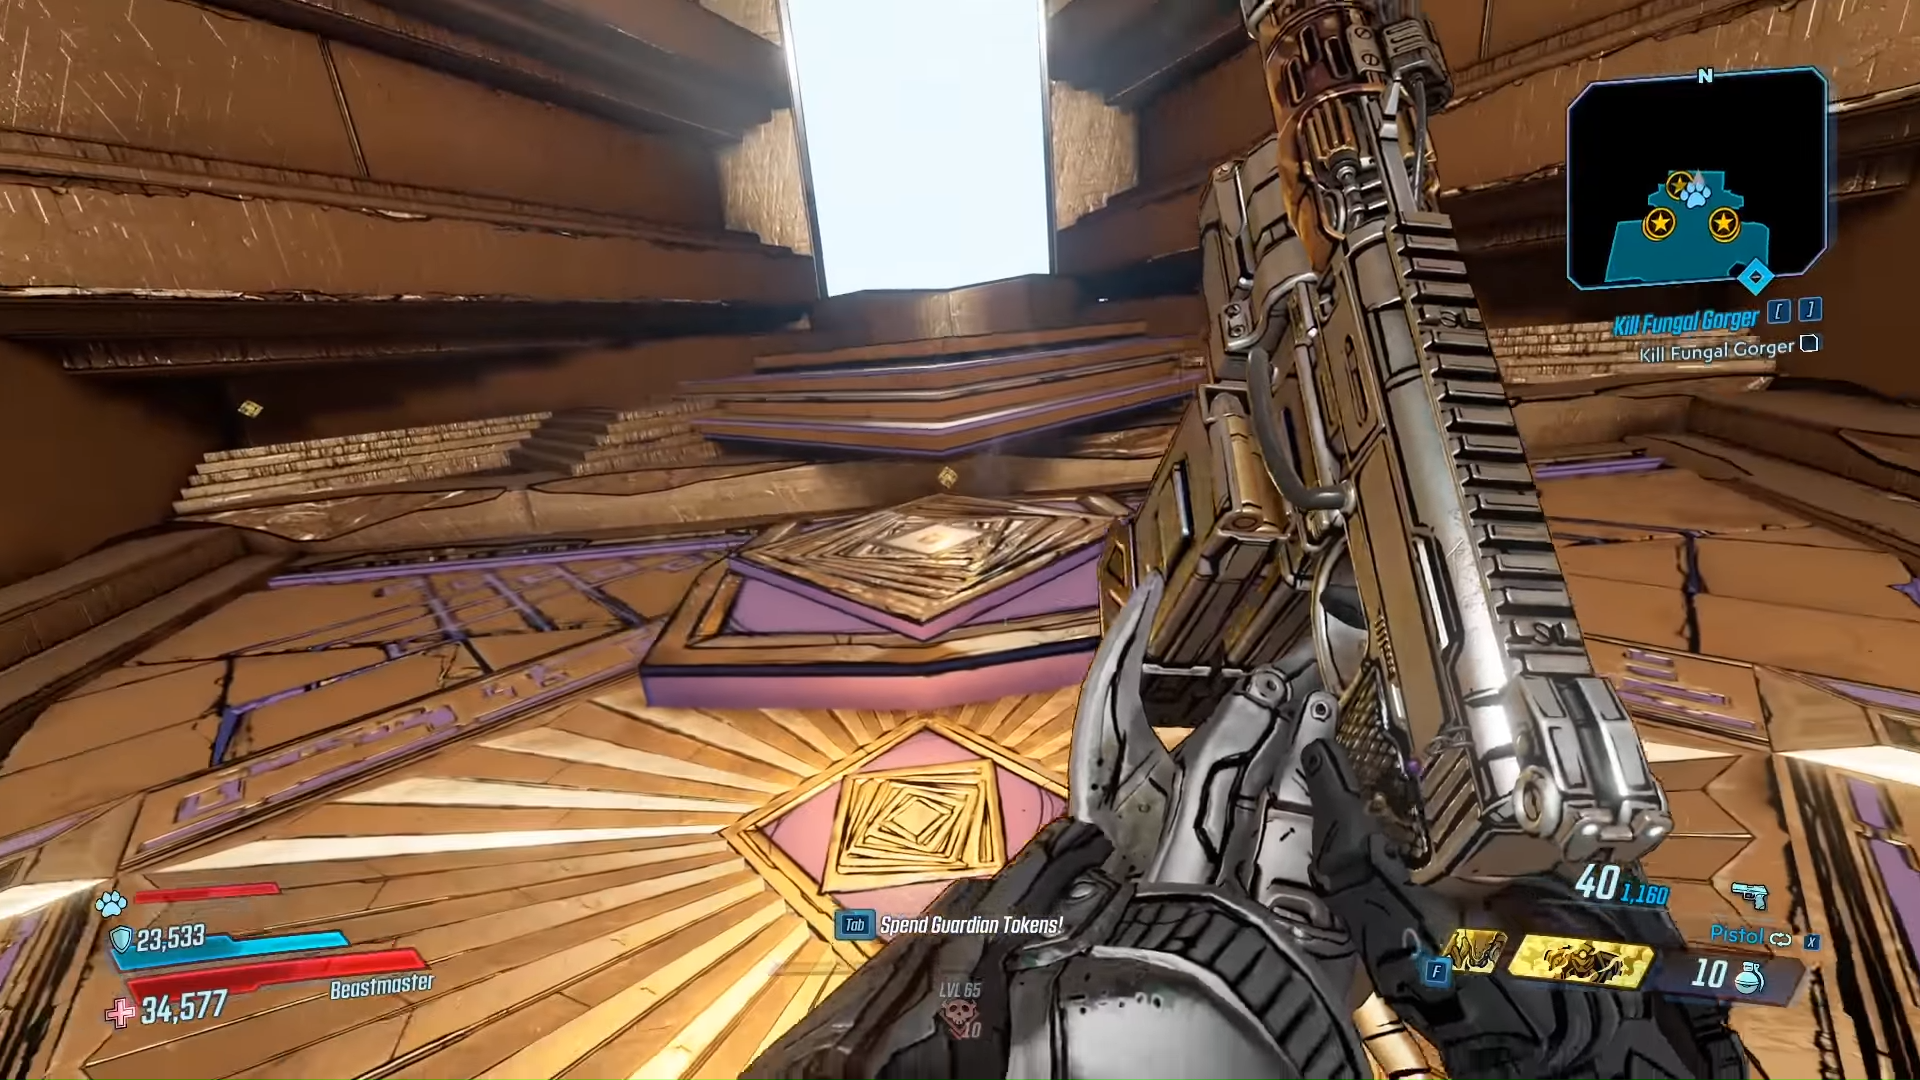
The second switch is on the top left platform on the lower section of another square stone. The final switch is going to be at the very top where the countdown timer is. Just below it, you'll notice four switch indicators, of which the left three should be green and the one on the right not yet lit up. The final switch will be just inside, opposite the shield door to the secret room. Shoot this last switch and the shield will disappear.
Step Four: A Second Secret Room
That's right, not only is there this extra room full of loot you can grab with no stress of a timer, but there's another one you can reach by hitting another 12 switches.
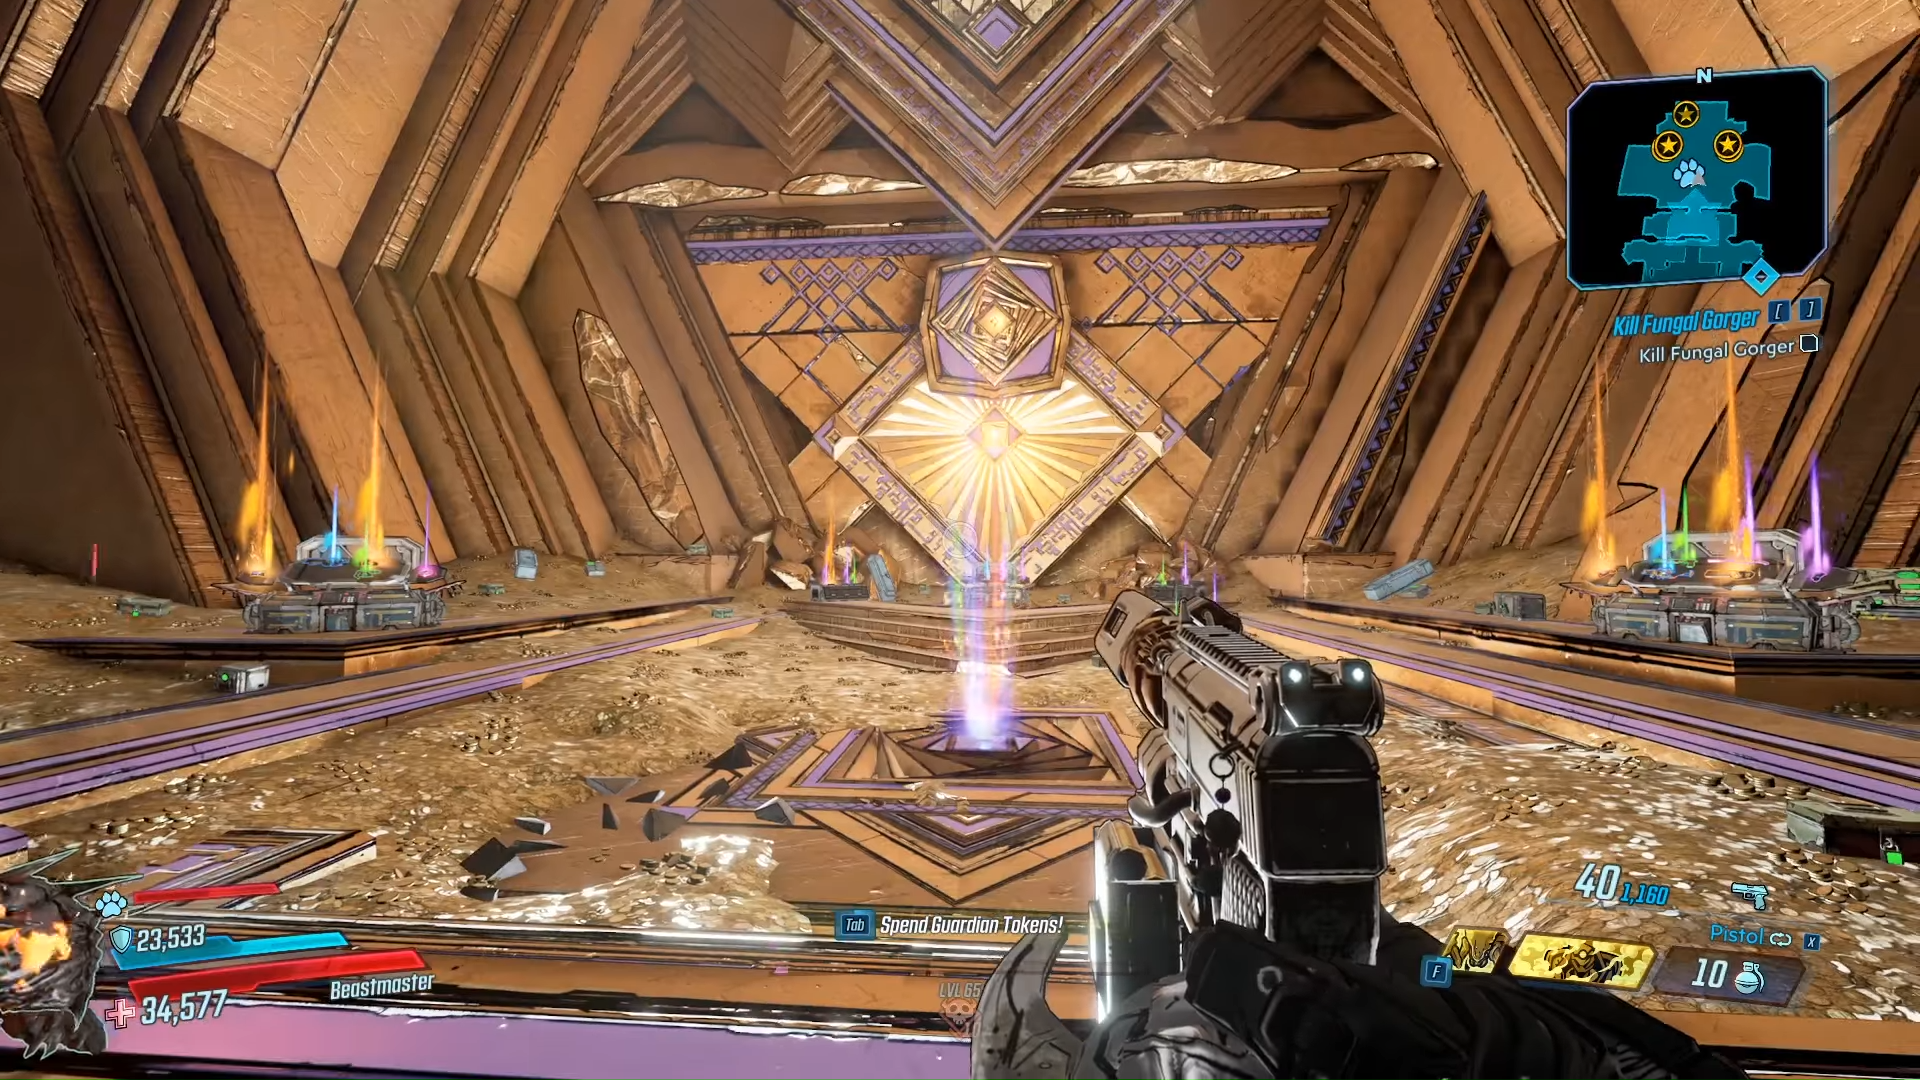
You'll get to the shield door by taking the lift in the center of the secret room, but unlike the first set of switches, these last dozen are incredibly small and hard to spot. Thankfully they all exist within this first secret room, though.
- Look at the glowing diamond opposite the secret secret door entrance. Shoot it to drop the shield and enter the second secret room.
- Head straight forward toward the chest on the far side of the room. From here, look right and then up to a crevice in the wall.
- Look on the opposite wall in generally the same location.
- Now look straight up at another crevice beneath the central diamond design.
- Three more switches can be found inside the central diamond design.
- Now head back to the entrance. Switches can be found on both diamonds to the right and left of the entrance.
- Another can be found on the small roof that covers the entrance.
- Head to the center of the map and use the fountain to catapult yourself to the shield protecting the last batch of loot. There are switches on both the left and right-hand corners of the shielded balcony.
Once they are all turned green the shield will disappear, and you can head in for even more chests to loot. If that didn't seem like quite enough, you'll also unlock a trophy/achievement "Ye Who Enter." The description of the trophy is simply "Open the gates to Vaulthalla," which is a little misleading considering it doesn't mention anything about opening either, let alone both, secret rooms.
Regardless, you have now uncovered the last of the secrets hidden within Vaulthalla. Feel free to repeat the process to completely spoil yourself with loot over and over again.

