At its heart, Bugsnax is a mystery game dressed up as a cute monster-catching experience. Don't let the thrill of catching Bugsnax distract you too much, there's still a disappearance to investigate, and the origin of Bugsnax is always hanging over your head.
Not to worry, though, as the game has plenty of clues and leads for you to collect and record in your handy journal. Luckily, the game will track everything you've received so far with handy notes. Just in case, though, here's every clue and lead in the game.
Updated July 13, 2023 by Ryan Bamsey: With the launch of Bugsnax on mobile devices, we've gone ahead and updated this guide to make sure everything is completely up-to-date, readable, and helpful!
How To Get All Clues And Leads

The table below lists every clue in the game, along with the purposes of the clues themselves. Beware that the names and descriptions of some of these clues may be slightly spoilery.
|
Clue |
How To Get It |
What It's Used For |
|---|---|---|
|
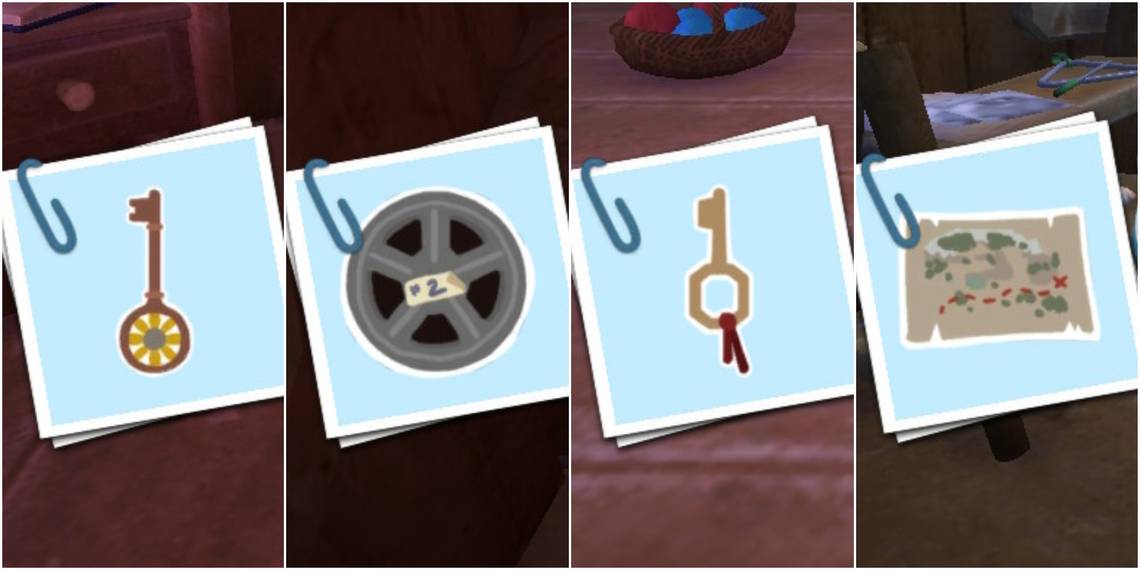
Liz's Cabinet Key |
Received from Beffica after interviewing her. |
Opens the cabinet in Lizbert and Eggabell's hut. |
|
Diary Key |
Received from Gramble after interviewing him. |
Opens Lizbert's Journal, revealing Half of a Code. |
|
Eggabell's Chest Key |
Received from Chandlo after interviewing him. |
Opens the chest in Lizbert and Eggabell's hut. |
|
Mystery Key |
Received from Floofty after interviewing them. |
Opens the lockbox received from Shelda after interviewing her. |
|
Strange Device Notes |
Received from Wambus after interviewing him. |
Provides foreshadowing for a late-game puzzle. |
|
Half of a Code |
Inside Lizbert's Diary, received from Triffany after interviewing her. You'll need the key received from Gramble. |
Provides half of the solution to a late-game puzzle. |
|
The Other Half of a Code |
Found on the beach in Boiling Bay, right at the opposite end from the entrance. |
Provides half of the solution to a late-game puzzle. |
|
Mystery Map |
Received from Snorpy after interviewing him. |
Provides a hint as to Eggabell's location on Frosted Peak. |
|
Sugarpine Woods Map |
Received from Wiggle after interviewing her. |
Points to the location of Video Diary #4. |
|
Boiling Bay Map |
Received from Cromdo after interviewing him. |
Points to the location of the Other Half of a Code. |
|
Video Diary #0 |
Received from Eggabell after interviewing her. |
Can be played with the projector in Lizbert and Eggabell's hut. |
|
Video Diary #1 |
On the table next to the projector in Lizbert and Eggabell's hut. |
Can be played with the projector in Lizbert and Eggabell's hut. |
|
Video Diary #2 |
Inside the cabinet inside Lizbert and Eggabell's hut, which is unlocked with the Cabinet Key. |
Can be played with the projector in Lizbert and Eggabell's hut. |
|
Video Diary #3 |
Inside Eggabell's chest, which is inside her hut. |
Can be played with the projector in Lizbert and Eggabell's hut. |
|
Video Diary #4 |
Found in Sugarpine Woods. Head to the right from the starting point and explore around the trees. |
Can be played with the projector in Lizbert and Eggabell's hut. |
|
Video Diary #5 |
Inside the lockbox given to you by Shelda and opened with the key given to you by Floofty. |
Can be played with the projector in Lizbert and Eggabell's hut. |
|
Wiggle's Autograph |
Received from Wiggle after interviewing her. |
Has no purpose. |
|
Bugsnax File |
You start with this. |
Has no purpose. |
|
Triangle Key |
Inside a secret room in Broken Tooth. |