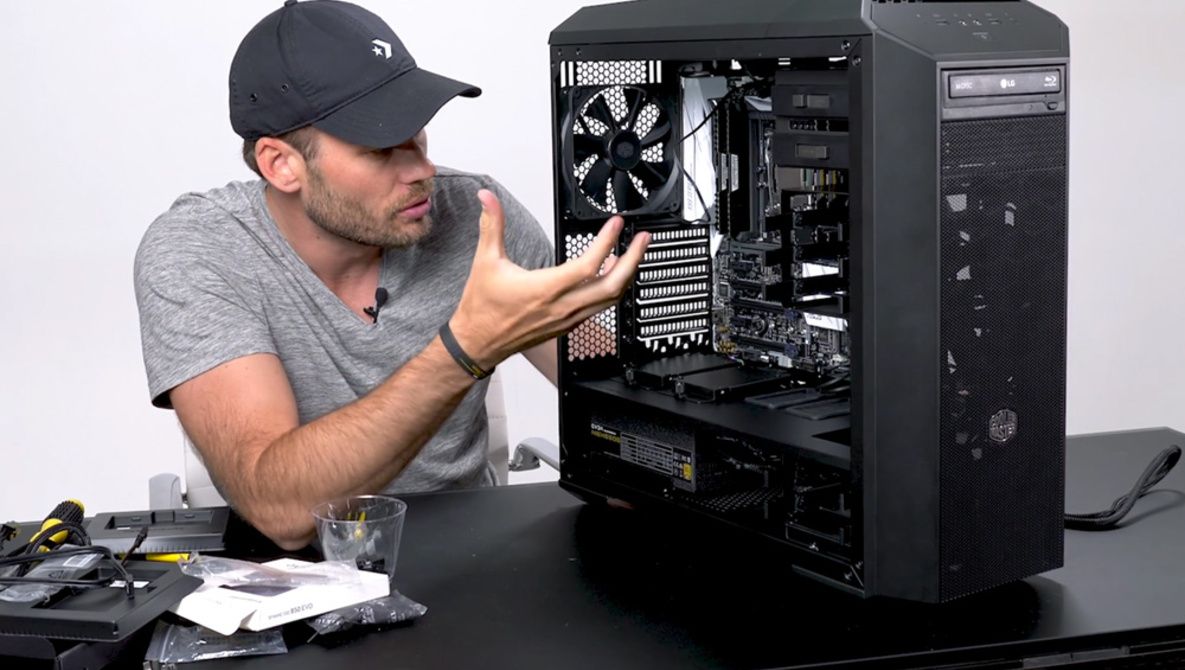
Welcome, eager reader, to Building a Gaming PC on a budget! No doubt by now you may have seen and heard the numerous advantages to building your very own PC rather than buying a pre-built tower from any of the large chain stories.
You will have total control over every single part that goes into the computer, meaning that you can control both price and quality, two things that are often difficult to do with prebuilds. The following will be a step-by-step guide on some of the most important considerations and resources you can use to make the experience as good as it can be.
Setting A Realistic Budget
The first consideration is your budget, and this is going to be different for everyone. It is important to have at least a somewhat firm notion of what you are prepared to spend, because parts can vary wildly in in price. A large part of this is determining exactly what you want the PC to do.
Are you looking for something to play Minecraft, or something that is graphically intensive like Battlefield V on Ultra settings? The required components will differ completely in that case. Is the computer purely for personal gaming, or are you also dabbling into streaming on Twitch or YouTube?
Currently, a rough guide to setting a budget is as follows:
- 1080p 60FPS ultra-settings modern AAA gaming: Roughly $1,200
- 1440p 60FPS high/ultra-settings modern AAA gaming: Roughly $1,600
- 1080p 144FPS ultra-settings modern AAA gaming: Roughly $2,000
- 4K 50FPS medium/high-settings modern AAA gaming: Roughly $2,400 and up
If your budget and your needs for performance do not match, this is a clear sign that you need to either reevaluate your expectations or spend more time saving up to augment that budget.
Parts And Their Costs
It is always a good idea to become familiar with Pc Part Picker or the Canadian version here to build a mockup of what components you will need to turn your vision into a reality.
Check out Logical Increments for a simple, straightforward chart that also lays out what to expect in terms of performance under all types of budgets, ranging from the aptly named “Destitute” performance to the equally odd “Monstrous” at the extreme end of overkill.
A quick peek there demonstrates that discussing the cost of parts here is next to useless. One can spend nothing on graphics and simply use the onboard hardware, or they can spend $3000 on two RTX 2080 Ti. If your goal is to play solitaire, the latter might be unnecessary.
Once you have a build ready, you can export it into a Reddit friendly version, at which point you can and should post your build to the subreddit r/Buildapc, stating what you want to use it for as stated above. There are always many helpful users who will gladly take a quick peek at your proposed build and either offer suggestions to improve the build, or warnings if you have chosen something that stands out as problematic, including part brands, or the size of a hard drive or amount of ram chosen.
Since this community is so in tune with PC building, they may even be able to point you in the direction of great sales on your parts or towards other, far cheaper options that also do what you require. This leads to our next point.
If you instead rely mostly on your own research, check out such hardware reviewers like Anandtech, GamersNexus, Guru3d, HardOCP, TechPowerUp, TechReport, TechSpot, and TomsHardware, to name a few. These are trusted sites that often offer unbiased reviews of all types of hardware, giving you the edge in selecting both quality and well-priced parts.
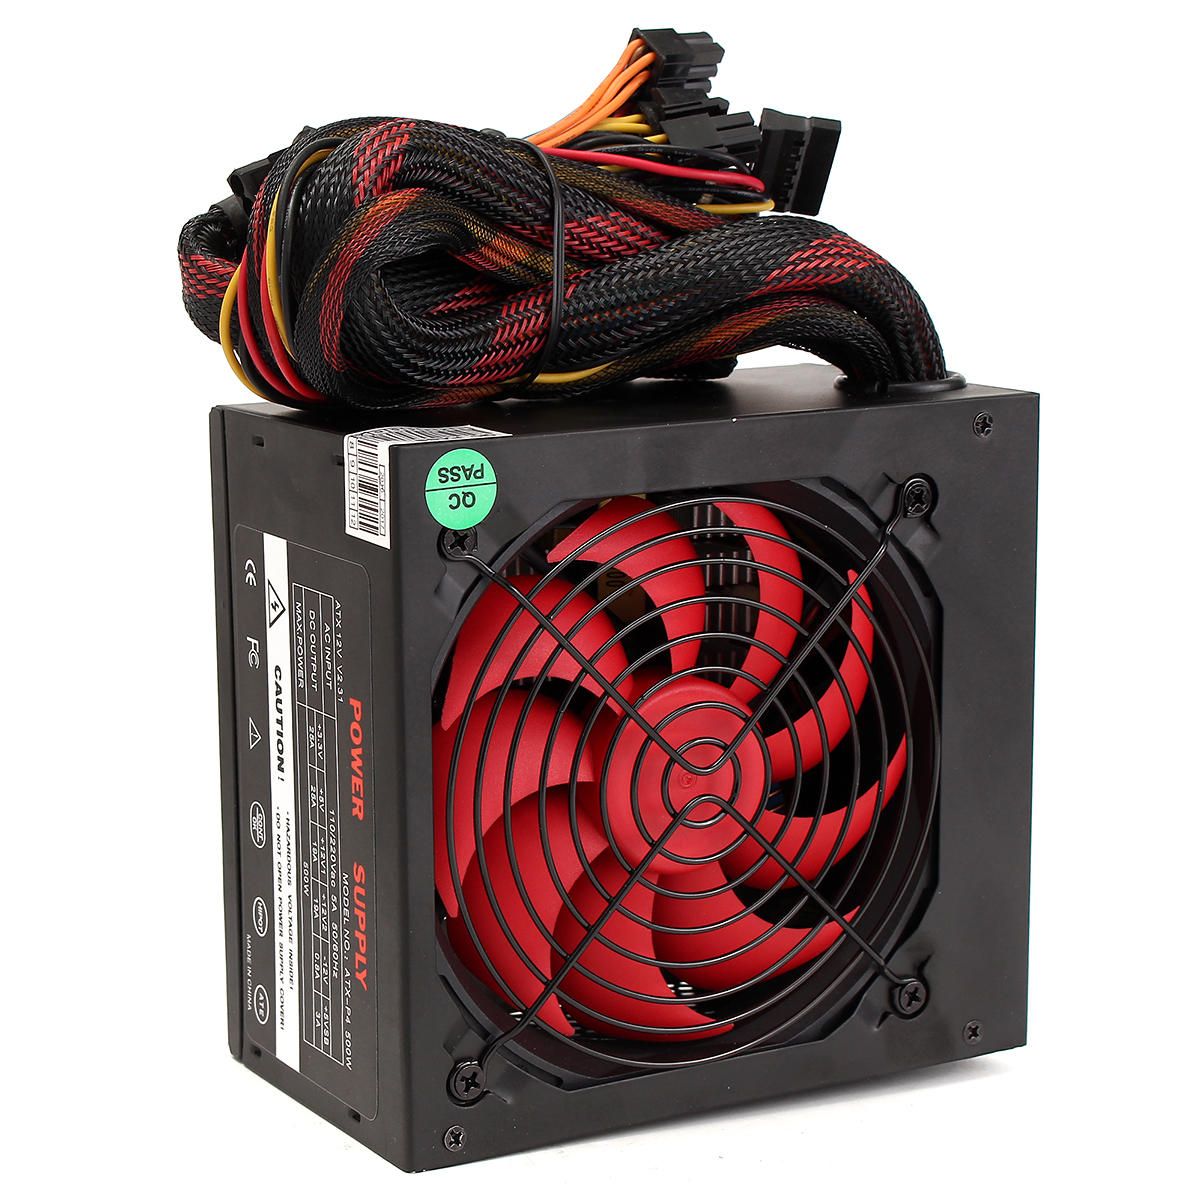
Buy The Right Power Supply Unit (PSU). No Exceptions.
This is one of the only parts we will get into detail about since it is so important. For an even more detailed explanation, see the post by u/redditluv.
To summarize, as more and more video cards today require an external power source to operate, having an insufficiently powered or cheap power supply can fry your entire system with irreparable damage.
You may be tempted to buy a cheap PSU, or to use one that gets thrown in with a case. These are traps laid out by a Trickster God that we must avoid at all costs.
Best Places To Get Deals
There are many places where one can acquire PC parts to build their own computer. The following is not an exhaustive list, but a great start:
- Amazon
- Best Buy
- Canada Computers & Electronics
- Memory Express
- Micro Center
- Tiger Direct
- Crucial
- Frys
- NewEgg
- PC Canada
Keep in mind that there are many other locations one can go, and you should explore local stores in your area to gauge how competitive their prices are with the places listed above. Often, local stores can offer fantastic service and assistance in your first build.
Building a PC is often best done when it is not a necessity, as in not when your last computer has died and you need something right away. By planning early, one can start looking for parts and sales on various websites, which can net you substantial savings on your build.
Research Complete, Parts Acquired, Now Build! …Slowly
Once you are ready to go, check out this complete guide to the actual building of the PC. There are countless resources to make the process easy and painless, as well as precautions to take. Here is a handy step-by-step guide with images, and a great video tutorial.
By following these steps and spending some time to do the research, you can have the gaming computer of your dreams up and running in no time!

