Quick Links
With the reintroduction of Legendary Lost Sectors in Destiny 2: Beyond Light, many Guardians have taken to farming the Legend and Master Lost Sectors across Destiny's various planets to target farm certain Exotics.
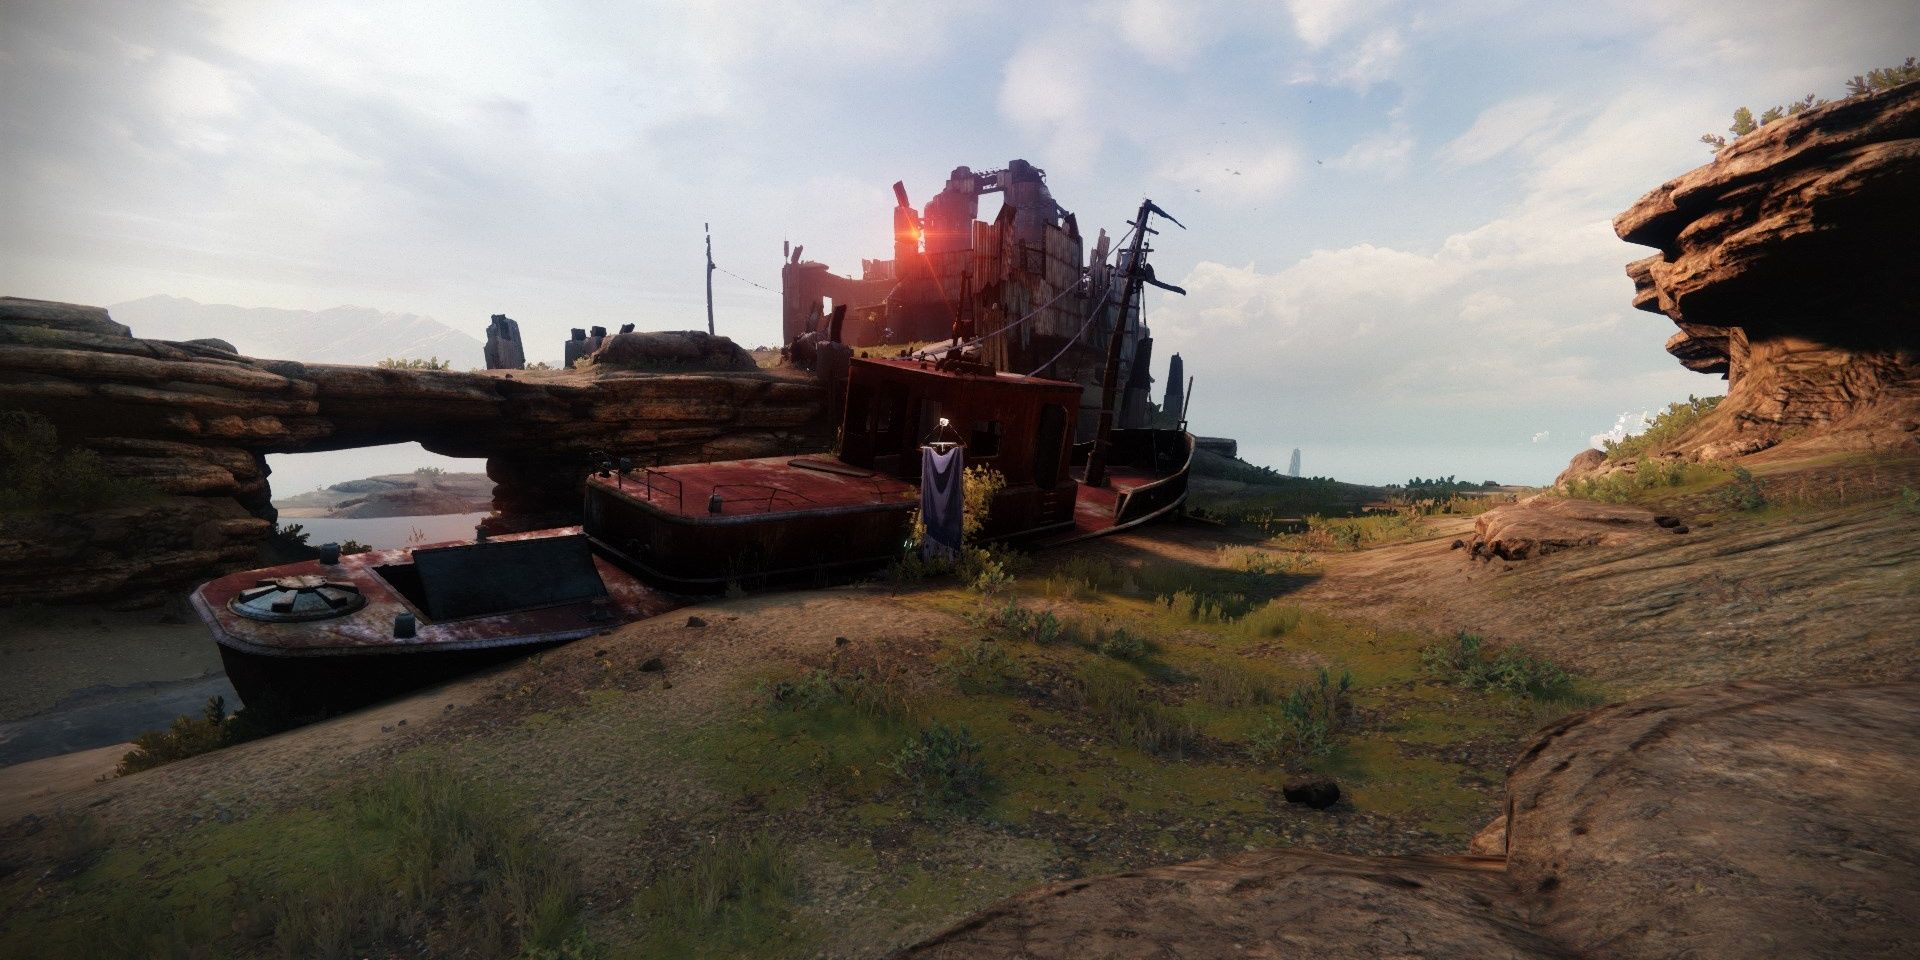
Not only do the new armor Exotics from Beyond Light drop in these Lost Sectors, but they also provide a means of farming Exotic armor for solo players — something that was previously exclusive to high-level Nightfalls. One of the easier Lost Sectors to clear out is the Cosmodrome's Veles Labyrinth, a short mission filled with Hive enemies. Here is a guide on how to clear out this Lost Sector on Master difficulty.
Updated July 25th, 2021, by Charles Burgar: A new set of Artifact mods has given way to better weapons and general strategies for Destiny 2's Master Lost Sectors. With the incredible Breach and Clear mod and weapons like Anarchy, farming Master Lost Sectors for loot has never been easier. We've updated this guide with new gear recommendations, and we've changed the formatting of this article slightly to make it much easier to read.
Modifiers And Recommended Loadout
As with every other Master Lost Sector, Veles Labyrinth has a multitude of modifiers that make this Lost Sector much harder to complete. Here is what you can expect:
Veles Labyrinth Modifiers
|
Master Difficulty |
|
|
Champions |
|
|
Faction Modifier |
|
|
Destination Modifier |
|
|
Master Modifier |
|
|
Burn |
|
|
Shields |
|
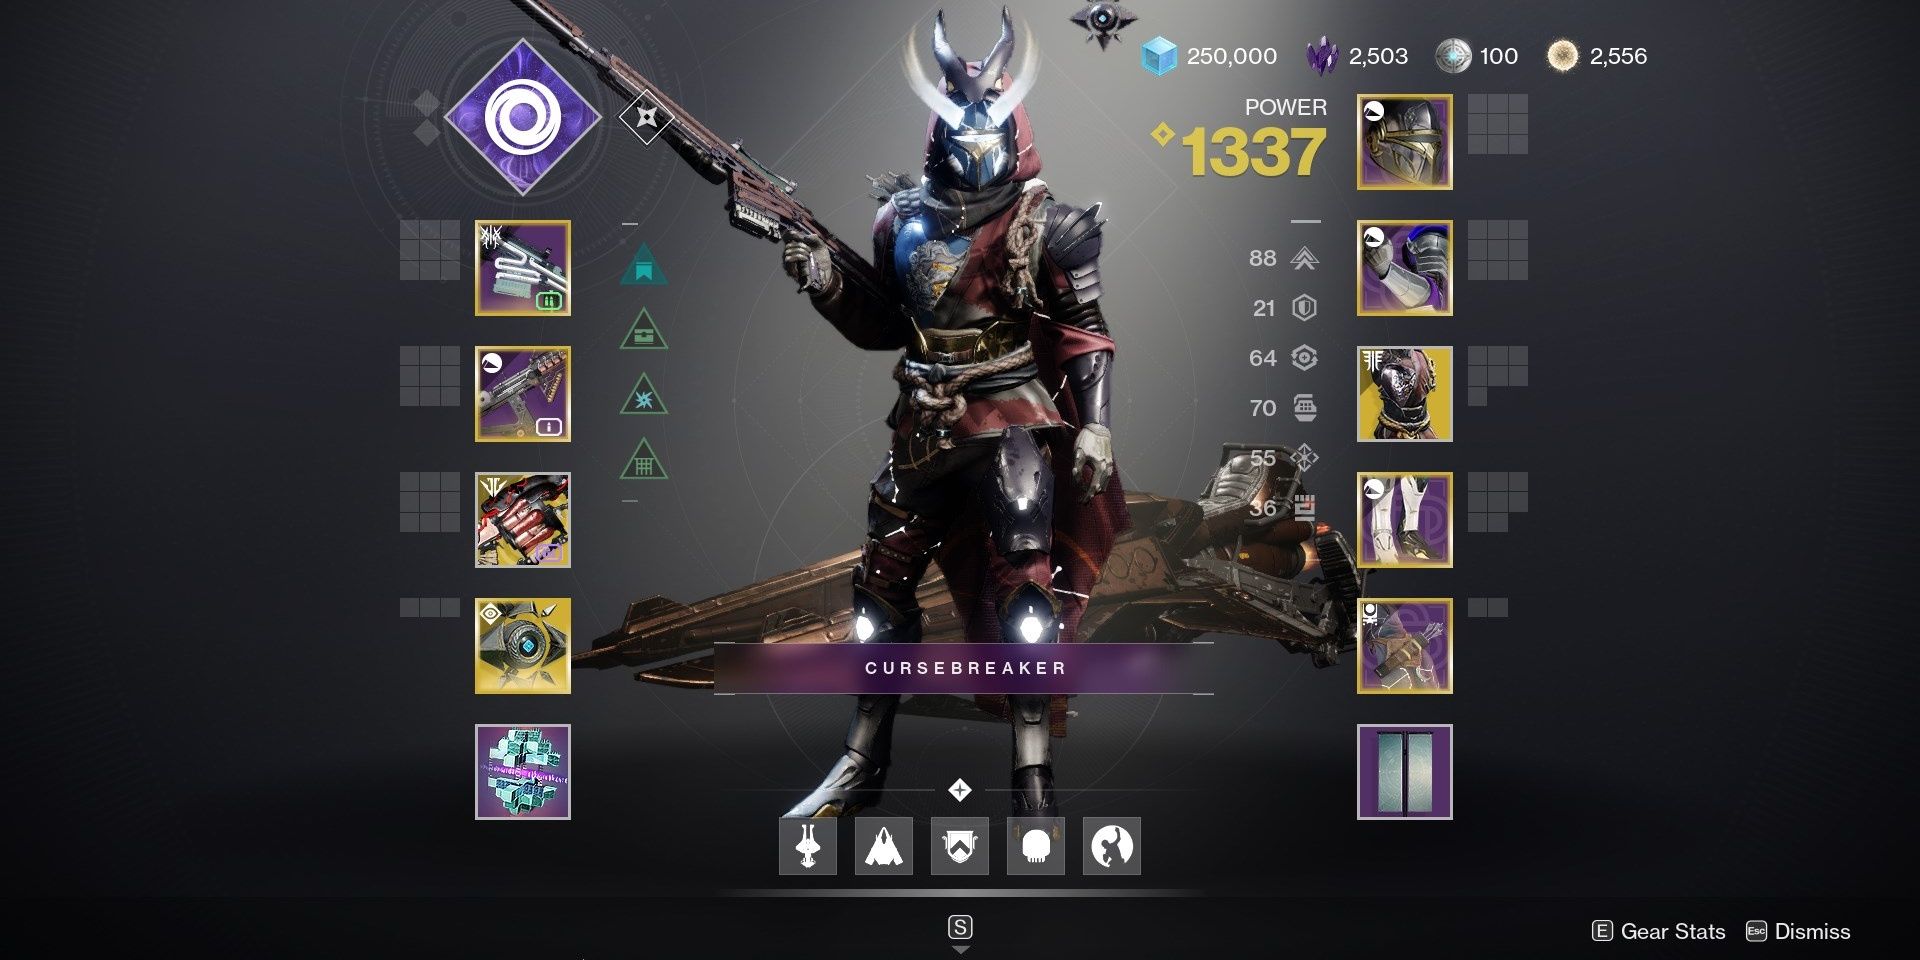
Only two Wizards appear during a Lost Sector run, both of which appear in the Hive Portal section. You will want at least one way of dealing with Solar shields to defeat the first Hive Wizard, which will spawn the boss and two Unstoppable Champions once slain. With how large the sightlines are in this Lost Sector, shields are a gamble when you're not at 1,340 Power or above. The Lament is great if you can stay alive, but those that aren't as durable should consider using Xenophage to take down Champions from a distance.
Subclass
|
Hunter |
|
|---|---|
|
Warlock |
|
|
Titan |
|
Weapons
|
Xenophage |
Arguably the best Heavy weapon due to its long-range and high damage output.
|
|
The Lament |
If you're 1,340 Power or above, this is a great way to take down Champions and the Hive Wizards.
|
|
Anarchy OR Witherhoard: |
A great option for every enemy when paired with Breach and Clear |
|
Hawkmoon |
Deals excellent damage against Champions and the final boss. |
Mods
|
Wrath of Rasputin |
Allows Solar splash damage to generate Warmind Cells.
|
|
Unstoppable Grenade Launcher |
This mod trivializes Unstoppable Ogres, the main Champion type in this Lost Sector. |
A Detailed Guide: Tunnels
Tunnel Enemies
- One Barrier Knight
- One Unstoppable Ogre
- Thralls
- Cursed Thralls
- Acolytes
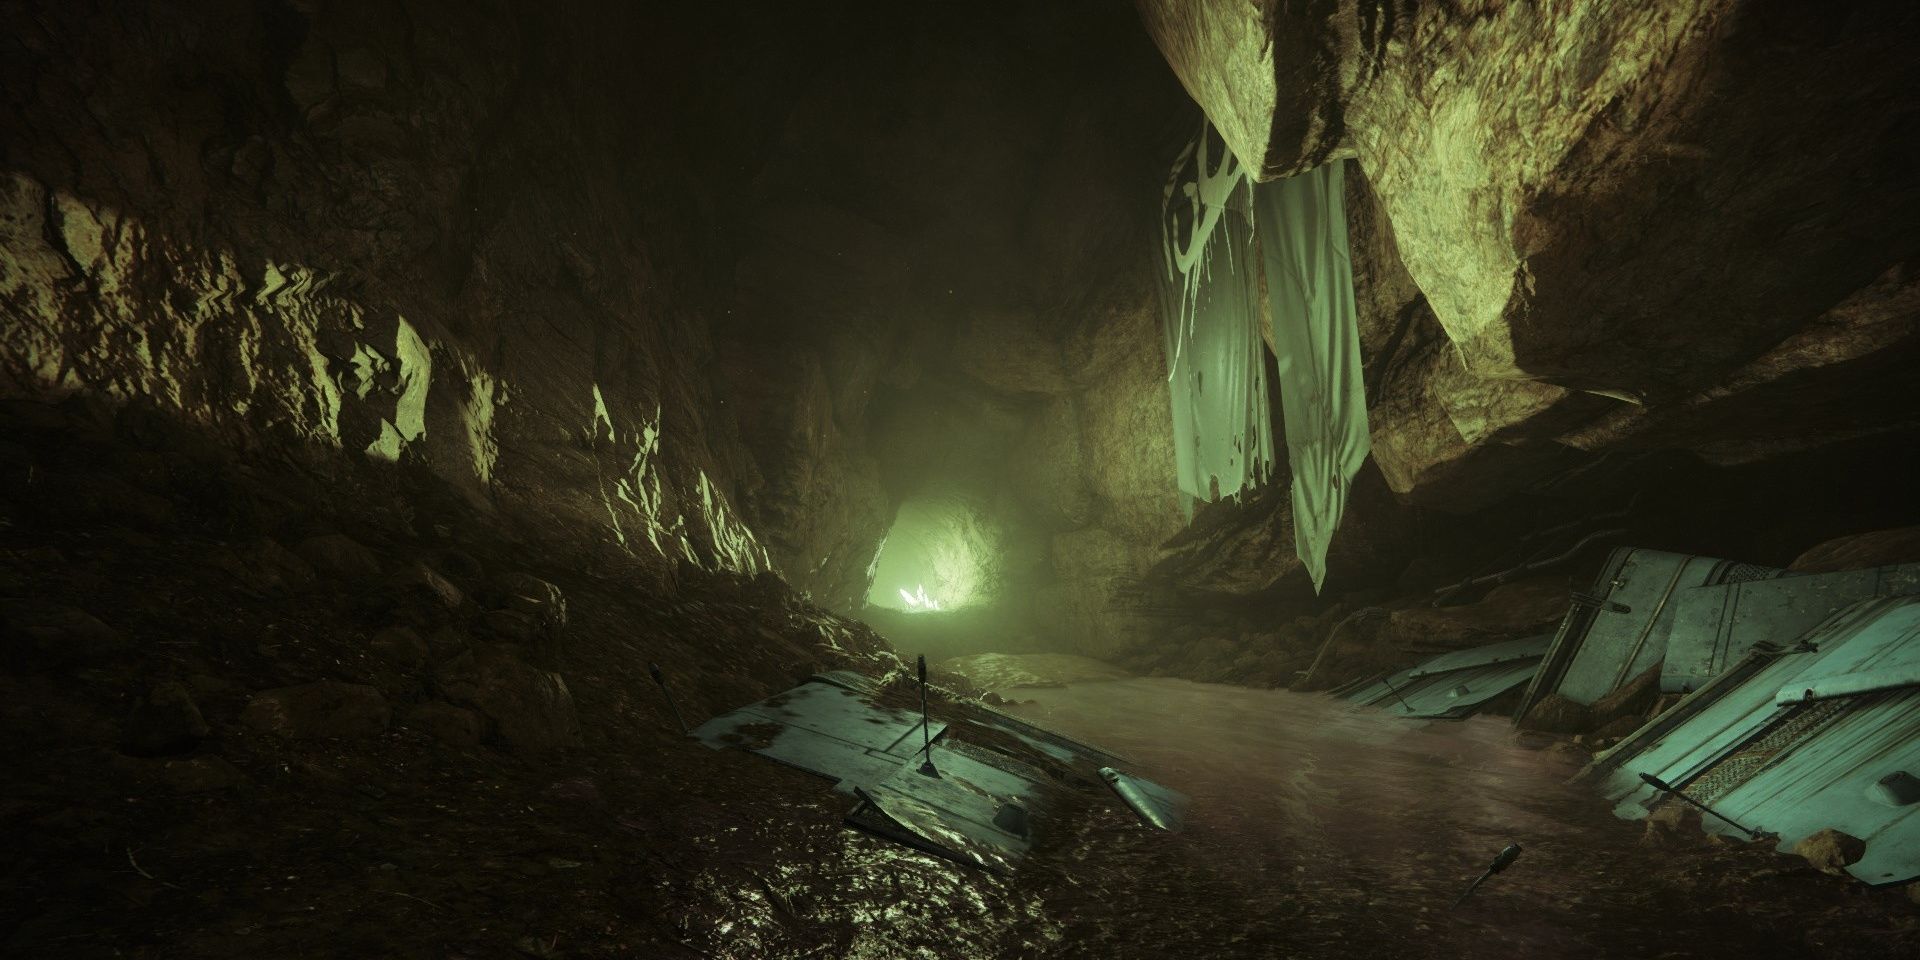
Start the Lost Sector by entering the tunnel directly in front of where you spawn. When it begins to bend left, a group of four Thralls will charge you. Take them down, then head down the right-most path until you reach the exit of the tunnel. Don't leave the tunnel yet, however, as multiple Thralls and a Barrier Knight will charge you.
Now is an excellent time to throw a Duskfield Grenade, use Anarchy/Witherhoard, or detonate a Warmind Cell. Focus on taking down the Barrier Knight when it enters the tunnel, using your Heavy weapon to take it down as fast as possible. If you're using a Sword, consider stunning the Unstoppable Ogre outside of the tunnel before fighting the Barrier Champion.
Once all of the Thralls and the Barrier Knight are dead, an Unstoppable Ogre will be waiting directly outside of the tunnel. Use any weapon with Unstoppable Rounds to stagger it, then use your Heavy weapon to deliver the killing blow. Anarchy and Witherhoard work great here if you're using Breach and Clear alongside Unstoppable GL. Head out of the tunnel to enter the massive chasm, the next section of the Lost Sector.
A Detailed Guide: Chasm
Chasm Enemies
- One Barrier Knight
- One Unstoppable Ogre
- Acolytes
- Thralls
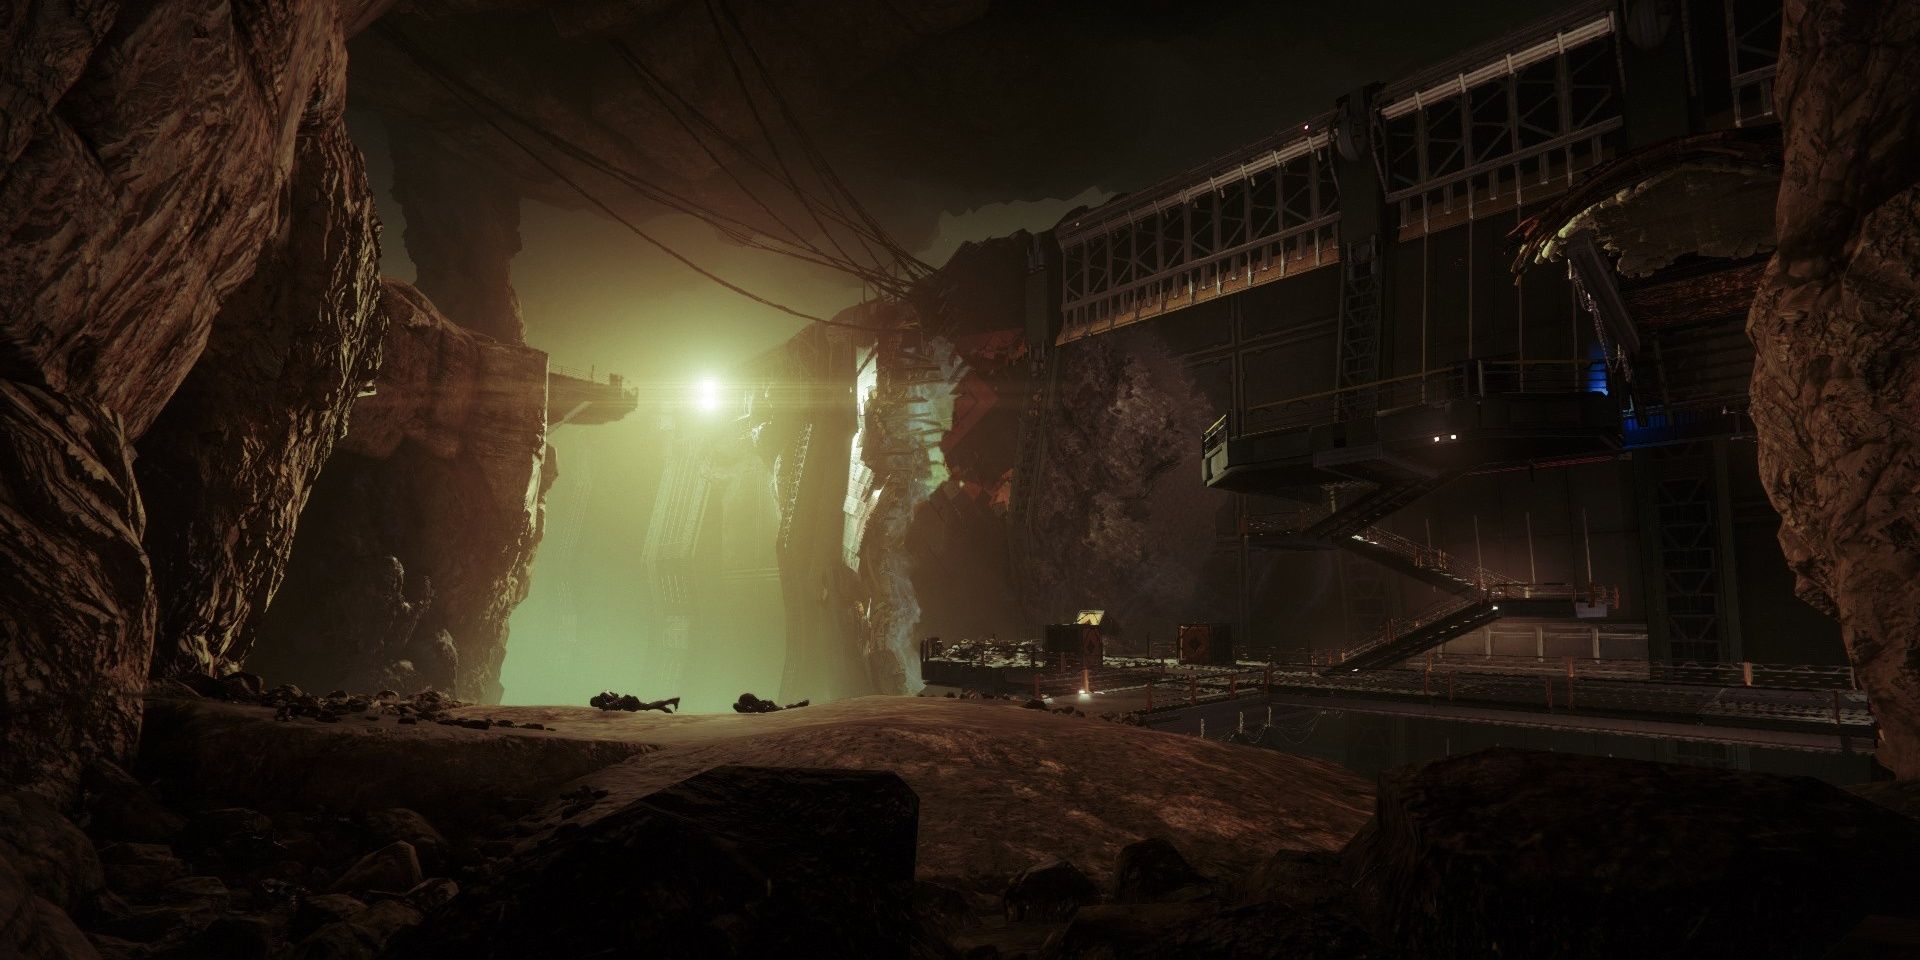
Directly to the right of the chasm is a set of stairs leading up to a Barrier Champion and a set of Acolytes. Take the stairs, stun the Barrier Knight by freezing it or breaking its shield, then take it down as fast as possible. If you kill the Champion up close with a Sword, a swarm of Thrall will rush behind you. Otherwise, slowly move up from the stairs to force the wave of Thralls to spawn. Use your Primary weapon or a Warmind Cell to take them down.
From where the Thralls spawned from, cross the Chasm and prepare your Unstoppable weapon. Around the corner will be an Unstoppable Ogre. Stun it with your weapon before killing it. Push forward to face the final set of Champions alongside the Lost Sector boss.
A Detailed Guide: Hive Portal
Hive Portal Enemies
- Two Unstoppable Ogres (spawn together)
- Hive Knight Boss
- Two Wizards
- Acolytes
- Thralls
- Cursed Thralls
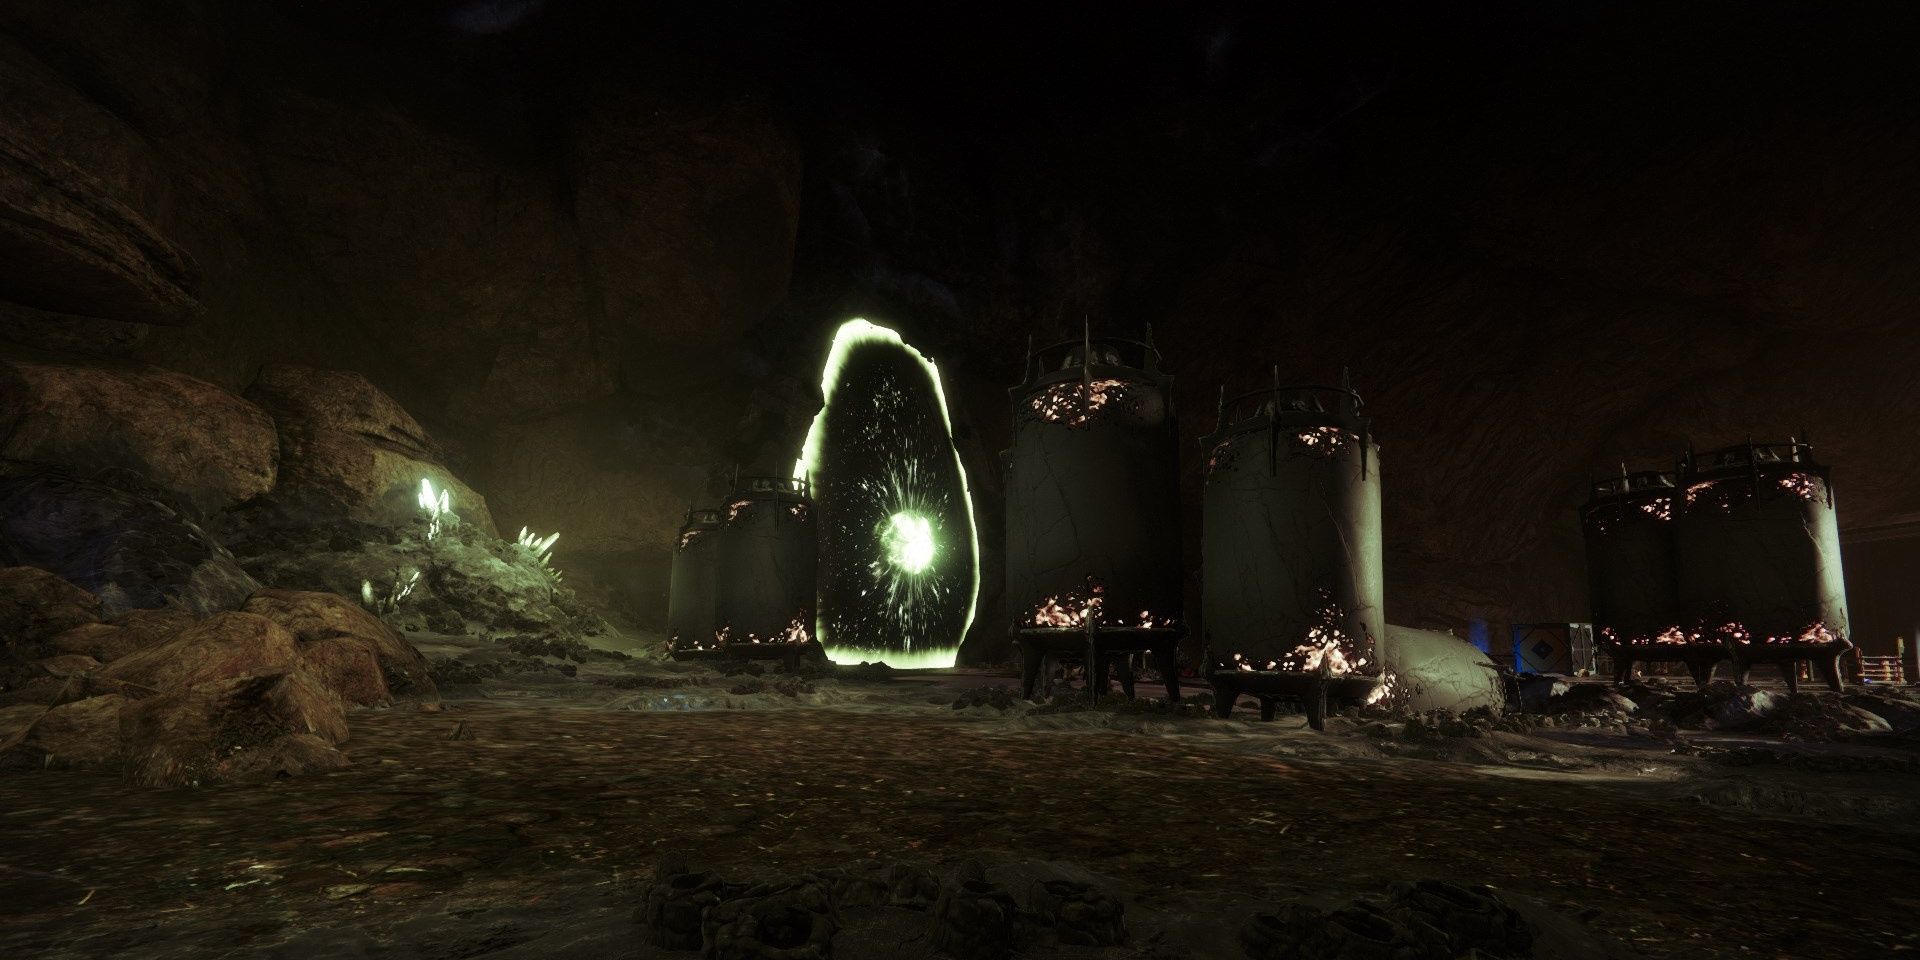
A Hive Wizard will be floating just before you reach the arena proper. Use a Solar weapon or ability to take its shields down, then land the killing blow with a Special or Heavy weapon. This will spawn a Hive Knight as the final boss alongside a massive wave of Acolytes and Thralls. Use a Warmind-compatible weapon to spawn a Warmind Cell and take the Hive enemies out.
Two Unstoppable Ogres will spawn soon after. Taking them out is a massive pain, so be sure to have a Super, Stasis ability, Anarchy, or some sort of crowd control ability at the ready. Use an ability to temporarily disorient an Ogre before stunning the second one with an Unstoppable weapon. Kill the second Ogre as fast as possible, back up, then stun the first Ogre.
Once both Ogres are dead, you can draw your attention towards the boss. Killing the boss will let you open the chest and receive Platinum rewards, although so many Hive rank and file enemies will spawn that it's a good idea to take them out before opening the chest. The second Hive Wizard also spawns alongside these enemies, so be sure to have a Solar weapon or ability at the ready to destroy its shields. Regardless, take down the boss to open the chest and finish the Lost Sector run.

