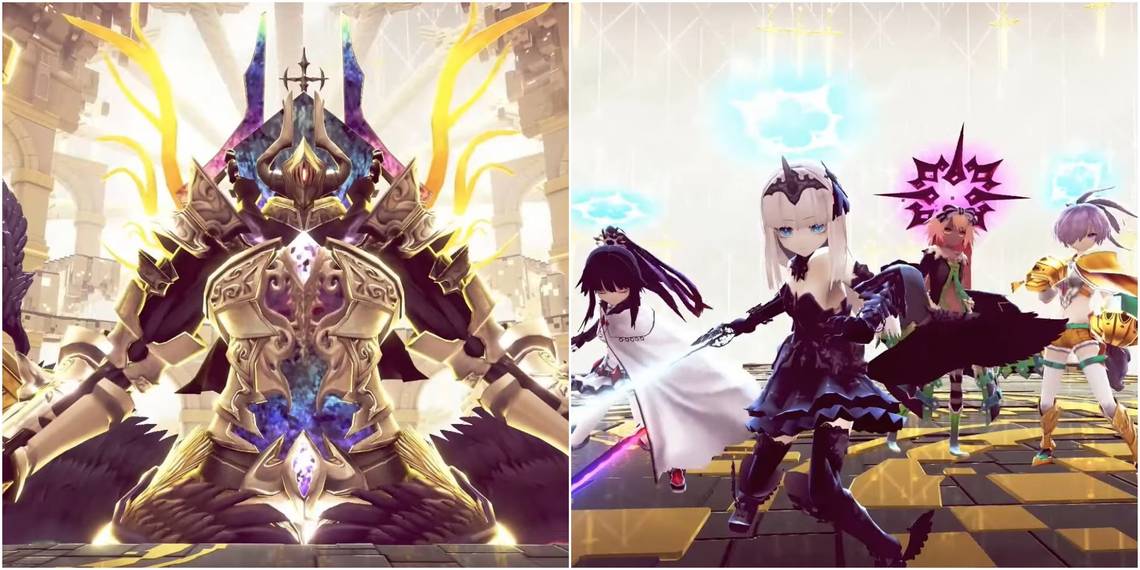
It’s time. You’ve finally reached the end of Crystar’s long road. Multiple false endings, multiple new stories, and a seemingly endless horde of bosses have led to this. Rei, Kokoro, Sen, and Nanana are finally crossing swords with the final boss. Enter the creatively named fusion of Mephis and Pheles - Mephistopheles.
Unlike many of the late-game bosses, Mephistopheles is not going to go down without a fight. She is the real deal, and she is loaded with attacks that come out fast and deal massive damage. If you want to come out on top, you are going to have to pay attention to her attacks, fall back from time to time, and bring your A-game.
Mephistopheles’ Attacks

Mephistopheles has more attacks than any other boss in Crystar. She has an attack for every situation, and every one of them deals enough damage to make you wince. Not only that, but when Mephistopheles swings, it will cover most - if not all - of the arena. She even gains new attacks as the fight rages on.
Mephistopheles' Opening Attacks
Her first attack is a fairly simple, yet devilishly fast, double swipe. Mephistopheles will grab one of the six swords by her side, and perform two horizontal swings. These attacks cover the entire arena, so you will need to dodge through them if you want to avoid damage.
Mephistopheles can also fire out three ground projectile waves that deal about 40 damage a pop. These will track the player, and each burst will send three lots of projectiles your way. If you are hit by one, you will likely get hit by them all. She always uses this ability twice in quick succession, and getting hit by all six can be devastating. Dodging forward through them is the best way to avoid damage.
Be warned that this attack is especially dangerous when in melee range as all six projectiles can instantly hit you without much warning. Because of this, whenever Mephistopheles goes to do any attack, it’s wise to move back and see what she is going to throw instead of slogging it out and face tanking.
When Mephistopheles loses some HP, she will begin to mix up her projectile game and throw lobbed balls of energy. These are not homing, but they have a tendency to fall near, or on, your character. You can even dodge into them if you get unlucky. The best way to avoid this is to simply move back before Mephistopheles casts it, then dodge appropriately.
Mephistopheles' Sword Attacks
Mephistopheles has five attacks that use her six hovering swords (six if you count her basic double swing). She changes this up as she loses HP. Her first attack is a six-hit combo that covers most of the screen. It’s a series of horizontal and vertical slices and requires some precision dodges to avoid. Always dodge toward Mephistopheles to maximize your chances of avoiding damage.
Her second sword attack is a series of vertical sword slashes that land right to left in sequence. This will cover most of the screen, but since there is a delay between each swing, you can time your dodge to avoid the attack. You can also retreat to one of the side cubbies to completely negate the attack.
Mephistopheles will eventually change up this attack, and instead of the swords spawning beside Mephistopheles, they will spawn on the left and right sides of the arena. These are much harder to avoid since you can’t see them. Either move close to Mephistopheles or rapidly retreat to the back of the arena.
Her final two attacks are plunging attacks. The one you are likely to see first is a non-homing variant that has her six swords crashing into the arena from above. Each sword then sends out a large AOE burst that covers most of the arena. Dodging this is incredibly difficult, and each hit will do close to 200 damage. If Nanana, for example, gets hit by all 6, she could straight up die.
The best way to avoid this is to dodge the sword then jump the blast. You will likely take some damage during this attack, but this should negate some of it. This tactic won’t work against the attack’s variant, however.
Occasionally, Mephistopheles will throw a homing version of this attack. It deals about the same damage, but the AOE blast is much smaller. The only way to avoid this is to dodge constantly.
Preparing For Battle

Which Party Members To Bring
Whilst you have access to your full party when fighting Mephistopheles, only Rei and Nanana are worth taking. Nanana is your ranged damage dealer who stands back and blasts with powerful spells, and Rei is your brawler getting up close and personal.
Both are fantastic picks, but they require slightly different approaches. Nanana can stay back and see Mephistopheles wind up for attacks, making it easier to prepare for a dodge. The downside is that Nanana has less HP and DEF than Rei, so mistakes are much more punishing.
Rei on the other hand will be forced to fall back whenever Mephistopheles starts to attack. Rei is much more vulnerable to projectiles as they could just spawn on top of her and hit-stun her for massive damage. That being said, Rei is more suited to tanking that kind of damage due to her superior stats.
Kokoro could, in theory, do well in this fight. Because Mephistopheles is basically a wall that doesn’t move, Kokoro’s short-range is less of an issue. Where things fall apart is her damage and lack of skills. Rei simply outshines Kokoro.
Sen is a wet noodle at this point and can be safely ignored.
What Skills To Use
When using Nanana, Nanana Doodle x3 is your go-to skill. This skill has a long-range, deals amazing damage, and builds your Chain. It’s an expensive skill, so you will need to use basic attacks to refill your SP, but it’s well worth the expenditure.
For Rei, you want to use a combination of Ray Rain, Wrath Blow, and basic attacks - in that order. Ray Rain and Wrath Blow are cast quickly and deal high damage over time. Whilst these spells are playing out, Rei is free to move and attack. Attacking during these spells will cause massive damage and build your Chain incredibly quickly. Just be aware that Mephistopheles will move away from the arena to attack from time to time, so you might whiff some of your attacks.
Pick Up Some Items
You are unable to purchase items before Mephistopheles - your last opportunity to buy was before the Mephis/Pheles fight. If you are low on items, you might be in a bit of trouble. Provided you went to the store and stocked up, however, you should be ok.
Stocking up on healing items, Panellets and Sfogliatella is just a must. These will keep you alive and buff your stats considerably, making the fight much easier.
Maximize Your Chains
Mephistopheles has a massive health pool - so large you can easily fill your Tear Gauge four - or even five - times. You want to pop your Guardian as often as you can as the ATK and DEF bonus is too good to ignore. Even Nanana can start to face tank Mephistopheles, although you will likely want to remain cautious and dodge.
Battle Strategy

Mephistopheles is not an easy fight. She has a lot of attacks, they all do a lot of damage, and her HP is, well, a lot. This is a long fight that demands you respect Mephistopheles' move pool. Avoiding damage is the best way to play, even with a solid healing supply.
As Rei, fall back every time Mephistopheles goes to attack, dodge the attack, and then rush right back in with Rain Ray, Wrath Blow, and basic attacks. If you are using Nanana, stay back, throw out a constant barrage of death, and dodge when appropriate.
Mephistopheles becomes more of a threat the lower her HP gets, so be prepared to spend more time dodging in the final stretches. Make sure to pop Sfogliatella and Guardians to mitigate damage, as this makes these sections much easier.
With Mephistopheles dead, you can enjoy the true ending. Congratulations.