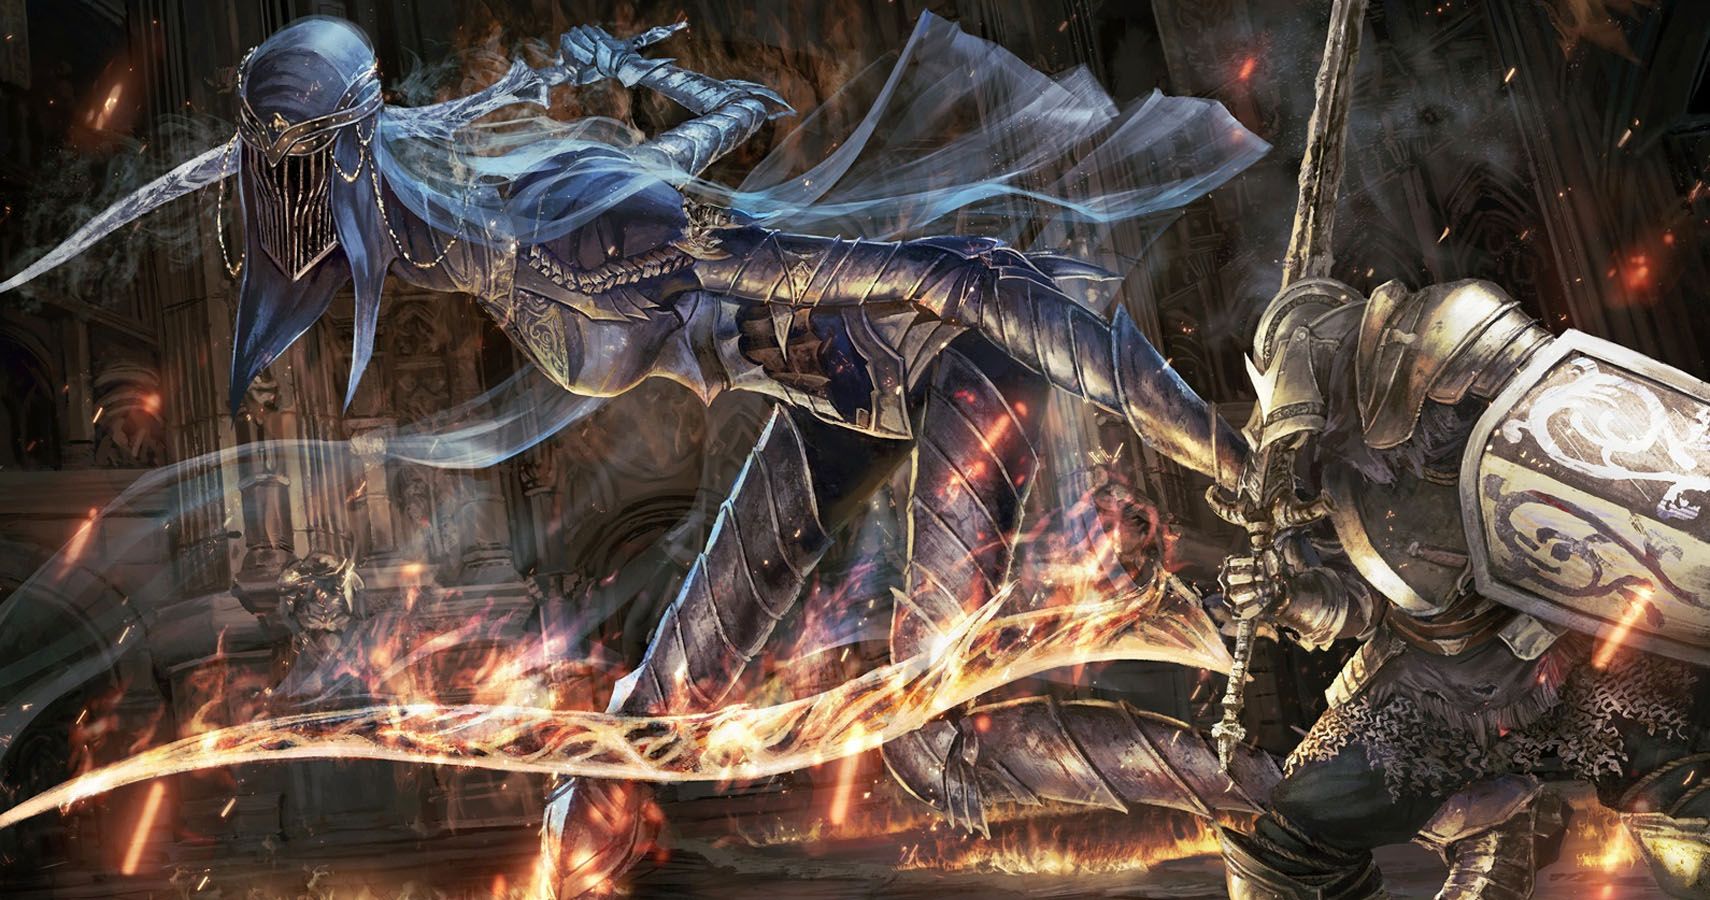
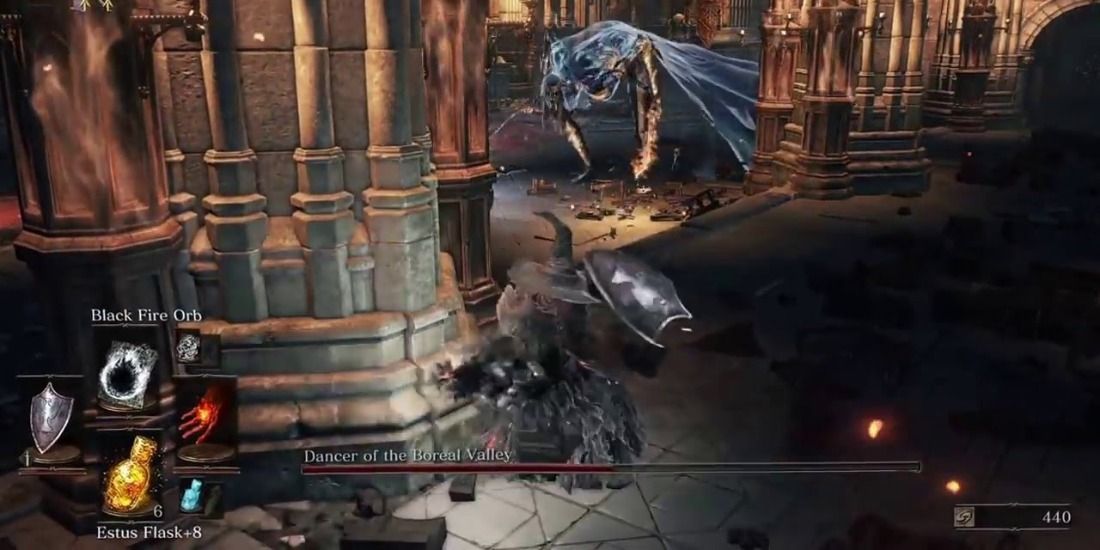
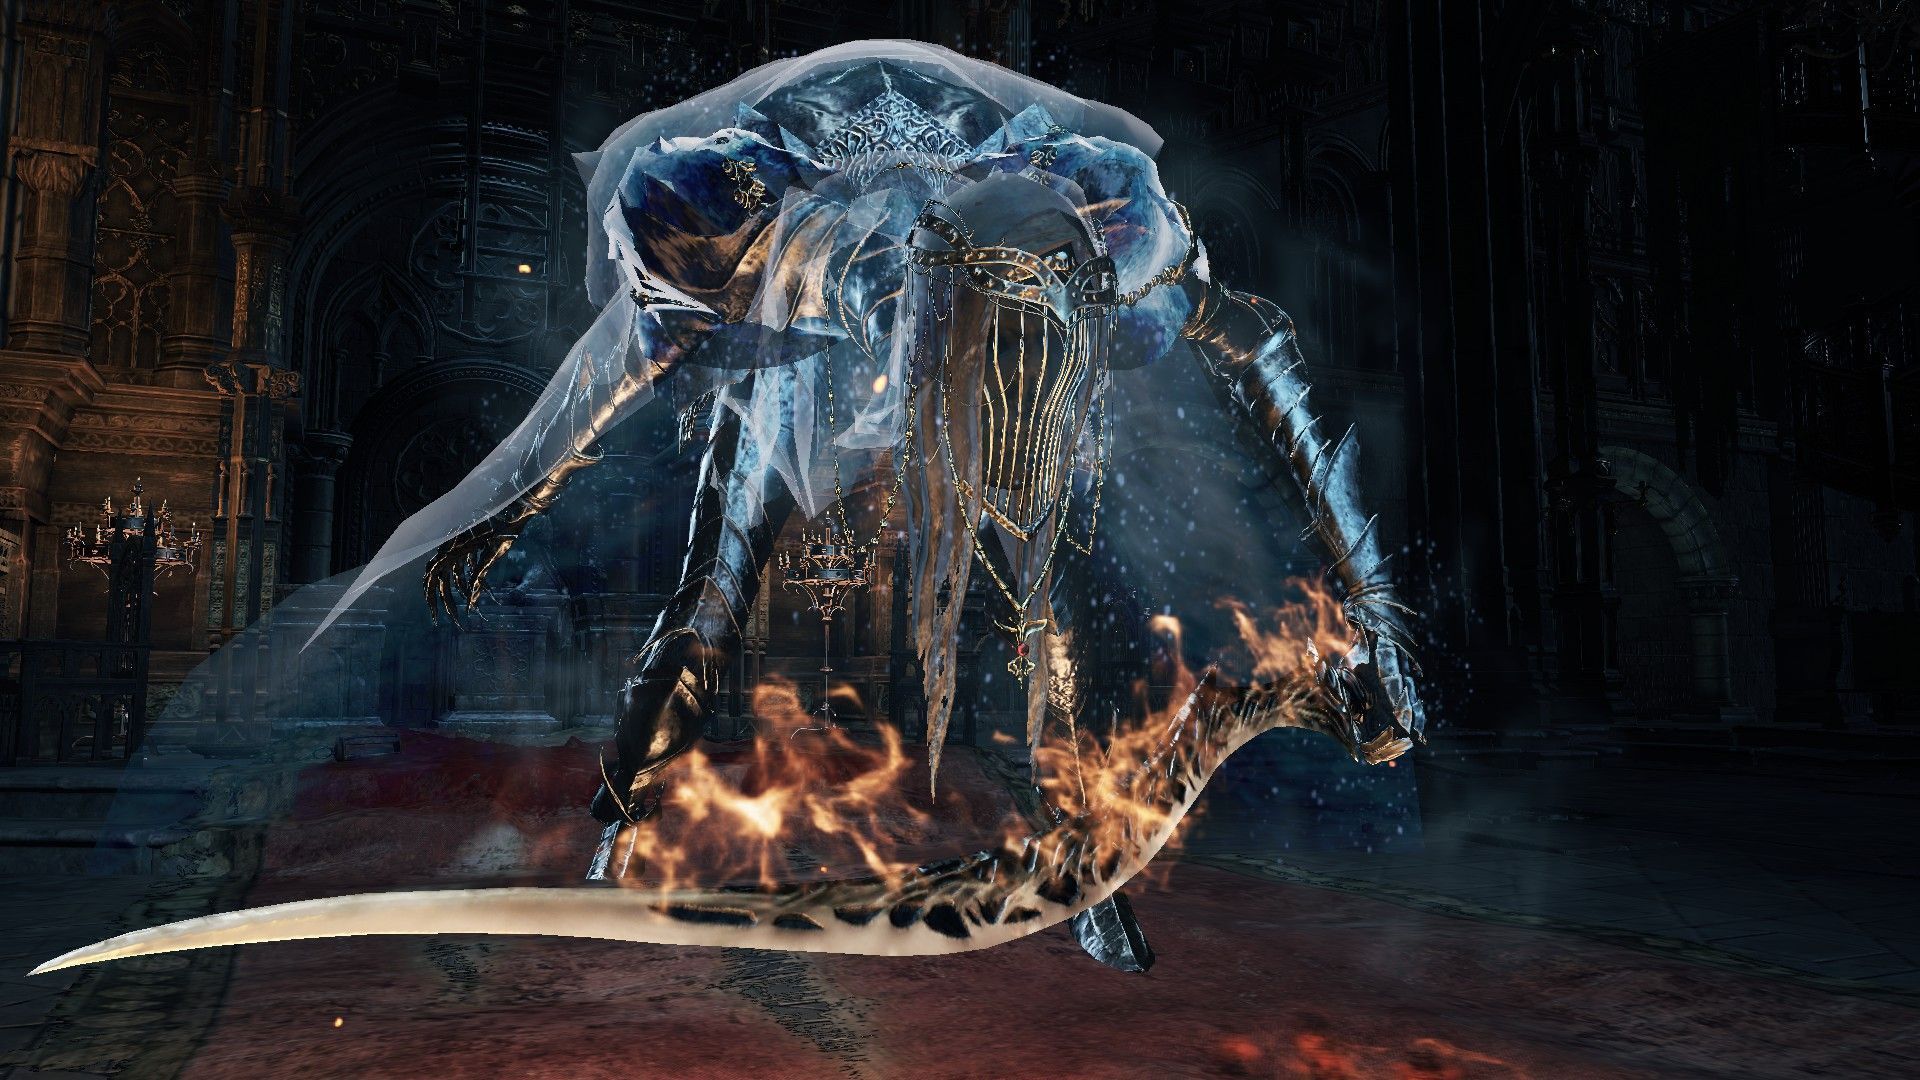
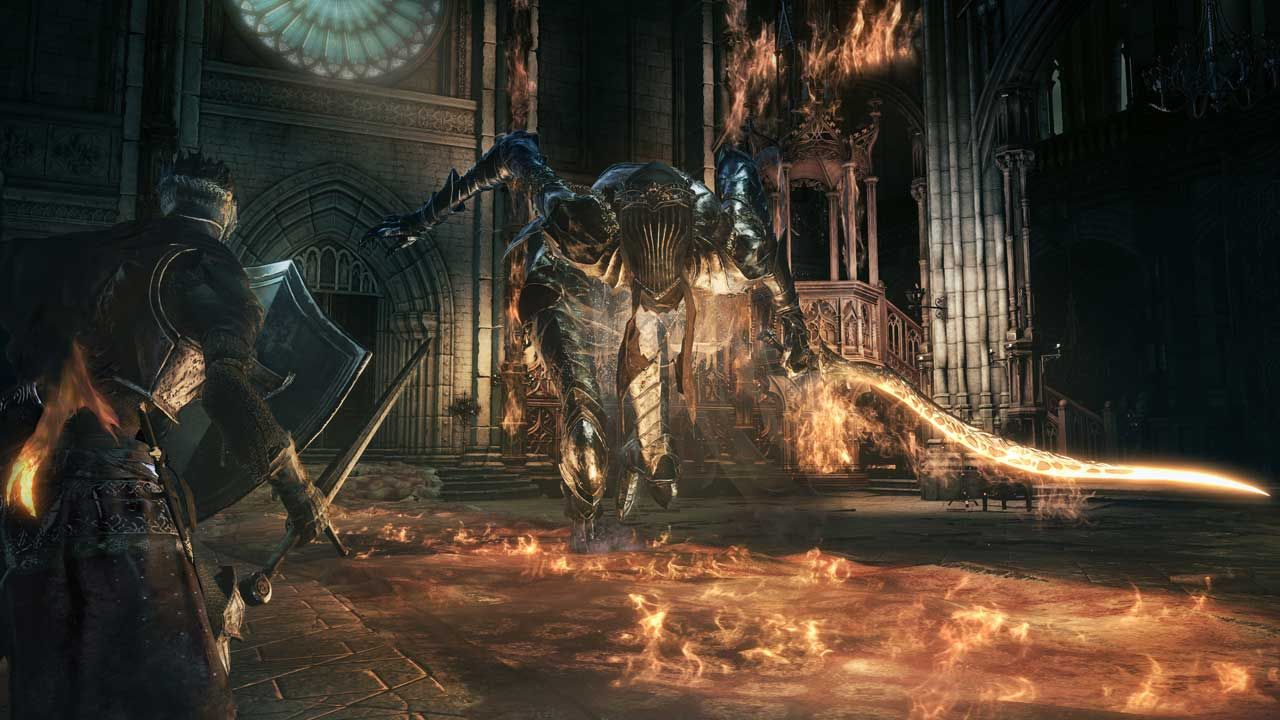
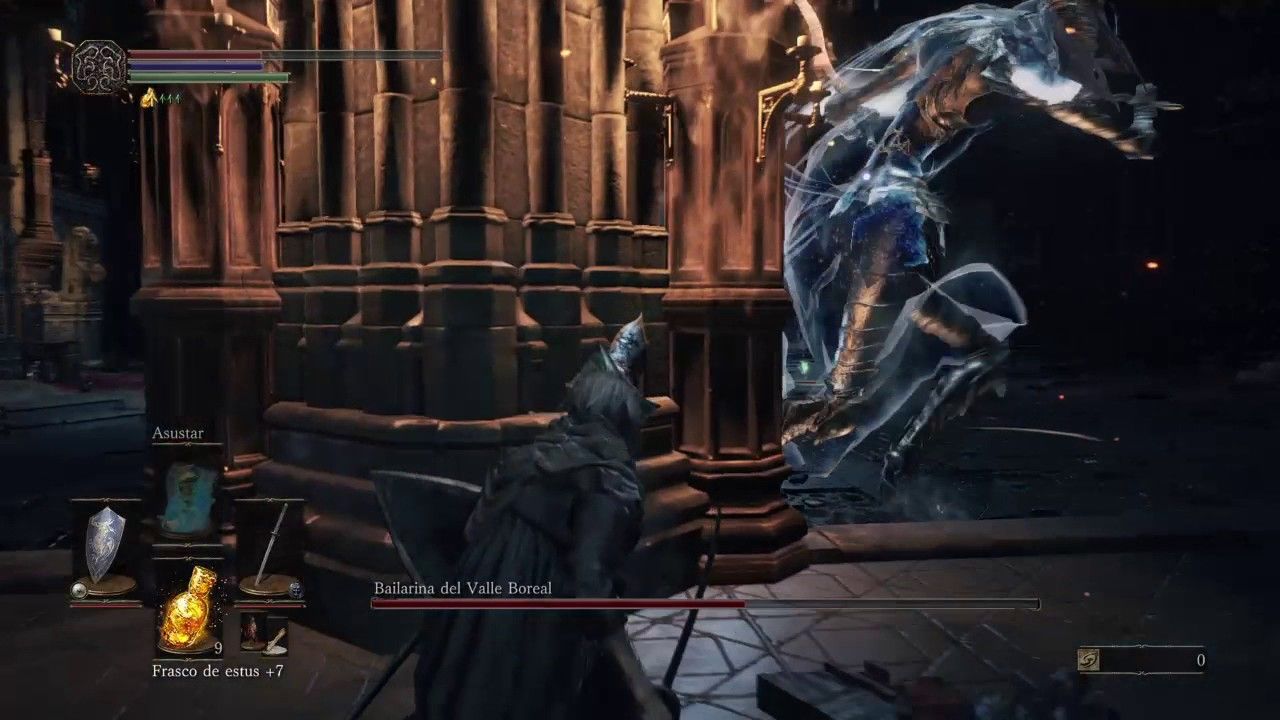
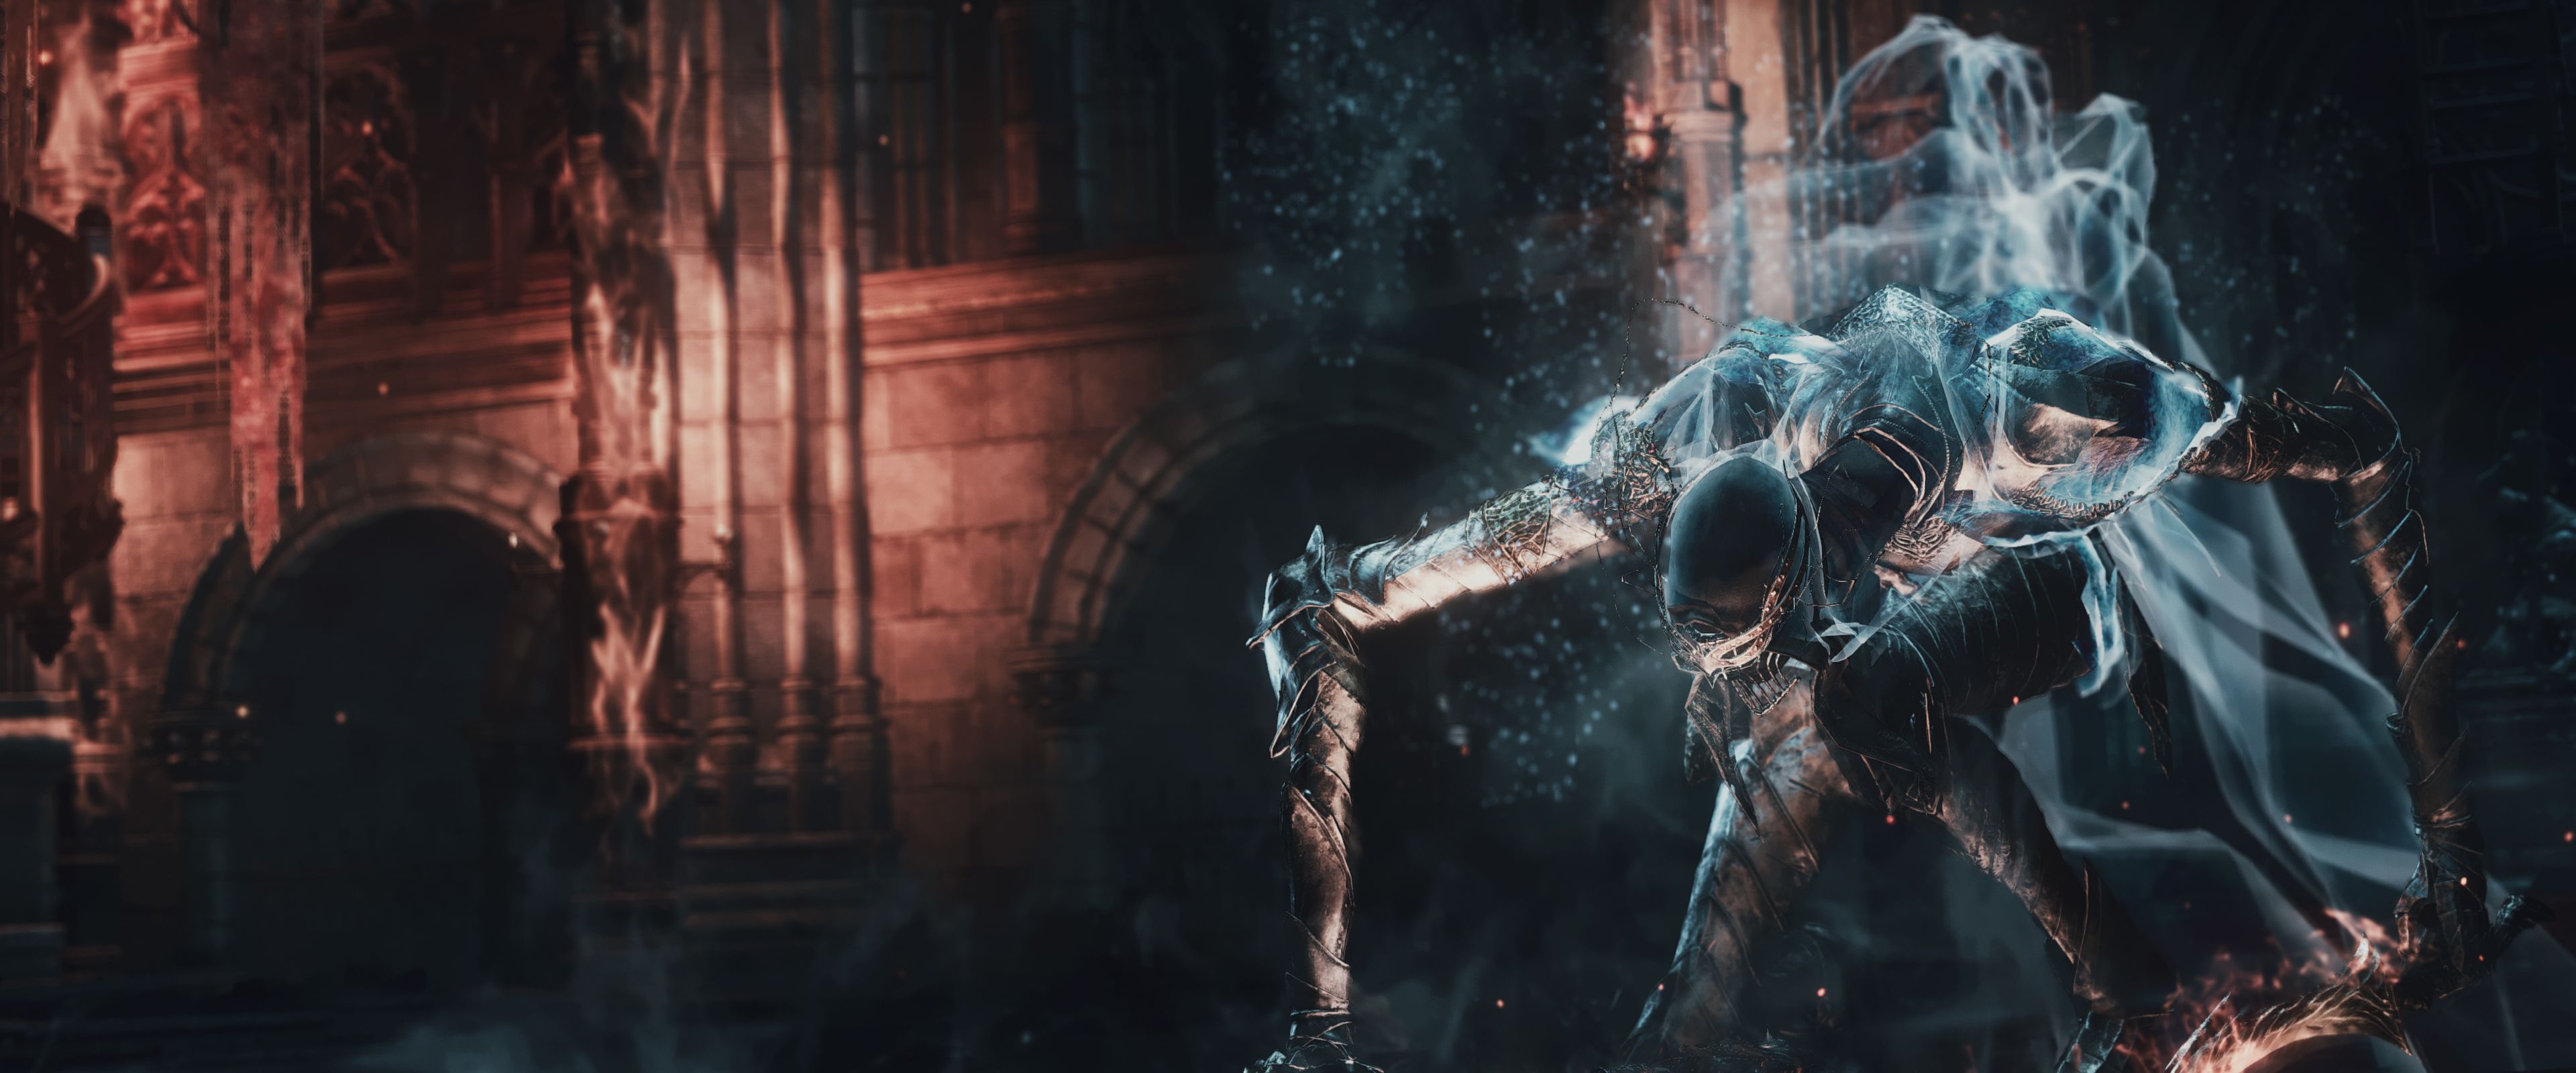
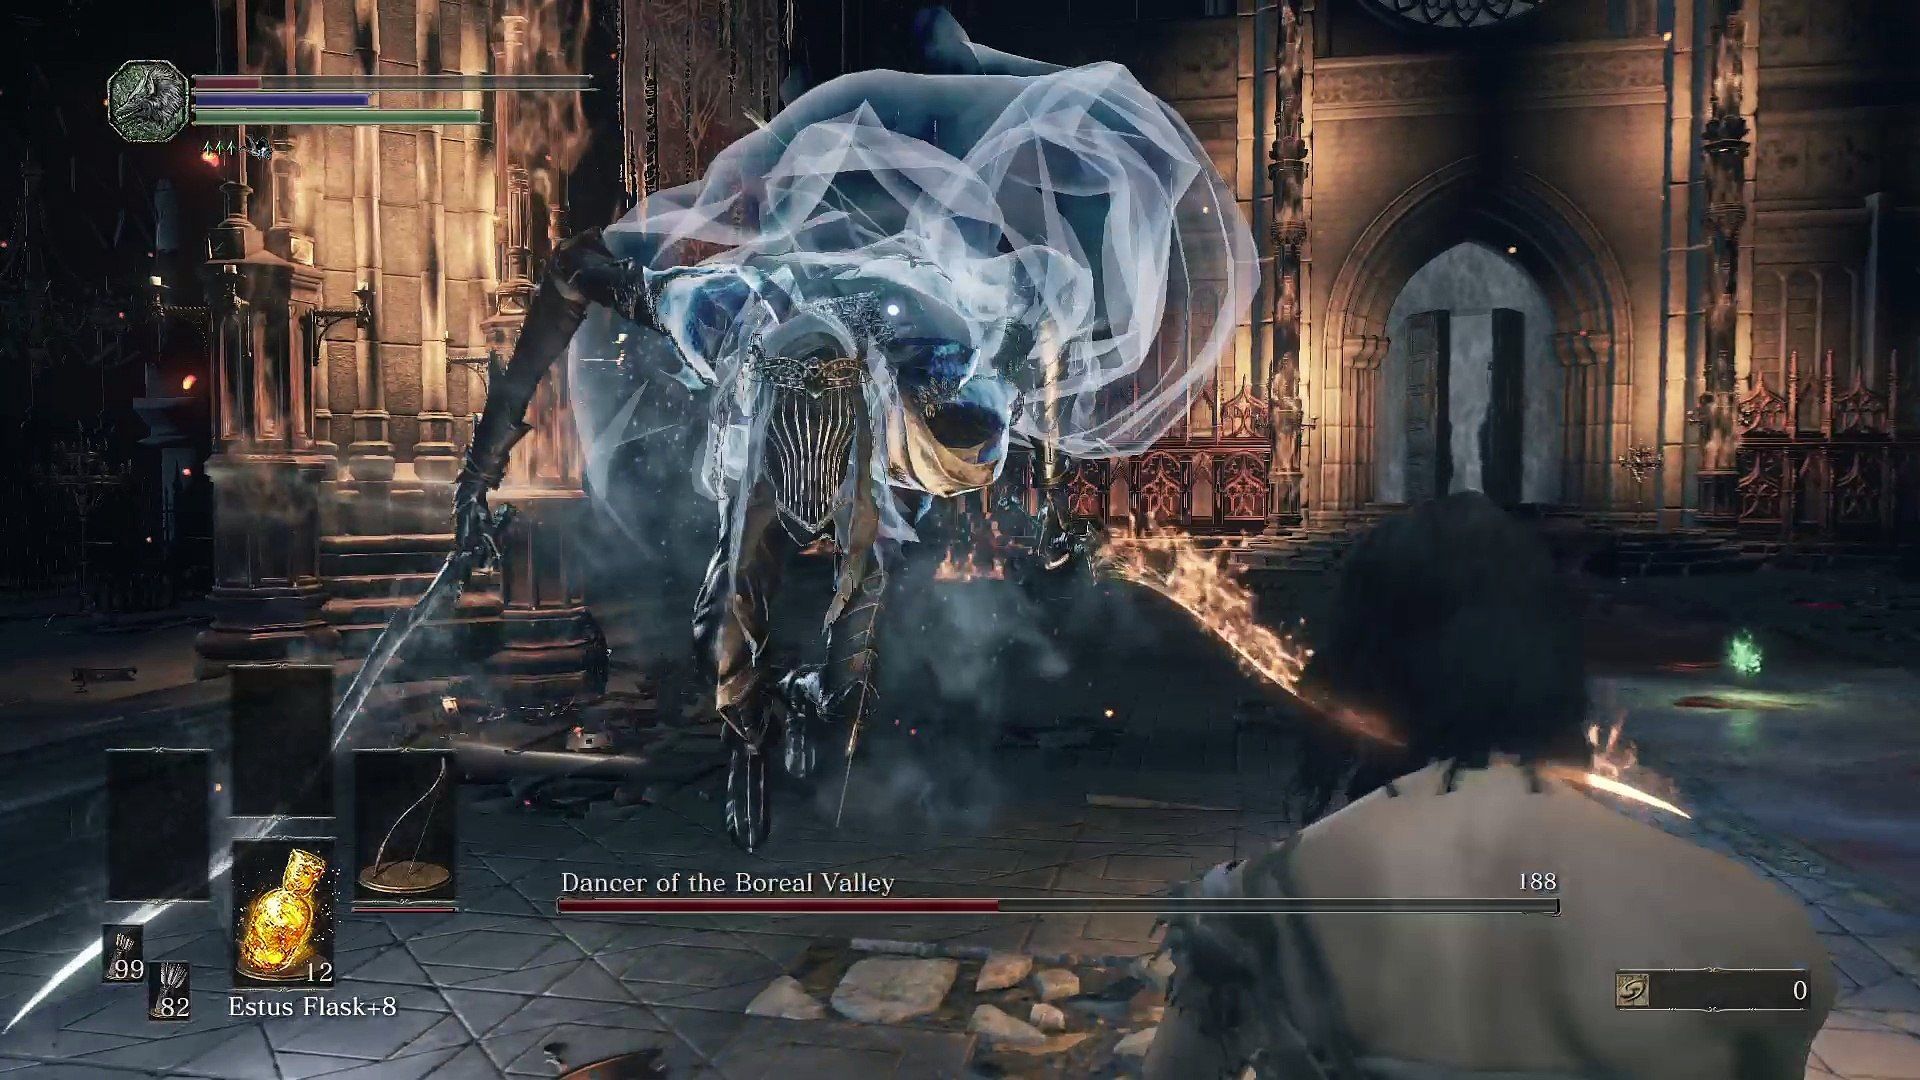
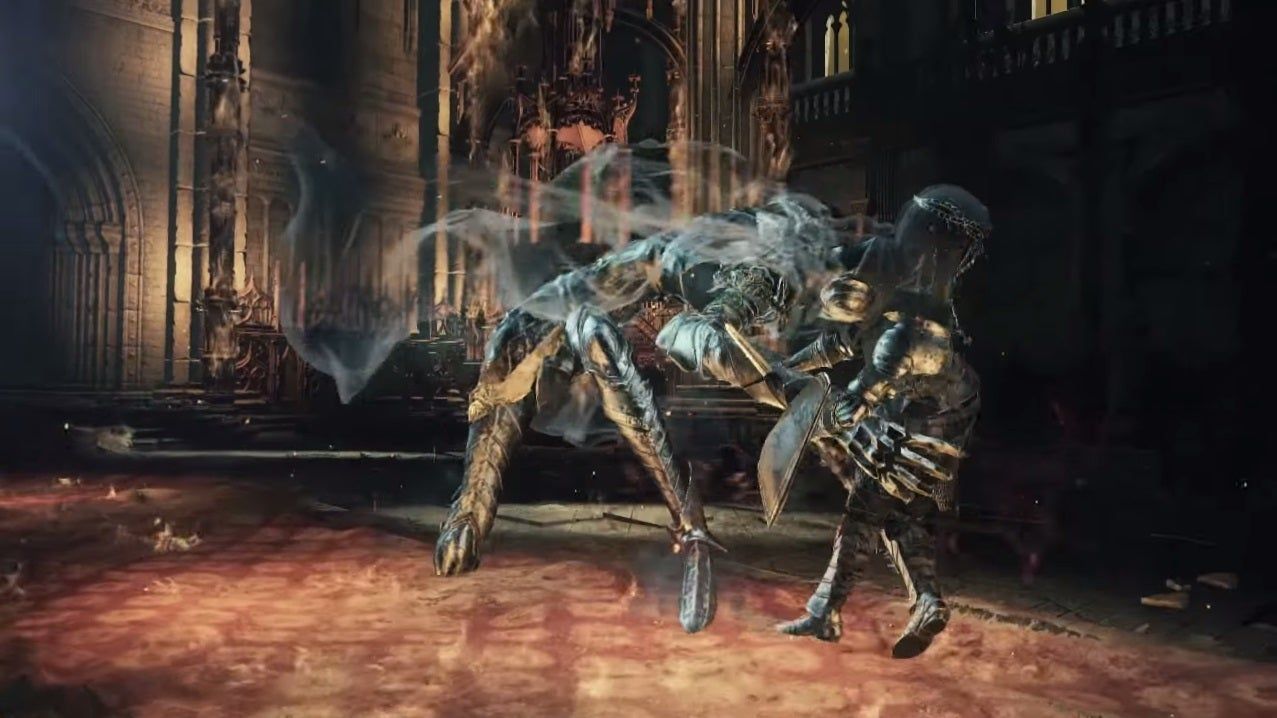
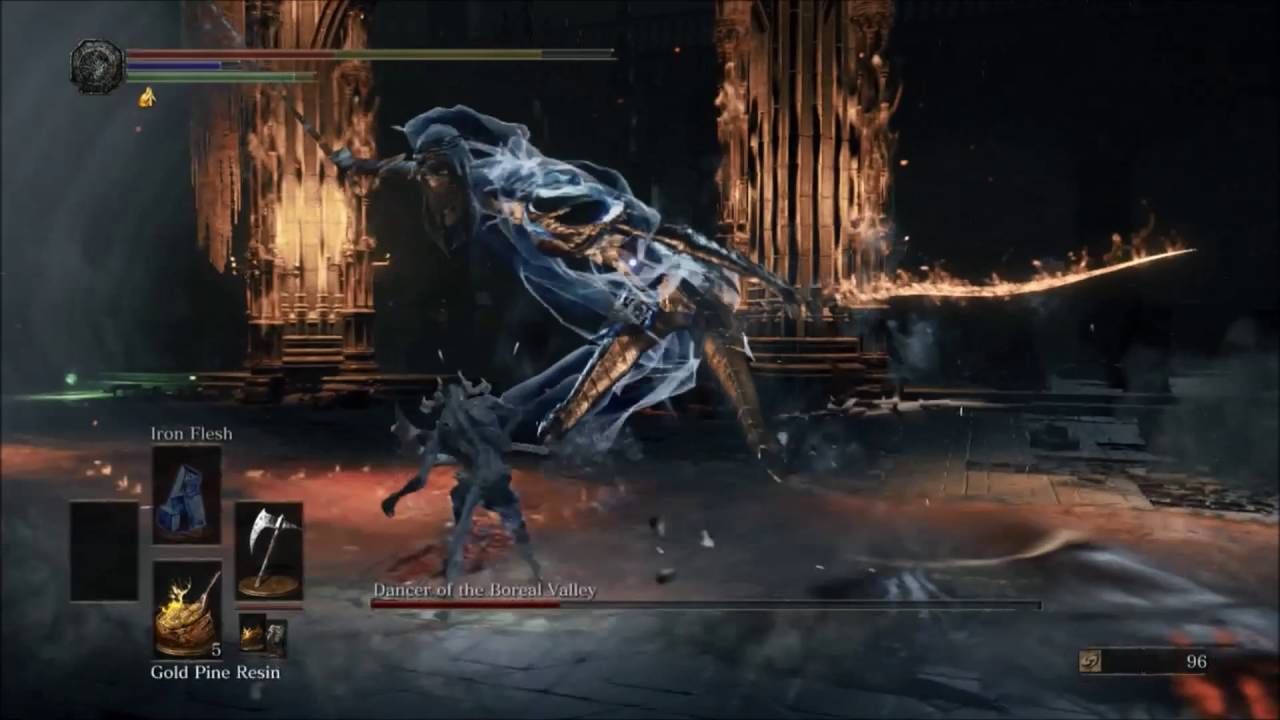
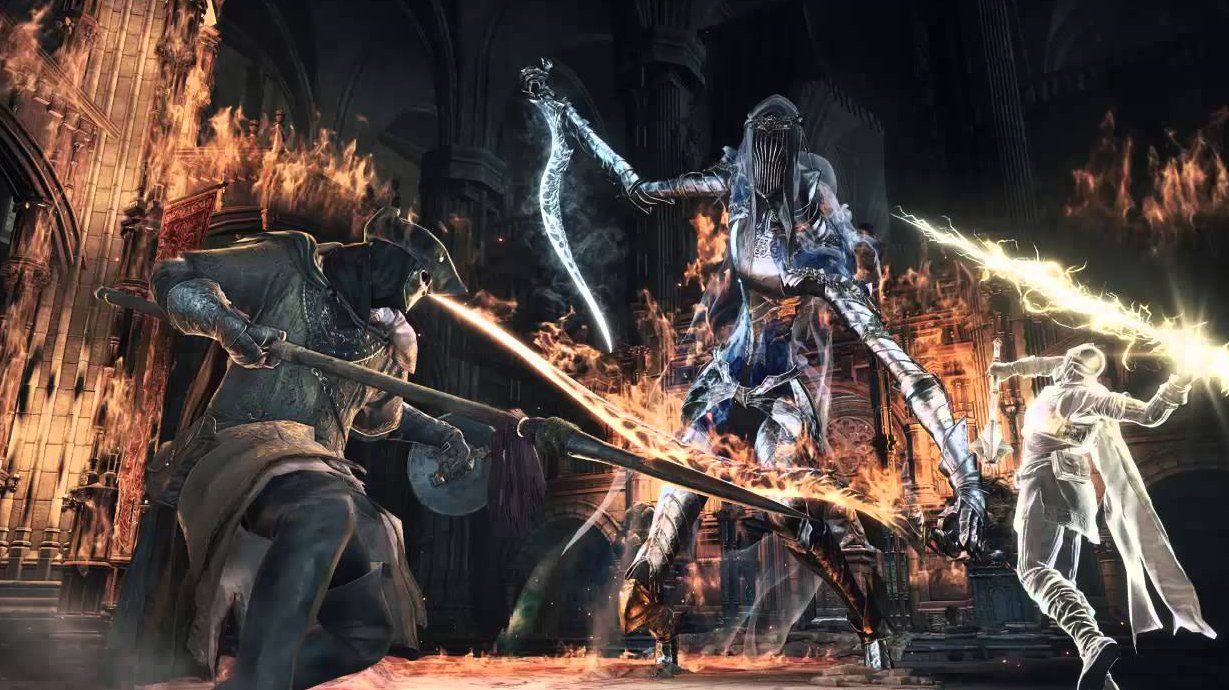
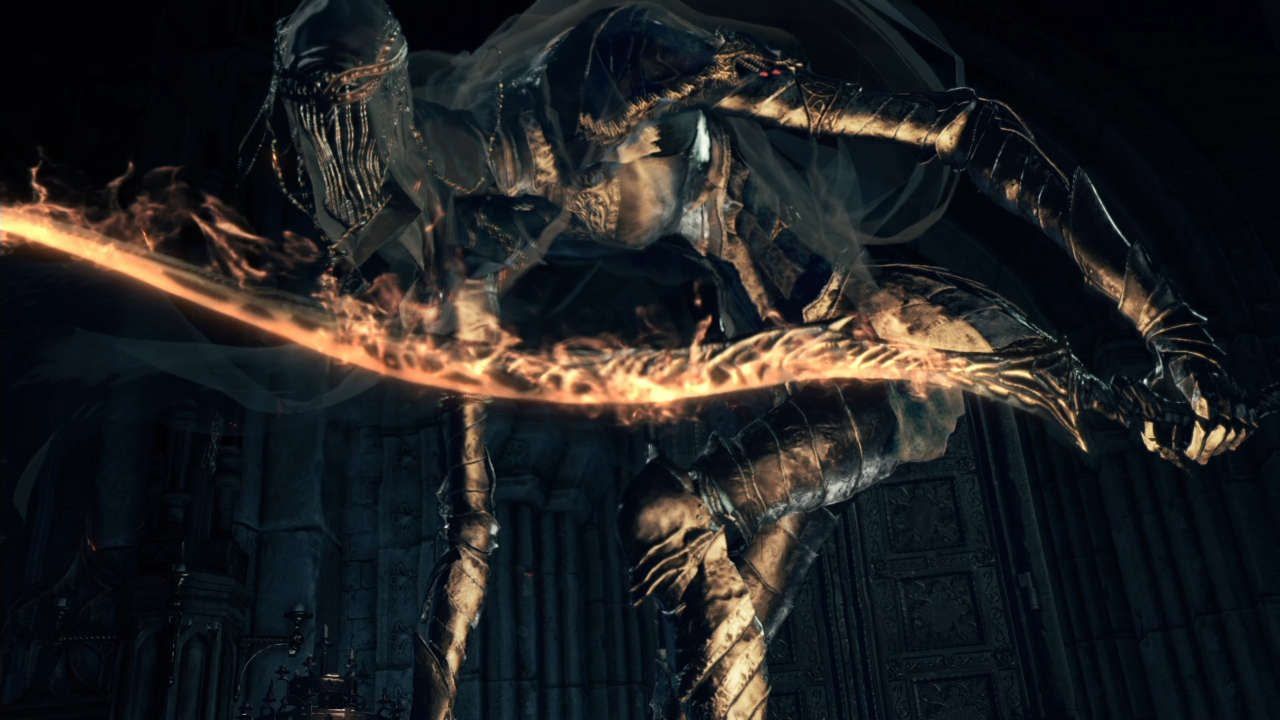
Along with the Nameless King and Pontiff Sulyvahn, the Dancer of the Boreal Valley is among the topmost difficult bosses of Dark Souls 3. She's both elegant and violent– one split-second mistake can even cost the players dearly, especially those who have no patience.
Unlike most bosses, the Dancer of the Boreal Valley has certain attack delays and feigns that resemble, well, dance moves– which is the primary reason why she's such a tough boss. Hence, there's no shame in seeking help in fighting her; if players are too prideful to go multiplayer and want to defeat her solo, then these 10 pro tips ought to make the deadly dance with the Dancer less humiliating.
Updated January 20th, 2021 by Gene Cole: As many experienced players know, killing the NPC who gives you the Lothric Banner will trigger this battle early, and those revisiting the game might want to try more of a challenge. There are several other strategies to beat it at any time, but there are some especially important tricks for those wanting to add a little challenge to their journey through Lothric.
15 Summon The Sword Master
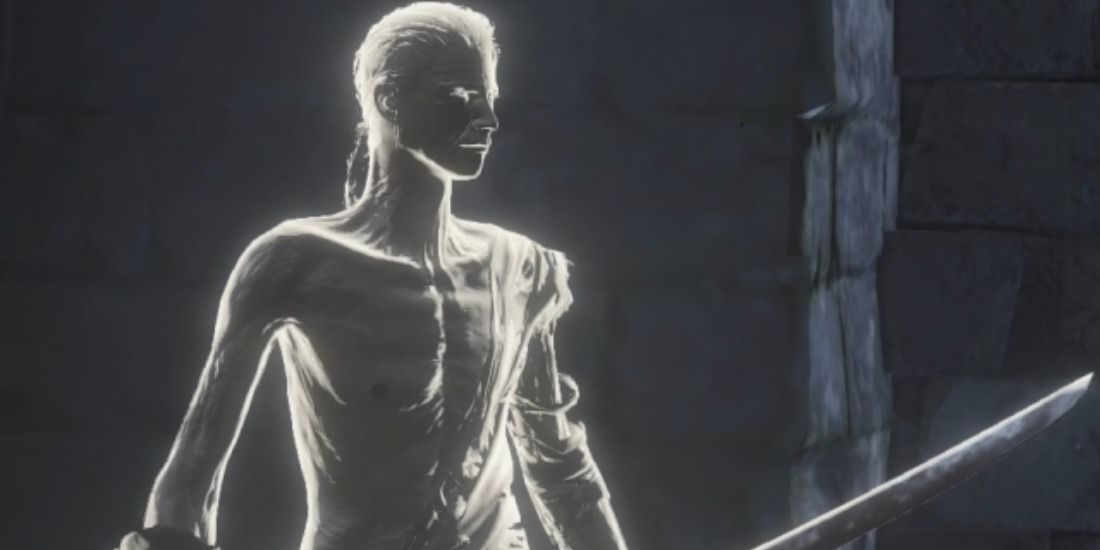
Just outside of Firelink Shrine, players may encounter a skinny old man wielding a massive samurai sword. This would be the Sword Master, a foe who you can kill surprisingly easily by getting him to roll off a cliff. Not only do you get his powerful sword, but he’ll appear as a summon that can give some extra reliable support against the Dancer of the Boreal Valley.
He’ll actually appear next to the room containing Vordt of the Boreal Valley at the bottom of the staircase near the Dancer’s fight room, but you can pretty easily lead him up the stairs to this different fight. He’s a great melee fighter and a solid distraction for any time you need to hide from your giant long-limbed foe.
14 Max Your Vigor Stat Early
One of the best things you can do for any fight is attrition your enemies out, as sometimes they’re just bound to get some hits in. This is especially true when it comes to the Dancer of the Boreal Valley, and if you plan to take her on right at the start of your game, you’re going to need some health to avoid dying in one-hit.
At the very least, this is easiest after defeating the Curse-Rotted Greatwood, as you’ll have gathered enough souls to get your health past 800 if you go hard into your Vigor stat. If you do choose to fight any time earlier, be ready to have a fight that can end with nearly any instance of damage.
13 Infuse Your Weapon With A Fire Gem
If you do plan to fight the Dancer early, it’s important to have enough damage to not make the fight take too long. The longer you go, the more tired you’ll get, and most players can get quite sloppy if a fight ends up lasting too long. If you want some guaranteed damage going into it, try picking the Fire Gem as your starter item.
This will give your infused weapon some Fire Damage, but also makes your weapon scale in damage completely separate from your character's stats. This will let you go hard into Vigor and Stamina, as the only souls you need to improve your damage are with its Titanite upgrades.
12 Roll Into Her Attacks
The Dancer can be somewhat infuriating because of her wide attacks, but the big thing to remember is that her swords will remain threats of damage until they’re done swinging. Going the direction she swings might mean you’ll unroll into unexpected pain, meaning you’ll have to go against her arms to make sure you’re safe.
This also makes her easier to predict, as you can start getting into the habit of rolling against whichever arm she raises. If you roll just right, you might even end up directly under her for long enough to get tons of damage before she realizes where you are.
11 Hide Behind Distant Pillars
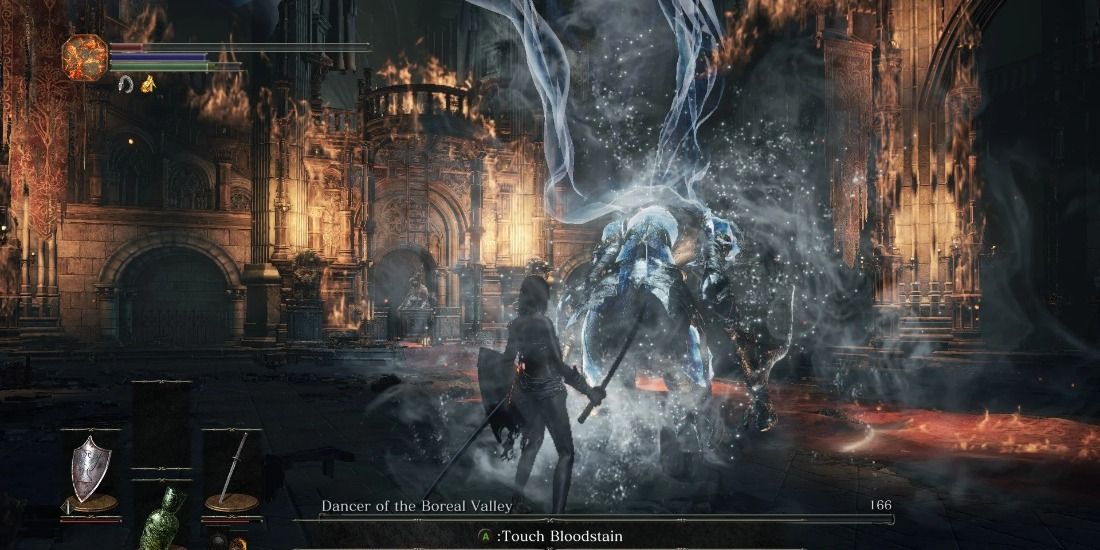
This battle is a huge pain if you can’t move fast, as you’ll really need time to breathe between her long combos and wide strikes. There’s never any shame in running away, and if you feel you have to you should absolutely flee over behind the furthest pillar on the left and right sides of the throne room.
You may want to roll into the wooden chairs and tables so you can move easier when she catches up, but she’ll often just pace nearby you and not venture to this area for long periods of time. Here you can heal up, use any herbs to improve your stamina regeneration, and even just take some time to plan your next strike.
10 Don't Lock On
Some of the most damaging attacks the Dancer of the Boreal Valley has are her grab and her spin attack. It just so happens that she has long arms and even longer blades, and can easily outrange players. This can be problematic if players are locked-on since backward movement that way is slower.
Backing out of her range or running away from her attack requires more effort if locked-on. Fighting with a free-look might feel cumbersome at first, but it lets players dodge with better freedom and also lets one fight more aggressively. Speaking of which...
9 Be Aggressive During Phase 1 & Defensive During Phase 2
One will find the dance with the Dancer a reciprocal death tango where she'll match a player's aggression. However, that doesn't happen immediately and she'll only do so in the second phase of the fight, once her health is at the halfway point.
This very well means players can be as aggressive as they want during the first phase. Sticking near her left side or behind during this phase is relatively safe. Come the second phase, her spin attacks will force players into a defensive stance and more distance is needed.
8 Attack From Behind
As for the best spot to attack the Dancer, that would be her posterior. While she does maintain wide swings regardless of her phase, it's generally easier to avoid her attacks when attacking from behind.
At the very least, sticking to her sword-hand is the optimal tactic as her free hand can grab players and is harder to read. For easy access to repositioning, one can try rolling in between her long legs no matter how undignified that sounds.
7 Use The Pillars
Fighting the Dancer in a church's main hall is a blessing in disguise, especially when she starts spinning with her two blades. When that happens, players won't have many places to run away to, and using the pillars as cover can be a lifesaver.
The church pillars are indestructible and depending on the angle with which players hide behind them, the Dancer's swords will not clip through. It's a great way to heal with Estus that doesn't require too much running away.
6 She's Weak To Dark, Strike, & Lightning Magic
Every boss and monster in Dark Souls 3 has their weakness and the Dancer is no exception– she doesn't handle dark, strike, or lightning damage very well. A Gold Pine Resin or Human Pine Resin ought to be enough if one doesn't have lightning or dark spells.
For an added bonus, apply those resins on blunt weapons in order to clobber the Dancer to premature death or at least a faster 2nd phase trigger. Regardless of whether players are magic users or bruisers, the Dancer's weaknesses can be generous to everyone.
5 She Can Be Reliably Staggered
Speaking of having a generous weakness against melee weapons, the Dancer is no meat mountain. Her slender frame and gangling physique make her poise value in the game lower compared to more hulking bosses.
That means big weapons that require both hands such as the Fume Ultra Greatsword or some of the big clubs should interrupt her solo foxtrot. In fact, just being aggressive enough with melee attacks (especially during the first phase) will result in some advantageous staggers.
4 She Loses Her Grab Attack During Phase 2
The Dancer's grab attack is one of the most devastating ways she toys with players. It deals massive damage and can be tricky to dodge. However, the faster you get her to the second phase, the less you have to worry about her grab.
Thankfully, she trades out her treacherous grab to dual wield during her form change mid-way through. Players don't have to worry about sticking to her right-hand side or being in front of her too much during the second phase, as the grab attack is gone at that point.
3 Run Away From Spin Attacks
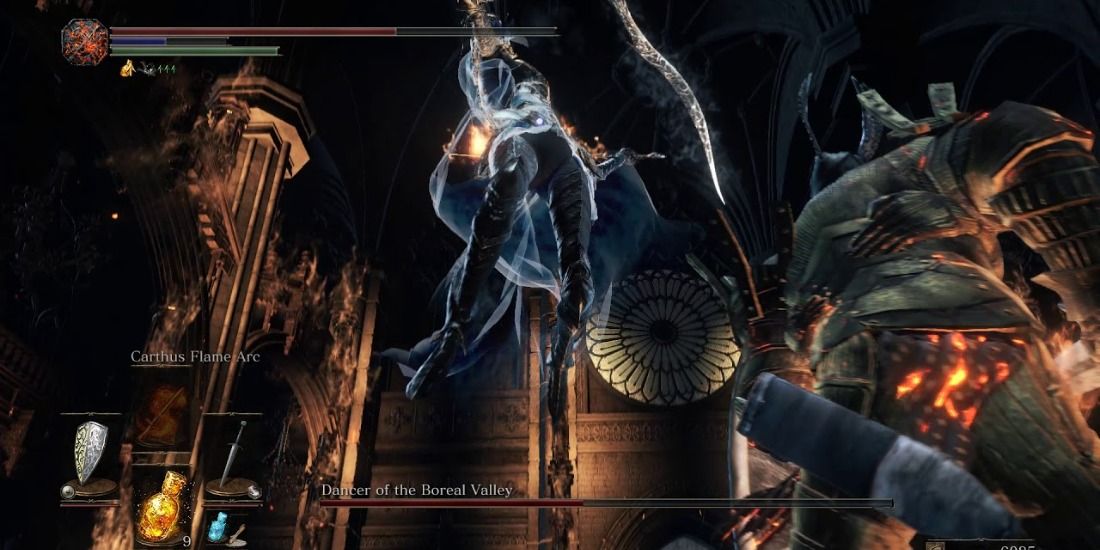
During the second phase of the fight, the Dancer is notorious for her four or sometimes even six-part spin attack that will leave the stamina meter empty and players vulnerable– assuming they actually manage to dodge & survive.
While an expert player certainly can dodge or roll through her spin attack combo, it's not recommended. Players should save themselves the pain as much as possible, and just run for their lives when she starts spinning. Dodging, blocking, or rolling away is way too risky.
2 Stick To Attrition, Don't Get Greedy
This tip applies to each and every Dark Souls 3 boss, but it's way more important for the Dancer since being impatient in the ballroom is a straight ticket to the "You Died" screen. Sticking to one attack per opening is almost mandatory, whether it’s your first or millionth attempt.
It's tempting to get it over with and try a second or third strike, but that's how players lose health most of the time with the Dancer. Compared to other boss fights, being patient with the Dancer is more rewarding.
1 Dance With Her
The best mindset to approach such a memorable boss fight like this is to treat it as a dance as well. Study her moves while attacking only once an opportunity arrives. Once you get a feel for the rhythm of the fight, her animations become much more fascinating and telling than they are frustrating.
Don't be passive for too long and move the character's feet around like in a ballet– except both ballerinas want to kill each other as gracefully as possible. It's up to players to out-grace the Dancer.

