Despite the notorious difficulty of the Dark Souls franchise, it is more than fair to anyone that attempts to beat it. Upgrade materials, cooperative phantoms, and improved healing items are just a few ways you can gain the upper hand against the various bosses and tough encounters the franchise has to offer.
Upgrading Estus Flasks is more important than ever in Dark Souls 3 due to the introduction of Ashen Estus Flasks that recover FP on use. In order to upgrade flasks, you will first have to find the game's various Estus Shards. Here is a complete guide on how to obtain every Estus Shard in Dark Souls 3.
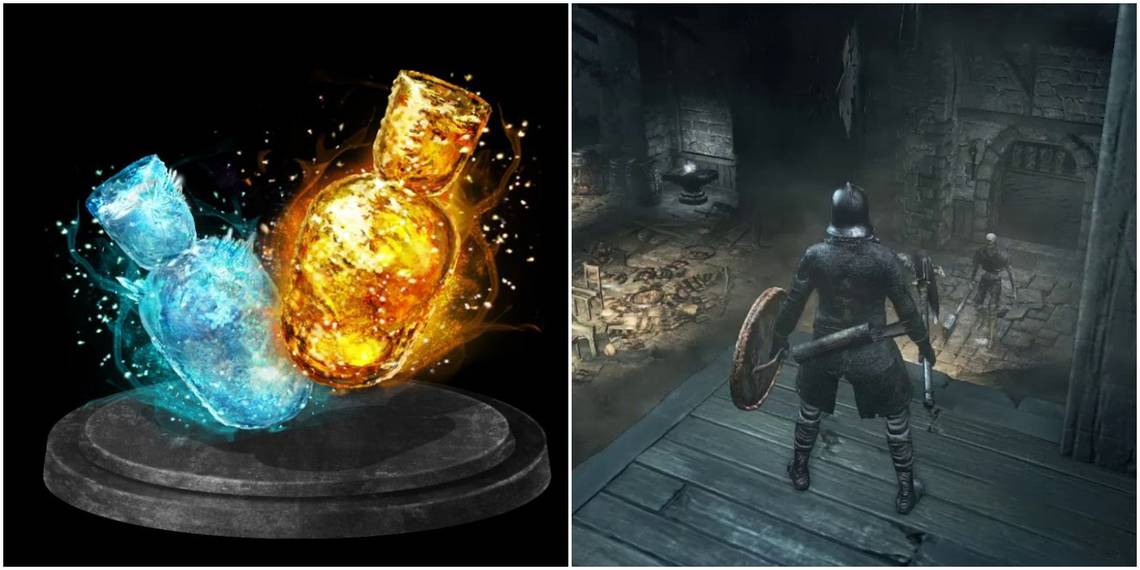
12 What Are Estus Shards?

Estus Shards are a unique upgrade material that improves the number of Estus and Ashen Estus Flask charges you have. Upon finding an Estus Shard, bring it to Blacksmith Andre in Firelink Shrine to increase the maximum number of flask charges by one. There are eleven Estus Shards that can be found throughout the game, allowing players to carry a maximum of 15 flask charges.
11 Estus Shard 1: Firelink Shrine

One of the first Estus Shards in Dark Souls 3 is in the safe hub town of Firelink Shrine. In order to reach it, you will either need to be a master at jumping or purchase the Tower Key from the Shrine Handmaid for 20,000 Souls.
Those with the key will need to climb up the right-most set of stairs in Firelink Shrine and head outside. Open the tower door, progress to the bridge, then drop down to the shrine's rooftop. Anyone without a key can reach this same spot by jumping perpendicular to a tree that stands beside the rooftop.
Regardless of how you get to the roof, travel to the front of the structure and head inside to find the shard on a corpse beside Pickle Pee, Pump-A-Rum's nest.
10 Estus Shard 2: High Wall Of Lothric

Besides the Firelink Shrine Estus Shard, the High Wall of Lothric is the first Estus Shard you can find in Dark Souls 3. Set out from the Tower on the Wall bonfire and traverse the level as normal, which involves traversing down multiple floors and crossing a rooftop, until a large room guarded by two dogs and a handful of hollows is reached. Head to an anvil to find an Estus Shard.
9 Estus Shard 3: Undead Settlement

After fighting the first group of thralls in Undead Settlement, you should be near a burning tree surrounded by townsfolk and an Evangelist.
The center of that fire is an Estus Shard. Take out the townsfolk by detonating the nearby barrels with Firebombs or pyromancies to thin the herd. Once they are taken care of, it is time to pick up the shard.
8 Estus Shard 4: Road Of Sacrifices

Travel to the Road of Sacrifices bonfire to find the next Estus Shard. It's the same location you meet Anri of Astora. From there, travel down the linear path and take a left. Follow the edge of the path as close as possible until it curves towards a small bonfire on a lower level. Drop down and loot a nearby corpse to find an Estus Shard. Beware of two Lycanthropes resting near the fire.
7 Estus Shard 5: Farron Keep

Starting from the Farron Keep bonfire, you should walk outside and head slightly to the left. There should be an object slightly past a sinking bridge and near a fallen tower. This item is an Estus Shard. It is within the poison swamp and there are quite a few Rotten Slugs, so caution is advised.
6 Estus Shard 6: Cathedral Of The Deep

Yet another easy to find Estus Shard, the Cathedral of the Deep has an Estus Shard towards the start of the level. Starting from the Cleansing Chapel bonfire, head directly outside of the building and head up the path to the right. A group of hollows and a maggot-infected enemy will be guarding a pillar. Defeat the enemies before obtaining the Estus Shard on the pillar.
5 Estus Shard 7: Irithyll Dungeon

Similar to the Undead Settlement Estus Shard, the Irithyll Dungeon Estus Shard is along the main path towards the zone's boss.
From the start of the dungeon, make your way through the dungeon cells and outside the first building. Enter the second building to find a mimic alongside the right-most wall. Kill the mimic chest to obtain an Estus Shard.
4 Estus Shard 8: Anor Londo

Travel to the interior of Anor Londo and reach the front gate entrance. From there, you should follow the left wall until they stumble across a chest. Open it up to find an Estus Shard. Beware of the various Rotten Flesh of Aldrich slugs and the Deep Accursed creatures that guard the entrance.
3 Estus Shard 9: Demon Ruins

Enter the demon ruins portion of the Smouldering Lake zone. From the Old King's Antechamber bonfire, travel through the nearby illusory wall and continue down the path until it leads to a corpse near a hole in the ground. That corpse will have an Estus Shard on it. The main obstacles of this route are the Smouldering Rotten Flesh enemies.
2 Estus Shard 10: Consumed King's Garden

After defeating the Dancer of the Boreal Valley, you should travel to her respective bonfire and climb the ladder to Lothric Castle. Instead of taking the path dead ahead, go to the left and travel down the stairs towards the Consumed King's Garden. Use the nearby elevator and jump off around halfway down to land on a platform. Follow the path to the right to find an Estus Shard.
1 Estus Shard 11: Lothric Castle

Take the elevator from the Grand Archives bonfire up to the top of Lothric Castle. Head outside and take the left set of stairs. Run to the rooftop protected by Winged Knights, kill them, then run to a railing that overlooks most of the zone. A corpse should be holding onto the final Estus Shard in the game.