Quick Links

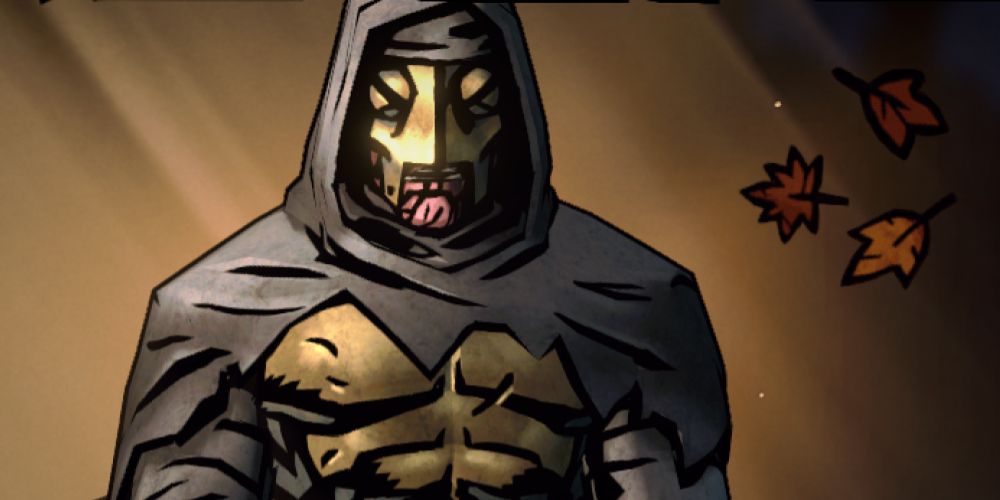
With his giant sword and imposing armor, the Leper is one of the most impressive fighters in Darkest Dungeon 2. He specializes in both dealing and taking damage, making him a great frontline Hero for almost any build. He's also one of the few characters capable of fighting alone when the going gets tough, but with help from the other Heroes he's a monster-slaying machine!

Related: Darkest Dungeon 2: Complete Plague Doctor Class Guide

This guide breaks down all the Lepers Skills and Paths, letting you make the best possible picks for this unstoppable juggernaut. Whether he's in a damage role or taking hits for the rest of the party, the Leper is the king of the battlefield.

Updated on May 20, 2023 by Matt Arnold: We've given this guide a complete overhaul to bring it up-to-date with the full release of Darkest Dungeon 2. With full Skill descriptions and recommended builds for each of the Leper's Pahs, it's our most complete guide to the class to date!

Leper Skills

Darkest-Dungeon-2-leper-heal

The Leper's Skills are all about dealing and taking damage; with the right buffs, he can dish out some of the best single-target damage in the game, even breaking into the triple digits in perfect conditions! He also has plenty of self-healing abilities, which can open up plenty of options for building your party since they let other characters focus on more tasks.

Skill

Leper Rank

Enemy Rank

Effects

Mastery Upgrade

Chop

1 or 2

1 or 2

  • Melee attack for 6-12 damage.
  • Five percent crit chance.
  • Has a seventy-five percent chance of inflicting Blind on the Leper.
  • Combo bonus: Blind cannot cause the attack to miss.
  • Increases maximum damage by four.
  • Reduces chance of inflicting Blind to sixty percent.

Purge

1

1

  • Melee attack for 2-4 damage.
  • Five percent crit chance.
  • Knocks the target back three spaces.
  • Clears all corpses on the enemy side of the field.
  • Deals an additional point of damage.
  • Places a Combo token on the target.

Withstand

1, 2, or 3

N/A

  • The Leper gains two Block tokens and two Taunt tokens.
  • The Leper gains a Block token at the start of each of his next three turns.
  • For the next three turns, the Leper gains 15 each Bleed, Burn, Blight, and Move Resistance.
  • Three-turn cooldown.
  • Can be used twice per battle.
  • Increases the Resistance bonus to 25 each.

Solemnity

1 or 2

N/A

  • Can only be used if the Leper is below one-third of his maximum HP.
  • The Leper heals for one-third of his maximum HP.
  • The Leper loses two Stress.
  • Can be used twice per battle.
  • Heals the Leper for half of his maximum HP instead of one third.
  • Removes an additional point of Stress.

Reflection

1 or 2

N/A

  • The Leper loses one Stress.
  • Removes Blind and Combo tokens from the Leper.
  • One-turn cooldown.
  • Removes an additional po9int of Stress.
  • Increases the Leper's Debuff Resistance by 20 for the next three turns.
  • Reflection no longer requires a cooldown.

Hew

1 or 2

1 and 2

  • Melee attack for 3-7 damage.
  • Five percent crit chance.
  • Seventy-five percent chance of inflicting Blind on the Leper.
  • Combo bonus: Blind cannot cause the attack to miss.
    • This effect is applied if either target has a Combo token.
  • Increases minimum damage by one and maximum damage by two.
  • Reduces the chance of inflicting Blind to sixty percent.

Revenge

Any

N/A

  • The Leper gains two Vulnerability tokens.
  • The Leper gains a Strength token at the start of each of his next three turns.
  • Three-turn cooldown.
  • Can be used twice per battle.
  • Reduces the number of Vulnerability tokens gained to one.
  • Removes a Weakness token from the Leper, if any.
  • The Leper has a fifteen percent chance of gaining a Crit token alongside Strength tokens gained from Revenge.

Intimidate

1

Any

  • Melee attack for 1-2 damage.
  • Five percent crit chance.
  • The Leper gains two Taunt tokens.
  • The target gains two Weakness tokens.
  • Deals one additional point of damage.
  • Ignores and removes Stealth.

Ruin

1, 2, or 3

N/A

  • For the next three turns, the Leper gains a twenty-percent damage buff each time he takes damage from any source.
    • The Skill text says that the buff lasts for the rest of the battle, but this is incorrect - it expires at the same time as Ruin.
  • Three-turn cooldown.
  • Can be used twice per battle.
  • The Leper gains two Bleed upon activating Ruin.

Break

1 or 2

1 or 2

  • Melee attack for 4-7 damage.
  • Five percent crit chance.
  • Ignores and removes Block tokens.
  • Seventy-five percent chance of inflicting Blind on the Leper.
  • Increases maximum damage by three.
  • Reduces Blind chance to sixty percent.
  • Combo bonus: Blind cannot cause the attack to miss.

Bash

1 or 2

1 or 2

  • Melee attack for 2-4 damage.
  • Five percent crit chance.
  • Both the Leper and the target become Immobilized.
  • Inflicts Daze on the target.
  • Deals an additional point of damage.
  • Places a Combo token on the target.

Related: Darkest Dungeon 2: Complete Hellion Class Guide

Best Leper Builds For Each Path

Leper Shrine in Darkest Dungeon 2.

The Leper can usually get by with the basic Wanderer Path, but you can focus him toward damage or tanking by changing him to Tempest or Poet, respectively. If you're looking for a challenge that will change how you approach the game, try the Monarch Path!

Path

Effects

Recommended Skills

Recommended Trinkets

Wanderer

  • Gain an additional Candle at the end of the run.
  • Chop
  • Hew
  • Intimidate
  • Ruin
  • Reflection
  • Sharpness Charm (any tier)
  • Staggering Striker
  • Goading Gargoyle
  • Selfish Motivation
  • Gnarly Knuckles
  • Uncommon Seashell

Tempest

  • Chop deals thirty-three percent more damage.
  • The Leper's Debuff Resistance increases by 33.
  • The Leper's Disease Resistance increases by 100.
  • Reduces the Leper's maximum HP by one quarter.
  • Reduces the Leper's Speed by three.
  • Chop
  • Hew
  • Ruin
  • Purge
  • Revenge
  • Sharpness Charm (any tier)
  • Staggering Striker
  • Goading Gargoyle
  • Selfish Motivation
  • Gnarly Knuckles
  • Uncommon Seashell

Poet

  • The Leper recovers fifty percent more HP when using Solemnity.
  • The Leper's Stun and Move Resistance each increase by 50.
  • The Leper deals twenty-five percent less damage with attacks.
  • Break
  • Intimidate
  • Solemnity
  • Withstand
  • Ruin
  • Hale Draught (any tier)
  • Gilded Mind (any tier)
  • Bouncer's Belt (any tier)
  • A Simple Flower
  • Thrilling Tablet
  • Stone Mount

Monarch

  • Purge and Intimidate both inflict Vulnerability on their target in addition to their other effects.
  • The Leper's maximum HP is reduced by thirty percent.
  • Chop deals only one quarter of its normal damage.
  • At the start of any battle against Cosmic enemies, the Leper gains the following effects:
    • Speed increases by 2.
    • Maximum HP increases by fifty percent.
    • Chop deals double damage.
    • These effects last for the entire battle.
  • Chop
  • Purge
  • Intimidate
  • Ruin
  • Solemnity
  • Sharpness Charm (any tier)
  • Hale Draught (any tier)
  • Gilded Mind (any tier)
  • Bouncer's Belt (any tier)
  • Reverberating Redoubt
  • Clenching Claws
  • Uncommon Seashell

Wanderer

The Wanderer is the Leper's general-purpose build, though it usually shares some similarities with the Tempest due to their similar offensive capabilities. Open each fight with Ruin to build up the Leper's damage output, then Chop and Hew your way to success!

Tempest

The Tempest is one of the game's most powerful damage Paths, but he needs support to reach his full potential. Use the Man-At-Arms' Command to buff the Tempest and remove those pesky Blind tokens, and he'll be cutting down foes left and right!

Alternately, you can use back-row characters like the Occultist or some of the Highwayman's builds to prime enemies with Combo tokens; this lets the Tempest ignore his own Blind status. The Leper is one of the slowest classes overall, so you'll almost always get to set him up before his big swing at the end of the round.

Poet

The Poet shifts the Leper into a tank role. Using Withstand and Intimidate, he can keep enemies focused on himself while seeing to his own healing through Solemnity. Since he doesn't need support, the other Heroes can focus on dealing damage.

If you're in a strong starting position, open with Ruin to get some damage buffs. It won't be as effective as it would be with other Paths, but it helps squeeze some extra damage out of Intimidate and Break.

Monarch

This path inflicts the Leper with some pretty hefty debuffs, but lets him do the same to enemies by loading them up with Vulnerability tokens for your damage-dealers to exploit. However, the Monarch turns into an absolute beast when facing Cosmic beings - notably the Oblivion Cultists at the end of each region!

While the Monarch is in your party, it pays to plan your route to hit Oblivion's Ingress as often as possible. This lets you practice against the Cultists, while also ensuring that the Monarch is at full capacity in a greater percentage of battles over the course of your run.


Next: Darkest Dungeon 2: Leviathan Boss Fight Guide