Quick Links
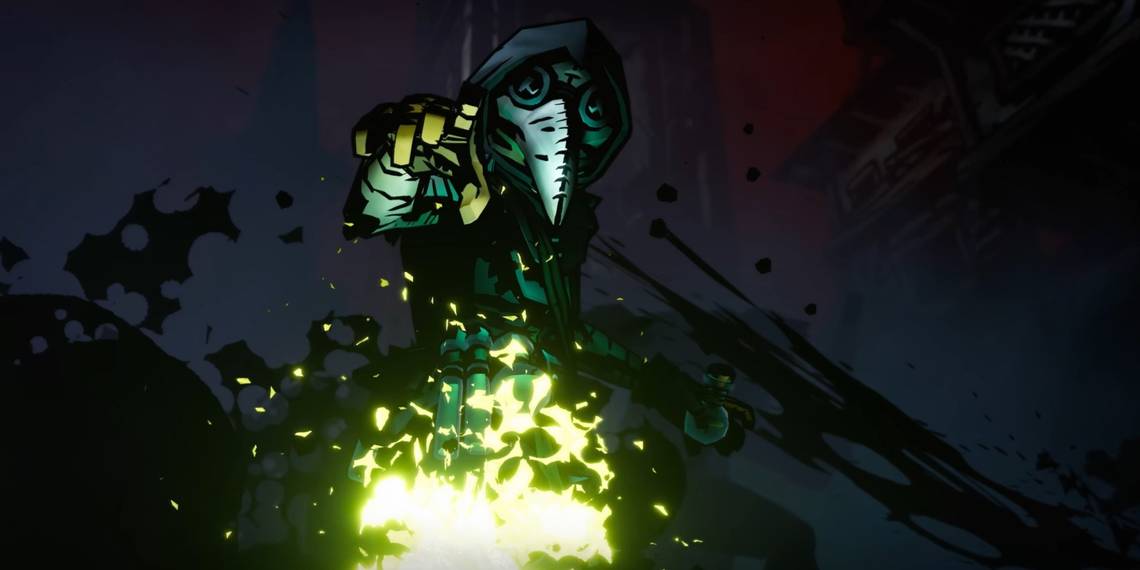
Of all the party members you can take along with you on your journey to the mountain in Darkest Dungeon 2, the Plague Doctor is one of the most valuable - especially for newer players. She can heal, inflict some powerful status effects, and is a fantastic backliner.
The early game is the roughest part of Darkest Dungeon 2 as you won't have many resources and the majority of your party's skills will remain un-upgraded, but once you get the ball rolling the Plague Doctor can easily be one of the greatest assets you have.
Updated on May 20, 2023 by Matt Arnold: With the full release of Darkest Dungeon 2, the Plague Doctor is still an essential member of many teams. We've updated this guide to give more insight into her abilities, as well as the Paths that she can take to further customize her build!
Plague Doctor Skills

The Plague Doctor's abilities largely revolve around healing her allies and inflicting status effects on the enemies. She's great with Blight, but can also inflict Bleed, Blindness, and Burn. The table below details all the Plague Doctor's abilities.
Some of these abilities are unlocked by visiting Shrines of Reflection.
- Emboldening Vapors is gained on the first visit.
- Plague Grenade is gained on the second visit and after beating the battle therein.
- Indiscriminate Science is gained on the third visit.
- Cause of Death is gained on the fourth visit and beating the battle therein.
- Disorienting Blast and Magnesium Rain are gained on the fifth visit.
Which skills you use will largely depend on your party makeup but there are some standouts. Noxious Blast and Plague Grenade are two of the Plague Doctor's most potent abilities and enable her to stack quite a lot of Blight amongst the enemy party. She can also support allies who use Bleed and Burn with her own status-inflicting abilities.
If your party uses a lot of Burn, Blight, or Bleed it would be a great idea to get Cause of Death - you can reach frighteningly huge damage numbers with enough stacks of these status effects.
Ounce of Prevention is a really fantastic ability, especially when upgraded at the Mastery Trainer. Having more resistance against nasty ailments is brilliant, but the Stress healing aspect of the move cannot be ignored as Stress is probably the main cause of failure in Darkest Dungeon 2.
Battlefield Medicine is a must-have for pretty much any party setup. It's not entirely necessary to upgrade it for the higher healing, but it's fantastic for relieving the pressure of DoT effects and getting rid of Death's Door.
|
Skill |
Hero Rank |
Enemy Rank |
Effect |
Mastery Upgrade |
|---|---|---|---|---|
|
Noxious Blast |
2, 3, or 4 |
1 or 2 |
|
|
|
Blinding Gas |
3 or 4 |
3 and 4 |
|
|
|
Incision |
1, 2, or 3 |
1 or 2 |
|
|
|
Battlefield Medicine |
3 or 4 |
N/A |
|
|
|
Ounce Of Prevention |
3 or 4 |
N/A |
|
|
|
Plague Grenade |
3 or 3 |
3 and 4 |
|
|
|
Emboldening Vapors |
Any |
N/A |
|
|
|
Disorienting Blast |
2, 3, or 4 |
2, 3, or 4 |
|
|
|
Indiscriminate Science |
2, 3, or 4 |
N/A |
|
|
|
Cause Of Death |
1, 2, or 3 |
1, 2, or 3 |
|
|
|
Magnesium Rain |
3 or 4 |
All |
|
|
Plague Doctor Shrine Battles

The Plague Doctor has two Shrine of Reflection battles that she must face alone to unlock some skills.
Second Shrine Visit: Head Of The Class
This battle sets the Plague Doctor up against a Professor. She will have two moves available, Review Notes and Heated Rebuttal. Only use Review Notes to begin with, waiting until the Professor uses Conclusion. This is when you should use Heated Rebuttal. After this, wait for the Professor to use Conclusion again.
If you use Heated Rebuttal before the Professor uses Conclusion you will take Stress damage and end up losing the fight.
Once you successfully use Heated Rebuttal twice, you should win.
Fourth Shrine Visit: Failing Grade
This battle is also against the Plague Doctor's Professor, only this time as a reanimated corpse. This battle proceeds in a rather standardized way - use Stitch to try and save the Professor from his Bleed damage and then put him out of his misery with Stab once the option comes up.
Best Builds For Each Plague Doctor Path

The Plague Doctor is pretty versatile for a support Hero, but her Paths allow her to specialize in particular areas of expertise.
|
Path |
Effects |
Recommended Skills |
Recommended Trinkets |
|---|---|---|---|
|
Wanderer |
|
|
|
|
Surgeon |
|
|
|
|
Alchemist |
|
|
|
|
Physician |
|
|
|
Wanderer
As with the other classes, the Wanderer is the default Path and can be built with an all-purpose configuration that plays to the Plague Doctor's strengths - buffs, healing, and damage over time. Magnesium Rain is primarily for inflicting Burn and clearing corpses, but it's also a great way of removing Dodge from the enemy team in Creature Dens and other fights where they all spawn with Dodge tokens.
Surgeon
The Surgeon is best placed in Rank 3, where she can use Incision freely without putting herself into too much danger. However, her extra HP lets her move up to Rank 2 if you lose a party member and need to keep your back line as far from the monsters as possible.
The Surgeon deals her damage over time via Bleed rather than Blight, but sports some of the best healing in the game. This is probably the most straightforward of the Plage Doctor's Paths; heal when you need it, stab when you don't.
Alchemist
If you prefer to use the Plague Doctor's Blight powers to their fullest extent, either on their own or in tandem with the Grave Robber and Flagellant, the Alchemist is the best Path to choose. She can still provide healing when needed, but that becomes her secondary role.
The best plan is to stack as much Blight on a single enemy as possible, with the aim of killing them and removing them from the equation. Following up with Magnesium Rain can clear the body, while still inflicting limited damage over time through Burn.
Physician
The Physician trades in her damage-over-time capacity for enhanced buffs and debuffs. She'll spend most of her time giving extra Strength tokens to your primary damage-dealer through Emboldening Vapors, while using Disorienting Blast to limit the impact of powerful enemies.