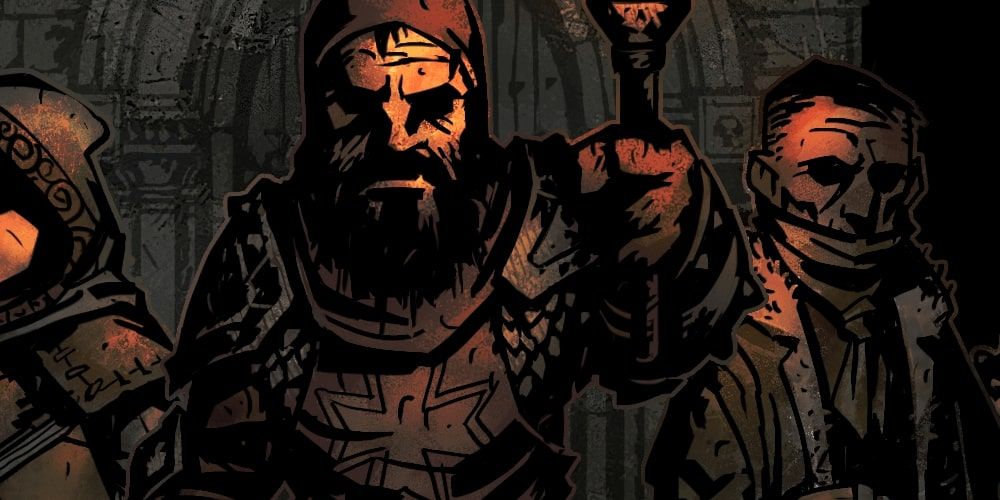
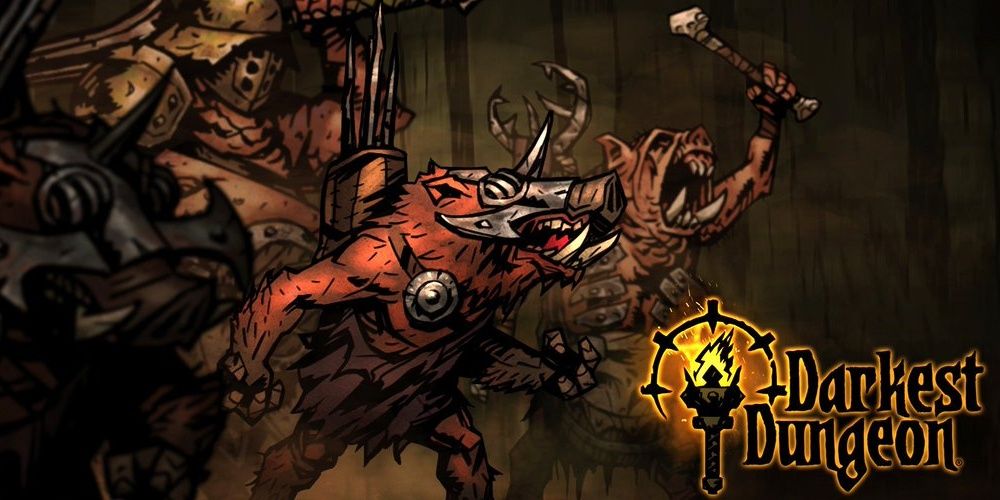
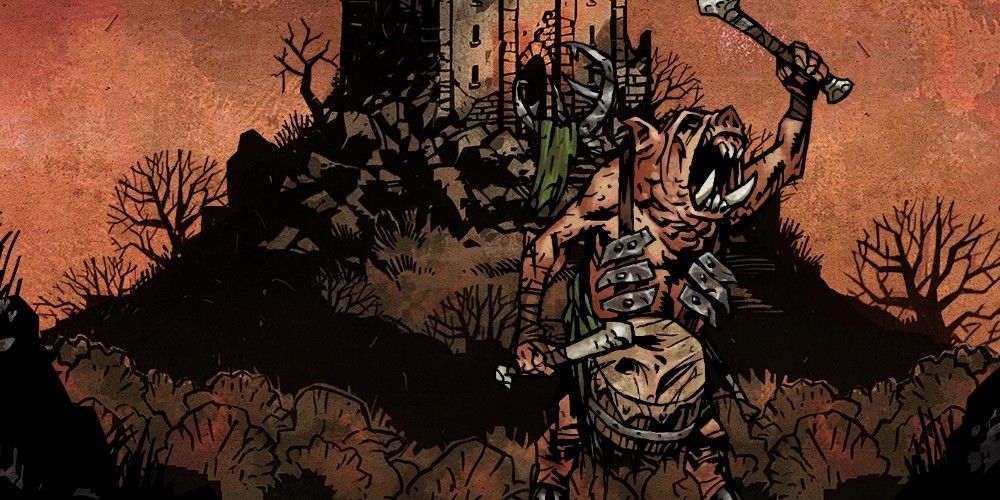
Darkest Dungeon is dark and gritty, and arguably no Dungeon is grittier than the Warrens. Beneath the Estate resides a maze of complex tunnels, the walls dripping with slime, inhabited by monsters. Infested with vomiting half-pigs, half-humans, and vicious Carrion worms, completing Warrens is a difficult task for a band of adventurers.
Despite all this, there is a method to the madness of Darkest Dungeon. With the right Party composition, a good understanding of the best abilities and items to take with you, plus more knowledge of what you'll encounter in the murky tunnels, Warrens can be conquered with this handy guide.
It All Starts With A Party
Darkest Dungeon is all about throwing away your warrior's lives. Wait. That shouldn't always be the case. To tackle the Warrens with even the smallest hope of emerging on the other side, you're going to need a Party of characters that work well together.
One of the best aspects of Darkest Dungeon is that you can use a variety of characters in all sorts of situations, but there are definitely synergies and character choices that are recommended for Warrens. Of course, you could always try and make it harder for yourself, if you're into that sort of thing.
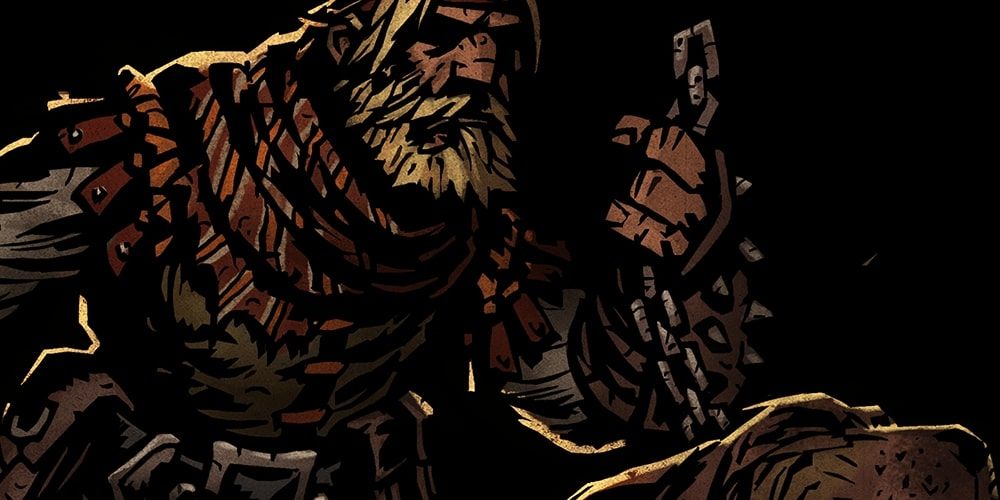
The Hound Master
The Hound Master is one of those characters that is generally considered a must-have for completing Warrens. He inflicts bonus damage against Beasts, and you'll be stumbling across a lot of beasts in the dungeon. As many of the creatures you'll encounter in Warrens have heavy resistance to Blight, Bleed is a fantastic option if you want to inflict easy damage.
Thankfully, the Hound Master has an ability called Hound's Harry which replaces raw damage with a bleed stat applied to all enemies. The character's support role shouldn't be ignored either. Cry Havoc induces Stress Relief. This is important in the Warrens where Stress can become a real problem.
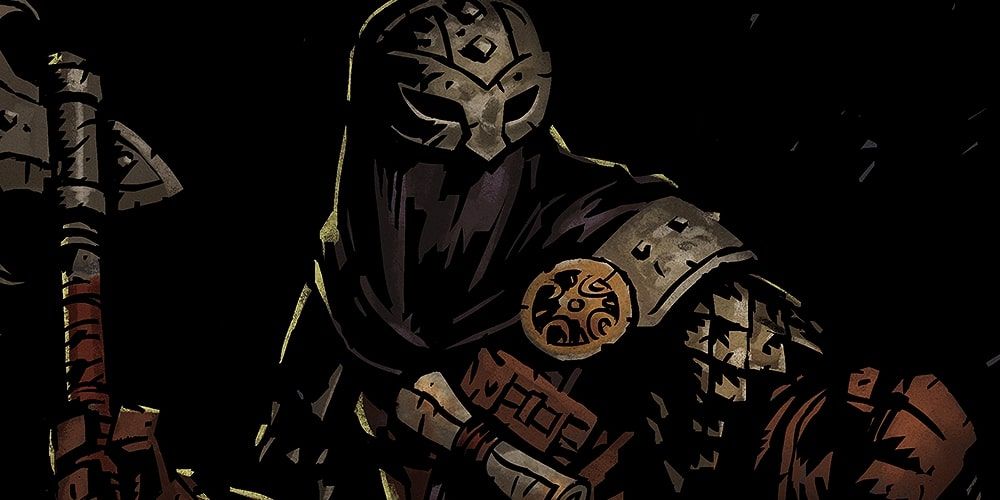
The Bounty Hunter
Like the Hound Master, the Bounty Hunter has a battle advantage against Beasts. Both Come Hither and Mark for Death cause more damage against marked enemies, which works in tangent with the Hound Master's Target Whistle ability.
The Bounty Hunter also offers positional play, with Uppercut forcing enemies back in the party, whereas Come Hither can pull weak HP (but powerful or annoying) enemies to the front. In terms of support, the Bounty Hunter offers a good set of Camping Skills for Stress relief and a decent chance to disarm traps.
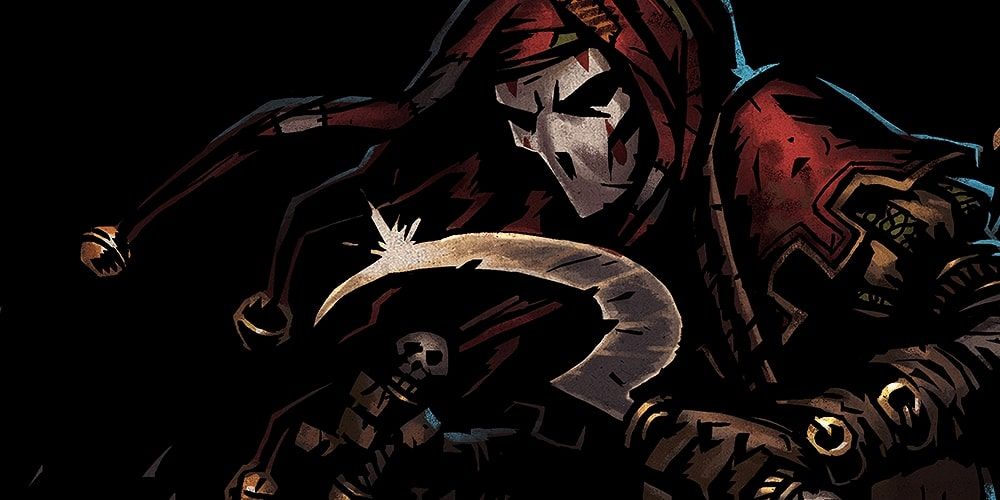
The Jester
The Jester is another character staple when it comes to runs through the Warrens. Stress becomes a problem in the dungeon as multiple enemies can inflict stress, which will eventually cripple your party.
The Jester has two great buff options, the first being Inspiring Tune. This ability provides target-focused stress relief that is perfect for lending a helping hand to a character on the verge of becoming a shivering wreck. The Battle Ballad ability also inspires the party with an offense and speed buff, perfect for taking down those vomiting monsters before they cause disease.
The Flagellant
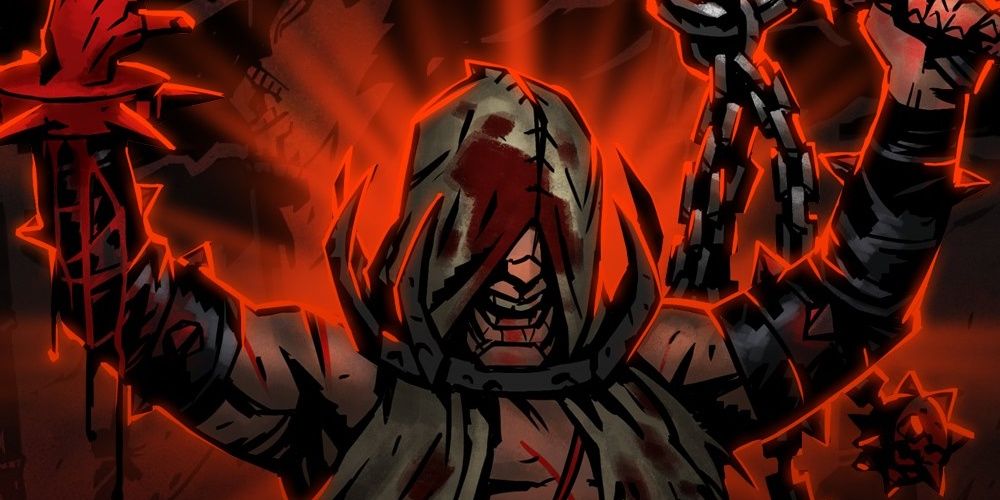
The final spot in your team is up to you, although the Flagellant is considered a top choice for a frontline character. He works best when he is at low HP, with his abilities stacking damage according to how hurt he is.
The Flagellant also inflicts Bleed damage and has abilities that allow him to debuff the entire enemy party. Likewise, for Stress relief, the Flagellant works well in tandem with the Jester's Inspiring Tune ability. When the Flagellant's Endure ability is at full level, it will reduce stress by 14 points. The Plague Doctor is another character that could very useful in the Warrens.
Enemies You'll Encounter In The Warrens
The Warrens is a dumping ground for the Ancestor's bizarre and failed experiments, a race of warrior pig men affectionately referred to as the Swinefolk. All Swinefolk are a hybrid mix of Beast and Human, which is why the Hound Master and Bounty Hunter are so useful down there.
These enemies have powerful attacks and compositions that can wither even a well-composed party in a few turns. You definitely need to watch out for any attacks that cause disease, because the cost of healing your party can stack up quickly.
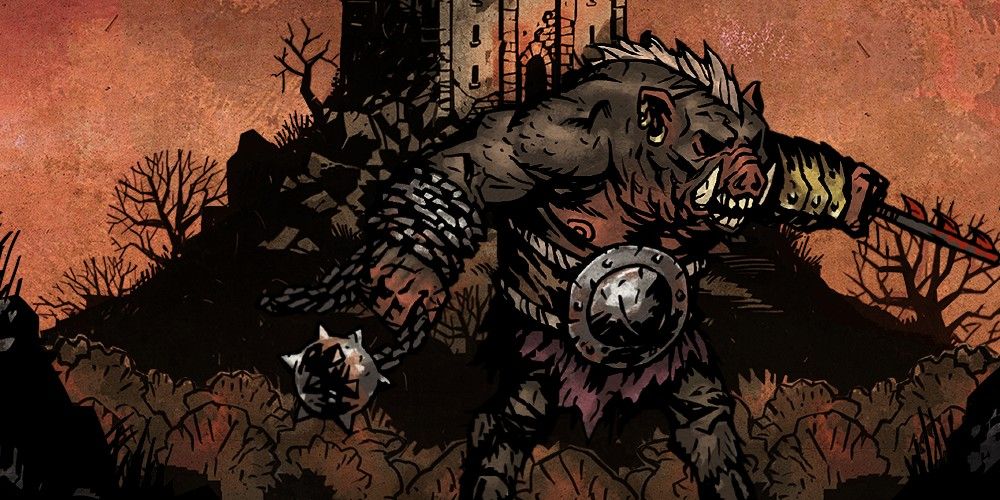
The Swine Chopper
This tank of a pig has a whopping 21 HP and a 60 percent resistance to Blight. Its Butcher Cut ability will apply the Bleeding debuff and also deal a lot of damage. Swine Choppers are also fairly resistant to Stun attacks, which means you need to get creative when dealing with them.
One handy way of navigating around a Swine Chopper at the front of a party is to use the Bounty Hunter's positional abilities. With a well-timed (and successful) Uppercut, you can force a Chopper to the back of the party and open up the rest of the enemies to attacks.
The Swine Wretch
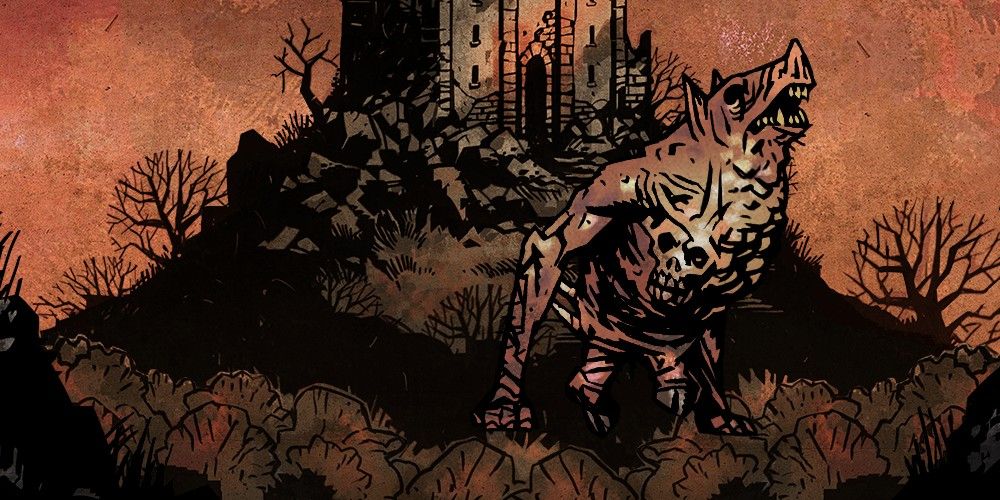
In terms of pure damage, the Swine Wretch might look like an entirely useless opponent. Unfortunately, their body is composed of disease, and their attacks can inflict a random Disease on its target. Watch out for the Vomit ability. It's pretty nasty. There's a 33 percent chance it causes Disease and also adds 10 Stress.
As a result of the stacking Diseases and Stress a Swine Wretch can cause to your party, it's a good idea to deal with these as soon as you can. Targeted damage from the Hound Master can eat through all 12 of a Wretch's HP quickly.
The Swine Drummer
Now, this is where Stress begins. The Swine Drummer is the primary Stress-dealing enemy in the Warrens, and it's no surprise why. Its eerie drumbeat is hammered out on a drum made of flayed skin. Lovely.
Do not ignore the Swine Drummer. They commonly come into battle at the rear of an enemy party and attack as the support throughout. Its Drum of Doom ability causes a 70 percent Stress debuff and a flat +5 Stress. It will also mark members of your party. Kill it, and kill it quickly.
Items You'll Need In The Warrens
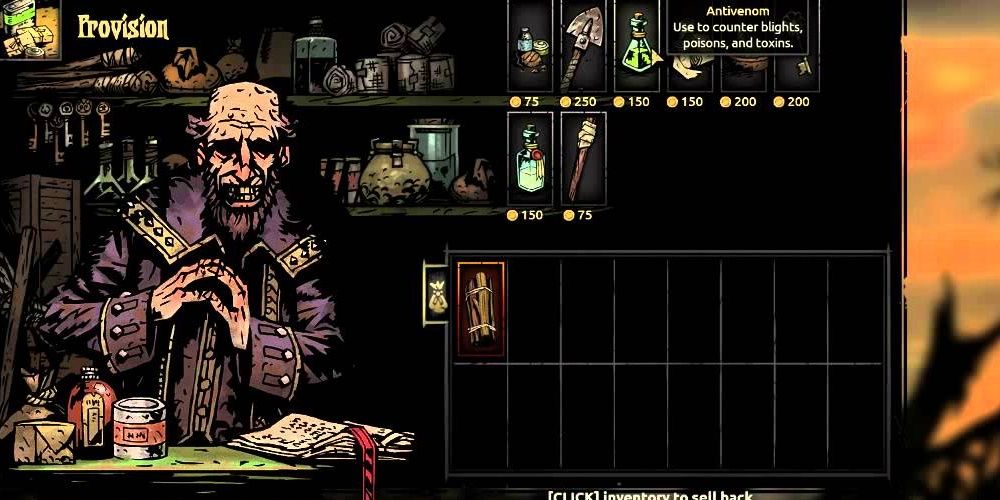
Provisions play an important role in any expedition, but you'll need to fill your backpack with some essentials if you want to leave the Warrens unscathed. In terms of healing, you'll need Antivenom to handle the poisonous attacks of Carrion Eaters. Likewise, medicinal herbs both cure the odd debuff and can be used on curios found in the Warrens.
Other items you should consider include Bandages because they're useful to reduce Bleed attacks and the traps one of your characters will inevitably step on. Holy Water, which is sometimes useful for Pile of Bones and Eldritch Altars. Lastly, shovels. Plenty of shovels. So many shovels. Food and torches aren't necessary in large quantities as the curios in Warrens grant both of these as items.

