Sony's post-apocalyptic Oregon is filled with Freaks. Whether you are surveying hordes or looting buildings, the dead are sure to catch on and shamble over. In Days Gone, Deacon is able to reduce the threat of zombies by clearing Infestation Nests. To destroy a nest, you must burn it with a Molotov or an Incendiary Bolt.
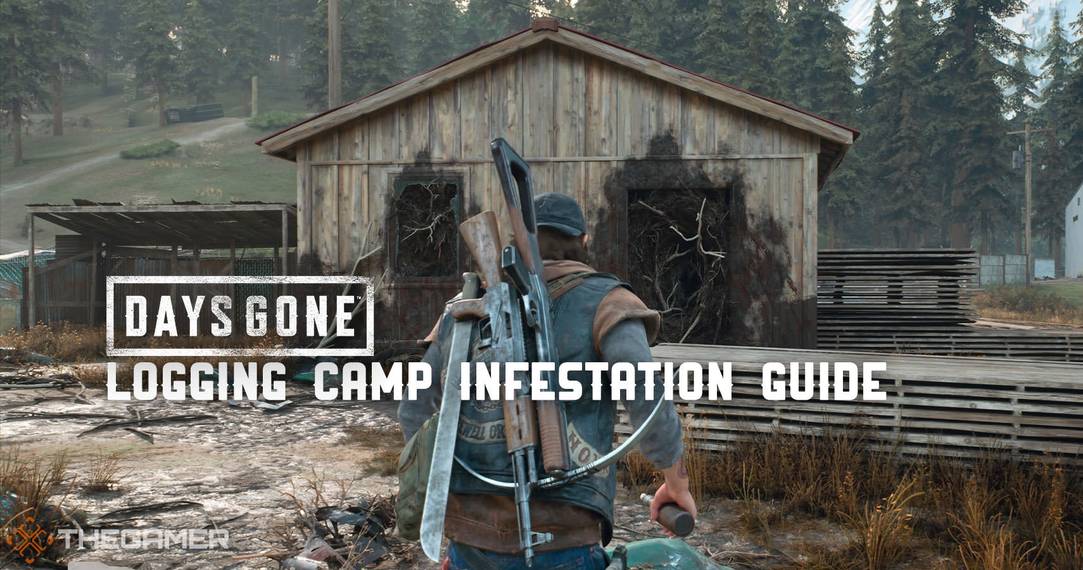
In the starting area of Cascade, Deacon is directed to a Logging Camp where there are six nests. Here's everything you need to know to clear the Logging Camp Infestations in Days Gone.
Logging Camp Infestation Nest Locations

There are six infestations in the Cascade Logging Camp, so you will need plenty of ammo and resources to destroy them all in one visit.
Logging Camp Nest #1

When you arrive at the Logging Camp, stay on the outskirts. There are usually some zombies in the middle of the camp, so avoid them for now.
Head to the South side of the camp and look for a small shack building next to a barbed wire fence. You will clearly see the nest poking through the windows.
Logging Camp Nest #2

Head back to the middle of the camp and look for a big pile of logs. Next to them, you will see another shack that is clearly infested by freaks. There is an explosive barrel next to it that you can shoot to save yourself a Molotov.
Logging Camp Nest#3-6

Now that you've dealt with the nests outside, turn your attention to the large warehouse on the North side of the camp. There are two ways to get inside: up the stairs around the back, or through the main door.
If you go through the main door, the first nest will be in the storage room just after the reception. Look in the far right corner to find your first nest.
The second nest is further in the warehouse, at the bottom of some stairs. Next to this nest is a shelf stacked with wooden planks. The third nest is on the other side of this shelf.
The final nest in the warehouse is at the top of the stairs. You can also find this nest if you go up the stairs around the back to enter the warehouse. If you took the back entrance, this is where you will come, so then you can work through the warehouse backwards.
Logging Camp Survival Tips

When you first enter the camp, be careful of any zombies that are wandering around the middle of the camp. They can sometimes be engaged with some human enemies, so leave them to fight until only a few are still standing. Then, you can sweep up what's left.
When clearing the warehouse, you might not have enough Molotovs to burn all four nests inside. However, if you go back outside and head East, there will be a fuel can against the warehouse wall. You can take this inside, place it next to a nest and shoot it to destroy an infestation.