Across Deathloop's vast, dense world of Blackreef is clever puzzles, mysteries to unravel, and many ways to tackle each of them. Whether it's the doing of one of the Visionaries making you jump through hoops to earn prizes or the main progression through the story, Deathloop offers a deep sandbox that helps you overcome each obstacle.
Likewise, Deathloop's unique day system allows for many different events to pop up in each of the four districts in Blackreef. One of them is the game's elusive "Mostly Naked Characters," who pop up in every district and typically every time of day. It's a wild side task for a trophy/achievement, but one that encapsulates the heart of Deathloop perfectly.
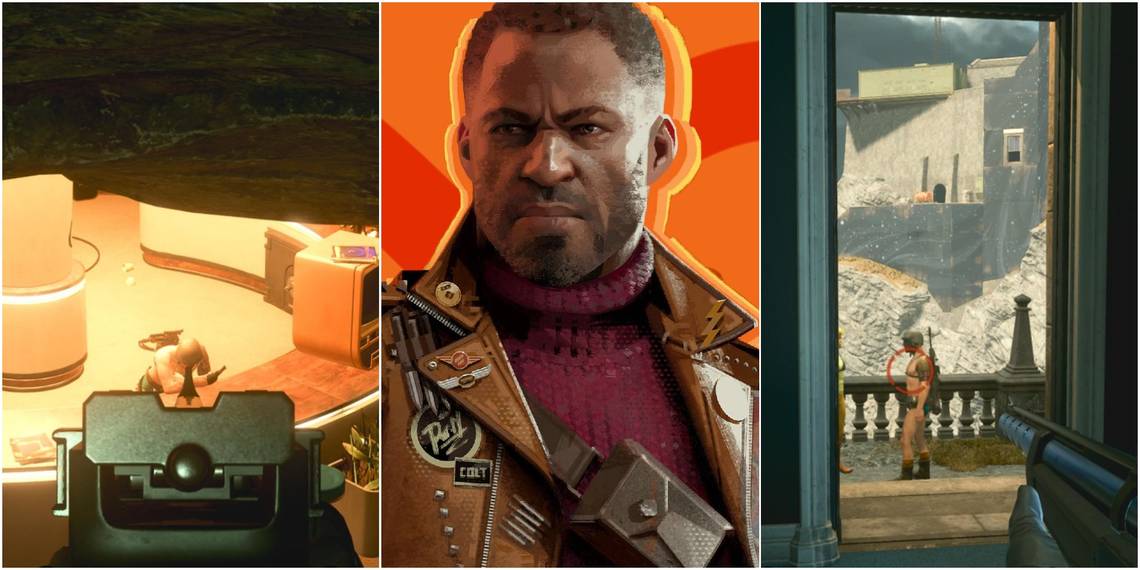
Setup
.jpg?q=50&fit=crop&w=740&dpr=1.5)
There are 14 Mostly Naked Characters throughout each district of Blackreef, with each of them showing up at a different time of day. Essentially, to successfully eliminate each of them, you must put aside four loops, dedicating each one to a different location.
Depending on the time of day, the Naked Characters in question will be roaming a different part of the district, and you will have to track them and dispatch them. While they will never outright leave the entire map, they can move to a new area if things get too heated around them, so it's best to go in as stealthily as possible.
Additionally, after you find and eliminate all 14 Mostly Naked Characters, you will be rewarded with the Achievement/Trophy Deathday Suit. However, please note that sometimes it won't register that you have actually killed some of them, making you redo everything. While it's a frustrating bug, at least we think, it seems shooting them rather than meleeing them will confirm the kill.
Updaam

Updaam has four Mostly Naked Characters in a day, with each of them showing up at a different time of day. The best method of taking down each of them is by going in stealthily and singling the target out. After you kill the Mostly Naked Character, you are free to leave and can jump right back into Updaam immediately after and go after the next one.
Below is where you can find each target at each time of day. We recommend using the Aether Slab to get close to the Mostly Naked Character and suggest using a rifle to shoot the target. Some reports suggest using takedowns to eliminate them may interfere with confirming the kills.
Morning

When in the tunnels, take the right exit and then jump onto the cliffside to your right. From there, look to the right towards the RAK Bunker and Archives. You will see the Mostly Naked character standing on a slab of concrete, overlooking a valley.
Either use a rifle to take him out from a distance or scale down the cliffside to get in close. After taking the target out, you are free to leave and head for the next target.
Noon

When in the tunnels, take the left exit and scale the mountainside to your right. You can either fight the Eternalists here or sneak past them (we recommend taking them down one by one). From there, follow the dirt path to the left until you see a yellow painted wall directly in front of you.
Jump off the cliffside and follow the street to the Candy Bar. Enter the Candy Bar, head right, and then head for the back door. The Mostly Naked Character will be directly behind this door, talking to another Eternalist. Take them both out with your gun, making you free to move on to the next one.
Afternoon

From the tunnels, take the right exit and eliminate the two Eternalists directly in front of you, and then do the same to the other two that come running to your location. From there, make your way up towards the library, but stay on the far left side of the street.
There will be a cabin that says "Expand Your Mind" on the top of it. Climb onto it and then use your Shift Slab to get behind the "Chaos = Freedom" board to your right. Once you're there, look down onto the crowd of Eternalists below for a blue and yellow-painted man. That's your target. Take him out with a shot from your rifle and then head for the exit and the next Mostly Naked Character.
Evening

This target is in the same area as last time, so take the right exit once more when you're in the tunnel and take down the three Eternalists directly outside. From there, make your way up to the "Expand Your Mind" cabin again.
Once you're there, slightly peek out and look at the stack of speakers. You will see another blue and yellow Mostly Naked Character on top of them. Take him out with a rifle and head for the exit. You are now ready to move onto the next loop and to the district of The Complex.
The Complex

The Complex's Mostly Naked Characters follow more or less the same rules as Updaam's. We recommend approaching each of them as stealthily as possible to avoid scaring them off to a new area of the map. As such, we strongly urge you to bring a powerful rifle with you that's capable of one-shotting targets and the Aether Slab.
Below is every location for each time of day for the Mostly Naked Characters and the best route. Do not use takedowns to dispatch these targets as it has been reported to bug your progress, making you repeat the entire process.
Morning

Once in the tunnels, take the left exit and then take another left, past two trucks, and through two large blast doors leading inside a bunker. From there, take the stairs on your right and take down the Eternalist leaning over the railing.
If you look through the railing, you will see the Mostly Naked Character in the middle of the bunker, surrounded by bottles of alcohol. Eliminate him with your rifle and make a break for the tunnels to move on to the next one.
Noon

From the tunnels, take the left exit and eliminate the Eternalists in this area. They won't trigger anything drastic and can't scare off your target. From there, move up the left path until you are above a handful of Eternalists. Take them out as well, but be cautious about doing so. You should be okay with most weapons. Just don't let it drag on for too long.
After doing that, you head towards the open area straight ahead from where you first entered. You will see a large concrete pillar that belongs to a highway. Use your Shift Slab to get behind it and peek around the left side of it. You will occasionally see the Mostly Naked Character patrolling the street in front of you. Shoot him whenever you have a clear shot, and then make a break for the exit.
Afternoon

Take the exit on the right in the tunnels. From there, take out the Eternalists in the remediate area around you (including the sniper on the left). After doing that, make your way to the turret just past the sniper and take a left beside it.
The next area will have mines and Eternalists. Eliminate every Eternalist in this area and head to the top left exit on the cliffside. From there, hug left until you come across an open doorway that leads to a supply room of sorts. Walk through to the other side of the supply room and take down the sniper to your immediate right.
After taking down the sniper, aim towards the Delivery Station in the distance until you see a Mostly Naked Character painted in green with an LMG on his back. Shoot the target, confirm the kill, and make a fast break to the tunnels.
Evening

When in the tunnel, use the right exit. You will see a truck directly in front of you. Make your way to the front of it to see the Mostly Naked Character curled up in its headlights. However, shoot the target quickly, as they can freeze to death, which may mess up your progress.
After that, turn around and exit the district and prepare for Karl's Bay.
Karl's Bay

Unlike the last two districts, Karl's Bay only has three Mostly Naked Characters to eliminate, taking place in the morning, afternoon, and evening. However, similarly to the last two entries, the same rules broadly apply here. Bring a powerful rifle and the Shift and Aether Slabs with you.
Below is the location of each Mostly Naked Character and the best route to them. As always, make sure you shoot the target rather than using stealth takedowns from behind as it appears to be interfering with progress for the time being.
Morning

From within the tunnels, take the left exit. From there, take the left path and move stealthily past the Eternalist spraypainting the side of a building. Make your way up to the Delivery Station and turn right just before it. Head down the steps and wait for the Eternalist to walk up the steps to the right.
From there, use the Shift Slab to blink to the downstairs area to your left. After that, head through the door to your left and into the Dawn of Reason bar. The Mostly Naked Character will be on the floor below you, drunkenly standing in the middle of the room. Shoot the target from the top balcony and make a break for the exit.
(Skip to the Afternoon after this)
Afternoon

From the left tunnel exit, take a left and make your way towards the Delivery Station. However, take a right just before it and use your Shift Slab to get to the lower area on the left. From there, walk forward and drop onto a van below you.
Use Shift once more to reach the stone wall in front of you, then take the dirt pathway to your left. You will see a plane in front of you with Hangar One beside it. Head into Hangar One stealthily, and you will see the Almost Naked Character stumbling around drunk in front of an Eternalist sitting on a crate. Once you have a clear shot on him, take it and make a fastbreak for the exit.
Evening

Follow the last Almost Naked Character steps until you drop onto the van, then head to the left. You will see a small red building directly ahead of you. The Almost Naked Character is dancing by himself behind the door. Just open it and pop him in the head, and run.
You're free to move onto the next loop and last district.
Fristad Rock

Similar to the last district, Fristad Rock only has three Almost Naked Characters for you to seek and destroy. As is tradition, make sure you have the Shift and Aether Slabs along with a powerful rifle that is capable of landing a one-shot kill on Eternalists.
Below is every location for the Almost Naked Characters in Fristad Rock. Make sure to shoot them and avoid melee kills and takedowns at all costs, as it is reportedly not counting some of them as eliminations.
Morning

When in the tunnels, head up the stairs and take the exit on the right. Following that, kill the three Eternalists in front of you and continue heading straight. You will see a piece of the ground that you can climb up to a vantage point that overlooks the bridge with the turret on it.
Walk to the end of the vantage point and look out towards the base to the left. The Almost Naked Character will be to the left of it, staggering around. If you're a good shot, you can pop him from there. If not, that's fine. You can hack the turret and then Aether your way closer to him and kill him that way.
Noon

Like the last target, use the right exit from the tunnel, kill the Eternalists outside, and make your way to the vantage point. However, once at the vantage point, look for a small tunnel to the right, and follow it until you see a bar.
The Almost Naked Character will be behind the bar and will occasionally lean against it. Once you have a clear shot, take it and head for the exit.
Afternoon

Follow the exact steps as the last entry. You're looking for a man painted green this time, and he will be closer to you this go around. He will be standing in front of the barstools instead of being inside the bar. Wait for a clear shot and take it for the final time.
If everything went well behind the scenes, the Achievement/Trophy Deathsuit Day should trigger, notifying you that you have successfully killed all 14 Almost Naked Characters.