Super Shifty is an optional Arsenal Lead that you will find at Karl’s Bay in the evening. This is by far the most difficult and complicated Arsenal Lead, but not coincidentally, it also rewards you with the game’s coolest gun: the Heritage Gun, a transforming shotgun that does bonus damage in the air. Super Shifty is by far the longest and most difficult of the Arsenal Leads, and it includes several puzzles with solutions that change after every loop. For this reason, some of the solutions in this guide can only offer a method for solving them, rather than the exact solution. If you’re stuck and looking for a way to get your hands on the Heritage Gun, here’s a complete guide to completing Super Shifty and solving its many puzzles.
Where To Find Super Shifty
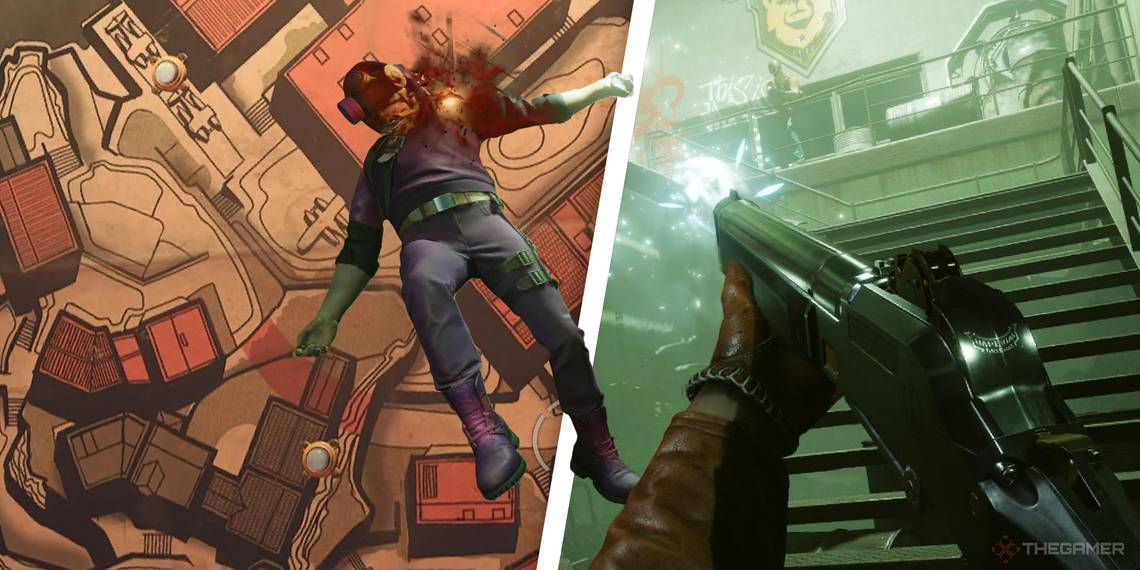
Super Shifty begins in Karl’s Bay at night in the Fathoms of Lament building. Charles Montague invites you to play Reward Scheme, a deadly game that takes place throughout the city. Start by heading to the exit up the stairs on your left and jump onto the wall to see two Eternalists tinkering with a small package on the street which quickly explodes, killing them both. Follow the road to the left until you reach the Fathoms of Lament building. Inside you’ll find a map of the city with a bunch of blue and flashing-green lights. The green lights are the locations of all the packages you need to find. Three of the lights will change position after every loop, so you’ll need to search the area for more small packages on your own.

Just head to the relative area of any flashing green lights on the map and listen for a ticking sound. Locate the nearby package and open it up, but make sure you quickly get away from it because it will explode and kill you if you’re too close. These packages should generally be out in the open and easy to find with two exceptions. The packages in the Dawn of Reason and Hangar 2 require you to solve a puzzle before you can open them.
How To Open The Gift In Dawn Of Reason
As soon as you pull the lever to open the door to the Dawn of Reason, a timer will start counting down from 2:00. You’ll only have a couple of minutes to find the code that unlocks the door to the package, then it will explode and you’ll need to reset the loop to try again. Unfortunately, I can’t just tell you the code because it changes every time.
In order to avoid the timed challenge, look for a small opening on the right side of the building. If you crawl through this hole instead of pulling the lever to open the door, you can take your time and look for the solution without worrying about the package exploding.

Once inside, you’ll need to find the four-digit code that unlocks the door. As you look around the room, you’ll find dials painted on the walls that look like the dial that unlocks the door. On each image, you’ll see one section of the dial painted red to indicate what number it represents. You’ll also see four tick marks in the middle of the dial, with one of them painted red. The red tick mark indicates what position the number is in, while the red notch indicates which number to enter. Simply find the four images around the room and you’ll have your code. You’ll find the first cipher on the wall right above the lock
The tricky part about this puzzle is that the images are all split in half, and you’ll have to find the correct angle to look at them in order to line up the two halves and determine the code. The ciphers will change position after every loop so you’ll just have to find them yourself, but here’s a few examples of where they might be that can help you figure it out easier.


Once you’ve figured out all four digits, enter the code and open the box, but remember to run away so that the box doesn’t explode and kill you. Once you’ve got it, head to Wenjie’s hangar for the next puzzle.
How To Open The Gift In Hangar 2
Head into Wenjie’s Hanger by crossing the sky bridge that connects Hangar 2 to Hangar 1. Once inside, you’ll see the package next to a switch. Before you can open the package, you’ll need to pull all the levers in this room in the correct order before time runs out. Before you start, it might be useful to enter Wenjie’s pulpit and pull the lever that clears out all the toxic gas in the hangar, just so you don’t accidentally fall in it and die. Here is the correct order of the six switches in Hangar 2.

Start by pulling the switch right next to the box, the jump across the hanging airplane onto the catwalk on the other side. Pull the switch that’s to your left, facing the first switch.

Next, jump across the hangar one level down and pull the switch in the corner to your right. This can be hard to see in the gas, but it's the lowest platform you can reach without falling into the gas.

The next switch is on the opposite end of the hangar. Jump back up the hanging plane in the center then reach the back wall to pull the fourth lever.

Now, return to the catwalk where you pulled the second switch, the next switch is on the same platform, but closer to the back wall where you just were.

Finally, the final switch is dead in the center of the room at the front of the lower hanging airplane.

Once all the switches are pulled you can open the box. If you fail this puzzle you can start over by pulling the first switch. If you’ve opened all the other gifts, return to the Fathoms of Lament and enter the door in the back right corner.
Finishing Super Shifty In The Fathoms Of Lament
This is another switch puzzle like the one in Hangar 2 but it’s a bit more of an obstacle course. As soon as you enter the hallway, kick apart the wooden board blocking a crack in the wall and use your hackimajig to disable the nullifier. This will allow you to travel around the building easier using your shift ability. Pull the lever on the first floor, then head up the stairs as fast as possible.

If we designate the position from the top of the stairs as the front left 2nd second floor of the building, then the correct order of switches for this puzzle would be:
Back Left 3rd Floor
Back Middle 3rd Floor
Front Middle 3rd Floor
Back Right 2nd Floor
Front Middle 2nd Floor
Right 3rd Floor

You’ll need to avoid the blue laser beams as you go or the puzzle will reset. Once you hit all seven switches you can head back down to the lobby and collect the Heritage Gun from the case.