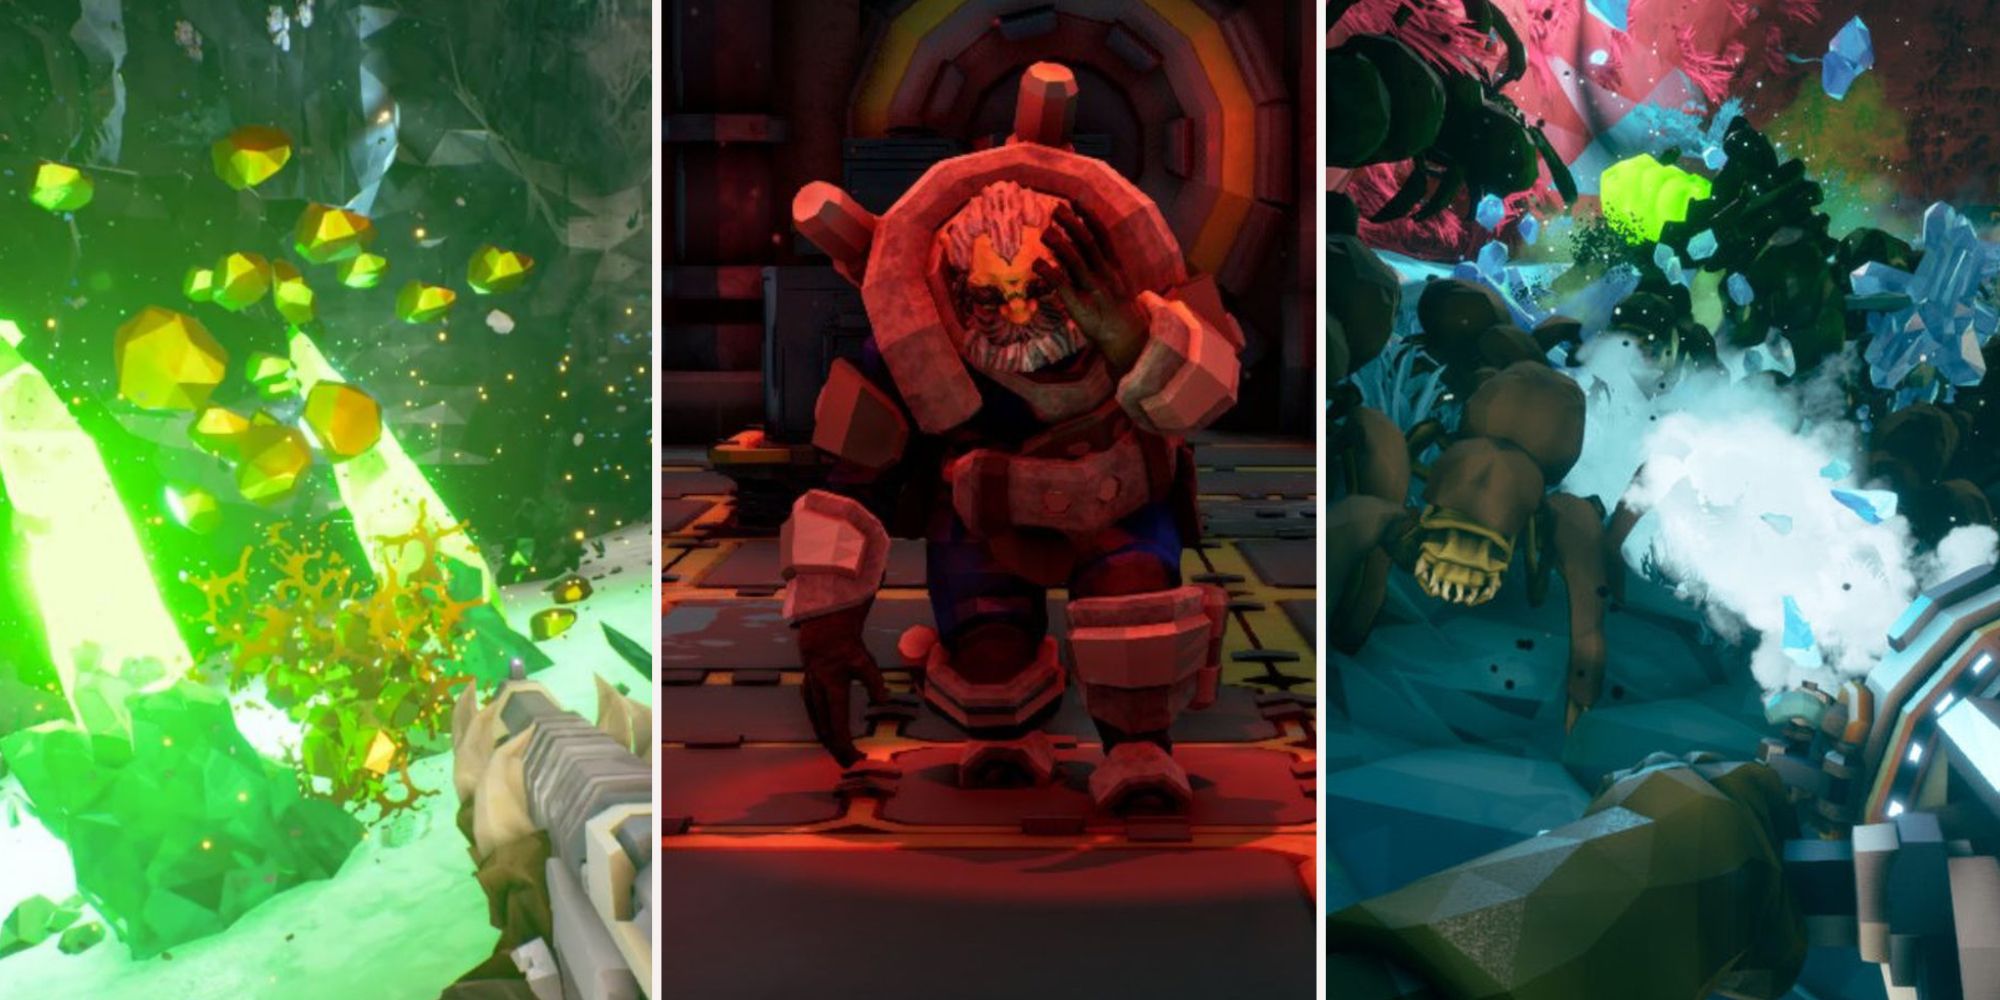
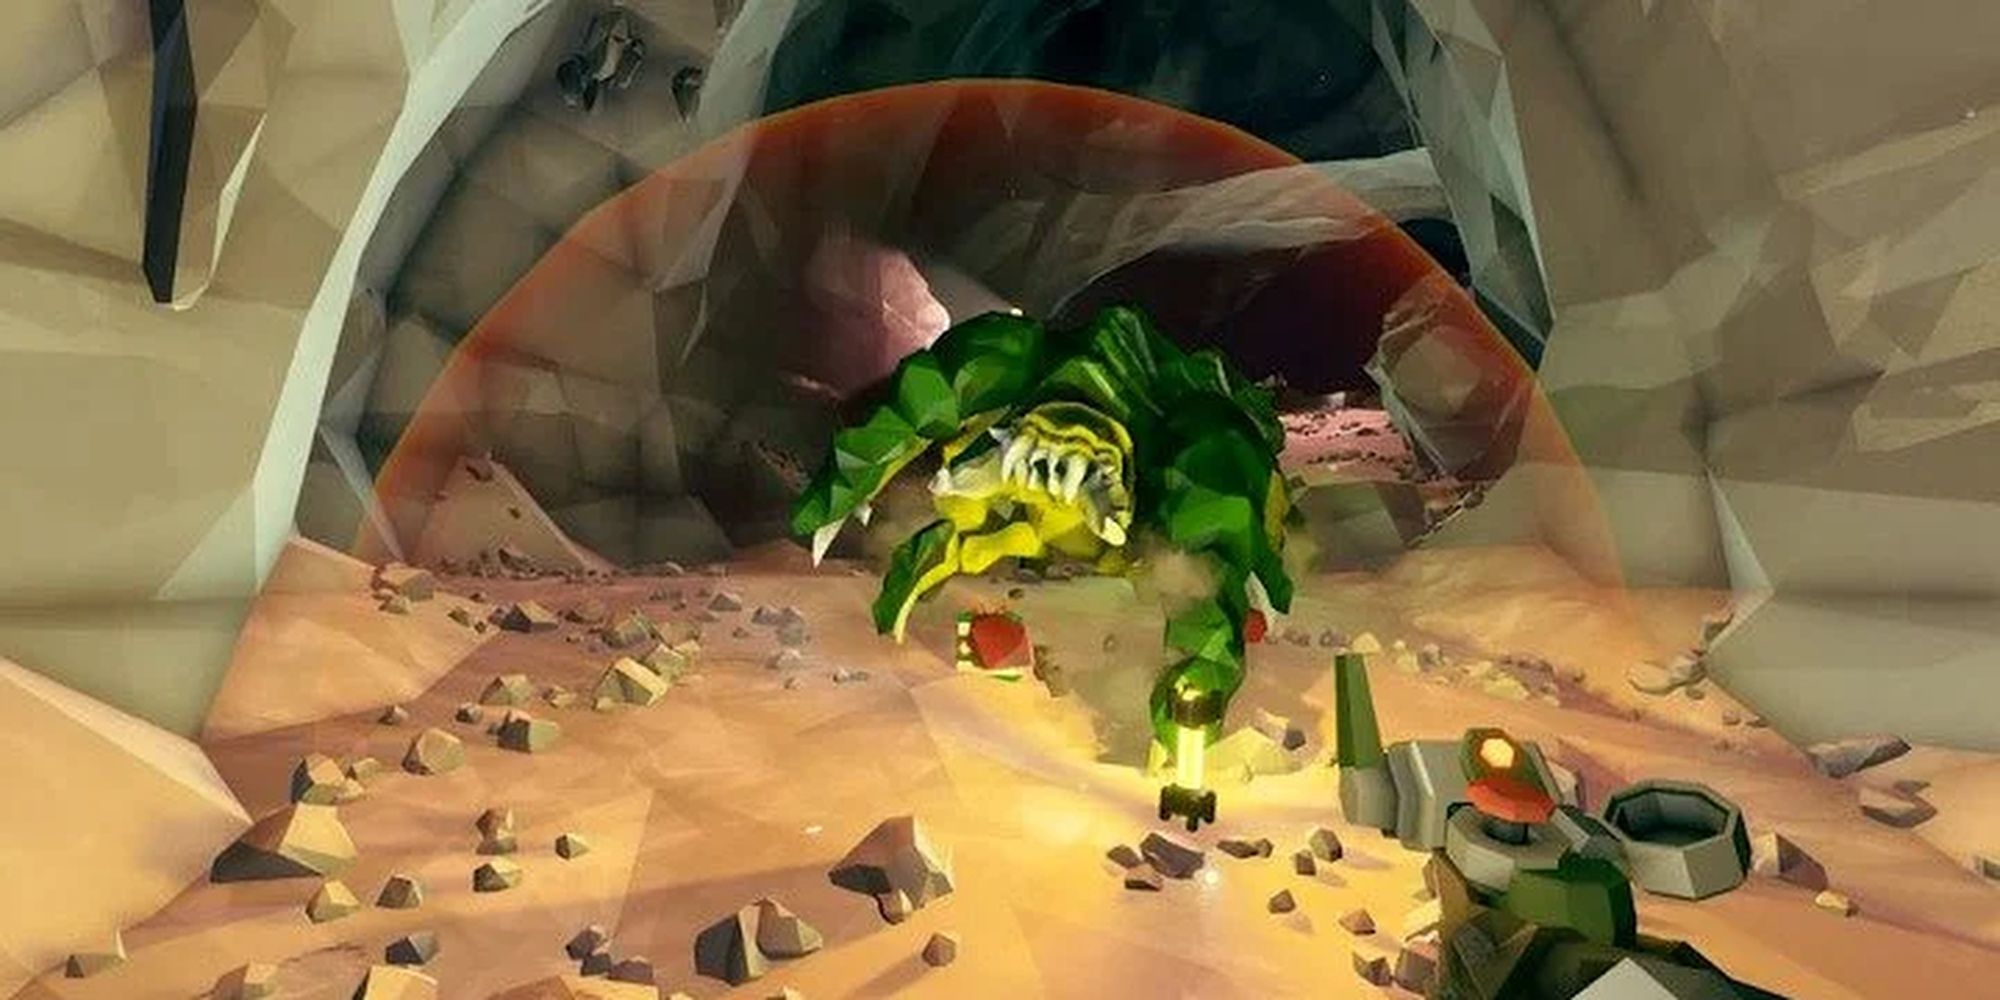
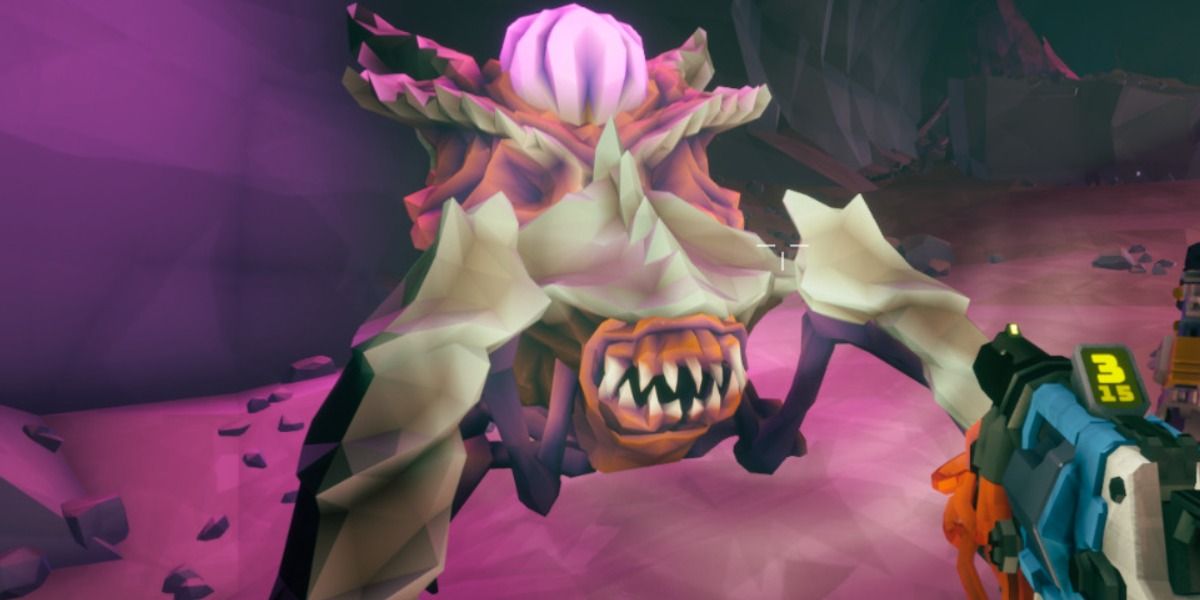
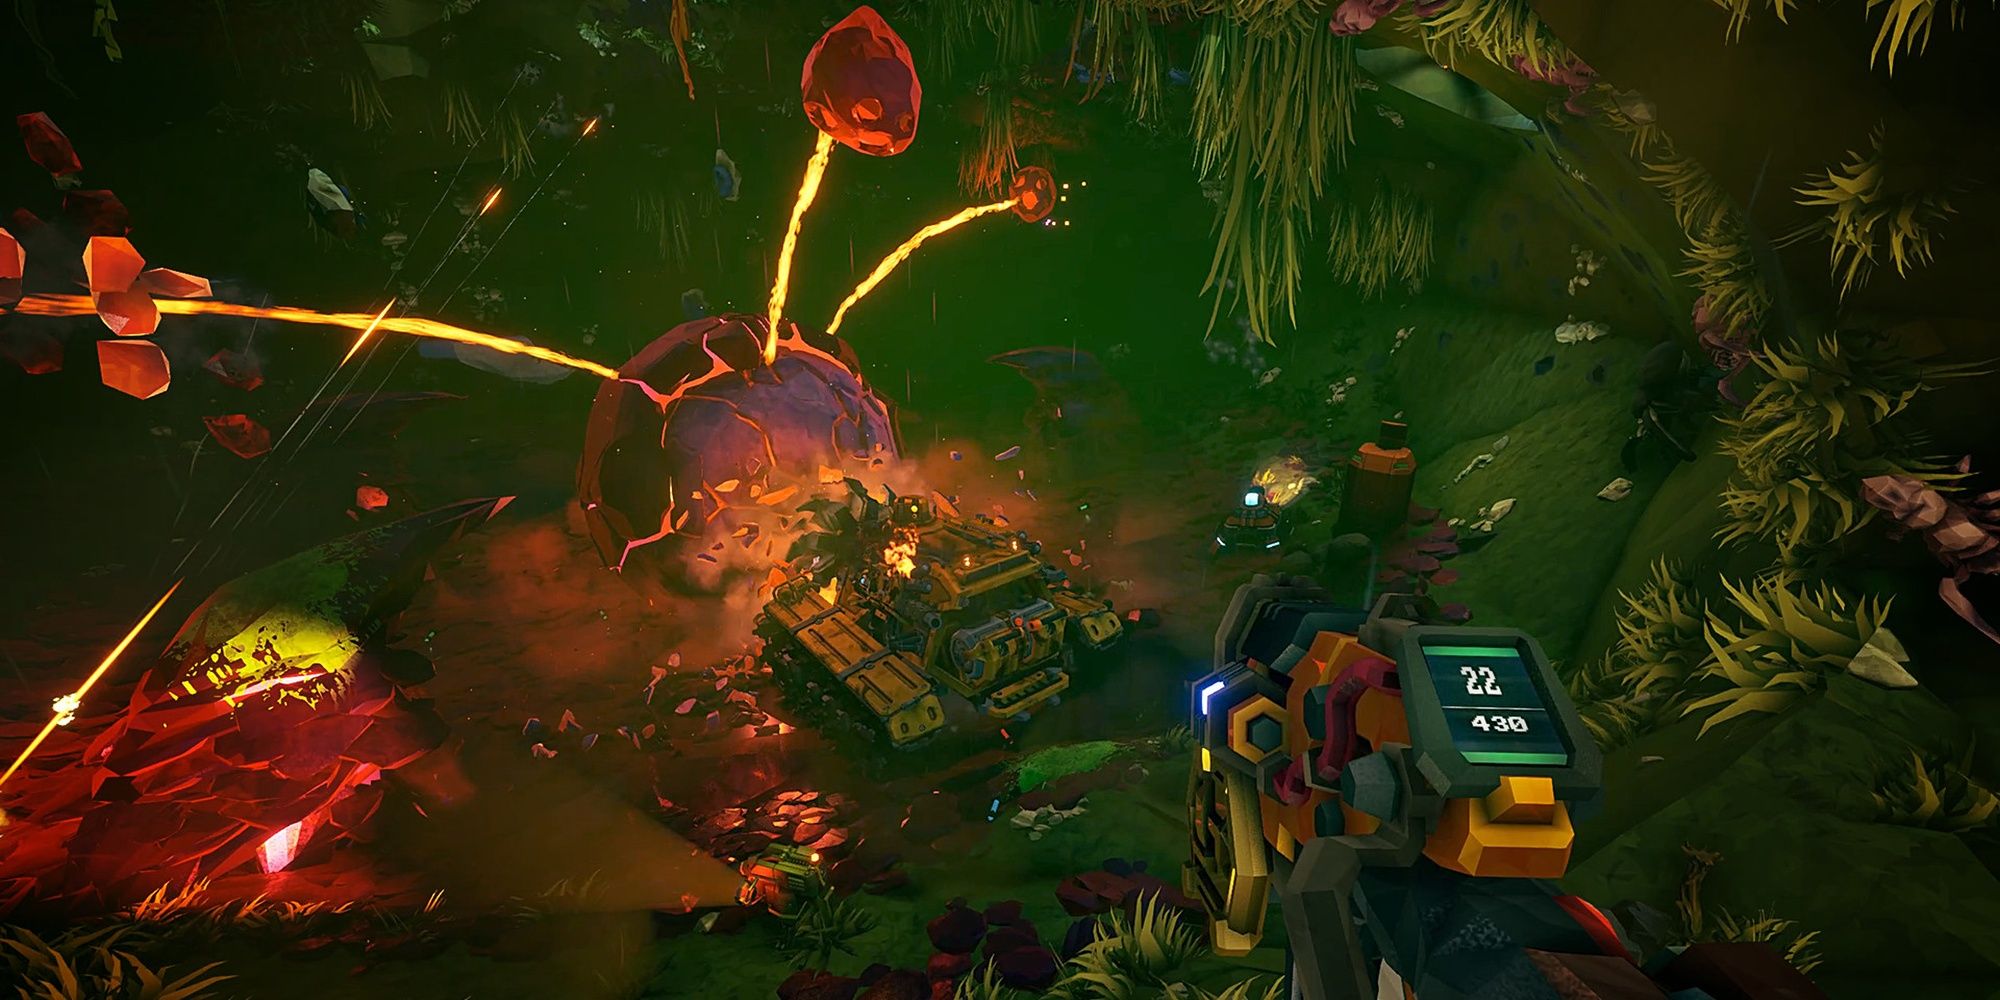
For the most part, Deep Rock Galactic is a fun and casual experience about shooting bugs and looting minerals. Along the way, there are cosmetics to craft, weapon upgrades to collect, and pints of beer to drink. Oh, and it's also very important to the team to shout "Rock and Stone!" every chance you get.
However, Hoxxes IV becomes a dark and hostile planet once you play on the hardest difficulty, hazard 5. In this mode, bugs hit harder, swarms often attack, and dwarves drop harder than the game's soundtrack. While the challenge is intimidating, the increased rewards are more than worth it.
10 Gear Up Before Increasing The Difficulty
Hazard 5 is tuned toward end-game characters, so it's expected to bring your fully geared-up dwarf to the mission. Undergeared classes will find it frustrating to deal with swarms as they will consume more ammo to pull their weight in the group. Although experience and skill are undoubtedly important, raw damage numbers also matter.
It's a good idea to first farm weapon and gear upgrades from lower difficulties. Grabbing weapon overclocks will massively help with damage output too. Completing your weekly core hunt assignment is the most reliable method to get matrix cores for overclocks.
9 Grab A Beer For Some Buffs
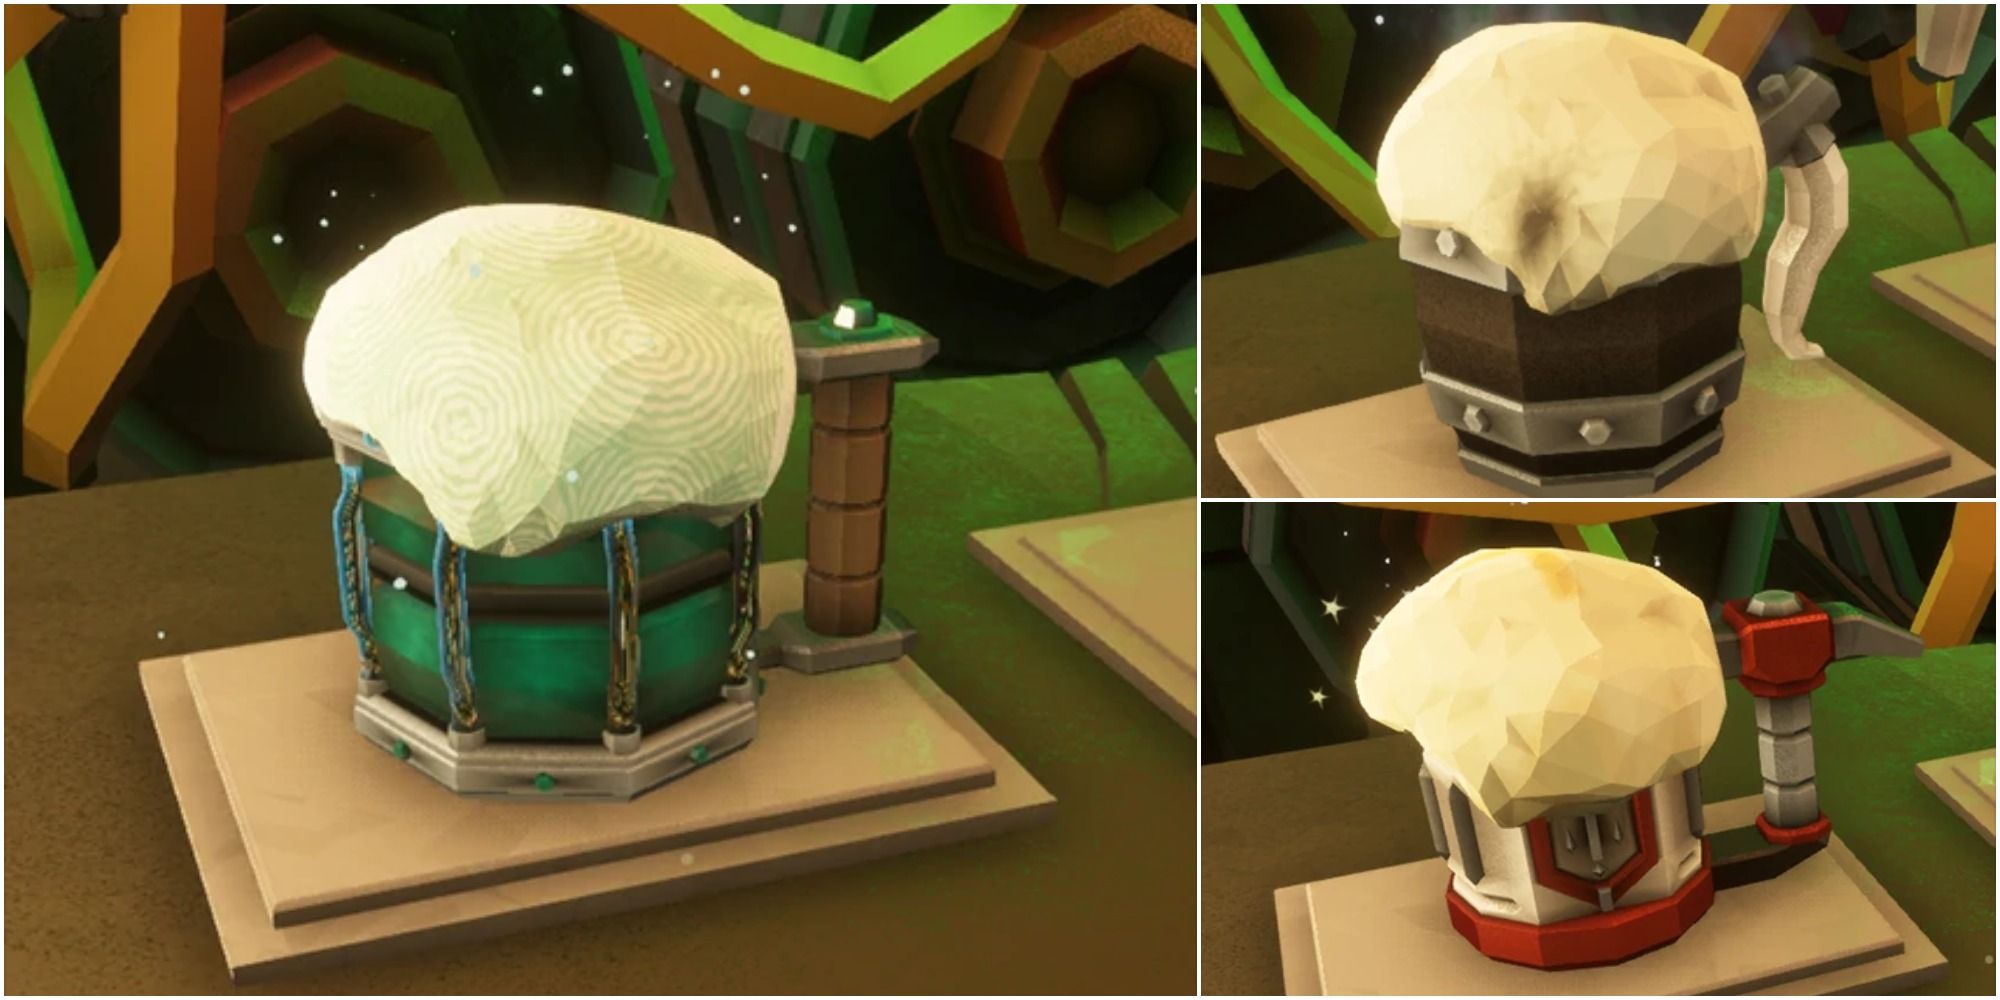
Deep Rock Galactic's main hub contains the essential Abyss Bar for all your alcohol-related needs. While most of the beer on tap provides amusing effects, like sending your dwarf to outer space, some of these craftable brews provide valuable buffs. For example, Red Rock Blaster grants a welcome maximum health bonus.
During regular missions, keep an eye out for collectible plants used to unlock and purchase stronger brews. Hosts are expected to buy a round for the house, but any generous player is welcome to pitch in.
8 Lootbugs Have To Be Looted
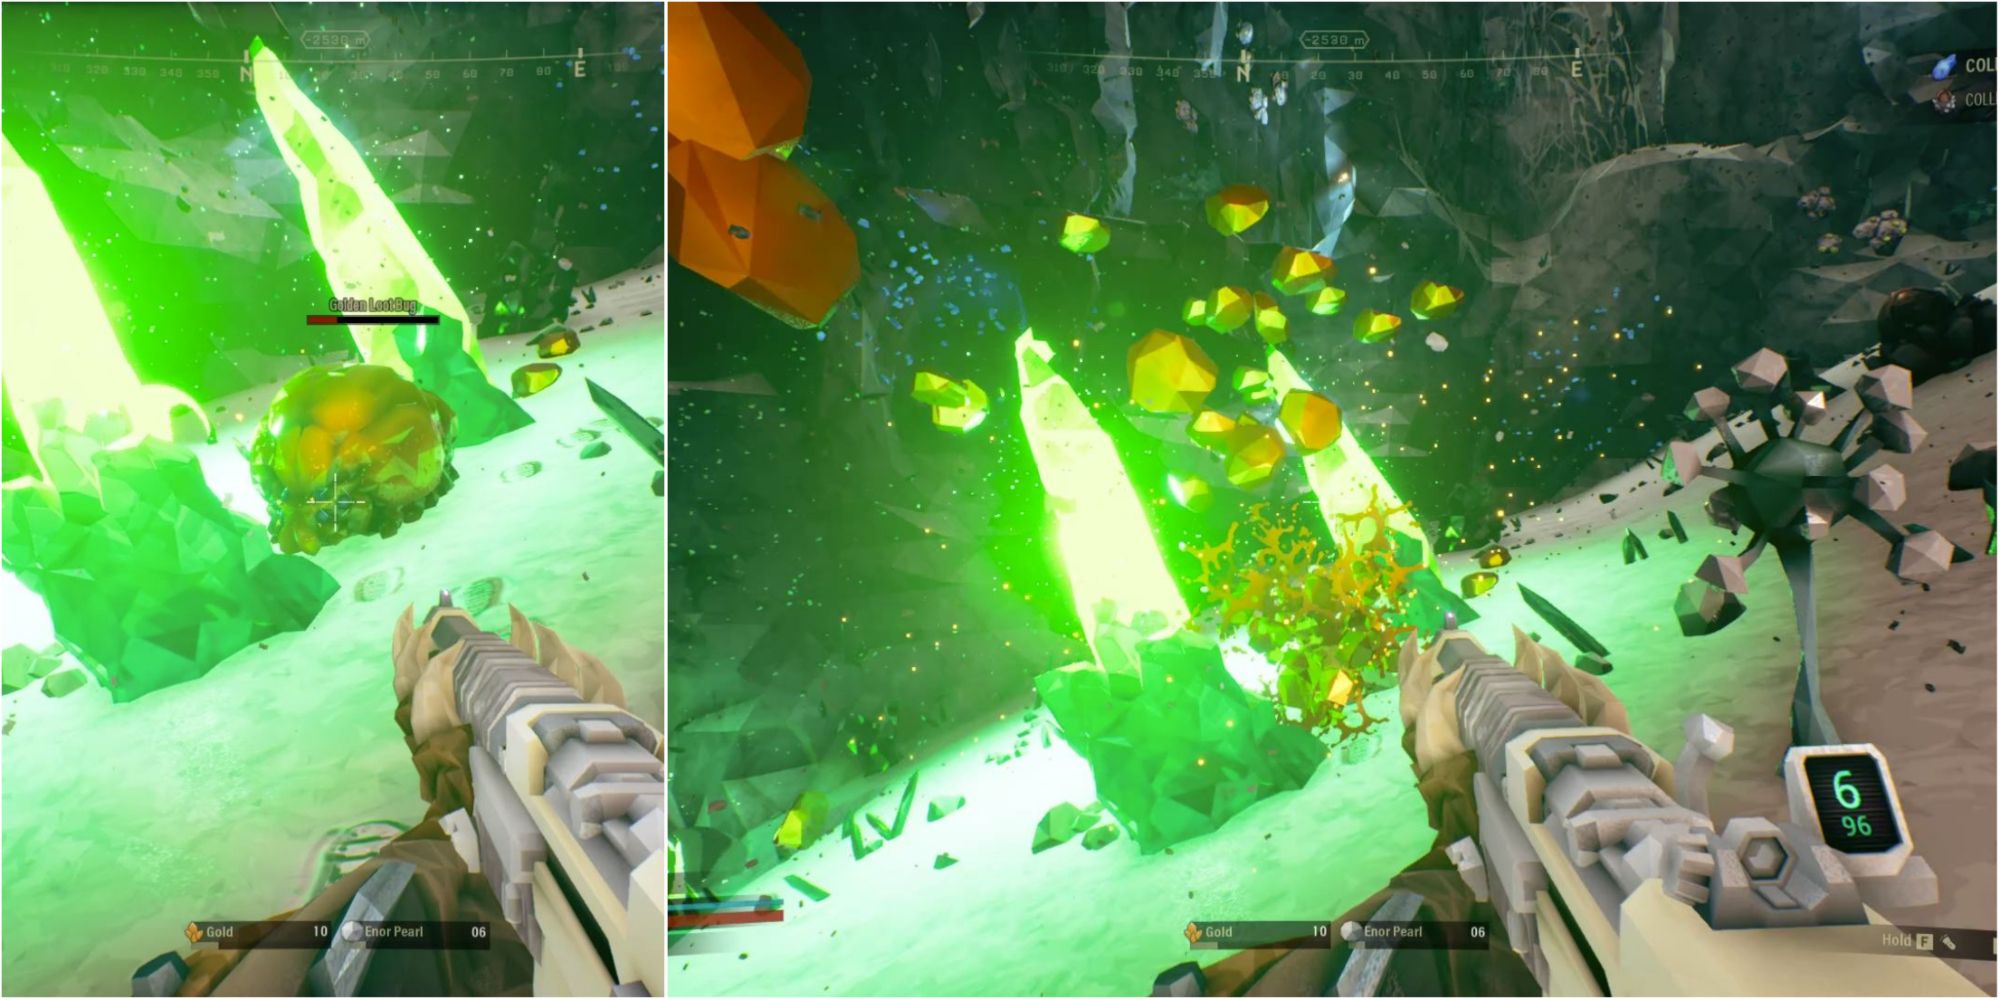
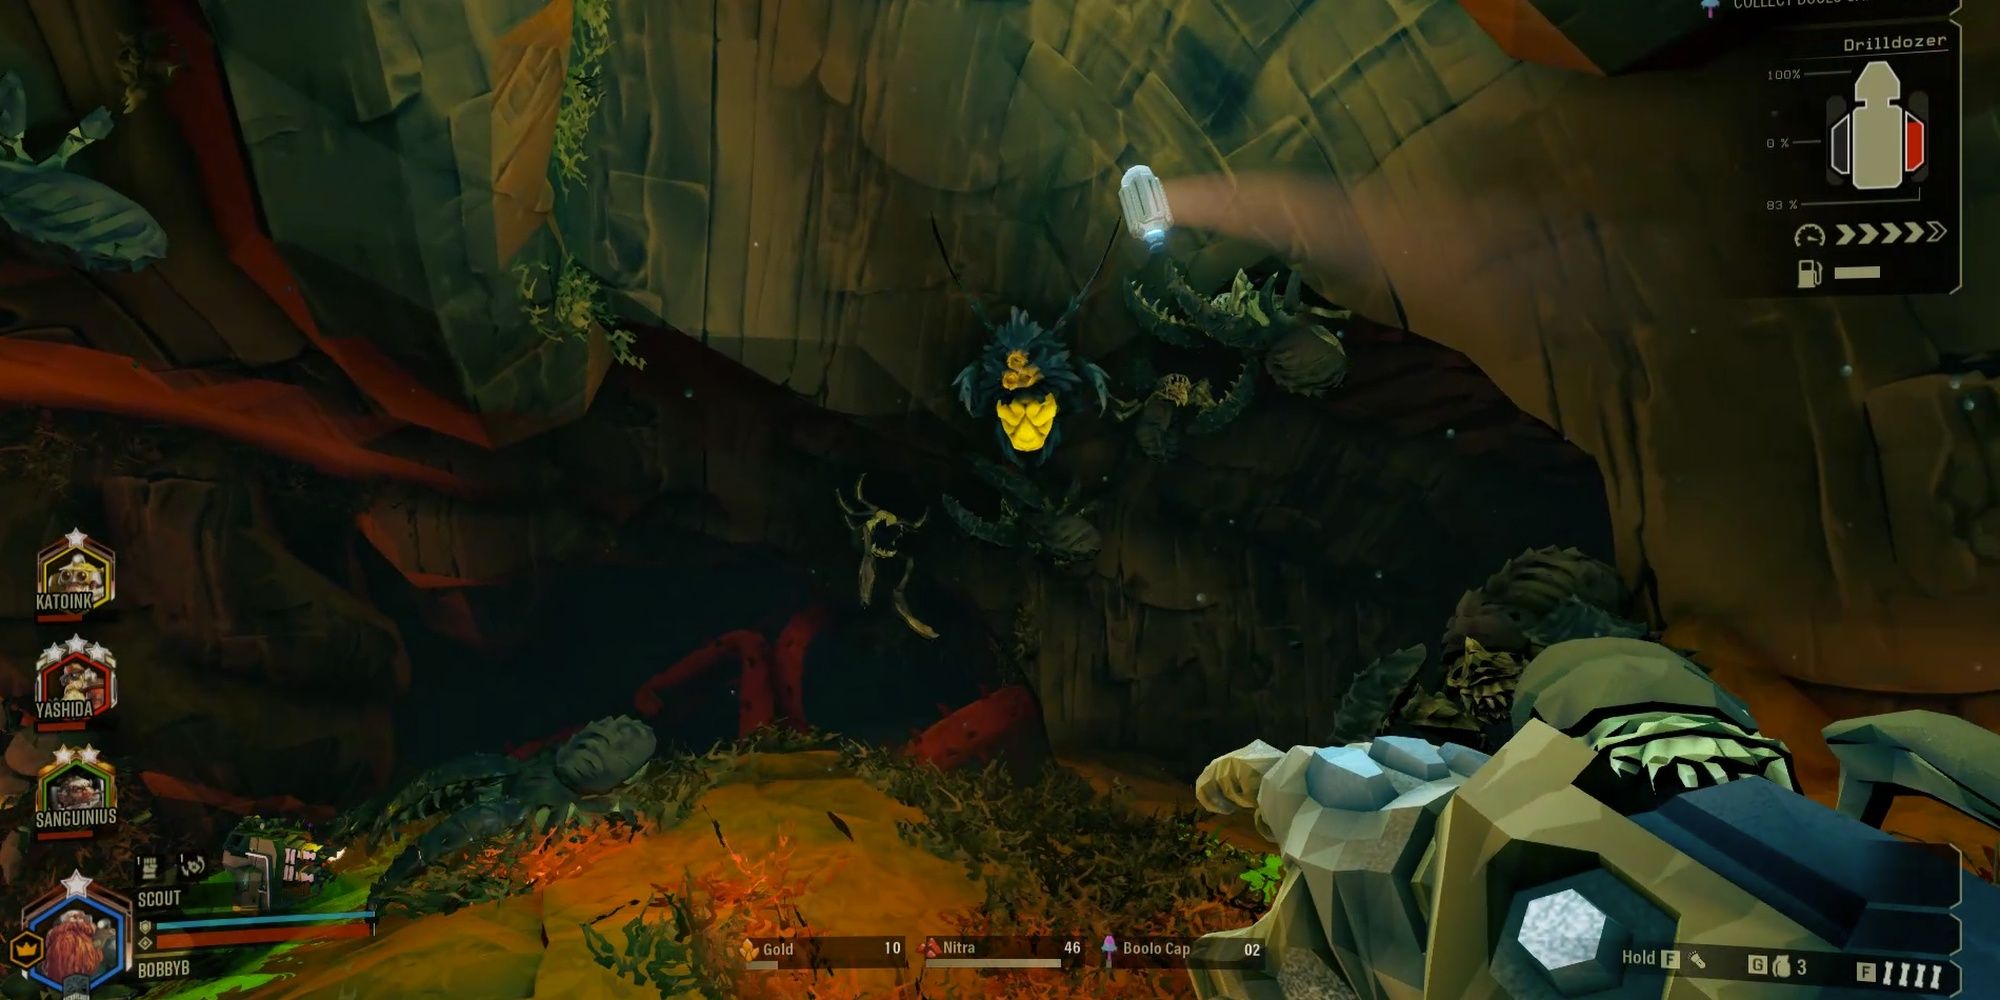
All bugs are enemies in hazard 5, even the adorable Lootbug. Advanced apologies are in order— but as cute as they are, their plump body contains valuable Nitra and other precious minerals. You can give them a respectful pet before putting them down with an empowered pick axe power attack. Just make it quick and painless.
After losing all their health, Lootbugs have a small animation before they explode. It's a good idea to stand right on top of them to vacuum up all the loot unless you want to search for it in the darkest recesses of the cavern.
7 Grab Those Perk Points
Newer players should actively rake in perk points from fulfilling milestones to reach higher tiers. Aside from better bonuses, this also grants your dwarves bonus slots to equip three perks. Picking the best passive perks is a great way to empower your dwarves. Born Ready, Elemental Insulation, and Thorns are safe choices for all classes.
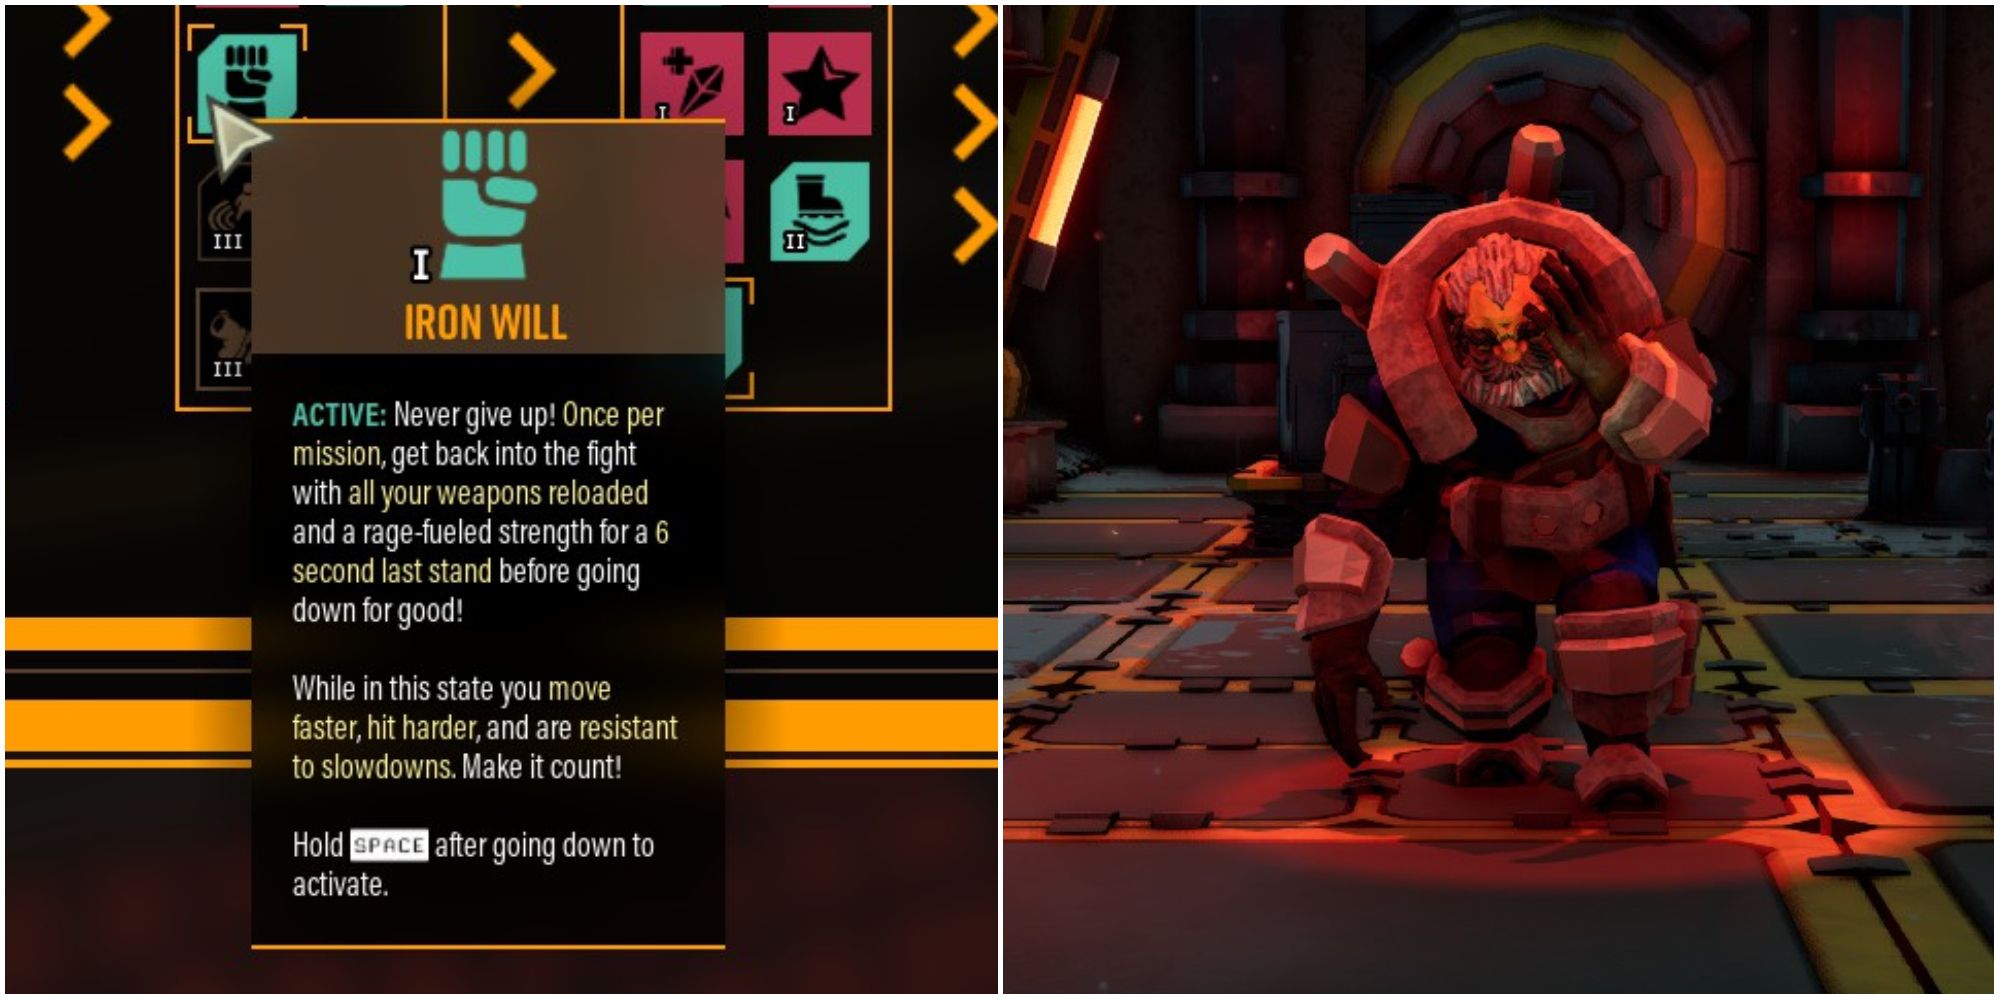
Promoting your dwarf to gain a second active perk slot is necessary for hazard 5. Active perks provide game-changing abilities which can save your team from a tight spot. Dash, Field Medic, and Iron Will are solid picks.
6 Carefully Consider Your Class
All dwarves have the capacity to squash bugs and complete mission objectives. However, the four distinct classes are inherently better at specific tasks due to their weapons and tools. For instance, a Scout's arsenal is weak against swarms but excels at sniping priority targets. Additionally, their unparalleled mobility means they're stuck on mining duty.
All classes need to lean into their utility to overcome hazard 5 together. The mission runs like clockwork when the Scout provides light, the Driller clears obstacles, the Gunner mows down swarms, and the Engineer explodes bugs instead of their teammates.
5 Use Your Throwable Items
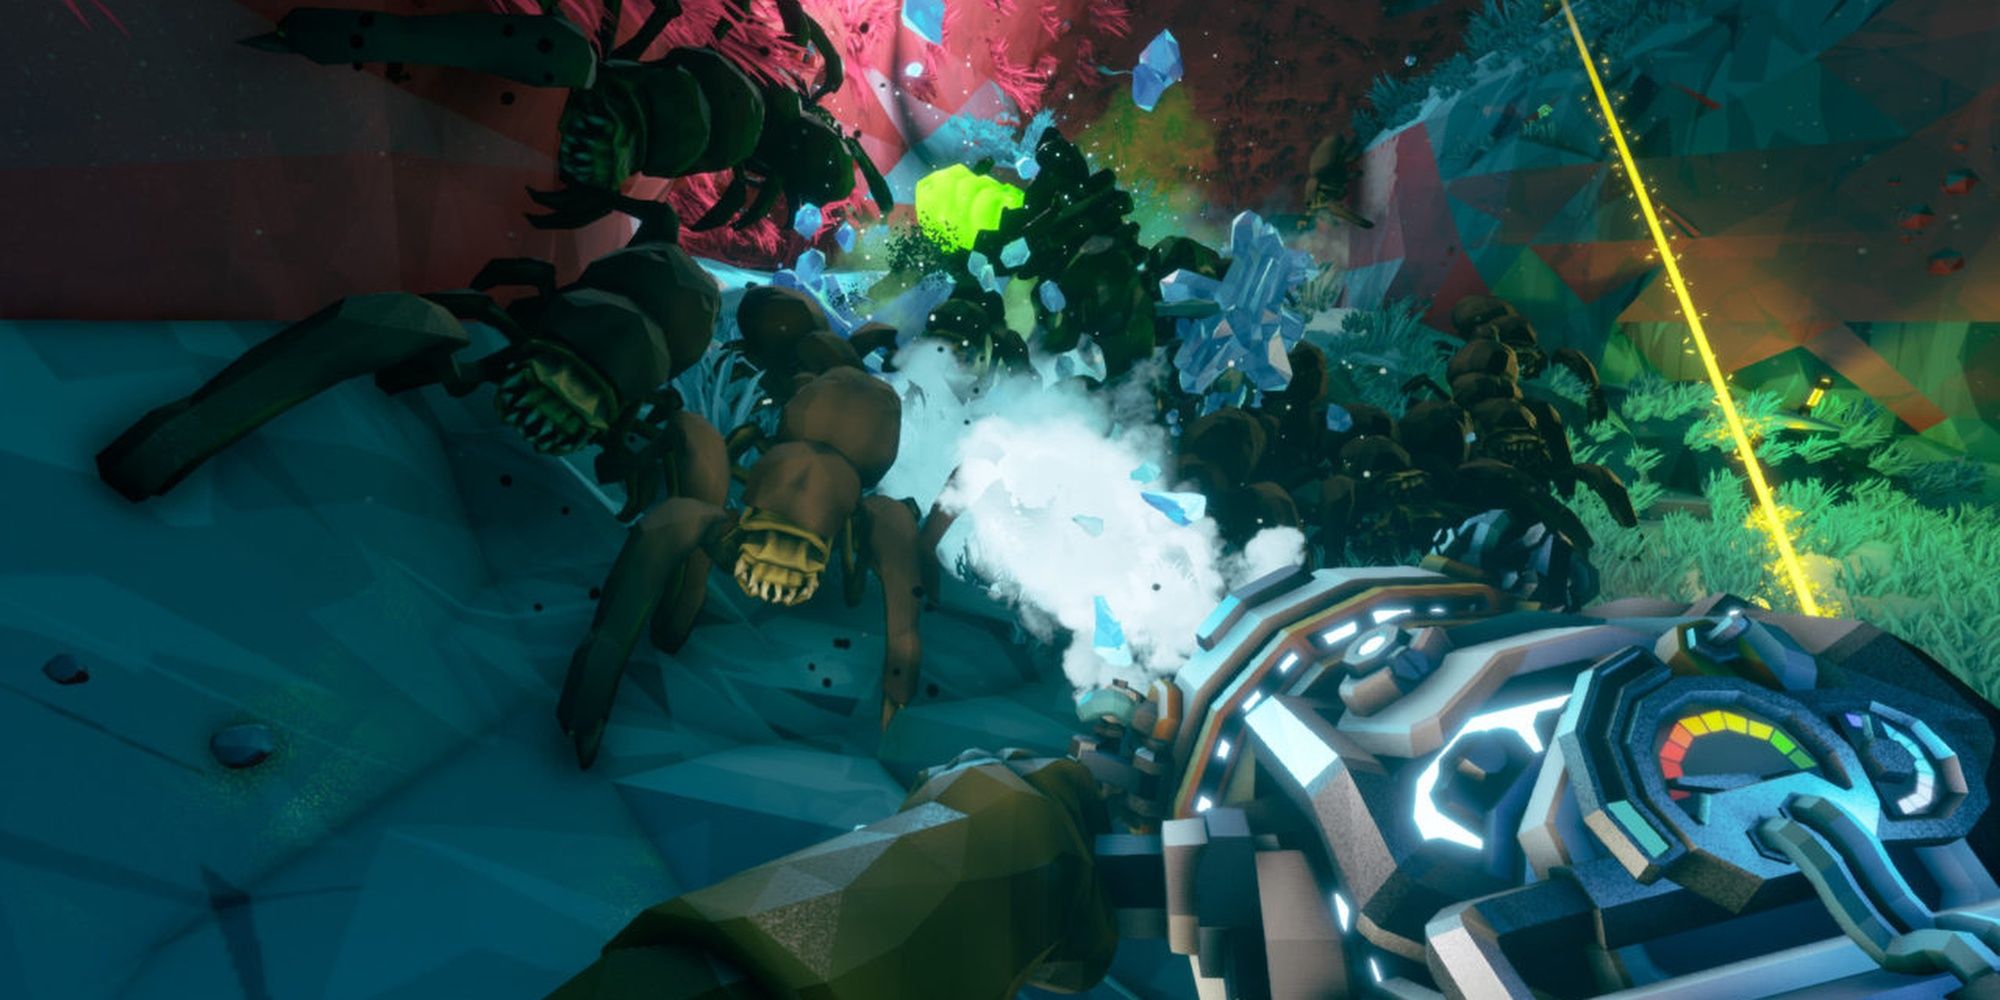
Hazard 5 frequently triggers swarm events and ambushes with lethal variants that can tank through several clips of your ammo. Throwables are powerful consumables that can solve many of your glyphid-related issues. It's a good idea to commit at least one grenade per wave, as this helps with ammo economy before the next resupply.
Specific throwables perform at their utmost potential in certain mission types. For instance, the Gunner's Incendiary Grenade is perfect for Escort Duty since most bugs will be bottlenecked behind Doretta. In comparison, his Cluster Grenade can melt Dreadnoughts in Elimination missions.
4 Prioritize Nitra When Collecting Ore And Minerals
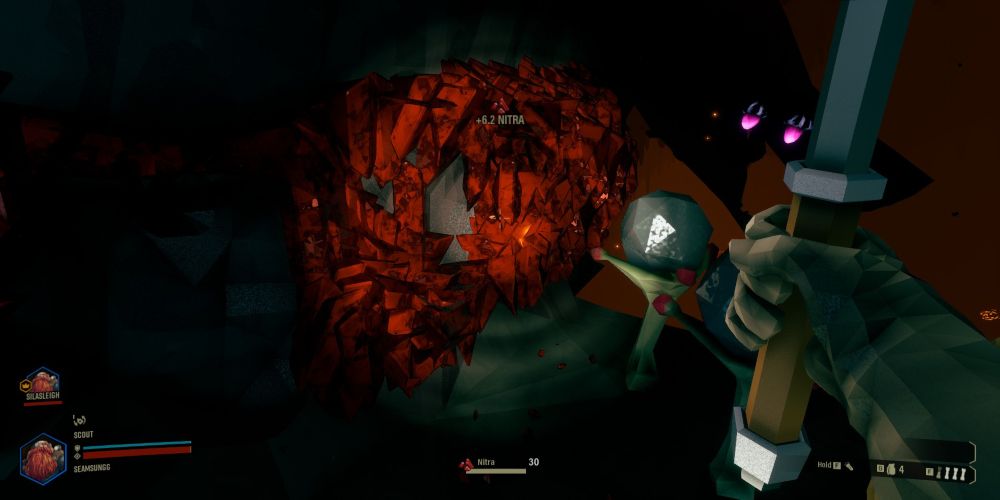
Hazard 5 missions add a multiplier to your loot upon completion, so it incentivizes you to bring back as much precious ore and as many minerals as possible. However, teams should prioritize Nitra above all else, since it's used for resupply pods. The Scout and Engineer can coordinate their traversal tools to mine tricky Nitra spawns.
Gold should take the least priority out of all the mineable loot. If the mission goes smoothly, feel free to bring back gold. But if the team is feeling the pressure, always remember that failing the mission gives little to no rewards.
3 Use Your Class Advantages
The classes bring unique traversal tools for navigating the game's procedurally generated caves. With a little creativity, you can also use these tools to shape the terrain in your team's favor.
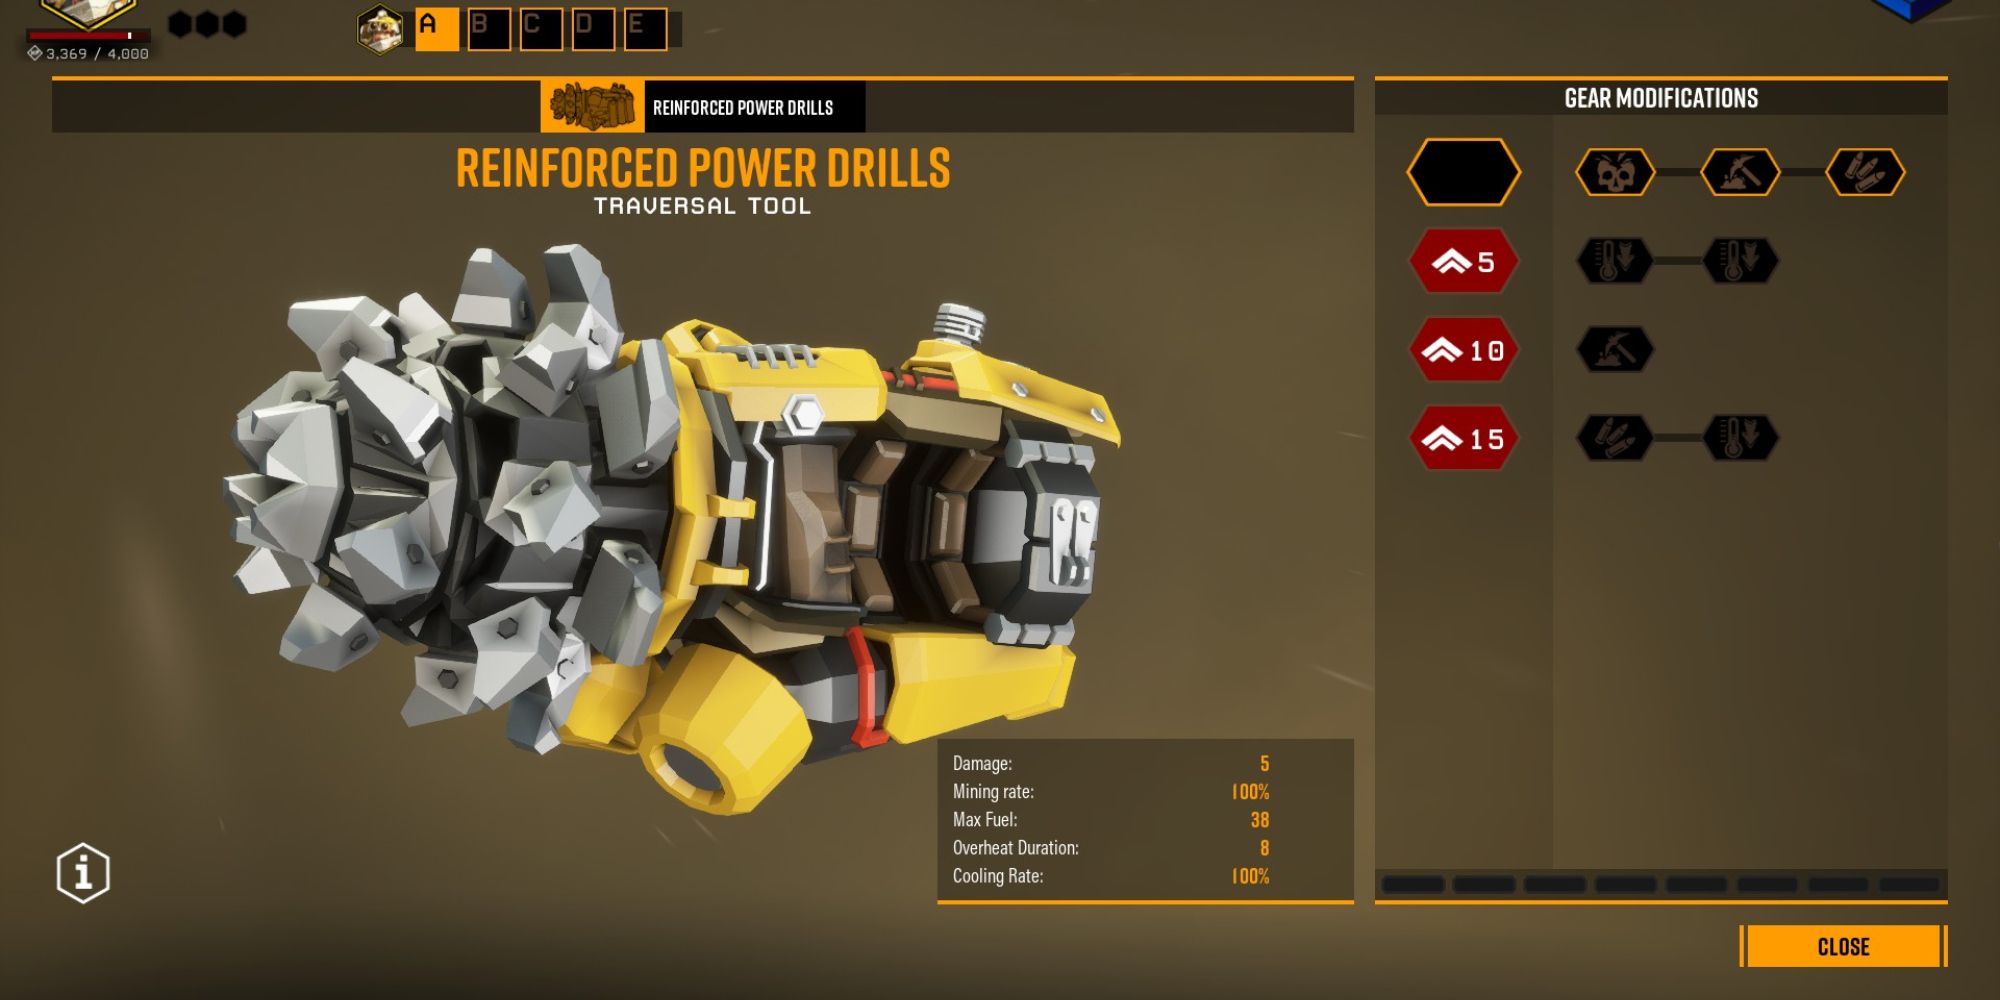
The Driller's Reinforced Power Drills and (well-intended) Satchel Charges can efficiently level any obstacle, creating better sight lines for the team. They can also excavate improvised bunkers for the team to huddle inside while concentrating on one entrance. Furthermore, the Engineer's Platform Gun can create an impromptu roof, shielding the team against bugs shooting from the ceiling.
2 Eliminate Lethal Glyphids First
Some amped-up glyphids in hazard 5 are especially lethal when left unchecked. Giant creatures like Praetorians and Oppressors are slow meatshields meant to distract you away from the real threats. Specifically, Acid Spitters, Wardens, Menaces, and Shellbacks should take utmost priority since they're either disruptive or deal fatal damage.
Failing to ping and prioritize these enemies will result in many downed dwarves shouting profanities. If your weapon isn't suitable for taking down these targets, keep dancing and dodging while hoping someone else eliminates it.
1 Focus On The Primary Mission
Attrition is a major factor that pushes your team to complete the mission faster. After all, your team can only last until there's enough Nitra for another resupply pod. If the mission is particularly hard, it's acceptable to skip out on the secondary objective to focus on the main one. Get the mission done quickly, while you can still handle it.
Regarding Machine Events, they have a higher chance of spawning in hazard 5. But, it's best to attempt these events after fulfilling the main objective with a resupply pod to spare. One of the worst experiences in Deep Rock Galactic is trying to go through the event with an active swarm on your team.

