Quick Links
Once you complete the prologue in Deliver Us Mars, you'll jump ahead eight years. Kat is an adult now, specializing in STREAME power-transmission technology. Your first task in the game's opening chapter is to guide her through a routine repair and get yourself caught up on the events of the last eight years.
The first chapter also serves as a handy refresher if you haven't played the previous game in the series, Deliver Us The Moon. By the time it's done, you'll be ready for a dangerous adventure in space - follow along with this guide!
How To Repair The MPT Dish On Earth
Once you’re able to walk around following the introductory cutscene, go to the stairs at the center of the dish. Follow them down and go out of the door at the bottom. You’ll see a ladder; climb down to reach the platform under the obstructed communications beam.
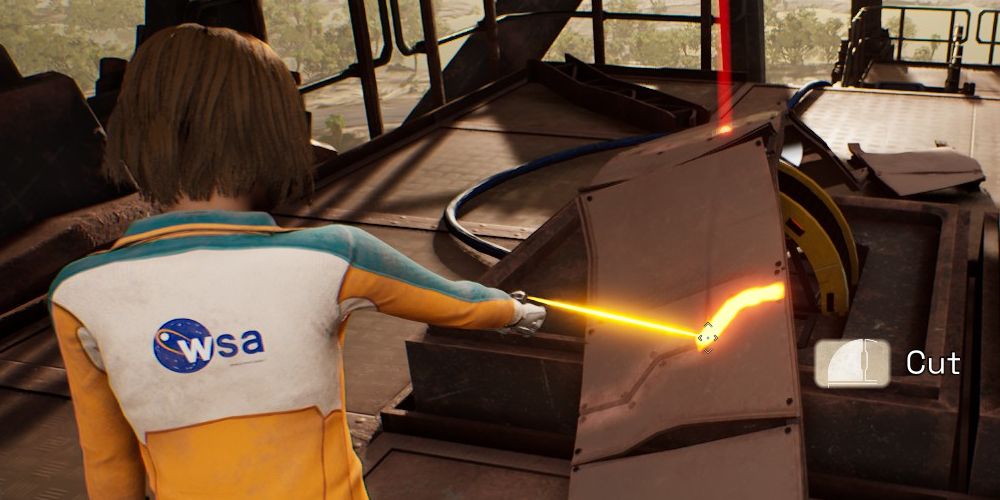
Jump to reach the ledge over the boxes in front of you, and Kat will climb up to the obstruction. Use your laser to cut along the glowing lines - this will dismantle the debris, letting you move on to the next task.
Follow the scaffolding to the far side, jumping over small gaps as needed. There are some side areas to explore, but other than a view of the surrounding area there’s nothing there. Go down the tall ladder to reach the STREAME points.
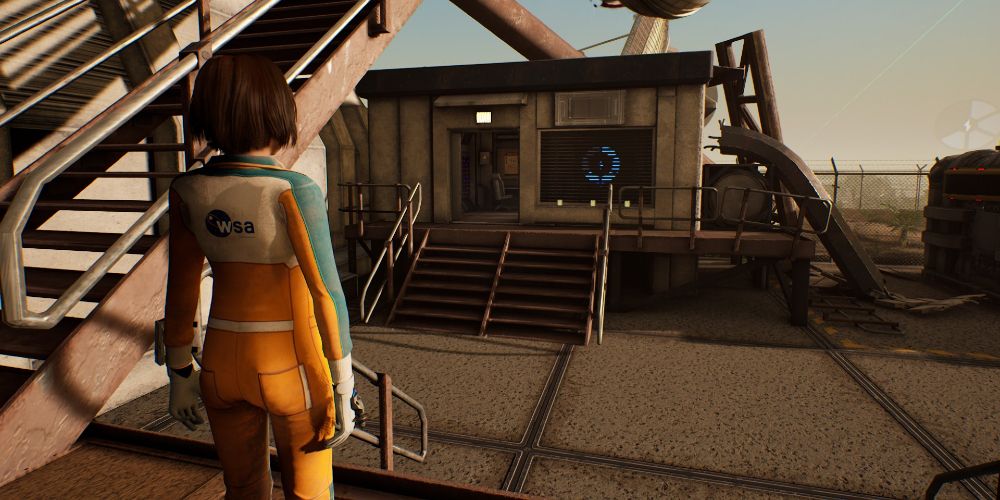
Enter the maintenance office on the platform across from you (the only one with an open door) and cut the locks on the floor plating inside.
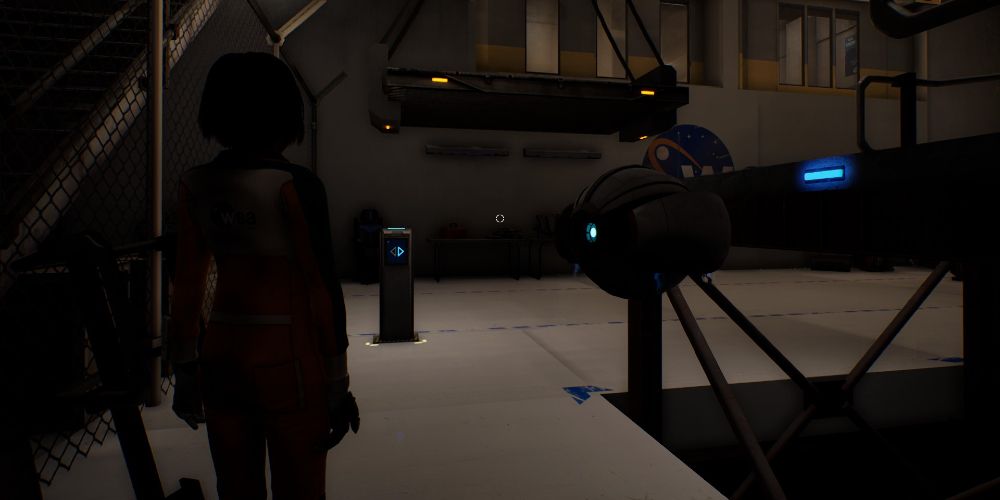
When the plate is opened, an MPT (Microwave Power Transmission) laser device will emerge. You need to aim it at the receiver on the opposite building's exterior, but the window blinds are in the way. Go outside and cut the clamps on the bottom of the window, then return to the MPT device.
Aim the laser at the receiver indicated by the lightning bolt symbol. The beam will turn green when it’s properly aligned. Activate the receiver, and the door in the opposite office will open. Go inside and use the MPT laser there. This time, there are two receivers; one straight ahead and one to the left. Power the left receiver, then return to the original MPT device.
Realign the first device so that it’s aimed at the receiver on the relays across the way - this will close the door to the second MPT, so be sure that one is aligned properly first!
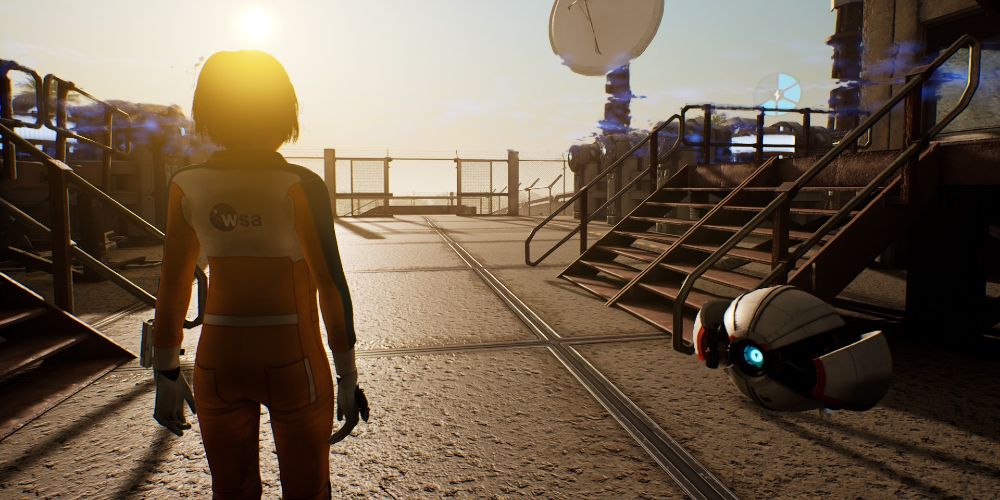
With both relays active, you can proceed through the gate at the far end of the courtyard and return to the maintenance truck.
How To Eavesdrop On The Meeting
After the cutscene where Kat and Ryan ride back to base, hop out of the truck and climb the stairs to the left of the gate. You’ll emerge in front of WSA headquarters. Enter through the front door and take a left. Follow the only available path to enter the WSA Museum.
You can get a lot of backstory by exploring the museum and pressing the blue buttons in front of each exhibit. When you’re ready to move on, look for a locked door near the portrait of Isaac and his co-conspirators in the Outward exhibit. You’ll be prompted to take control of AYLA in a first-person view.
As AYLA, fly to the mechanism near the top-left corner of the door and interact with it. This will trigger a cutscene, after which you can follow Sarah to the elevator. Afterward, you’ll need to find a way to spy on Claire’s meeting.
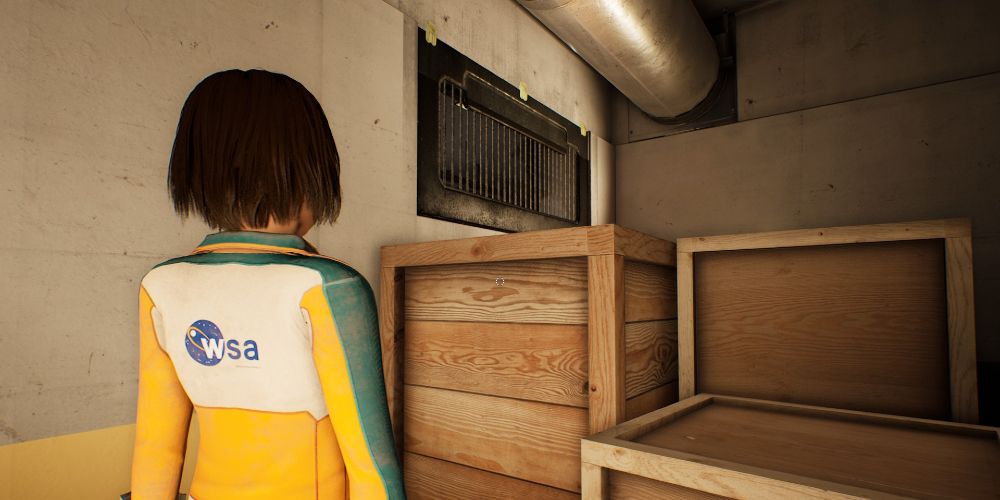
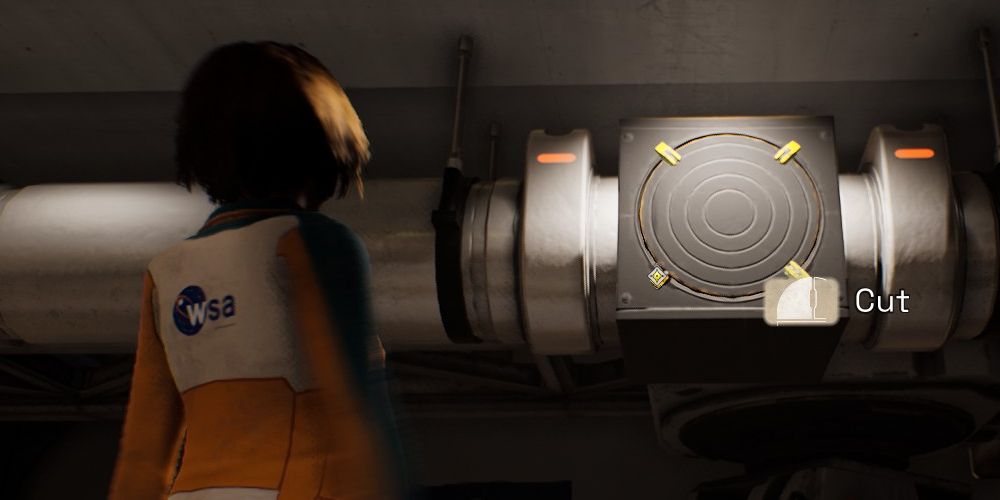
Go around the corner from the conference room, where you’ll see some wooden crates. Climb on top of them and cut the wall panel open with your laser. Climb through the hole and down the stairs on the other side. Cut through the debris blocking your path and enter the main part of the back room. You’ll probably need to crouch in order to fit.
On your left, you’ll see two blue control panels. The one on the left moves a platform near the windows to the left and right, while the one on the right raises a lift on the ground. Start by raising the lift. It doesn’t go very high, so you can climb up onto it as needed.
Once the lift is in position, start moving the platform to the right. Quickly climb onto the lift and jump to the platform before it moves too far away. If you miss, reset the platform and try again.
Unlike many games, you can’t make a running start - Kat can’t jump while sprinting, so be sure not to hold the run button as you approach, or you’ll fall off the lift.
Once the platform stops moving, you can jump to the top of the module in the center of the room. Look for a vent nearby that you can cut open; do so, then send AYLA inside. As AYLA, fly through the vent until you’re close enough to eavesdrop on the meeting.
After Claire and the others leave the conference room, continue along the vent to follow them. Take a left at the fork and look through the grate in the floor to trigger a cutscene.
How To Complete The Zephyr-3 Launch Sequence
When gameplay resumes, follow Claire, Sarah, and Ryan to the rail station and have a seat inside the train. When you arrive at the launch facility, keep following the crew, using elevators and ladders to reach the Zephyr-3 rocket cockpit.
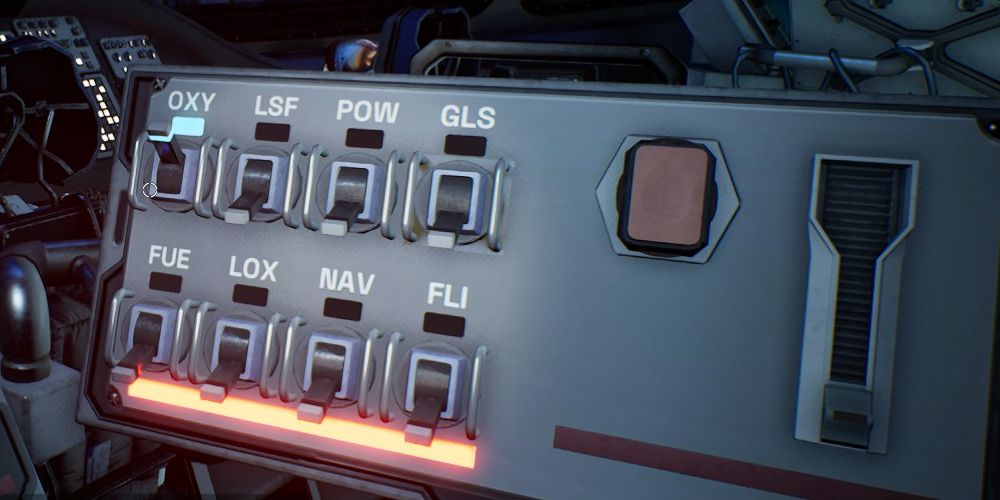
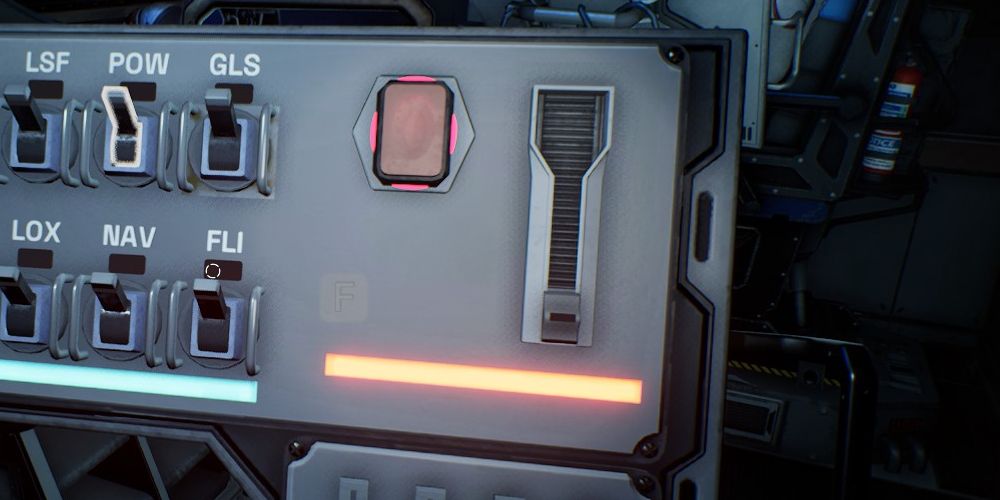
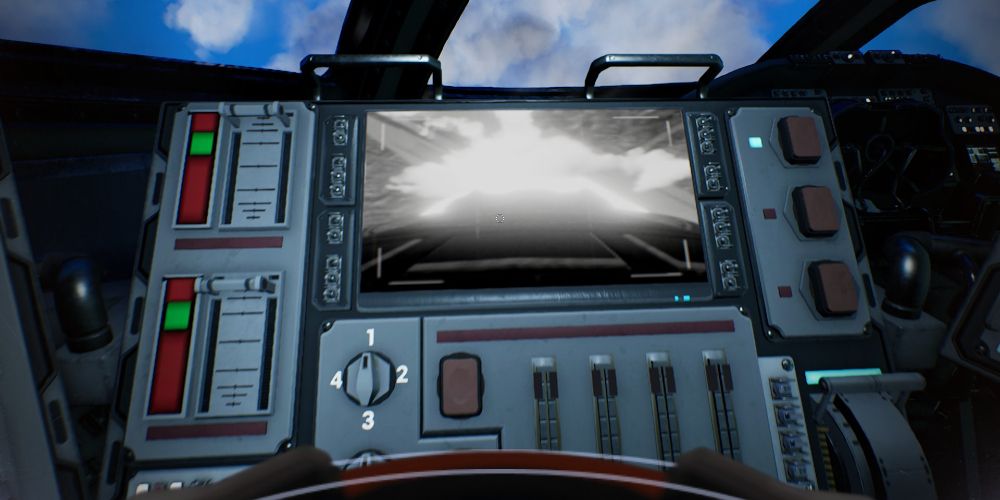
In the cockpit, the perspective will shift to first-person. Follow Claire’s instructions for the systems check, flipping switches to on the panel to your right as she requests in the following order:
- Oxygen (OXY)
- Flight (FLI)
- Navigation (NAV)
- Ground Launch Sequencer (GLS)
- Fuel (FUE)
- Liquid Oxygen (LOX)
- Power (POW)
- Launch Sequence Functions (LSF)
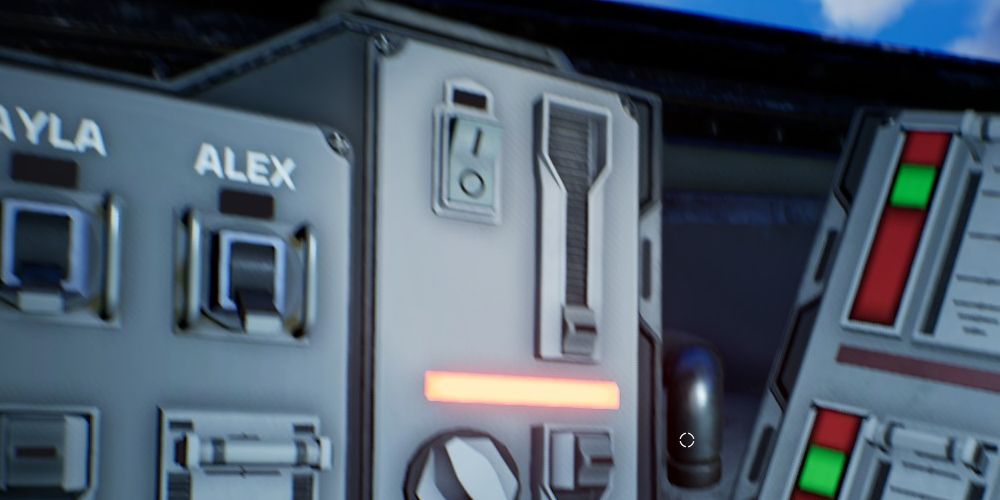
Next, Claire will ask Ryan and Sarah to perform some functions before returning to Kat to retract the Strongback. Look for a lit toggle switch to your left; press it, then hold and slide the lever next to it downward.
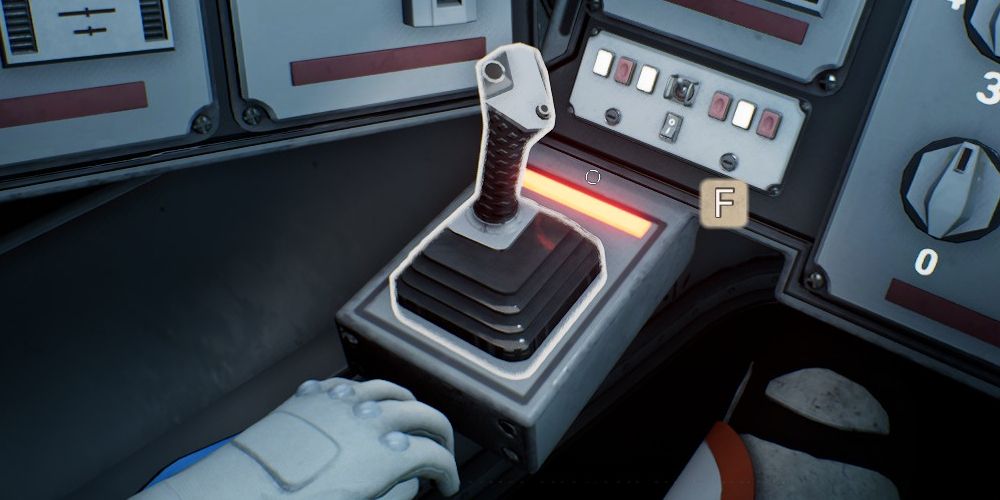
When Claire asks you to retract the orbiter access arm, use the joystick near Kat’s left armrest to activate the interface. Move the arm all the way to the right to proceed (it will look as though it’s moving to the left on the viewscreen).
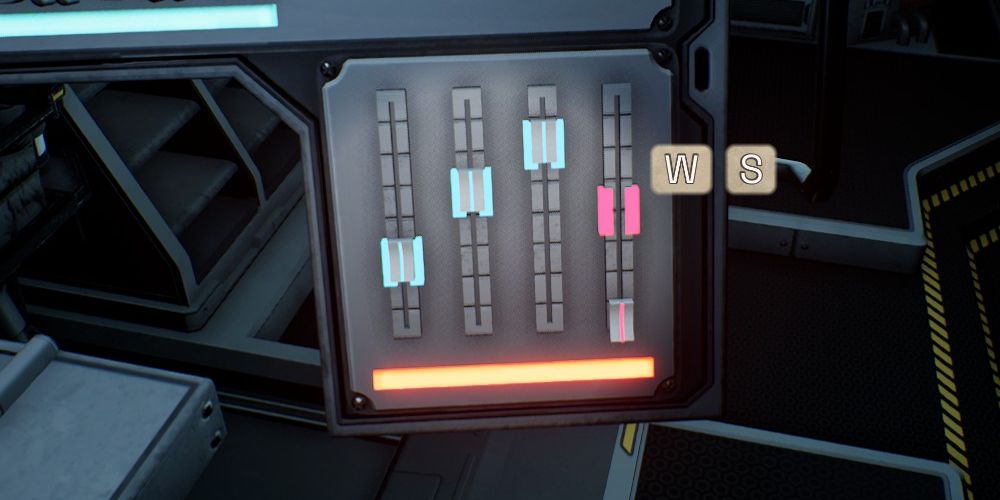
To activate the Auxiliary Power Units, look for four pink switches by Kat’s right elbow. Move each one so that it’s between the glowing lights; the switches will turn blue when they’re in the right position.
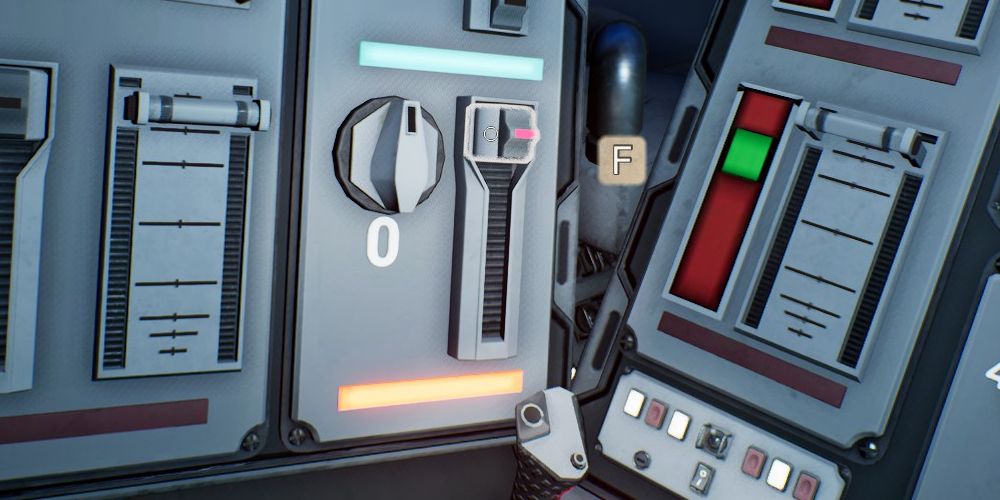
Next, return to the left-hand panel to retract the gaseous oxygen vent arm. Rotate the dial until it shows a reading of zero, then pull the lever next to it. With that done, use the joystick again to move the arm all the way downward.
After putting your visor on, Claire will ask you to switch the craft to internal power. Press the bright pink button to your right, near the initial set of switches, then move the lever to its right all the way up.
When Sarah readies the solid fuel thrusters, your next task is to start them up. Press the top button to the right of your viewscreen, then pull the lever underneath it to launch the rocket.
You’ll be instructed to initiate State One Separation when you reach orbit. Pull the top lever to the left of the viewscreen slightly downward so that it’s in the green indicator, then release it. When prompted, press the middle button to the right of the viewscreen to move to the second rocket stage. Pull the throttle lever up as before.
You’ll have a short break after firing the second stage; when Claire tells you to separate the second stage, do so using the bottom lever to the left of the viewscreen. The process is the same as for the first stage. Once that’s done, you’ll move on to Chapter Two!


