Quick Links
In the sixth chapter of Deliver Us Mars, Kat explores the frozen Outward facility at Odum, searching for signs of life. This is a longer chapter that offers some of the most dangerous climbing sequences yet found in the game, and also contains critical information about the fate of Outward.
From clifftops to abandoned buildings and even an underground river, there's a lot to explore in this chapter. Use this guide to safely navigate Odum and escape the many dangers that lie in wait for you!
How To Reach The Odum Facility
When the chapter begins, you’re back in the rover. The terrain here is less even than on the approach to Habitas, so drive around dunes rather than ramping over them. Follow the objective marker and park at the dock when you reach the Odum facility.
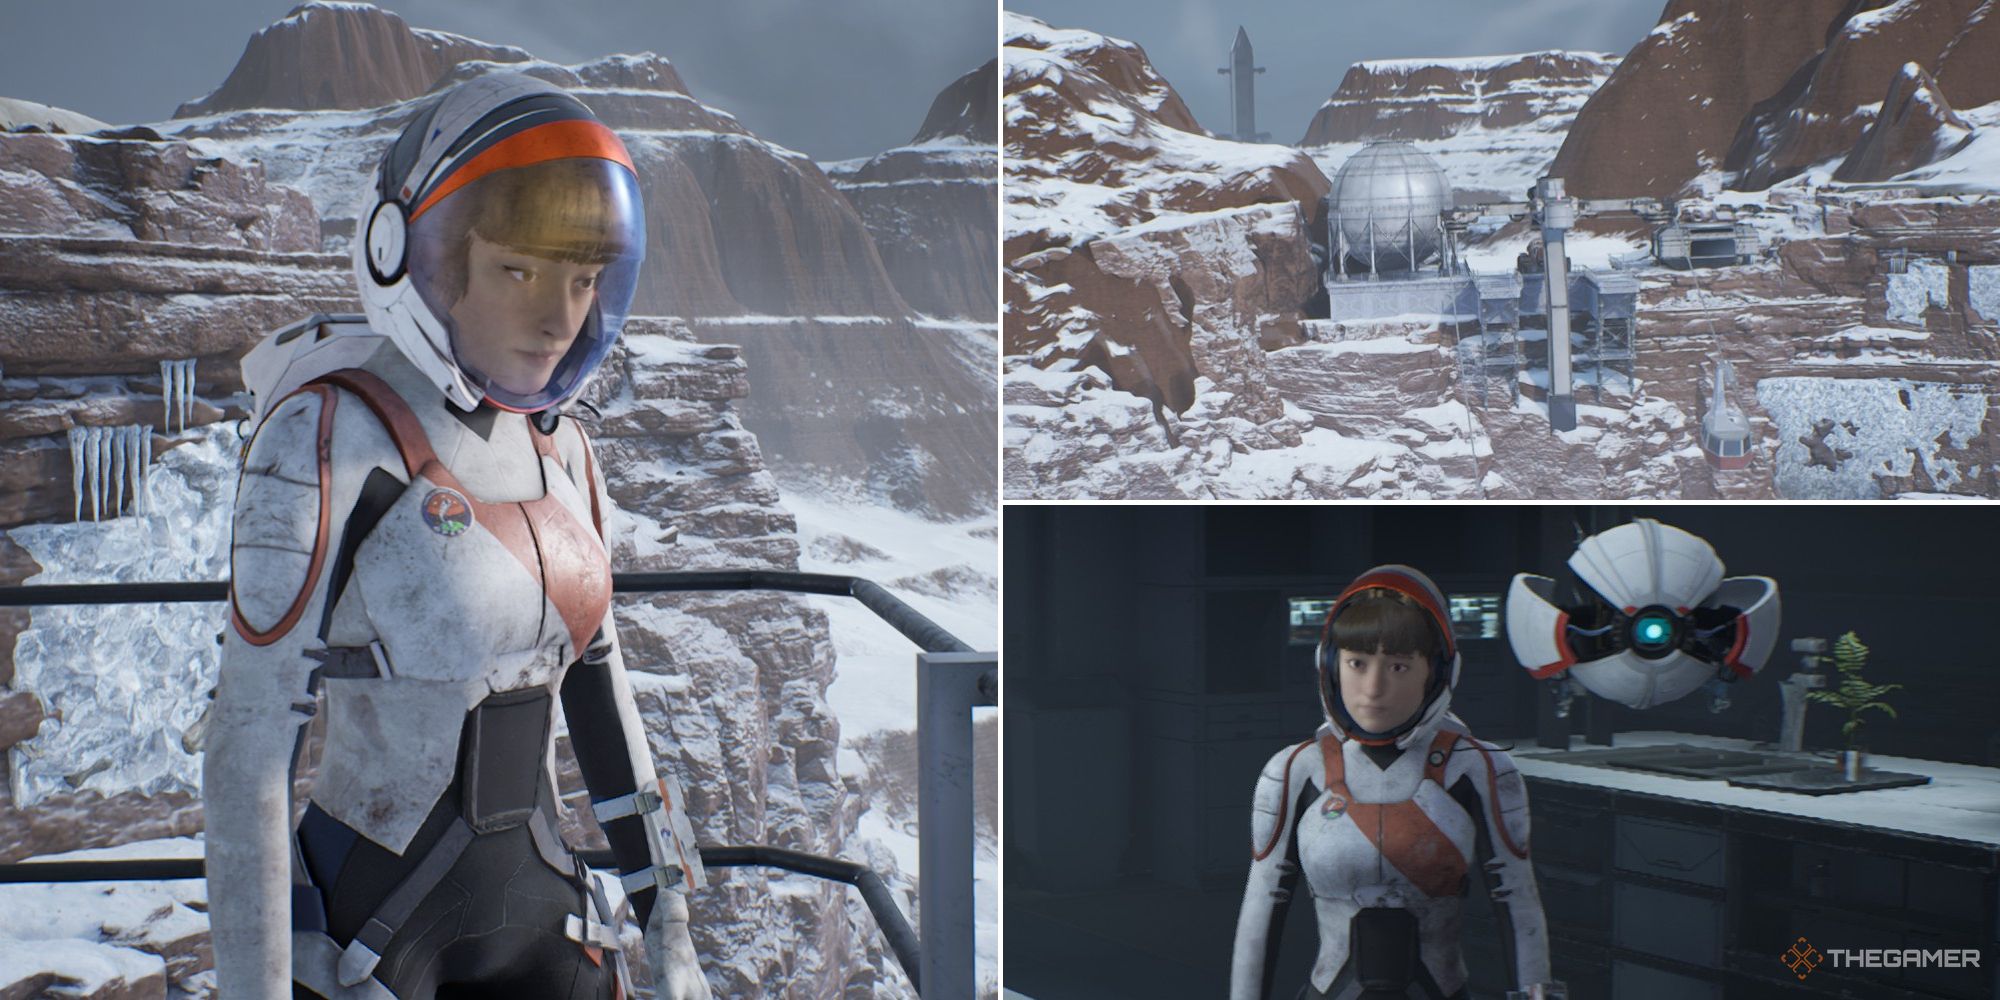
When you disembark, there will be a short cutscene; afterward, you can survey the facility from above. Examine the buildings and the cable car, then go past the broken fence to your left.
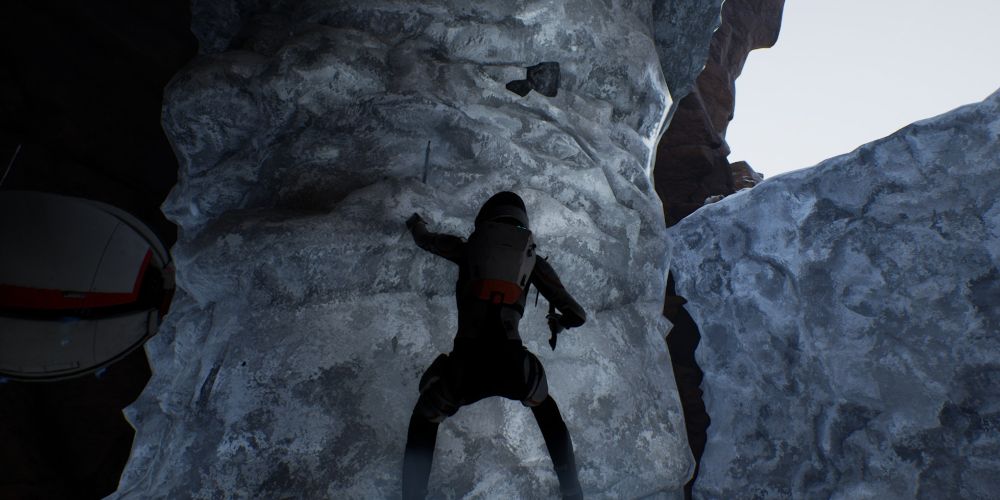
Like the quarry in Chapter Four, you can start your descent simply by hopping down to nearby ledges. Shortly, you’ll come to a point where you can no longer drop this way. Instead, use your pickaxes to climb the ice wall on the cliff face. At the right-hand edge, jump to the next sheet of ice by pressing the jump button while still latched to the ice.
You can quickly climb down the next section by dropping and then grabbing the wall with your pickaxes to slow your descent. Just don't wait too long - otherwise you'll automatically die from the fall.
At the bottom, hop down to the next ledge and climb across the ice you find there. After another quick descent, you’ll be at the bottom of the cliff.
Go through the pass ahead of you and stay straight. You’ll see a ledge with an equipment case. Climb onto it - there’s a ramp ahead - and look around for a yellow flag over the area you just came from. Jump toward it and climb the ice wall underneath.
There’s another yellow flag to your left - jump over the gap and climb to it, then stick to the left-hand path. Keep following flags to the facility. When in doubt, turn left.
When you start climbing the building itself, the entrance is to the right after the fourth flag on the course.
If you enter the facility’s airlock within three minutes and fifteen seconds of surveying the base from above, you’ll earn the Quick Like A Kat Achievement.
How To Reach The Second Building
Once you’re inside, take a right and follow the only path available through the building. You’ll come to another airlock, sending you outside to a set of stairs along the building exterior. Follow them up to the next indoor section.
Inside, continue straight ahead and inspect the hologram table that you pass on your left. Next, leave through the far side of the room and go down the stairs to your left. At the bottom of the stairs, there are several items to inspect that give clues to the facility’s purpose.
Start by inspecting the lockers directly in front of the stairs, then go into the room on the right and look at the hydroponics equipment just past the threshold. Finally, crouch through the half-closed door nearby and inspect the food crate on the other side.
Once you’ve seen everything (including an optional AstroTool in the loading dock to the left of the stairs), go to the far end of the hydroponics room and crawl under the toppled shelves. Walk to the end of the hall beyond, and a door will slowly and noisily open. Go through and climb the stairwell behind it.
At the top of the stairs, you’ll find an automatic door leading to a laboratory. View the hologram inside, then go through the airlock on the other side of the room.
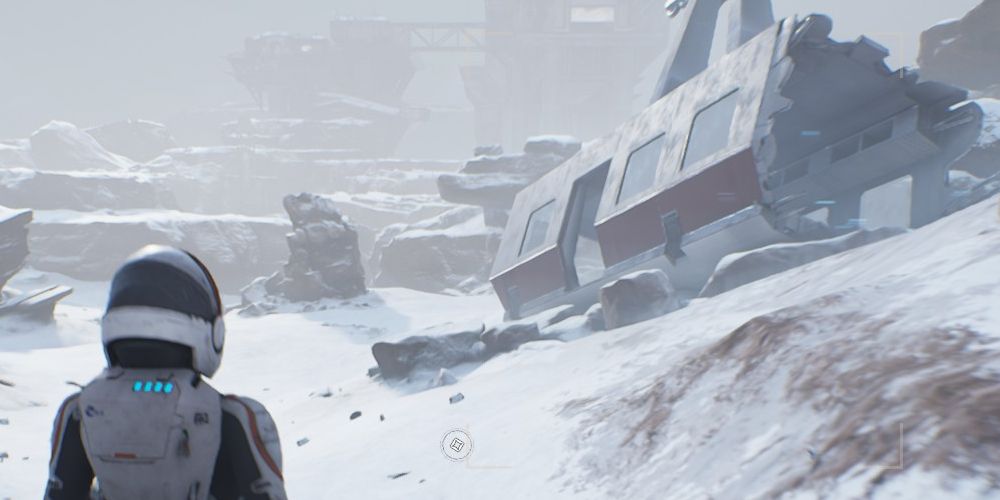
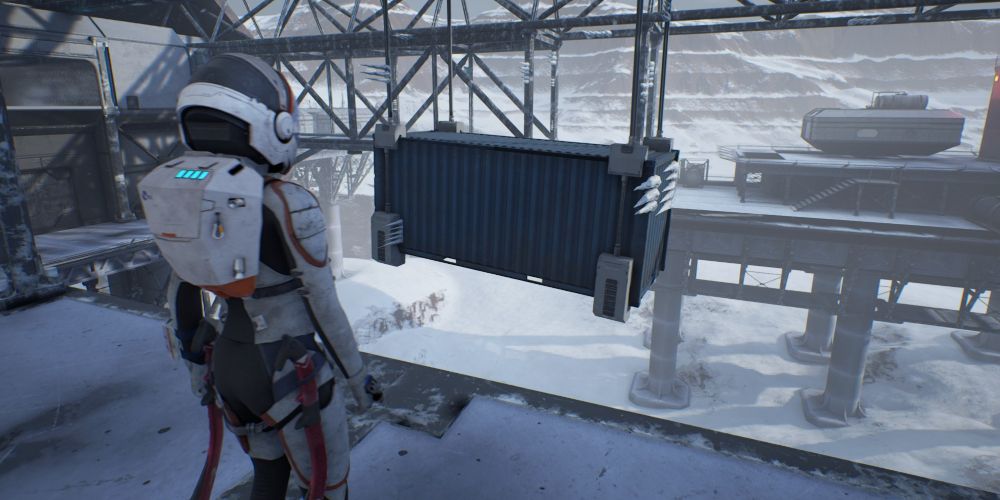
The bridge outside is broken, but the high winds can be used to your advantage. The icicles are growing sideways, indicating that the winds blow to the right. Jump across to the hanging container, then again to the bridge beyond it. Use the airlock to go back inside.
How To Get Through The Flooded Lab
Pass through the grow lab to your right and down the stairs beyond. At the bottom, you’ll find destroyed machinery; walk to the far end of the room to find another hologram. View it, then leave through the door ahead and to the left.
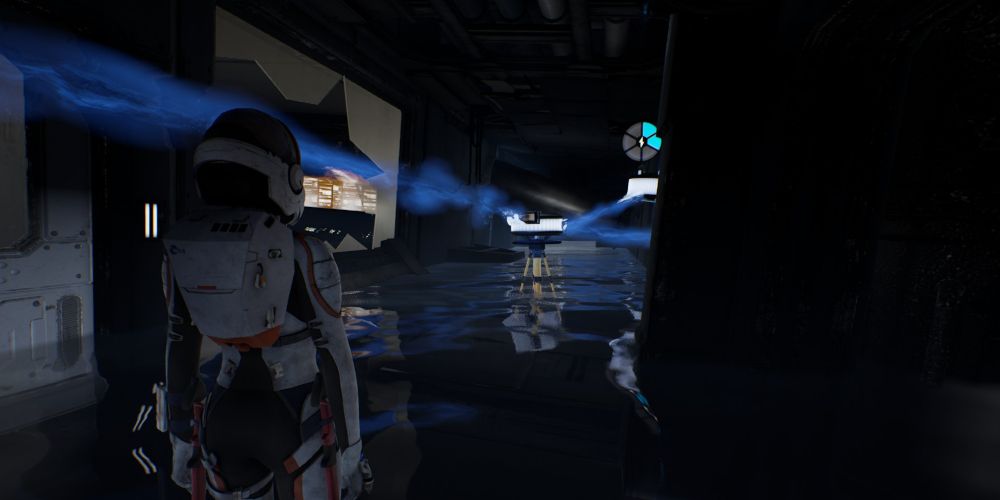
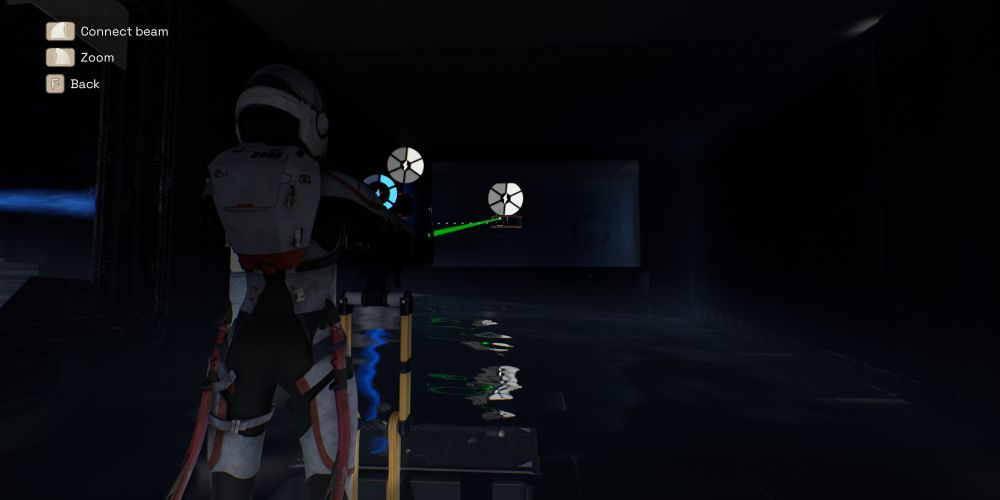
Across the hall is a stairway - take it to descend further into the facility. You’ll reach a semi-flooded area with some MPT receivers that need power. Climb through the broken window to the right to find the emitter under a locked floor panel, then look for the second emitter in a flooded room across the hall.
Go to the end of the corridor and pick up the splitter in the right-hand corner. Bring it into the room with the broken window and use it to power the receiver behind the crate, moving it out of the way.
Next, bring the splitter into the hallway and use it to power both the receivers in the corridor. This will open both window shutters in the area. Go to the flooded room and aim the emitter there through the now-open window at the splitter; it will take over holding the shutters open. Return to the first emitter and aim it at the exit door’s receiver to power it and proceed.
The water in the next room is deep enough that you’ll have to swim. Shortly, you’ll see a hatch that reads “Cut In Emergency.” Use your laser to remove the clamps and enter the shaft inside.
There’s a strong current here that will send you to the end of the tunnel if you’re caught in it. Wait until it subsides, then quickly swim across and to the right to find a safe spot. Continue up the tunnel toward the fan in this way until you’re close enough to cut the blades off.
Swim through the destroyed fan and up the stairs, and you’ll come to some rooms above the water line. Proceed along the only available path until you reach a non-functional elevator, then take the stairs to the left.
At the top of the stairs is a platform that you can vault onto; climb and jump to reach the door above. Walk through it and across the bridge to the next building. The entrance is frozen over, so take the stairs to the gantries below and look for an airlock to the right.
It’s a good idea to turn your flashlight on at this point; there are some obscured drops that you could walk right over if you aren’t careful!
How To Escape The Caves Under Odum
Inside the airlock, climb the stairs you find to your left. You’ll come to a purple-lit grow lab. Proceed straight through to trigger a cutscene in the next room, then decrypt the hologram that AYLA points out. When it’s done, leave the way you came to trigger a flashback.
During the flashback, walk downstairs and watch the conversation between Claire and Isaac. When it’s done, step through the airlock behind the counter to return to the present. Retrace your steps through the facility until you reach the elevator room. When you hop down onto the car, you’ll be sent to a new underwater area.
Immediately cut the blades on the fan in front of you, then swim through to find a cave. Climb the ridge in front of you and use it to jump to the higher area. Continue to the next section of water and swim through the tunnels.
At the end of the tunnels, you’ll find an ice wall to climb. Get to the top then jump across to the opposite wall by holding the jump button while letting go with your pickaxes.
Climb to the top of the wall, then jump across to the round chunk of ice hanging over the cliff. Climb around its face, up and to the right, until you can jump across to the opposite ledge. This is the exit of the caves, so once you’re safely back on the surface you’ll automatically return to ARK Habitas for the next chapter.

