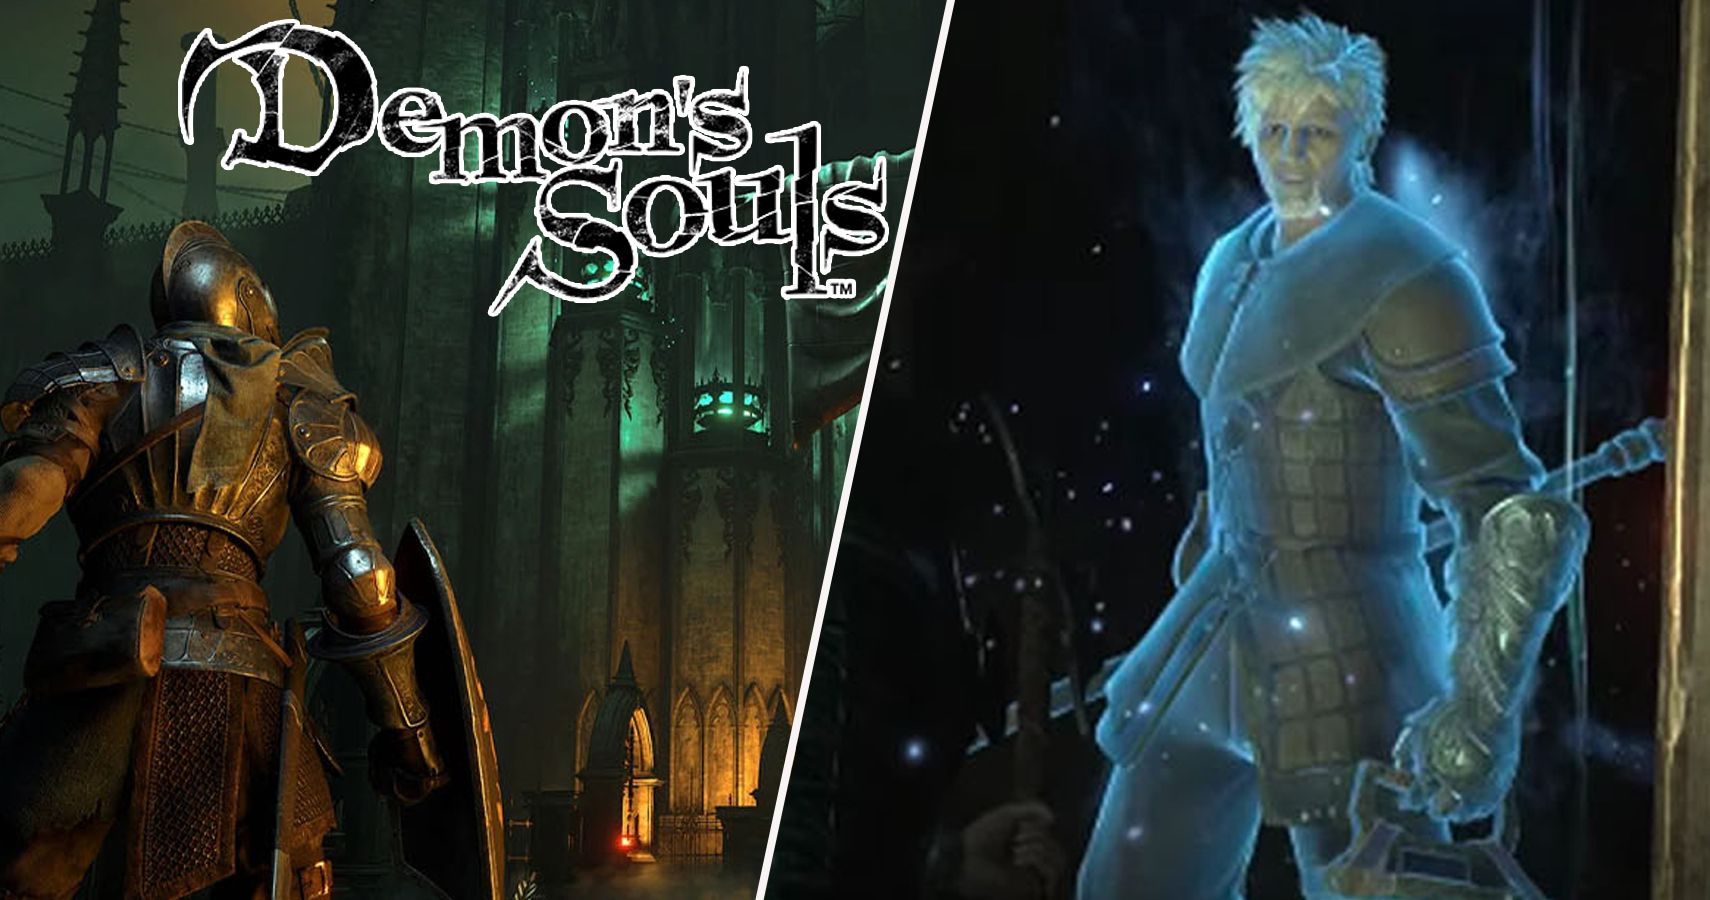
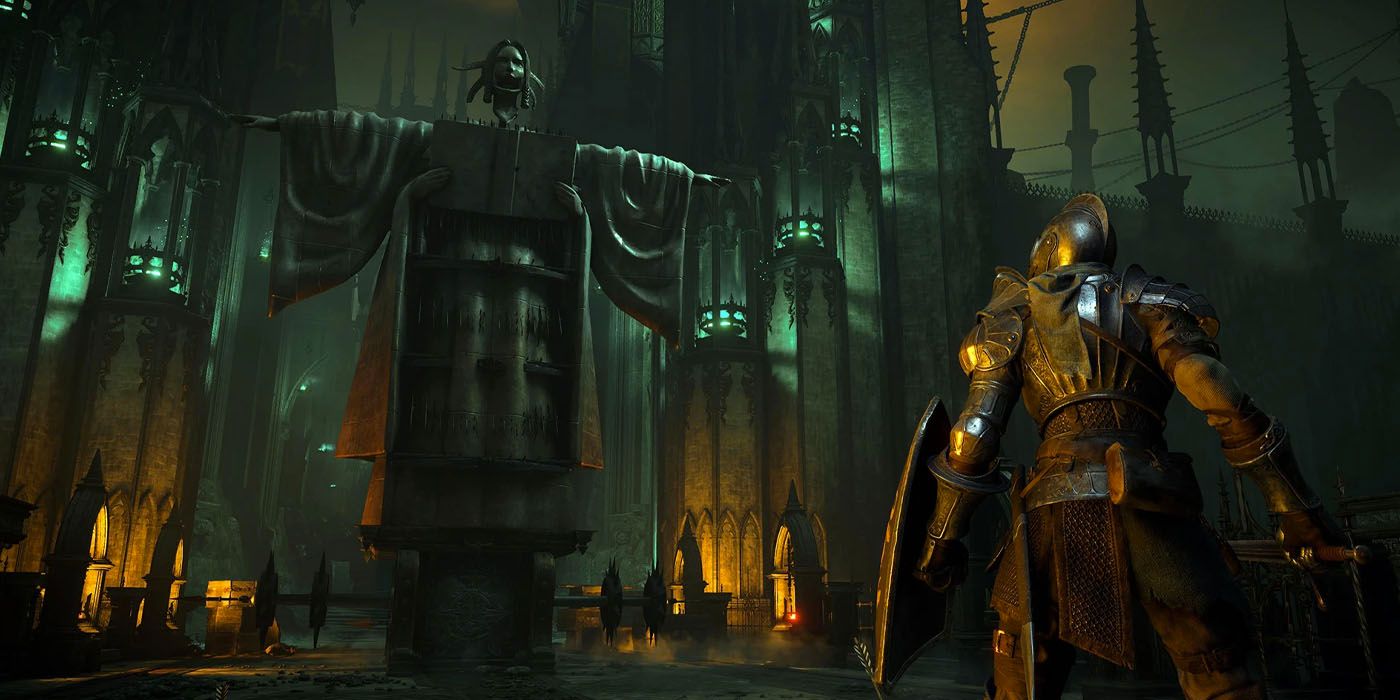
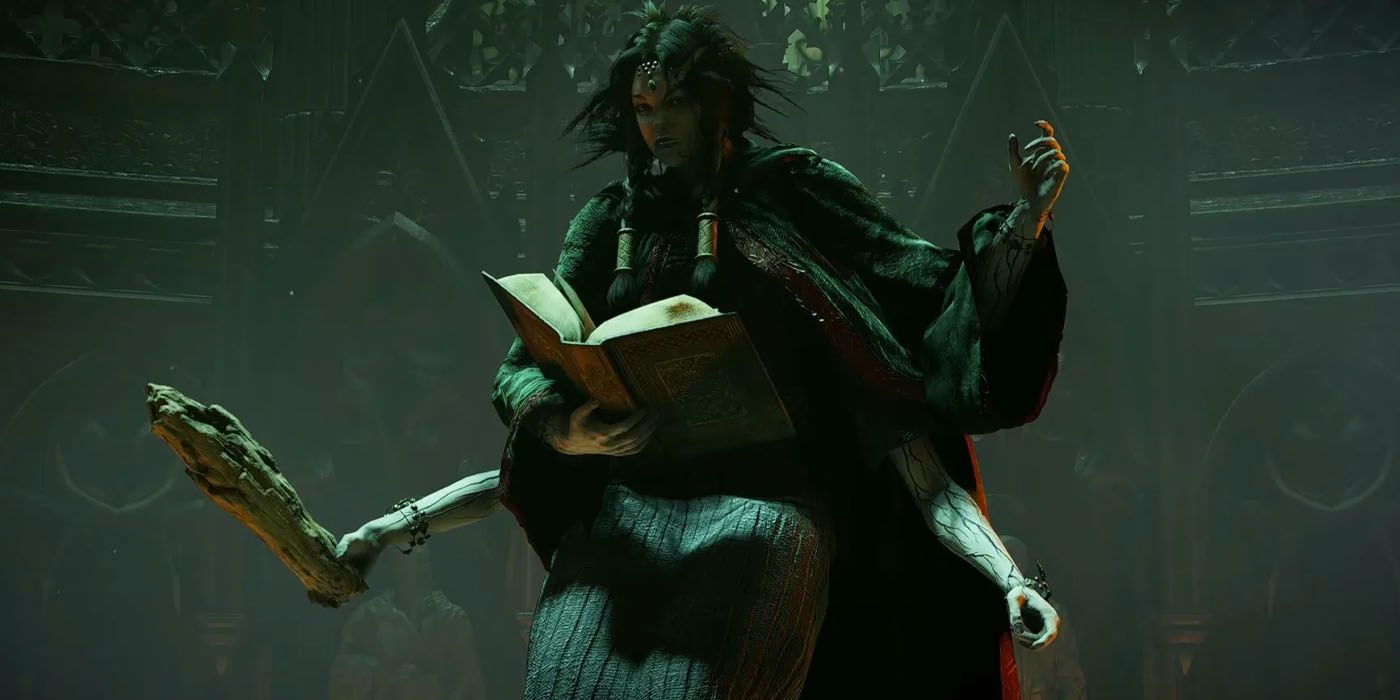
The Tower of Latria is exemplary of Demon’s Souls’ level design at its best, with the Prison of Hope particularly standing out as one of the most terrifying stages in the Soulsborne franchise. FromSoftware has always had a knack for implementing horror into their games, but the Tower of Latria raises Demon’s Souls to another level. Coupled with the visual enhancements courtesy of the PS5, the Prison of Hope will have players second-guessing every turn around a corner.
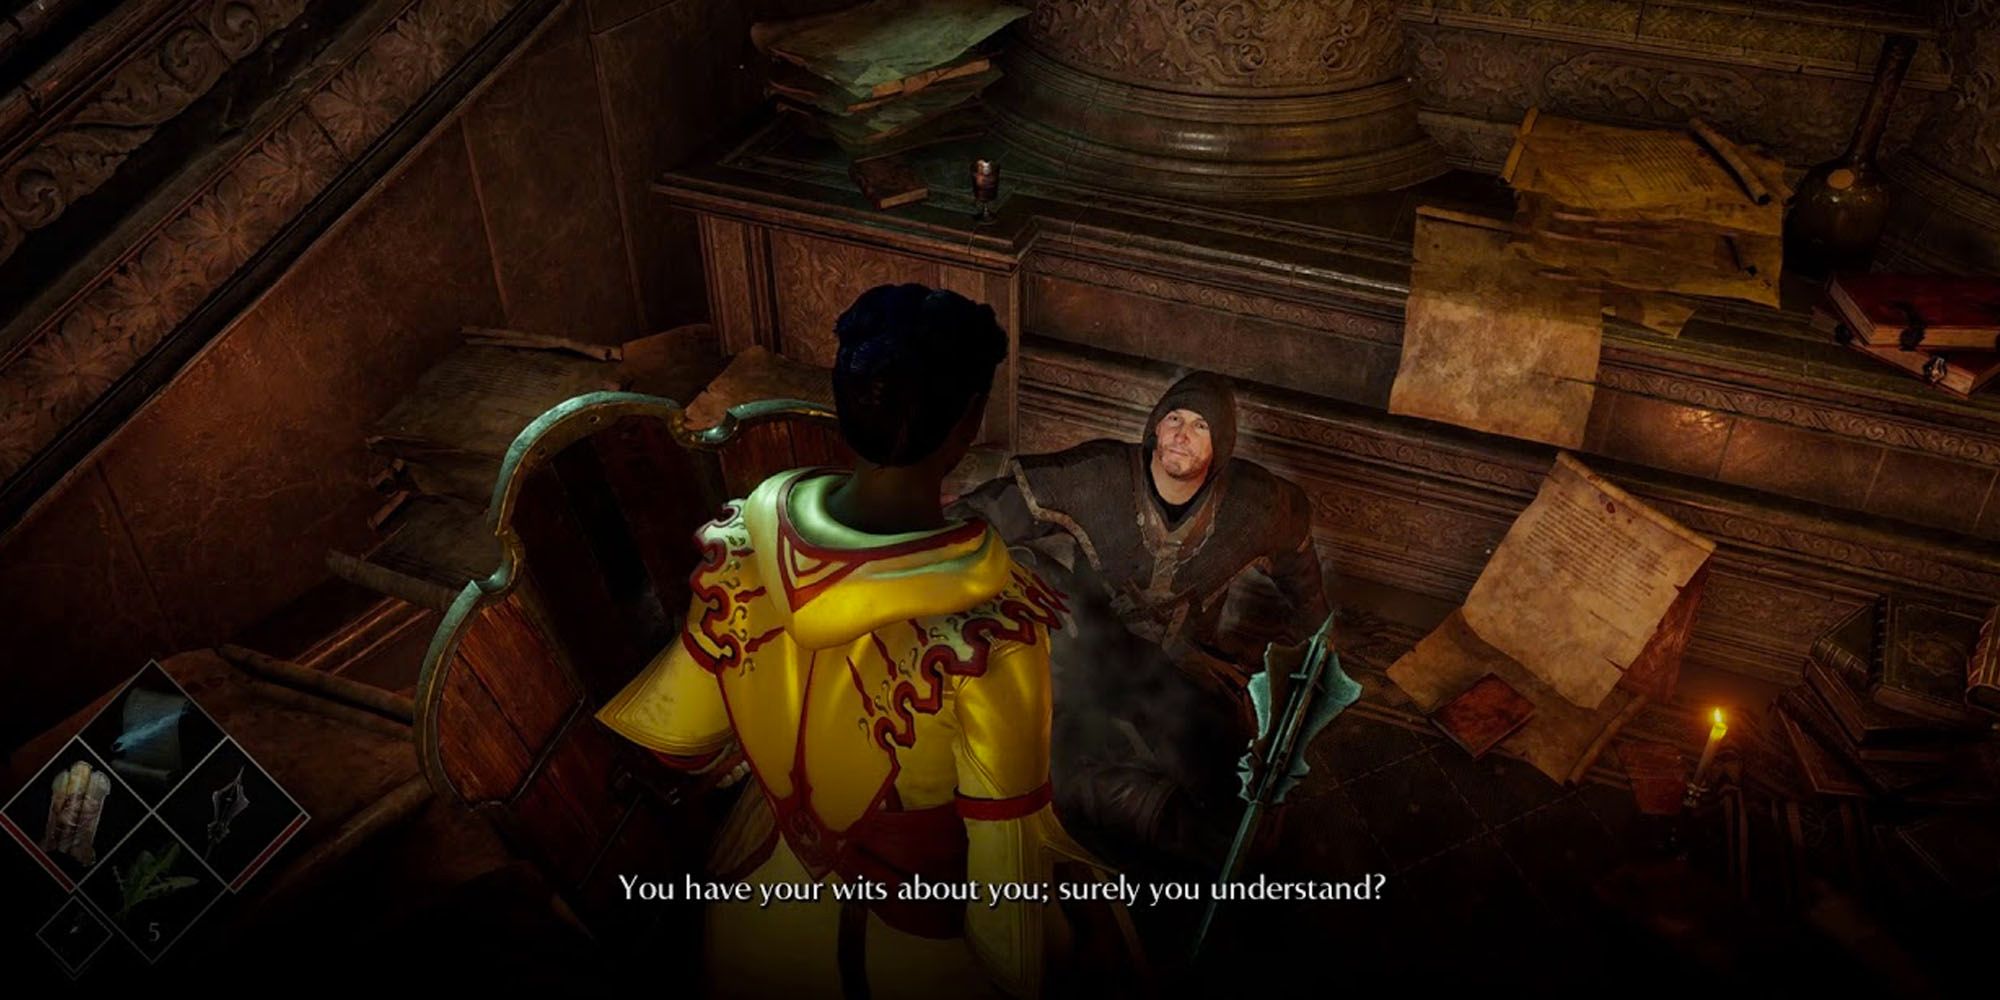
Along with the countless demons infesting the Tower of Latria, the Prison of Hope is home to Sage Freke & Lord Rydell – prisoners in need of freeing. Both can be found locked up in their cells before they’re rescued, with screams echoing through the halls of the Prison as players desperately search for keys.
Edited on August 27, 2021 by Renan Fontes: NPCs in Demon's Souls are some of the most memorable in the medium, in large part due to how they're integrated into the game design. Both Rydell and Freke are two of the most mysterious characters in the game and it's mainly because they're found in the Tower of Latria. While Lord Rydell tends to his own business, Sage Freke will return to the Nexus and actually offer to sell you some useful spells.
Find Freke & Rydell In 3-1
Sage Freke and Lord Rydell are both imprisoned in the Tower of Latria, but they’re locked up on different floors (likely with its own lore implications). Sage Freke will more than likely be found first, stationed relatively close to the starting Archstone in 3F East. After clearing out 3F West and meeting the Once Royal Mistress, Freke will be locked among the eastern set of cells.
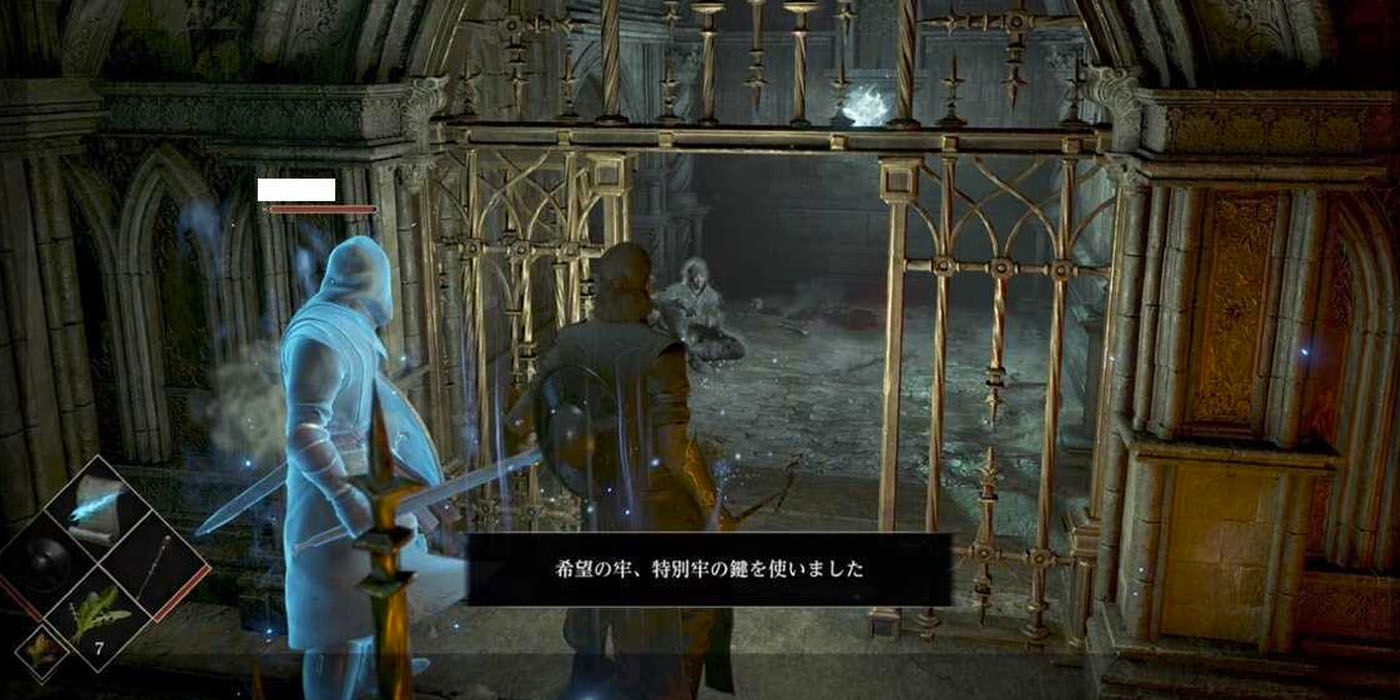
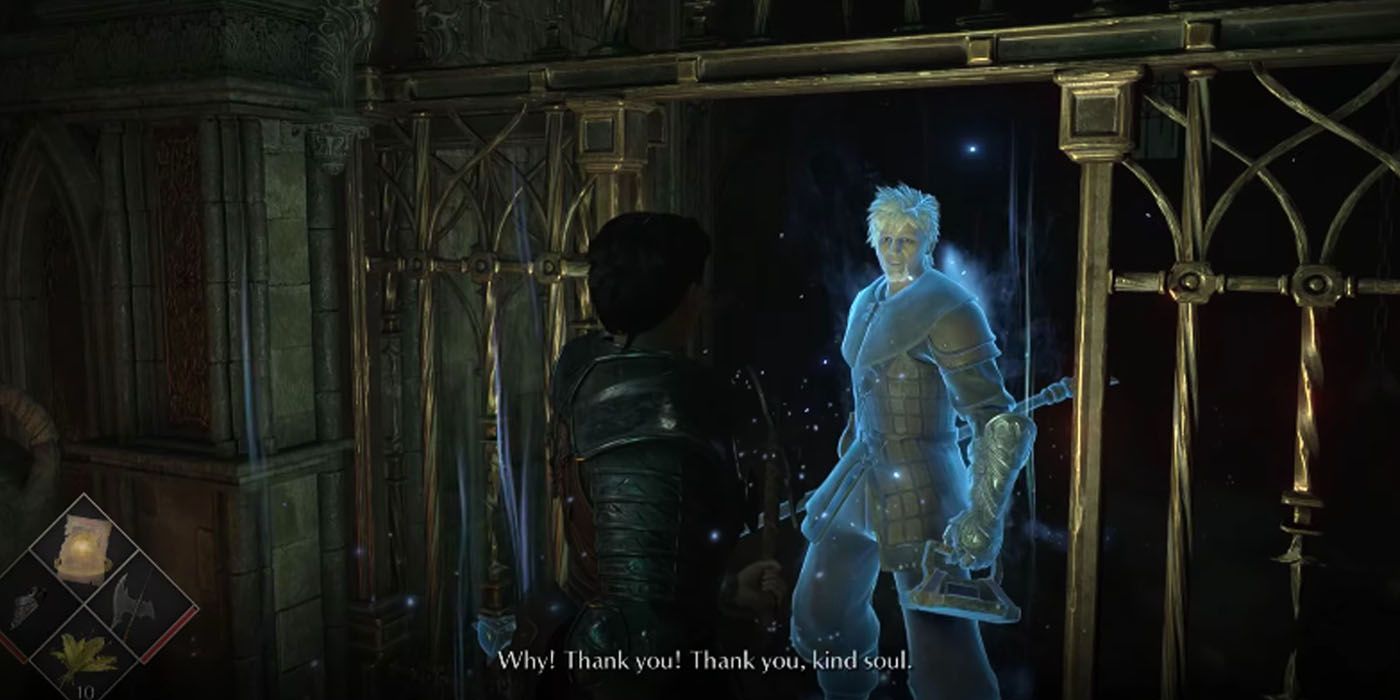
Rydell himself is found a bit deeper into the Tower of Latria (though close in proximity to Sage Freke), one floor below on 2F West. Unlike Sage Freke, Lord Rydell is actually dead, appearing as a Blue Phantom. Neither man can be saved at this time, but they’ll both request the player’s help.
Find The Special Key And Rescue Sage Freke
The Special Key is found at the very end of 3-1, requiring you to more or less complete the stage before you can so much as think about freeing Sage Freke. On that note, it’s not even possible to free Lord Rydell until 3-1’s been cleared. Specifically, the Special Key is found in the same room as the Dregling enchanting the Fool’s Idol to stay immortal.
To find the Dregling, head into the tower stationed to the right of the fog gate (be wary of the hidden Black Phantom up the steps). The Dregling won’t attack once found, but they’ll plead for their life and ensure they aren’t doing anything nefarious. Strike them down in spite of their protest and grab the Special Key that’s hanging on the wall behind them.
With the Special Key in hand, it’s time to backtrack to Sage Freke’s cell on 3F East. If you disabled the ballista, you can simply walk across the bridge and take all the shortcuts back up to the third floor. Once released, Sage Freke will return to the Nexus where he’ll teach high-tier magic in exchange for Boss Souls.
Sage Freke Spells
Sage Freke teaches a wide range of spells that any magic builds will want to get their hands on ASAP. For that reason alone, it's worth rescuing Sage Freke as soon as you can. That said, don't expect to purchase any spells without their respective Boss Souls. Sage Freke teaches the following spells:
- Cloak | 500 Souls
- Demon's Prank | 500 Souls
- Water Veil | 500 Souls
- Flame Toss | 1,000 Souls
- Soul Arrow | 1,000 Souls
- Enchant Weapon | 5,000 Souls
- Protection | 5,000 Souls
- Acid Cloud | Eroded Demon's Soul
- Death Cloud | Pureblood Demon's Soul
- Fireball | Dragon Demon's Soul
- Fire Spray | Hard Demon's Soul
- Homing Soul Arrow | Yellow Demon's Soul
- Light Weapon | Silver Demon's Soul
- Poison Cloud | Wriggling Demon's Soul
- Soul Ray | Doll Demon's Soul
- Warding | Iron Demon's Soul
Just the volume of spells Sage Freke can teach you makes him worth saving, but they're mostly all useful – the Cloud spells in particular.
Defeat The Fool’s Idol
After freeing Sage Freke, it’s time to actually finish 3-1. So long as you don’t return to the Nexus after rescuing Freke, you can simply backtrack back to the end of the stage since (theoretically) all the enemies along the way have already been killed. That said, be mindful of the Black Phantom halfway up the steps towards the Fog Gate.
The Fool’s Idol isn’t a particularly challenging boss fight for any build, a relatively easy capstone to the Prison of Hope. That said, her battle can be a war of attrition if you don’t pick up on how to spot the real Idol. The Fool’s Idol will duplicate herself, casting Soul Ray while her mimics cast Soul Arrow. Once the Fool’s Idol has been killed, you will immediately be brought into 3-2 where you can take steps towards freeing Rydell.
Get Pure White World Tendency
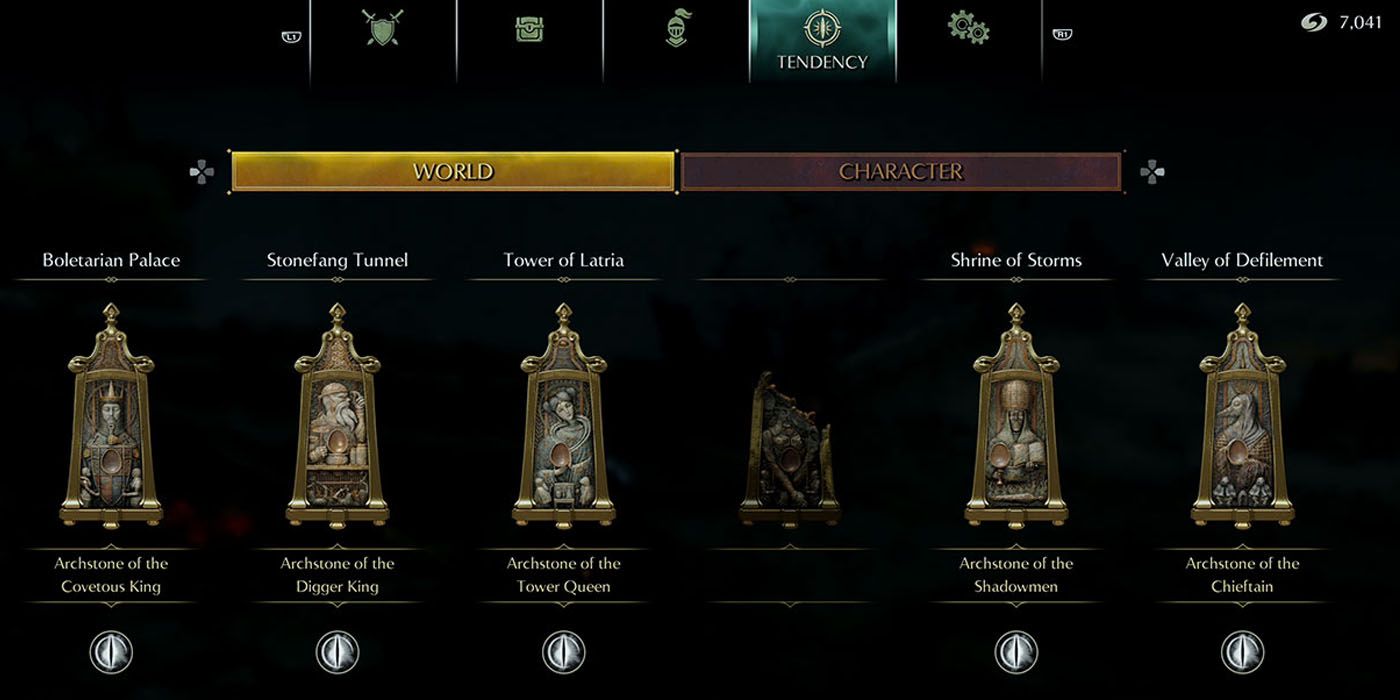
So long as you have Pure White World Tendency, of course. Realistically, very few characters will have Pure White World Tendency heading into 3-2, especially if you've died in Body Form at least once in the Prison of Hope. Raising World Tendency to Pure White can be time-consuming, but there are a variety of methods available.
- Defeat a boss.
- Kill a primeval demon. (Black World Tendency.)
- Kill a Black Phantom (Pure Black World Tendency.)
- Help a host defeat a boss.
- Kill an invading Black Phantom.
Theoretically, you could push yourself to Pure Black World Tendency by killing yourself in Body Form 7 times and then slaying all the primeval demons and Black Phantoms to push your WT to Pure White, but that’s a risk not necessarily worth taking. The safest bet is to simply kill yourself in the Nexus and then return to 3-1 or 3-2 in order to help hosts kill the Fool’s Idol or Maneater.
Find The Prison Of Hope 2F West Key And Free Rydell
Once you have attained Pure White World Tendency, you can finally double back to 3-2 in order to find the Prison of Hope 2F West Key. Unlike the Prison of Hope, which was a claustrophobic tower that kept you trapped in tight hallways, Upper Latria is an open environment with bottomless pits and threats coming from all heights.
You must scale two towers in order to break the chains holding up a gigantic heart. Atop the first tower is a staircase that breaks off, disconnected from its uppermost platform. So long as you have Pure White World Tendency, a makeshift bridge will appear linking the staircase back together and allowing players to make it all the way to the top: finding the Prison of Hope 2F West Key in the process.
From here, it’s simply a matter of backtracking back to the Prison of Hope. Since 3-2 doesn’t naturally connect to 3-1, you will either need to kill yourself, warp back to the Nexus, or return to the Archstone. Once back in the Prison, head down to the second floor by making use of the shortcuts and free Rydell. Lord Rydell will reward players with a Dull Rat’s Ring for their troubles, finally freeing both prisoners from the Tower of Latria.

