Quick Links
The season finale for Destiny 2's Season of the Seraph is here. Guardians will need to visit Seraph Station one more time to stop Eramis from damaging the Traveler. Unlike most season missions, Abhorrent Imperative is a Legendary activity with multiple modifiers and a locked Power limit. Get ready for a tough fight.
Luckily this mission is quite short and has a few mechanics to make things easier. This guide will cover how to unlock Season of the Seraph's finale mission, the modifiers you can expect, what loadouts we recommend bringing, and we'll give a brief overview of how to beat each encounter.
Unlocking Abhorrent Imperative
Abhorrent Imperative unlocks upon completing the "More Than a Weapon" questline in Season of the Seraph. This seasonal storyline has dozens of steps, requiring you to complete Heist Battlegrounds and speak with NPCs at the H.E.L.M. It's a fairly straightforward quest that doesn't have any time-gating.
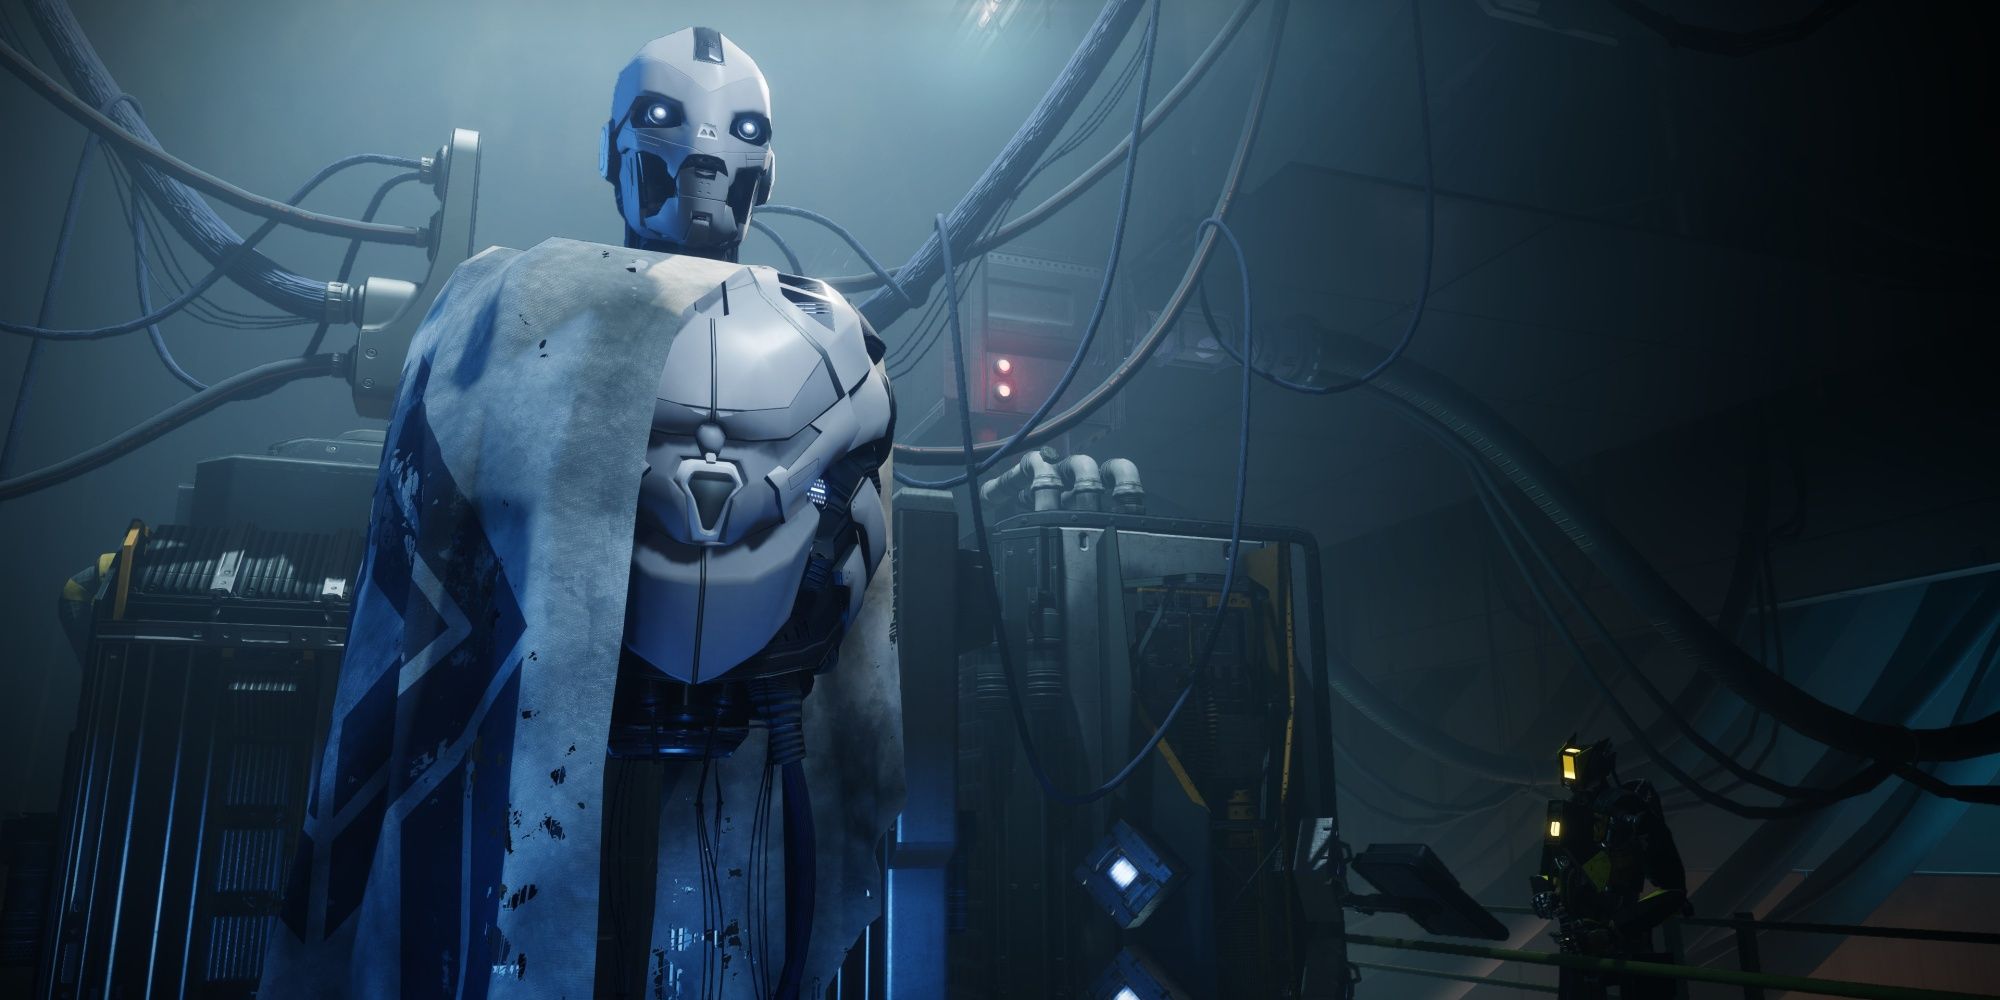
Once complete, make your way to the H.E.L.M. and speak with Rasputin. This will unlock the Abhorrent Imperative activity in the H.E.L.M. You have until Lightfall to finish this mission and claim the Spirit of the Warmind Exotic ship.
Mission Modifiers And Recommended Loadouts
Before you start this mission, it's important to note that Abhorrent Imperative is a Legendary difficulty activity, comparable to a Witch Queen campaign mission. Enemies are more durable, hit harder, and are generally more intelligent. Bringing a good loadout is key if you're attempting this solo.
Modifiers
|
Mettle |
Your effective Power is capped at 1,350. |
|
Legendary |
Heavily shielded and highly aggressive combatants appear in great numbers. |
|
Galvanized |
Combatants have more health and are more difficult to stun. |
As you can see, the modifiers for this mission aren't particularly dangerous. No Match Game, Champions, or other deadly modifiers are present. You'll be fighting enemies with more HP that are +15 Power over you. So long as you have a decent loadout, this shouldn't be a large issue.
Loadouts
Hunters can't go wrong with Arcstrider or Nightstalker. Arcstriders should use Assassin's Cowl and Combination Blow to punch everything to death. The Lethal Current and Flow State Aspects make this playstyle incredibly smooth. For Nightstalker, Gyrfalcon's Hauberk with Stylish Executioner is fantastic for solo players.
Warlocks should use Dawnblade or Shadebinder. Dawnblade has tons of healing baked into its kit, and you can pump out some great ability-centric DPS through Sunbracers or Starfire Protocol. Shadebinders can use Osmiomancy Gloves to spam Bleak Watcher turrets, freezing everything in place.
Titans should use Striker. Striker Titan can spam Storm Grenades (buffed by Touch of Thunder) to dish out some serious damage. Equip Heart of Inmost Light for stronger grenades that last longer.
Find An Entrance
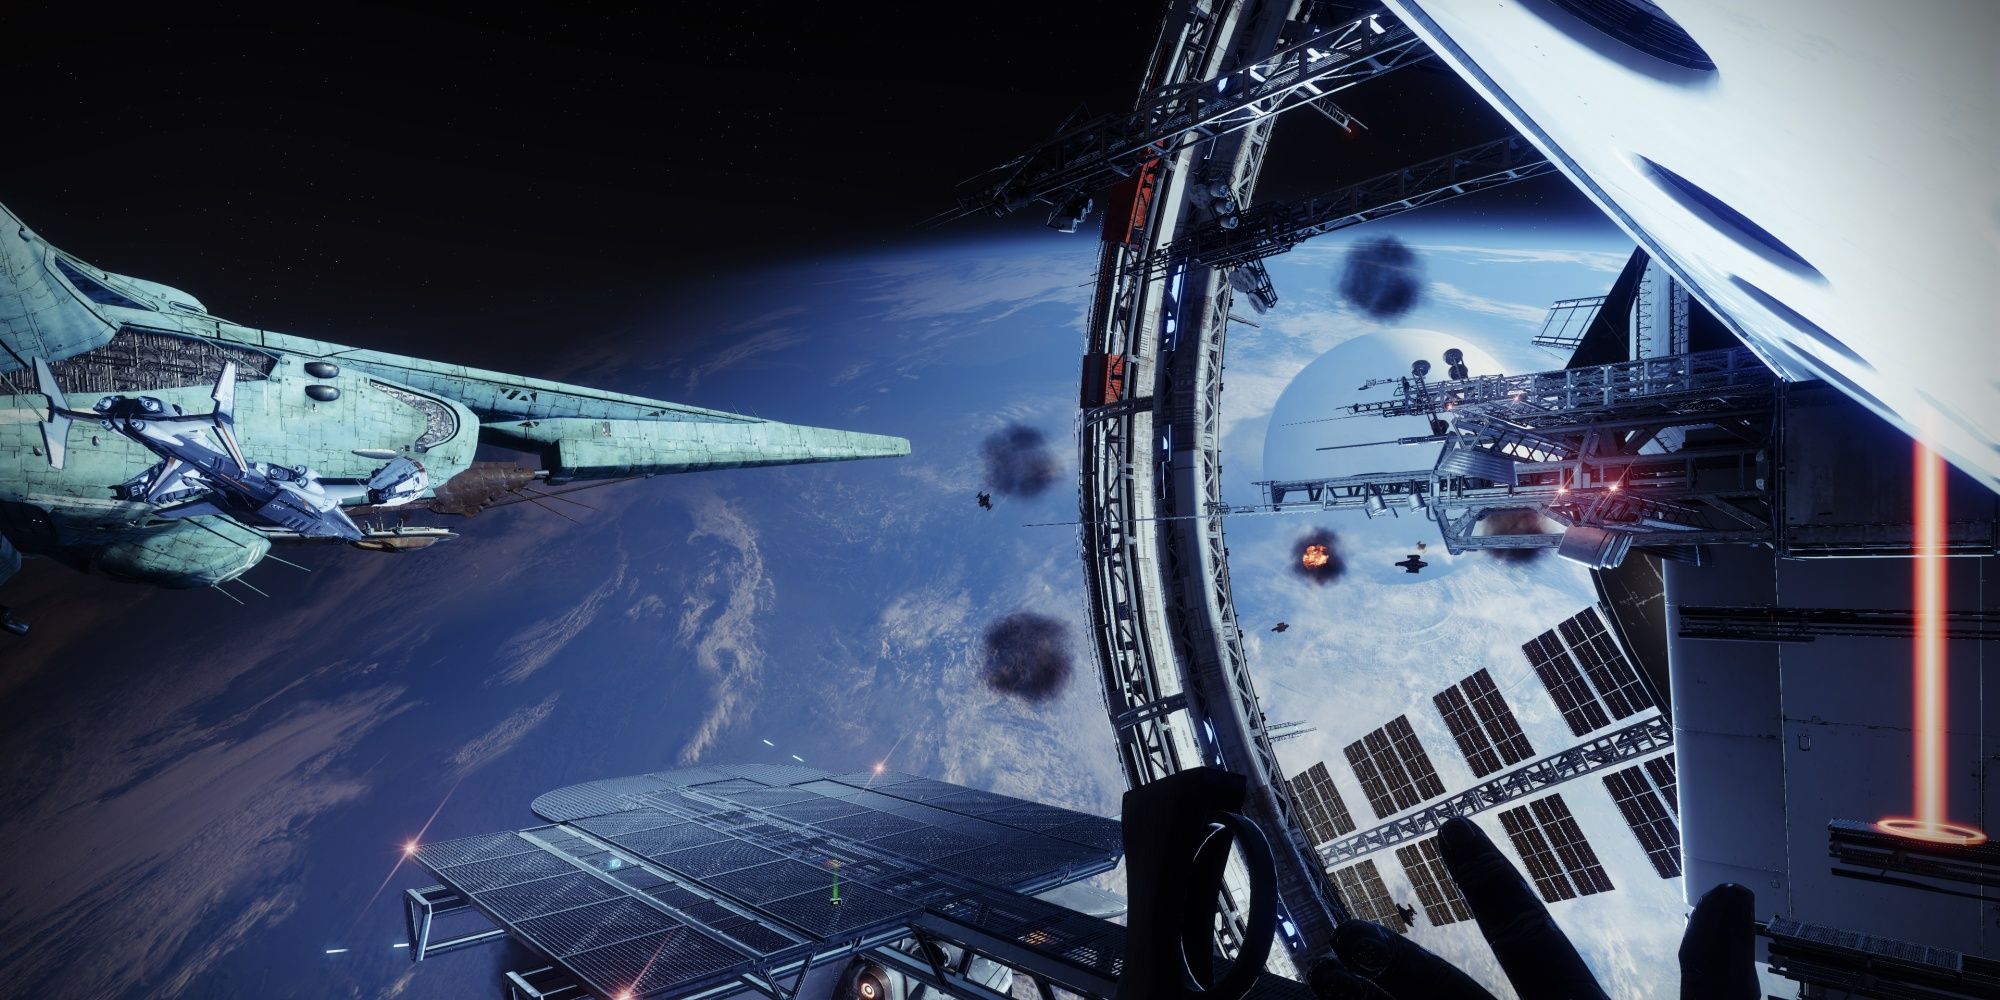
You'll start the mission on the outskirts of Seraph Station, about halfway through the Deep Stone Crypt jumping puzzle. Your goal is to make your way to the hangar while avoiding orbital bombardment. The path ahead is the same as in Seraph Shield. Tons of Fallen will be guarding the path, although they shouldn't pose much of an issue. Use your grenades and mid-range weapons to clear them out. Watch our for orbital bombardments on your way up.
Defeat Eramis, Kell Of Darkness
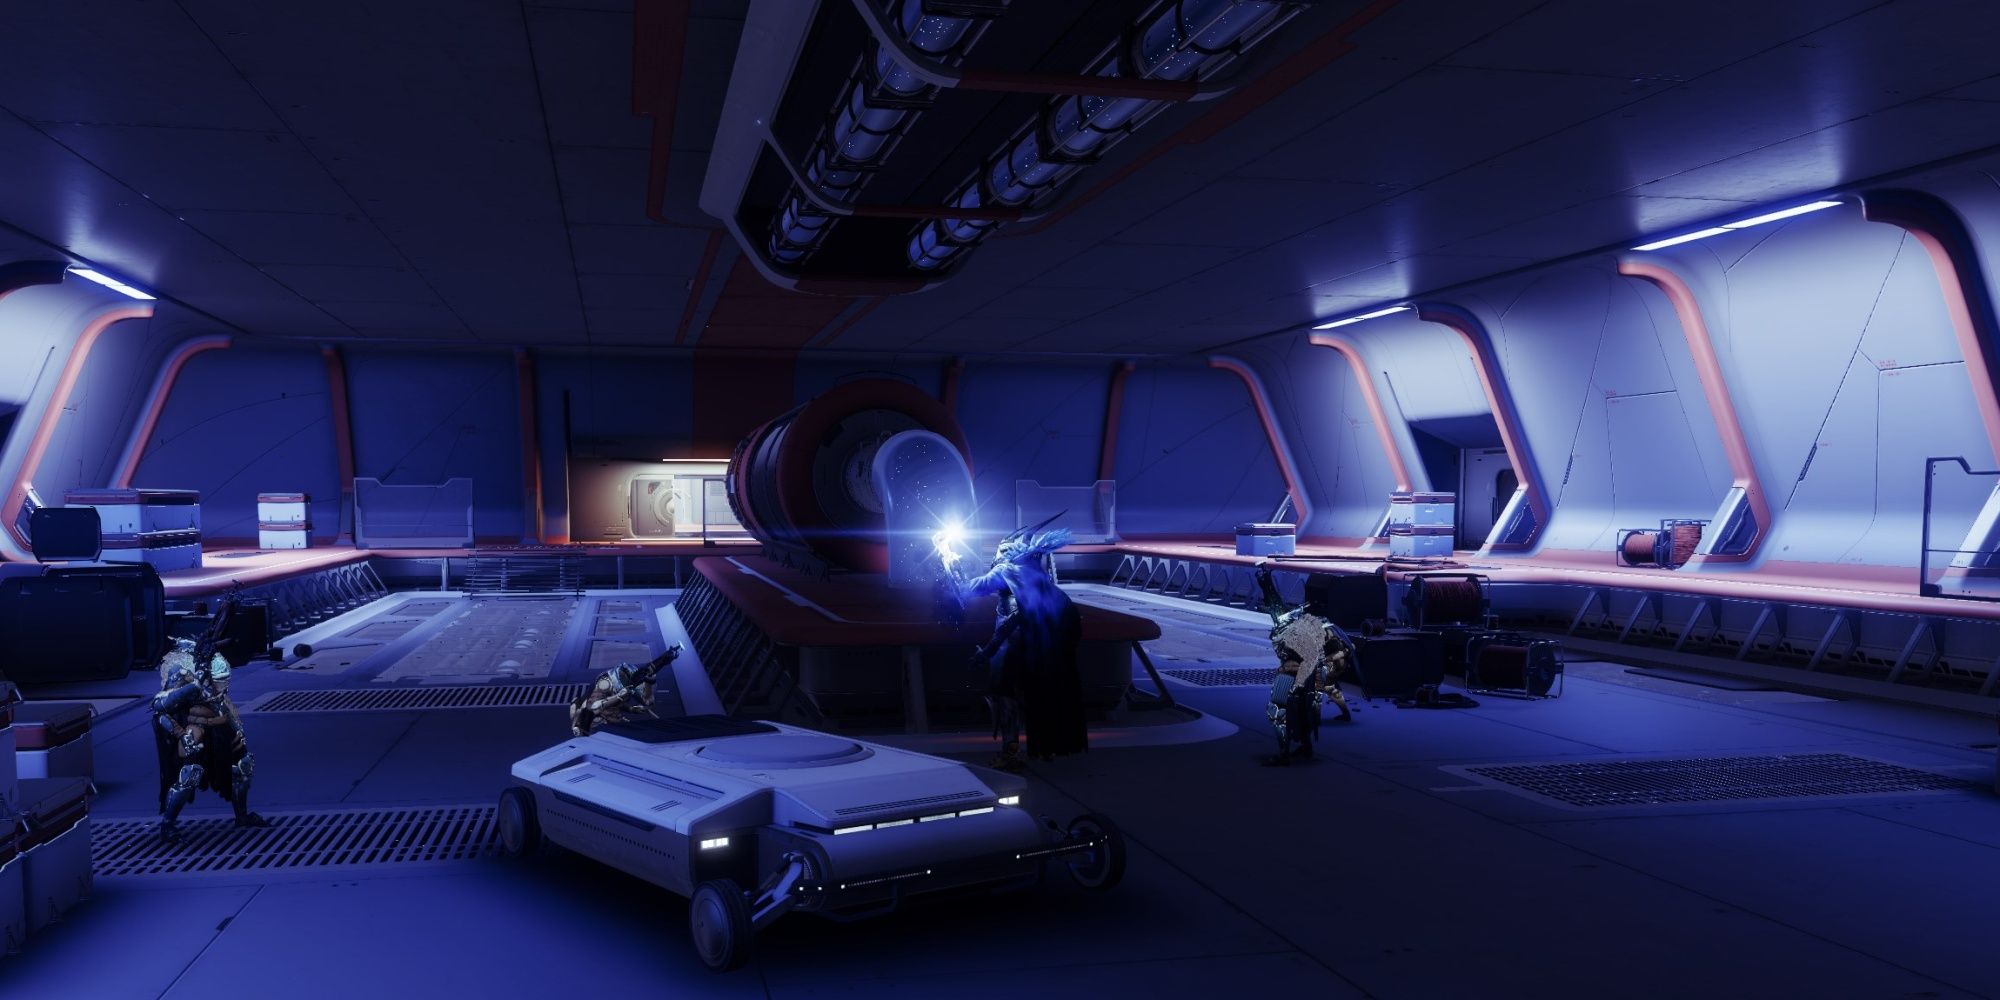
Eramis, Kell of Darkness has been waiting for you. Your goal is to survive, damaging Eramis as much as possible. She possesses the same Stasis powers from her Beyond Light fight, creating lines of Stasis crystals that instantly freeze you. Keep your distance from Eramis, strafing diagonally whenever she starts to cast an ability. You're not expected to kill Eramis here, so don't be alarmed if your damage output seems low. Just keep damaging her until she retreats.
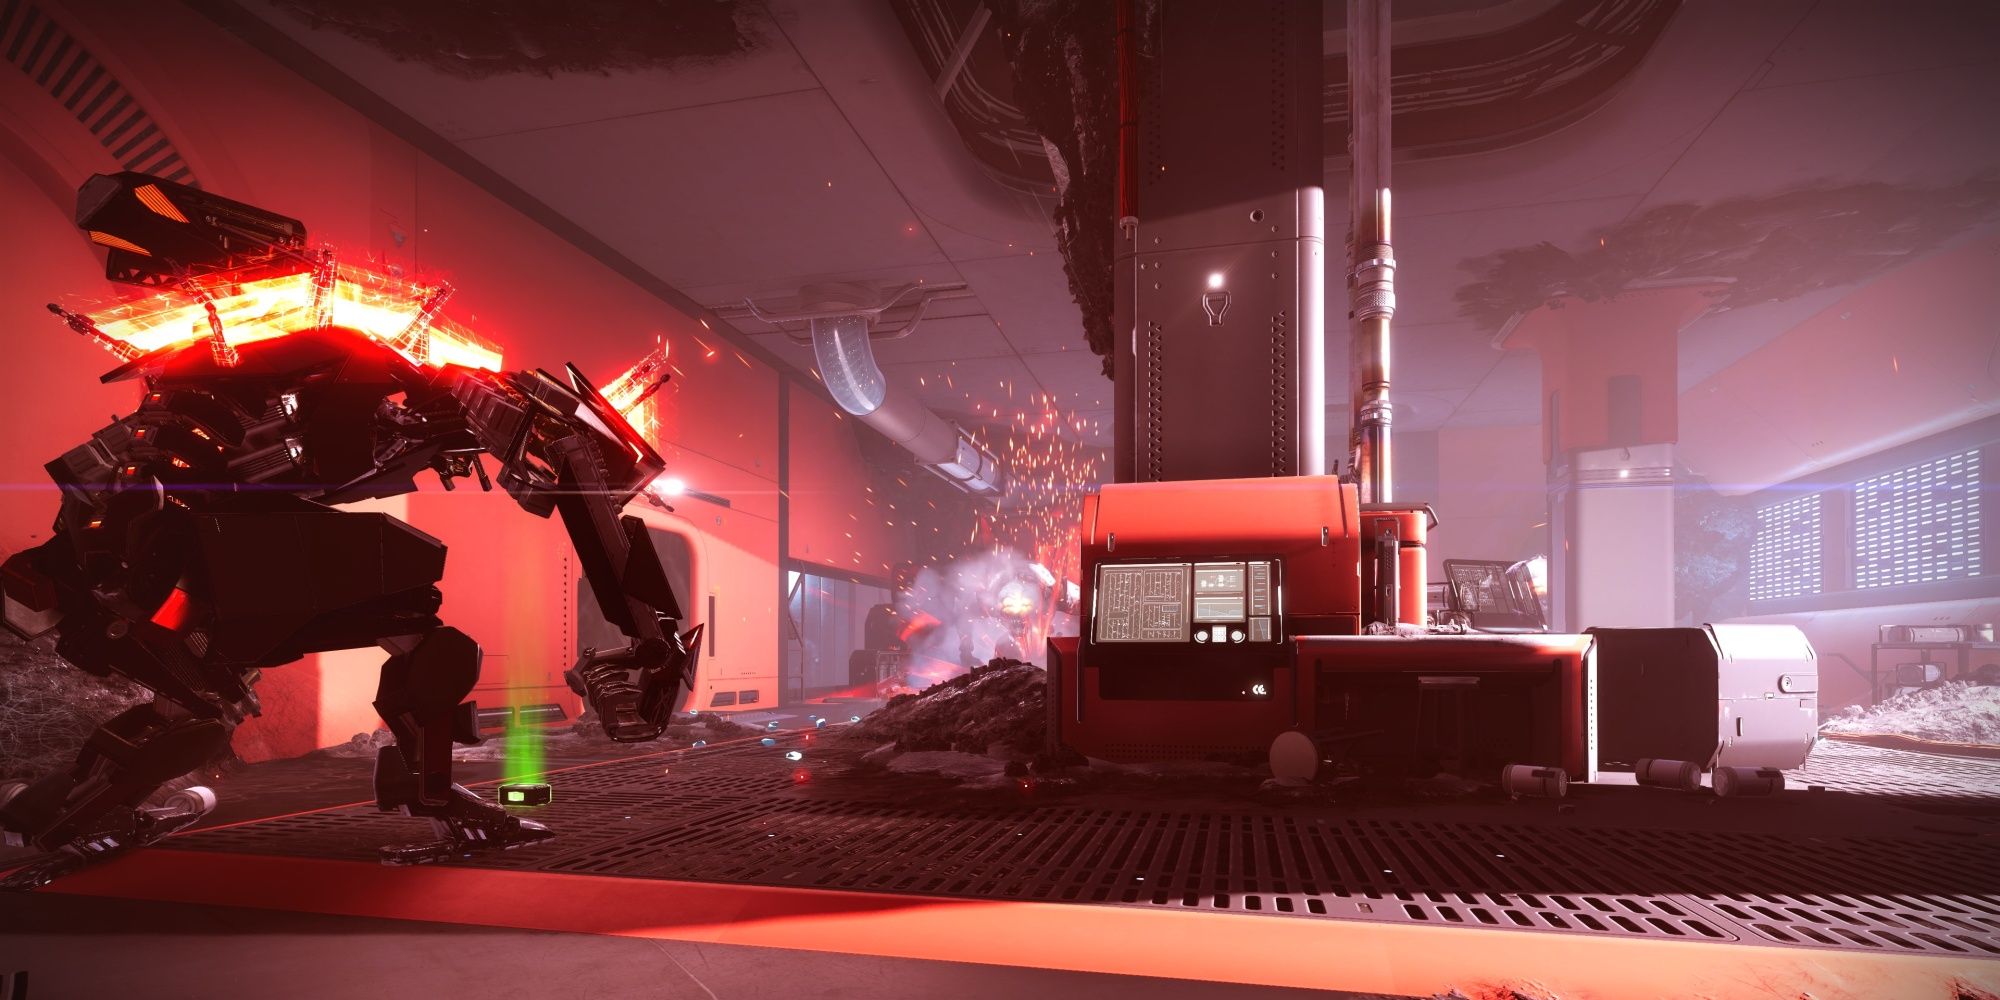
Dozens of House Salvation will spawn in an attempt to protect Eramis. Use your Super and abilities to fend off the Fallen. By the time you've killed a few dozen of them, Rasputin will breach into the station and activate Heavy Frames, effectively a Warmind-themed Ogre. These frames will draw enemy aggro and are invincible, so feel free to stick behind them if you're struggling. Clear out the hangar to unlock the door inside the station.
Stop The Firing Sequence
This next section is straightforward. Fight through the Fallen and Hive until you reach the control center. All the puzzles present in Seraph Shield are disabled in this mission, so you just need to kill the enemies and push through the station. Multiple Heavy Frames will spawn to help you as well. Let the Heavy Frames draw the enemy's attention while you pick them off from a distance. Once in the control station, clear out the enemies and prepare for a boss fight.
Defend Rasputin
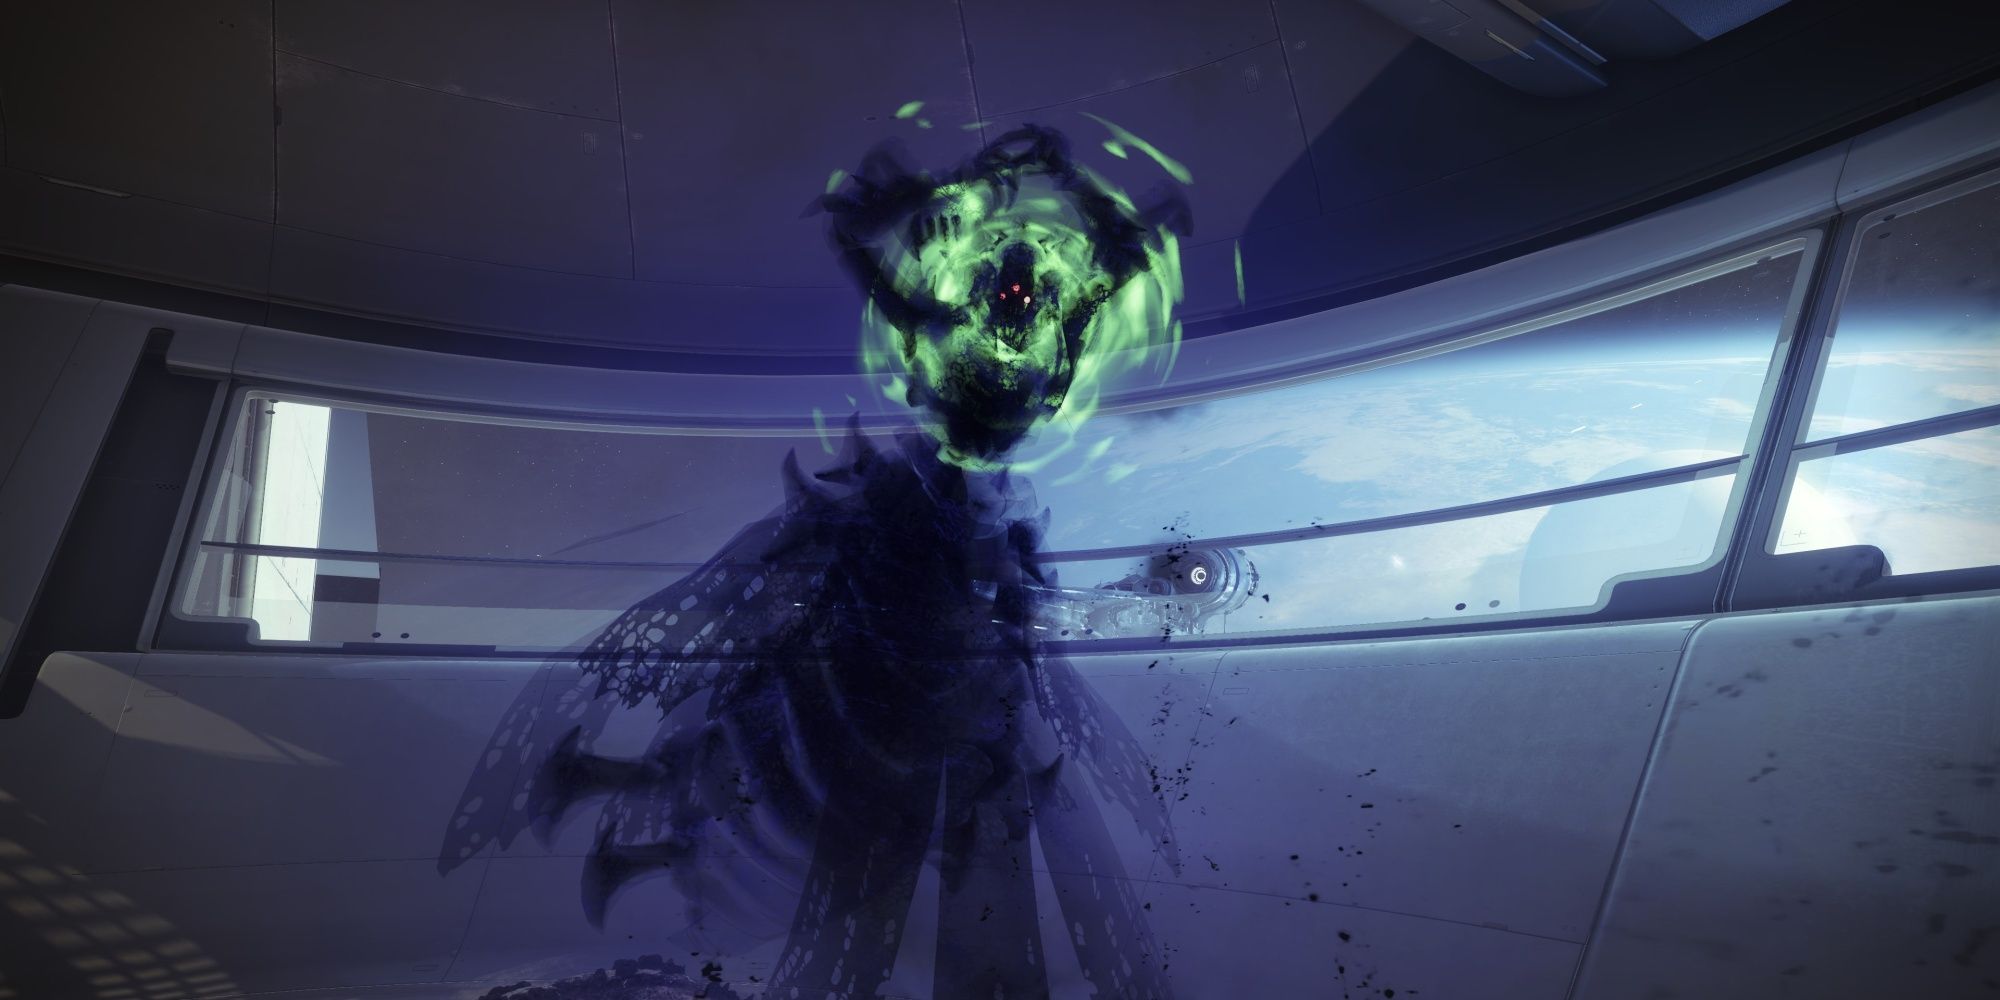
Uploading Rasputin will spawn Ir Garza, Scourge of Earth. This is a Hive Broodlord, using the same moveset from Operation: Diocles. Ir Garza has three health portions you'll need to widdle down. Focus on damaging Ir Garza when the fight starts, using your Super and Heavy weapon to quickly phase her.
Once Ir Garza becomes invincible, a Hive Knight will spawn near the edge of the room. Killing this Knight will remove Ir Garza's immunity shield. Beware of the boss' AoE attacks during this part, as she will cover parts of the floor in deadly poison thorns and occasionally release a powerful fire blast. Fight on the walkway above the room to avoid the thorns, and block line of sight from Ir Garza to avoid the flame blast.
You'll need to repeat this process one more time to finish this encounter. Between each DPS phase, shift your focus on the adds. A flood of Hive usually spawn when you make Ir Garza vulnerable, so it's not a bad idea to kill them before you start shooting the boss again. Consider using Special Finisher on your class item if you start running low on ammo. Killing Ir Garza will force the remaining Hive to despawn, completing the mission.

