Quick Links
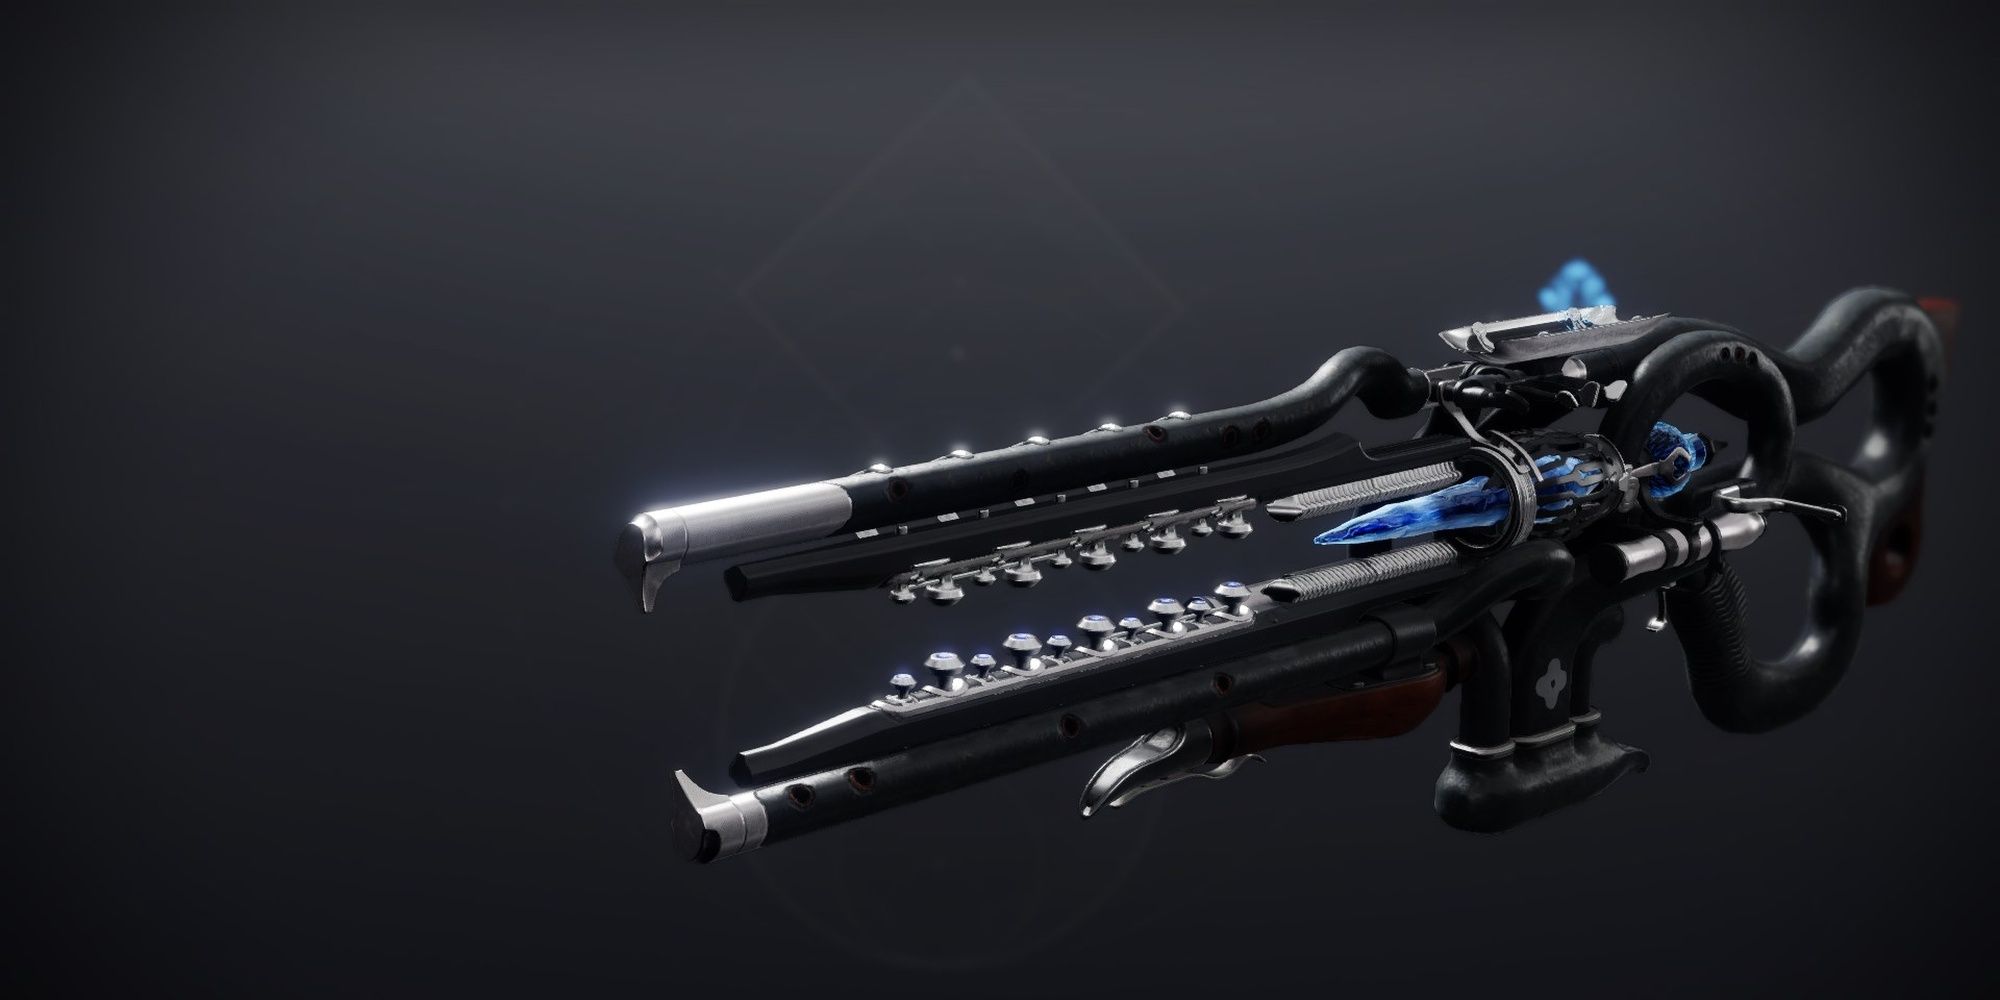
Season of the Lost has brought two new Exotic weapons to Destiny 2: Lorentz Driver and Ager's Scepter. The former is an Energy Linear Fusion Rifle, and the latter is a Stasis Trace Rifle that resides in the Kinetic slot. You'll need to complete a questline to obtain Ager's Scepter.
Each week, Queen Mara Sov will ask you to hunt down Atlas Skews. You'll need to retrieve five of them each week for four weeks before you can obtain this weapon. This guide will cover how to obtain all Atlas Skews and finish the "A Hollow Coronation" quest tied to this Trace Rifle.
Updated September 21st, 2021, by Charles Burgar: The Exotic Catalyst for Ager's Scepter is finally out. This Catalyst allows the weapon to achieve a supercharged state that drastically improves its damage output at the cost of your Super energy. We've updated this guide to include information on the Catalyst. Obtaining the Catalyst, Masterworking the weapon, and Ager's Scepter's Catalyst effect can all be found at the end of the guide.
How To Start The Ager's Scepter Quest
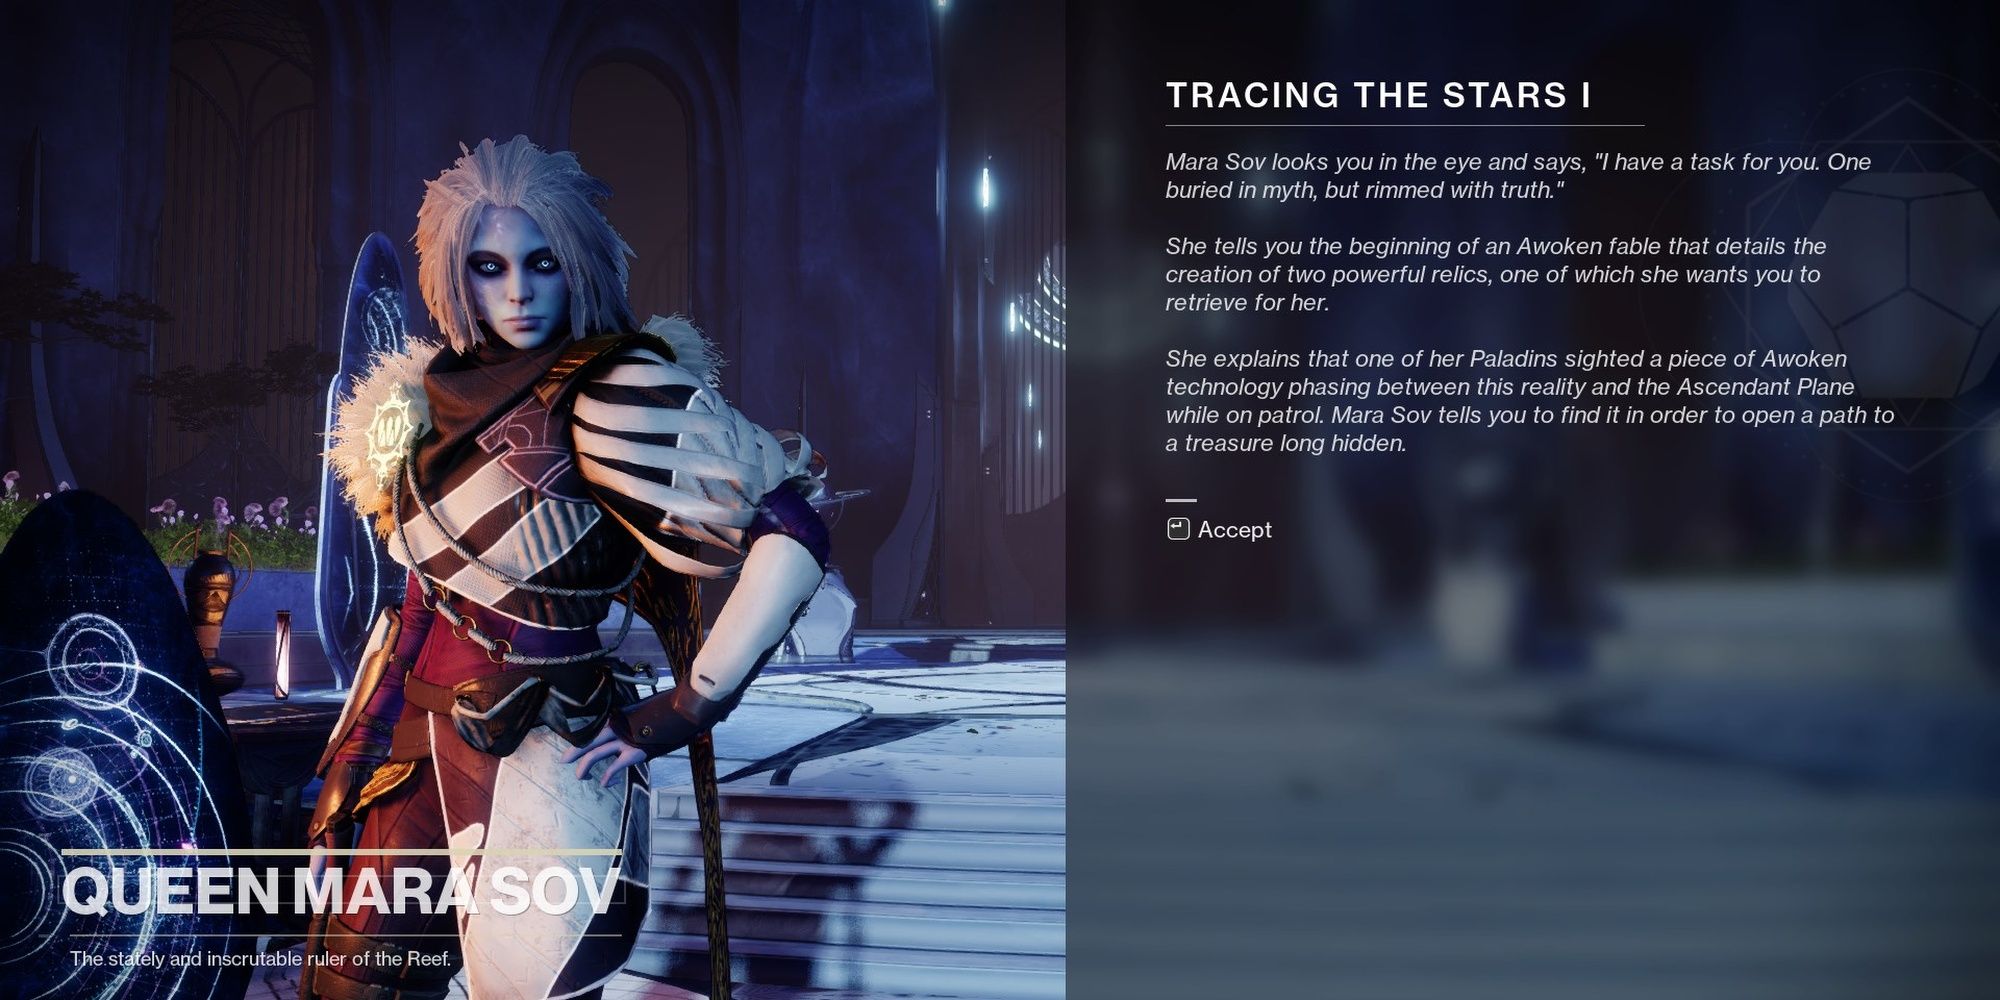
After you complete Season of the Lost's introductory mission, make your way to the H.E.L.M. The Awoken wing of the hub will have a portal that will lead you to Mara Sov's chamber. Speak to Mara Sov to receive the "Tracing the Stars" quest. She'll ask you to locate Atlas Skews tied to Ager's Scepter.
Tracing The Stars I – Week 1 Atlas Skew Locations
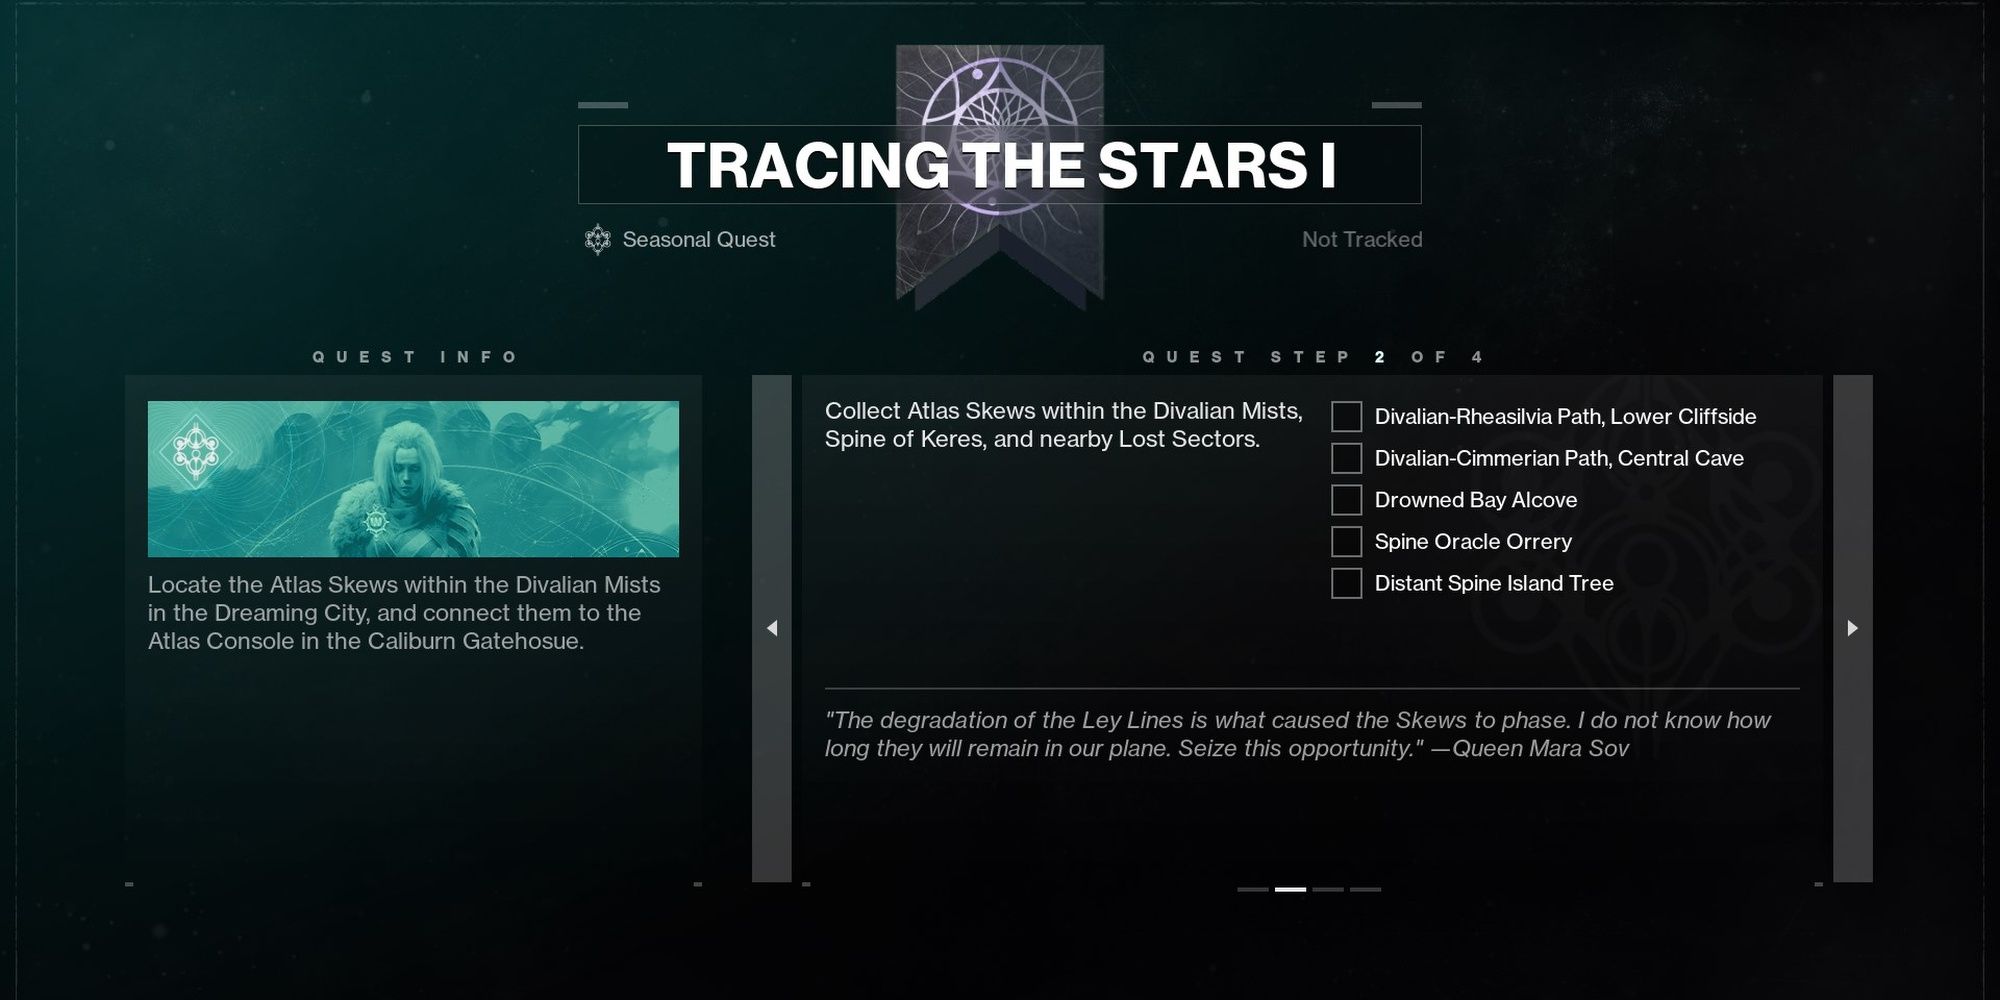
You'll find the first set of Atlas Skews in the Dreaming City's Divalian Mists and Spine of Keres. There are five in total. Fortunately, the quest description gives a fairly good idea of where you can find each Skew. If you aren't too familiar with the Dreaming City, we'll cover where you can find all five of them.
|
Note: Don't grab any Atlas Skews until you have started the quest. Otherwise, this quest will be impossible to complete. Progress is not retroactive. |
Atlas Skew #1: Divalian-Rheasilvia Path, Lower Cliffside
- Location: Divalian Mists (northern cliffside)
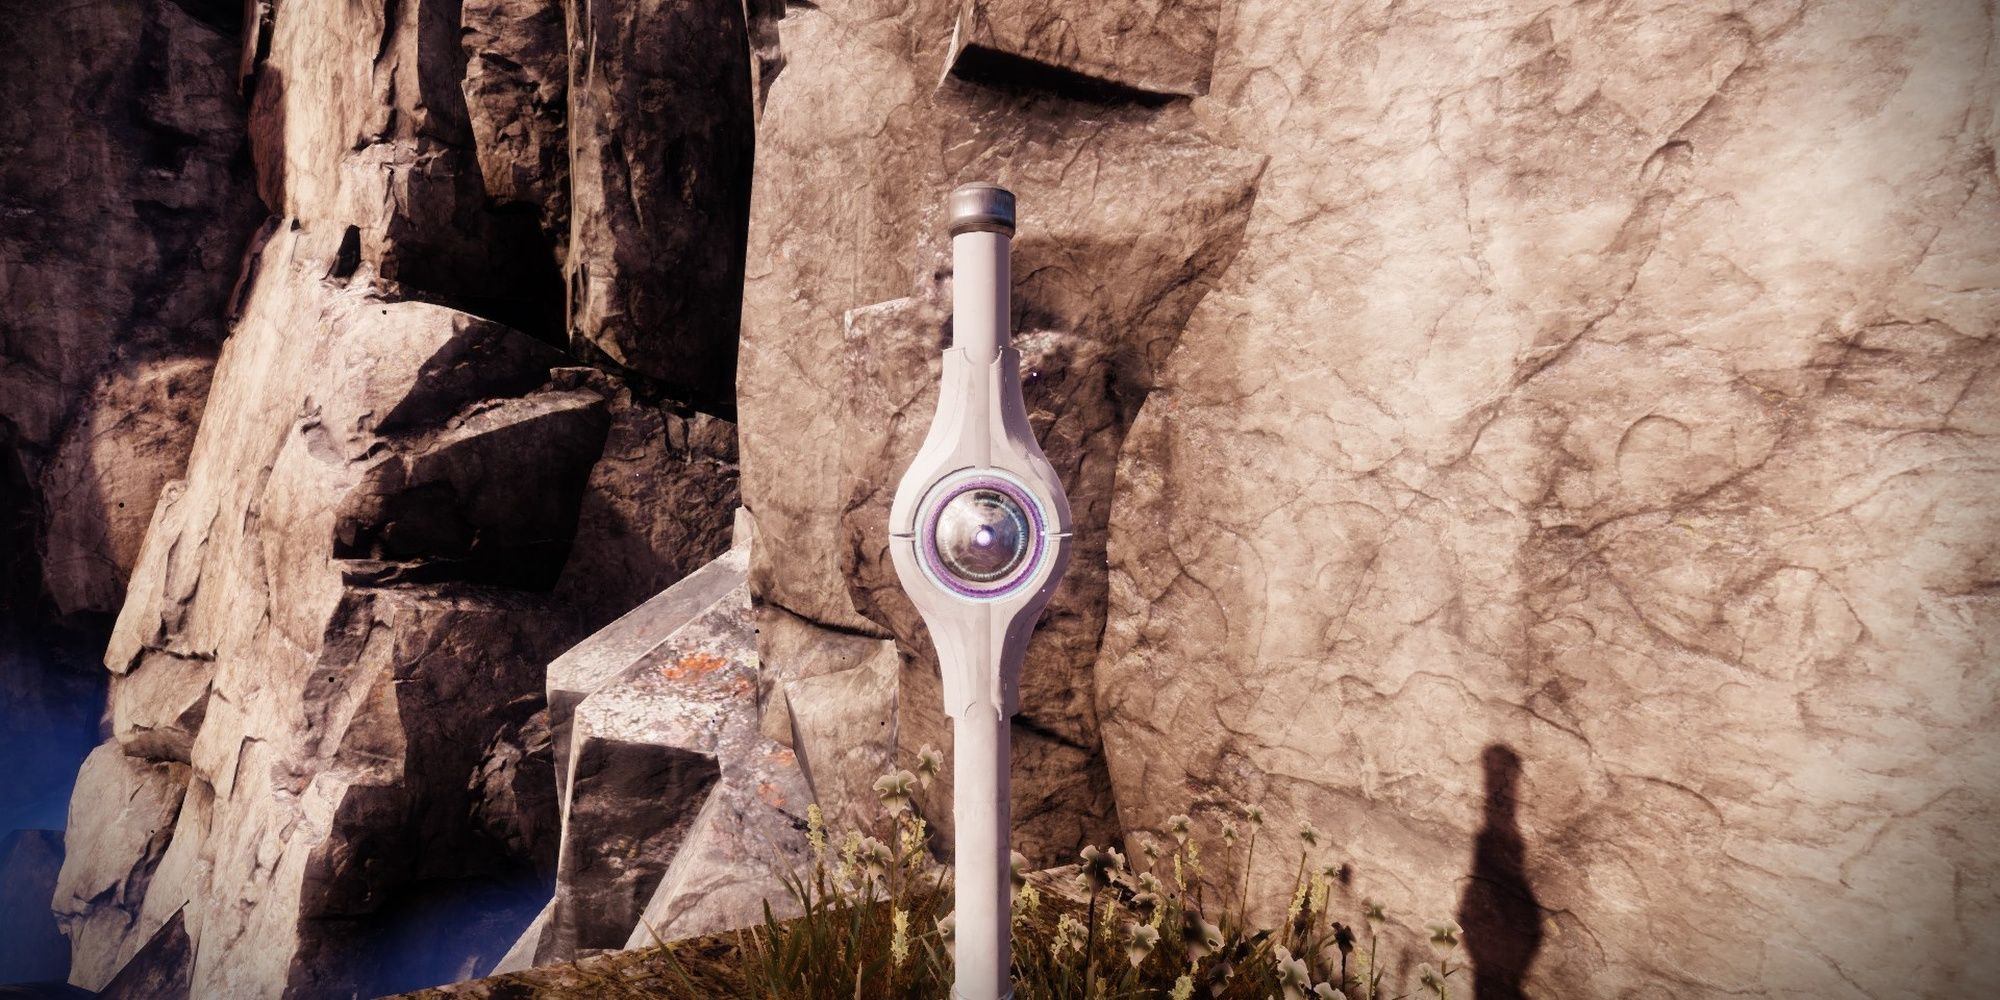
From spawn, hop on your Sparrow and head to the northern cliffside of the area. Get off your Sparrow, then look down the cliffside. You should see the Skew floating on a platform near the bottom—the same platform that leads to a cave with a cat statue. Jump down to grab the Skew. Fast travel back to Divalian Mists to continue the search.
Atlas Skew #2: Divalian-Cimmerian Path, Central Cave
- Location: Divalian Mists (central cave)
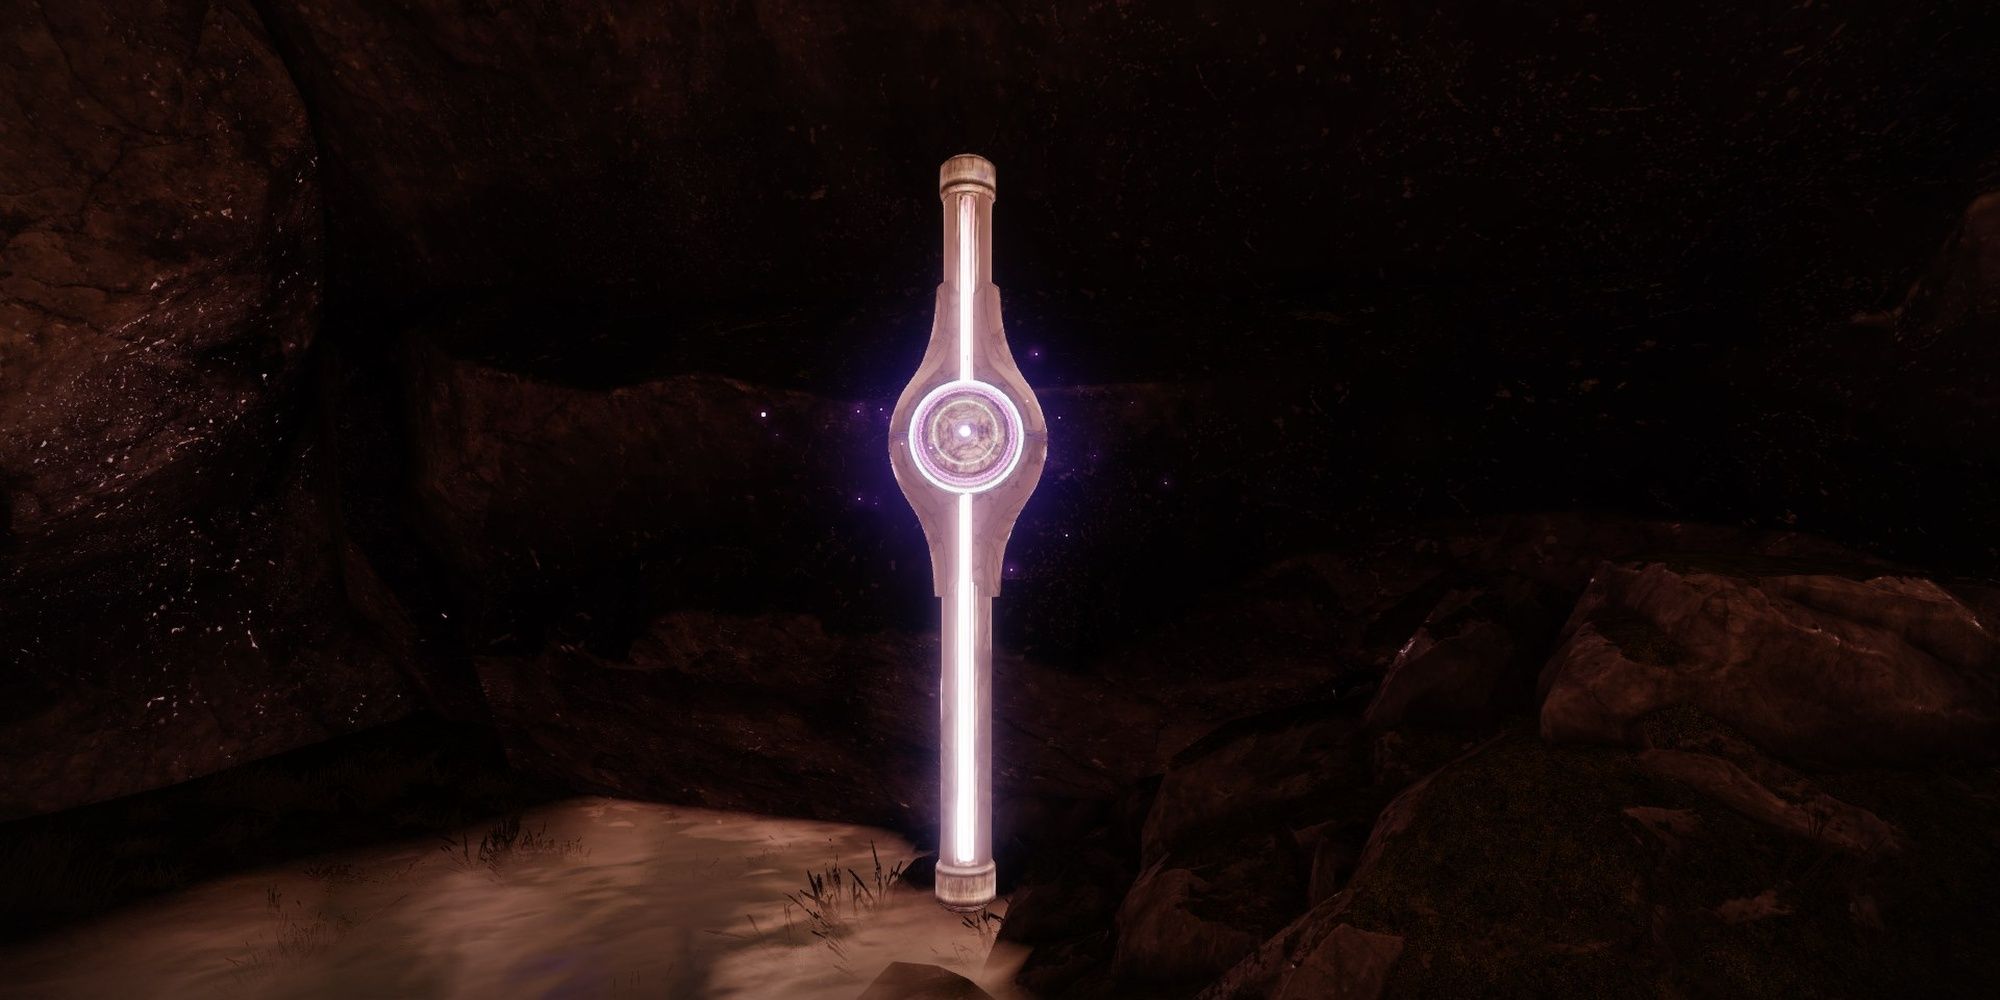
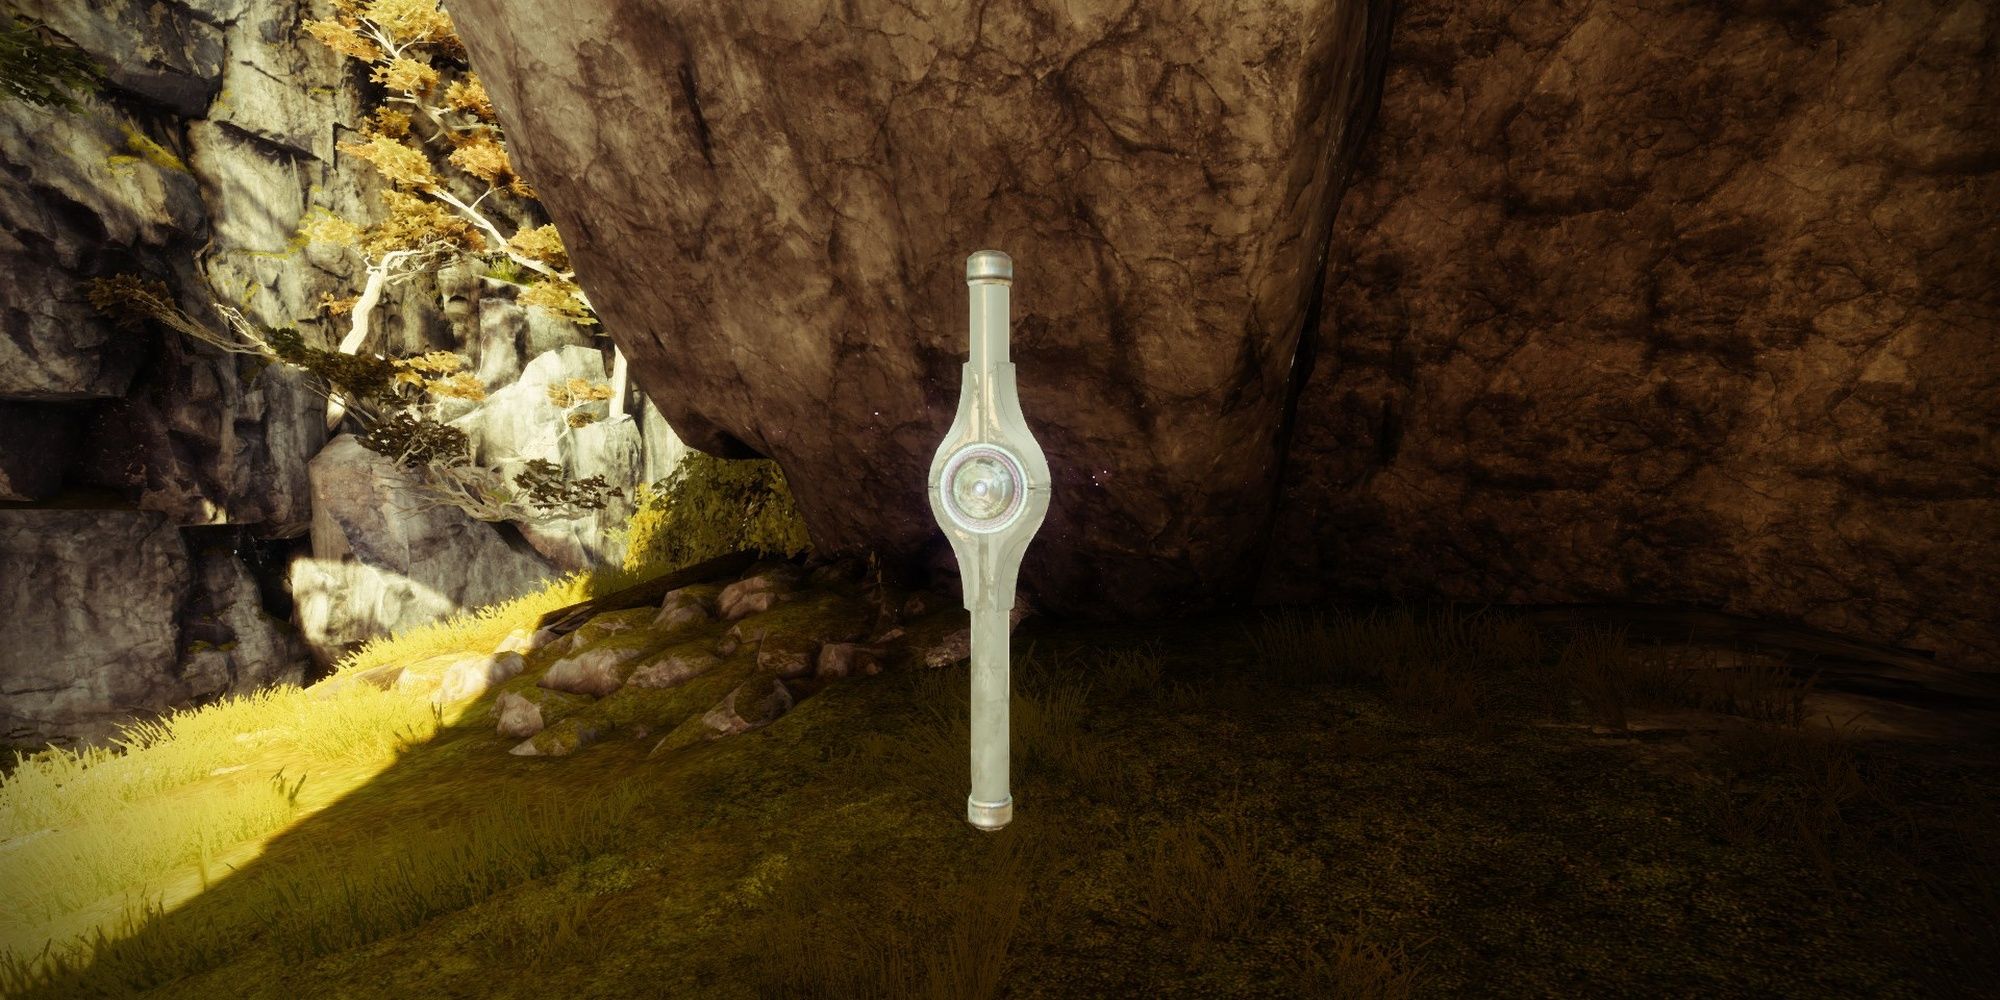
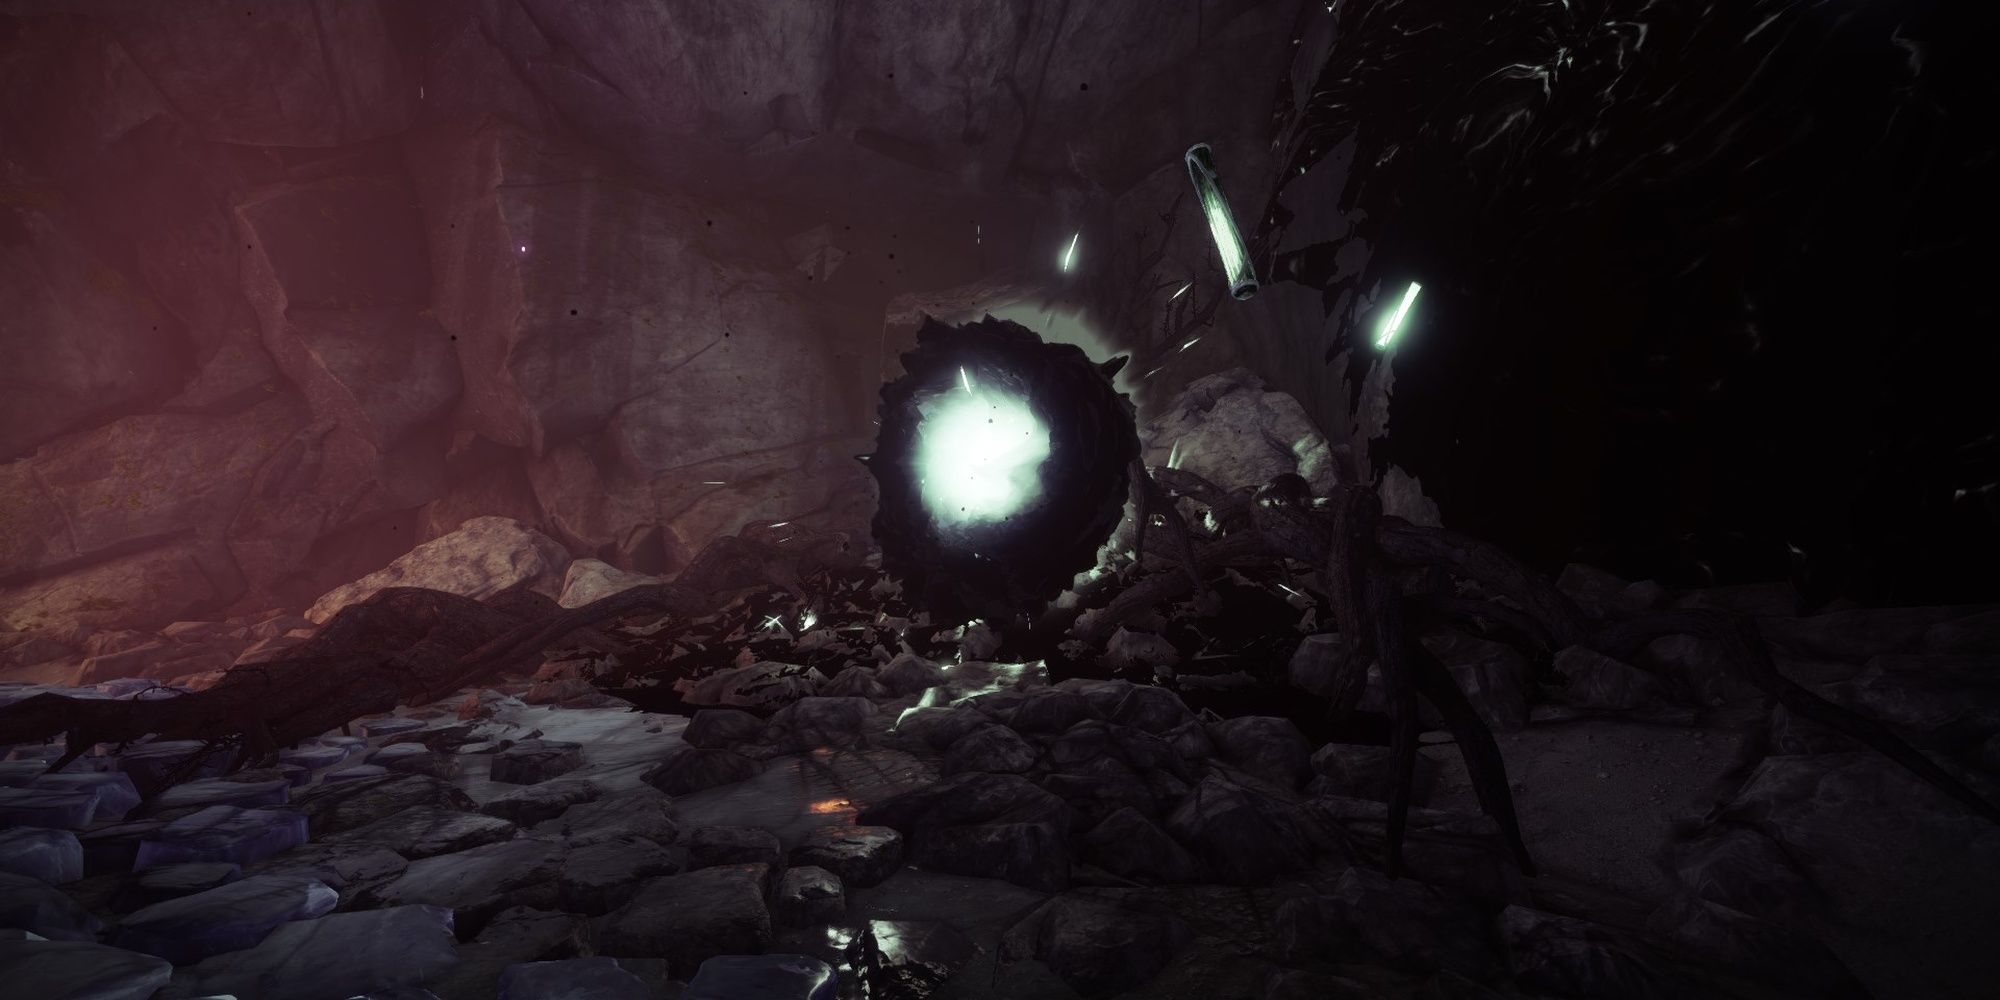
This is arguably the most confusing one, mainly because a "Cimmerian" location doesn't exist. Atlas Skew #2 is located in the middle of Divalian Mists in a cave facing the coast. Hop onto your Sparrow and drive northeast until the shore meets a rock wall (located on the "T" in "Mists" on your map). Enter the cave in the wall to find the Skew.
Atlas Skew #3: Drowned Bay, Alcove
- Location: Bay of Drowned Wishes Lost Sector
"Drowned Bay" refers to the Bay of Drowned Wishes Lost Sector, located right behind the Divalian Mists spawn point. Enter the Lost Sector, clear out the first group of enemies, then follow the rock wall on your right. It'll lead you out of the cave and towards a small alcove that the Skew is floating in.
Atlas Skew #4: Spine Oracle, Orrery
- Location: Spine of Keres (Oracle tower)
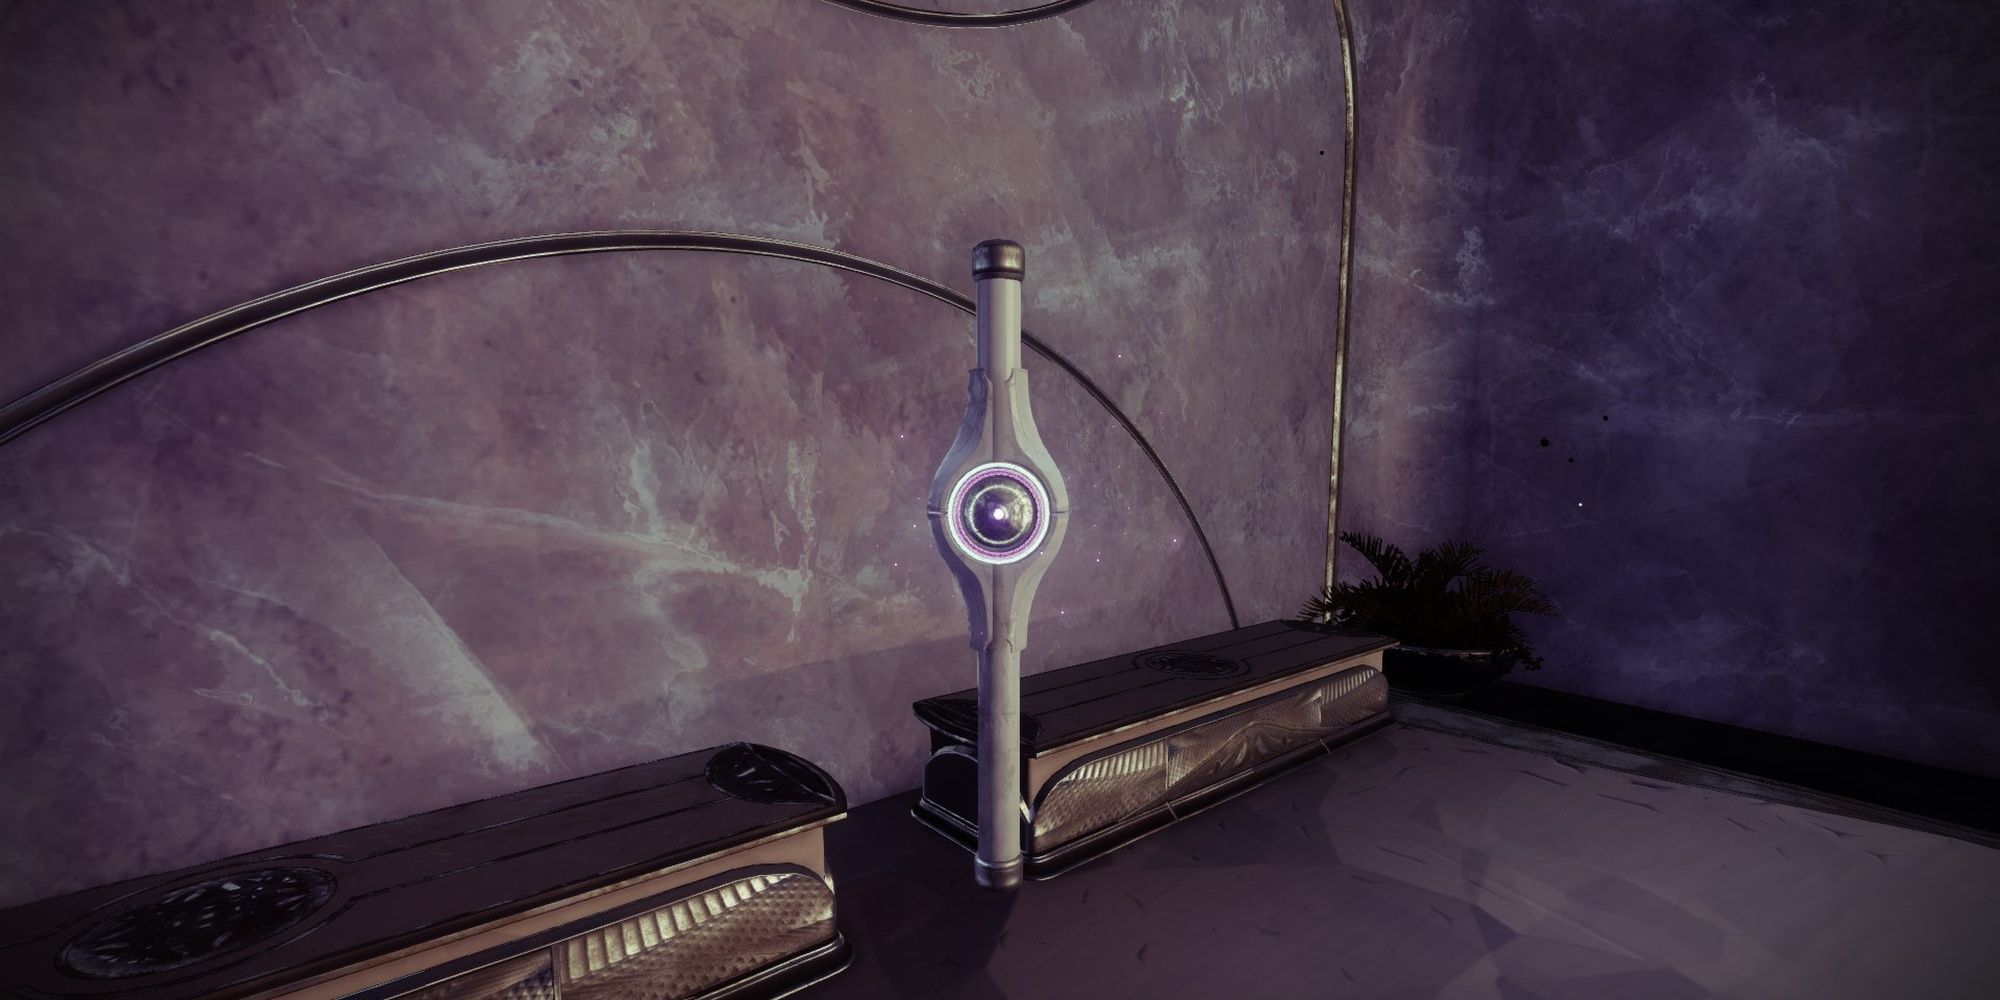
"Spine Oracle" is the tower you present an Offering of an Oracle to. This tower is located in the Spine of Keres. You can reach it by reaching the northwest corner of the Dilvaian Mists and following the dirt path west. Enter the giant tower, then climb up the staircase on your right. The Atlas Skew will be floating beside a wall on the top floor.
Atlas Skew #5: Distant Spine Island Tree
- Location: Spine of Keres (shore)
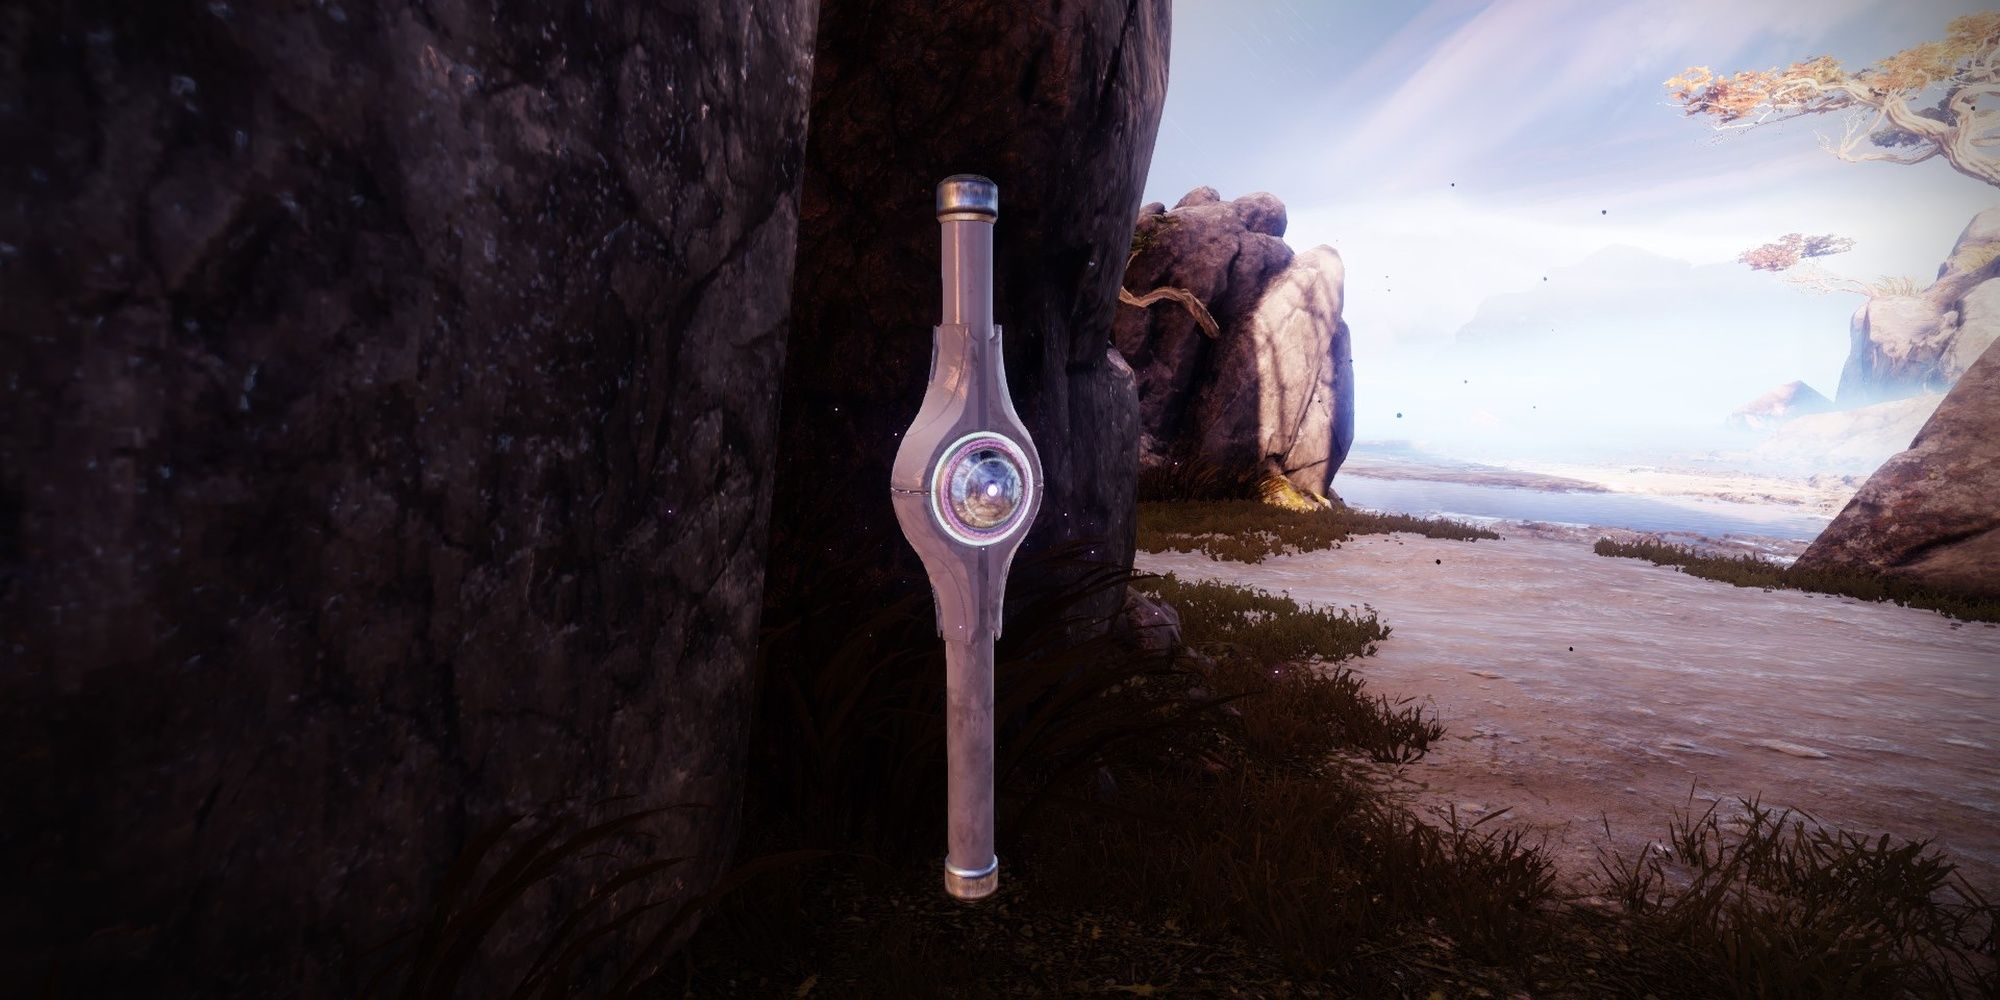
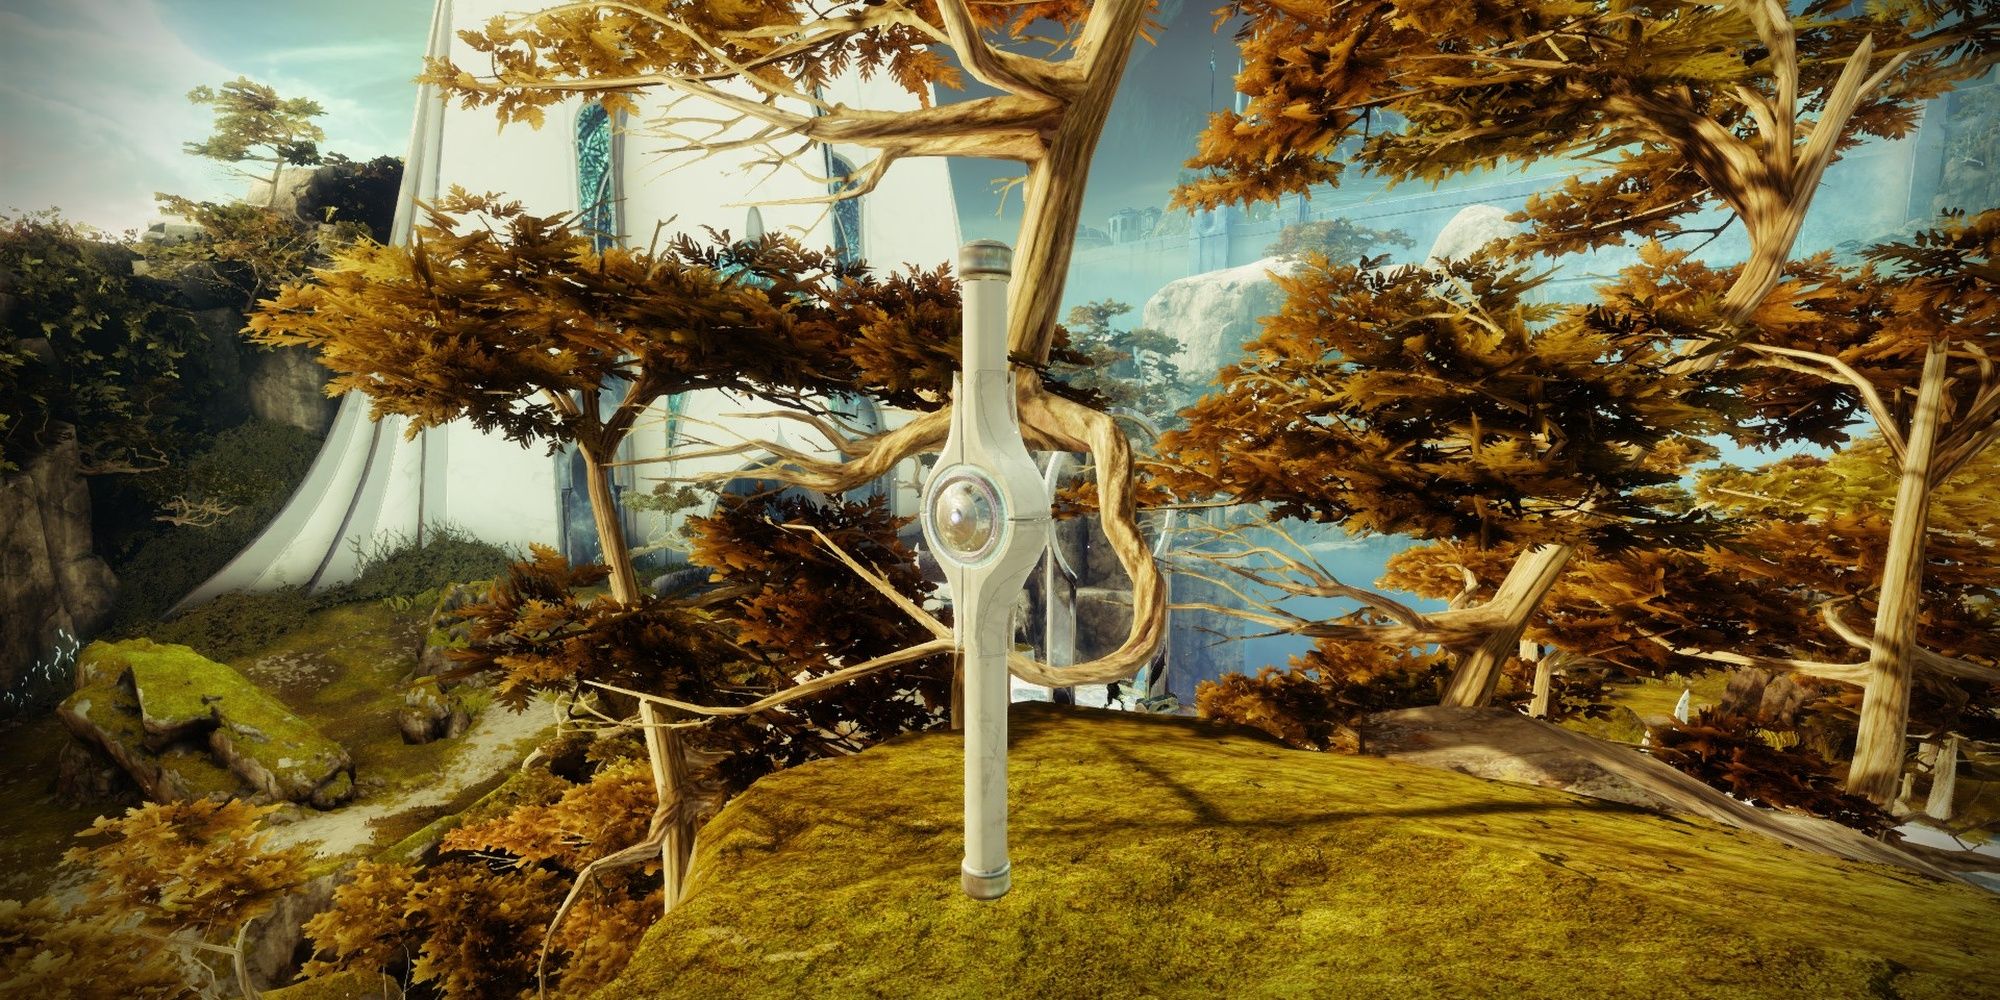
From the fourth Skew location, make your way down the Oracle tower. Exit the tower from the southern entrance and follow the path. It'll lead you to a barren coastline dotted with small islands. The last island you reach before reaching the coastline has the Atlas Skew. It'll be resting beside a tree.
Tracing The Stars II – Week 2 Atlas Skew Locations
The second set of Atlas Skews can be found in The Strand and Gardens of Esila. You'll find two in The Strand, two in the Gardens of Esila, and one in the Aphelion's Rest Lost Sector.
Atlas Skew #1: Strand Towering Statue
- Location: The Strand
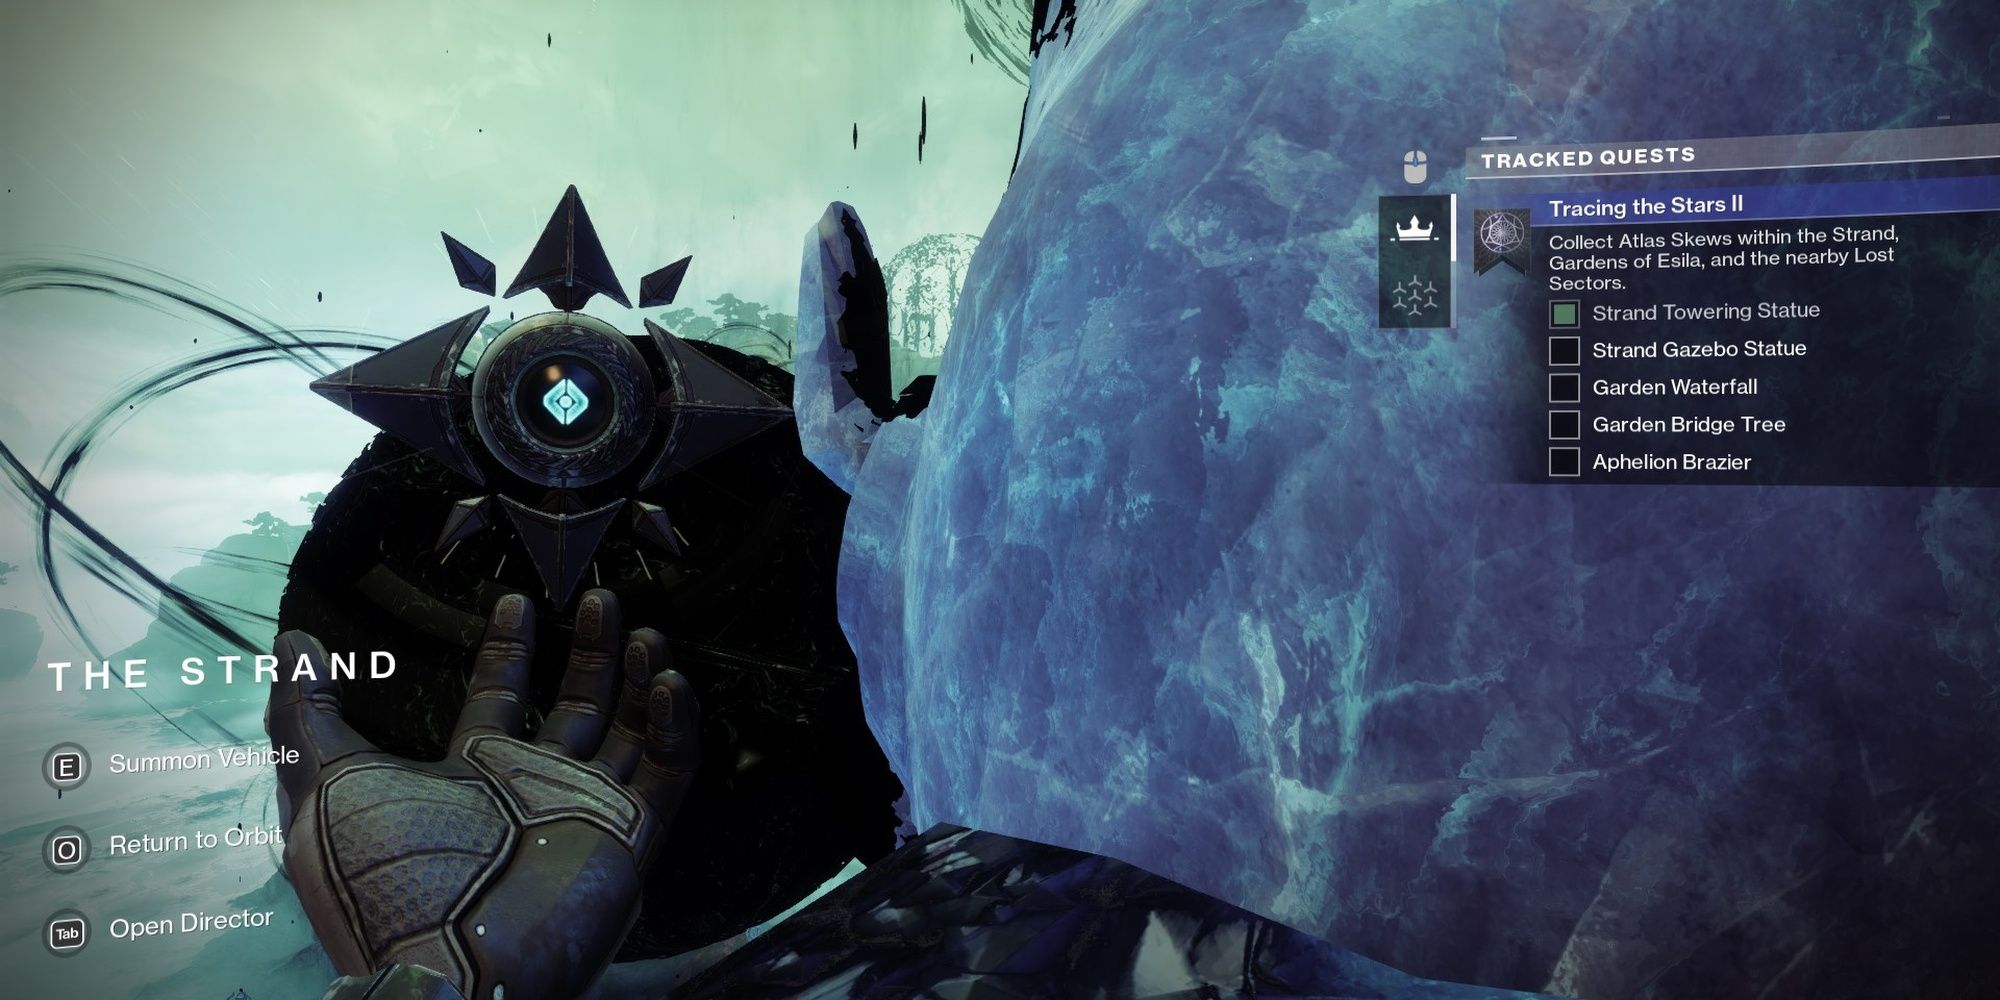
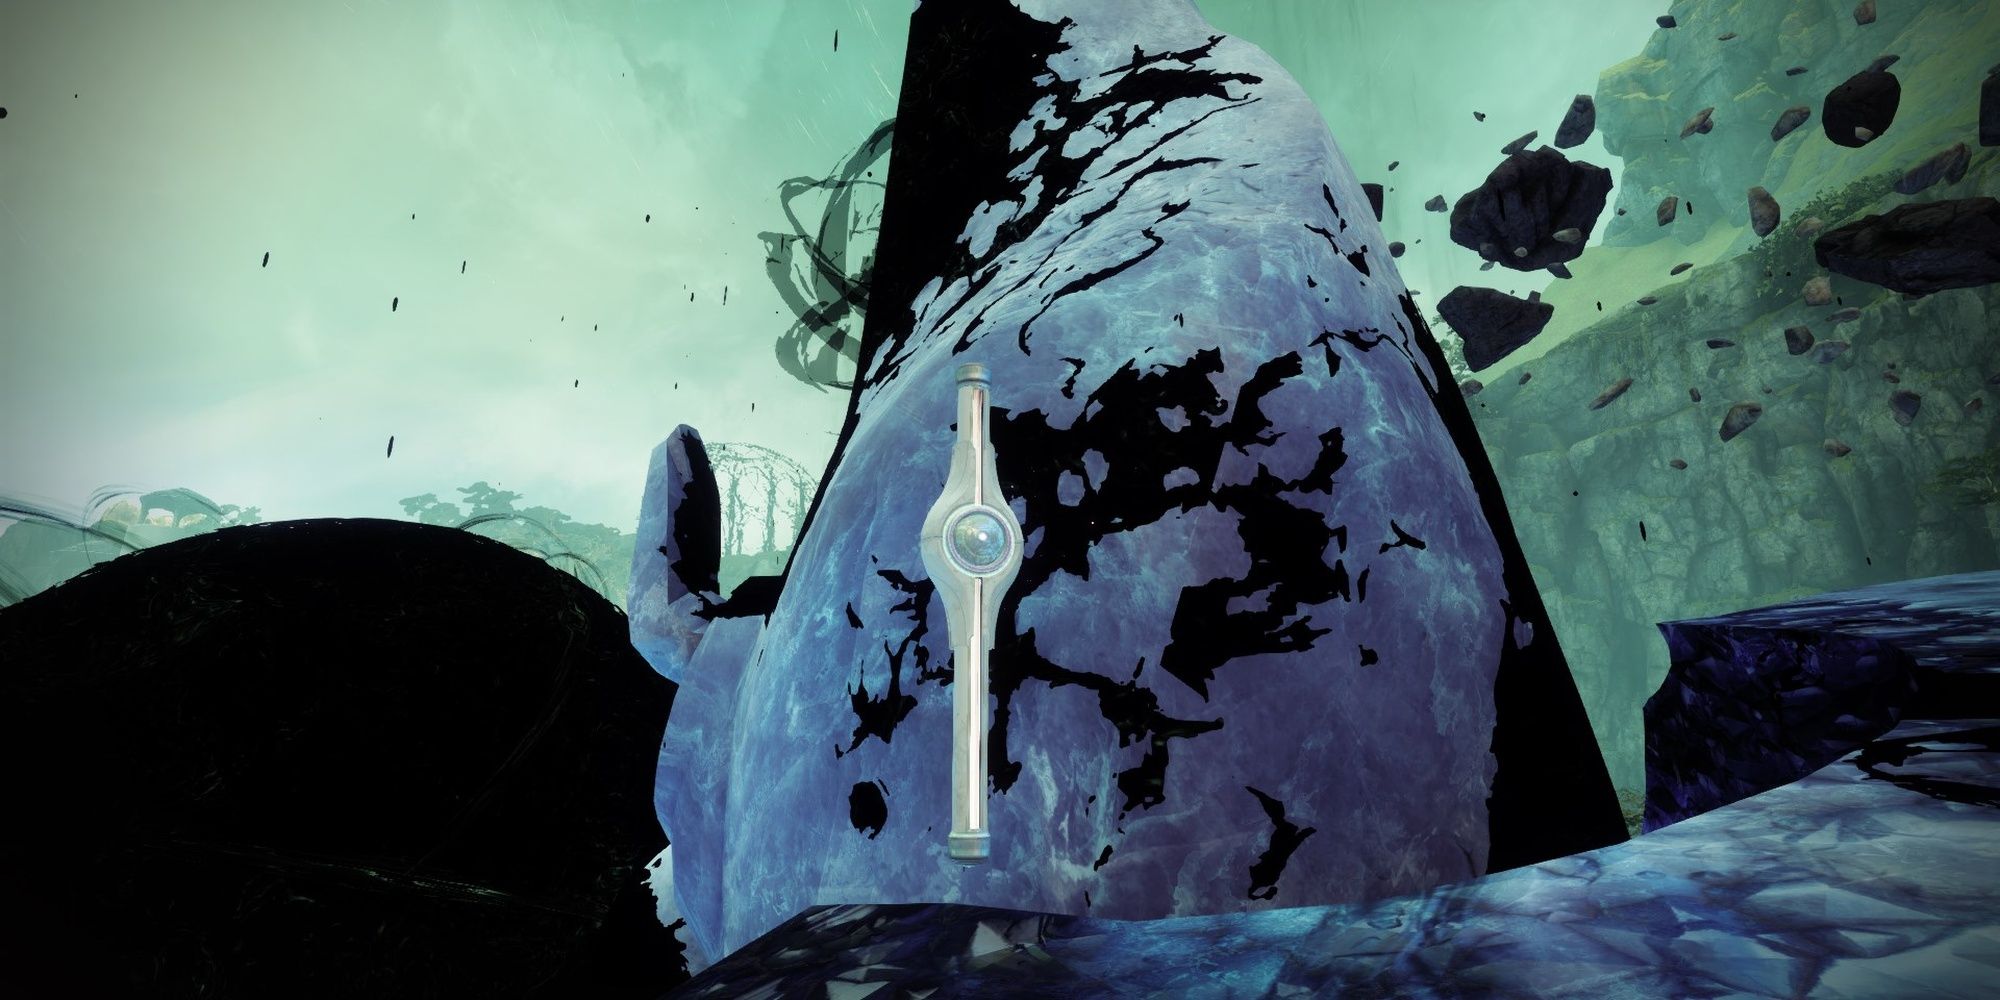
A massive Awoken statue will be near the center of The Strand, overlooking most of the zone. You'll need to climb the left shoulder of the statue to find this Atlas Skew. Use rocks and other natural formations near the statue to reach its shoulder.
Atlas Skew #2: Strand Gazebo Statue
- Location: The Strand
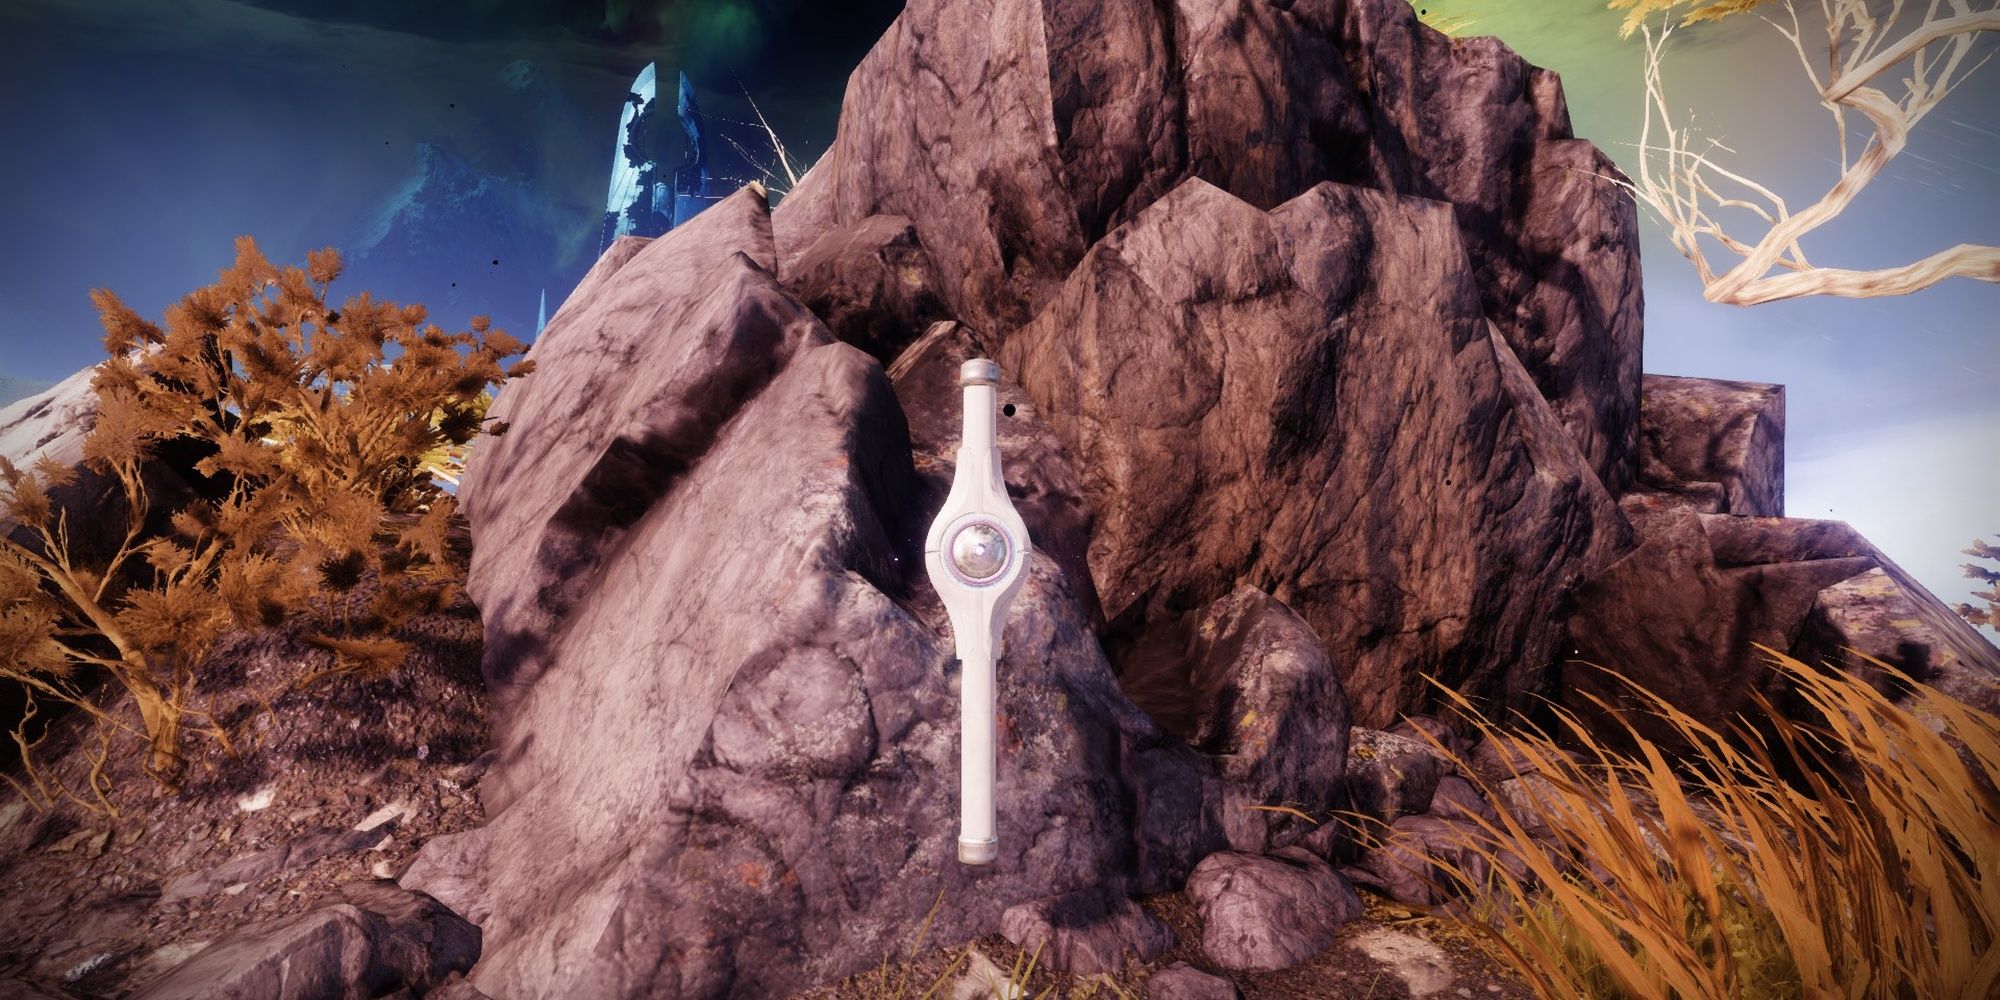
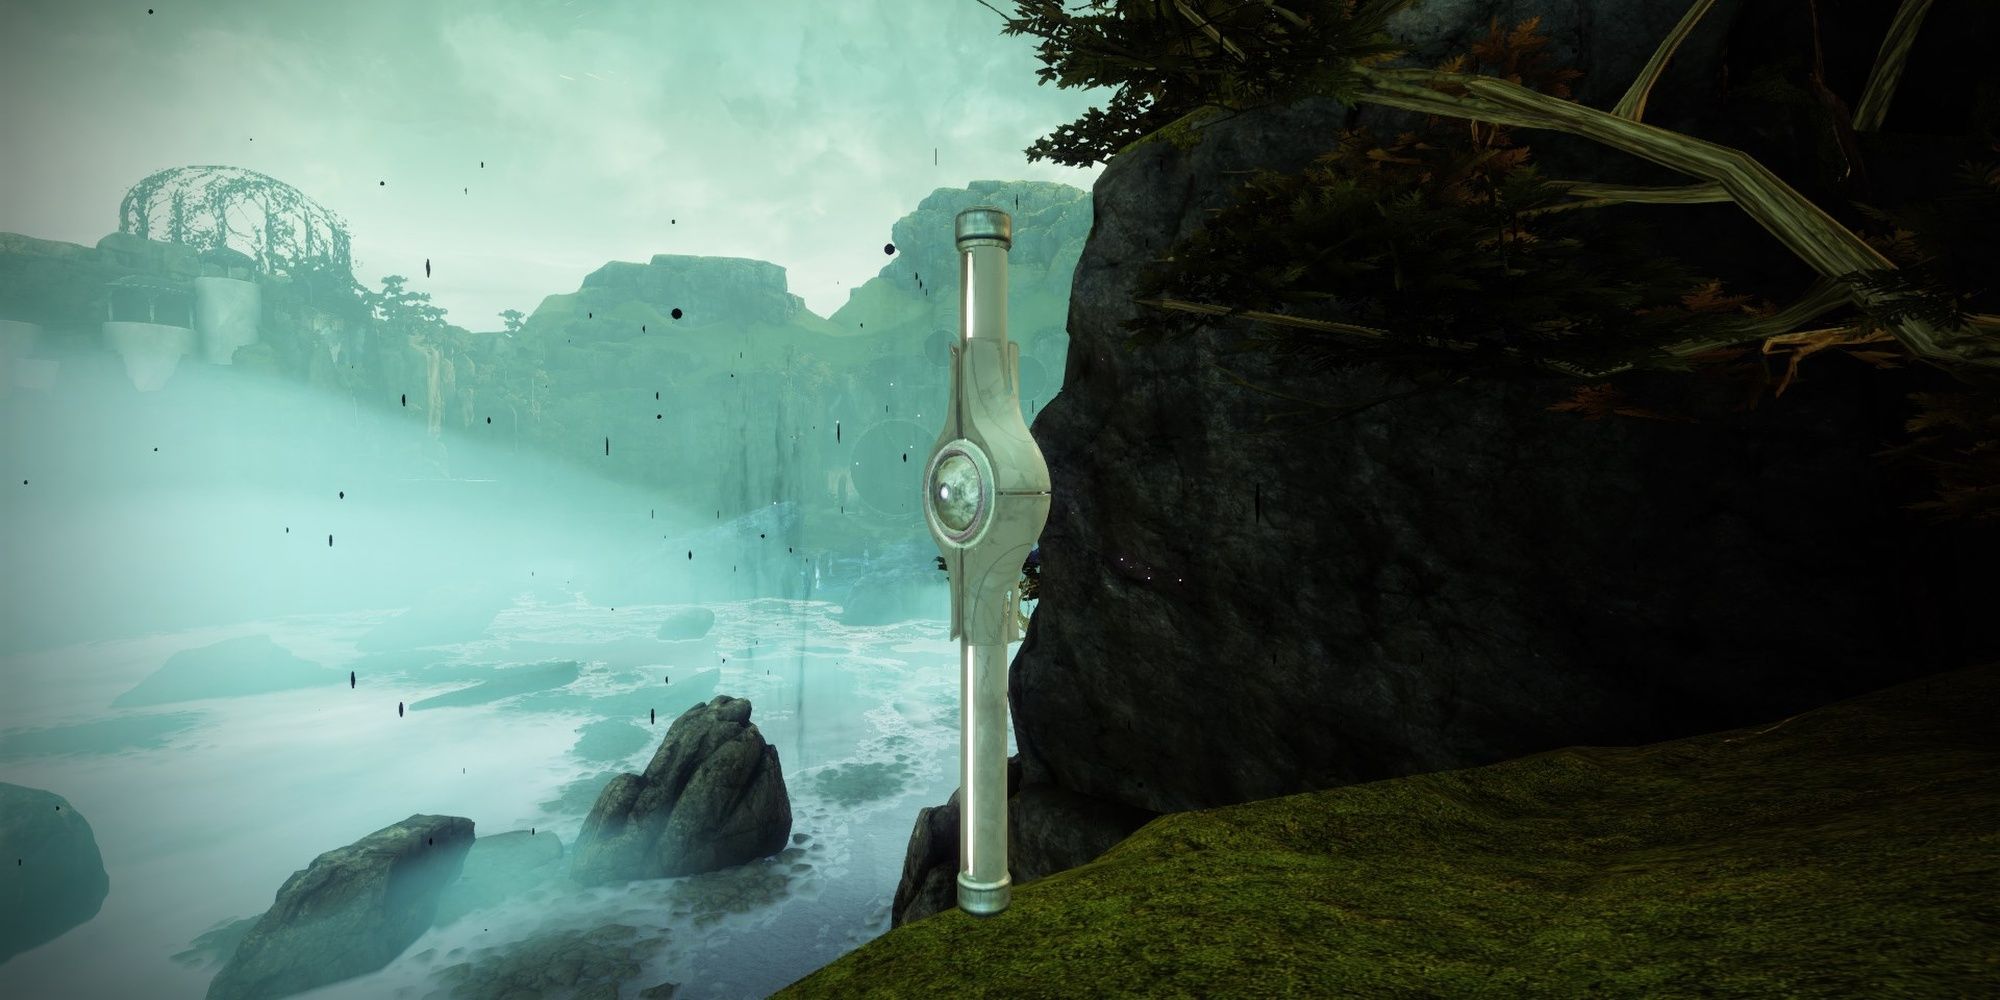
Head to the gazebo Petra Venj stations herself at during the weak curse. It's on the eastern end of the map. You'll then want to head further east towards the rock formations near the gazebo. On one of the rocks will be an Atlas Skew.
Atlas Skew #3: Garden Waterfall
- Location: Gardens of Esila
You'll need to reach the Gardens of Esilla for the next two Skews. If you don't remember how to get there, enter The Strand from the Divalian Mists and immediately go south. The path will lead you to the gardens.
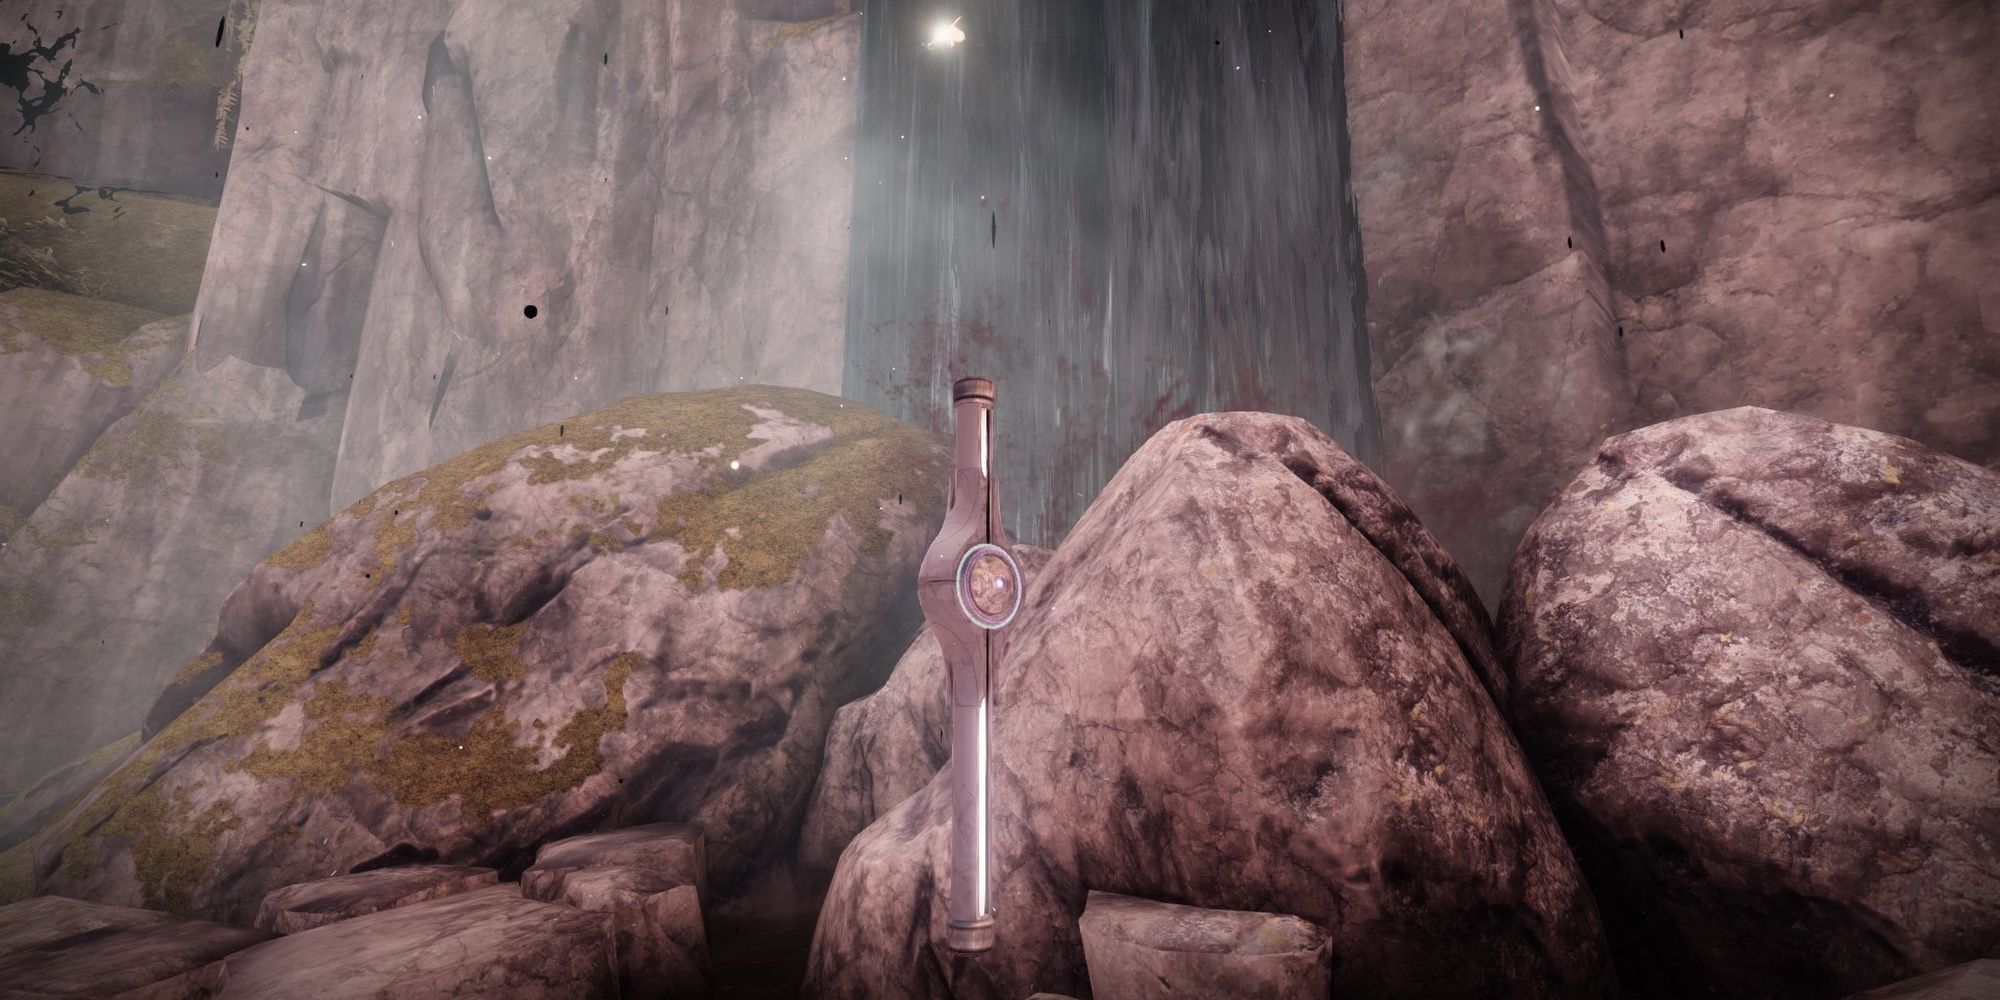
Once you're at the Gardens of Esila, you'll be looking for a waterfall near the northern end of the zone. Use your Sparrow to head up to the garden itself, then hug the right wall to find the waterfall. The Atlas Skew will be right next to it.
Atlas Skew #4: Garden Bridge Tree
- Location: Gardens of Esila
You should see a bridge over the main garden area. The tree on the bridge has an Atlas Skew beside it. You can either reach this location by jumping onto the bridge from near the waterfall or by going all the way around the garden, following the western path that eventually loops around the zone.
Atlas Skew #5: Aphelion Brazier
- Location: Aphelion's Rest Lost Sector
You'll find this Lost Sector under the gazebo in The Strand. Clear the Lost Sector as normal. The brazier right behind the Lost Sector chest will have an Atlas Skew hiding behind it.
Tracing The Stars III – Week 3 Atlas Skew Locations
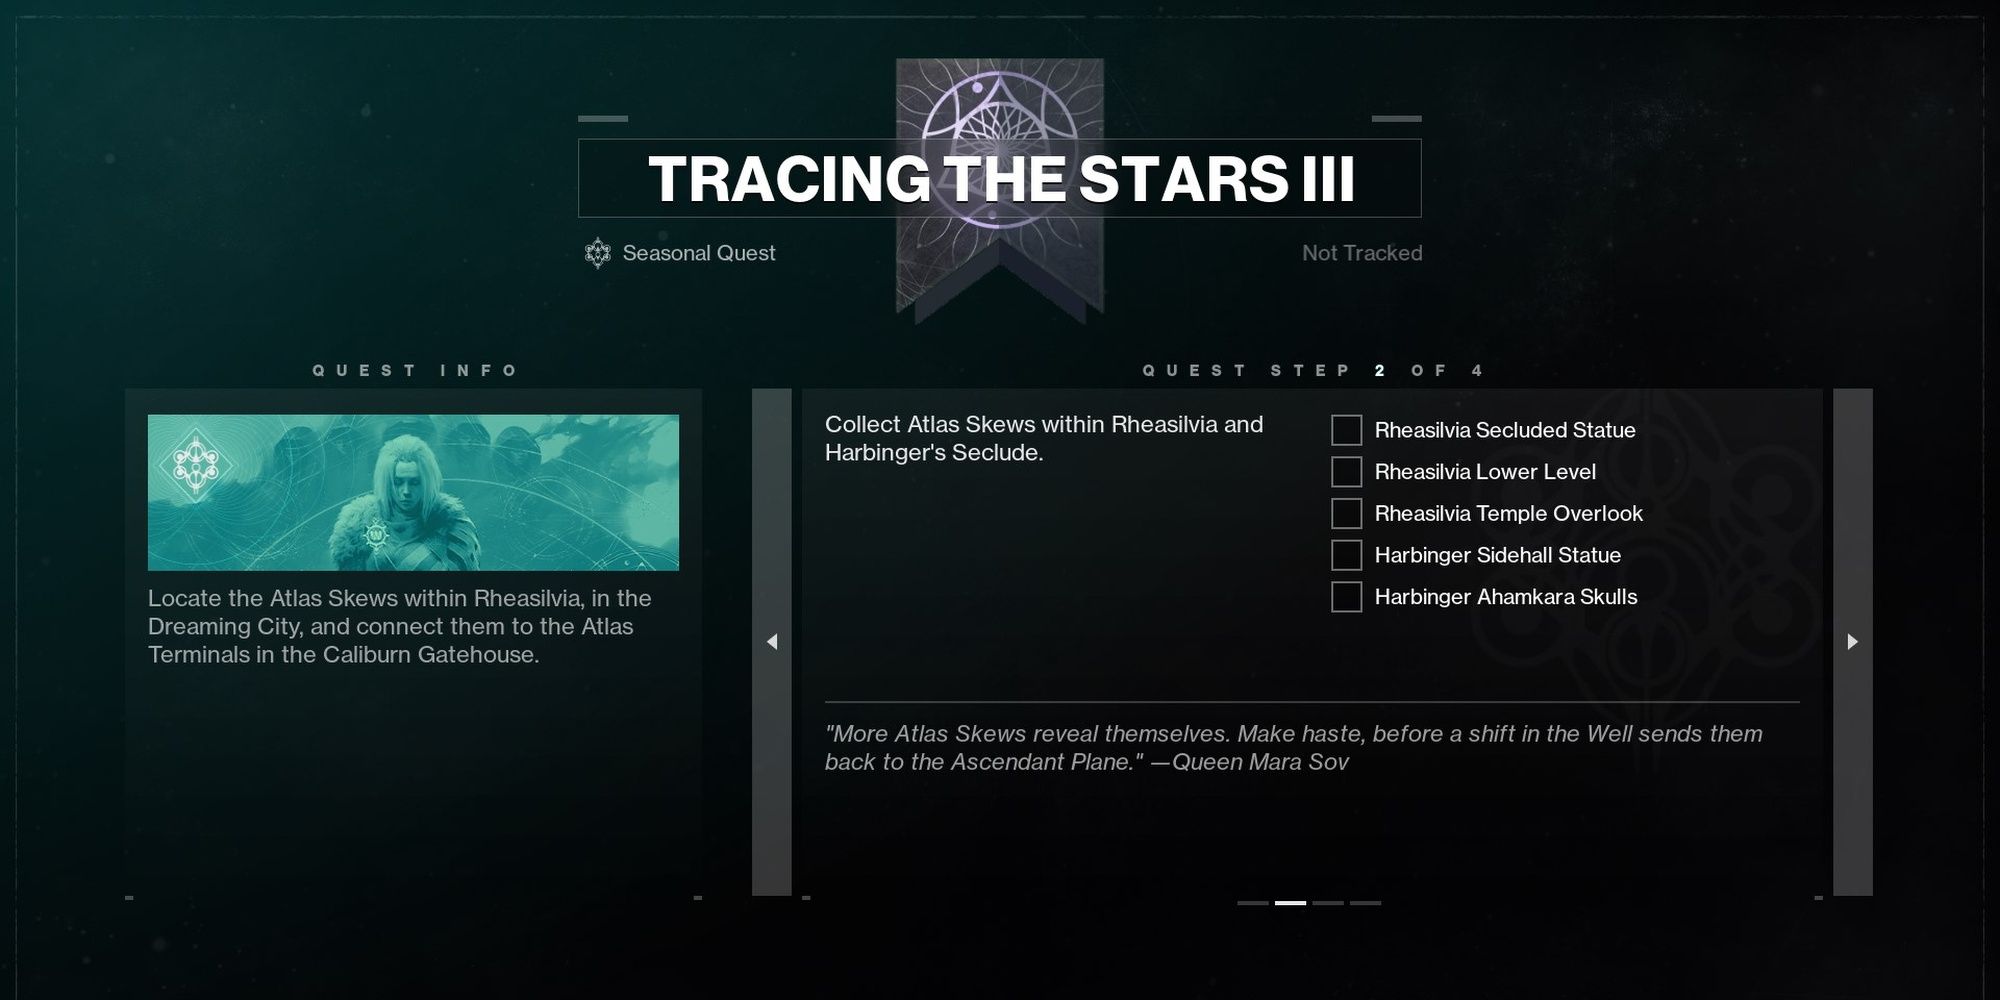
For the third set of Atlas Skews, you'll need to explore Rheasilvia and Harbinger's Seclude—the northern part of the Dreaming City. There are five Atlas Skews to find.
Atlas Skew #1: Rheasilvia Secluded Statue
- Location: Rheasilvia
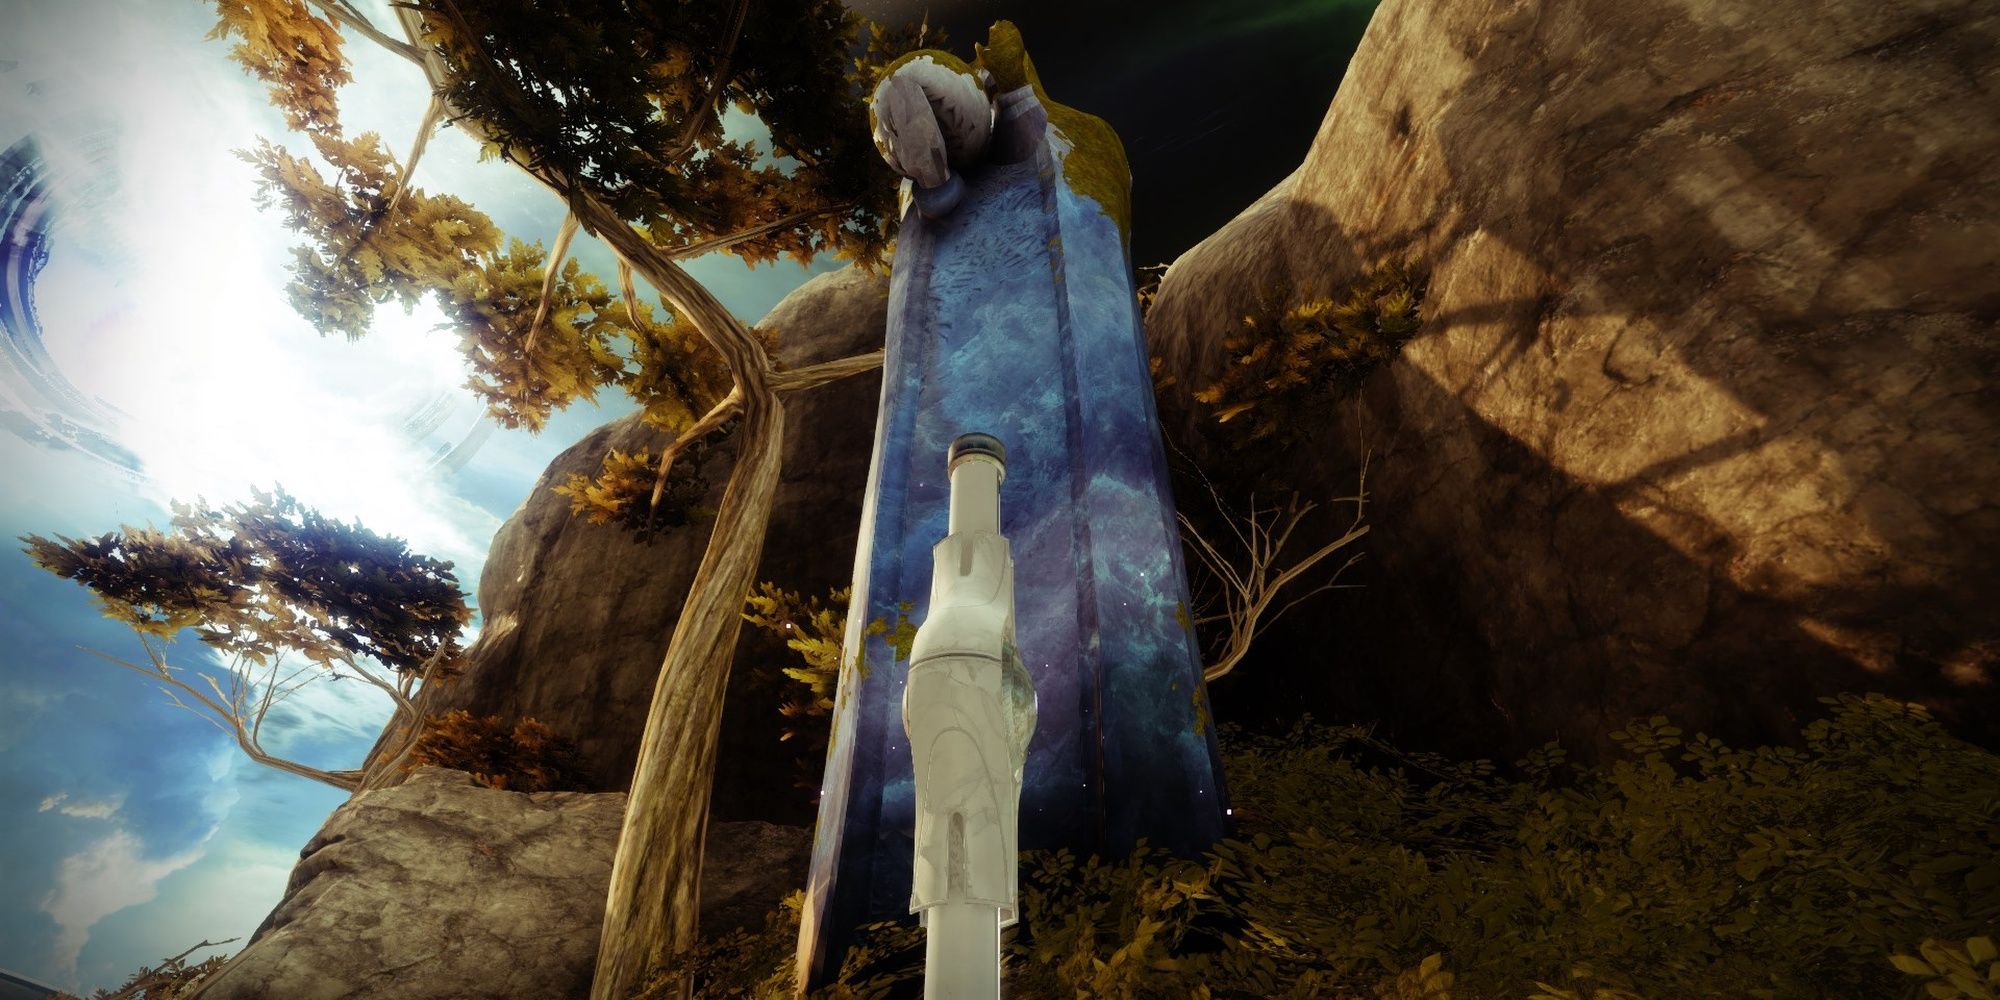
This is the trickiest Atlas Skew to reach. Make your way to the Harbinger's Seclude temple entrance. Just outside the entrance, turn right to find a ledge on a nearby cliffside. Follow the series of ledges until you reach a cliffside just under an Awoken statue. You'll need to jump all the way up to reach the Atlas Skew. Use mobility Exotics and movement-oriented subclasses to make this easier.
Atlas Skew #2: Rheasilvia Lower Level
- Location: Rheasilvia
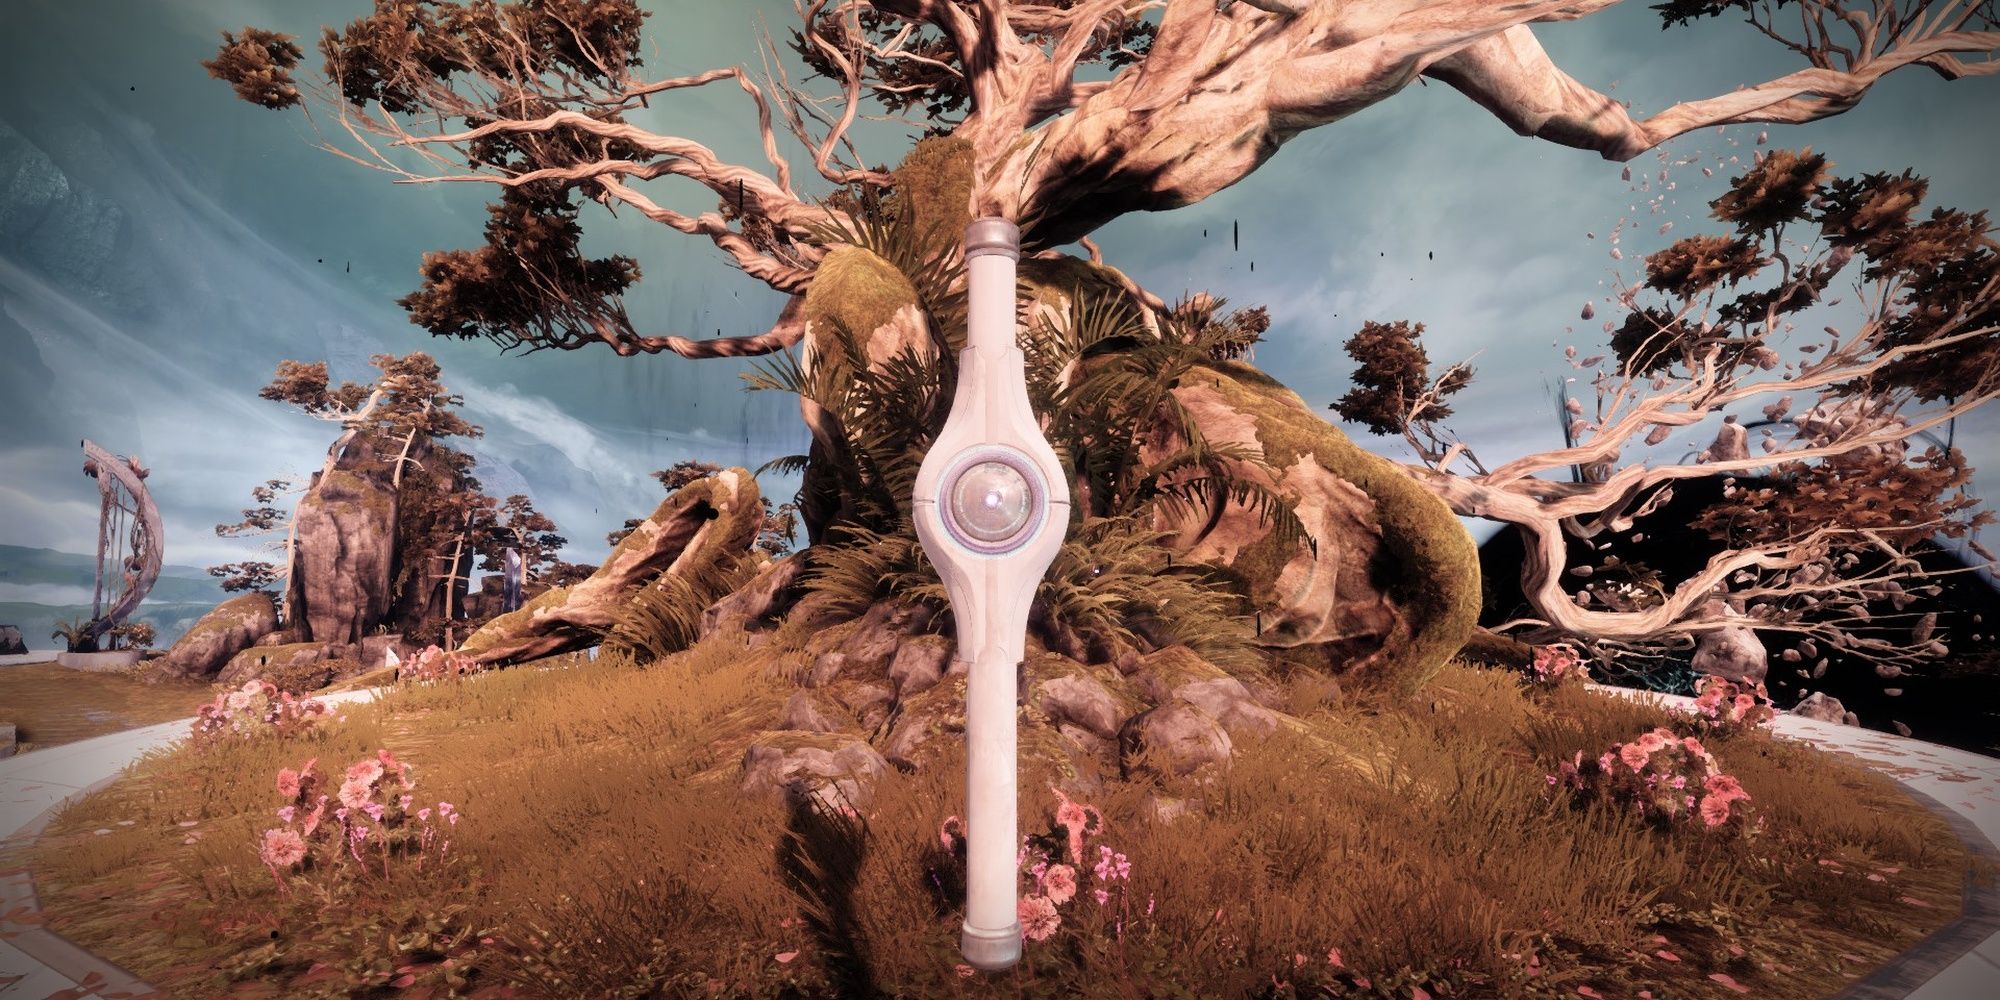
You'll find the second Atlas Skew just before you reach the Chamber of Starlight Lost Sector. From the western Rheasilvia entrance—the path from Divalian Mists—follow the dirt path that warps under the Awoken bridge. Follow the right fork. The Atlas Skew will be at the end of the path.
Atlas Skew #3: Rheasilvia Temple Overlook
- Location: Rheasilvia
Confusingly, this isn't the overlook found at Petra's station or the Awoken bridge. It's atop a boulder right next to the temple. To reach it, start from the Rheasilvia western entrance. Follow the dirt path north until you cross the second gap. Immediately get off your Sparrow and climb the rocks to your right. The Atlas Skew will be floating atop a flat surface.
Atlas Skew #4: Harbinger Sidehall Statue
- Location: Harbinger's Seclude
Enter the Harbinger of Seclude, located inside the northern temple in Rheasilvia. Navigate through the first corridor to reach a cavernous room. They'll be a building on your right. Enter the building, then reach the northern end of it to find the Skew.
Atlas Skew #5: Harbinger Ahamkara Skulls
- Location: Harbinger's Seclude (lower floor)
If you've traded with the Hugil skull before, the Skew is right next to its chamber. For those unaware, make your way to the next room from Atlas Skew #4. Drop down the platform, turn around, and hop down the elevator shaft. Run to the circular platform at the center of the room, then turn left. The Skew is beside the wall.
A Hollow Coronation – Week 4 Atlas Skew Locations
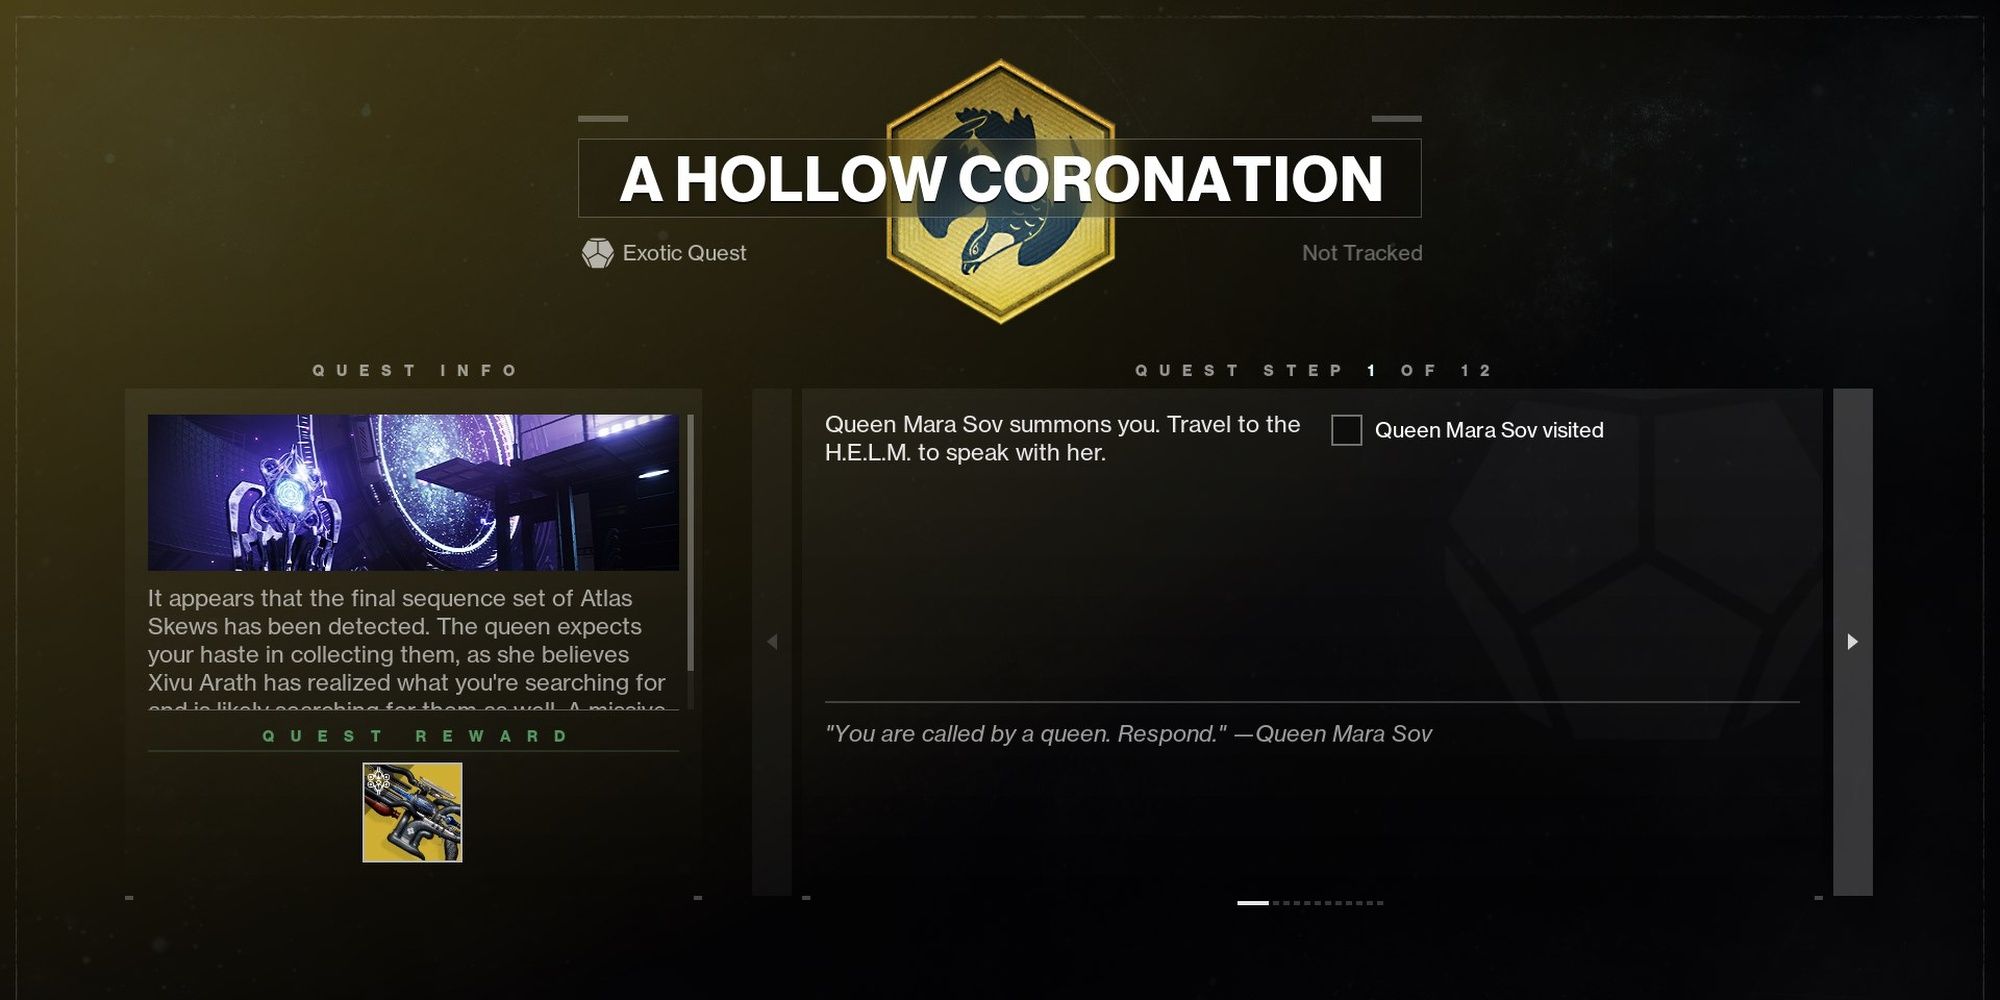
Once you've completed the previous three sets of Atlas Skews, head to the Wayfinder's Compass vendor in the H.E.L.M. It should be selling the "A Hollow Coronation" quest. Grab it to start the fourth and final Atlas Skew hunt to obtain Ager's Scepter.
You'll find all of this week's Atlas Skews in The Confluence, a hidden part of the Dreaming City that can only be accessed through Taken portals scattered throughout the zone. We'll show you two ways of reaching The Confluence.
How To Reach The Confluence
There are two ways of reaching The Confluence:
- A portal found in the lower floor of Harbinger's Seclude
- A portal found in the Gardens of Esila.
Confluence Path #1
Make your way to the northern end of Rheasilvia. Enter the giant Awoken structure to reach Harbinger's Seclude. Follow the path until you reach a staircase that leads to a massive elevator shaft. Descend the shaft, then hang right in the following room to find the portal.
Confluence Path #2
Head to the southern end of The Strand to find the Gardens of Esila entrance. When you reach the gardens, you'll want to look for a massive bridge that covers most of the zone. Climb up the cliffside beside the bridge, then run to the following courtyard to find a Taken portal.
|
Note: Since The Confluence isn't anywhere on the Dreaming City map, the following Atlas Skew image galleries will not have map references. Use the central room in The Confluence as a reference for the following locations, unless otherwise noted. |
Atlas Skew #1: Harbinger Cathedral
- Location: Confluence Path #1 (Harbinger's Seclude)
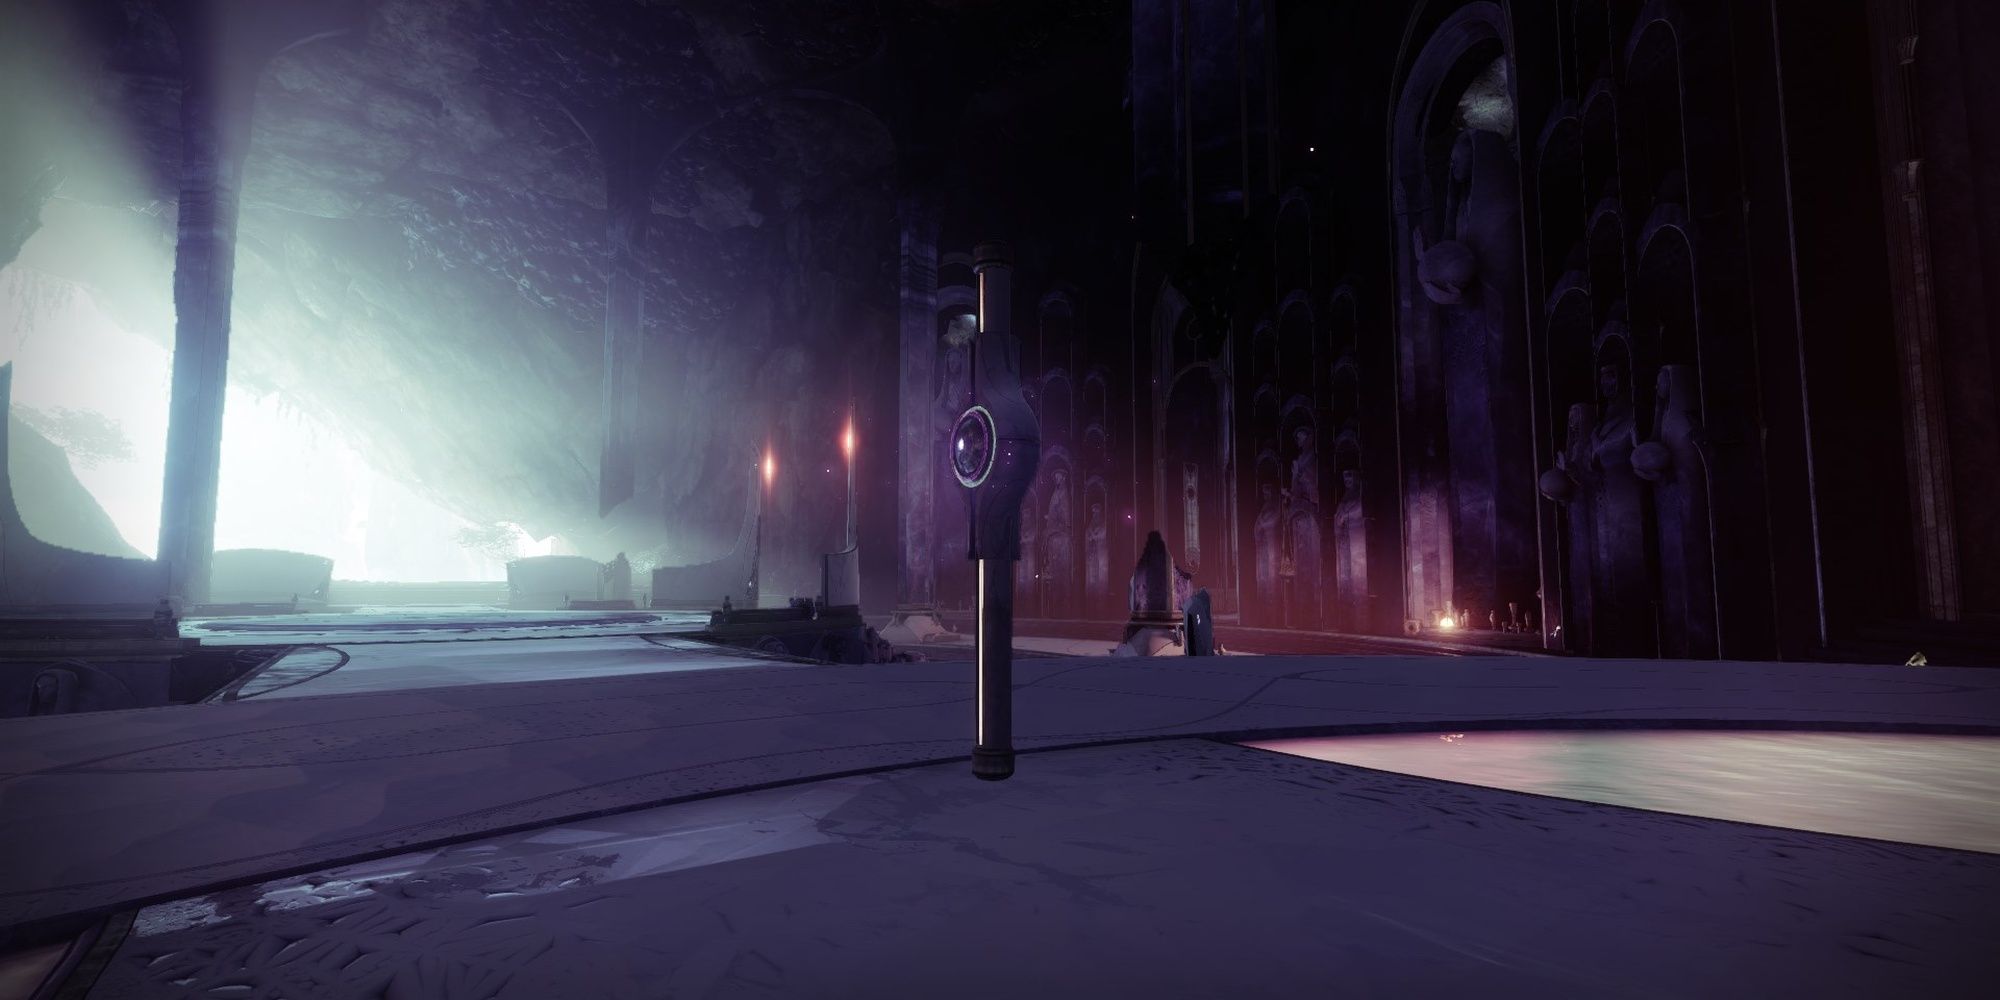
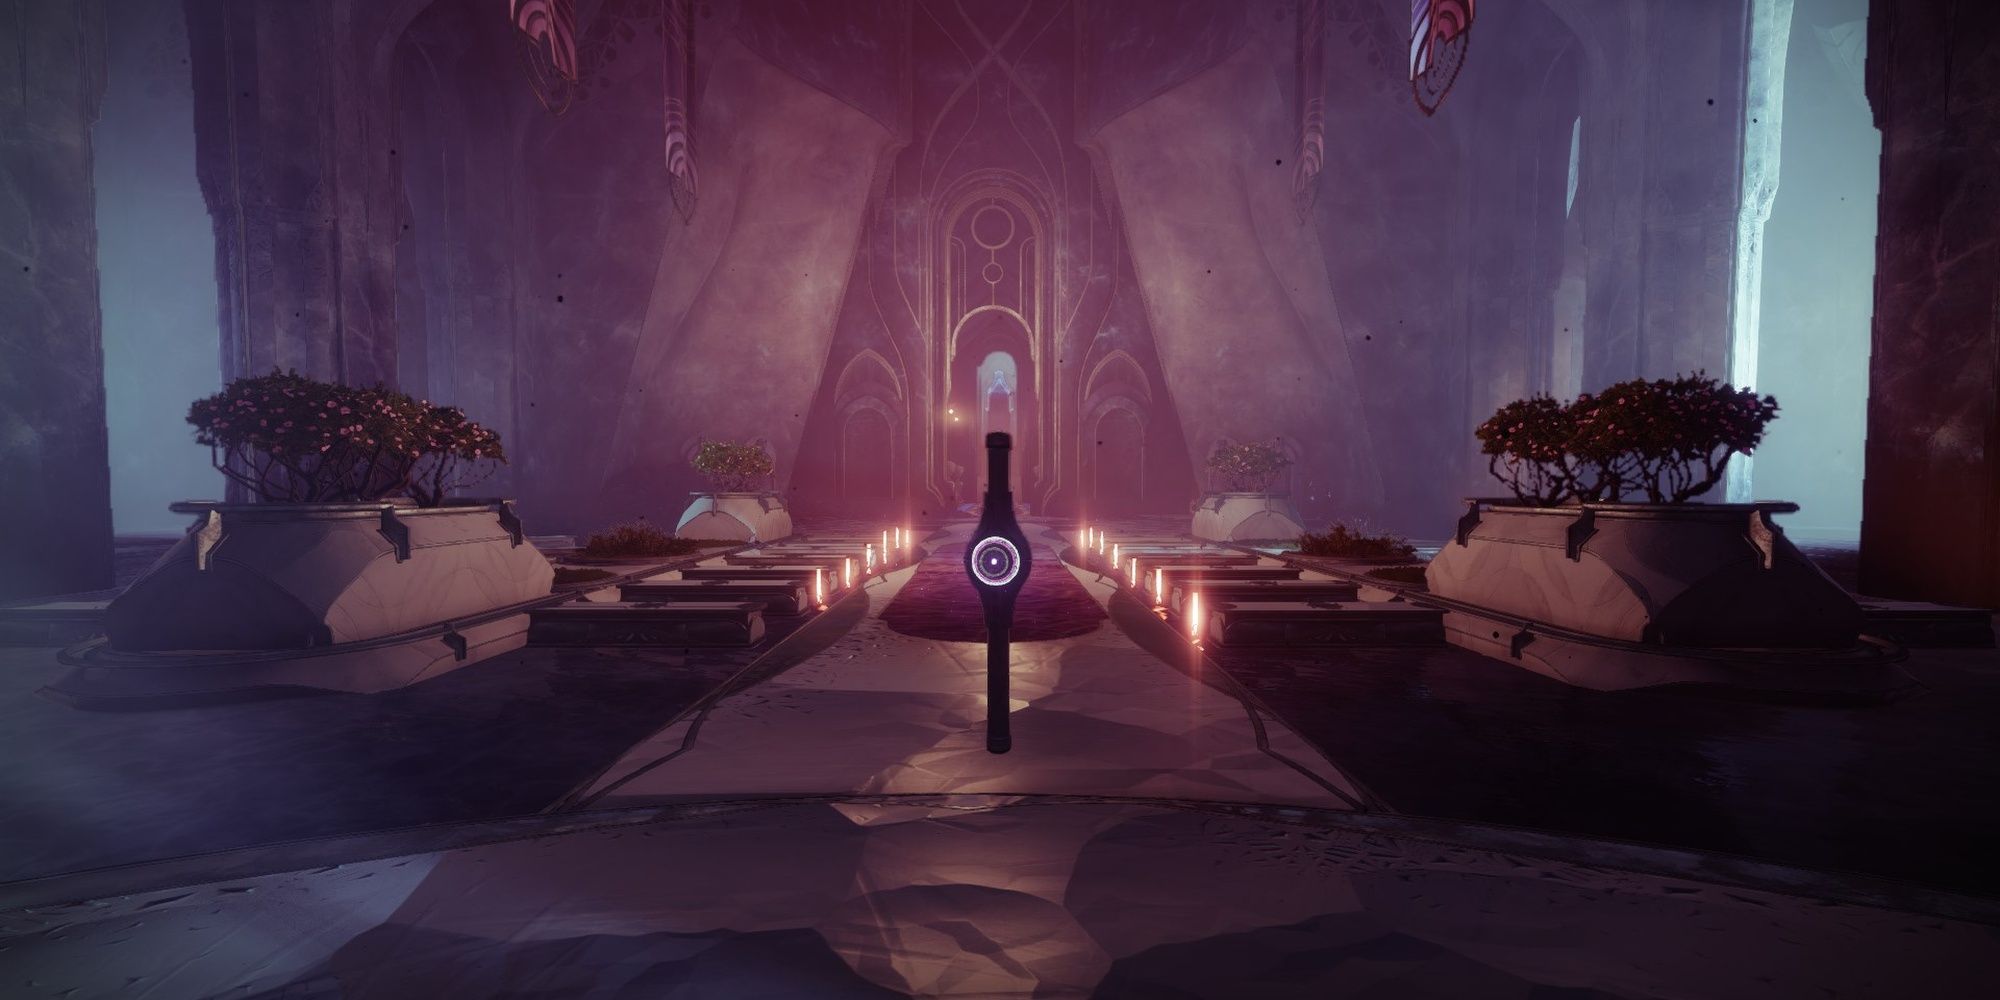
A cathedral can be found in one of The Confluence's wings. If you entered from Harbinger's Seclude/Confluence Path #1, it'll be to your left just after you enter the portal.
Atlas Skew #2: Confluence Tree Triad
- Location: The Confluence
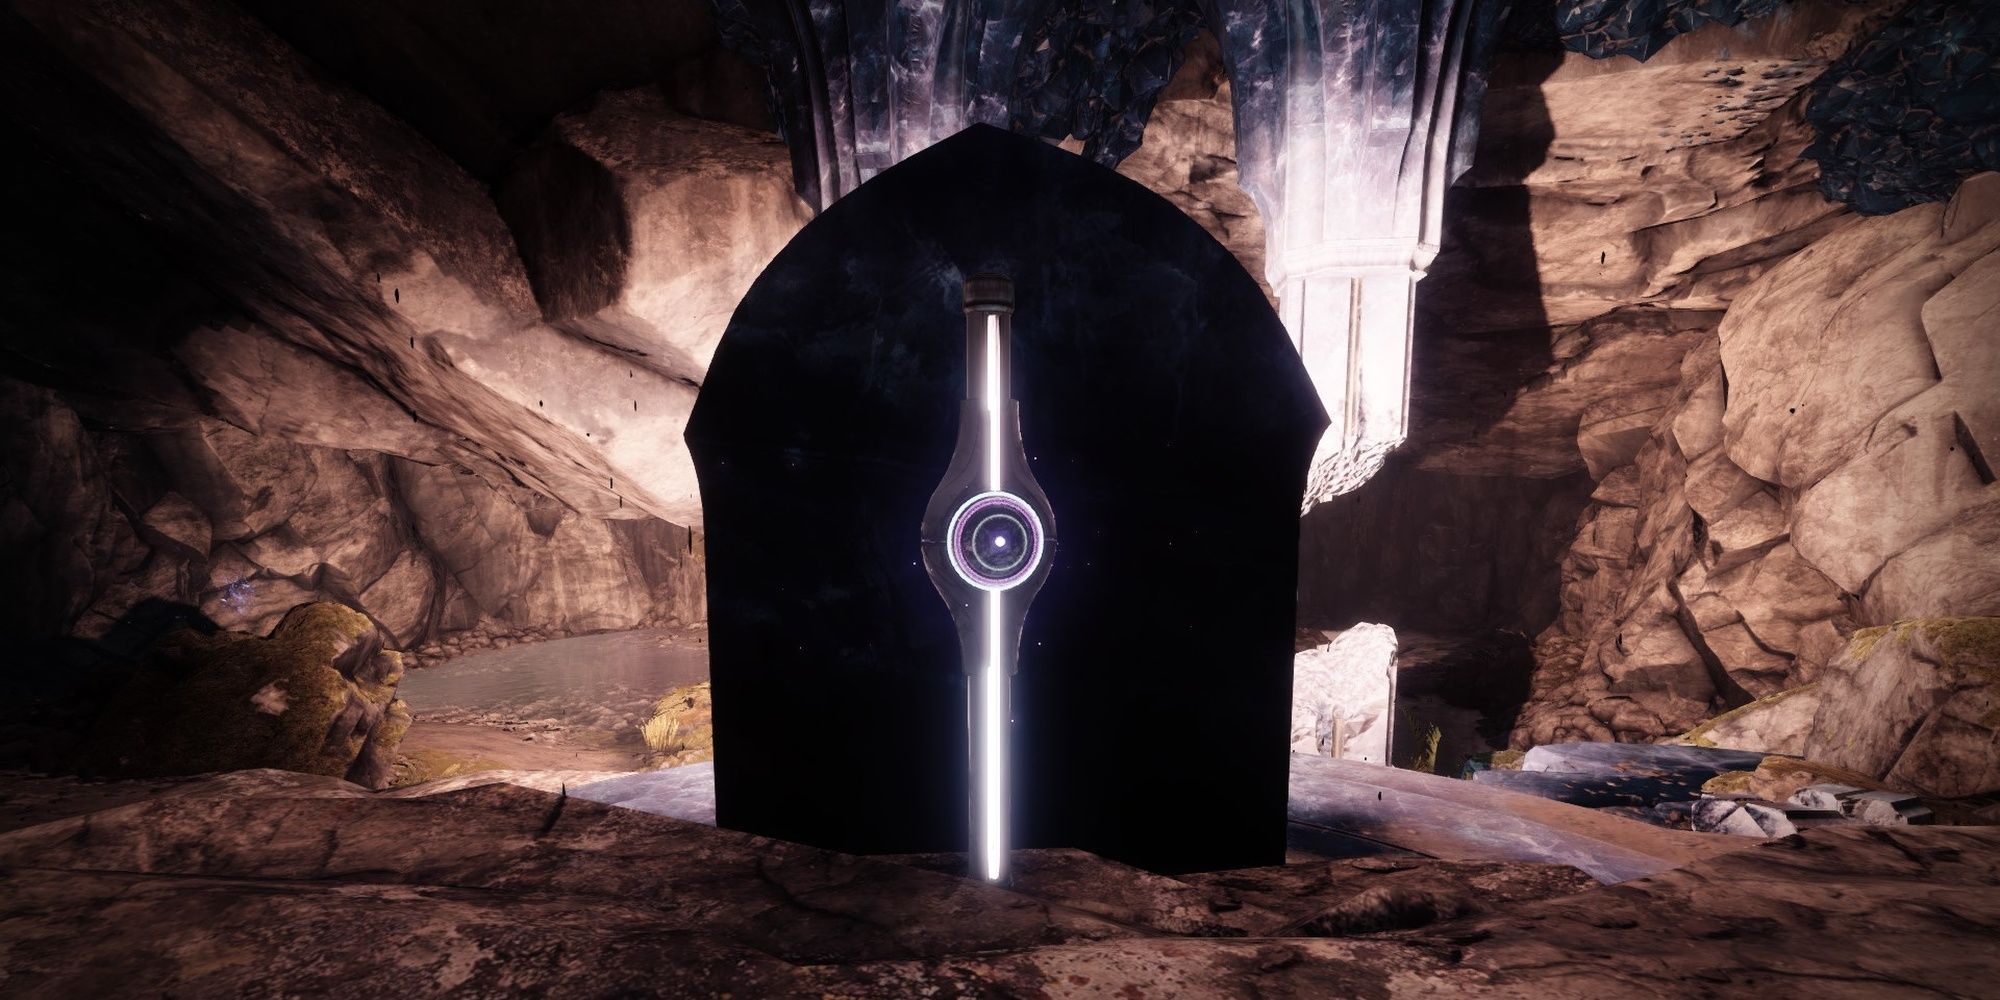
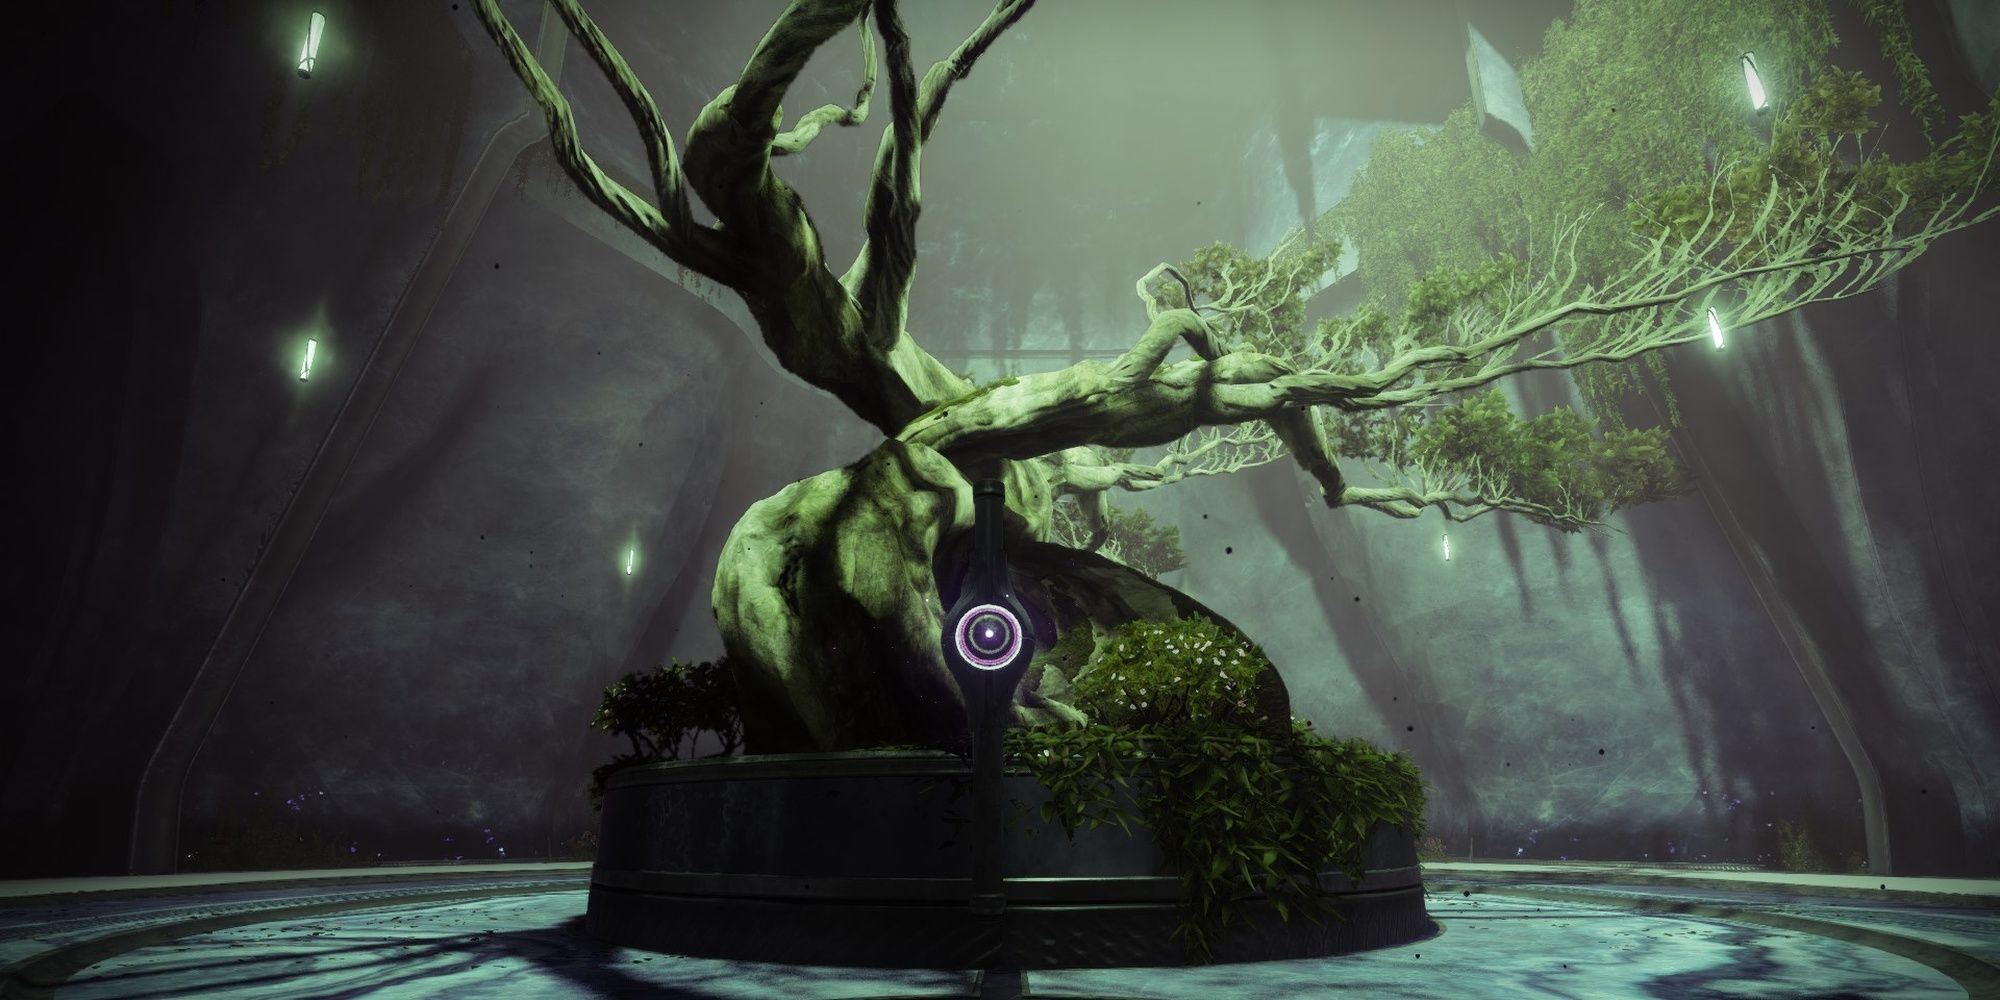
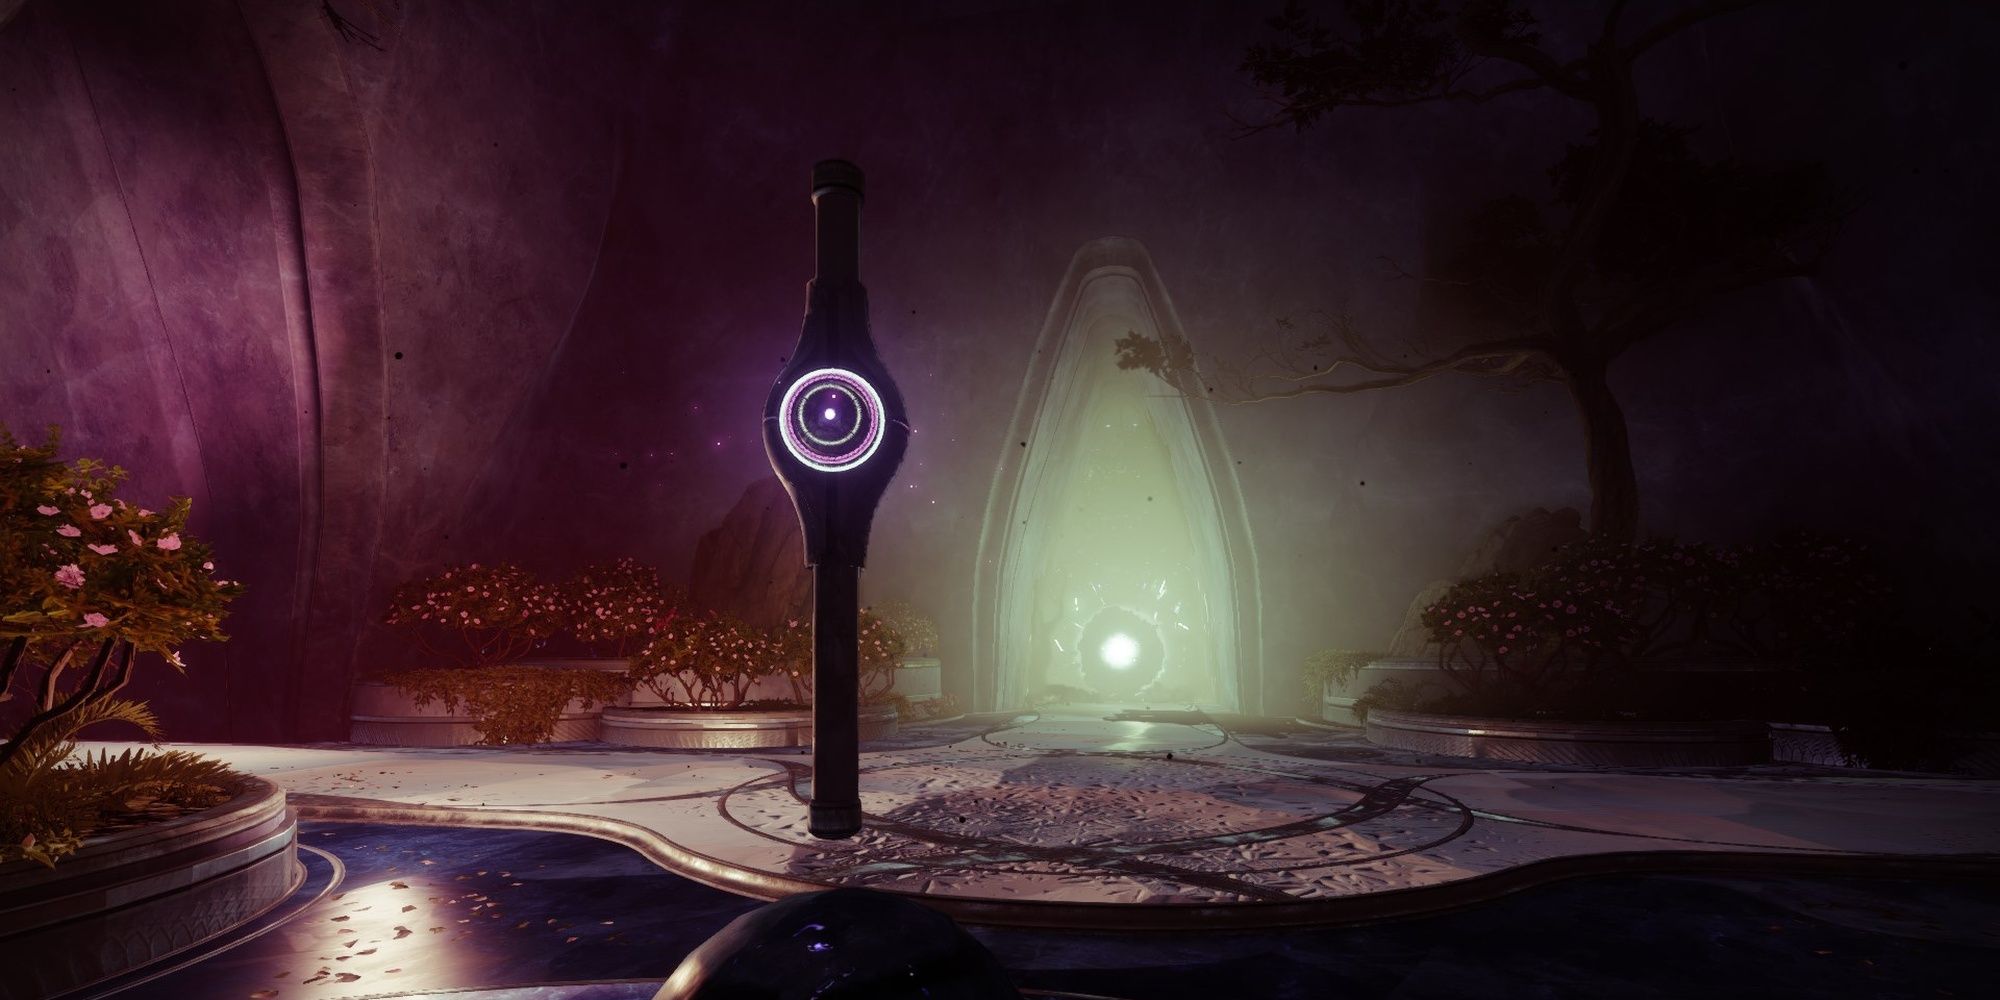
From the central room of The Confluence, look for a corridor that leads to a giant tree. Beside the tree will be an Atlas Skew.
Atlas Skew #3: Confluence Throne Portal
- Location: The Confluence
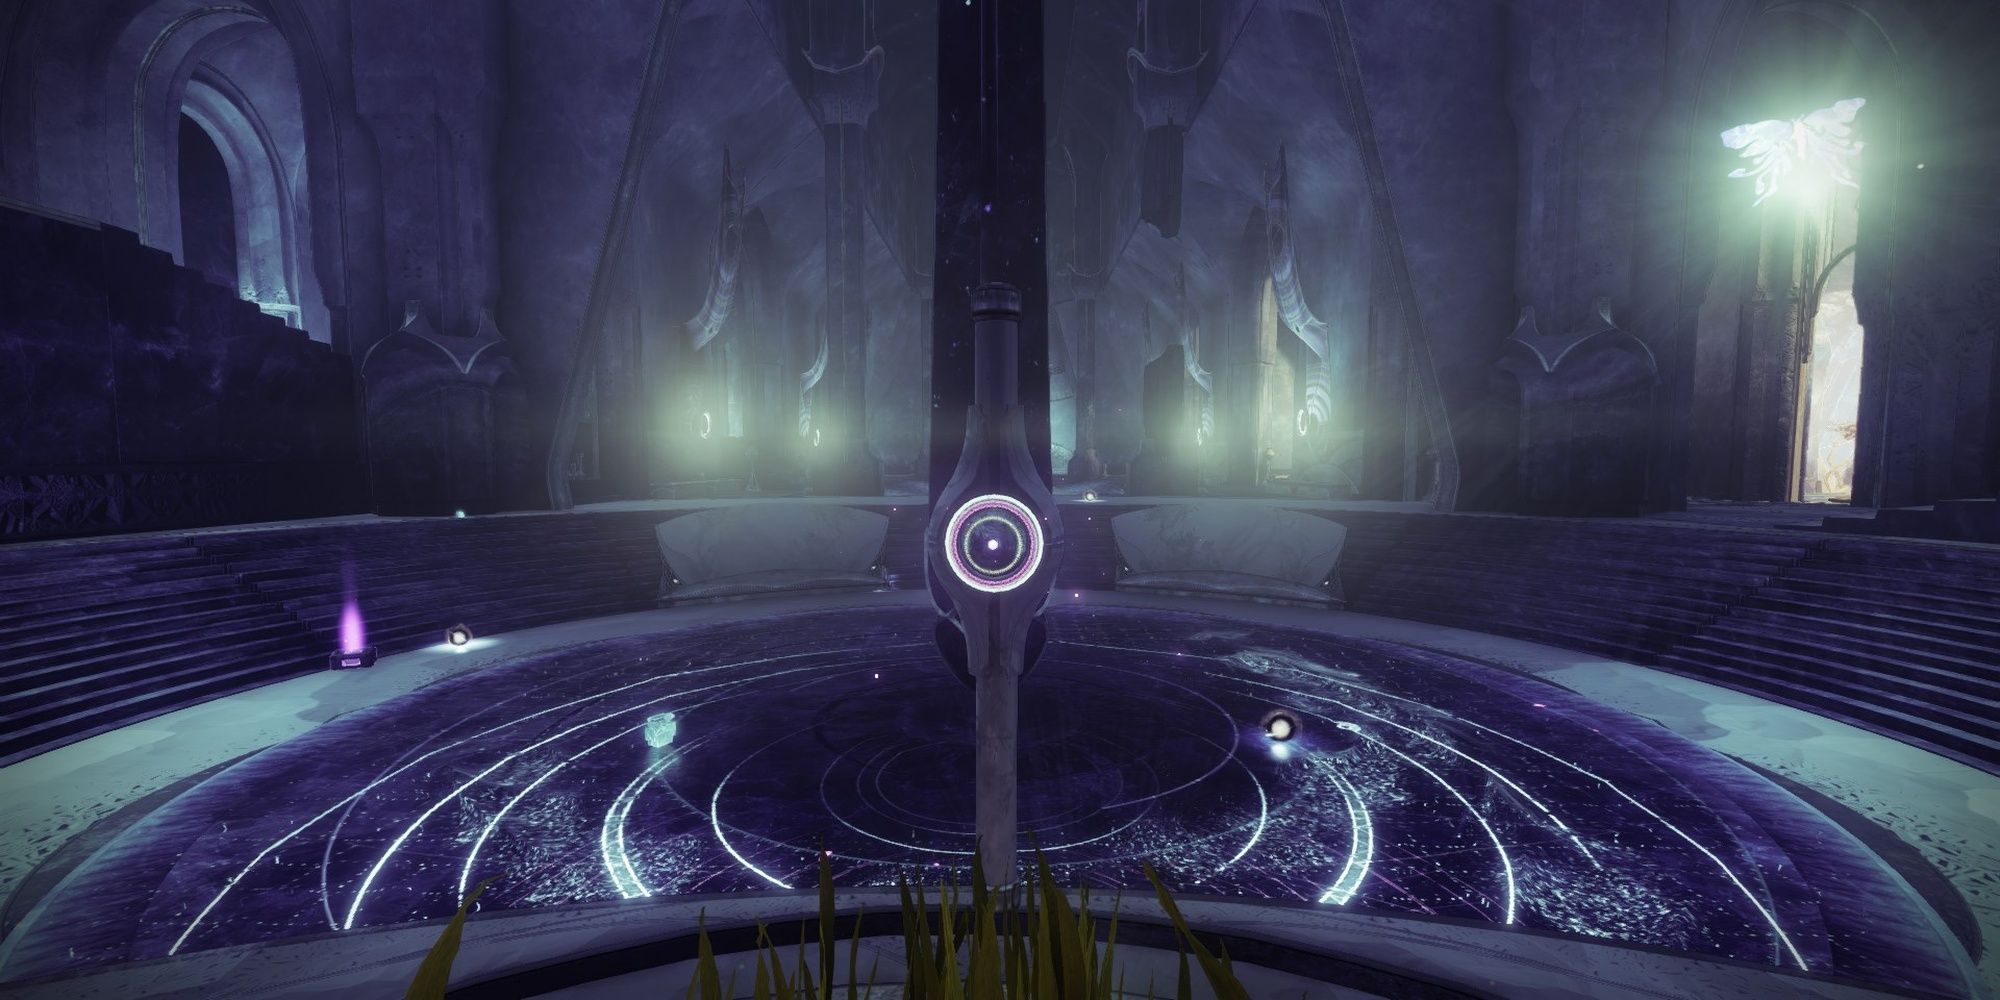
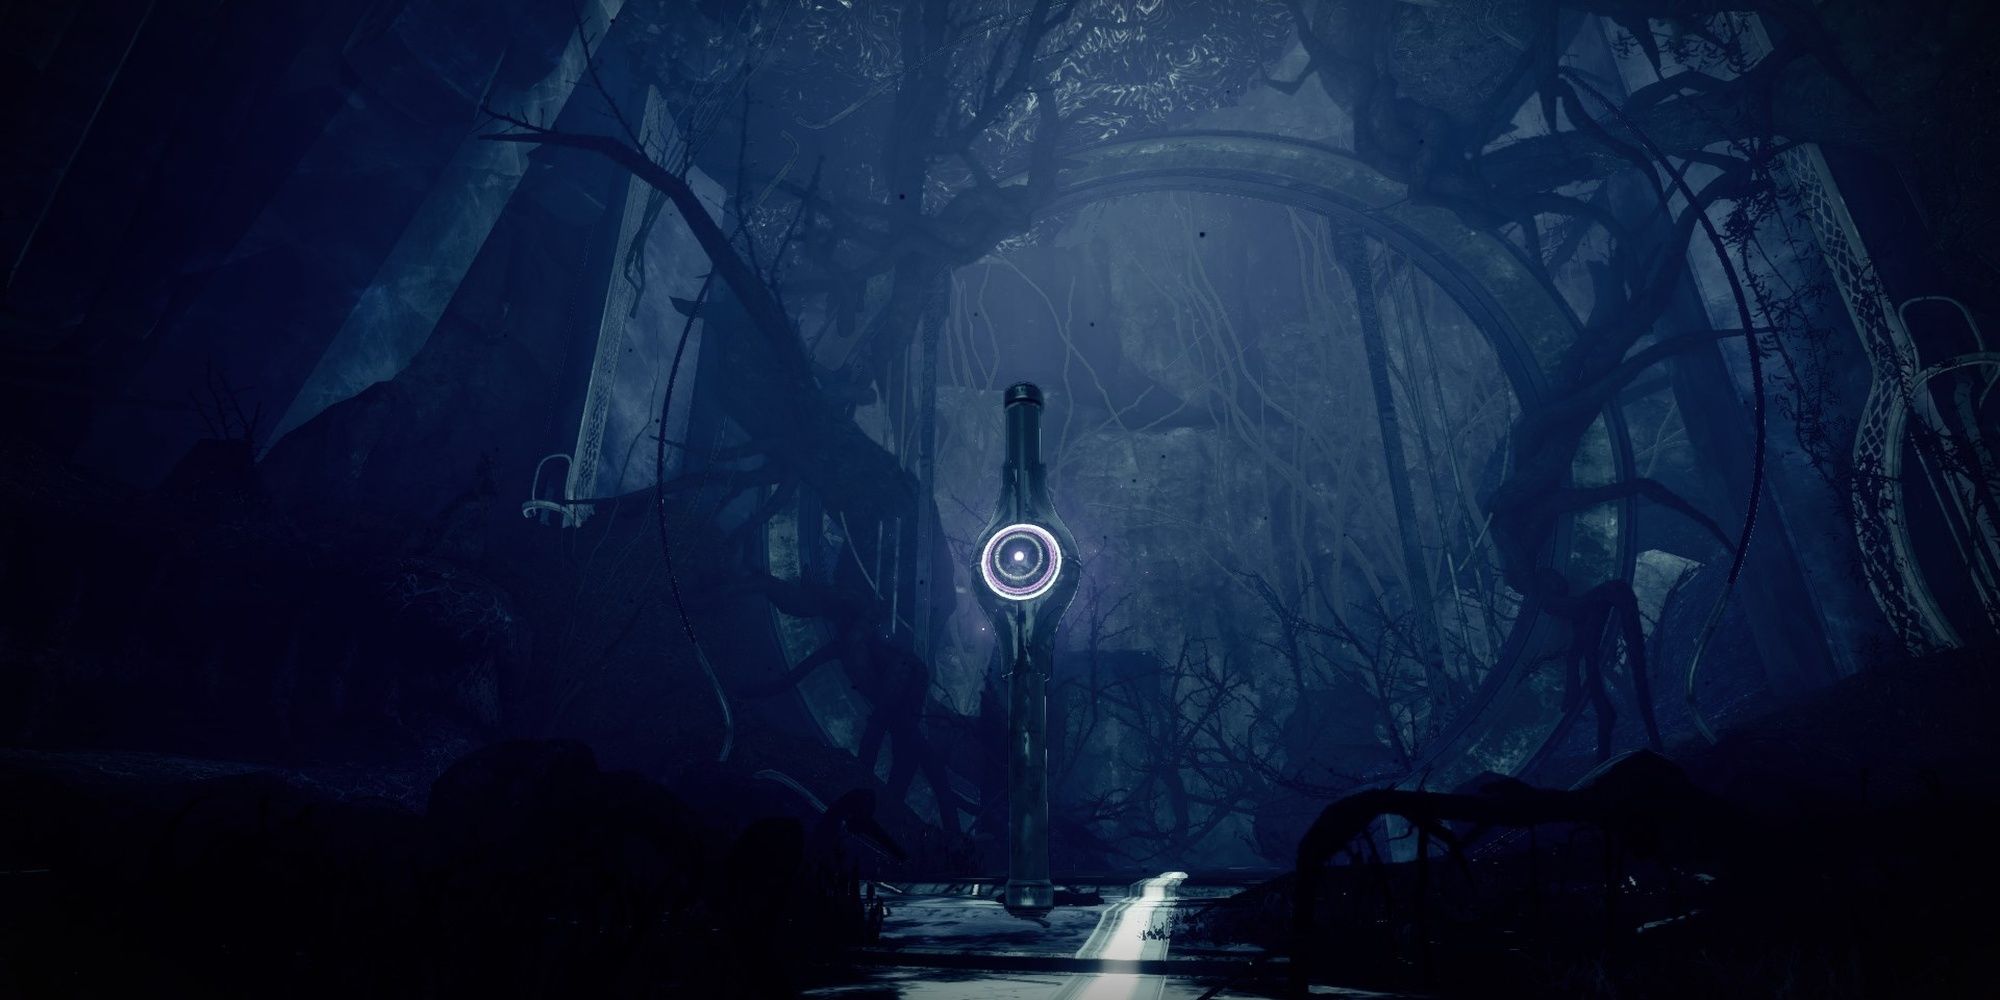
If you played during Forsaken, this Atlas Skew is where the Shattered Throne dungeon was originally started from. While at the central Confluence room, look for a room that mimics the Blind Well arena. The end of this room will have a circle-shaped portal frame surrounded by dead tree branches. You'll find the Atlas Skew near the branches.
Atlas Skew #4: Confluence Giant Crystal
- Location: The Confluence
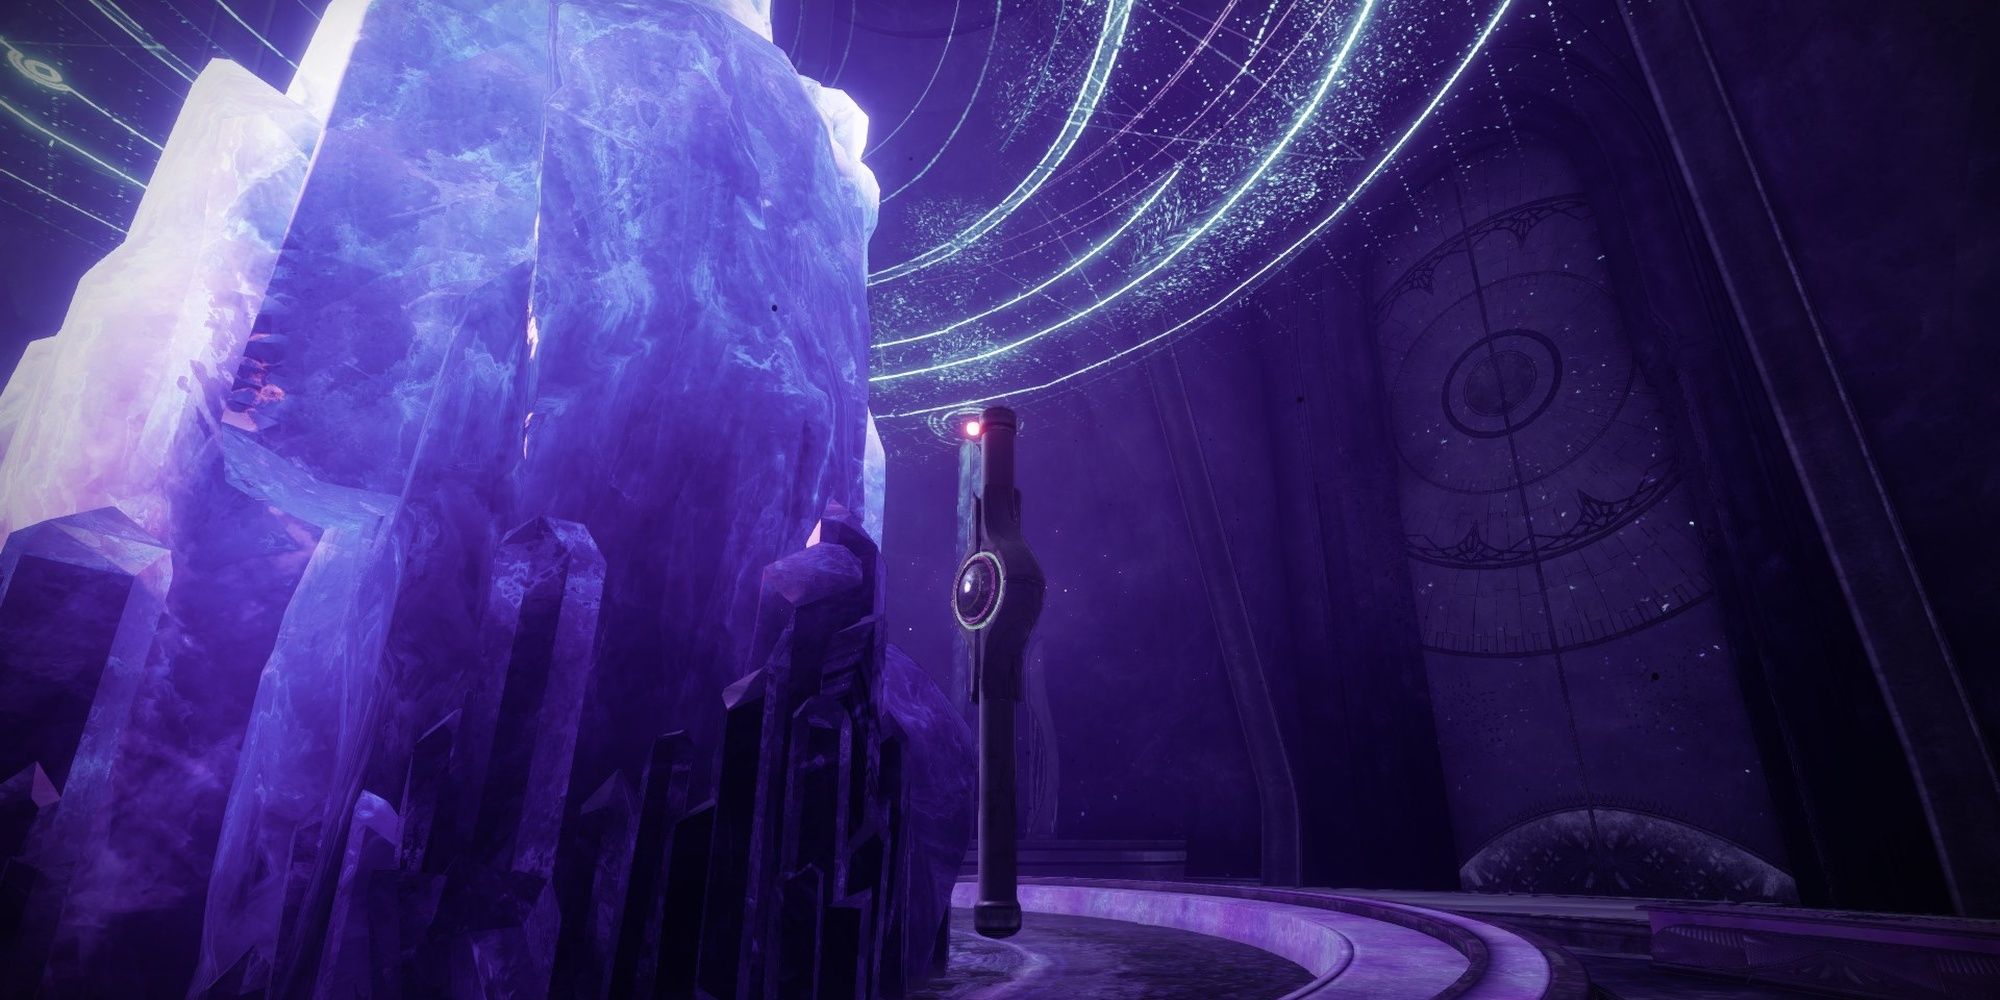
One of the rooms connected to The Confluence is a small, circular room with a giant crystal in the middle. Look for a corridor that leads to a crystal. The Skew is right beside the crystal.
Atlas Skew #5: Garden Entry Statue
- Location: The Confluence (Atlas Skew #2 tree room)
This Atlas Skew can be found after the Tree Triad corridor—the same room with Atlas Skew #2. If you came from the Gardens of Esila/Confluence Path #2, this Skew will be directly in front of you after you exit the portal. For everyone else, follow the corridor until you reach a Taken portal. The Atlas Skew is directly across from the portal at the other end of the room.
A Hollow Coronation – Ager's Scepter Exotic Quest Guide
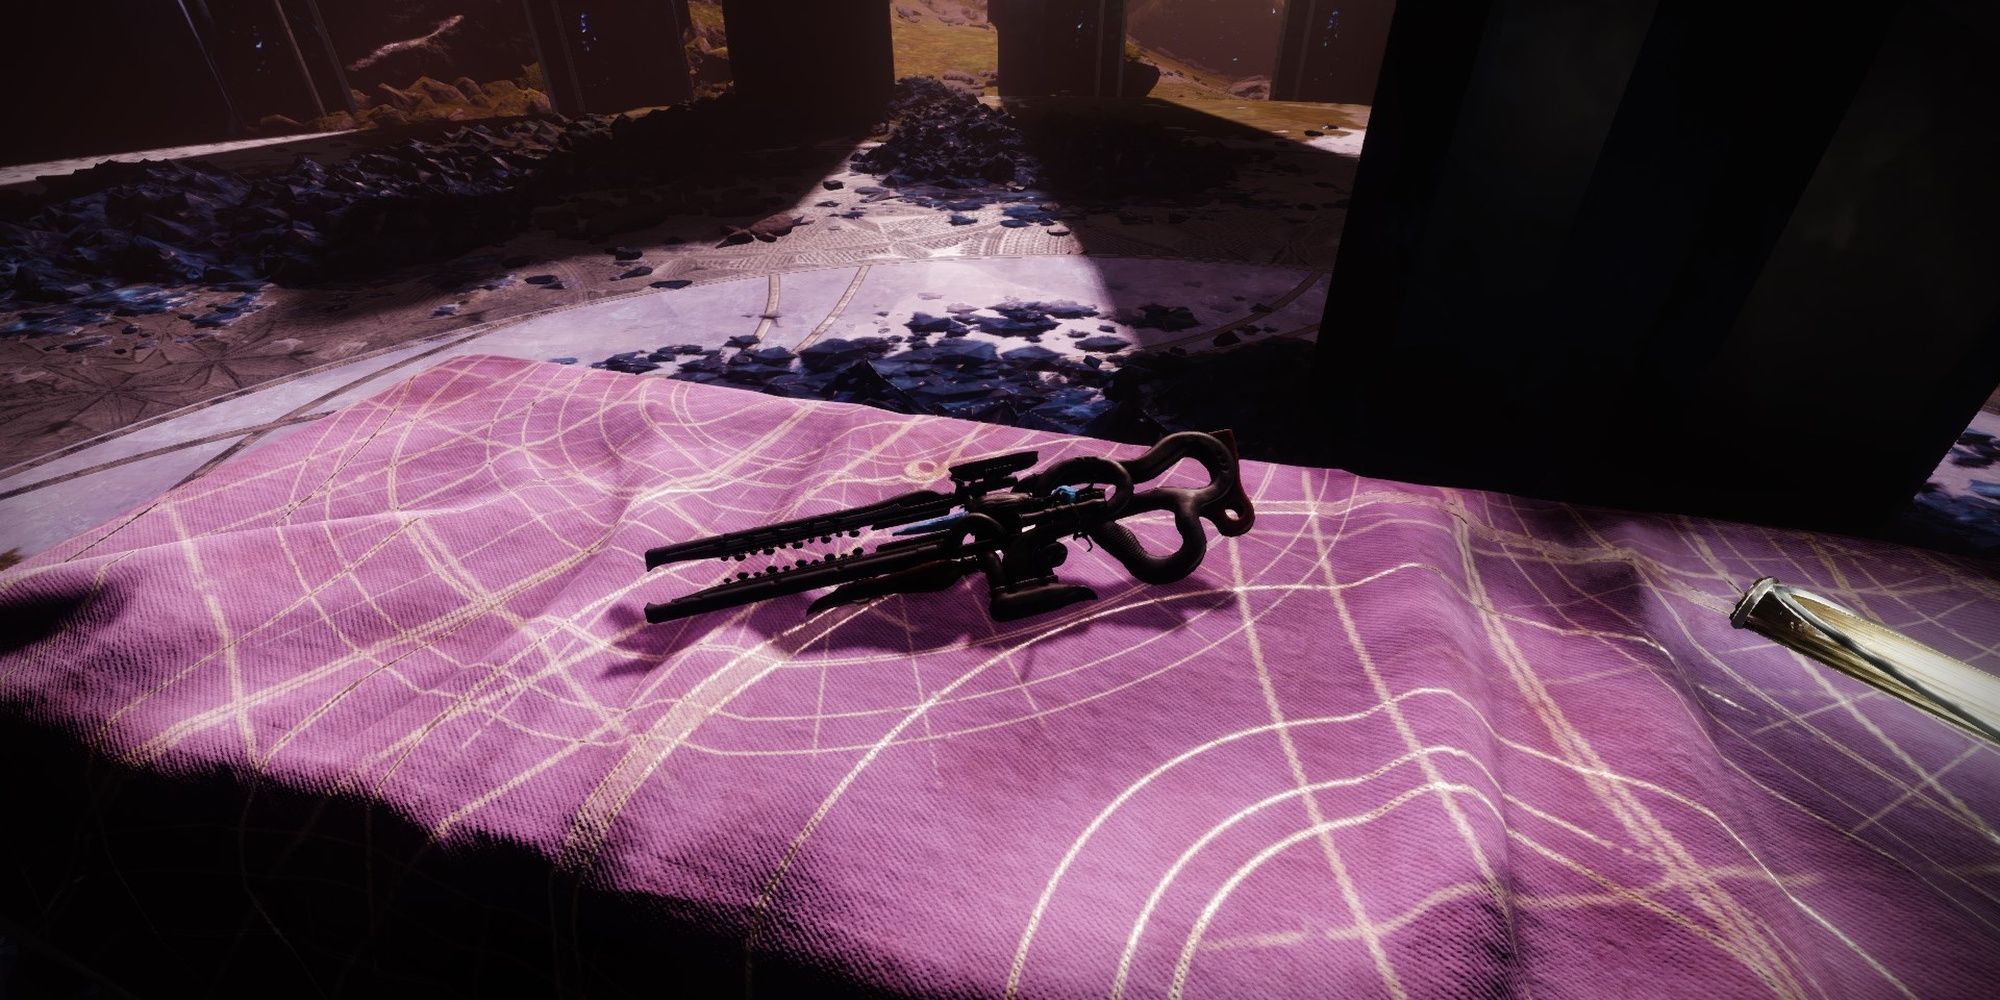
After you obtained the fourth and final set of Atlas Skews, start the "A Hollow Coronation" mission located in the H.E.L.M's Directory. Placing the final set of Skews will activate a portal once Uldren's dialogue is finished. Enter the portal, then interact with Ager's Scepter on the table. Mara Sov will state that you'll need a Noble Seal to remove the ward.
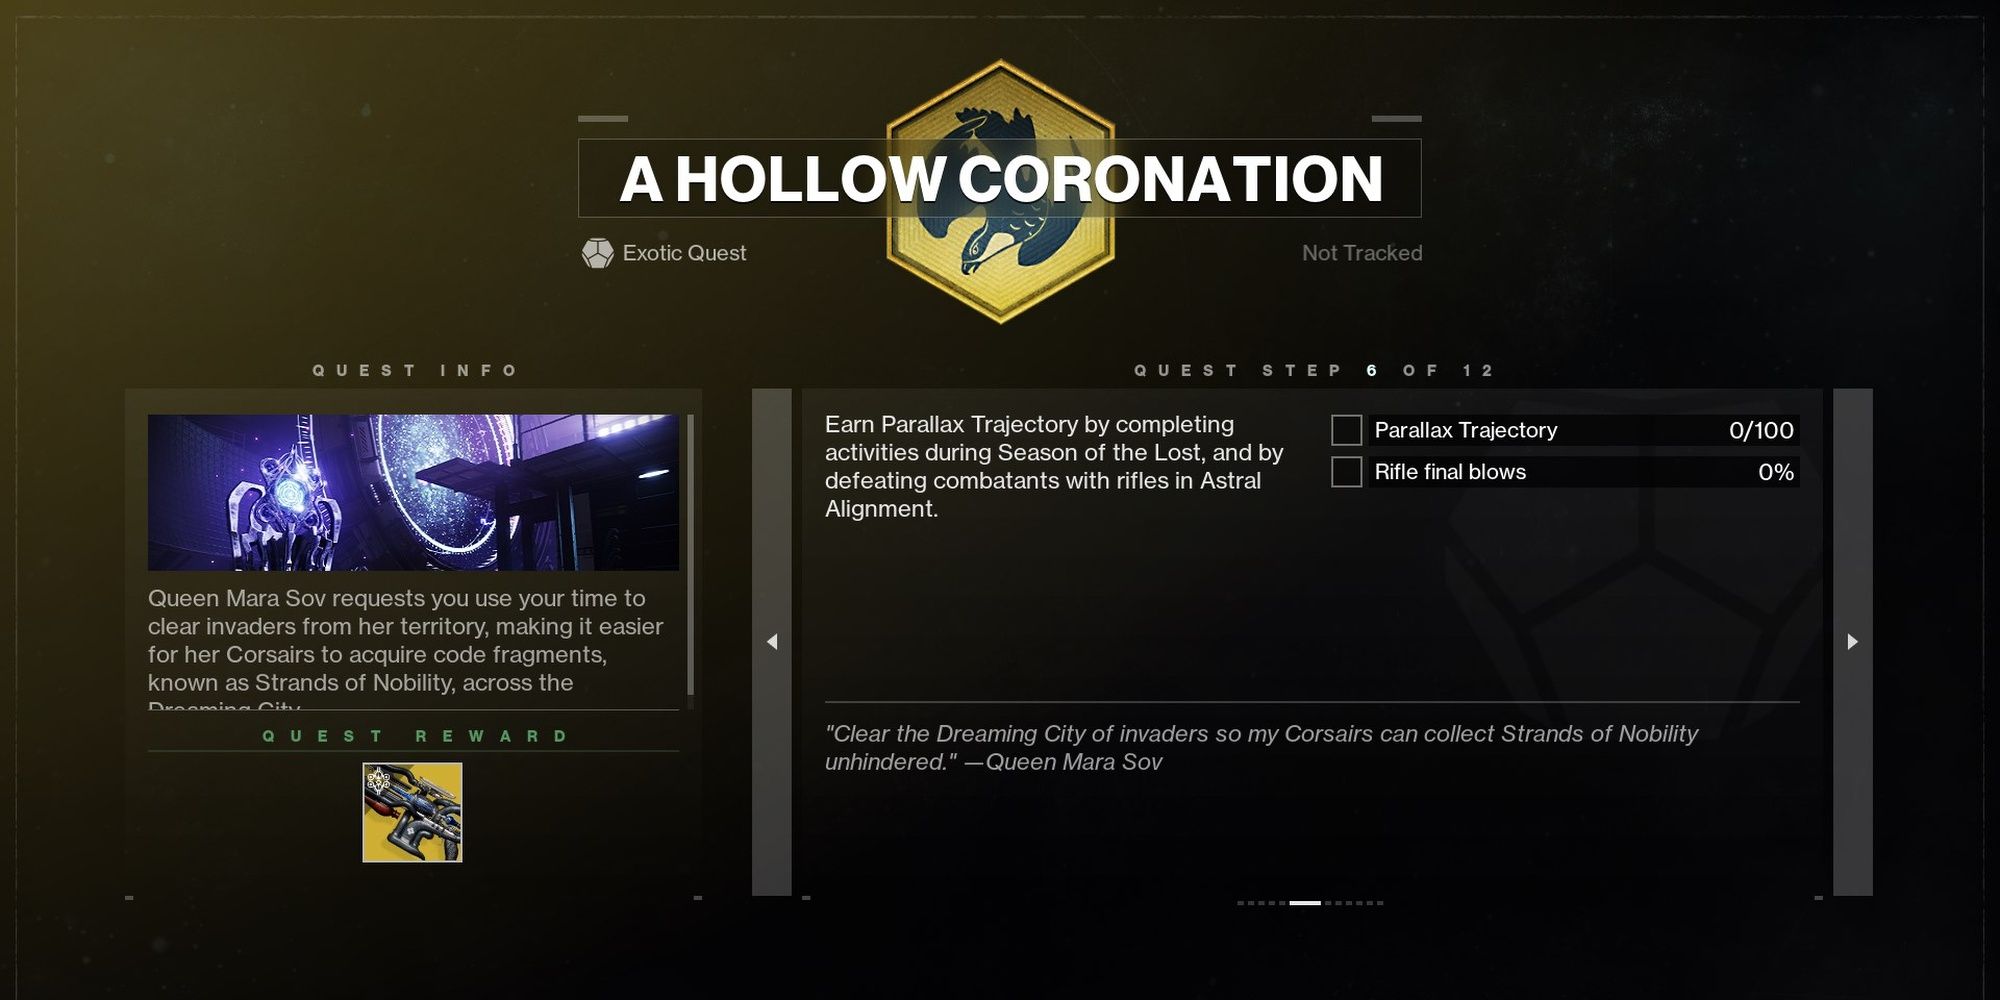
Step #6: Parallax Trajectory And Rifle Kills
Objectives:
- Earn 100 Parallax Trajectory
- Defeat enemies in Astral Alignment with Rifles.
"Rifles" is any weapon archetype that has the name "rifle" in it. You can use:
- Auto Rifles
- Scout Rifles
- Pulse Rifles
- Fusion Rifles
- Sniper Rifles
- Trace Rifles
- Linear Fusion Rifles
Keep in mind that you'll need quite a few Rifle kills for this part. A good Primary rifle will work wonders here. Gnawing Hunger, Monte Carlo, Vex Mythoclast, and Prometheus Lens are good options for this step.
As for the Parallax Trajectory, they can be obtained from anywhere; it doesn't have to be from Astral Alignment. A single ritual activity completion will finish that part of the quest step.
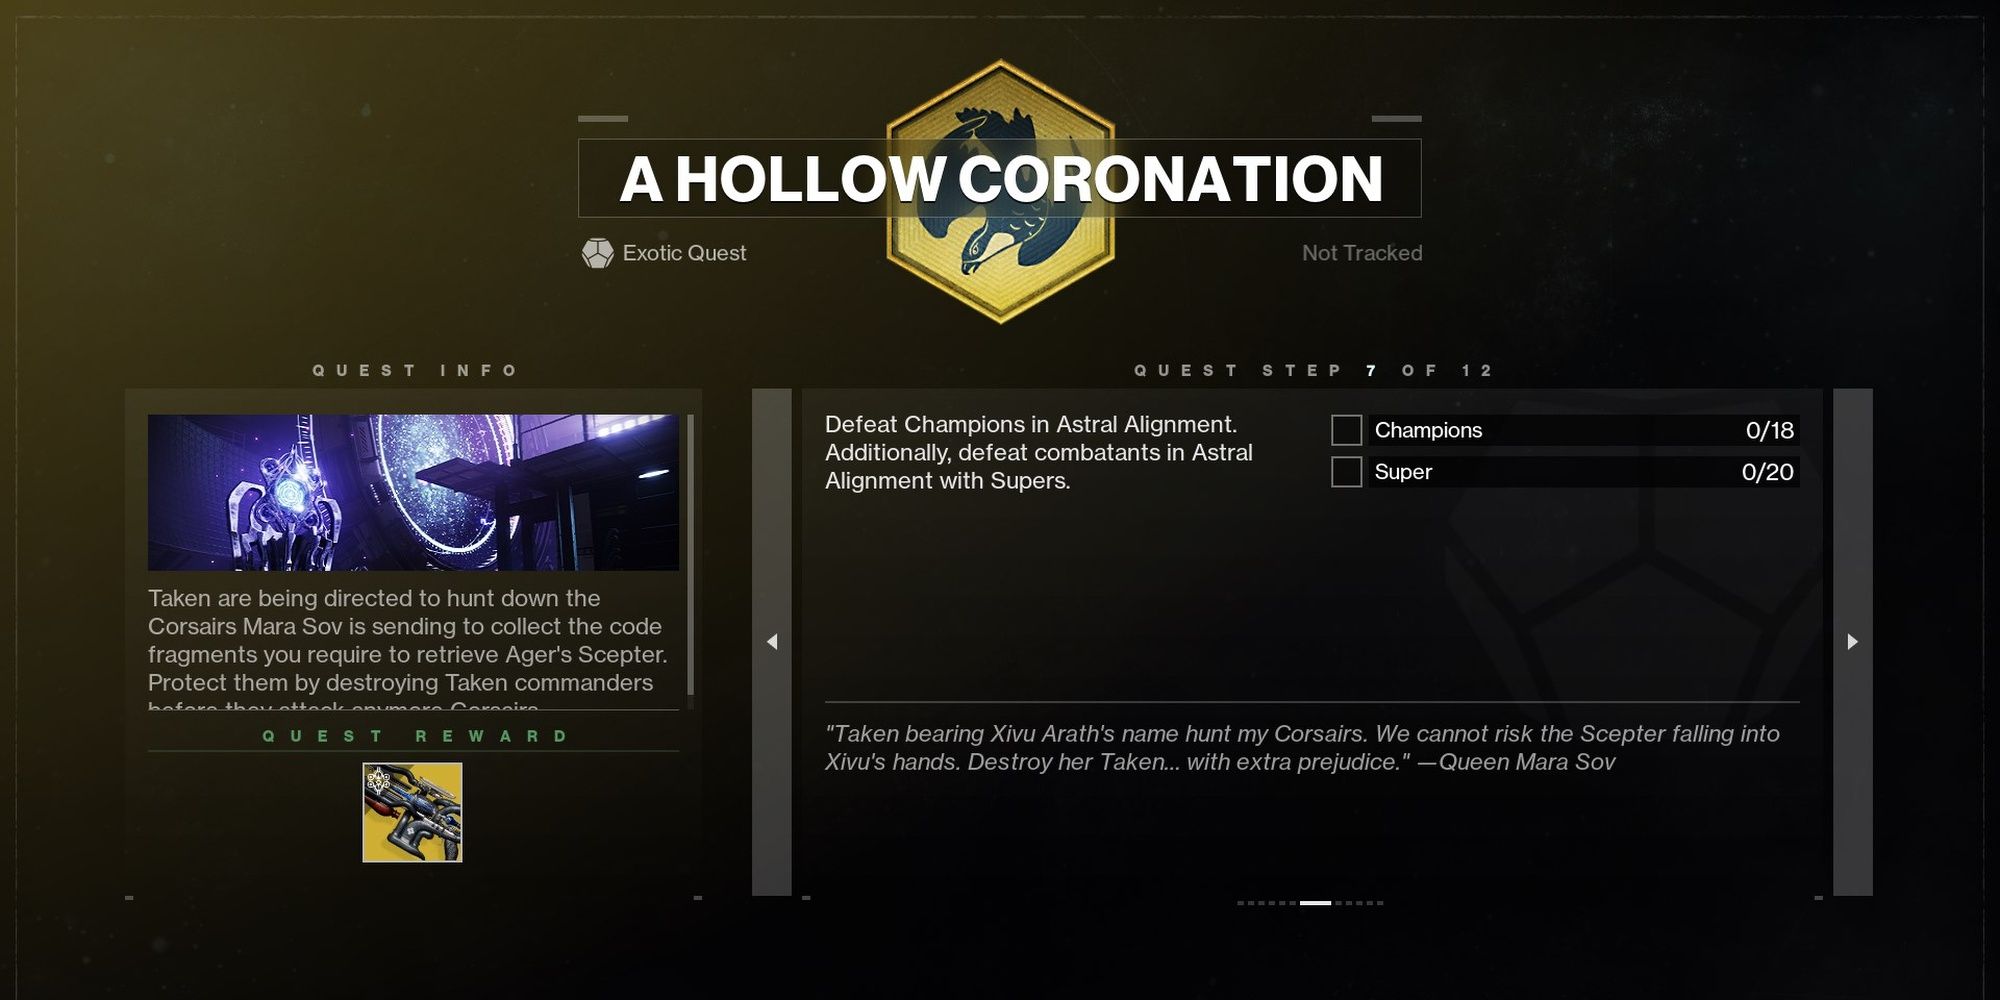
Step #7: Astral Alignment Champions And Supers
Objectives:
- Defeat 18 Champions in Astral Alignment
- Land 20 Super final blows in Astral Alignment.
Fortunately, you don't need to land the final blow on a Champion to finish the first part. So long as you damage the Champion before it dies, you'll gain progress. Use a roaming Super to get the second part done quickly. You'll need to play around 2-3 Astral Alignment matches to finish this step.
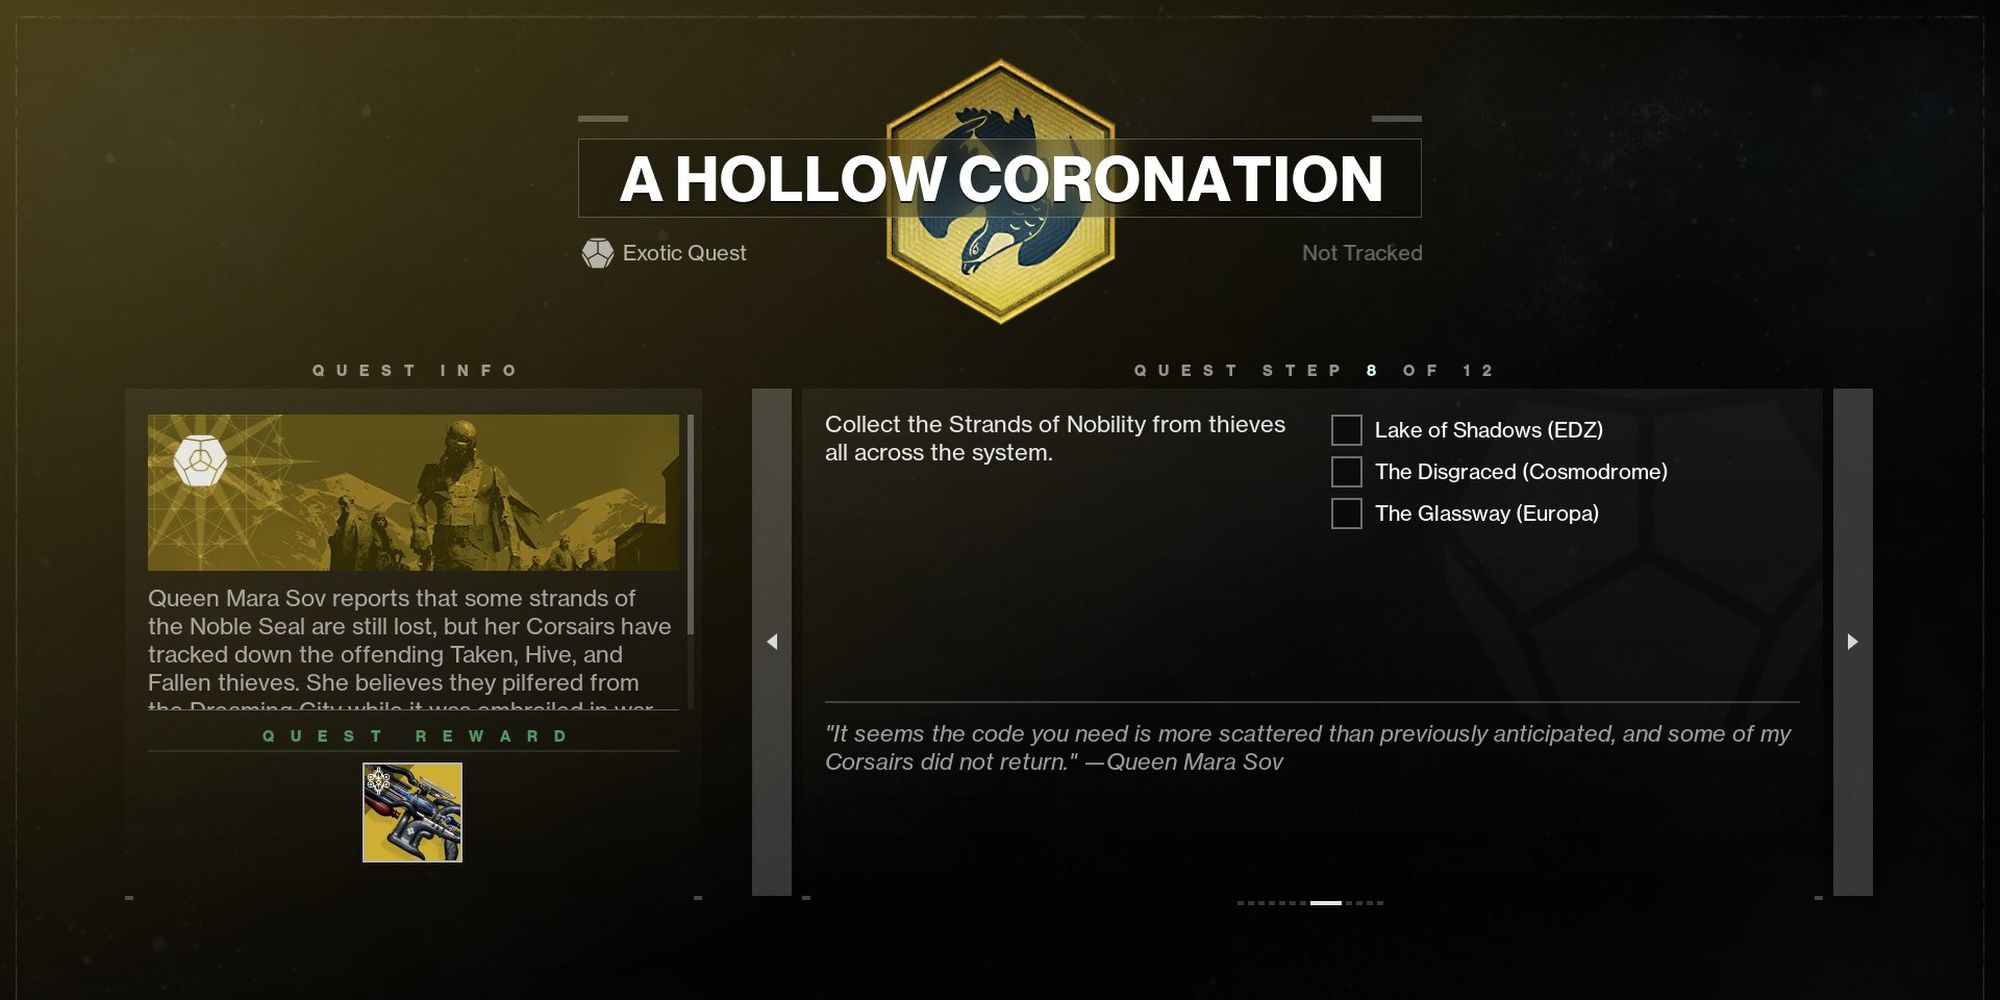
Step #8: Collect Strands Of Nobility
Clear the following strikes:
- Lake of Shadows (EDZ)
- The Disgraced (Cosmodrome)
- The Glassway (Europa)
Strands of Nobility is an Exotic item that drops from the final boss chest in the abovementioned strikes. Clear each strike to obtain all three of them. You can queue for the specific strikes on their respective planet to obtain these faster.
Steps #9-12: Claim Ager's Scepter
With all that busywork done, go talk to Mara Sov at the H.E.L.M. She'll give you a Noble Seal, an item that resides in your Kinetic weapon slot. Grab it, then queue up the "A Hollow Coronation" mission one last time. You'll be able to interact with the ward guarding Ager's Scepter to claim the gun.
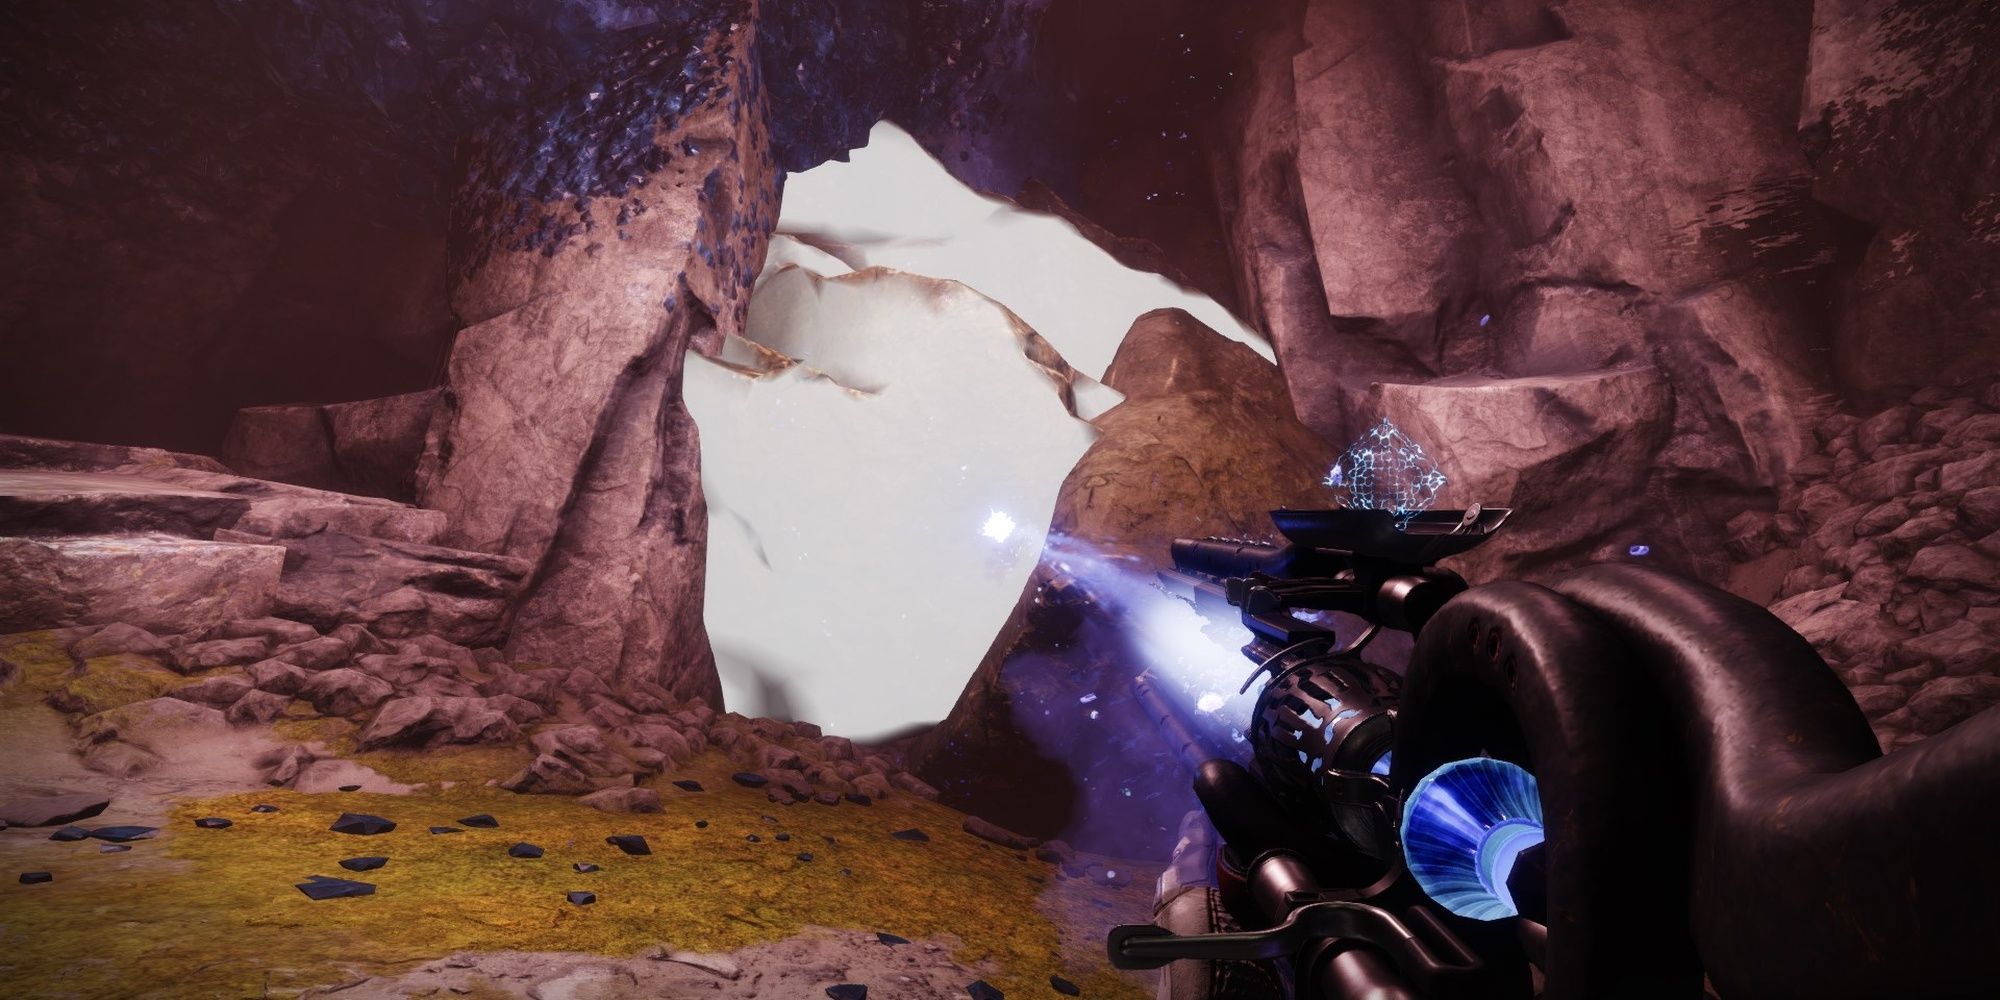
The remaining quest steps just require you to complete the mission. Use your newfound Stasis Trace Rifle to destroy the rocks in front of you. If the rock glows a bright white color, you're dealing damage to it. The next room will be swarmed with Hive enemies, nothing your new Exotic can't handle. Clear out all of the enemies, then speak to Mara Sov at the H.E.L.M. to finish the quest.
Ager's Scepter Perks And Catalyst
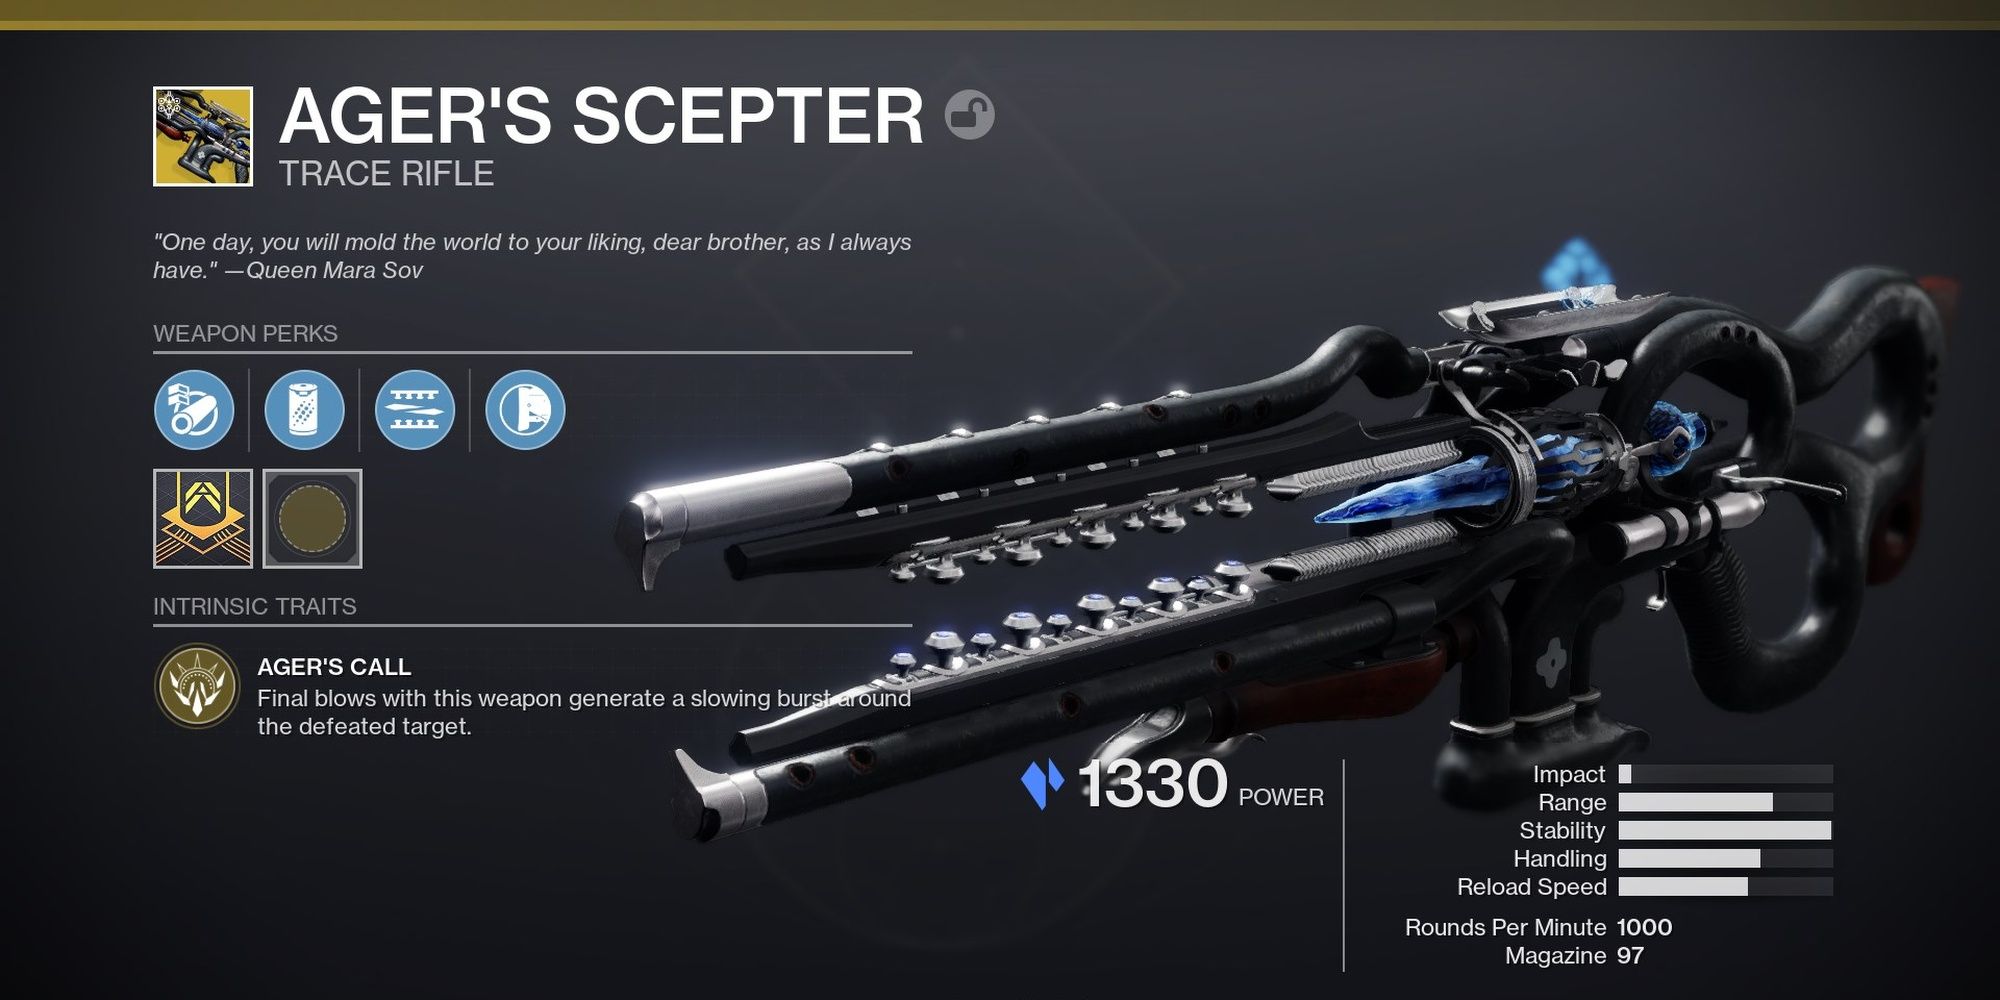
Ager's Scepter is an Exotic, Stasis Trace Rifle that resides in the Kinetic weapon slot. The weapon comes with the following perks:
|
Ager's Call |
Exotic Trat |
Final blows with this weapon generate a slowing burst around the defeated target. |
|
Arrowhead Brake |
Barrel |
+30 Recoil and +10 Handling |
|
Particle Repeater |
Battery |
+10 Stability |
|
Rega's Refrain |
Trait |
Stasis final blows transfer ammo to this weapon's magazine from reserves. |
|
Hand-Laid Stock |
Stock |
+10 Stability |
Ager's Call creates a small slow pulse after it lands a kill. This slow typically freezes minor opponents in PvE, benefiting from Stasis Fragments such as Whisper of Fissures. This pulse effect can chain if it shatters targets. Enemies slain while slowed by Ager's Call can spawn Stasis Shards if a Harvest Aspect is equipped.
Rega's Refrain reloads a small portion of the weapon upon any Stasis final blow; Stasis ability kills will partially reload the weapon as well.
One final note: this weapon can break various rocks found in the Shattered Realm missions, similar to how Wish-Ender can break Dreaming City eggs. These rocks typically hide Ascendant Anchors and hidden chests, so completionists will want to get this weapon ASAP before delving into the Shattered Realm once again.
How To Obtain Ager's Scepter's Catalyst
Ager's Scepter's Catalyst is obtained from Wayfinder's Troves found in the Astral Alignment activity. These chests cost 150 Parallax Trajectory to open—100 if you've upgraded your Wayfinder's Compass. The Catalyst isn't guaranteed, so you might have to run quite a few Astral Alignments to get the Catalyst to drop.
Once you have the Catalyst, you'll need to kill 1,000 enemies to Masterwork it. Defeating enemies with precision kills will speed up this part, and destroying Illusory Barriers will grant a massive chunk of progress. Illusory Barriers are rocks found in the Shattered Realm that emit a faint purple glow. Only Ager's Scepter can destroy them. If you don't want to hunt down Illusory Barriers, you can boot up the Shattered Throne or Shuro Chi checkpoint in Last Wish to farm 1,000 kills.
|
Note: As of writing, Illusory Barriers do not grant Catalyst progress. |
What The Catalyst Does
The Ager's Scepter Catalyst adds a new perk named Will Given Form. Here's what it does:
- Will Given Form: Hold reload to drain Super energy, overflowing the magazine and empowering the beam with bonus damage and the ability to slow and freeze targets until the magazine or Super energy runs out, or the weapon is stowed. Can only be activated when Super energy is full.
Once your Super is full, you can hold the reload button to activate Will Given Form, consuming 20% of your Super energy. While in this state, Ager's Scepter deals 80% more damage, inflicts Slow with each hit, and overflows its magazine to 194 rounds. This effect ends when you stow the weapon, your Super bar reaches 0%, or your weapon has to reload.
It's worth noting that you can still receive Super energy while Will Given Form is active. You can grab Orbs of Power, use the Well of Potency mod alongside Elemental Wells, or use the Warlock Exotic Mantle of Battle Harmony to maintain the effect for extended periods.

