Quick Links
The Dreaming City's Lost Sectors were finally added to Destiny 2's Legendary Lost Sector pool in Season of the Lost. One of these Lost Sectors, Aphelion's Rest, is arguably one of the game's easier Lost Sectors to farm. So long as you're patient—or have a high enough Power level—you can clear this Lost Sector without much issue.
If you want to obtain some of the game's best Exotics, this is a solid Lost Sector to clear multiple times. We'll be going over the modifiers tied to Aphelion's Rest, which weapons and subclasses you should bring, and give a detailed look at the various enemies you'll face in each encounter.
Updated September 1, 2023, by Charles Burgar: Aphelion's Rest became slightly easier with Season of the Witch, mostly due to the new Artifact perks. Players can now easily counter Overload and Unstoppable Champions with some powerful weapon options, and the current Singes make certain builds stronger than ever in this Lost Sector. We've updated this guide with new loadout recommendations, reflecting the new Artifact perks and recent sandbox changes.
Modifiers And Recommended Loadout

The third and final Legendary Lost Sector in the Dreaming City, Aphelion's Rest is a fairly easy Lost Sector if you take it slow. The Master variant demands a slow pace, mostly due to the presence of Attrition. These are the modifiers you'll be dealing with:
Aphelion's Rest Modifiers
Recommended Loadout
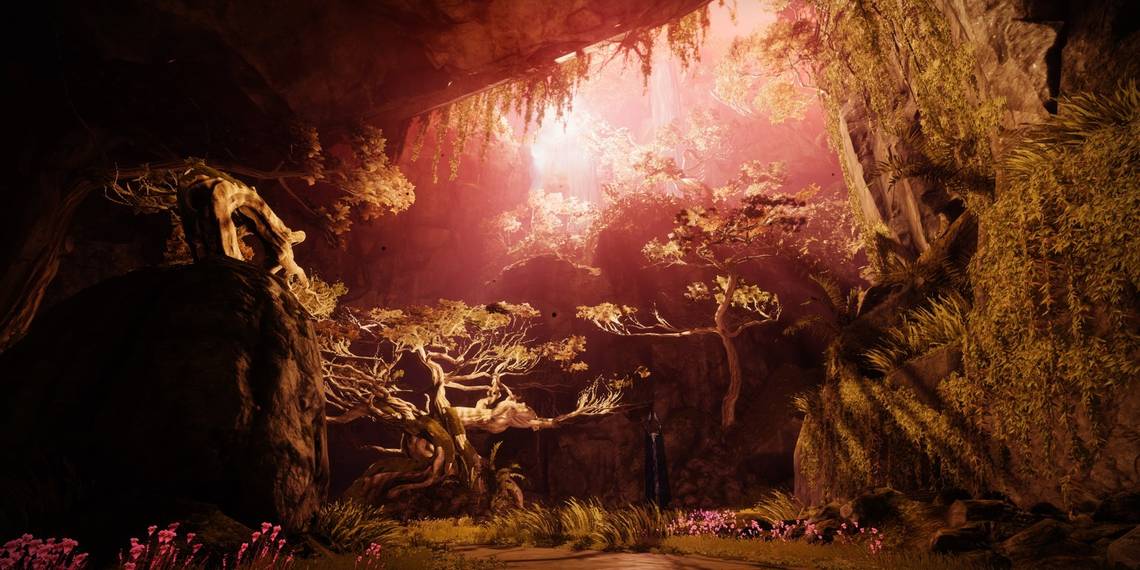
Aphelion's Rest: Entrance

Enemies
- One Unstoppable Phalanx
- Taken Thrall
- Taken Acolytes
Right as you spawn in, you'll have a great vantage point on a small group of Taken Thralls. Use your Primary to wipe them out. A second wave will spawn shortly thereafter in the same location. Take them out, then push up to their spawn location.
A shallow body of water will lead you to the next room, but don't follow it. An Unstoppable Phalanx, accompanied by a wave of Thrall, will rush your location. Le Monarque will make short work of the Thralls, as will a Blinding GL, but the Unstoppable poses a major threat. Lure the Unstoppable into the spawn point before damaging it. Use your Unstoppable weapon to swiftly stun the Phalanx, then use what you have to take it down. You might need to stun it two or three times to finish it off.
With the Champion dead, you can proceed to the next area. Be sure to kill all the Taken Thrall before you push up too far.
Aphelion's Rest: Tree Encounter

Enemies
- Two Overload Hobgoblins
- One Unstoppable Phalanx
- Taken Psions
- Taken Acolytes
This part is an endurance test more than anything else. Taken Psions will be around the left corner as you enter this spacious area. If you're using Stasis, a single Duskfield should pull most of the enemies out of cover, giving you a clear shot. Don't push too far ahead; Hobgoblin Champions and a Stasis-wielding Acolyte are overlooking the area, and they're more than willing to freeze you in place.
Before you start a snipe-off with the Hobgoblins, try to lure the Unstoppable Phalanx up ahead to your position. A few shots of your Primary should get its attention. Retreat to the body of water, wait for the Phalanx, then take it out with your high-damage weapons. With the Unstoppable gone, now turn your attention to the Overload Hobgoblins.

You can safely snipe the Champions from a rock just after the shallow body of water. The tree growing in the corner of the room also works. Use your Bow or any long-range weapon to dip in and out of cover as you damage the enemies. Once you get a rhythm going, it should be fairly easy to stun and kill the Champions this way. If you want to kill them even faster, throw in a few Special or Heavy shots in the mix while they're stunned.
Should you get pushed by the Taken Psions, retreat and take care of them. Vortex Grenades are great for pulling them together into a neat pile you can shatter. Clear out the Champions and adds, stock up on ammo, then proceed up the dirt ramp to the final boss arena.
Aphelion's Rest: Boss Arena

Enemies
- Two Overload Hobgoblins
- One Unstoppable Phalanx
- Taken Knight Boss
- Taken Acolytes
- Taken Thrall
- Taken Psions
Like the last room, you'll be swarmed by a group of Thrall and Psions right as you reach the area. Try to stay back. Let the enemies come to you. Once again, a well-placed grenade can clear out most of the enemies charging your position.
On a platform just behind the Lost Sector chest are multiple Taken Acolytes and two Overload Hobgoblins. These enemies use Stasis cannons and can easily freeze you. Stay as far back as you can, using your Primary to kill the Acolytes. Stun the Hobgoblins with your Bow, then use your Heavy to damage them. The boss will spawn when either Hobgobiln dies, so either focus on one Champion or lower both of their health pools in unison.
A Taken Knight Boss will spawn alongside a wave of Taken adds. An Unstoppable Phalanx will spawn amidst this wave, pushing straight to your position. Retreat to the previous room to separate the Champion from the rest of the Taken. Take the Champion down, then redirect your attention to the adds. Psions should be your priority, as they'll be duplicating if left unattended. Clear out the Acolytes in the back once you're done with the Psions, then try to kill the second Hobgoblin from earlier—if you didn't already kill it. You can now damage the boss.
An additional wave of enemies will spawn when the boss reaches around 50% HP, this time only spawning Taken adds. This wave is mostly Psions. A well-placed grenade should take care of most of them. Use your remaining ammo and abilities to finish off the rest of the enemies. Grab the Lost Sector chest at the end of the room when every Taken enemy has been defeated to claim your loot.