Aspects are a new system introduced in Destiny 2: Beyond Light. Only available to Stasis subclasses, Aspects form the backbone of each Stasis subclass by granting them powerful passive and active abilities. These items are also responsible for the number of Fragments a player can equip at once.
Needless to say, Aspects are crucial to getting the most out of Stasis. Obtaining both Aspects for each character is rather simple, but the overabundance of post-campaign quests in Beyond Light has confused many Guardians. For those that want to focus on obtaining their Stasis Aspects as soon as possible, here is a complete guide on how Aspects work and how to obtain all of them in Destiny 2: Beyond Light.
Updated May 11th, 2021 by Charles Burgar: Another season, another set of Aspects have been added. Season of the Splicer has added three new Aspects for Guardians to chase, one for each class. These Aspects are incredibly strong, offering new gameplay styles that weren't possible previously. We've added the new Aspects to the guide, explaining what they do and how you can obtain them.
What Are Aspects?
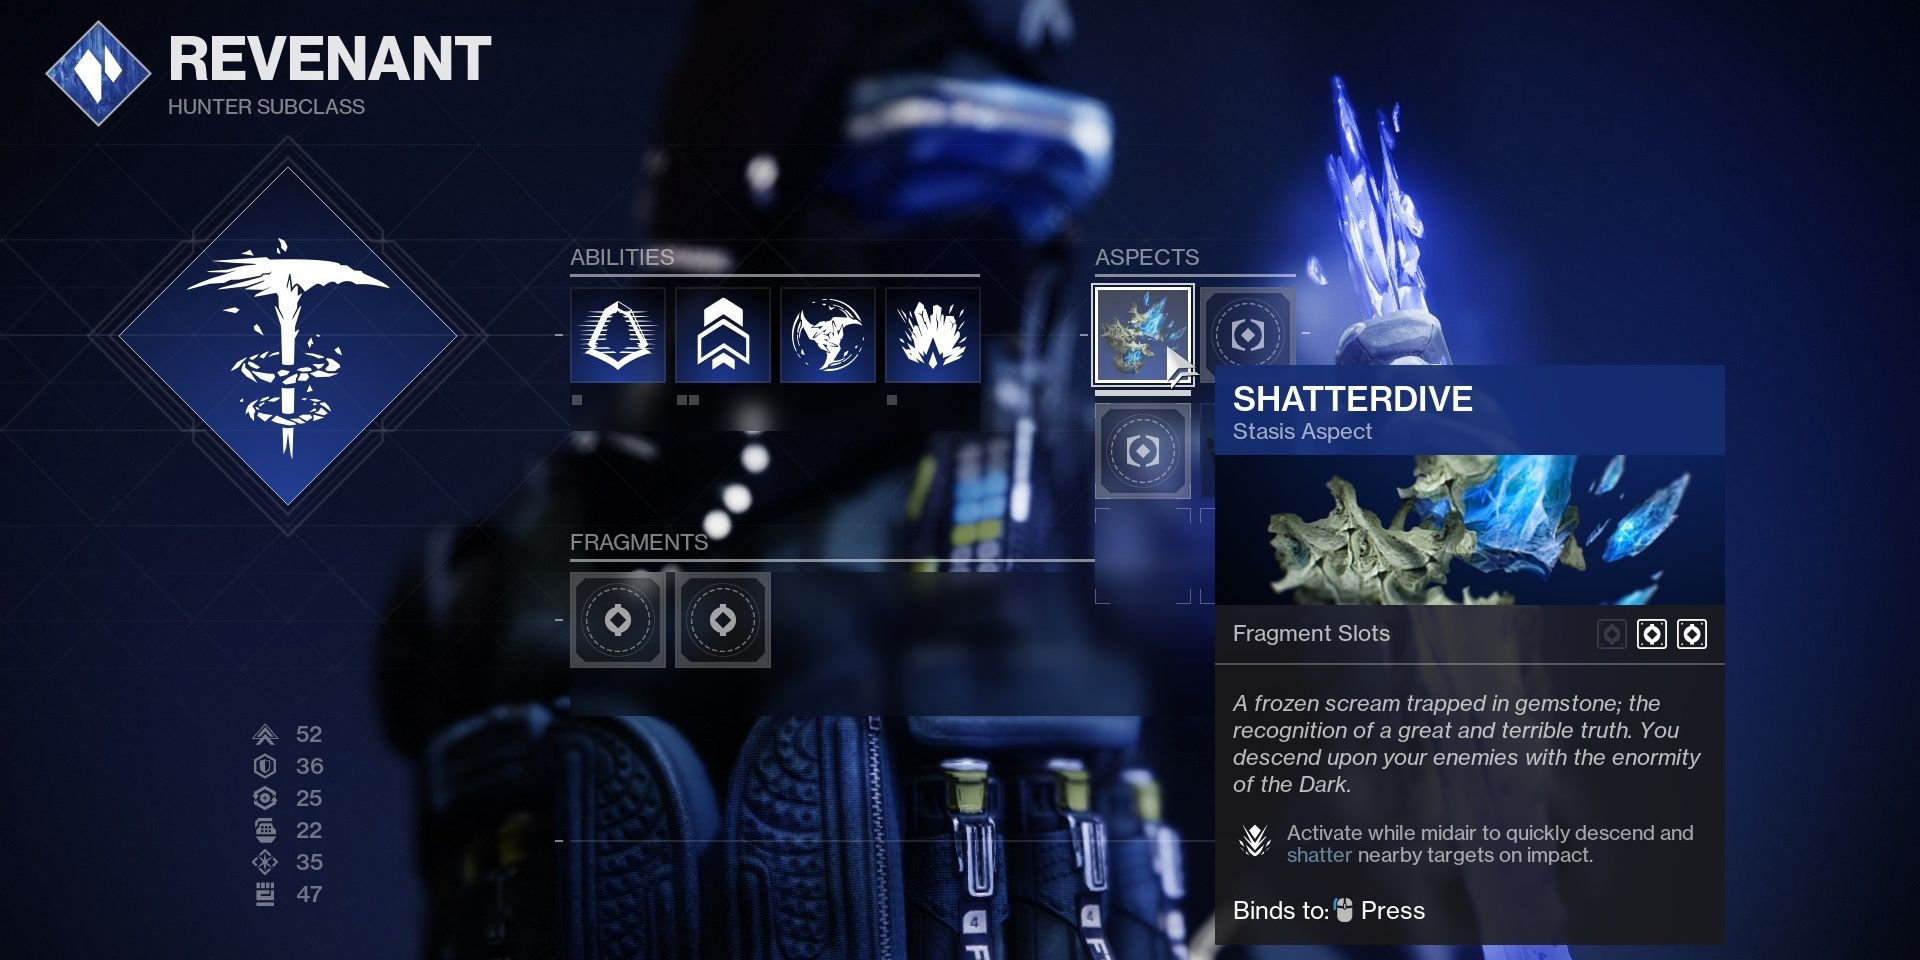
Aspects are unique items tied to a Guardian's Stasis subclass. Each Aspect grants a powerful passive effect or active ability. For example, a Revenant's Shatterdive Aspect gives them a new ability while a Shadebinder's Frostpulse Aspect passively causes their Rifts to freeze nearby targets.
Only two unique Aspects can be equipped at the same time. Players can not equip two of the same Aspect at once. Each Aspect also comes with a set number of Fragment slots, class-agnostic items that grant passive benefits. Aspects can have anywhere from one to three Fragment slots.
The first two Stasis Aspects are obtained from completing steps in the Born in Darkness quest chain. Players obtain this quest chain from the Exo Stranger on Europa. Stasis subclasses can earn their third and fourth Aspects from the Aspect of Influence and Aspect of Interference quests, respectively—both of which are obtained from the Exo Stranger.
Every Stasis subclass currently has access to four Aspects:
Revenant (Hunter)
- Shatterdive (1 Fragment Slot) - Activate while mid-air to quickly descend and shatter nearby targets on impact.
- Winter's Shroud (1 Fragment Slot) - Dodging applies x40 Slow to nearby enemies.
- Grim Harvest (2 Fragment Slots) - Defeating slowed or frozen combatants creates Stasis shards. These shards grant around 10% melee energy when picked up by you or your allies.
- Touch of Winter (2 Fragment Slots): Your Glacier, Duskfield, and Coldsnap grenades have enhanced functionality. Glaciers spawn an additional crystal in a ring formation, Duskfields have a larger radius and spawn a small Stasis crystal in the center, and Coldsnaps seek further, faster, and chain one additional time.
Shadebinder (Warlock)
- Iceflare Bolts (2 Fragment Slots) - Shattering a frozen target spawns seekers that track and freeze other nearby targets.
- Frostpulse (2 Fragment Slot) - Casting your Rift generates a shockwave that freezes nearby combatants. Pairs nicely with Vesper of Radius.
- Bleak Watcher (2 Fragment Slot) - Press and hold the grenade button to convert your grenade into a Stasis turret that fires slowing projectiles at nearby targets. Unlike Arc Souls, these turrets are stationary and can be destroyed.
- Glacial Harvest (2 Fragment Slots): Freezing targets creates Stasis shards around the frozen targets. Higher tier combatants create more shards.
Behemoth (Titan)
- Cryoclasm (1 Fragment Slot) - Enables a longer and more powerful slide. Sliding into Stasis crystals or frozen targets shatters them and any nearby frozen targets.
- Tectonic Harvest (2 Fragment Slots) - Shattering a Stasis crystal creates a Stasis shard. This shard grants around 10% melee energy when picked up by you or your allies.
- Howl of the Storm (2 Fragment Slots) - While sliding, activate your charged melee ability to launch a wave of Stasis energy forward that freezes targets and creates Stasis crystals. This ability can be used while in Glacial Quake.
- Diamond Lance (1 Fragment Slot): Shatter or defeat targets with Stasis abilities to create a Stasis Lance. Use the shoot key to throw the lance, freezing impacted targets. Use the melee key to slam the spear into the ground, freezing anyone nearby.
How To Obtain Your First Aspect
Completing the Aspect of Control and Born in Darkness Part 1 quests from the Exo Stranger will grant your first Aspect. Obtaining the first part of Born in Darkness will require you to finish the Beyond Light Campaign. Speak to the Exo Stranger to obtain the first part of this seven-part quest chain.
To complete the first part of Born in Darkness, you will need to complete five different objectives.
Born In Darkness:
- Collect 50 Energized Ether and defeat ten enemies with Stasis melee abilities. Only charged melees count.
- Complete three playlist strikes and defeat 60 targets affected by Stasis.
- Defeat the Weniks platoon near the Crux of Darkness in Eternity.
- Deliver the Skeleton Key to the Exo Stranger in the Bunker E15 Lost Sector. This Lost Sector is at Eventide Ruins on Europa.
- Speak to the Exo Stranger in Beyond.
Energized Ether can be farmed en masse during the Crux Convergence and Glimmer Extraction public events. These most commonly occur in the Cadmus Ridge and Eventide Ruins. If you own Salvation's Grip, you can also start the "Stealing Stasis" mission near Variks to farm Fallen kills. To make the melee ability kills easier, consider using Monte Carlo to recharge your melee ability faster.
Despite the second objective's wording, you can complete any three strikes of your choosing—playlist or not. The 60 slain targets affected by Stasis needs to occur in the Vanguard strike playlist, however. To complete the second portion of the objective, consider using Salvation's Grip to freeze targets at will before landing the final blow.
The last three objectives are self-explanatory. Eternity can be found in Bray Exoscience while Bunker E15 is located at Eventide Ruins. Completing all five steps will start the Aspect of Control questline, where you will need to destroy five different Entropic Shards. All nine locations can be found here or in the Aspect of Destruction section.
Aspect of Control:
- Find and destroy five Entropic Shards on Europa. There are nine in total.
Upon completing the Aspect of Control quest, speak to the Exo Stranger to obtain your first Aspect. Revenants get Shatterdive, Behemoths get Cryoclasm, and Shadebinders get Iceflare Bolts.
How To Obtain Your Second Aspect
To unlock the second Aspect for your Stasis subclass, you must complete the Aspect of Destruction quest from the Exo Stranger. This quest is given to you after you complete the Born in Darkness 4 quest. For completion's sake, we are going to cover how to complete both quests.
Complete the first three parts of the Born in Darkness quest to obtain Born in Darkness 4 from the Exo Stranger. To complete this quest and obtain the Aspect of Destruction quest, you must complete four steps.
Born In Darkness 4:
- Defeat 50 enemies on Europa with Stasis abilities.
- Complete three Nightfalls. While in Nightfall strikes, use your Stasis abilities to defeat 60 enemies.
- Defeat the House of Salvation in Creation.
- Deliver the Skeleton Key to the Exo Stranger in Creation.
Public events are by far the best way of finishing the first objective. Utilize any Exotics or mods that maximize your ability uptime. The Perdition Lost Sector in Cadmus Bridge is also an excellent farming spot. This objective shouldn't take more than a few minutes.
Nightfall difficulty is irrelevant for the second objective. Completing Adept or Hero Nightfalls is recommended as both have matchmaking and minimal modifiers.
After the first two objectives are complete, head down to Creation from Bray Exoscience and kill the Fallen miniboss inside. Instead of leaving after you kill him, continue further down the linear path to meet the Exo Stranger.
Now that Born in Darkness 4 is done, you should now have the Aspect of Destruction quest. To complete this quest, you must destroy all nine Entropic Shards scattered throughout Europa. Here is a brief description of where you can find all nine of them.
Aspect of Destruction Shard Locations:
- Kell's Rising: Under a staircase at the top of Kell's Rising. Easiest to reach from the "Stealing Stasis" mission.
- Riis-Reborn Approach: Under a staircase directly after the second gravity lift that takes you to Kell's Rising.
- Technocrat's Iron: Floating adjacent to a pillar overlooking the Brig arena. Can be reached from the Riis-Reborn Approach.
- Eventide Ruins: In a pile of debris in the north-bound path from Eventide Ruins, directly outside of the Deep Stone Crypt raid entrance.
- Bunker E15: Atop a narrow platform overlooking the jail cell room filled with Hobgoblins.
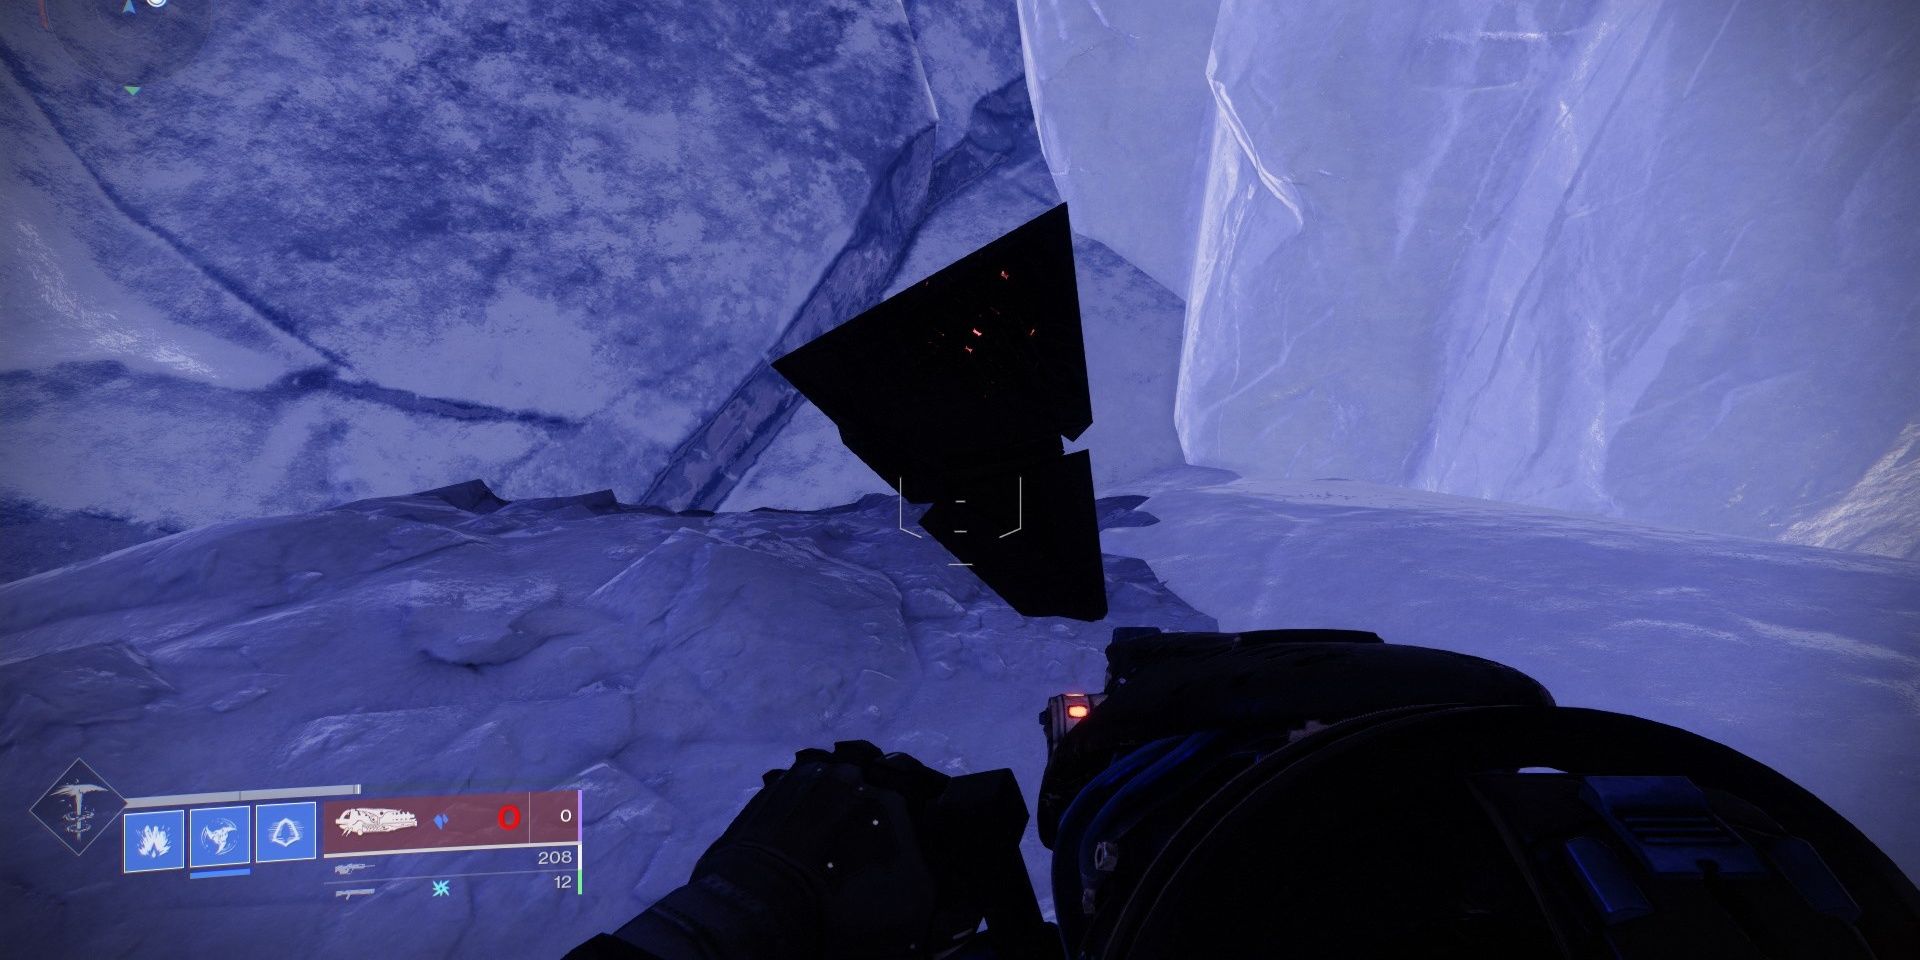
- Asterion Abyss: Resting above a Vex structure overlooking the zone. It appears under the first "A" in Asterion Abyss on the map.
- Concealed Void: In the final boss arena, look up at the square hole in the ceiling.
- Cadmus Ridge: At the top right part of the map, just before players reach the Bray Exoscience facility entrance.
- Creation: In the room before meeting the Clovis AI, floating above a couple of black wires.
For a more detailed description of where to find all nine shards, consult this guide. Once that objective is complete, talk to the Exo Stranger to obtain your second Aspect. Revenants get Winter's Shroud, Behemoths get Tectonic Harvest, and Shadebinders get Frostpulse.
How To Obtain Your Third Aspect
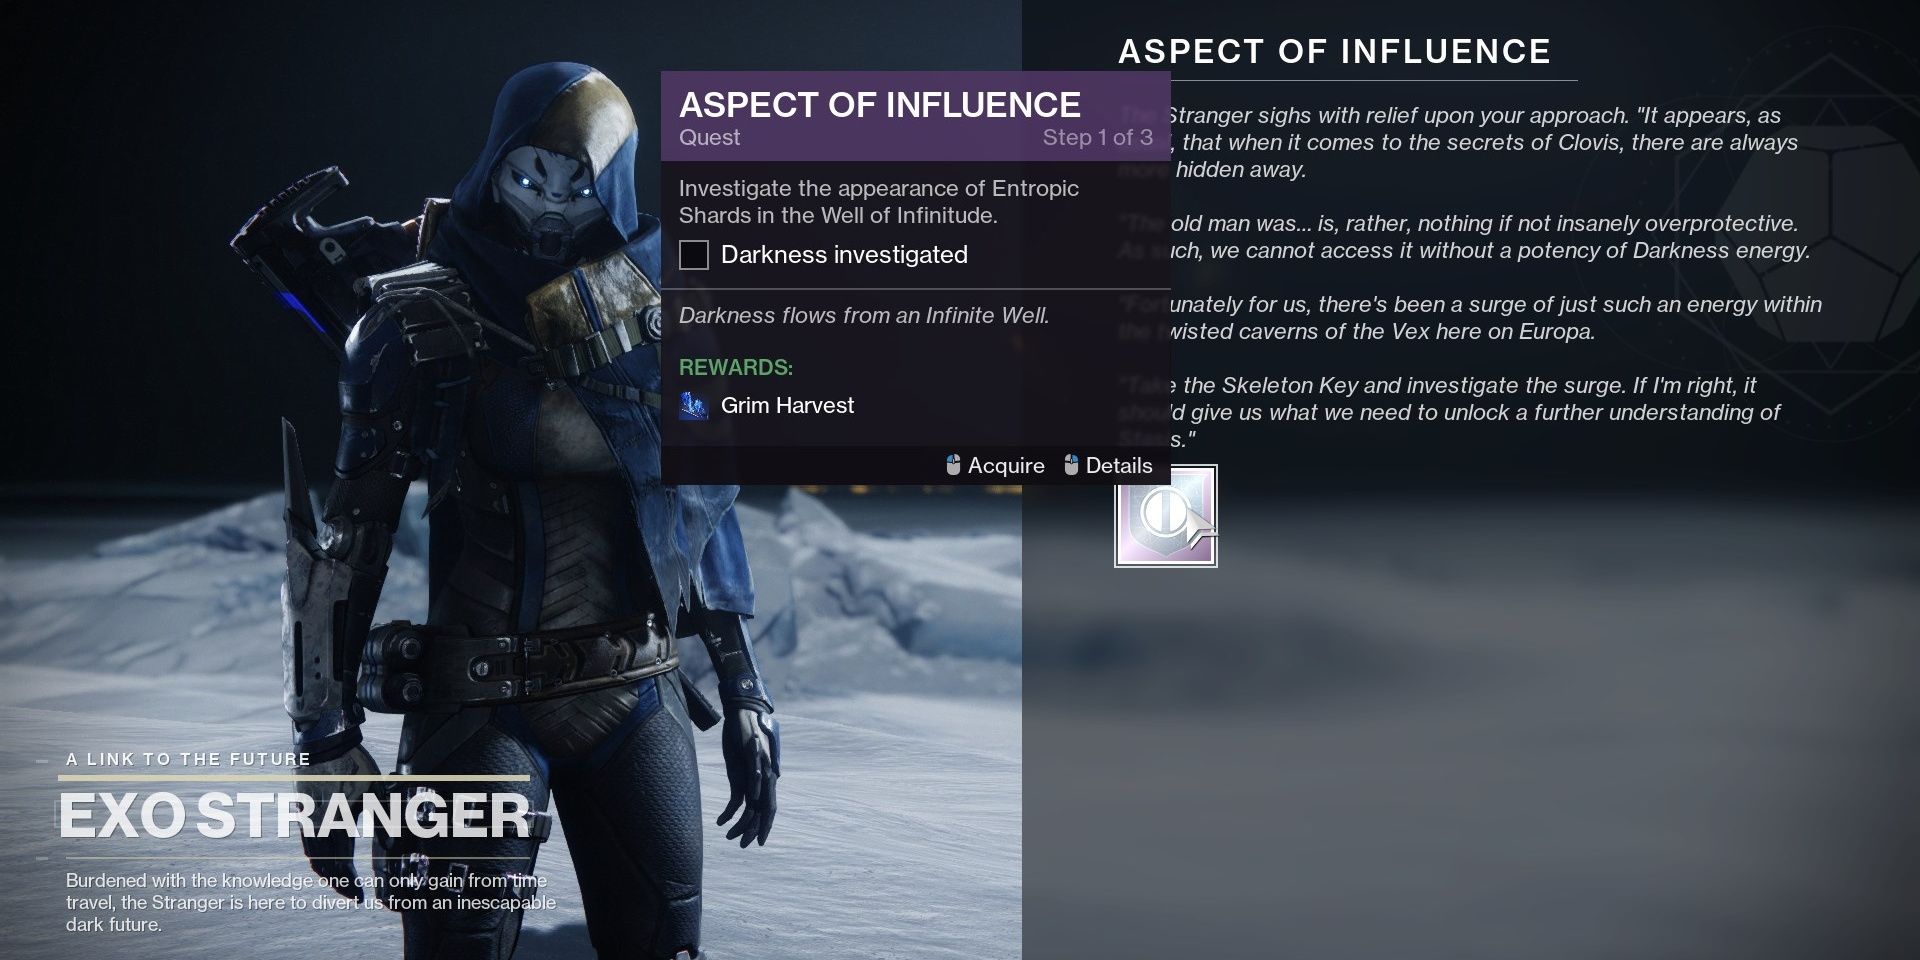
Fortunately, obtaining your third Stasis Aspect is much easier than the first two. The Aspect of Influence quest grants your third Aspect, which can be obtained from the Exo Stranger on Europa at any time after you obtain your second Aspect. This quest requires you to complete two main steps.
Aspect of Influence:
- Destroy Entropic Shards in the Well of Infinitude.
- Complete a Heroic Exo Challenge.
Both of these things are very easy to do. Entropic Shards will be floating in the Well of Infinitude when you arrive; none of them are hidden. These shards will lead you to the Radiolarian pool, starting a short combat encounter. Beat this encounter, then complete a Heroic Exo Challenge to obtain your third Aspect. A Heroic Exo Challenge seems to be a standard Exo Challenge with Champions added. Simply start up an Exo Challenge from your Director to load into the Heroic variant.
Once both objectives are complete, head to the Ziggurat to obtain your new Aspect. Hunters get Grim Harvest, Warlocks get Bleak Watcher, and Titans get Howl of the Storm.
How To Obtain Your Fourth Aspect
Just like the last Aspect, Season of the Splicer's Aspects are incredibly easy to obtain. Be sure you have Salvation's Grip equipped before you begin.
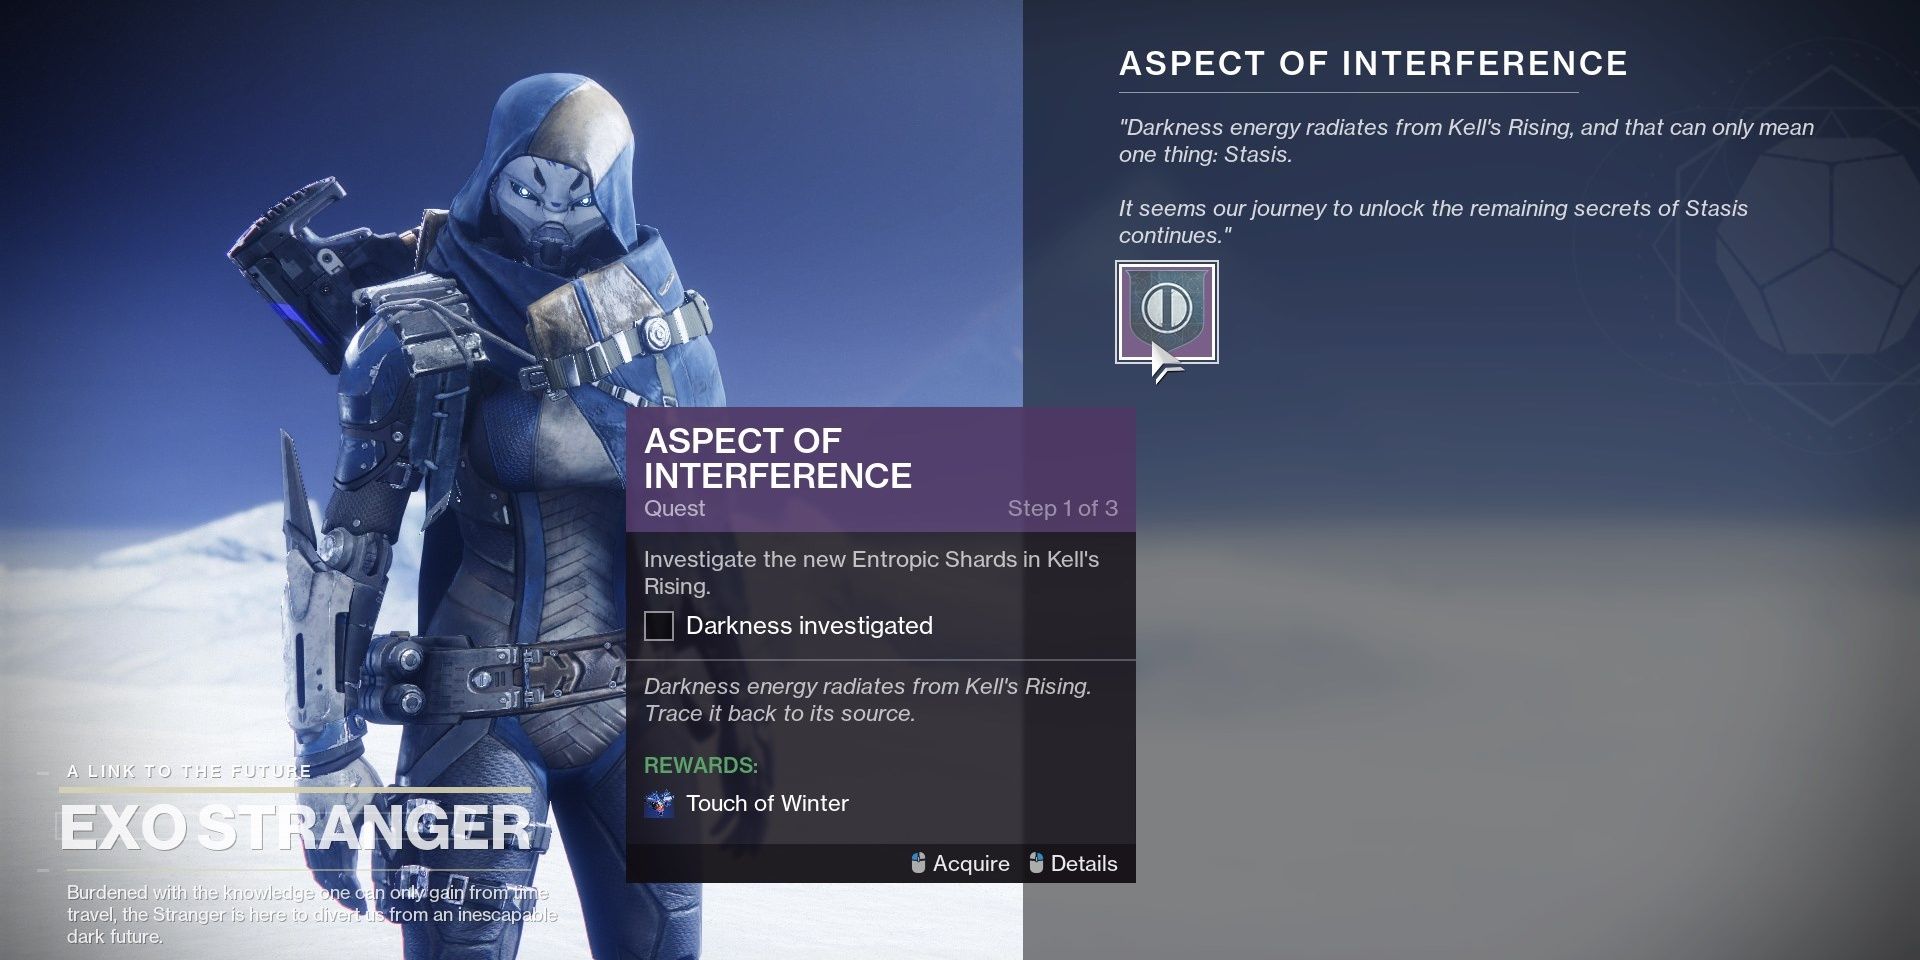
To obtain your fourth Aspect, speak to the Exo Stranger on Europa. She will grant the Aspect of Interference quest. You'll need to do the following:
Aspect of Interference:
- Destroy Entropic Shards in Kell's Rising
- Complete a Heroic Exo Challenge.
Kell's Rising is the northernmost part of Europa. Take the gravity lift at the western part of Eventide Ruins, then follow the path to reach the zone.
Destroy Entropic Shards In Kell's Rising
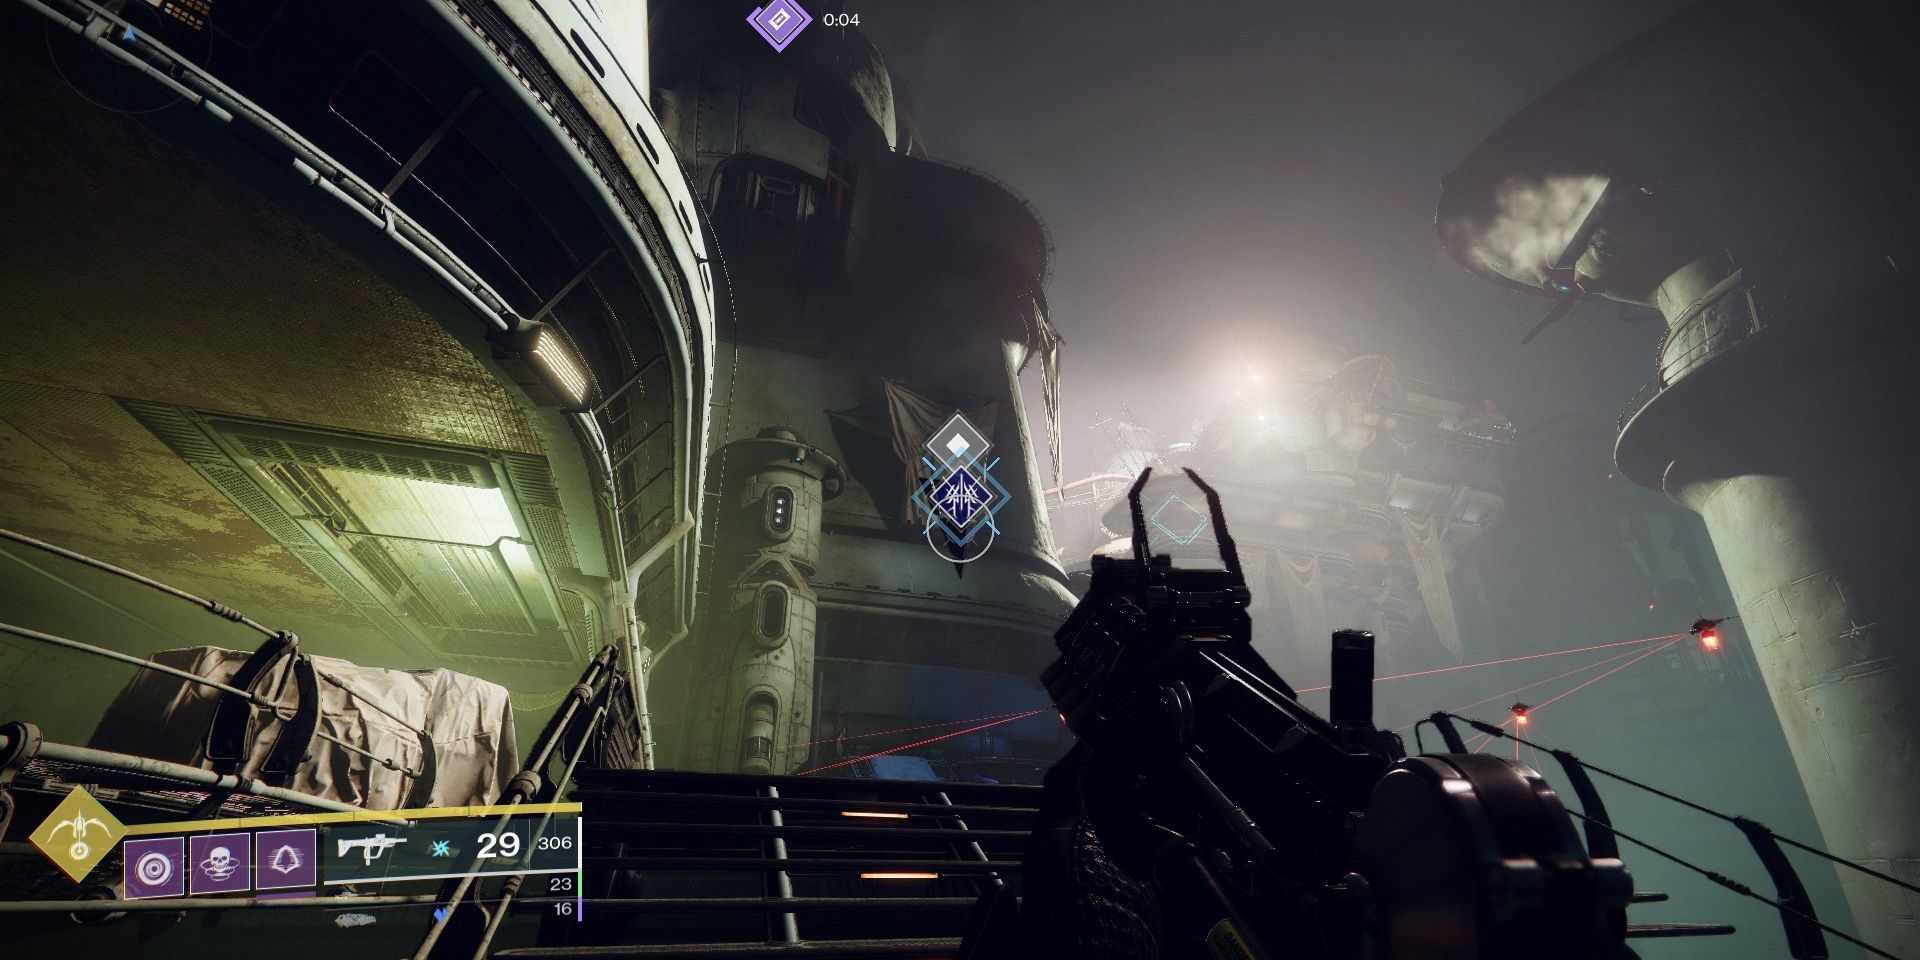
You'll find the first Entropic Shard near the staircase and platforms that lead to the northeast corner of Europa, the same place you start the Salvation's Grip quest from. Use Salvation's Grip to destroy the shard. This will spawn a wave of Vex that'll be around 1,320 Power.
Deal with the Vex, then climb up the path, destroying all Entropic Shards you see. The game will mark each of them, so don't worry about missing any.
At the end of the path will be a large Darkness shard. You'll need to test your mettle against waves of Vex, including a Minotaur and Wyvern miniboss. Warmind Cells, Anarchy, Witherhoard, and any AoE Supers are excellent for this part. Annihilate the Vex here until the quest objective updates.
Complete A Heroic Exo Challenge
The weekly Exo Challenge on your Director will be overridden with a Heroic variant, featuring Champions and additional modifiers. Here's what you'll be dealing with:
- Recommended Power: 1,320
- Champions: Overload: You'll face two Overload Minotaurs here. Use an Overload weapon to stun the Champion and prevent rapid health regeneration.
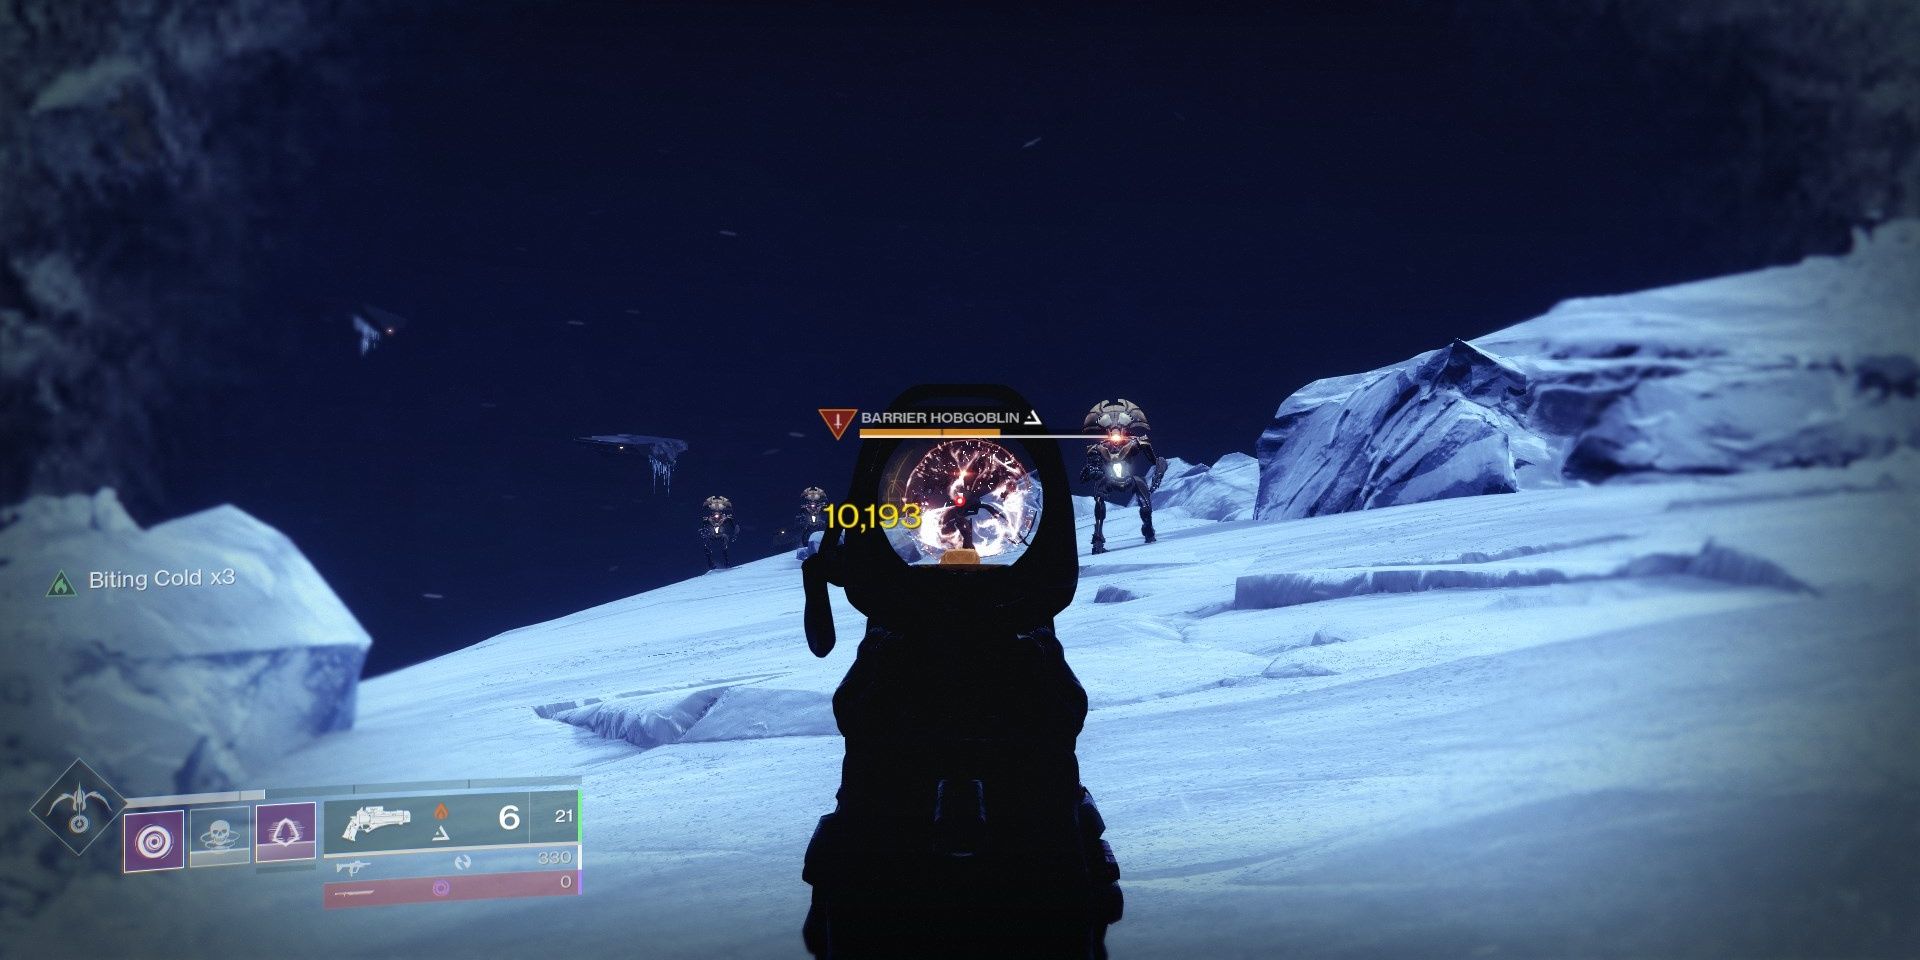
- Champions: Barrier: Barrier Hobgoblins are fairly common in this mission, deploying a shield after they lose 25% HP. Use an Anti-Barrier weapon to break these shields.
- Grounded: Damage taken while you are airborne is greatly increased.
- Chaff: Radar is disabled.
- Shocker: When defeated, Goblins spawn Arc pools that cause damage over time.
- Brawler: Melee abilities deal more damage and recharge much faster.
- Solitary Shard: +50% Stasis effectiveness.
As of writing this, the Exo Challenge is Simulation: Survival. This mission tasks you with managing the Biting Cold debuff while pushing through waves of enemies. It's fairly easy if you're at 1,310 Power or above. The start of the mission might give you some trouble, as multiple Barrier Hobgoblins are present. Stick to cover throughout this part, and focus on killing the Hobgoblins.
Visit The Ziggurat
When the Exo Challenge is complete, head to the Ziggurat at the southern end of Creation. Stand on the metal plate, run up the set of stairs, then interact with the Darkness statue to receive your fourth Aspect. Hunters get Touch of Winter, Warlocks get Glacial Harvest, and Titans get Diamond Lance.

