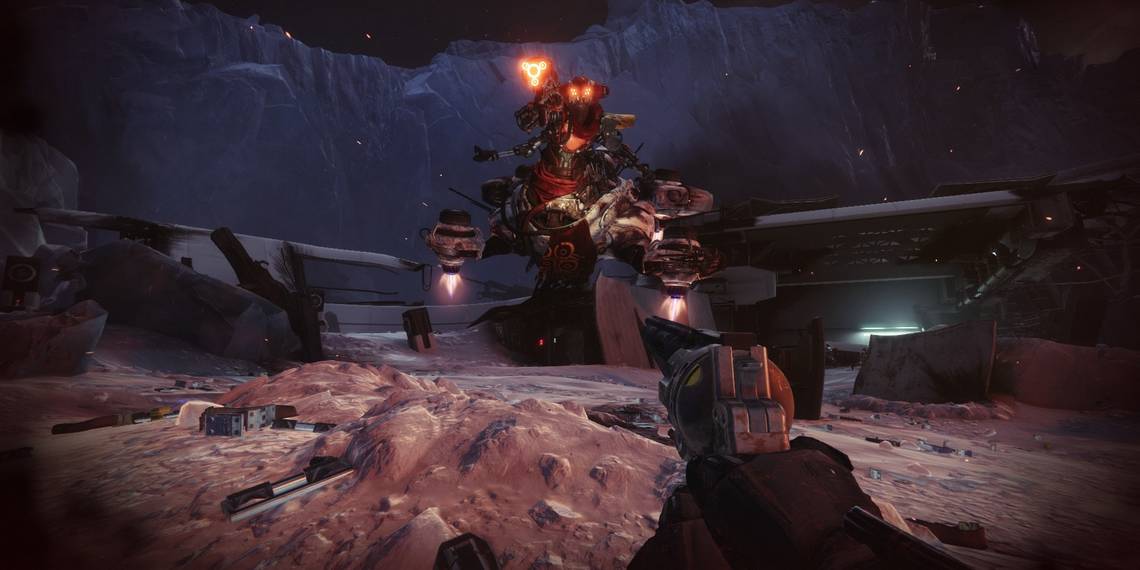
Raids are one of the hardest activities that Destiny 2 has to offer. These pinnacle activities require six Guardians to test their skill at solving puzzles, managing mechanics, all while killing dozens of tough foes. With the release of Beyond Light, yet another raid has entered the fold in the form of the Deep Stone Crypt.
Tons of new mechanics have been introduced in this raid that have stumped many fireteams. Fortunately, there a few things players can do to make the raid slightly easier on themselves. From recommended weapons setups to mechanic tricks, here are ten tips you should know for Destiny 2's Deep Stone Crypt raid.
10 Use Combat Style Mods

Combat Style Mods, previously known as seasonal Mods, provide some of the strongest effects the franchise has seen. For those unaware, these armor Mods grant effects such as 50% damage reduction, room-clearing Warmind Cells, and damage buffs for various weapon types. Some Exotics can't match the strength of these Mods!
If your fireteam is trying to brave this difficult raid, consider applying a few Combat Style Mods on your armor to make combat less of a pain point. Previously released Combat Mods are in Banshee-44's daily vendor rotation.
9 Keep Augment Roles Consistent

Augments are a core part of the Deep Stone Crypt raid. Three core augments are integral to this raid: Scanner, Operator, and Suppressor. Every major encounter in the raid uses at least two of these buffs.
While the last two encounters make it difficult to keep the same augment, it is a good idea to assign certain augment roles to players and have them keep it through the whole raid. If someone fulfilled the Operator role in the second encounter, for example, they should also be the Operator for the next encounter. That said, don't be afraid to try new roles. The raid encourages this by disabling augments during the final two encounters.
8 Frostbite Immunity Glitch

Image from Cheese Forever (YouTube)
Players can trivialize the introductory Sparrow section with a simple glitch. Spawn a Sparrow and drive right outside of the heat bubble. Hop off of it, walk into the heat bubble, then get on your Sparrow again while the Shelter from the Storm buff is on.
What should happen is that you permanently have the Shelter from the Storm buff until you die. This means you will never obtain the Frostbite debuff and, therefore, can explore the starting section to your heart's content.
7 Farm Hidden Chests Solo

Two hidden chests are in the Deep Stone Crypt raid for players to find. The first is tied to the opening Sparrow section while the latter is found after the second encounter. If you have little time to raid but want the Deep Stone Crypt Mods or Spoils of Conquest, the first hidden chest can easily be farmed.
Using the above Frostbite exploit, travel to the end of the encounter. Instead of walking towards the first encounter, look to your right and climb up the small path. Climbing up the path will lead to a hidden chest overlooking the final heat bubble. Grab this chest on all three characters every week for an easy 30 Spoils of Conquest, Deep Stone Crypt armor Mods, and a chance of obtaining good duplicates of gear you've already found during the raid.
6 Crypt Security: Keep The Team Split

The Deep Stone Crypt's first encounter is rather straightforward once players understand how augments work. That said, some teams have taken to having all five members damage the same Crypt Security fuse at once.
That tactic isn't necessary. Due to the low health pool of the fuses, players can safely have the team stay on their respective sides of the arena and damage the fuse when needed. Two players with a Well of Radiance or Ward of Dawn is more than enough to destroy a fuse, cutting on precious time rotating between fuses.
5 Atraks-1, Fallen Exo: Send Three Players To Airlock

A common strategy during the Atraks-1, Fallen Exo encounter is to send four players with the Replication buff to the same airlock in the space station. While this sounds efficient in theory, in practice it makes the encounter much harder than it needs to be.
Send three players to an airlock instead. Two Replicant players will be from the space station while one player will come straight from Europa after they obtain the debuff, meaning they don't need an Operator to refresh their timer. When your team needs to purge the fourth player from Europa, simply purge their buff in a new airlock.
While this sounds highly inefficient, it means the Operative never needs to rotate their augment to those on the ground since the player from Europa immediately goes to space after obtaining the debuff. It prevents issues with swapping buffs and makes the encounter much easier for the ground team.
4 Atraks-1, Fallen Exo: Bring A Sword
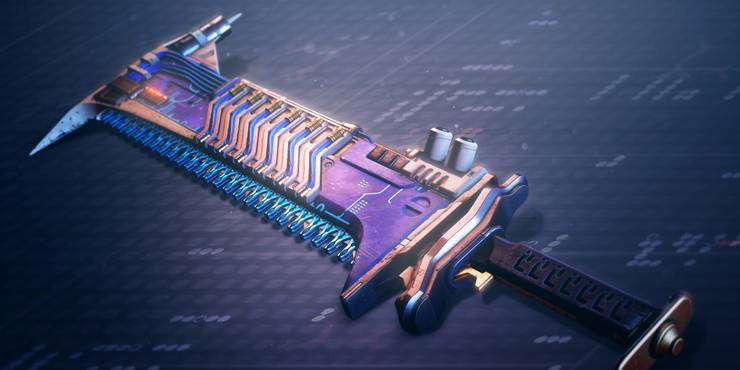
For those struggling with taking down Atraks-1 quickly, take the Drifter's advice: bring a sword. Swords are absurdly strong in Beyond Light and deal a substantial amount of damage. Since Atraks can be meleed and takes additional damage after his Exo body vanishes, there has never been a better time for Swords to shine. Falling Guillotine and the Lament Exotic Sword are phenomenal for damaging Atraks, going as far as to start the enraged phase after two clones are slain, capable of starting the final DPS rush in as little as two clones!
3 Prevent Europa's Destruction: Delay Nuke Spawns

Most of the third encounter is rather simple once players get a hang for disabled augments and the Suppressor role. For those that want to make the Suppressor's life just a little bit easier, have the Operator wait a few seconds after Nuclear Cores are ready before deploying them. This gives the Suppressor time to shoot Taniks from one or two drone positions, allowing the boss to be stunned at a much more advantageous time. It also gives Nuclear Core runners time to get near the core deposit stations.
2 Taniks, The Abomination: Core Partners

Every Guardian that plans to deposit the Nuclear Cores in the final encounter should have a partner they can rely on to grab their core. Due to the rapid buildup of Radiation and the slow decay it has, some deposit locations are downright impossible to reach solo.
Having a partner helps immensely. Designate a second person that can grab the ball from you when you reach five or six stacks of Radiation. They will walk up to you, hold the interact input to grab the core, then deposit it. This nearly removes any risk associated with escorting cores. Just make sure that the person grabbing the core is not an Operator since they're the only player that can remove the detainment bubble.
1 Taniks, The Abomination: Bring Divinity And Shotguns

Guardians under Power Level for the Taniks final fight might want to bring Anarchy or Divinity to deal passive damage or buff the team, respectively. For those at-level or above, Precision Frame Shotguns such as First In, Last Out are incredible for this fight when paired with Divinity.
The Divinity debuff will appear under Taniks' Shank frame, meaning precision hits are incredibly easy to land. Pair this with a Triple Tap Sniper or Shotgun to pump out some incredible DPS. Izanagi's Burden is also a great option since it helps break Taniks' thrusters.