Quick Links
Lost Sectors are the best means of farming Exotic armor in Destiny 2 thanks to the addition of Legend and Master difficulty variants. Europa is one of many planets with Legendary Lost Sector variants. One Lost Sector is chosen daily to have difficulty variants. Clear it on a harder difficulty solo, and you'll have a chance of earning an Exotic armor piece.
Bunker E15 is one of the Lost Sectors that supports these new difficulty settings and is one of the easier ones to beat. With a wave of security frames by your side, clearing out this Lost Sector takes little time at all. From recommended loadouts to strategies, here is a complete guide to completing the Master version of the Bunker E15 Lost Sector in Destiny 2.
Updated August 24th, 2022, by Charles Burgar: Destiny 2 has seen many changes since we last wrote this guide. Subclass 3.0 conversions, more anti-Champion properties on weapons, and new Exotics have made Legendary Lost Sectors easier than ever. We've updated this guide with better formatting, new loadout recommendations, and we've made some adjustments to our recommended strategies for each room.
Modifiers And Recommended Loadout

Bunker E15 is one of the easier Lost Sectors to complete due to the presence of friendly security frames. Here are a few key modifiers tied to this Lost Sector:
Bunker E15 Modifiers
Recommended Loadout
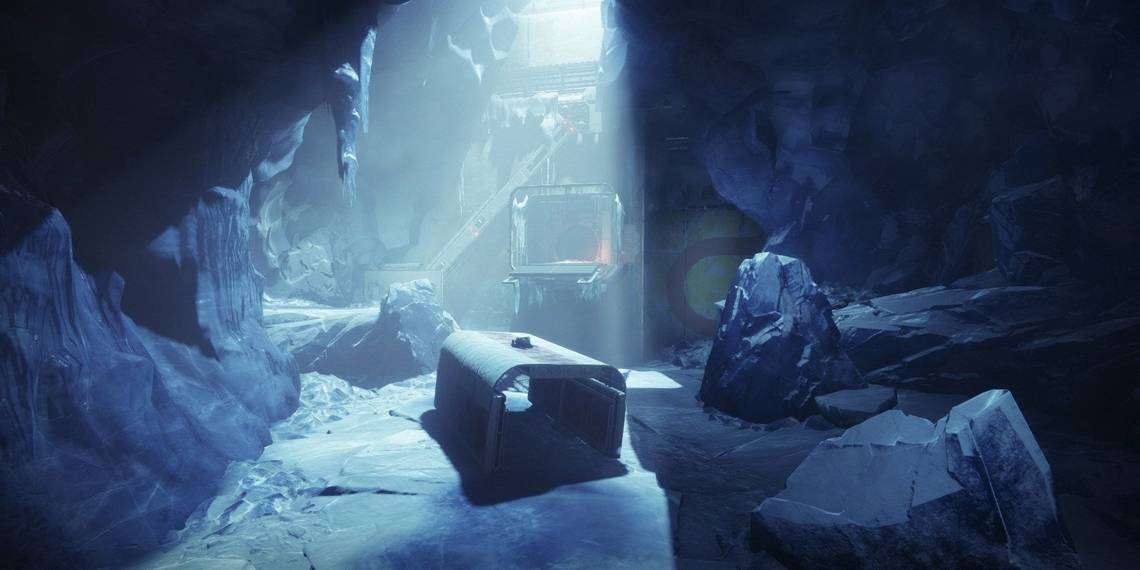
Bunker E15: Entrance

Entrance Enemies
- One Overload Captain
- Two Vandals
- Dregs
- Goblins
- One Minotaur
Right as you spawn in, take out the two Vandals on the right rock perch and central container. The Overload Captain and Dregs will begin to fire on your position. Use a grenade to take down the Dregs, then stun the Overload Captain. Use your Heavy to take them down. The door to the next section will then open up.
Free the security frames stuck in the Vex cage before dealing with the four Goblins. Head downstairs with your new security frames and take down the Goblins and Minotaur below. Use the newly unlocked door to reach the second major arena.
Bunker E15: Cells

Jail Cell Enemies
- Two Barrier Hobgoblins
- Two Hobgoblins
- Goblins
- One Cyclops
Free The Prisoners
Vex soldiers are keeping Exo guards locked up in cages. Shooting the Vex cubes above each jail cell will break the cage, allowing the Exos to fight alongside you. They'll help you for the rest of the Lost Sector and can even kill the final boss for you—albeit at a snail's pace. Free them as soon as possible.
Swing right upon entering the room to find a small group of Goblins. Your Primary or a well-placed grenade should make short work of them. Beware of the Hobgoblin snipers above and beside you. You'll want to at least stun the Hobgoblins by damaging them, giving you a chance to reposition.
Among the second wave will be two Barrier Hobgoblins and a Cyclops. Destroy the Cyclops from a distance before facing the Champions. Damage the Champions alongside your security frames to force their shield to appear. Break the shield using your anti-Barrier weapon and kill the Hobgoblin. Freezing them with Stasis also works. Do the same thing to the other Hobgoblin, then escort your small army to the boss arena.
Bunker E15: Boss Arena

Boss Room Enemies
- Four Overload Minotaurs
- Hydra boss
- One Wyvern
- Goblins
- Hobgoblins
Take note of the icy corridor that leads to the boss arena; this is by far the safest area to kill Overload Champions in and damage the boss from. Once inside the room, try to navigate to the sleeping Wyvern at the back of the room. Use your Heavy to take it down. If the security frames woke up the Vex, create some distance before fighting the Wyvern. Take down all the Vex inside to spawn the boss.
As the Hydra is spawning, run back to the icy corridor. An Overload Minotaur will spawn during this first wave that you'll need to kill. To get its attention, kill the Goblins that spawn near the corridor or shoot the Minotaur a few times. Lure it around the corner before disrupting and killing it. Now that the Champion is dead, use a long-range weapon or your Super to damage the Hydra. When it loses a third of its health, it will teleport next to the corridor and spawn a fresh set of Vex opponents alongside yet another Overload Minotaur.
Try to damage the Hydra as much as possible here to force it to teleport away. Dealing another third of its health bar should force it to leave. Consequently, this will spawn one additional Overload Champion, meaning you'll need to defeat two at once. Defeat the Champions as before, luring them to the corridor before stunning and damaging them. At the last quarter of the Hydra's health bar, one more Overload Minotaur will spawn. Kill this fourth and final Champion, defeat the Hydra, then loot the chest to complete this Lost Sector with a Platinum rating.