Quick Links
If you're looking to farm Exotic armor in Destiny 2, it's hard to top Legendary Lost Sectors. These difficult variants of normal Lost Sectors contain Champions and additional modifiers. Should you brave these missions solo, a successful completion grants a chance of obtaining an Exotic armor piece for a specific slot. Some of the strongest Exotics in Destiny 2 can only be obtained from these Lost Sectors, so they're worth farming.
For those with a high enough Power level, the Dreaming City's Chamber of Starlight is a surprisingly easy Master Lost Sector to clear. Vex Mythoclast, Sleeper Simulant, and most Bows can make short work of this Lost Sector. We'll be going over how to clear this Lost Sector quickly and what loadout you should bring.
Updated August 31, 2023, by Charles Burgar: Season of the Witch has a new suite of Artifact mods for players to use, including new anti-Champion properties and powerful passive buffs. We've updated this guide to include new weapon recommendations that account for this season's Artifact mods and balance changes. Modifiers were also updated to reflect this season's new Surges and Overcharge weapons.
Modifiers And Recommended Loadout

Linear Fusion Rifles shine in this Lost Sector. Long sight lines, nearly a dozen Champions, and swarms of Taken demand that you keep your distance. The active modifiers don't make this much easier:
Chamber of Starlight Modifiers
Recommended Loadout
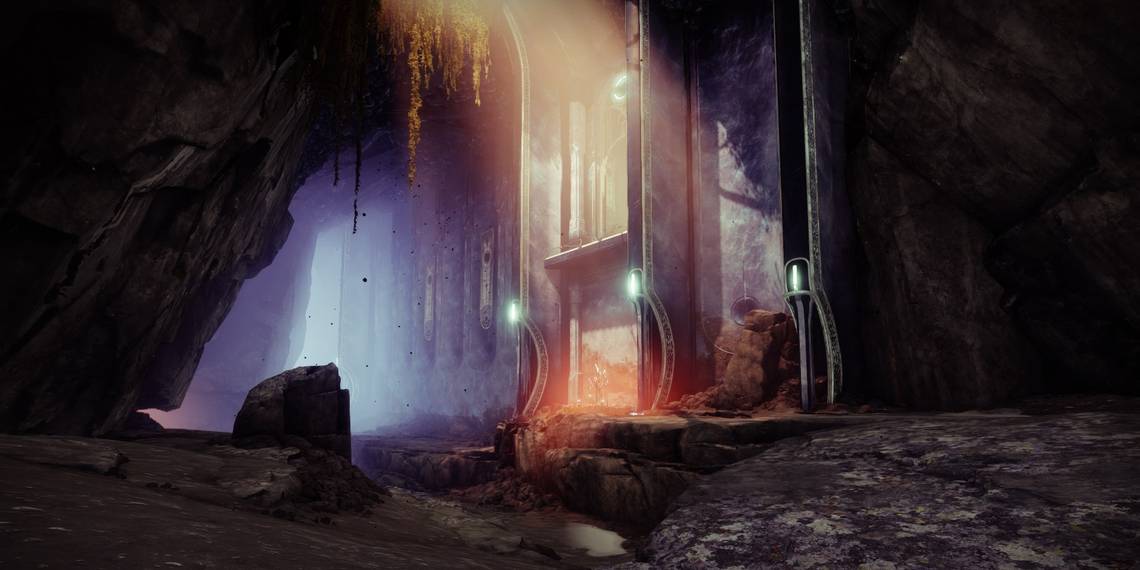
Chamber Of Starlight: Entrance

Enemies
- One Unstoppable Phalanx
- One Overload Hobgoblin
- Acolytes
- Hobgoblins
- Knight
You'll spawn right next to an Unstoppable Phalanx. Before you kill the Champion, kill the Hobgoblin on the overlook right above the Champion. Use your Unstoppable weapon to stun the Phalanx, then use your Heavy or Special to take it out. You might need to stun the Champion multiple times to kill it.
Directly around the corner will be a group of Acolytes, an Overload Hobgoblin, some lesser Hobgoblins, and a Knight with a Solar shield. Charging head-first is suicide, so focus on taking out the Acolytes first with your Void weapon. The Overload Champion and remaining adds will slowly walk up the ramp to the next section. Use this distance to snipe them from afar, using a Bow or Linear Fusion to take them out. Stun the Overload first, kill the adds, then focus on the Overload itself. Run up the path when you're ready.
Chamber Of Starlight: Cavern

Enemies
- Five Unstoppable Phalanxes
- Two Overload Hobgoblin
- Raider
- Screebs
- Stalkers
This section is an endurance test. There isn't much cover here, and you'll be thrown against seven different Champions throughout this part. At the very least, you have quite a long sight line to take advantage of any long-range weapons you brought.
When you enter the cavernous arena, take out the Thralls that dare to charge you. An Unstoppable will be right up the path. If you can, stun the Champion and deal some damage. The Phalanx will retreat to the rocks on your right if you can't kill it. This isn't a deal-breaker, but it does make positioning somewhat tough.

To the right of the entrance will be a small group of Acolytes and Hobgoblins attempting to snipe you. Once you take care of the Unstoppable, focus on taking these enemies out next. You can peek up or around the rock near the entrance for cover. With those enemies down, redirect your attention to the Knight and Goblin near the Lost Sector chest. Your Heavy will make short work of the Knight. Just beyond the chest will be an Overload Hobgoblin. Stun the enemy, kill it, then prepare for even more Champions.
Cavern: Champion Wave

Immediately retreat to the entrance you came from. You'll be pushed by two Unstoppable Phalanxes and other Taken fodder. Stun the Champions, then focus on damaging only one of them. Repeat this process until both are dead. If you can lure them to the entrance, this part will be much easier.
Back in the cavern, more Acolytes and Hobgoblins have been stationed near the right side of the cavern. Take these enemies out first. When they're slain, redirect your attention to the Wizard. It's the final boss of this mission, dealing immense damage with its tracking projectiles. Try to lower its HP by 50% to spawn the last wave. Don't get too close to the Wizard's spawn point, or you'll get sniped by an Overload Hobgoblin at the same overlook from earlier. You can kill the Hobgoblin now or after the next add wave; it's up to you.
Cavern: Final Wave
When the Wizard's HP gets to around 50%, it'll spawn a swarm of Thrall to rush your position. If you're using an Unstoppable weapon, they shouldn't pose much of a threat. Retreat to the entrance if you're getting pushed. Clear the Thrall, kill the Overload Champion if you haven't already, then finish the Wizard. Peak shoot the Wizard if you want to avoid its projectiles. You can grab the chest once the Wizard and all Champions have been slain.