Quick Links
Destiny 2's Beyond Light expansion brought a few new aspirational activities for PvE players to master. Besides the new raid, Bungie added Season of the Worthy's Legendary Lost Sectors to the core planets as a means of obtaining slot-specific Exotic armor.
Most Lost Sectors currently support Legend and Master variants, Concealed Void being one of them. This Lost Sector can be somewhat difficult due to the abundance of tight spaces. But with the right build, this Lost Sector becomes much easier to farm. For those hunting the perfect Exotic armor roll, here is a complete guide to completing the Concealed Void Master Lost Sector in Destiny 2.
Updated September 25th, 2022, by Charles Burgar: The Destiny 2 PvE sandbox has changed dramatically since we last wrote this article. Subclass 3.0 conversions, weapon buffs, and new Combat Style mods have made Master Lost Sectors easier than ever. We've updated this guide with better formatting, better loadout and subclass recommendations, and we've made slight tweaks to our walkthrough.
Modifiers And Recommended Loadout

Here are the key modifiers you can expect when clearing out the Concealed Void Lost Sector:
Concealed Void Modifiers
Recommended Loadout
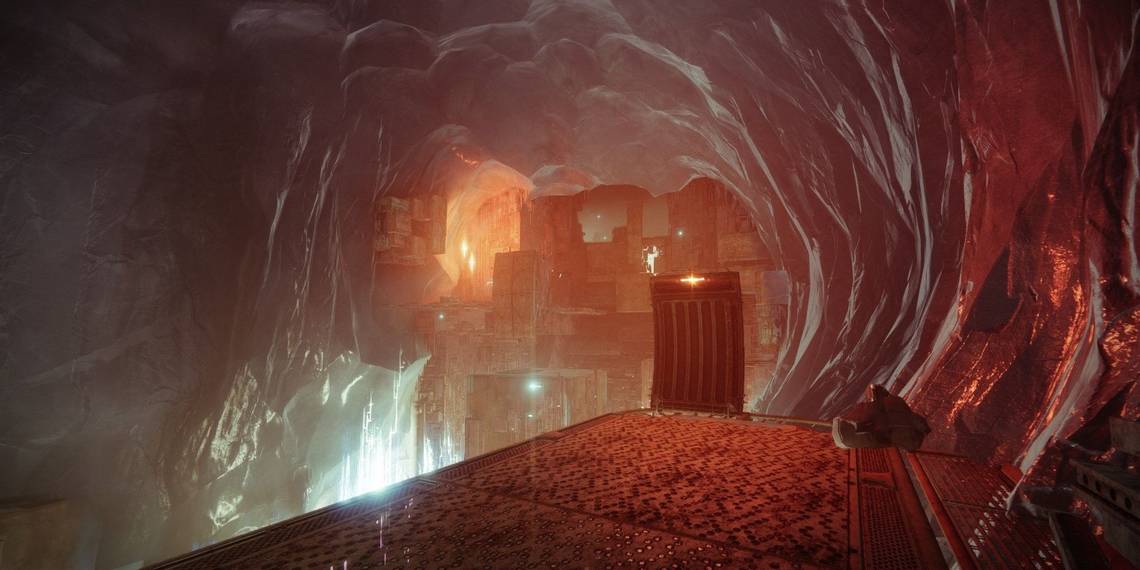
Concealed Void: Entrance

Entrance Enemies
- One Overload Captain
- One Barrier Servitor
- One Heavy Shank
- Two Vandals
- Dregs
- Shanks
Arguably the hardest part of Concealed Void is the first room. Rush towards the first two Fallen Dregs and take them down. A Shank and Dreg will be in front of you, which are usually accompanied by an Overload Captain after a few seconds. Use this opportunity to disrupt the Overload Champion and take them down. If the Overload Captain refuses to rear its head, fire a few bullets on the ground or damage it from the small slit to the right of you.
Push slightly up and take out the two Vandals in the back. At this point, you must wait for the Barrier Servitor to rear itself around a corner or towards a good vantage point. Since the Servitor protects virtually every enemy, this is rather tricky to pull off. The best way of doing this is to kill the two Vandals at the back of the room so it moves to the back of the room. Once you have a good view of it, shoot it with your Special or Heavy weapon a few times until it deploys its shields. Break them and finish it off. Destroy the Heavy Shank and any remaining Shanks in the corner of the room to proceed.
Concealed Void: Radiolarian Pool

Radiolarian Pool Enemies
- Two Overload Captains
- One Barrier Servitor
- One Heavy Shank
- One Vandal
- Shanks
- Dregs
Upon sliding under the horizontal bar, a clear view of the room will reveal a Barrier Servitor to your left and an Overload Champion dead ahead. Before dealing with any Champions, use your Primary to take out as many rank and file enemies as possible. This will make dealing with the Champions much less stressful.
If you have a clear view of the Overload Captain, go ahead and disrupt it before you deal damage. Repeat this until he's defeated. Focus on the Barrier Servitor next in the corner of the room. Do the same as before to the Barrier Champion, destroying its shields as needed. Destroy any remaining red bars in that section of the room, take out the Heavy Shank from a distance, then push up.
If the Barrier Servitor is making every enemy immune, remove 25% of its HP. This forces the Servitor to deploy its barrier. Destroying its barrier will break all immunity tethers for a short time.
The end of the room will have another Overload Captain and a sniper Vandal. Kill the Vandal at the back of the room before disrupting the Champion. You can either push up to the Champion and kill him or stay back, pelting away at his health bar using your Heavy. Kill both enemies to remove the energy field that leads to the next area.
Concealed Void: Corridor

Corridor Enemies
- One Overload Captain
- One Barrier Servitor
- Wretches
- Explosive Shanks
A group of Wretches will spawn once you reach this section. Kill them and jump across the gap, spawning both sets of Explosive Shanks near you. Immediately double back to where the Wretches were and destroy the swarm of Explosive Shanks. Cross the gap once again to face the Barrier and Overload Champion duo.
Focus on taking down the Barrier Servitor first unless both Champions are split from each other. If the Overload is giving you trouble, stun it right after you break the Servitor's shields to give yourself a few seconds of breathing room to damage the Barrier Champion. Kill both Champions as normal before you drop down to the final boss.
Concealed Void: Boss Arena

Boss Room Enemies
- One Captain Boss
- Servitors
- Wretches
- Dregs
- Vandals
No Champions exist in the final boss fight. If you have sufficient Heavy ammo, burst down the boss as fast as possible and open the chest to complete a Platinum run. Otherwise, hang back towards the entrance of the room and pick off the various Fallen that spawn.
Every time the boss loses a third of its health bar, a new wave of Fallen will spawn alongside a Servitor. These Servitors are somewhat tough if you don't have a Void weapon, although a well-placed ability or Heavy weapon will do the job. Widdle down the bosses' health bar until it's dead. As long as you have Heavy ammo or a Super ready, this shouldn't take more than a minute. Open the chest to finish the run and claim your loot.