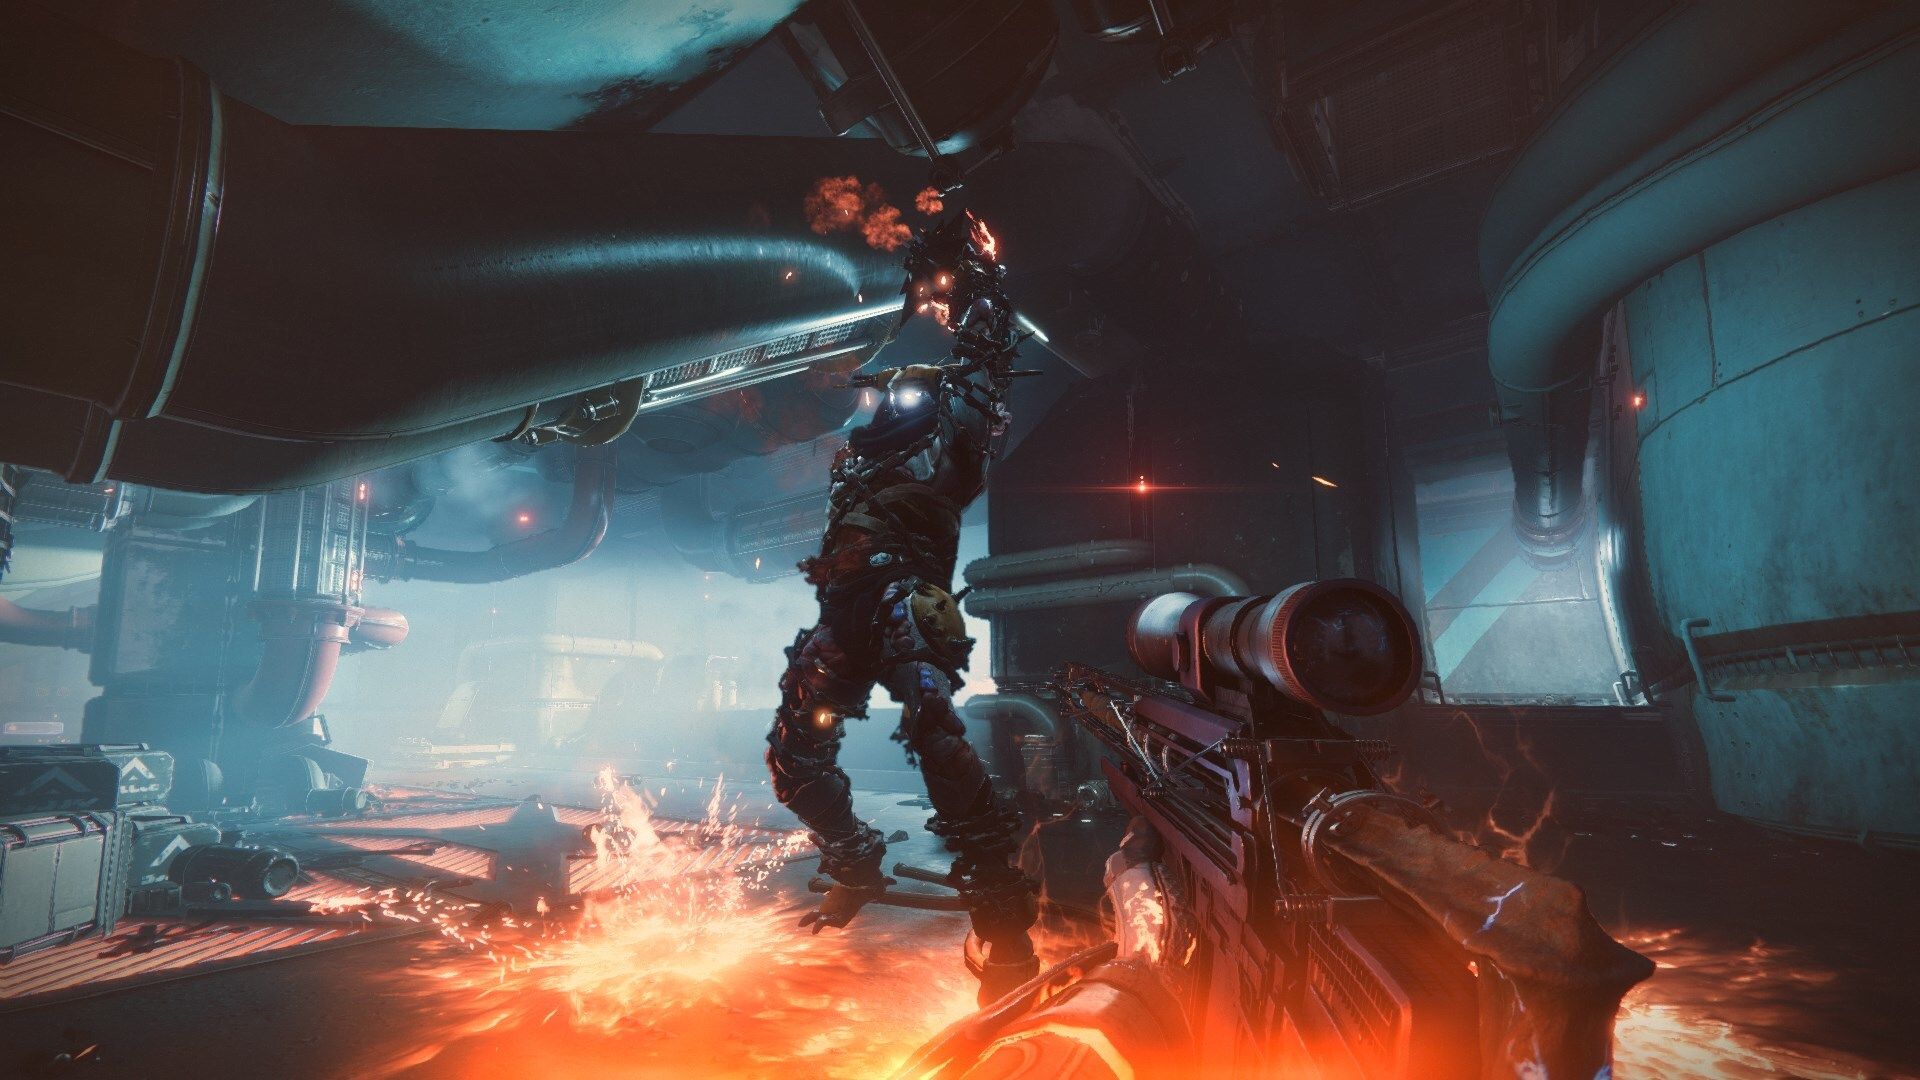
Destiny 2’s Season of the Chosen is full of surprises, from surprise Stasis nerfs to a surprise loot bonanza. And now we’ve got another surprise: the Dead Man’s Tale Exotic Scout Rifle.
This brand new Exotic is the second to come with the possibility of random perks--just like Hawkmoon. We still don’t know exactly how those random perks can be acquired, but if it’s anything like Hawkmoon, it’ll be from an even tougher version of the new Presage mission that just dropped today.
But gaining access to the abandoned Cabal ship Glykon--and the Dead Man’s Tale waiting inside--will require a few things first. Let’s go over how to find the distress call to the Glykon and what you need to do once you’re there.
Step 1: Find The Distress Beacon
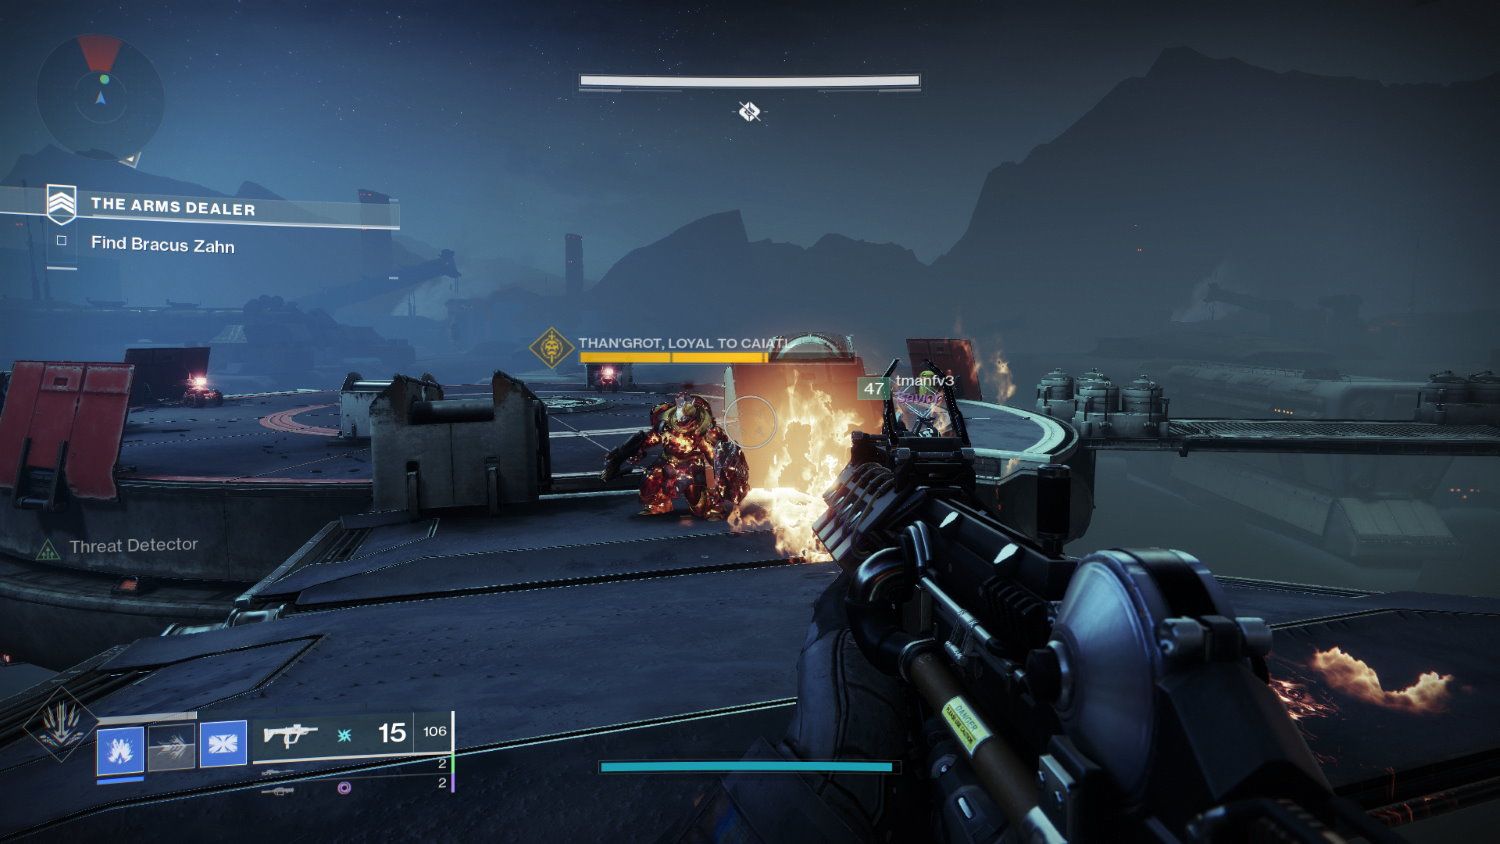
The first step in acquiring Dead Man’s Tale is finding the distress beacon of a stranded Guardian. Strangely, you’ll find that distress call in the Arms Dealer strike in the EDZ. Right at the beginning, there’s a brand new door in the first room that opens to a tunnel full of turrets. Get to the end and you’ll fight a Cabal Phalanx called "Than'Grot, Loyal to Caital," Kill him and the distress beacon will be sitting on a few boxes on the landing pad.
Step 2: Talk to Zavala
Bring the distress beacon to Zavala and he’ll order you to go explore the Glykon, an abandoned Cabal freight floating in the Tangled Shore. It's ostensibly a rescue mission, but you'll quickly find that it's actually a strange voyage into the heart of Darkness.
Step 3: The Presage Mission
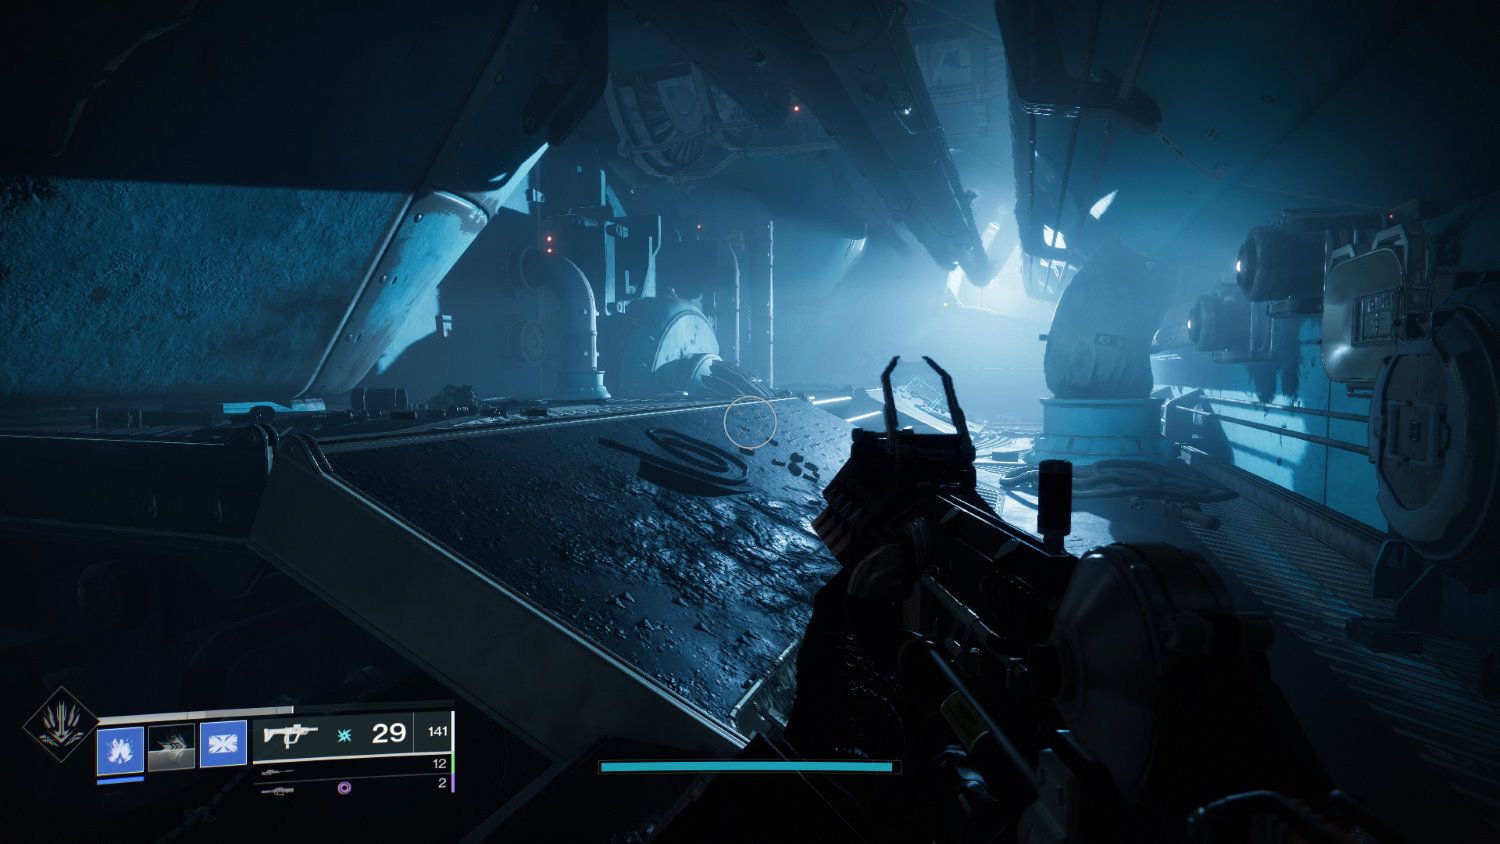
Here's where the meat of this Exotic Quest takes place. Fly out to the Tangled Shore and board the Glykon. You'll immediately discover that this is not going to be a straightforward rescue operation because the front door won't even open. There are power outages, strange Stasis barriers, and a maze of corridors and conduits that you'll have to navigate to find your way through this ghost ship.
But first, you gotta get inside. Look to the left of the ramp for a set of platforms that go around the outside of the Glykon--that's your ticket in. If you come to the end of the line, look up for the next platform.
Once you're inside you'll have to smash your way through vents to proceed. There will be creepy sounds and loud growling seemingly from all directions. Try to ignore it.
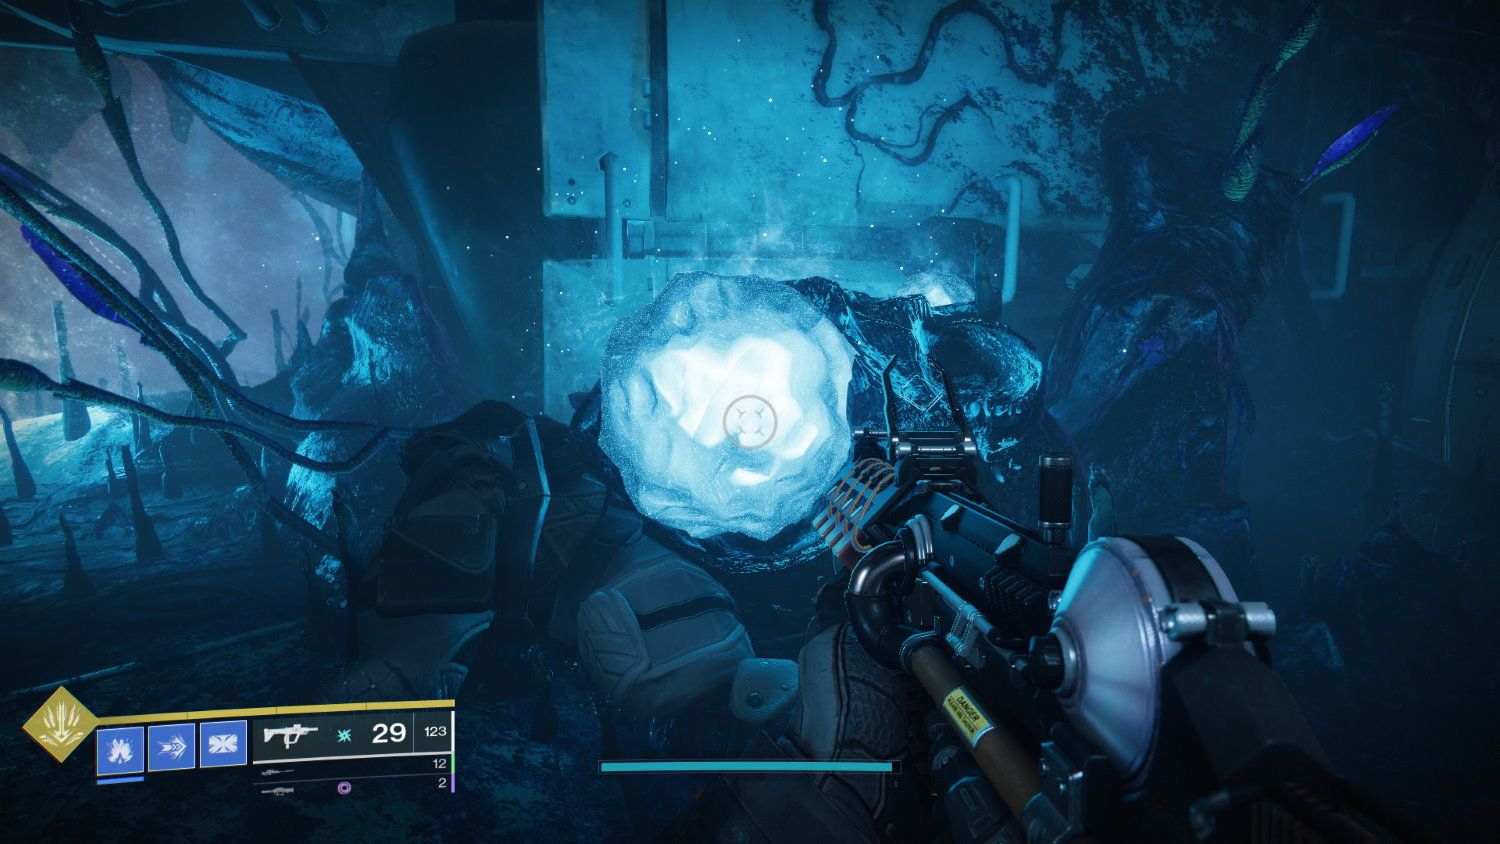
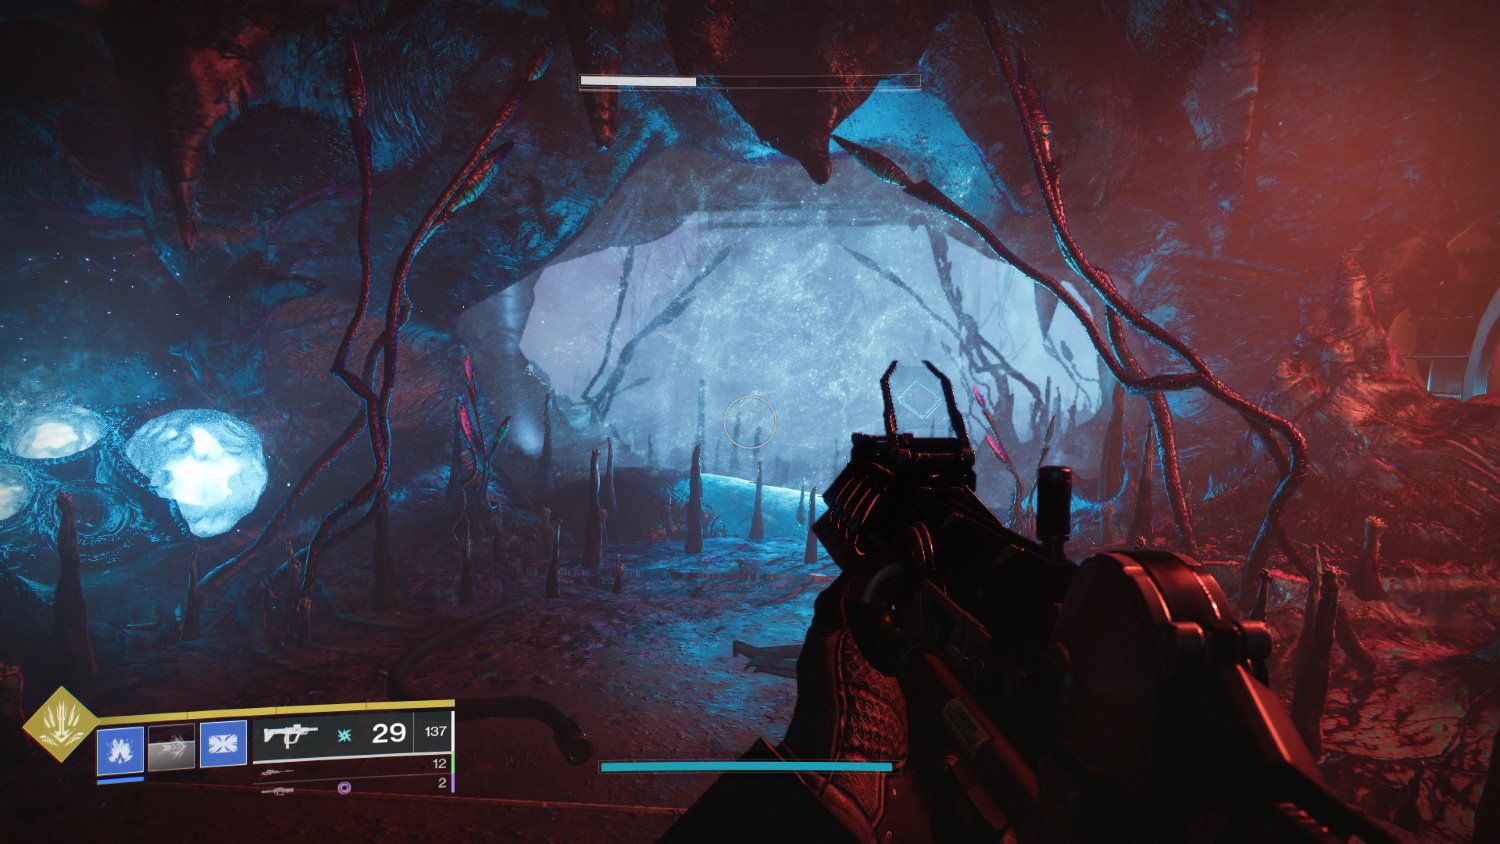
Once you're inside, you'll be confronted with the main mechanic of Presage. Stasis barriers block your way and the only way past them are glowing blue spore pods. Stand next to the glowing blue pod and shoot it to gain the Egregore Link buff. It’ll give you 15 seconds to pass through the Stasis barrier like it’s not even there.
After you make your way through the first Stasis Barrier, you'll head into several corridors that have you searching for vents to smash, switches to throw, or power conduits to shoot. Each of these will open a path either by opening a vent or a door to make your way further inside.
Pay attention to any beeping sounds--those mean there's a switch nearby.
Once you pass an area marked by a giant electric barrier, you'll come to an even larger trash compactor. Here, a bunch of Screebs will try to kill you while the trash compactor slowly threatens to crush your whole fireteam. The secret is to look at the floor and find three vents with power conduits behind them. Shoot the power conduits to turn off the trash compactor, and then find a vent that's opened a secret passage further into the Glykon.
A short corridor later will have you take on two rooms full of angry Scorn. Kill them all and you'll wind up in a hangar with no indicator or where to go next. Just as at the beginning of Presage, look outside for some platforms and go around into another hangar that'll let you proceed.
Next is a laboratory area that is actually just a sequence of escape rooms where you have to figure out how to use the spore pods to get past a bunch of Stasis barriers. Eventually, you’ll come to a maze of vents where the idea is to map out the area between the spore pod and the Stasis barrier and sprint between the two before your Egregor Link buff wears off.
You'll eventually get dumped back into the same laboratory room that you started, except a new door will have opened up. Use the pod to get past the Stasis barrier, and then there are a few more Stasis/Pod rooms between you and the final boss.
Step 4: Kill The Scorn Boss
When you suddenly come across a Raid Banner circle, you know you’re steps away from the boss. It’s a giant Scorn Ravager that likes to hang out inside a furnace to keep away from you. To kill it, you’ll need to use several panels throughout the upper level of the boss room to turn off the furnace. Then you can head down and damage the boss without getting burnt to a crisp.
The first two panels are on either side of the room. The third panel is behind a door that remains locked until the first two panels are used. It’s also exposed to the heat of the furnace, so you have to activate the third panel quickly, otherwise, you’ll burn up.
Every third of the boss’s health, the furnace will turn back on and you’ll have to repeat the earlier steps to turn the furnace off again. Do that twice and you’ll be able to take this Ravager down and claim your prize. The Dead Man’s Tale awaits in a very creepy tableau on the bridge of the Glykon.

