Today begins week three of Season of the Splicer in Destiny 2, and with it comes a new pinnacle activity called Expunge: Labyrinth. This mission is similar to Presage and Harbinger, but much shorter and simpler. The mission can be completed solo in about 15 minutes as long as you're close to 1300 power. All you need to bring is an anti-barrier weapon and Breach and Clear, if you have it.
To start the mission, you'll first have to complete this week's Override activity on the Tangled Shore. Afterwards, just return to the Splicer Servitor and talk to Mythrax to start a new quest for the Expunge mission. The mission can be found on the Tangled Shore on the bottom left side of the map. You can launch the activity from orbit.
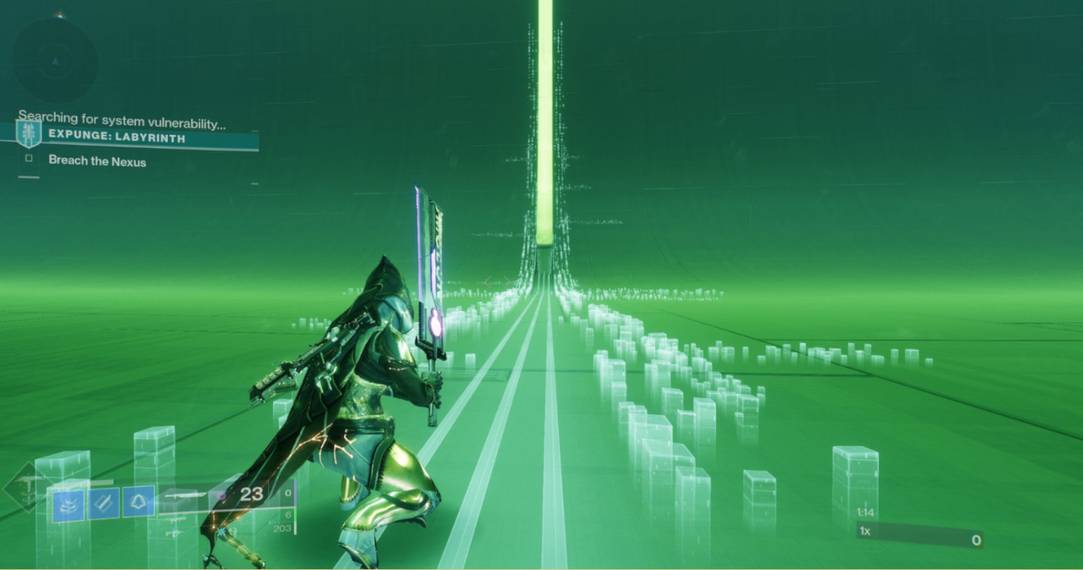
Part 1: Distributed Cognition Domain
To begin, run forward towards the gap in the wall straight ahead, then interact with the "hack" icon to open the door. Next, drop straight down into the pit below, but make sure to feather your jump right at the end to avoid critical damage. The labyrinth is filled with disappearing surfaces and pillars that will smash you out of nowhere, so pay careful attention to any sudden movements as you navigate this mission.
Your goal now is to descend to the very bottom of this narrow structure. Start by sliding under the wall in front of you and sliding down the path ahead where you'll eventually fall down a narrow chamber. Once on the ground, you'll find a path around the corner bathed in green light. Careful here, as a moving wall in front of the path will try to crush you. Follow the path until you hit a short. Stand still and the floor will disappear, dropping you into the next section.
Another green-colored hole can be found against the wall here, but take care not to get crushed by the wall above it. Slide down both ramps then run down the hallway, pausing as the triangular walls move in and out of place. Slide down another ramp and land in a long hallway with a bright white triangle at the end. Your exit is on the left-hand side where a moving section of the wall occasionally reveals another hole to drop in.

Drop down, then head down the hall and up the ramp. Flip around at the top and you'll see two paths. Head up the right-hand path, as the left one will just lead you back to where you were before. At the end of the hallway, Mythrax will inform you that the Vex are coming to stop you.
Part 2: Hurry Into The Domain
The next section is a long sequence filled with jumping puzzles and Vex goblins. From the platform you're standing on, look down to find the next ledge below you in the distance. You'll need to jump all the way to it while avoiding the damaging data walls that fly at your back. When you get across, duck into the cubby on the right to let them pass before proceeding.
Walk along the green ledge, careful of the crushing wall ahead of you. When it ends, jump up and to the left unto the platform above. Crawl to the end then jump forward, hugging the left wall so that you land on the next narrow ledge. Tuck in once again to let the data walls pass.
Follow the ledge until it ends dodging both of the moving walls along the way, then jump to the right ledge when it ends. Dodge one more moving wall as you move forward and jump into the portal.
Once you land on the other side of the portal, run and jump straight forward and land on the ledge ahead. Crawl forward and drop onto the next ledge then slide down the ramp. Jump right at the end of the ramp to land on the ledge ahead of you.

Walk along the ledge as it curves around to the right and then back to the left. Crawl forward until the end, then jump and land on the ledge below. Move forward just a bit and you'll see a Vex construct you'll need to shoot to make more platforms. Jump onto the new path and walk forward onto the cannon to launch into the next section.
You'll see three red entrances ahead of you on the next platform, jump into the middle one and slide down onto the cannon. On the next platform, wait until it moves slightly forward and jump onto the next platform at eye level, slightly to your left. From there jump to the next ledge, then down to the short ledge below.
Run down the ramp on the ledge to the right, then jump onto the wide platform below. When you jump onto the next platform floating out ahead, new platforms will start appearing in front of you just as you jump to the one before it. Ignore the goblins that spawn on either side and just keep moving forward as new platforms appear.
Part 3: Cannon Launching
Kill the three goblins at the end of this path then walk around the right side of the structure. Jump on the pair of platforms ahead of you as they appear, then onto the solid platform that curves around the corner. Curve the next corner then make a long jump onto the ledge ahead of you. Jump up to the platform above and be ready for a fight.
There are a few goblins here as well as a switch you can activate if you've purchased the first platform upgrade from the Splicer Servitor at the H.E.L.M. Just to the right of that switch is a short ledge. Shoot the white Vex construct in the distance to create a platform you can jump to. The next one is just to your left, then the next one will be below you. This jump is a lot easier if you have the extra platform upgrade. Continue to the next floating platform below you, ignoring the snipers behind. When you land in the next area, you'll need to kill a few goblins as well as a harpy that will drop a data spike.

Carry this spike forward as jump to each platform towards the Vex. You'll need to just ignore these enemies and keep moving because attacking them with the spike will cause them to explode and likely kill you. Take the path around the right side of the large toward where the Vex are standing deposit it in the terminal to activate a new cannon. Jump in it and bounce two more cannons, landing on a platform with a barrier Champion and several exploding Vex. Use an anti-barrier weapon or sword to take him out quickly.
Once dispatched, move down the path and take a right where you'll see several more goblins waiting. Move forward and turn left towards the narrow path. Jump onto the wide ledge above you on the right then shoot the white Vex construct at the end of the path. Jump to the ledge that appears, then activate the extra ledge switch on your left.
Part 4: Final Stretch
As you move forward across the new platforms that appear, you might get trapped in a Vex barrier. Just shoot your way out of and keep moving. Make your way down to the short ledge on the right side of the pillar ahead of you and walk around the back of it. You'll see another white diamond to shoot in the distance that will create a new platform.
Make this extra-long jump then jump to the next platform below. Follow the path around the corner then drop down onto the platform below before making another long jump forward. When you land on the next platform you'll see another harpy that drops a data spike when it's killed. Pick up this spike before you move forward.
Your path is to the left. There's a small floating platform you can use a step up onto another narrow ledge. At the end of the ledge, you'll need to make a long jump to the next floating platform. Be careful here as the next two platforms will disappear occasionally. Move forward and deposit the spike to activate another cannon. Jump into and bounce off several more cannons until you reach the next platform.

When you land, you'll find yourself facing off with two cyclops and several smaller Vex. Use your heavy ammo to clear these enemies quickly the take the path on the left in front of the pillar where you'll find another barrier Champion. Clear it, then follow the path to the right.
When you jump across to the next path you'll find yet another harpy with a data spike. Pick up the spike, then jump down, turn around, and follow the path that wraps all the way around the tower you're on. You'll make it to the terminal without any fights. Just deposit the spike and jump onto the cannon. This cannon takes you to a long platform where you'll find another switch to activate. Afterwards, just run forward and jump into the boss arena.
Part 5: Fantis, Oppressive Mind Boss Fight
There are white diamond on the four corners of the arena that you can shoot to spawn towers if you need cover. The boss is fairly flimsy, so as long as you're around 1300 power you should have no trouble soloing this fight. Deal damage however you see fit until it gets to about two-thirds health, then it will turn invincible.
At this point, two harpies will spawn that drop data spikes. Kill them both, then pick up one of the spikes and run it out to the edge of the arena where the large floating platforms have appeared. Jump across and deposit the first spike into the terminal. The floor will drop and you will land on a platform below. Jump into the cannon to return to the arena. Repeat this process for the spike on the second path to start the next damage phase.

If you've unlocked the Breach and Clear mod from the Seasonal Artifact, you can make short work of this boss by hitting it with any grenade launcher then unloading on it with either Anarchy, Witherhoard, or any powerful precision weapon you have.
Once the boss is reduced to about one-third health you'll have to repeat the data spike process again to start the final damage phase. Once the Oppressive Mind is defeated, you'll just need to return to the Splicer Servitor at the H.E.L.M. to claim your prize.