Expunge: Tartarus is the third Expunge mission in Destiny 2's Season of the Splicer. Previous missions tasked Guardians with infiltrating a labyrinth and escorting data keys, so what does this mission have in store?
In essence, you'll need to destroy Vex cubes while you have a time-sensitive buff. If you can get past a myriad of traps and Vex, you'll be greeted by a Hydra boss. While this is by no means the best Expunge for grinding bounties or challenges, this is one of the fastest Expunge missions in Destiny 2. With good timing, you can get this mission done in five minutes or less, making it an excellent choice for completing certain time trial Triumphs.
Breach The Nexus

The path is the exact same as previous Expunge missions. If you need a refresher on how to traverse this part, check out our Expunge: Labyrinth and Expunge: Styx guides.

Note: If you have the Wirewalker upgrade on your Splicer Gauntlet, you can skip most of this first section. After the first descent, interact with the green terminal. Follow the newly revealed path to reach the portal hallway.
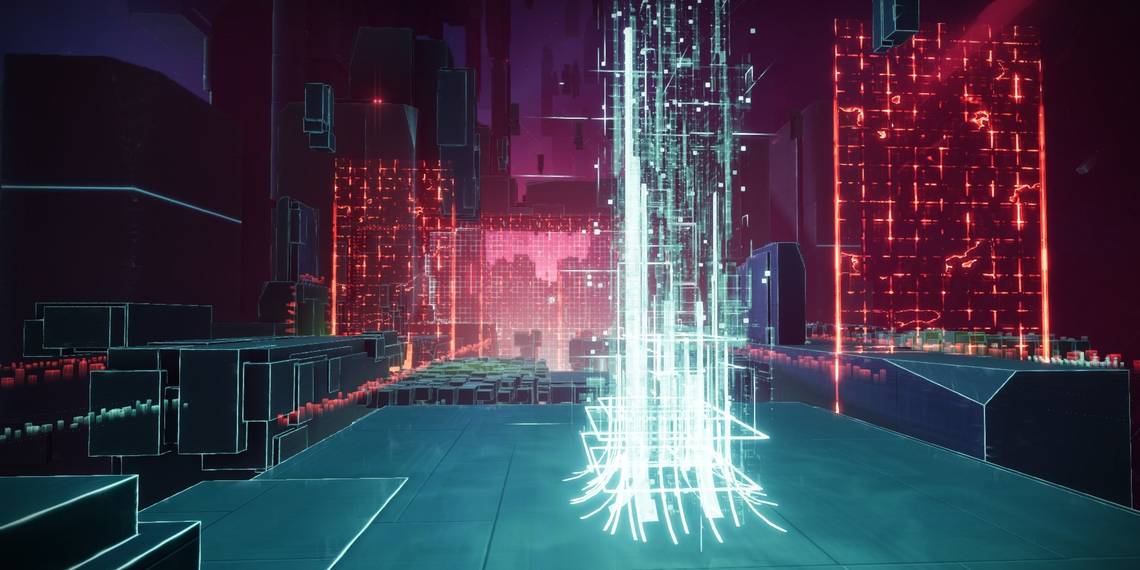
Find The Oppressive Mind

You'll be teleported to a narrow platforming section with white forcefields that block the path. Make your way to a white Vex wall not far from spawn. To remove the wall, you'll need to destroy nearby Vex Cubes. Vex cubes are immune to all damage unless you have a new buff: Stabilized Security Access.
Note: If you have the Codestrider upgrade, you can interact with a green terminal at the start. This will activate platforms and a gravity lift that'll let you skip the mechanic tutorial.
Stabilized Security Access And Vex Cubes

In each arena will be a Vex pylon that you can hack. Once interacted with, the pylon will morph into a plate that you can stand on—similar to Expunge: Styx. Standing on the plate will grant stacks of the Stabilized Security Access buff. This buff decays at a rate of x1 per second. You can have 32 stacks of this buff at a time.
While you have the Stabilized Security Access buff, you'll be able to damage Vex cubes scatted throughout the area. Destroying all of the cubes in a given area will force the Vex forcefield to dissipate, allowing you to proceed. Should the buff decay before you can destroy every cube, you'll need to backtrack to the Vex plate to gain Stabilized Security Access stacks.
Vex Wall #1

Note: Activating the green terminal near the start allows you to take a gravity lift to the left of the wall, allowing you to bypass this part entirely.
For the tutorial wall, interact with the pylon nearby to gain the Stabilized Security Access buff. There are two cubes you need to shoot:
Vex Cube #1

This cube is floating directly in front of the Vex wall.
Vex Cube #2

Hop onto the platform in front of you. Turn around to find the cube hiding under the floor you just jumped from.
Vex Wall #2

Red forcefields will sweep sections of the arena during this part, dealing massive amounts of damage if they touch you. If you activated the green terminal earlier, stick to the platforms on the far right to avoid the forcefields. There are three Vex cubes in this section.
Vex Cube #1

Found directly ahead of the buff plate. It's the closest cube to the exit.
Vex Cube #2

This cube is hiding behind a floating pillar near the back half of the arena.
Vex Cube #3

Found in the back half of the arena, hiding behind a cube in the central path.
Vex Wall #3

More forcefields will attempt to disintegrate you in this section. Fortunately, this section has far more platforms for you to shoot from. There are five cubes you'll need to destroy. If you take too long to destroy all of them, you'll need to backtrack to the Vex plate to refresh your buff.
Vex Cube #1

This cube is floating directly in front of the Vex plate.
Vex Cube #2

From the first Vex cube, turn left. The cube will be floating slightly below a pillar in the path of a red forcefield.
Vex Cube #3

From the second Vex cube, turn right. It'll be floating in the path of the forcefield closest to the Vex plate.
Vex Cube #4

Dead center of the arena is a cube hiding behind a pillar.
Vex Cube #5

Reach the other side of the arena, then turn right. The cube will be floating in the spawn location of a forcefield.
Vex Wall #4

The Vex finally realized that a red laser grid isn't enough to kill you, so now you'll need to juggle enemy Vex and red forcefields during this part. There are only two cubes you'll need to destroy.
Unfortunately, these cubes are protected by a Vex cage that you can't break with the Stabilized Security Access buff. You'll need to destroy Quantum Minotaurs to remove the Vex cages. Quantum Minotaurs are effectively major Minotaurs with a red glow denoting their importance. Kill a Minotaur to release the Vex cage protecting the cube. As before, you'll need to have the Stabilized Security Access buff to damage the cubes. There's also a Barrier Hobgoblin in this section, so be sure you have a weapon that can break the Champion's shield.
Vex Cube #1

It can be found on the right-hand part of the arena, beside a descending ramp.
Vex Cube #2

This cube is floating in a corner directly across from the exit.
Vex Wall #5

There's only one Vex cube connected to this wall. Before you push past the Vex pylon, try to kill the Barrier Hobgoblin at the end of the path. This section also has red forcefields, although they don't move. Wait for them to dissipate before jumping through their path.
Vex Cube #1

This cube can be found floating on the left side of the forcefield.
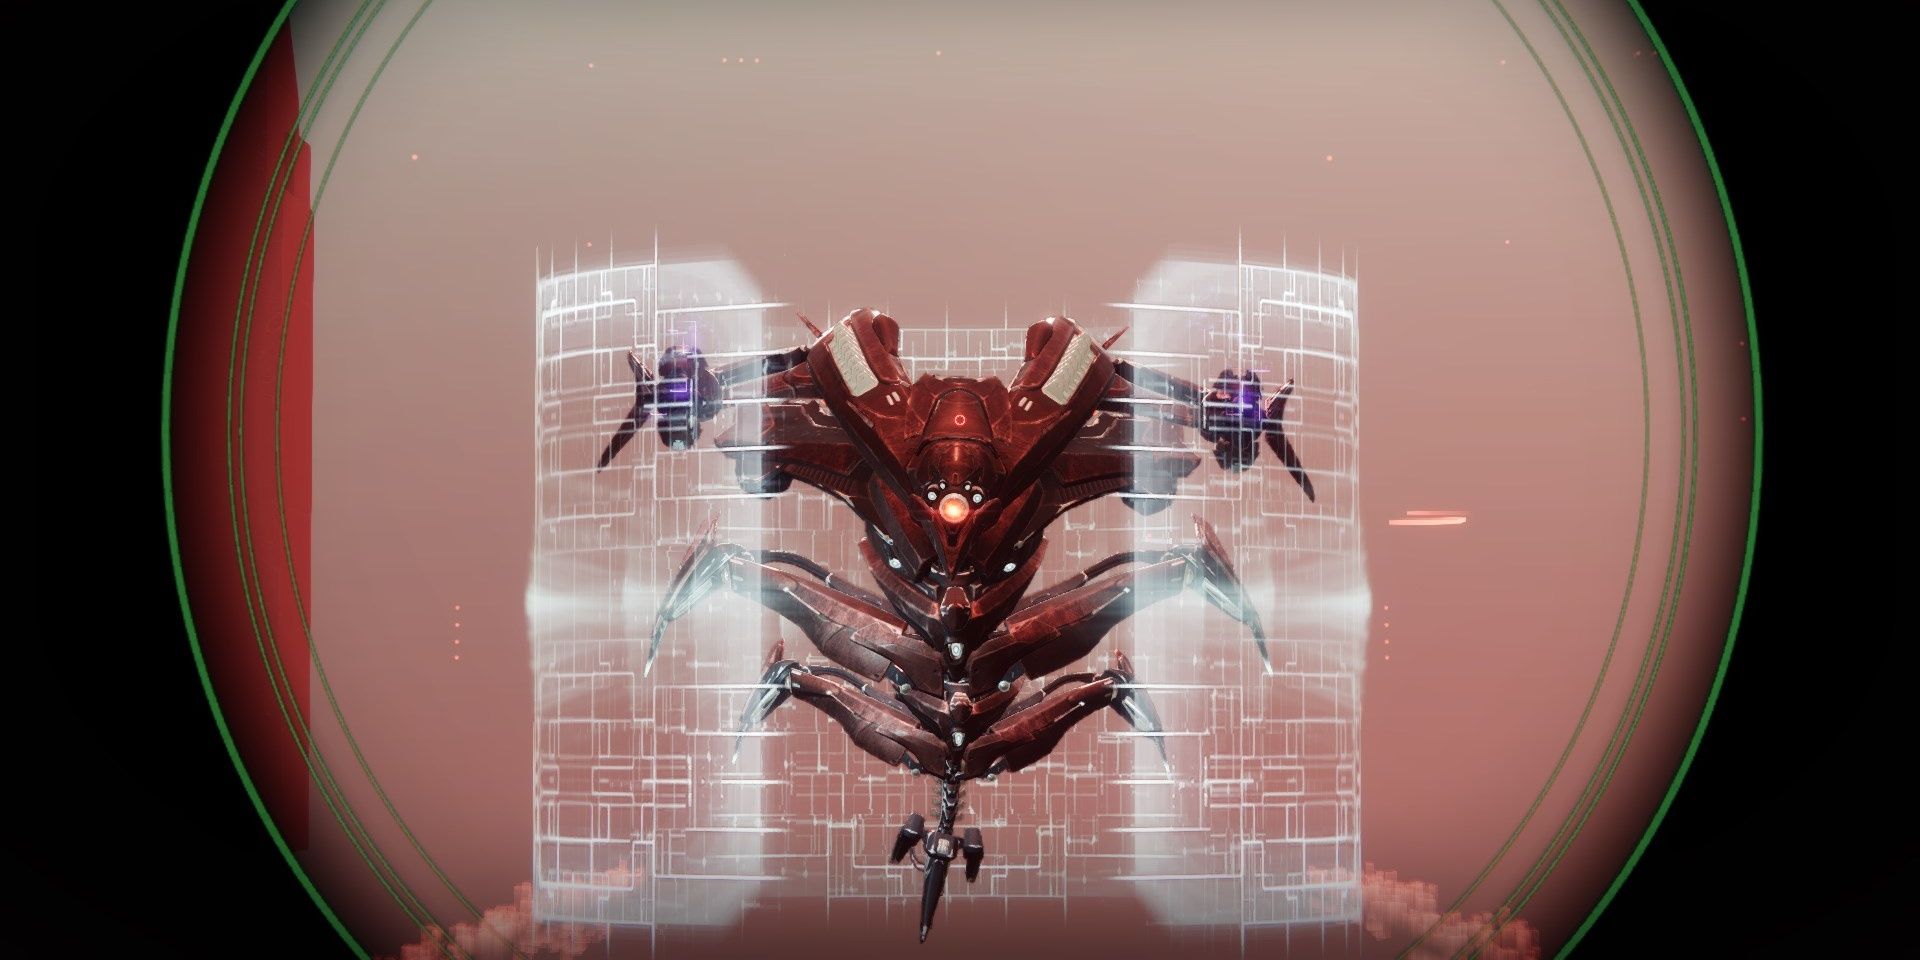
Defeat The Oppressive Mind

Start the boss fight by interacting with the pylon at the center of the arena. This will spawn Dimio, Oppressive Mind—a Hydra boss. While its health bar isn't partitioned, this fight does have phases. Do not one-shot the boss, as it soft-locks the encounter and makes the mission unbeatable.
Note: In between each phase, Dimo encases itself in a Vex cage. This cage will kill you if you're caught inside. For this reason, we don't recommend you use Swords or Thundercrash until Dimio reaches 33% HP.
Phase One

Dimio will immediately detain you when the fight starts. Shoot your weapon or strafe to escape the dome. When it spawns, you'll want to deal as much damage to Dimio as possible, using your Super or Heavy weapon to nuke its health bar. Fodder Vex enemies will spawn to the left and right of Dimio on occasion. Kill the fodder enemies whenever you need ammo.
Phase Two

When Dimio loses 33% of its health, it'll encase itself in an impenetrable Vex cage. Lowering the cage will require you to destroy two Vex cubes, one on each side of the arena.
Vex Cube #1

The first cube is hiding behind a pillar to the right of the Vex plate. You can shoot it from the buff plate.
Vex Cube #2

The second cube is hiding behind the pillar to the left of the Vex plate. You'll need to reposition to get a clear view of it.
With the cubes destroyed, Dimio will become vulnerable once again. Take off another 33% of its health bar by using your weapons, abilities, and Super.
Phase Three

The boss will teleport further back, encasing itself with a Vex cage once again. You'll need to destroy the same two Vex cubes as before, although they're now protected by Quantum Minotaurs. Destroy the Minotaurs as soon as you can, then break the cubes to make Dimio vulnerable. Red forcefields are also present during the final phase, so watch your step.
At this point, Dimio won't teleport or encase itself in a Vex cage. You have free reign to get up close and personal with the boss or use your hardest-hitting weapons to take the Hydra down. Destroy Dimio to complete the mission.