Destiny 2: Lightfall has added three new Lost Sectors to the Legendary Lost Sector rotation. These Neomuna Lost Sectors are effectively miniature strikes, featuring over a hundred enemies and even mechanics. Completing these Lost Sectors on Legend and Master difficulty can prove difficult for more players, especially newcomers.
Fortunately, Gilded Precept is the easiest Neomuna Lost Sector. Tons of cover and good sightlines make this a good Lost Sector for players looking to farm Exotics. This guide will cover the best loadouts you can use for this Lost Sector along with effective strategies for clearing each section of the Gilded Precept.
Modifiers And Recommended Loadout

Gilded Precept is the easiest Neomuna Lost Sector of the bunch, but it's still a Neomuna Lost Sector. Expect quite a few adds and a handful of Champions during your run. Bring a good add-slaying build, spec for 100 Resilience, and use weapons that can comfortably counter Barrier and Unstoppable Champions.
Gilded Precept Modifiers
Recommended Loadout
Entrance

Entrance Enemies
- One Unstoppable Incendior
- Centurion
- Phalanxes
- Psions
- Legionaries
You'll start this Lost Sector in a narrow walkway that's guarded by a few Cabal Legionaries and Phalanxes. The only notable enemies here are a Centurion and an Unstoppable Incendior. This Champion typically roams near the back of the room, so you can focus on killing the adds first. When the Champion starts to attack, stun it with your Unstoppable counter and immediately kill it. When the coast is clear, enter the newly-opened door at the end of the walkway to reach the next area.
Locked Room

Locked Room Enemies
- Two Barrier Colossi
- Gladiator
- War Beasts
- Phalanxes
- Psions
- Legionaries
This next room has dozens of enemies and a couple of Champions. Take this part slowly, sticking to the cover near the entrance to avoid the Psion snipers. Start by killing the Phalanxes and Legionaries grouped up near the center of the room, watching out for Psion snipers on the elevated platforms to your left and right.
After killing enough enemies, two Barrier Colossus Champions will spawn, one on each side of the arena. They tend to swap sides when you start damaging them, so you'll want to focus on killing the adds first. Clear out all the Psions that spawn, watch out for any melee units, and keep your Heavy ammo for the Champions. When most of the adds are dealt with, focus on damaging one of the Champions. It'll most likely swap sides and deploy its shield. Get your Barrier counter ready as it's swapping sides, then break the shield. Kill the stunned Champion and repeat the process one more time.

The Barrier Champions will drop orbs when they die. You'll need to grab these orbs and escort them to the totems on the other end of the room. Dunk the orbs into the totems to open the path forward. Reload your weapons and ready your Unstoppable counter.
Before Fighting The Boss

The next room will have one Unstoppable Incendior alongside a few fodder units. Lure the Incendior down the stairs and toward the last room you were in. This is a good spot to stun and kill the Champion. Clear out the other adds in the room and proceed into the adjacent hallway. They'll be two Psions and a Barrier Colossus guarding the hall. Kill the Psions and stun the Champion as soon as you can, keeping your distance if possible. Kill the Champion to unlock the boss room.
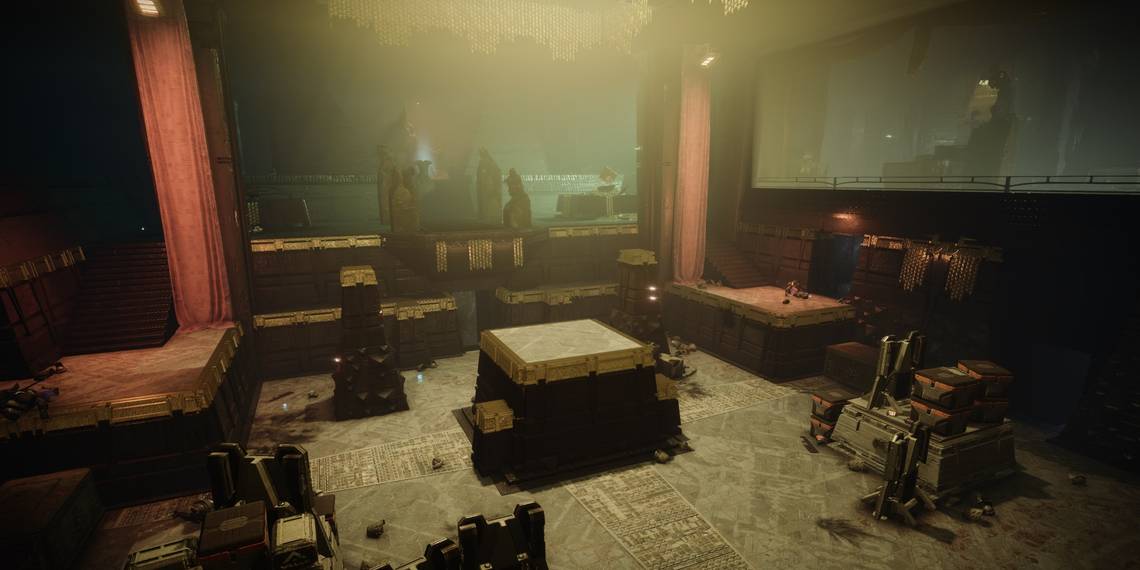
Boss Arena

Boss Arena Enemies
- Colossus Boss
- Gladiator
- War Beasts
- Phalanxes
- Psions
- Legionaries
You'll be greeted by a Colossus boss shortly after entering the room. Stick to the entrance for cover. You'll have a Phalanx on each side of the arena and two Psions at the very back. Snipe these Psions as soon as you can, then prepare for the War Beasts to push your location. Clear them out with a grenade, then focus your attention on the boss. Arc Threat makes this boss hit like a truck, so you'll want to only damage the boss when it's not actively firing its cannon.
Damaging the boss slightly will cause it to retreat to the back of the room, spawning more adds near its location. This is a good time to pop your Super and kill the adds. If your build has exceptional DPS, you can kill the boss right here and end the run. Those chasing a solo flawless clear will want to take this part slowly, picking away at the boss' massive HP pool from safety. There aren't any Champions at this part, so give the boss everything you've got. When all the enemies are slain, open the chest near the back of the arena to finish the run.