Quick Links
Legendary Lost Sectors are the best means of obtaining Exotic armor in Destiny 2 currently. Completing a Legend or Master Lost Sector by yourself will net a high chance at obtaining an Exotic armor piece and a moderate chance at an Enhancement Core.
These Lost Sectors can get rather difficult, especially on Master difficulty. They are far from impossible, however. With the right strategy and loadout, these Lost Sectors can be completed in a few minutes on Legend and six minutes on Master. The Perdition Lost Sector is easily one of the best for farming Exotics due to its short length and weak boss. Here is a complete guide to completing the Perdition Master Lost Sector in Destiny 2.
Updated February 5, 2023, by Charles Burgar: Season of the Seraph has some new weapons, balance changes, and Artifact mods for players to use. We've updated this guide to reflect the new Seraph Artifact mods, and we've also updated our loadout recommendations to reflect this season's Exotic balance changes and new loot additions.
Modifiers And Recommended Loadout

Perdition is a fairly short Lost Sector with an easy boss. The modifiers present are somewhat rough if you're going for a melee build, but speccing for a little more damage resistance or healing should help. Barrier and Overload Champions are present, and a few Wyverns spawn during the halfway point.
Perdition Modifiers
Recommended Loadout
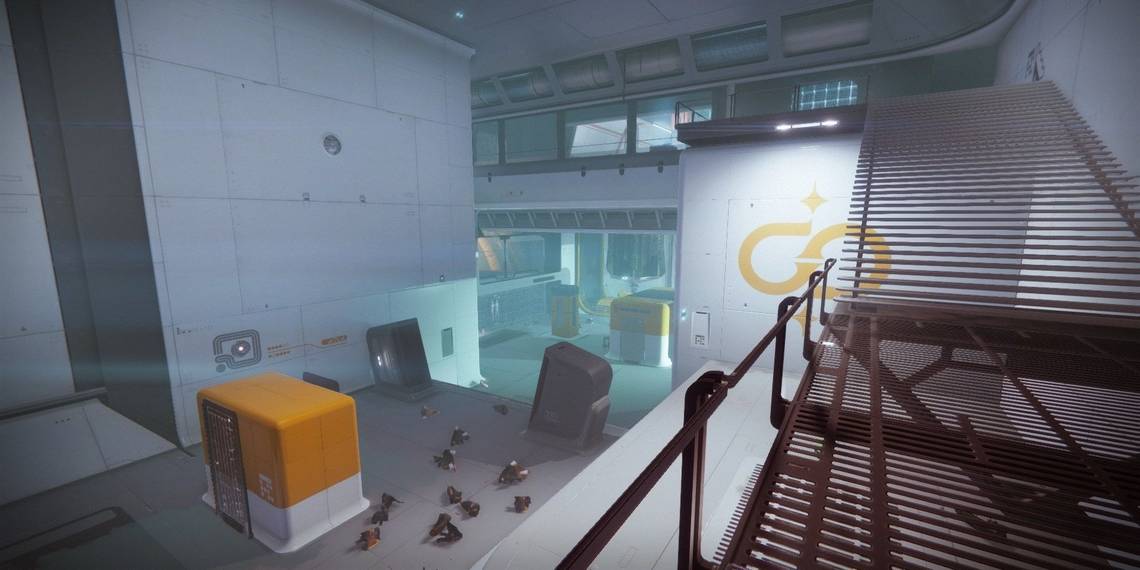
Perdition: Entrance

Entrance Enemies
- One Hydra Boss
- One Overload Minotaur
- Two Hobgoblins
- One Minotaur
- Harpies
Perdition is arguably the easiest Lost Sector of the bunch due to how short it is. When you spawn in, drop down to the Harpy to your right and take it down. Two more will spawn and scuttle down the stairs to meet up with the Hydra. If you are using Stasis and Lament, throw a grenade near the Hydra to freeze them. Charge into the fray and use your abilities or Heavy weapon. Should the Hydra survive, it will teleport to either the end of the first room or the next room. If it is still in the first room, damage it from a distance until it dies or disappears.
When you push halfway into the first room, the second set of enemies will spawn. These enemies will consist of an Overload Minotaur, two Hobgoblins, and a handful of Harpies. Lure the Overload Champion to the back of the room before stunning them. Overload weapons with Explosive Payload are great for this. Take it down, clear out the rest of the enemies, then run up the stairs towards the second room.
When an Overload enemy recovers from a stun, hit them with an Overload Round. They won't be stunned, but it will disable their health regeneration and ability to teleport.
Perdition: Wyvern Room

Wyvern Room Enemies
- One Hydra (if not killed in the previous room)
- Two Barrier Hobgoblins
- One Overload Minotaur
- Two Wyverns
- One Minotaur
- Goblins
Immediately upon running up the flight of stairs, shoot the Overload Minotaur around the corner and run down the stairs. The Overload Minotaur will teleport to your location, allowing for an easy stun. Kill the Champion before running up the stairs to take out the wave of Goblins. If you did not successfully kill the Hydra in the first room, it will reappear on the stairs at the far end of the room. Damage it from a distance until it dies.
When you're ready, push toward the center of the room to spawn two Barrier Hobgoblins and the next set of enemies. If you push near the stairs of the room, you will also spawn two Wyverns. Spawn the enemies before doubling back to the staircase. Take out the Minotaur and other Vex adds charging at you, then push up to the stairs when you're ready. This will cause the Wyverns to spawn. Now is a great time to use your Super, grenades, or any Heavy weapon. If their cannons touch you, there's a good chance you'll die.
With the Wyverns down, you will need to find to take down the Vex Goblins and separate the Barrier Hobgoblins away from each other to block their line of sight. Freezing one of the Hobgoblins or luring one down to the lower floor are the best options. Separate the Hobgoblins, take one down, then kill the second one. Run up the stairs to face the final boss and two more Champions.
Perdition: The Boss Arena

Boss Arena Enemies
- One Boss Minotaur
- Two Barrier Hobgoblins
- Harpies
- Goblins
A giant Minotaur will spawn alongside a wave of Goblins and Harpies. Kill all the fodder enemies before damaging the Minotaur. When it's just the boss remaining, use your Heavy weapon to quickly melt the boss. If you haven't used your Super yet, now's the time to do so.
Rush to the area beside the Lost Sector chest and use it as cover. Do not open the chest yet or you'll void a Platinum completion. Two Barrier Hobgoblins will spawn on each end of the room alongside a wave of Goblins and Harpies. As before, use your abilities to quickly kill the fodder enemies. Break up the Hobgoblins so they don't have line-of-sight on each other, then tear them to shreds with a Heavy weapon. Grab the Lost Sector chest to receive your rewards and obtain a Platinum completion.