Quick Links
Destiny 2 added four Lost Sectors to the Legendary Lost Sector rotation in Season of the Chosen. These four Lost Sectors are all from the Moon, ranging in difficulty from very easy to brutal. K1 Crew Quarters sits firmly in the latter category.
On Master difficulty, K1 Crew Quarters proves one of the most challenging Lost Sectors you can run. Tons of Champions, a lack of cover, and a boost to Arc damage make this Lost Sector frustrating to run if you aren't prepared. Fortunately, that's what this guide is for. Covering modifiers and strategies, here is a complete guide to the K1 Crew Quarters Master Lost Sector in Destiny 2.
Updated September 18th, 2022, by Charles Burgar: K1 Crew Quarters hasn't seen any changes since the last time we wrote a guide, yet this season did rework Arc and gave us some new toys. We've updated this guide with current Artifact recommendations, ensuring that our loadout recommendations make countering the Champions as easy as possible.
Modifiers And Recommended Loadout
If you are more than 15 Power under the listed requirement, do not run this Lost Sector on Master difficulty. The Arc burn and Attrition modifiers make this Lost Sector brutal if you can't deal damage from cover or passively heal. Farm it on Legend difficulty instead.
K1 Crew Quarters is one of the hardest Master Lost Sectors you can run. Tons of Champions and snipers dot this Lost Sector, most of which benefit from the Arc damage burn. When you pair this with Attrition, this Lost Sector demands that you either take it slow or use Solar. Here's what K1 Crew Quarters has as modifiers:
K1 Crew Quarters Modifiers
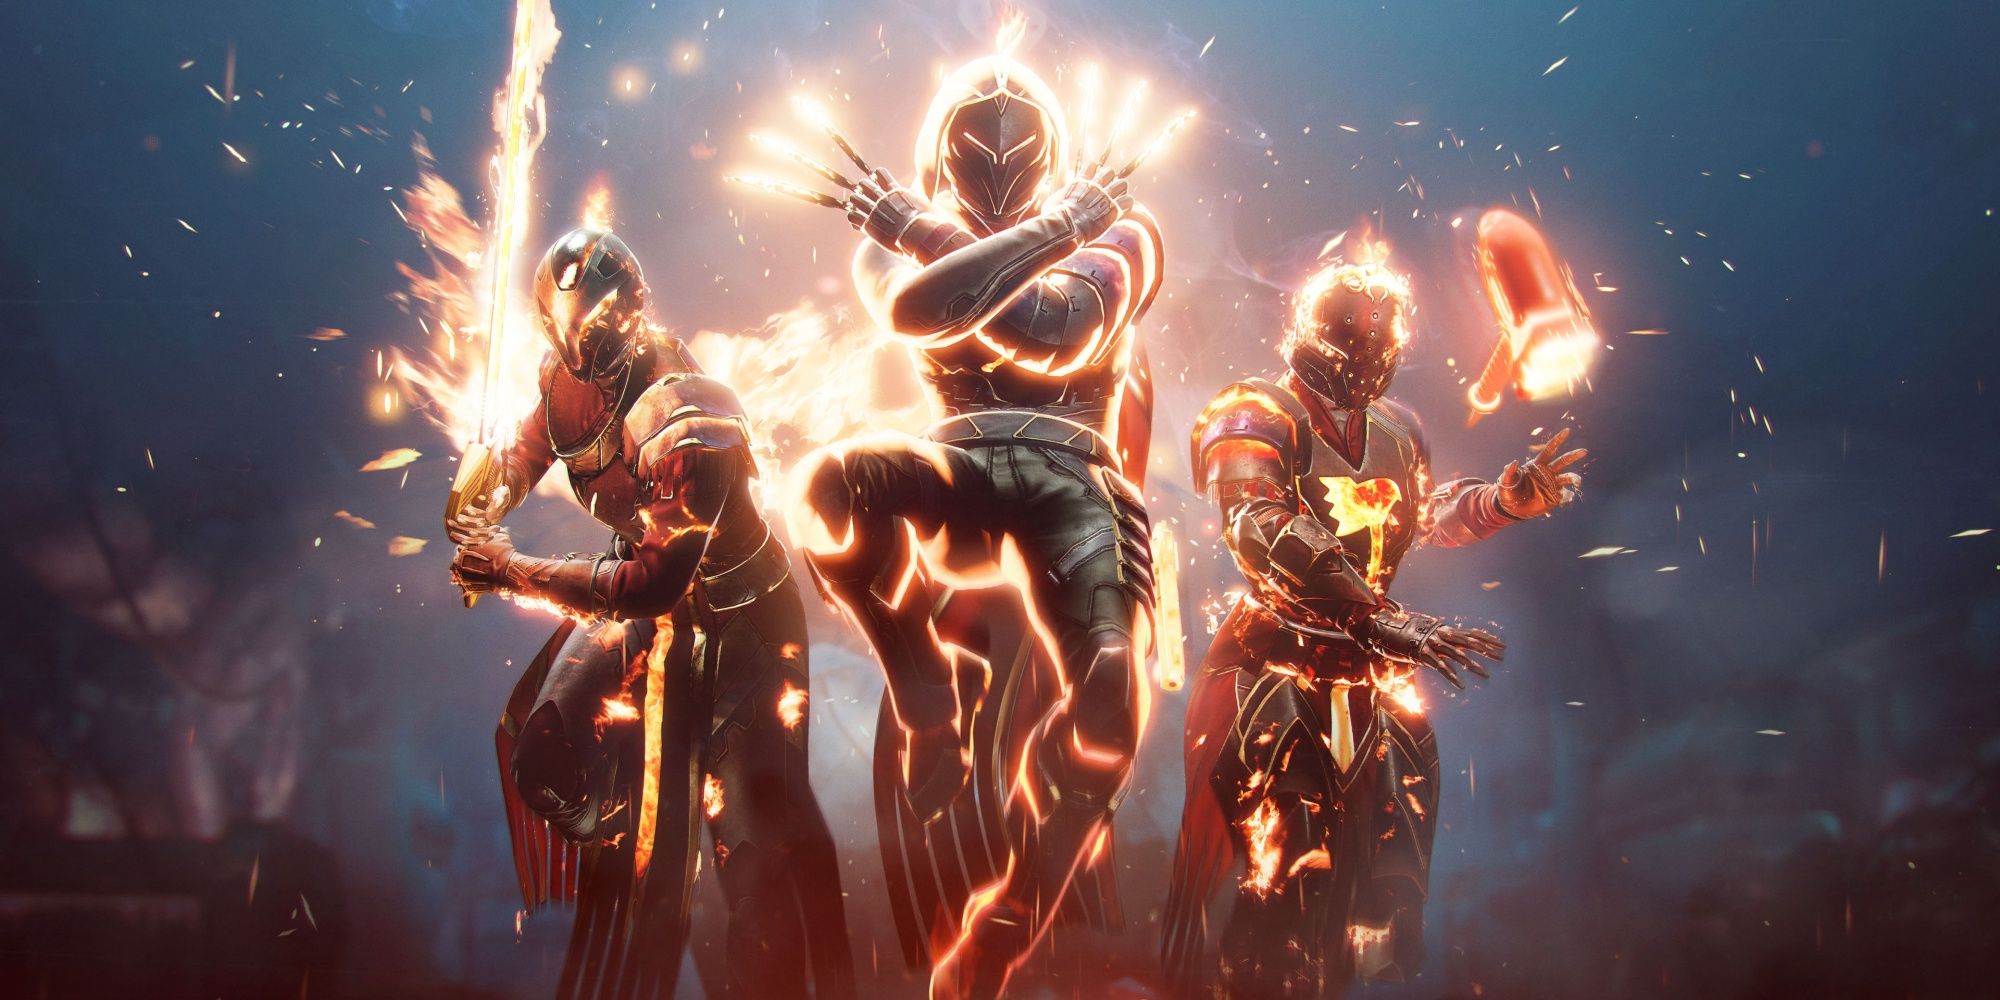
Recommended Loadout
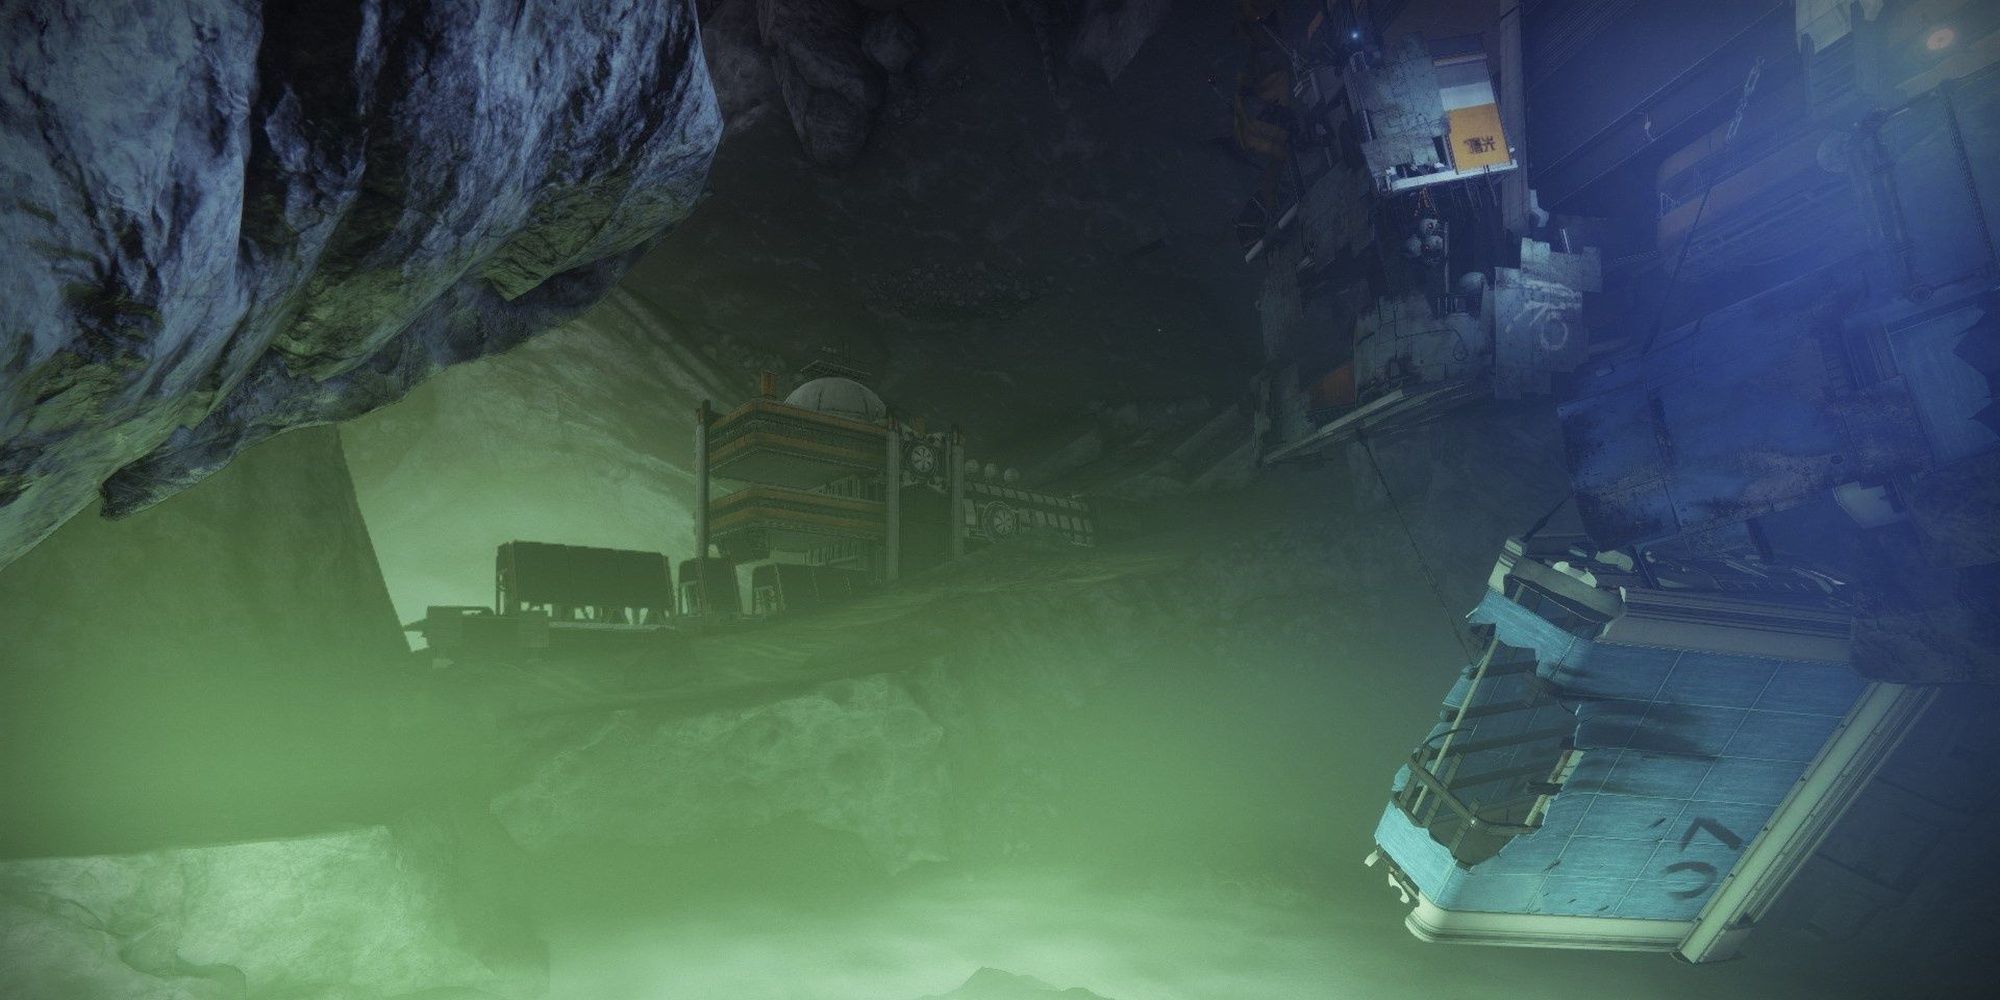
K1 Crew Quarters: Entrance
Entrance Enemies
- Two Overload Captains
- Dregs
- Vandals
- Shanks
- Explosive Shanks
Stick to the rock on your right when you enter the room, never pushing forward unless the coast is clear. A few Vandals will run to a vantage point on your left, usually causing the Overload Captain to do the same. Take down the Vandals, then kill the Champion as fast as you can. If you kill the Vandals and Dregs, ignoring the Champion, you'll have to face two Champions at once.
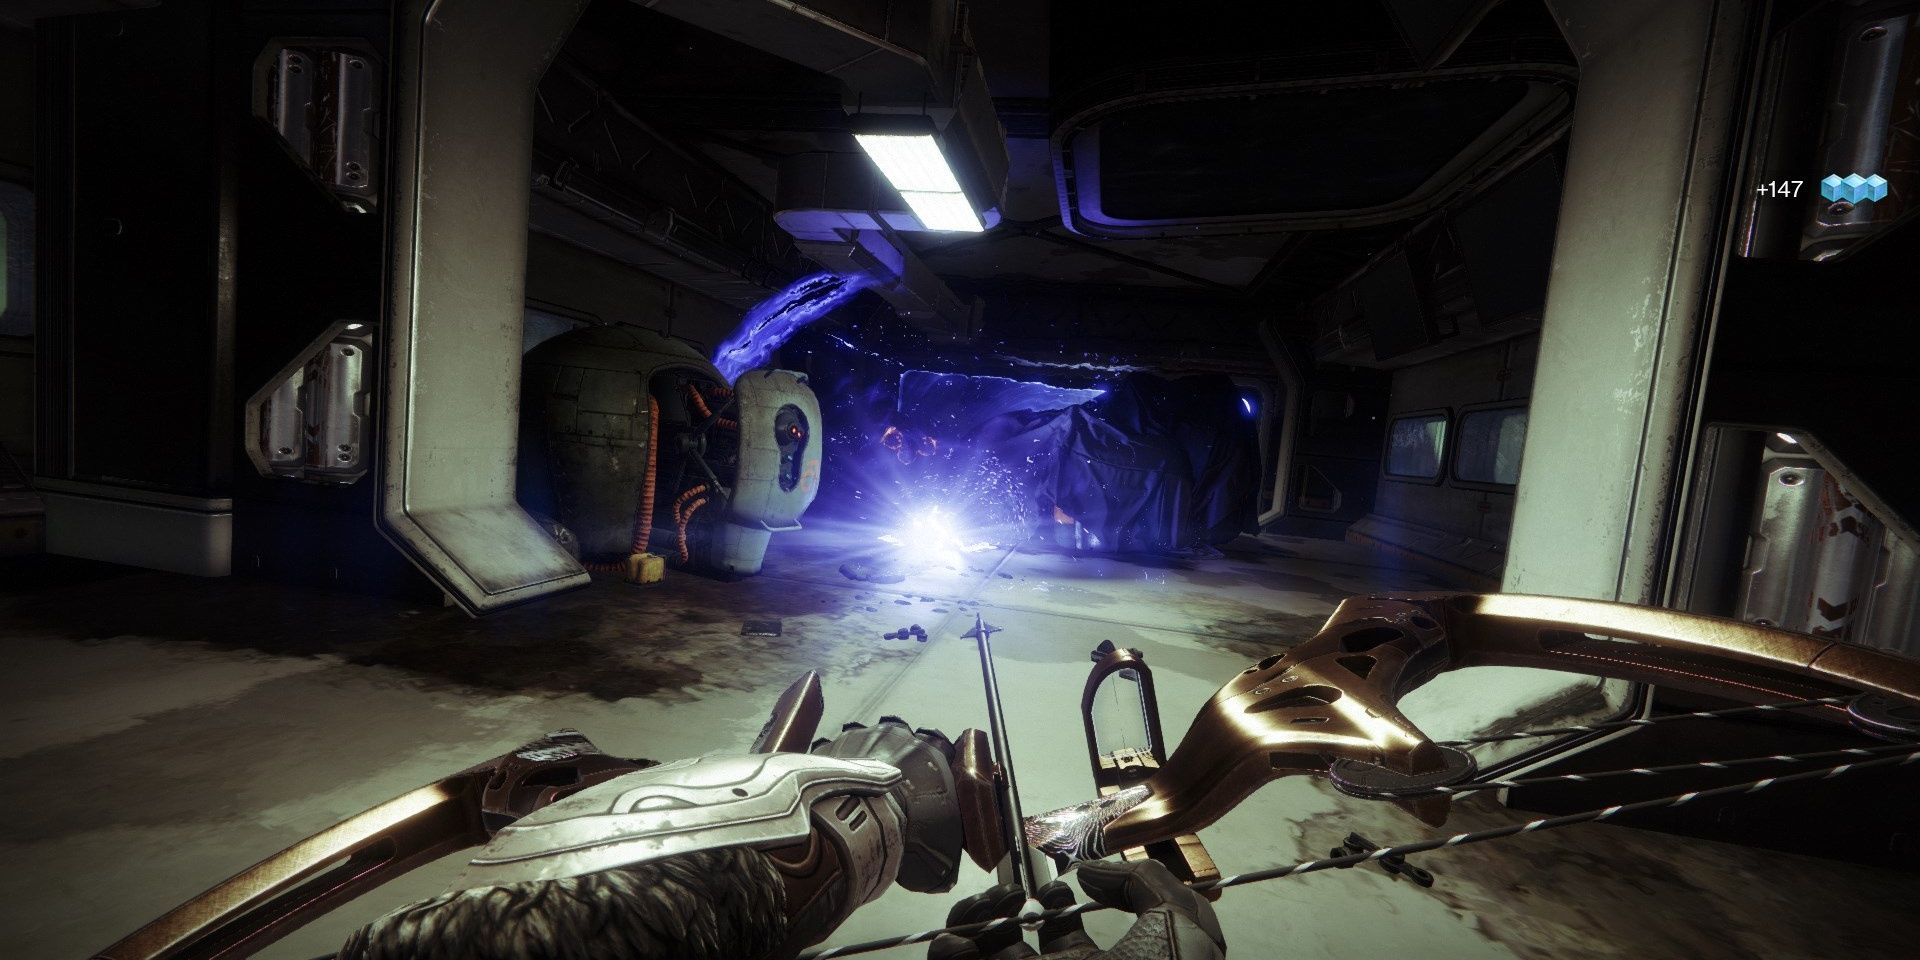
You can stop an Overload Champion's health regeneration by shooting an Overload Round into it, even while it's recovering from a stun. Right as a Champion gets up from being stunned, fire an Overload Round into it. It won't stun the Champion, but it'll prevent it from teleporting and healing for several seconds.
When enough enemies are killed, a second wave of Fallen will spawn. An Overload Captain, Shanks, and a few Dregs will rush out from the nearby building. Once again, destroy the Overload Captain as fast as possible.
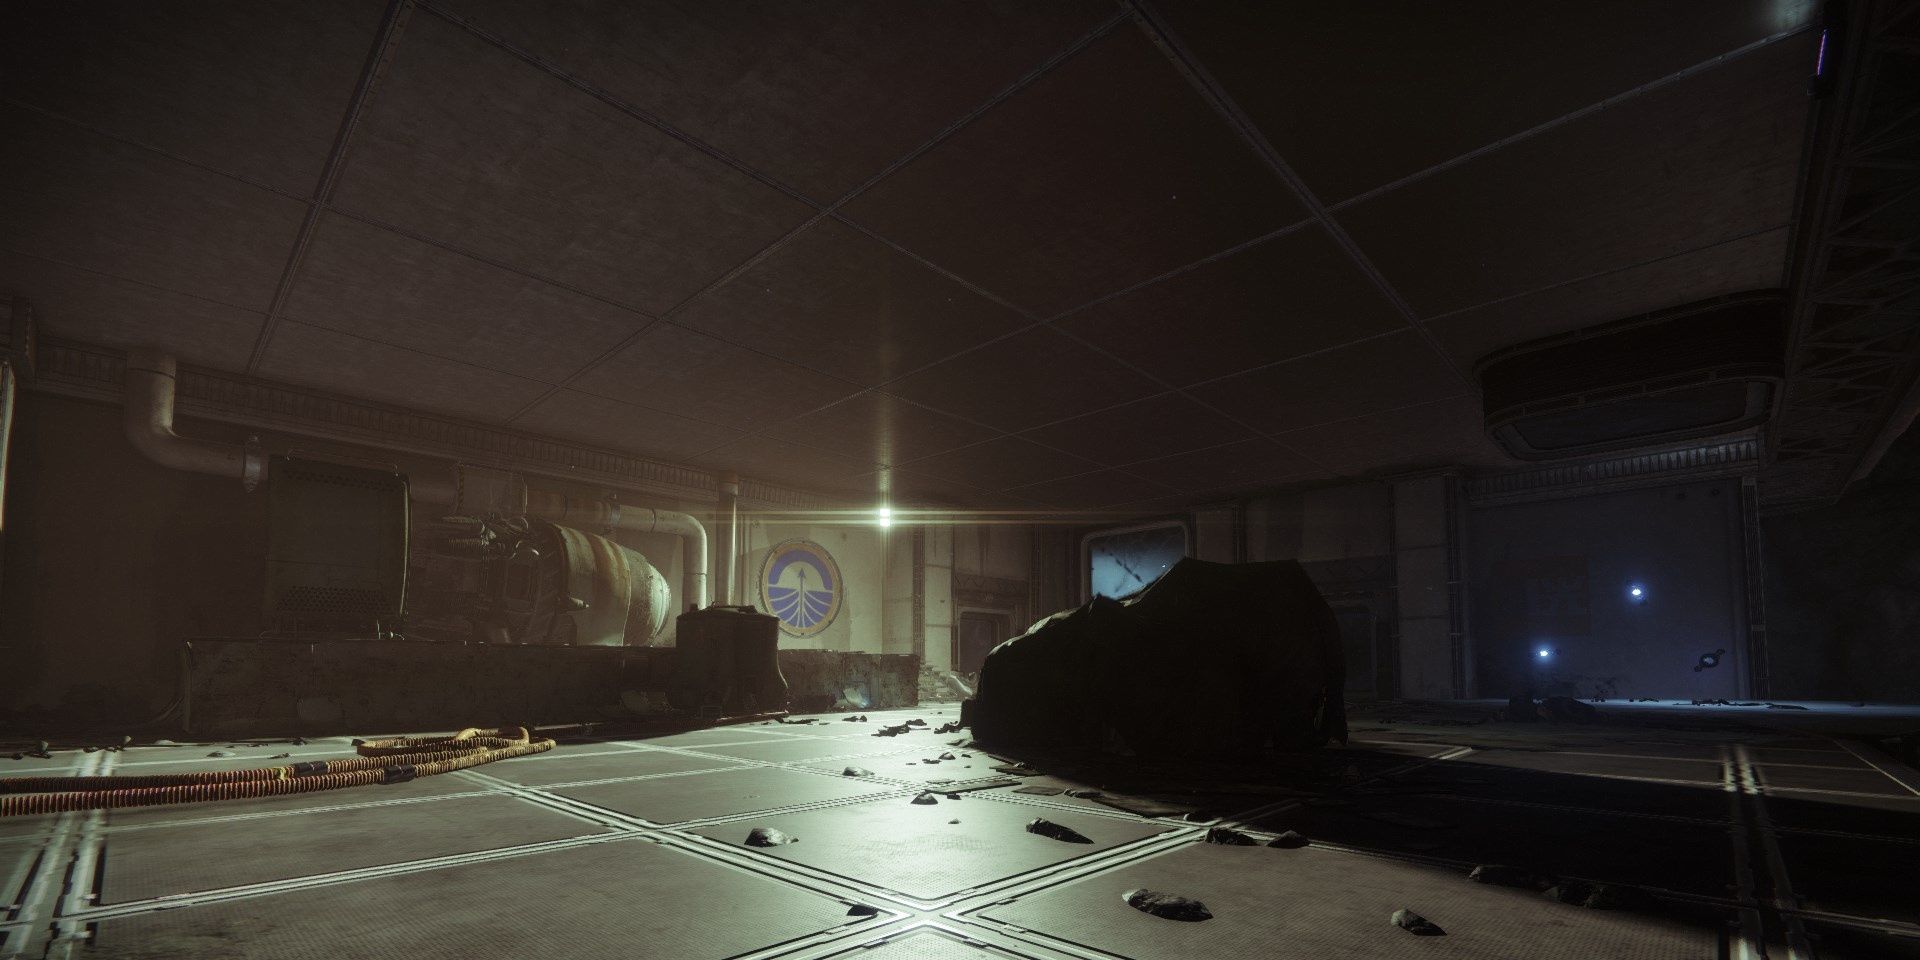
As you run into the building, throw a grenade dead center of the floor. Explosive Shanks will rush from the boxes straight into your grenade. Push forward into the next section.
K1 Crew Quarters: Pathway
Pathway Enemies
- Three Overload Captains
- Two Barrier Servitors
- Dregs
- Vandals
- Shanks
- Explosive Shanks
- Marauders
- Tracer Shanks
Directly ahead will be an Overload Captain. Stun it, then kill it from a distance. Do not push up. If you do, additional Champions will spawn. From the building, pick away at Fallen from a distance. Dispatching enough Fallen will cause more Fallen to spawn near the middle of the pathway. If you're a Shadebinder, you'll want to deploy a Bleak Watcher or two at this point.
An Overload Captain and Barrier Servitor will spawn alongside a wave of Explosive Shanks, Vandals, Marauders, and Dregs. The Barrier Servitor will make all of these enemies invincible. Damage the Servitor slightly until it deploys its shield. Once deployed, use your Anti-Barrier weapon to break it. This will remove every immunity tether from the Servitor for a short time. Use this moment to kill as many adds as possible, using Solar Ignitions or your Super to do so. If you can kill the Servitor during this part, do so. Otherwise, focus on the Servitor once it pops its barrier a second time.
Now that the Servitor is dead, direct your attention to the Overload Captain. As always, stun it before using your Heavy weapon on it. If you're using an Arc Special or Heavy, use it to kill the Captain. Push forward, but don't reach the end of the path. Three more Champions will spawn, one of which will be at the boss arena. You only need to deal with two of them: a Barrier Servitor and Overload Captain.
Just as before, you'll need to disrupt the Barrier Servitor by breaking its shield to make the nearby adds vulnerable. Do not push up while doing this, as Tracer Shanks dot the cliffside on your right; pushing too far forward will get you killed.
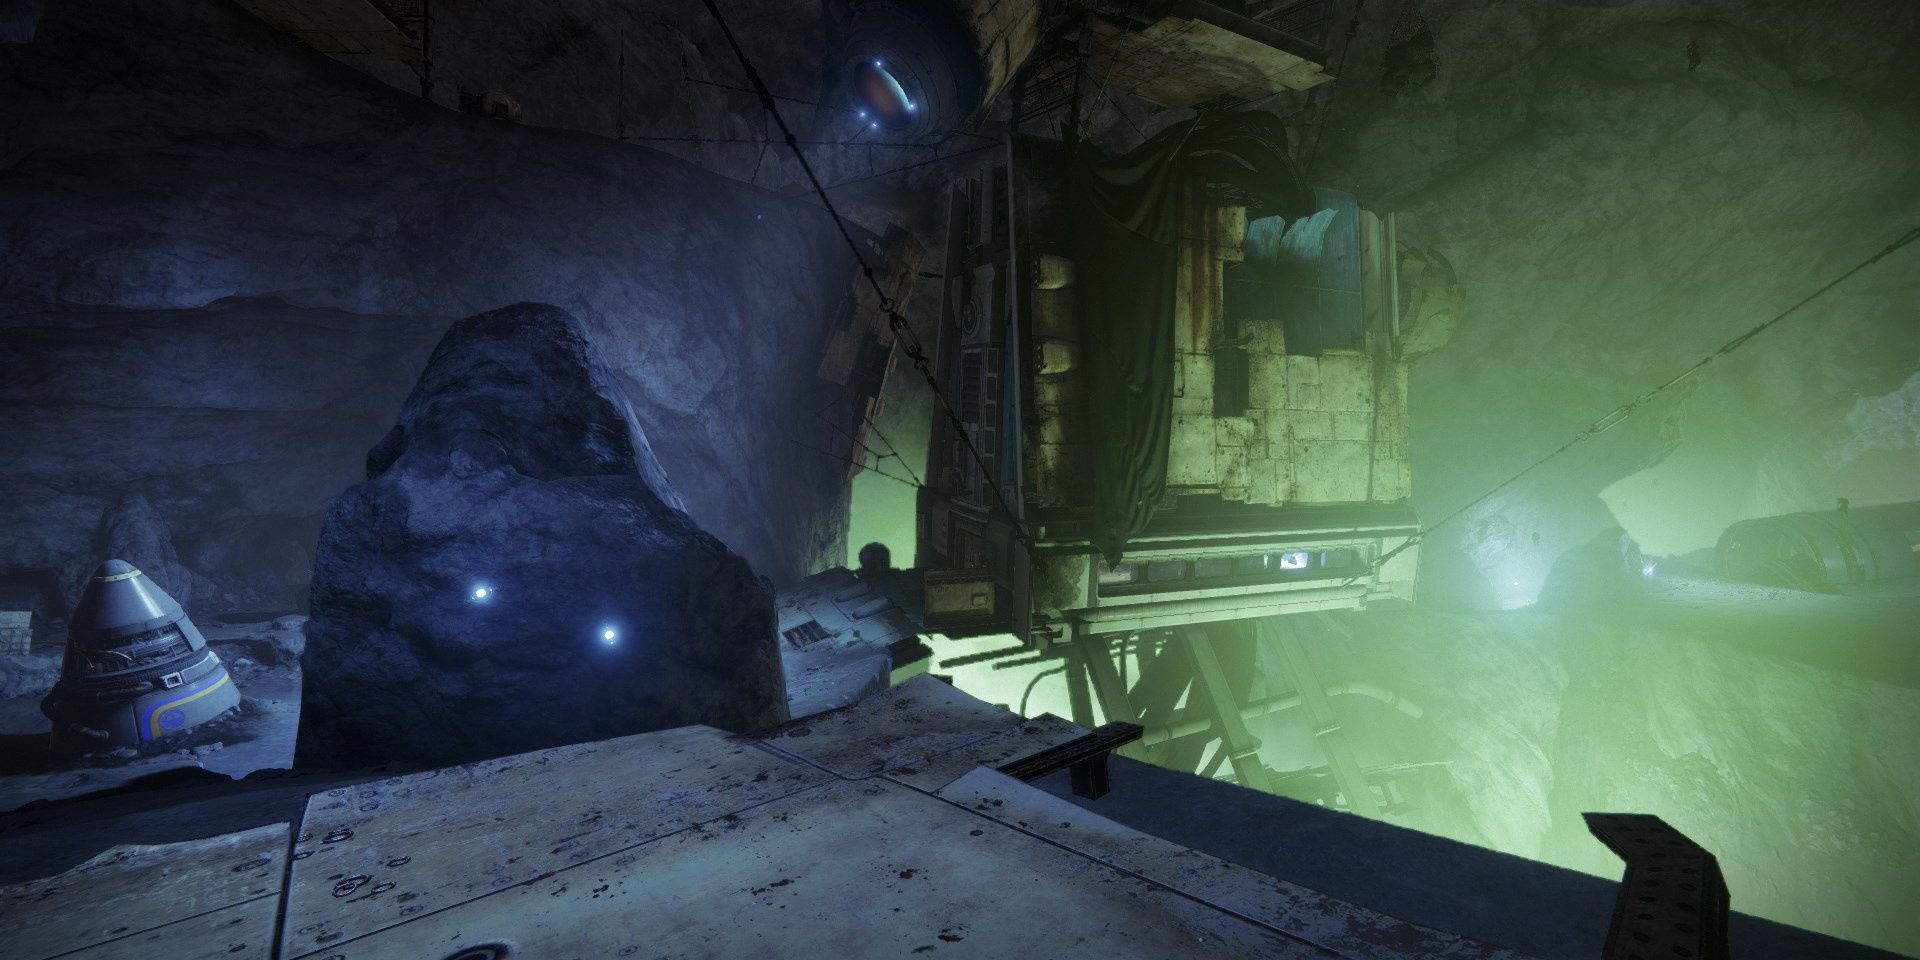
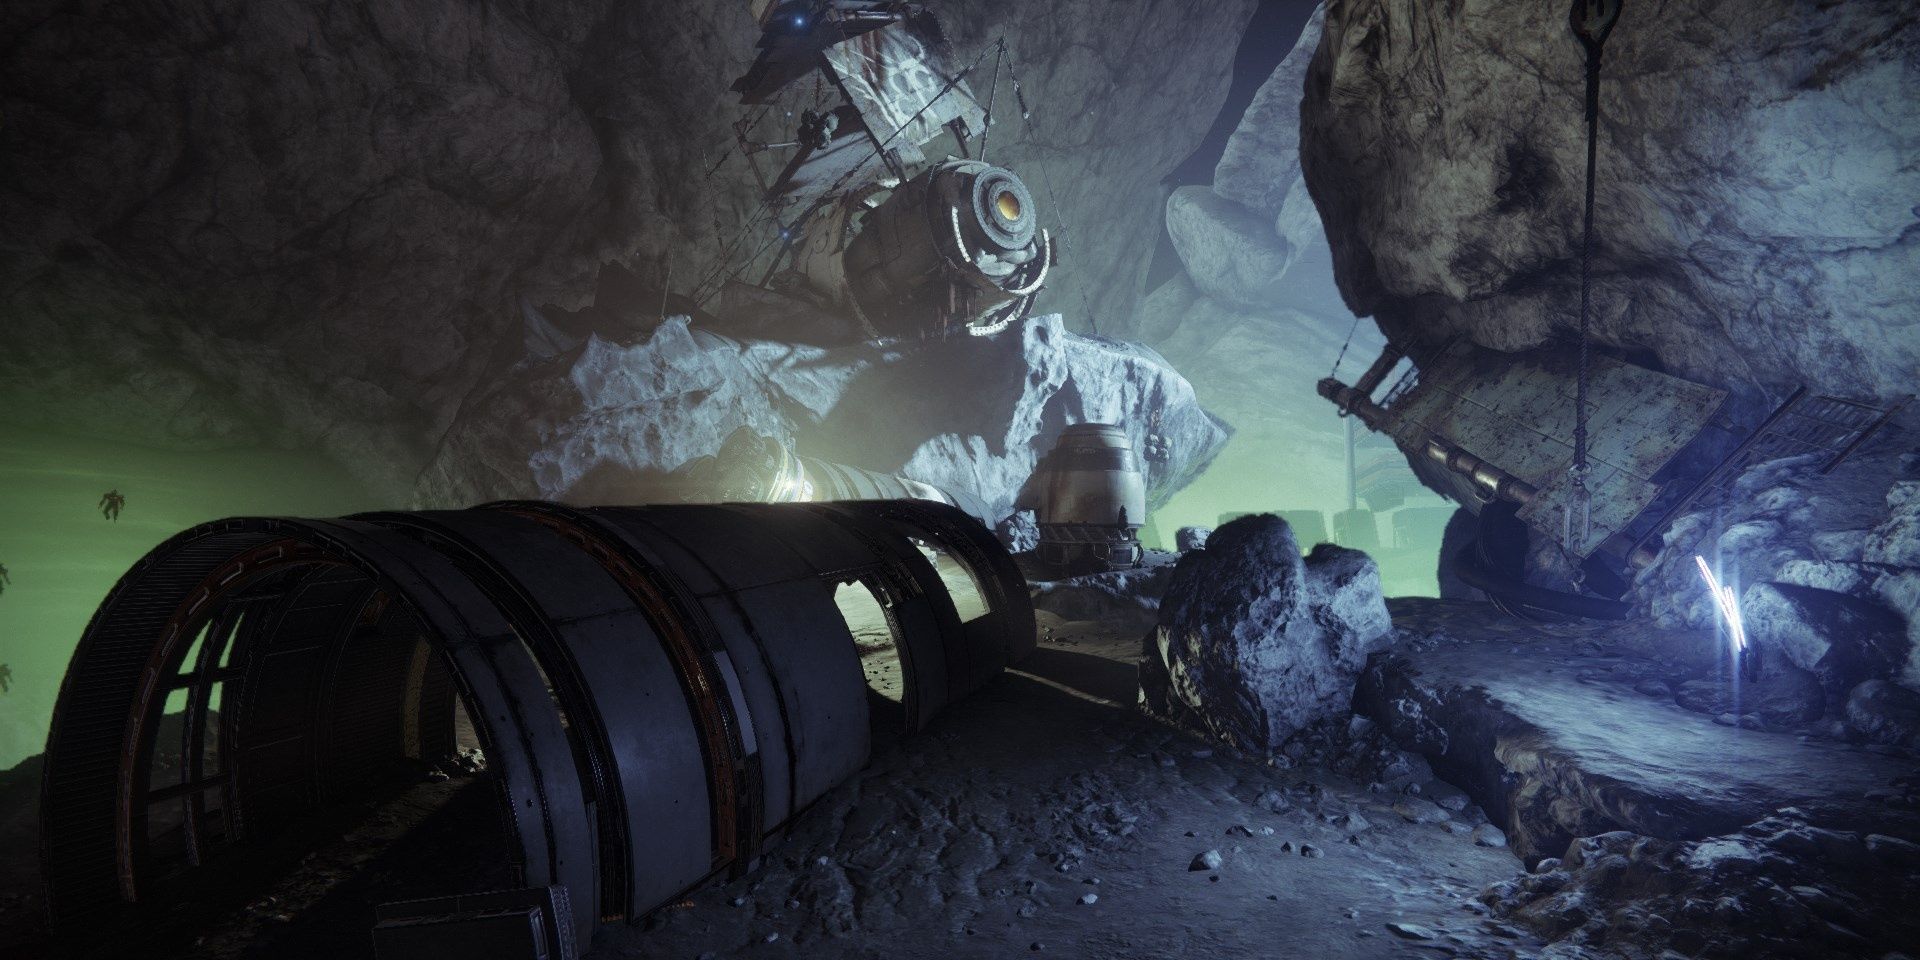
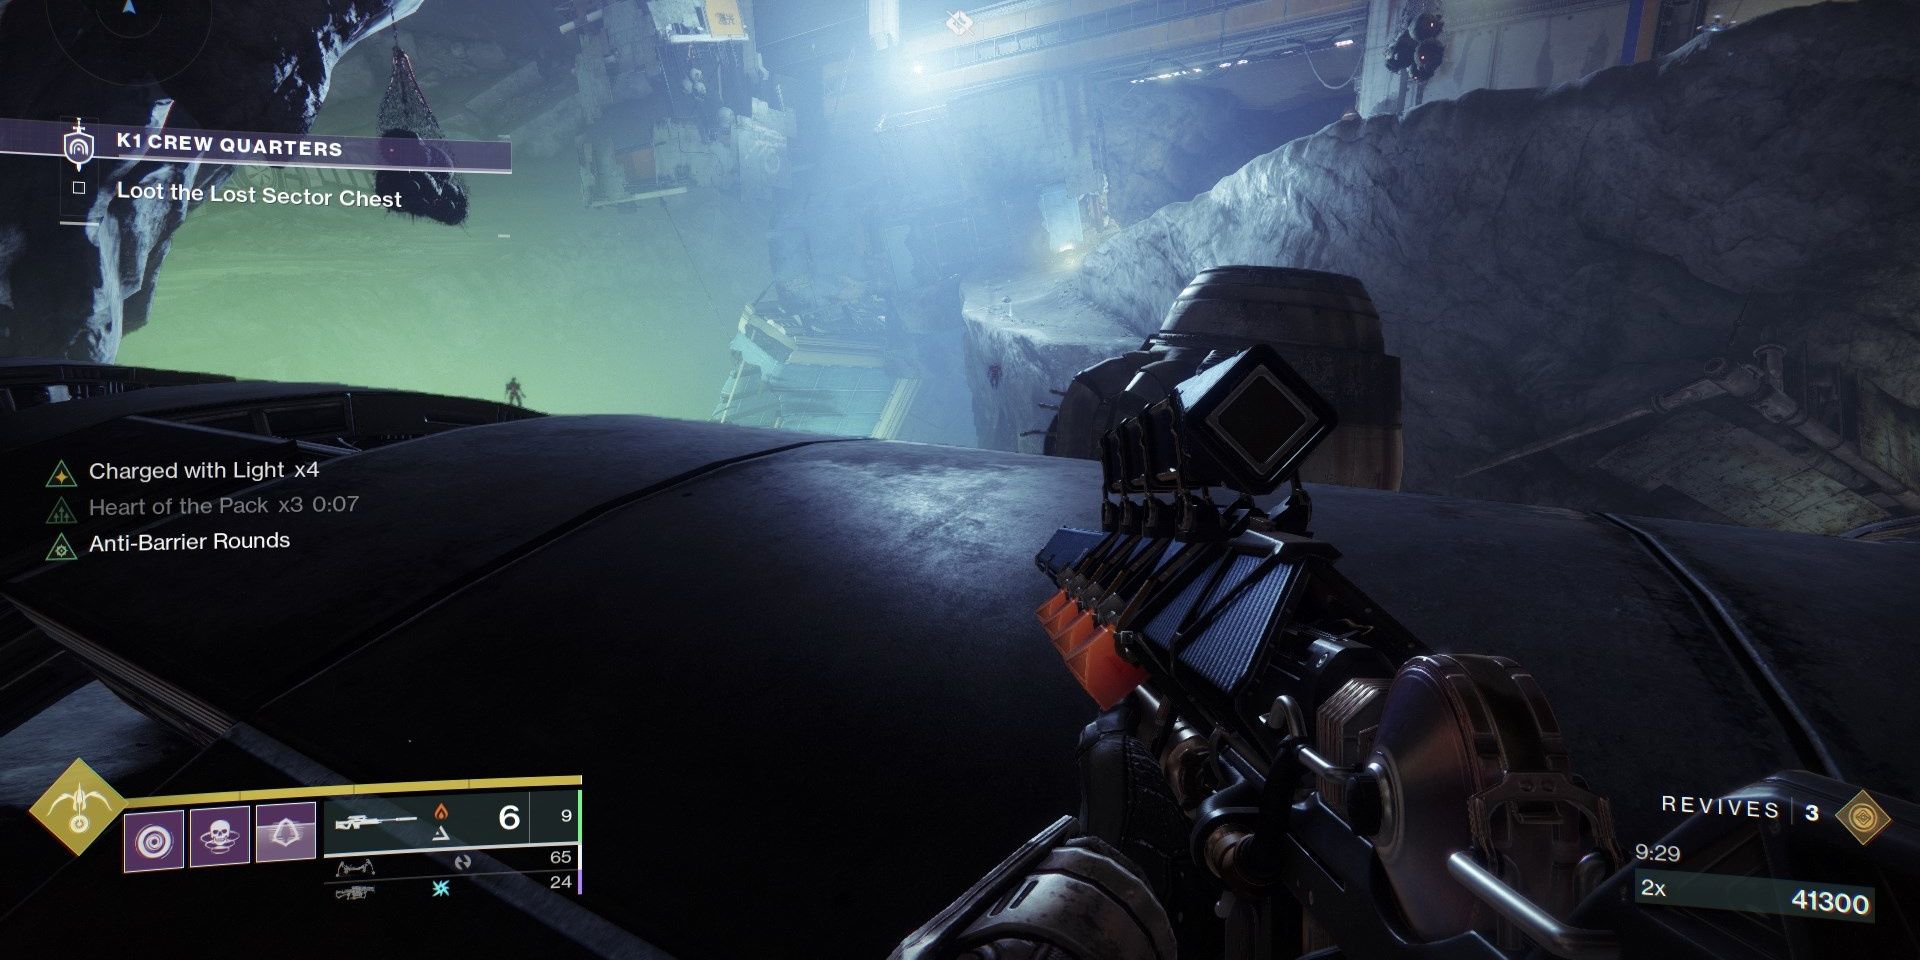
If you can't find a good angle to fight from, you can use the pipe at the end of the path (shown above). Kill any Tracer Shanks on the cliff before doing this. Certain slits in the pipe make for great angles to fire from. Just be careful of any Dreg grenades. When the Barrier Servitor is dead, use a Super or Heavy ammo to kill the Overload Captain and any remaining enemies. Follow the cliff that the Tracer Shanks were at to reach the boss.
You can shoot Dreg grenades before they explode to disable them.
K1 Crew Quarters: Boss Arena
Boss Arena Enemies
- One Overload Captain
- Two Barrier Servitors
- One Heavy Shank boss
- Dregs
- Vandals
- Shanks
- Wretches
A Barrier Servitor will be present on a platform preceding the boss. It will be protecting Shanks, Vandals, and Dregs. Force it to spawn its shield, break it, then kill the Servitor. Defeat the remaining adds, then slowly move up to the boss platform. You'll come across an Overload Captain, Vandals, and the Heavy Shank boss. Focus on killing the Overload Captain first, then damage the boss.
When the Heavy Shank reaches 66% HP, it will spawn a wave of enemies. This wave will have a Barrier Servitor alongside some typical Fallen adds. Kill the Servitor as fast as possible. Arc Specials and your Heavy weapon can quickly take it down. If you're using Stasis, a Duskfield or a few Bleak Watcher turrets can stunlock the Servitor, preventing it from deploying a shield. Once the Servitor is dead, it's smooth sailing. Kill the remaining Fallen adds, then damage the boss once more.
When it reaches 33% HP, three Wretches will spawn. Keep your distance, take them out, then destroy the boss. You can now open the Lost Sector chest, completing the run.

