Quick Links
Destiny 2's Season of the Chosen has added the Moon's Lost Sectors into the Legendary Lost Sector rotation. These Lost Sectors are brutal, containing substantially more enemies than most Lost Sectors. Expect to fight dozens of Fallen as you brave through these missions.
The first Master Lost Sector of the bunch, K1 Logistics, is one of Destiny 2's tougher Legendary Lost Sectors to clear. Nine Champions dot this claustrophobic area, so you'll need to bring your A-game if you're underleveled. Fortunately, there are quite a few weapons and mods that make this easier to complete. Here is our complete guide to beating the K1 Logistics Lost Sector on Master difficulty in Destiny 2.
Updated January 29, 2023, by Charles Burgar: Season of the Seraph has refreshed all Artifact mods, giving players some new options for countering Champions. We've updated this guide with new loadout recommendations to reflect the new Artifact mods and general balance changes that shipped with Season of the Seraph.
Modifiers And Recommended Loadout
K1 Logistics is a rather short Lost Sector filled with Champions and deadly Fallen enemies. If you are significantly underleveled, use Solar or some form of healing. Here's what you'll be dealing with:
K1 Logistics Modifiers
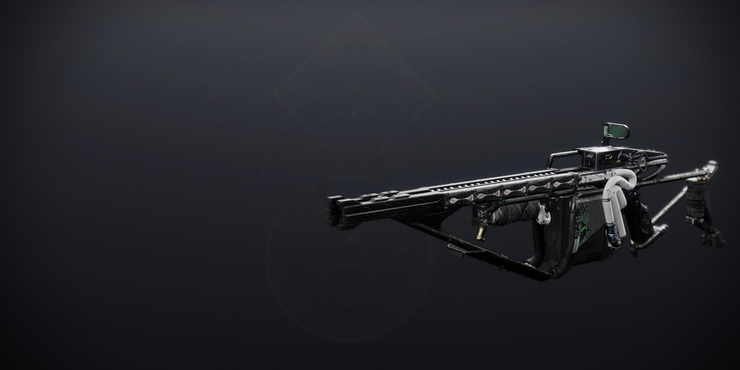
Recommended Loadout
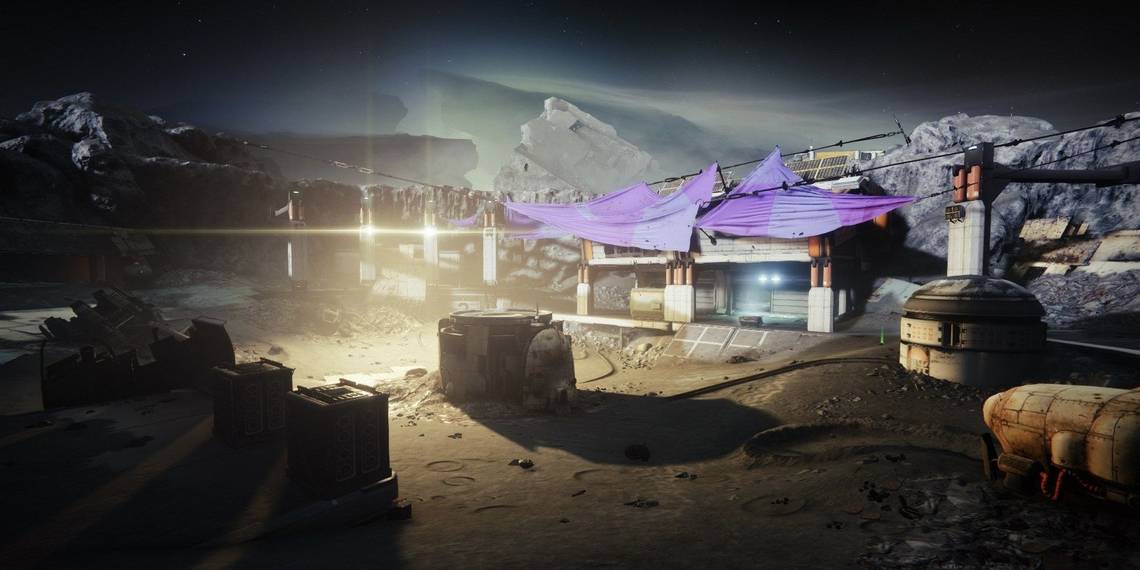
K1 Logistics: Entrance

Entrance Enemies
- One Overload Captain
- One Barrier Servitor
- Captain (Arc)
- Marauders
- Vandals
- Dregs
Right as you spawn in, you will notice a pathway filled with Fallen tripmines. Shoot the top-right tripmine to blow all of them up. This should draw the attention of an Overload Champion at the end of the hall. Shoot it with an Overload weapon, then kill it with your Heavy weapon.
If you do not kill this section's Barrier Servitor now, it will retreat to the garage, making one of that room's Overload Captains invulnerable. Focus on killing this Champion as soon as possible.
Around the corner will be a few Vandals and a Barrier Servitor. Since the Servitor is most likely making the Vandals immune, it's a good idea to disrupt the Champion first. Damage it until the Servitor deploys its shield, then break it to remove the immune tethers. Clean up the nearby Vandals, then focus on killing the Champion. Defeat the Captain and Dregs in the corner of the room, then proceed up the stairs to the garage.
K1 Logistics: Garage

Garage Enemies
- Two Overload Captains
- One Barrier Servitor
- Tracer Shanks (Solar)
- Explosive Shanks
- Vandals
- Dregs
Right up the stairs will be an Overload Captain guarded by a few Shanks with snipers. You can lure the Captain to the ledge overlooking the previous room, then stun him. Use any Heavy weapons to take him down. From there, use a Solar weapon to break the Shank shields.
When you reach the walkway on the right side of the room, Explosive Shanks will spawn. Double back to the staircase, then pick them off one by one. An Overload Captain will push your position at this point, who might be immune by the Barrier Servitor on the lower floor. If this happens, you'll need to juggle between damaging both of them, breaking the Servitor's shields before stunning the Captain. You can prevent the Overload Captain from regaining its HP by shooting it with an Overload weapon, even if he is currently immune. It won't "stun" the Captain, but it will disable his health regeneration.
Destroy the Barrier Servitor on the lower level, then defeat any remaining Fallen and Champions. Proceed to the end of the room to enter a short hallway that leads to the final arena. Grab any ammo bricks before you leave this room; you'll need them.
K1 Logistics: Hallway

Hallway Enemies
- One Overload Captain
- Wretches
- Dregs
You'll be swarmed by a wave of Wretches and Dregs when you enter the hallway. An Overload Captain will spawn to assist them, which puts you in a bad position. Use a Rocket Launcher, grenade, or trigger a Solar Ignite to clear out most of the fodder enemies. Stun the Champion, then kill him.
Suppose you didn't kill him in the first stun, strafe in and out of one of the Fallen boxes on the side of the room. As long as you have a high Mobility stat, the Captain can't hit you while you do this. Stun it as many times as needed before it dies.
When you reach the end of the hall, throw a grenade to kill the trio of Wretches guarding the doorway. Run past their bodies to reach the final arena.
K1 Logistics: Boss Arena

Boss Arena Enemies
- Servitor Boss
- Two Barrier Servitors
- One Overload Captain
- Nightmare Shanks
- Nightmare Dregs
- Tracer Shanks (Solar)
- Captains (Arc)
- Vandals
- Dregs
There's not much cover to work with here. The corner cover piece right outside of the hallway exit can work in a pinch, but you'll mostly have to stay mobile if you don't have a means of going invisible.
Your first priority should be to take out the Barrier Servitors in the center of the arena. Use your Special or Heavy weapons to take these enemies down as fast as possible. When they're dead, the Servitor boss will spawn a small wave of Shanks near it. To remove the invulnerability shield, you'll need to kill the Nightmare Shanks near the boss. A Solar weapon will shred their shields, opening them up to a devastating rocket. Only kill these Shanks when the rest of the adds are dead; things will get out of hand if you don't.
When the Servitor becomes vulnerable, use your Super or any weapons to remove the first third of its health. It will then teleport to the left portion of the arena, spawning a new wave of Fallen. In this wave will be an Overload Captain. Kill the Overload Captain as fast as you can, using Rockets or even a Super to take it down.
Clean up the rest of the adds near the Servitor, then continue to nuke its health bar. At the last third of its health bar, the boss will teleport to the right side of the arena, spawning yet another wave of Fallen. No Champions will spawn this time, allowing you to focus solely on the boss. Defeat the Servitor, then grab the chest to finish the Lost Sector.