Quick Links
Destiny 2: Lightfall's campaign features eight levels that range from trivial to extremely difficult. Under Siege is the second campaign level and is fairly short, although the final encounter is a nightmare for melee builds and aggressive playstyles. The good news is that a good build can cleave through this mission in a few minutes.
This guide will showcase how to complete all encounters in Under Siege, showcasing encounter tips and strategies for Legendary difficulty. We'll also cover the best subclasses and weapons you can bring to make this mission as easy as possible. Since this mission does not have a Master variant, we'll only be covering the Legendary variant in this guide.
Modifiers And Recommended Loadout

Find Shadow Legion Keycards

Shortly after you spawn in, you'll be directed toward Zephyr Concourse, one of Neomuna's core patrol zones. The Shadow Legion and Vex will be fighting each other when you arrive. Clear out the Vex and Shadow Legion, following the street on your left. You'll eventually be directed toward a concert area on the southeast corner of the zone, guarded by a small army of Cabal. Use the nearby stairs as cover as you pick off the small army of Cabal.
When you've slain enough Cabal, you'll get your hands on a keycard. You must obtain four keycards to finish this objective. Shadow Legion majors will be carrying them, found scattered around the circular structure that's at the center of Zephyr Concourse. You'll find the second keycard on the southern street of the zone, fairly close to where you got your first keycard. Once you get the second keycard, you'll want to fight counterclockwise around the circular structure to find the remaining Shadow Legion Keymasters. This part isn't timed or in a particularly dangerous location, so feel free to take this part slowly. When you've grabbed all four keycards, head to a barrier on the western edge of Zephyr Concourse to start the next objective.
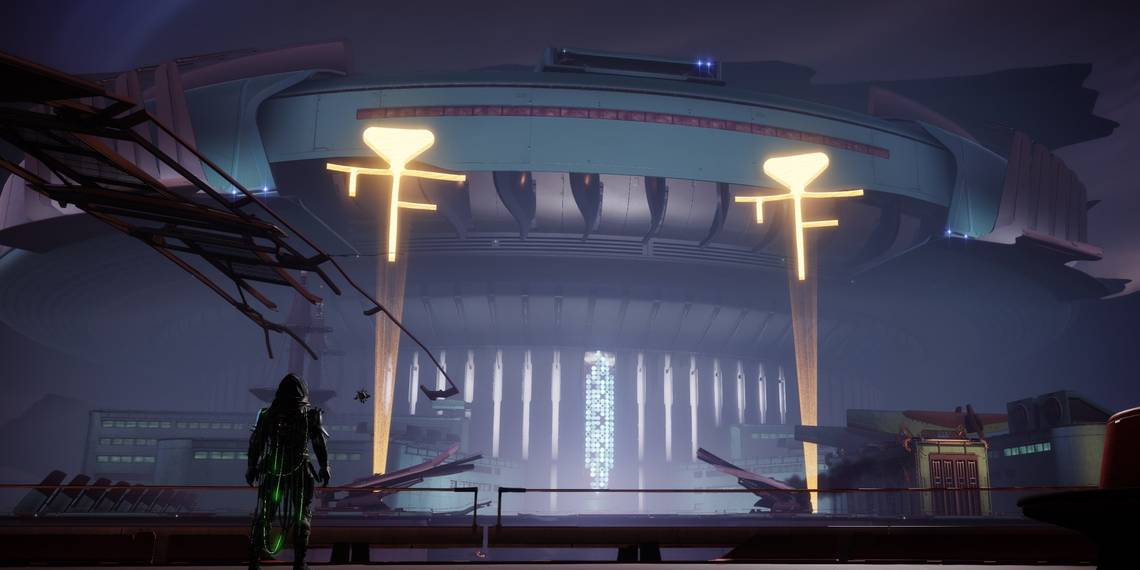
Defend Ghost

Access to The Veil's containment area is locked by a Shadow Legion barrier, blocking access to Esi Terminal. Your Ghost will need to hack into the Shadow Legion's nearby barrier projector to disable the barrier. You must defend your Ghost against three waves of Shadow Legion and Vex enemies. Interact with the barrier projector to start.
Enemies will spawn beside the stairs and central walkway that lead to the barrier, so expect to get surrounded if you aren't careful. You can use the crates beside the barrier as cover or fight in the circular structure at the center of the map, picking off the enemies one at a time with a long-range weapon. However you decide to play this, focus on staying alive above all else. Dip into cover whenever your HP gets low, use your Heavy weapon to deal with any Shadow Legion Majors, and pop your Super when it's ready. Waves will only spawn once the entirety of the previous wave has been dealt with, so you have a little breathing room in between waves to reload your weapons and heal. Avoid fighting on the street to prevent dying from incoming drop pods.
Once the barrier has been lowered, shoot the explosive barrels lining the next barrier and proceed to Esi Terminal. If you're using a melee build, swap off of it now. Melee builds will struggle to beat the next encounter.
Defeat The Shadow Legion Commander

|
Encounter Breakdown |
|
|---|---|
|
Objective |
Defeat Vul'ourn, Shadow Legion Supply Master |
|
Notable Enemies |
Cabal Psions, War Beasts, Incendiors |
This encounter is not safe for melee builds. If you're using a melee build, swap to a mid-range loadout for this encounter.
You'll find your HUD slightly scrambled from a nearby disruptor. Despite what Osiris tells you, this disruptor won't disable any of your abilities for this fight. Walking up the nearby stairs will cause a small army of Cabal to spawn, supported by Vul'ourn, Shadow Legion Supply Master. You'll need to kill this Shadow Legion boss to finish the mission.
You're going to get swarmed by dozens of Cabal soldiers right as this encounter begins, so do not push the boss. Running directly toward them will cause you to get hit by a barrage of drop pods, instantly killing you and resetting the encounter. We recommend you fight beside the stairs for most of this fight, running up them whenever you need to shoot the boss before ducking back into cover. Six War Beasts will charge you when the encounter starts, so be sure to clear them out before you hunker down near any piece of cover.
Infinite War Beast Spawns

Throughout this encounter, six War Beasts will occasionally spawn on the left side of the arena. They tend to spawn after removing a chunk of Vul'ourn's HP or after 30 seconds have passed. Kill the War Beasts quickly to prevent an accidental wipe.
As you damage the boss, they will raise their hands and spawn additional adds, most of which will spawn beside Vul'ourn. This is a great time to use your grenades, any AoE melee abilities, or even a Super to clear the enemies out. Damaging the boss roughly 50% will cause Vul'ourn to retreat and spawn even more adds. Clear the enemies on the walkway and use the nearby crates for cover. Alternately, you can use the side path to the left of the stairs you were just fighting from to flank the boss, although beware that this area has virtually no cover. Both areas are showcased below.
Once you've killed all the adds and have Vul'ourn cornered, use your Heavy weapon and/or Super to quickly kill the boss. Adds will continuously spawn until the boss dies, so the sooner you kill the boss, the better. All remaining adds will despawn once Vul'ourn dies, ending the mission.