Quick Links
Destiny 2's Witch Queen expansion brought with it a new destination and three Lost Sectors, all of which have Legendary variants. Each day, the game will pick one Lost Sector to have a Legend and Master variant. Clear the Lost Sector, and you'll have a small chance of earning an Exotic for a certain armor slot.
Metamorphosis is one of these three Throne World Lost Sectors. It's arguably the easiest of the bunch, featuring small combat spaces and a boss you can easily kill in one phase. This guide will go over Metamorphosis' modifiers on Master difficulty, the enemies and Champions you'll face, and give some tips on what loadouts and strategies work for this Lost Sector.
Modifiers And Recommended Loadout

While this Lost Sector has some tough modifiers, it only takes a few minutes to clear with a good build. So long as you have a hard-hitting Heavy weapon and some AoE in your kit, Metamorphosis shouldn't give you much trouble. Here's what you'll be dealing with.
Metamorphosis Modifiers
Recommended Loadout
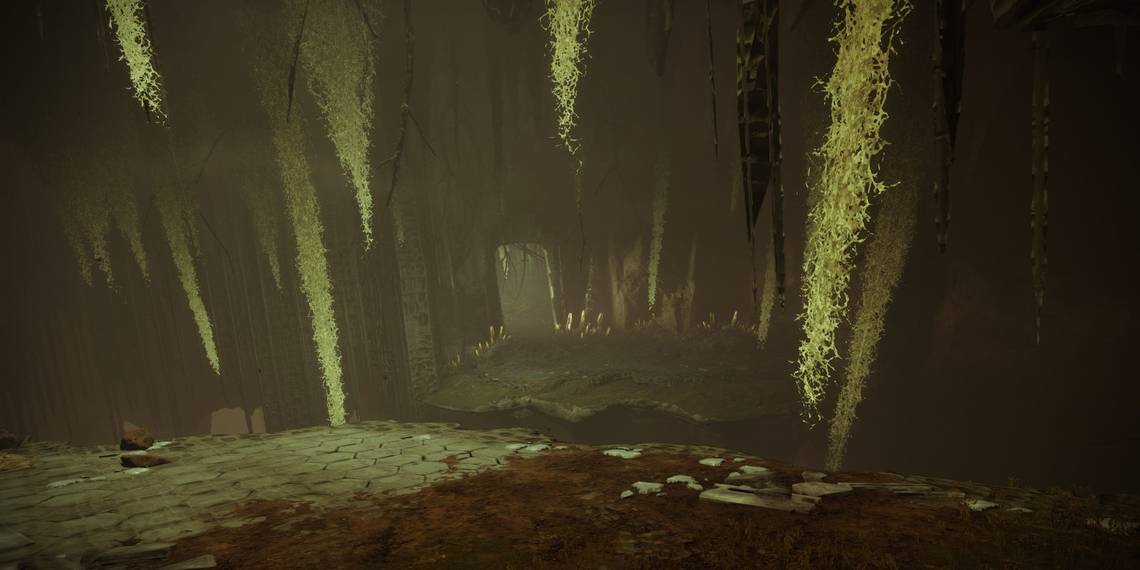
Metamorphosis: Start

Entrance Enemies
- Two Overload Chieftains
- One Unstoppable Abomination
- Chieftain (Solar Shield)
- Knight (Arc Shield)
- Ravagers
- Lurkers
- Raiders
The first room you'll enter will have three groups of Scorn. One group will be directly to your left, containing one Overload Chieftain. Eliminate this group first by using your Heavy, an overcharged grenade (if Void), or any abilities you have. Stun the Overload Champion and kill it before the other Scorn take notice.
Overload Champions will immediately begin to regenerate their HP when they recover from a stun. To prevent this from happening, use Overload Rounds on them. This won't immediately stun them again, but it will disable their ability to heal. Their antlers will flash a hot white color when their stun cooldown has been reset.
Defeating this group will spawn additional Scorn and draw the attention of everyone in the room. Keep your eyes peel to your left and right for a swarm of Ravagers, headless Scorn that use Stasis flails to freeze you. Retreat, clear the pack, then work on the Scorn group further to your left. An Overload Chieftain will be guarded by various fodder enemies.
Repeat what you did to the first group, killing the adds with a grenade or similar AoE effect. Stun the Champion, kill it, then deal with the Unstoppable Abomination giving the shielded Knight a hard time. Killing the Unstoppable shouldn't take much effort. Clear out the rest of the enemies, then break the crystals surrounding the Hive Knight to make it vulnerable. Kill the Knight before you proceed.
Metamorphosis: Lower Floor

Lower Floor Enemies
- Two Unstoppable Abominations
- One Overload Chieftain
- Knight (Arc Shield)
- Stalkers
- Lurkers
- Screebs
- Raiders
A small army of Scorn will begin to charge you the second you drop down here. Do not push forward. Doing so will spawn Screebs behind you. You'll want to throw grenades and use AoE weapons to clear out the fodder enemies, drawing the attention of the Overload Chieftain and Unstoppable Abomination waiting for you. The Overload rushes first, followed by the Unstoppable a few seconds later. If you're quick, you can kill both before they get a chance to hit you.
When ready, move further into the room. Immediately turn around and kill the Screebs that just spawned. Turn back around, then run towards the end of the room. You'll see another Hive Knight defending the exit from some fodder Scorn and an Unstoppable Abomination. Focus on the Unstoppable first, then break the three crystals around the exit to make the Hive Knight vulnerable to damage. Once you kill the Knight, break the gunk blocking the exit to reach the boss room.
Metamorphosis: Boss Room

Boss Fight Enemies
- One Unstoppable Abomination
- Chieftain (Boss)
- Ravagers
You'll be locked in a small room with multiple Ravagers, an Unstoppable Abomination, and a massive Chieftain. Kill the Ravagers first, then deal with the Unstoppable. You can use the pillars at each corner of the arena as cover from the boss.
When you've dealt with the fodder enemies and Champion, break the crystals in the arena to make the Chieftain vulnerable. You'll have a small window to damage the boss, so make it count. It's possible to one-shot the boss with a good Arc Heavy or Super, immediately ending this encounter. If you don't, the boss will spawn more Ravagers as it loses HP. Keep moving, play near cover, and break the Chieftain's crystals whenever they appear. Open the Lost Sector chest after you kill the Chieftain to finish the Lost Sector.