Quick Links
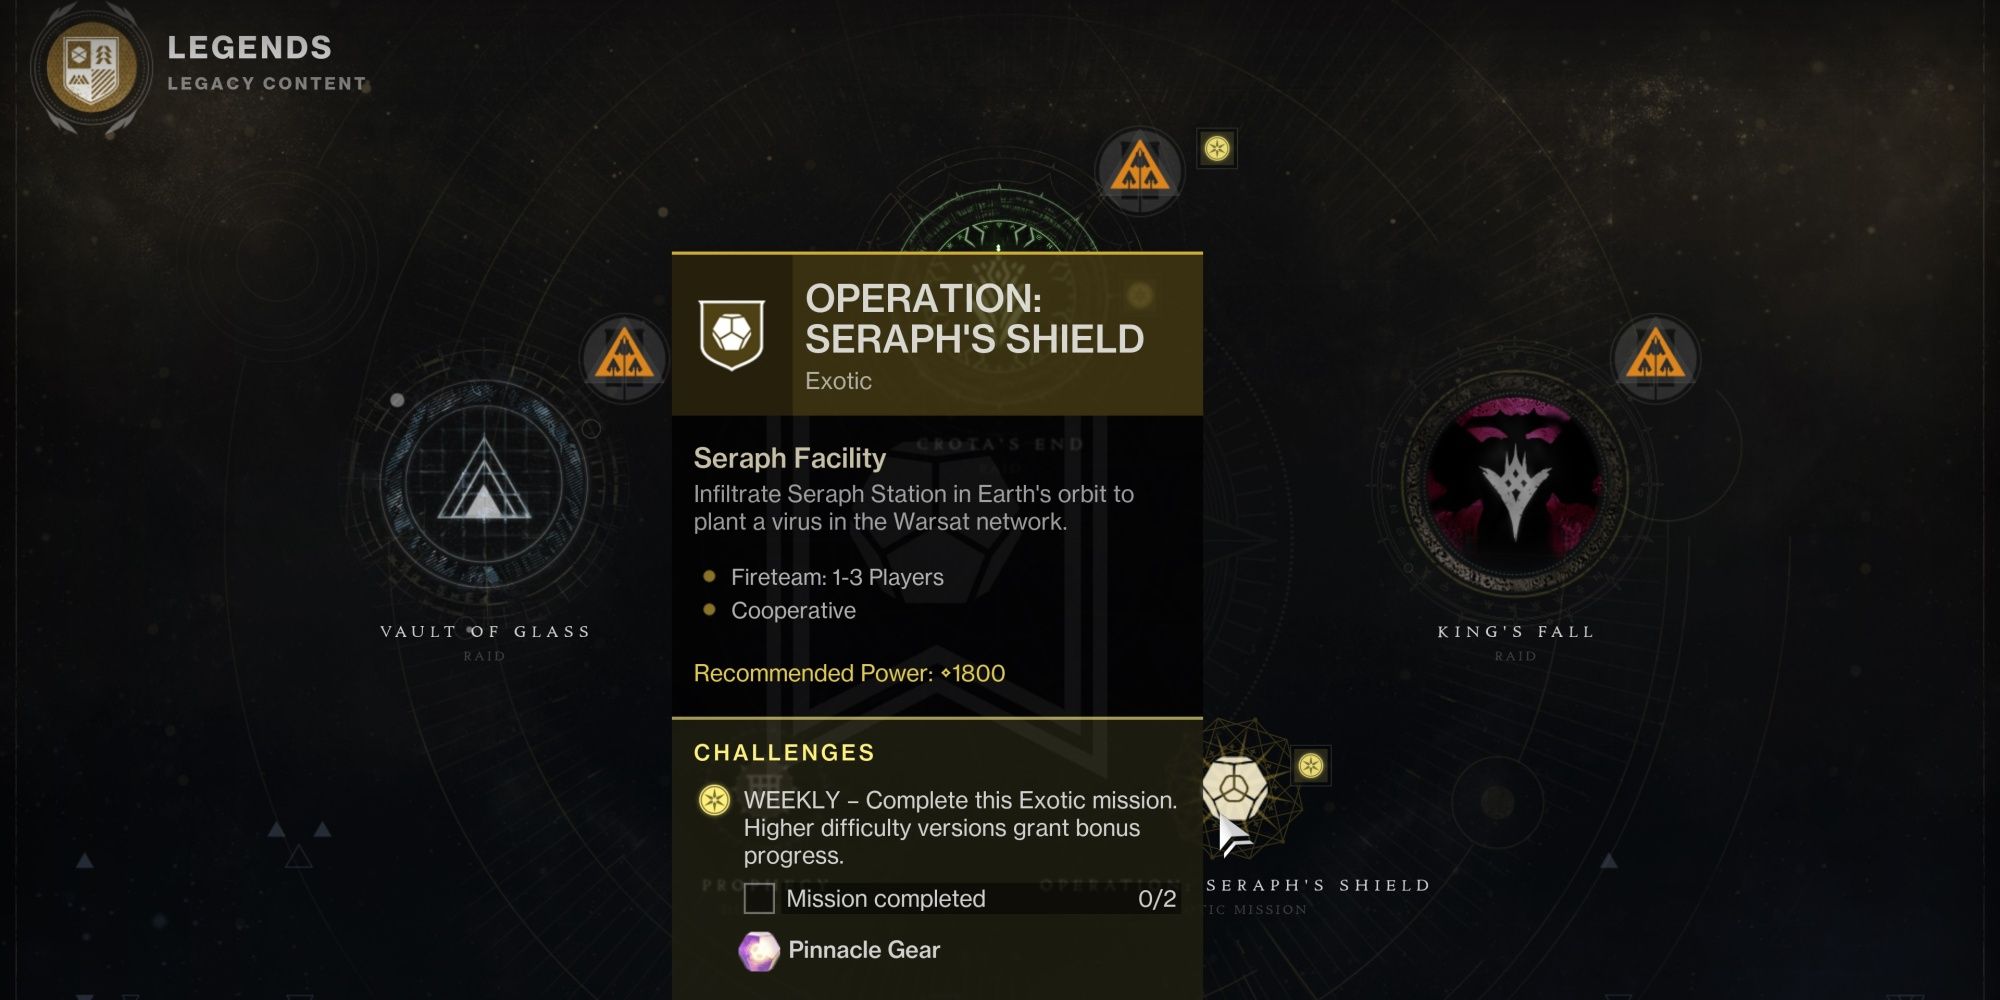
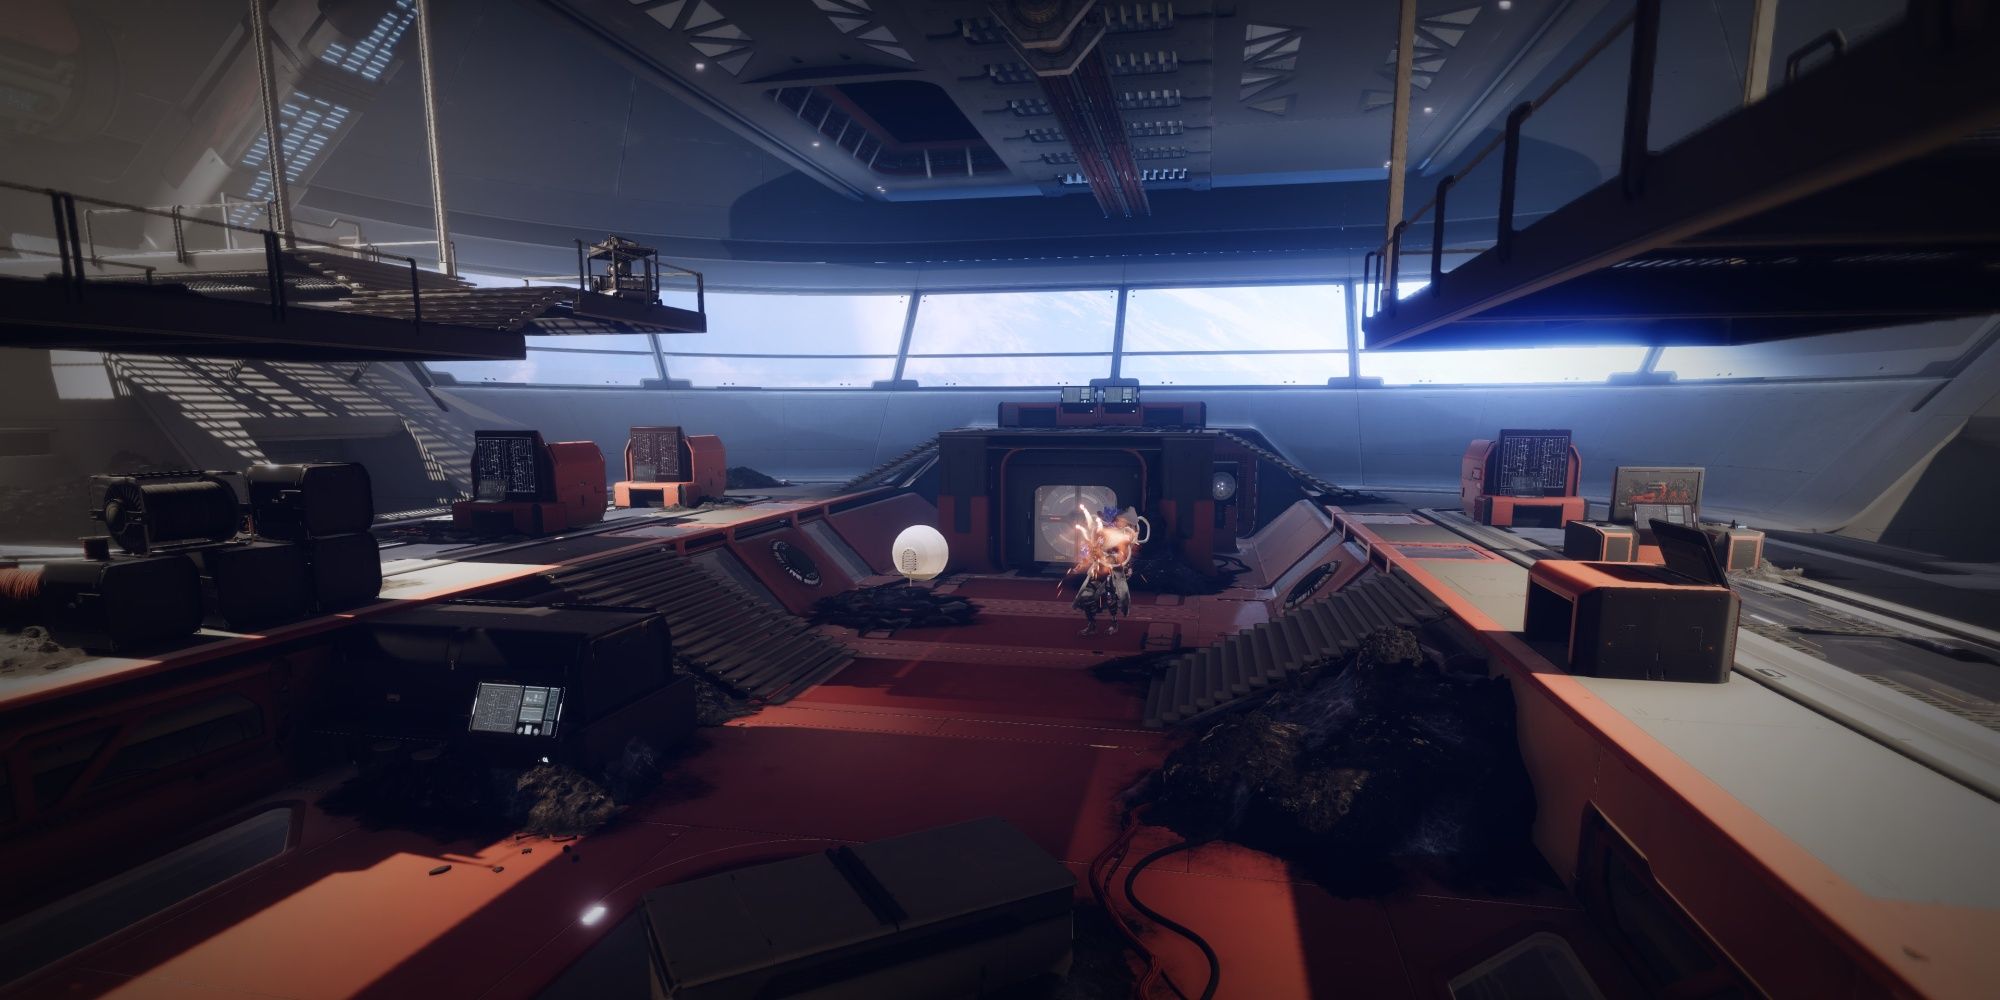
Destiny 2's Season of the Seraph has an Exotic mission for players to clear and potentially farm. Operation: Seraph Shield is a unique Exotic mission that follows in the footsteps of last year's Presage mission and the classic Whisper and Zero Hour missions. Unlike previous years, this Exotic mission isn't timed.
Seraph Shield requires Guardians to infiltrate a space station and upload a virus before House Salvation can get their hands on crucial intel. This mission includes plenty of puzzles, platforming sections, and some intense combat encounters. This guide will show you how to complete this mission solo, everything from combat encounters to puzzles. We'll also cover the difficulty variants present in Seraph Shield and explain how Revision Zero works.
Updated September 8, 2023, by Charles Burgar: Operation: Seraph's Shield has returned with Season of the Witch, reworking the mission's reward structure. We've updated this guide to include every change that was made between the mission's release and the current Lightfall version, and we've added a section detailing the reward pool Bungie added to this mission. The hidden chests section was also removed since they are no longer obtainable.
How Has Seraph's Shield Changed With Lightfall?
For players that have never experienced Operation: Seraph's Shield before, skip to the next section.
Compared to every Exotic Mission that came back with Season of the Witch, Seraph's Shield received virtually no changes. The only adjustments Bungie made to the mission are to its Legend difficulty modifiers and rewards:
-
Hidden chests have been removed entirely.
- Archie the dog is still present.
- Since Seraph upgrades are no longer present, lasers now instantly kill you.
- This mission now awards Seraph and IKELOS 1.0.3 weapons in addition to Revision Zero upgrades.
-
Legend difficulty no longer has the Chaff and Iron modifiers.
- It now has Scorched Earth and Locked Equipment.
Legend Version Differences
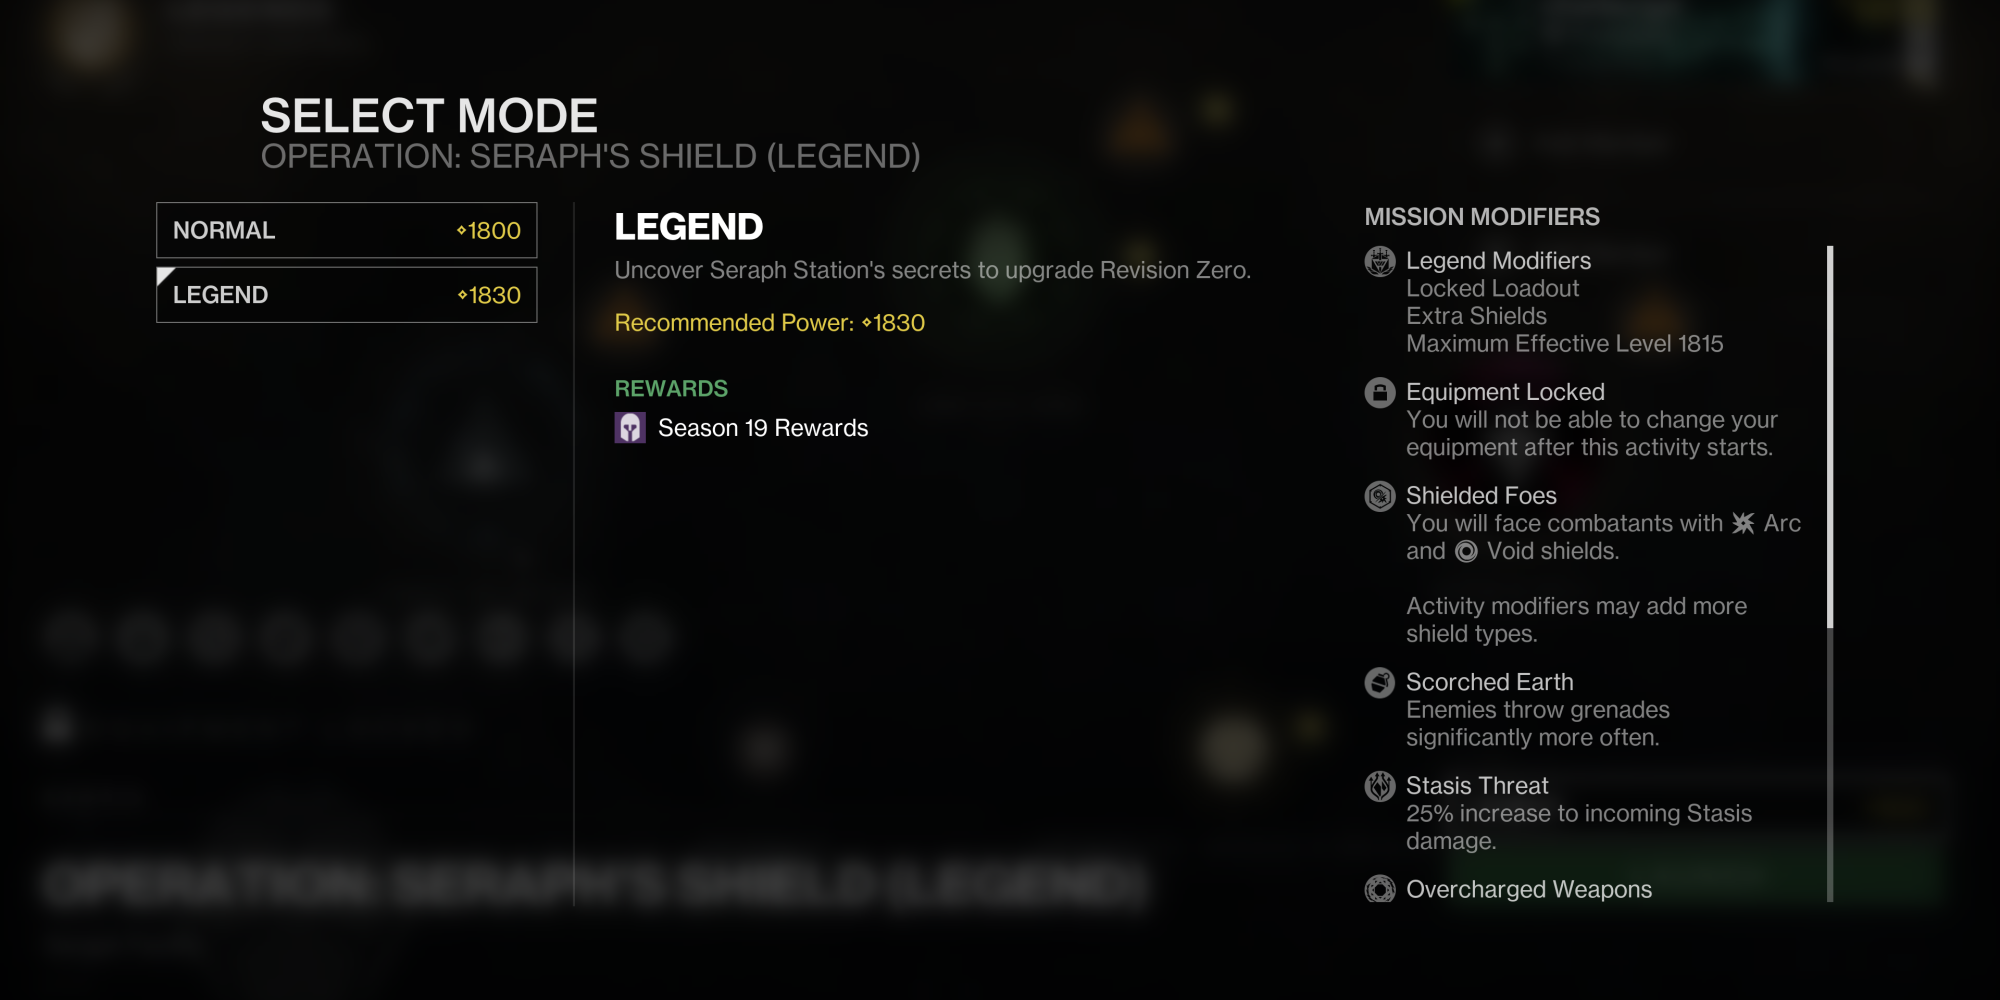
Seraph Shields features two difficulty variants: Normal and Legend. Legend difficulty is similar to the Legendary setting in the Witch Queen campaign, ramping up enemy HP and restricting your Power level advantage. No Champions, encounter timers, or mechanic differences are present in either difficulty mode.
Normal has no gameplay modifiers to speak of. Legend difficulty enables Surges, Overcharged weapons, and a few other modifiers listed below:
|
Operation: Seraph's Shield Modifiers |
|
|---|---|
|
Surges |
Void and Strand |
|
Overcharge |
Pulse Rifle |
|
Threat |
Stasis |
|
Shields |
Arc and Void |
|
Legend Difficulty |
|
|
Power Limit |
Your maximum effective Power Level is 1,815 (-15 delta). |
|
Equipment Locked |
You will not be able to change your equipped loadout after this activity starts. |
|
Scorched Earth |
Enemies throw grenades significantly more often. |
Expect Legend to be roughly as tough as a Legendary Witch Queen campaign mission. Enemies are more aggressive, have more total HP, and deal more damage due to the Power level restriction.
Infiltrate The Launch Facility
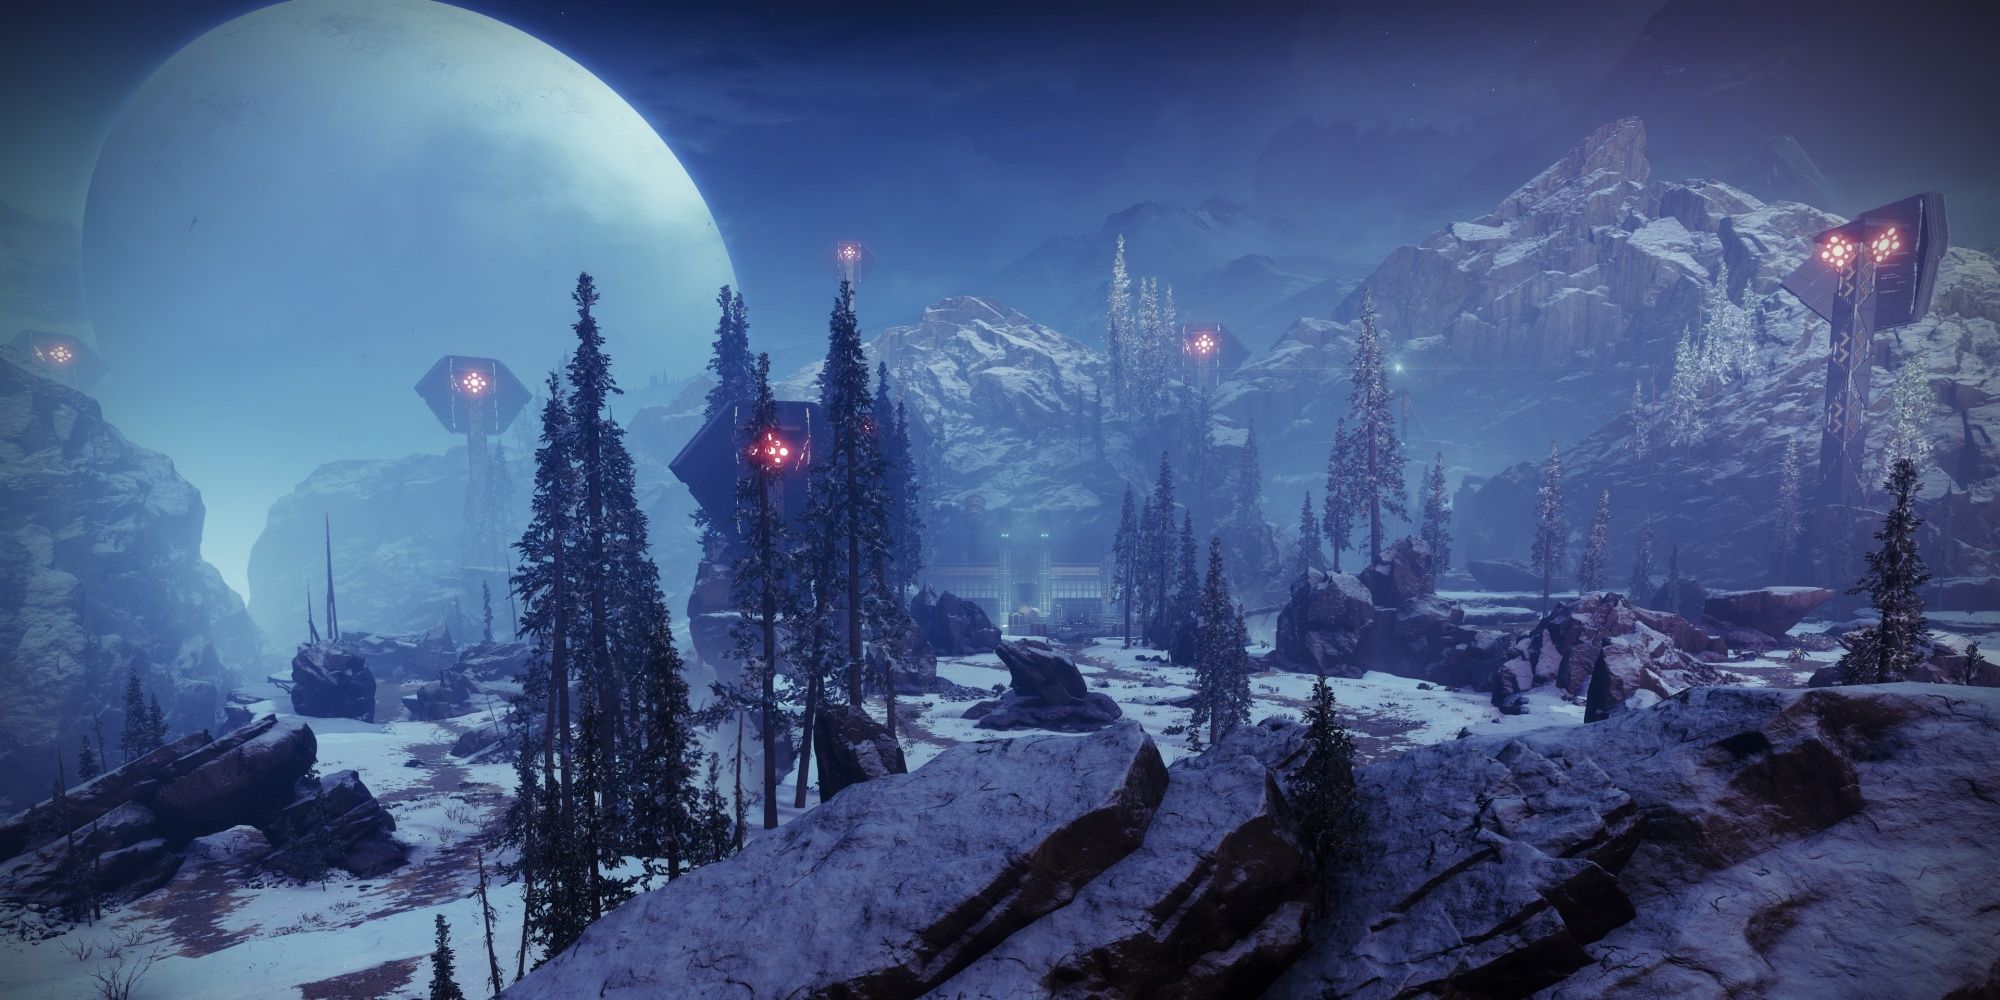
The start of this mission is the same as all other Operations. Your goal is to reach the opposite end of the zone without the Seraph Towers spotting you. Duck behind nearby rocks and trees to avoid getting obliterated, killing any Hive that stand in your way. You'll find an Ogre guarding the entrance to the facility. Kill it and make your way inside.
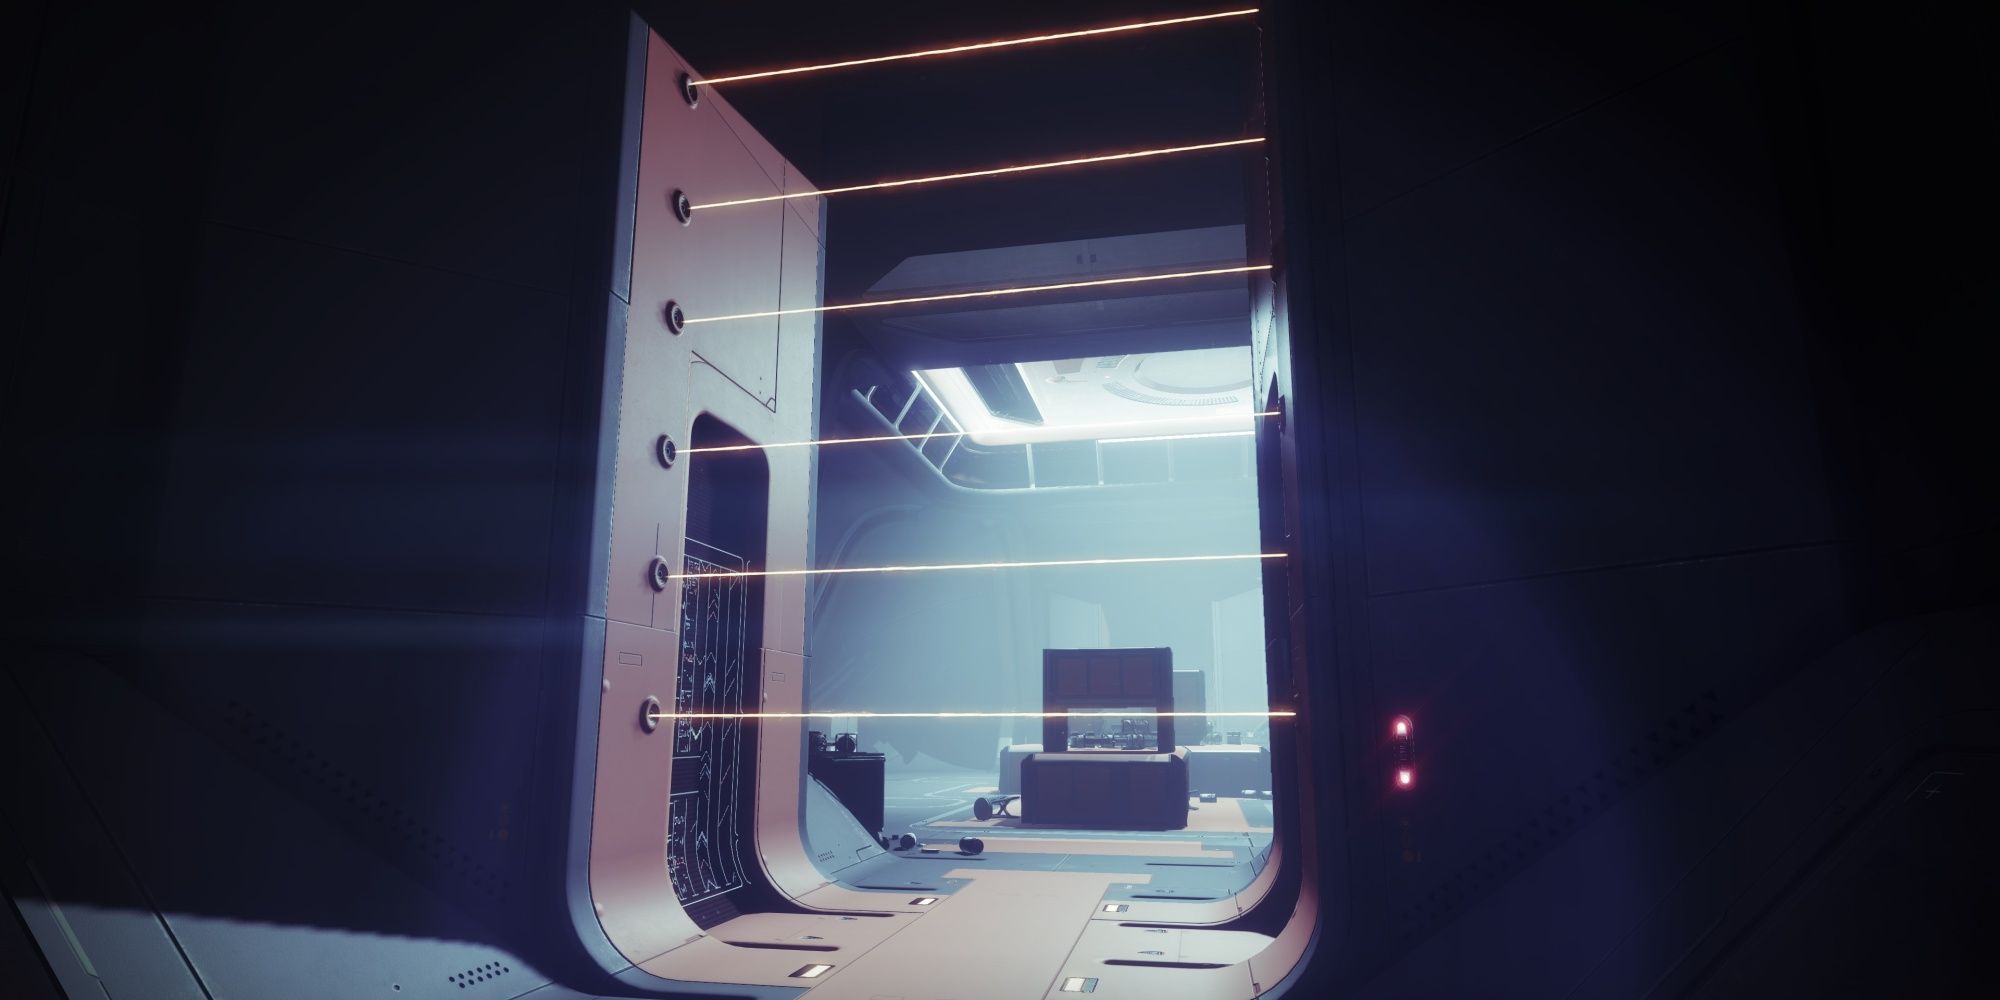
You'll find multiple sets of lasers as you navigate the facility. Touching a laser means instant death. Every laser has a gap you can get through, located either at the bottom (slide) or top (jump). As for navigating the facility, hang a left after navigating past the first set of lasers to find the path forward.
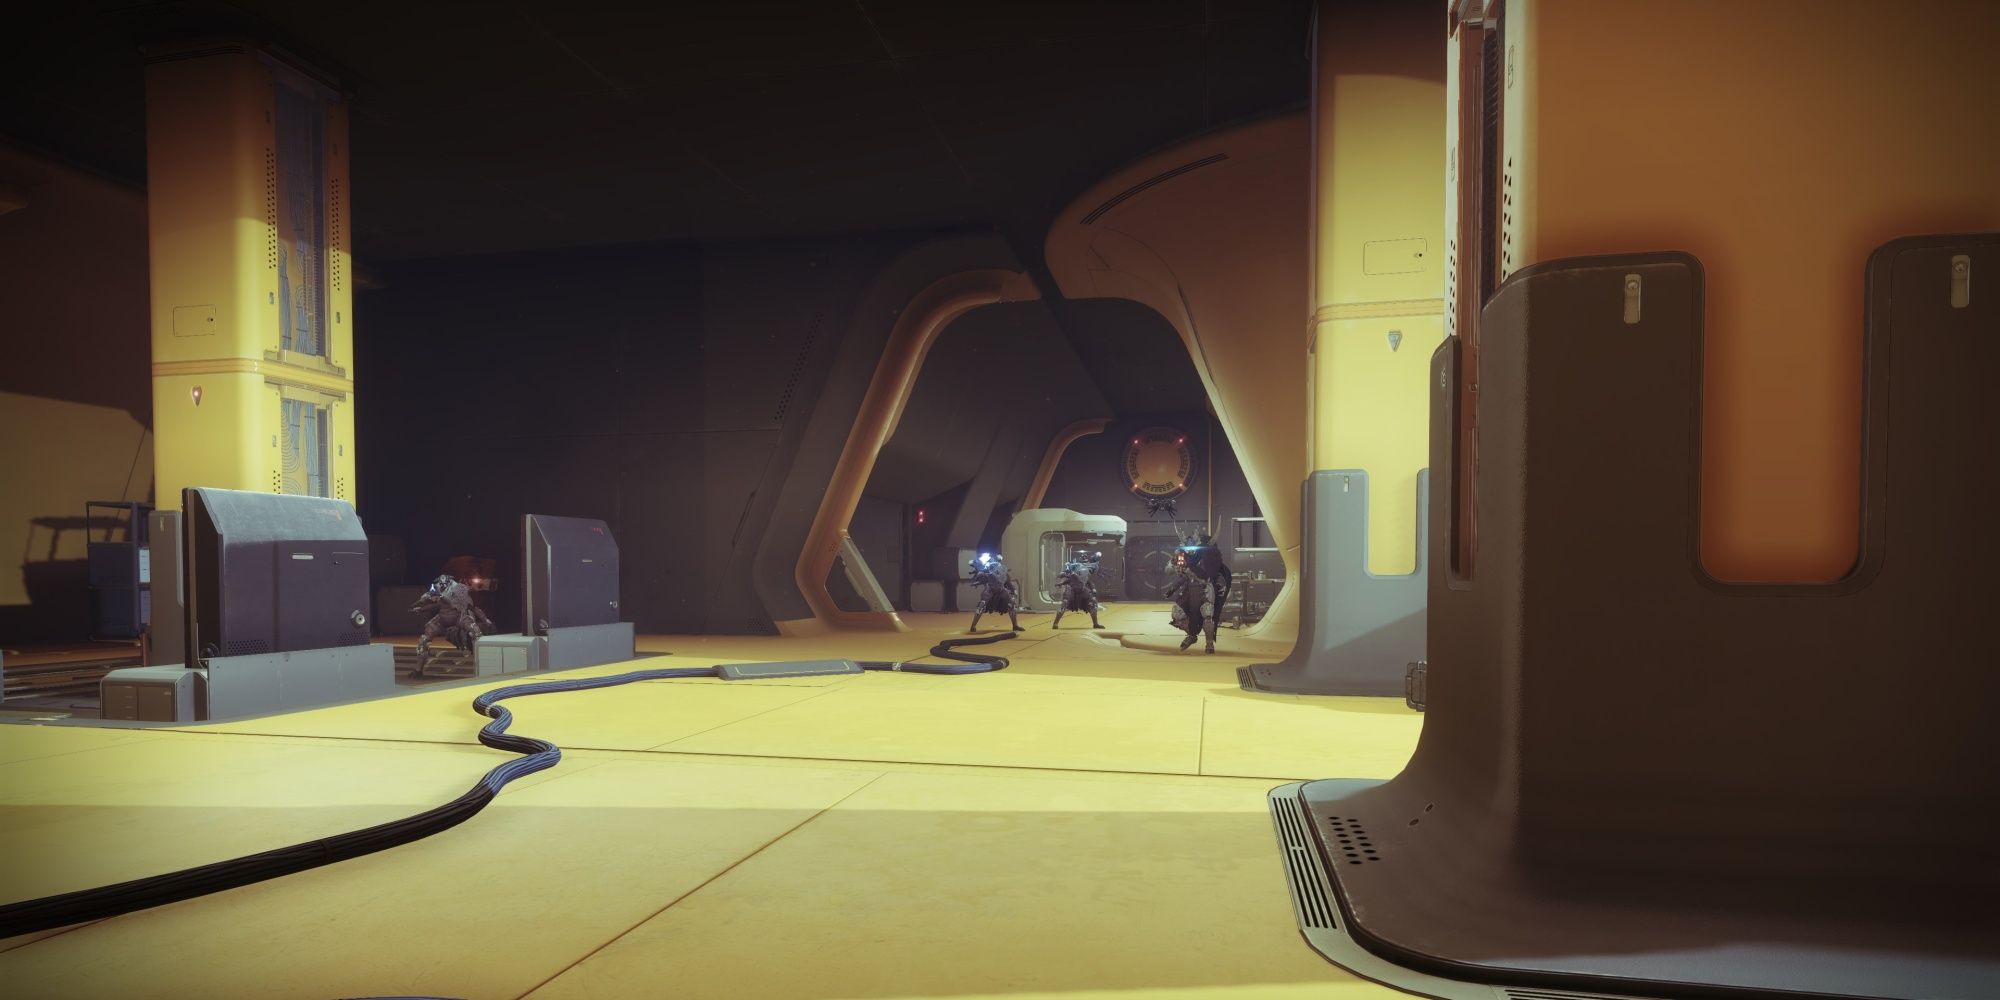
A group of Fallen from House Salvation will be tinkering with the facility's launch controls. Before you open fire, take note of the yellow oval projected above one of the Vandals. This yellow potato symbol refers to the Scanner buff, a reused mechanic from the Deep Stone Crypt raid. You'll want to kill the Fallen and steal the Scanner buff.
Scanner Buff
The Scanner buff highlights important objects in a bright yellow glow. Interact with the object to reveal additional terminals. Activate three terminals within a set to unlock new passageways aboard Seraph Station.
This buff has an infinite duration and persists after death. Only one augment may be active at a time.
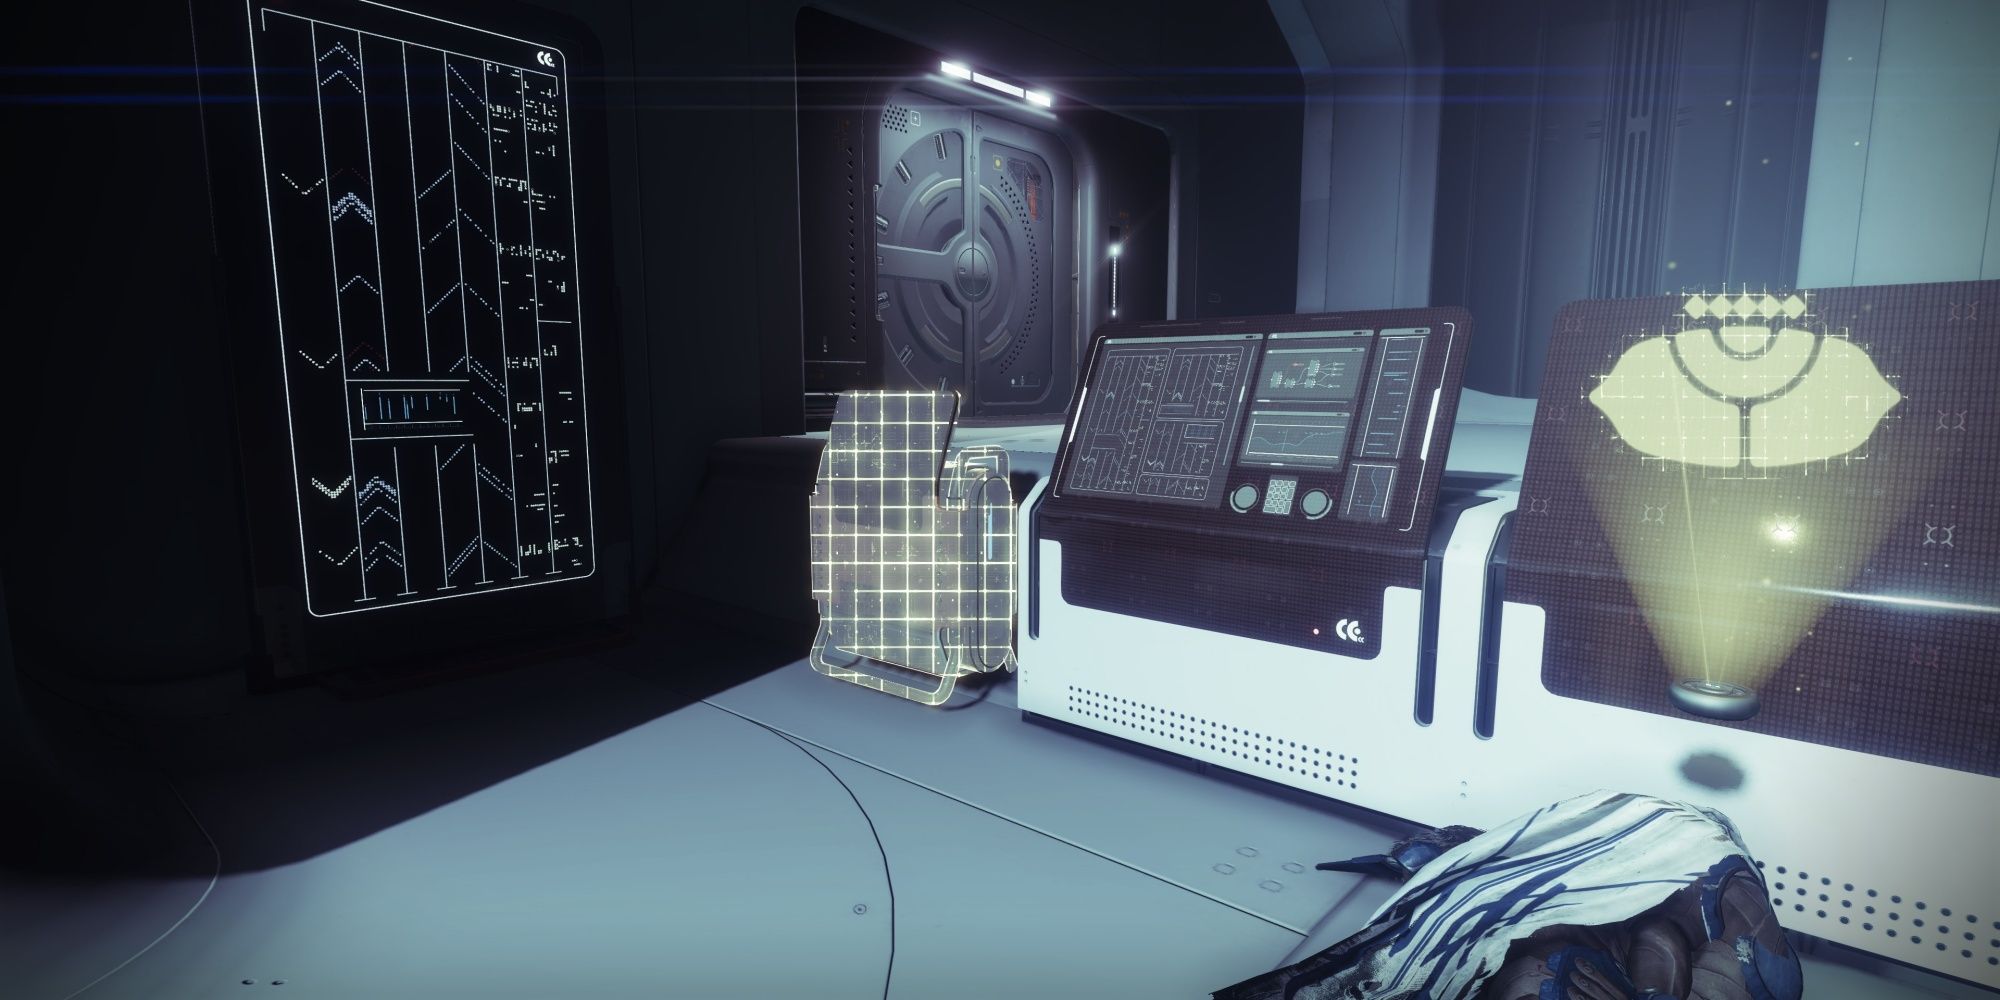
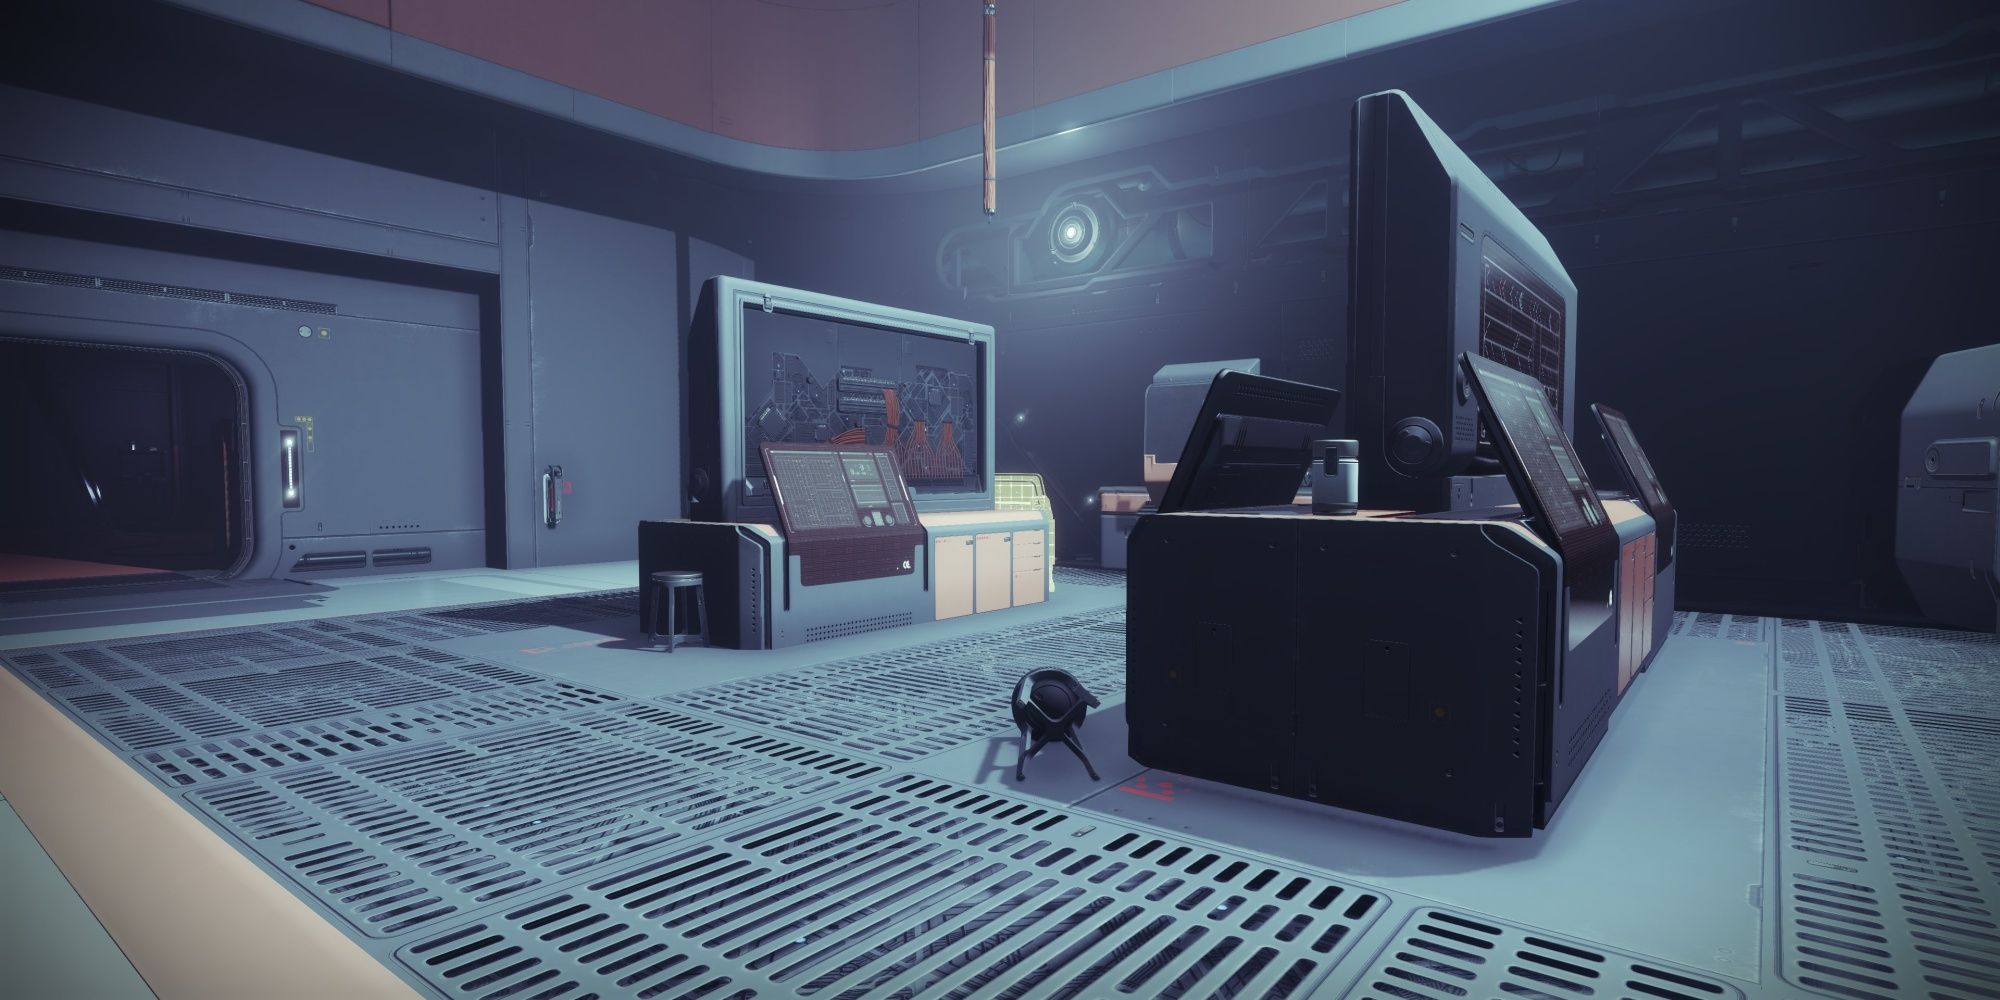
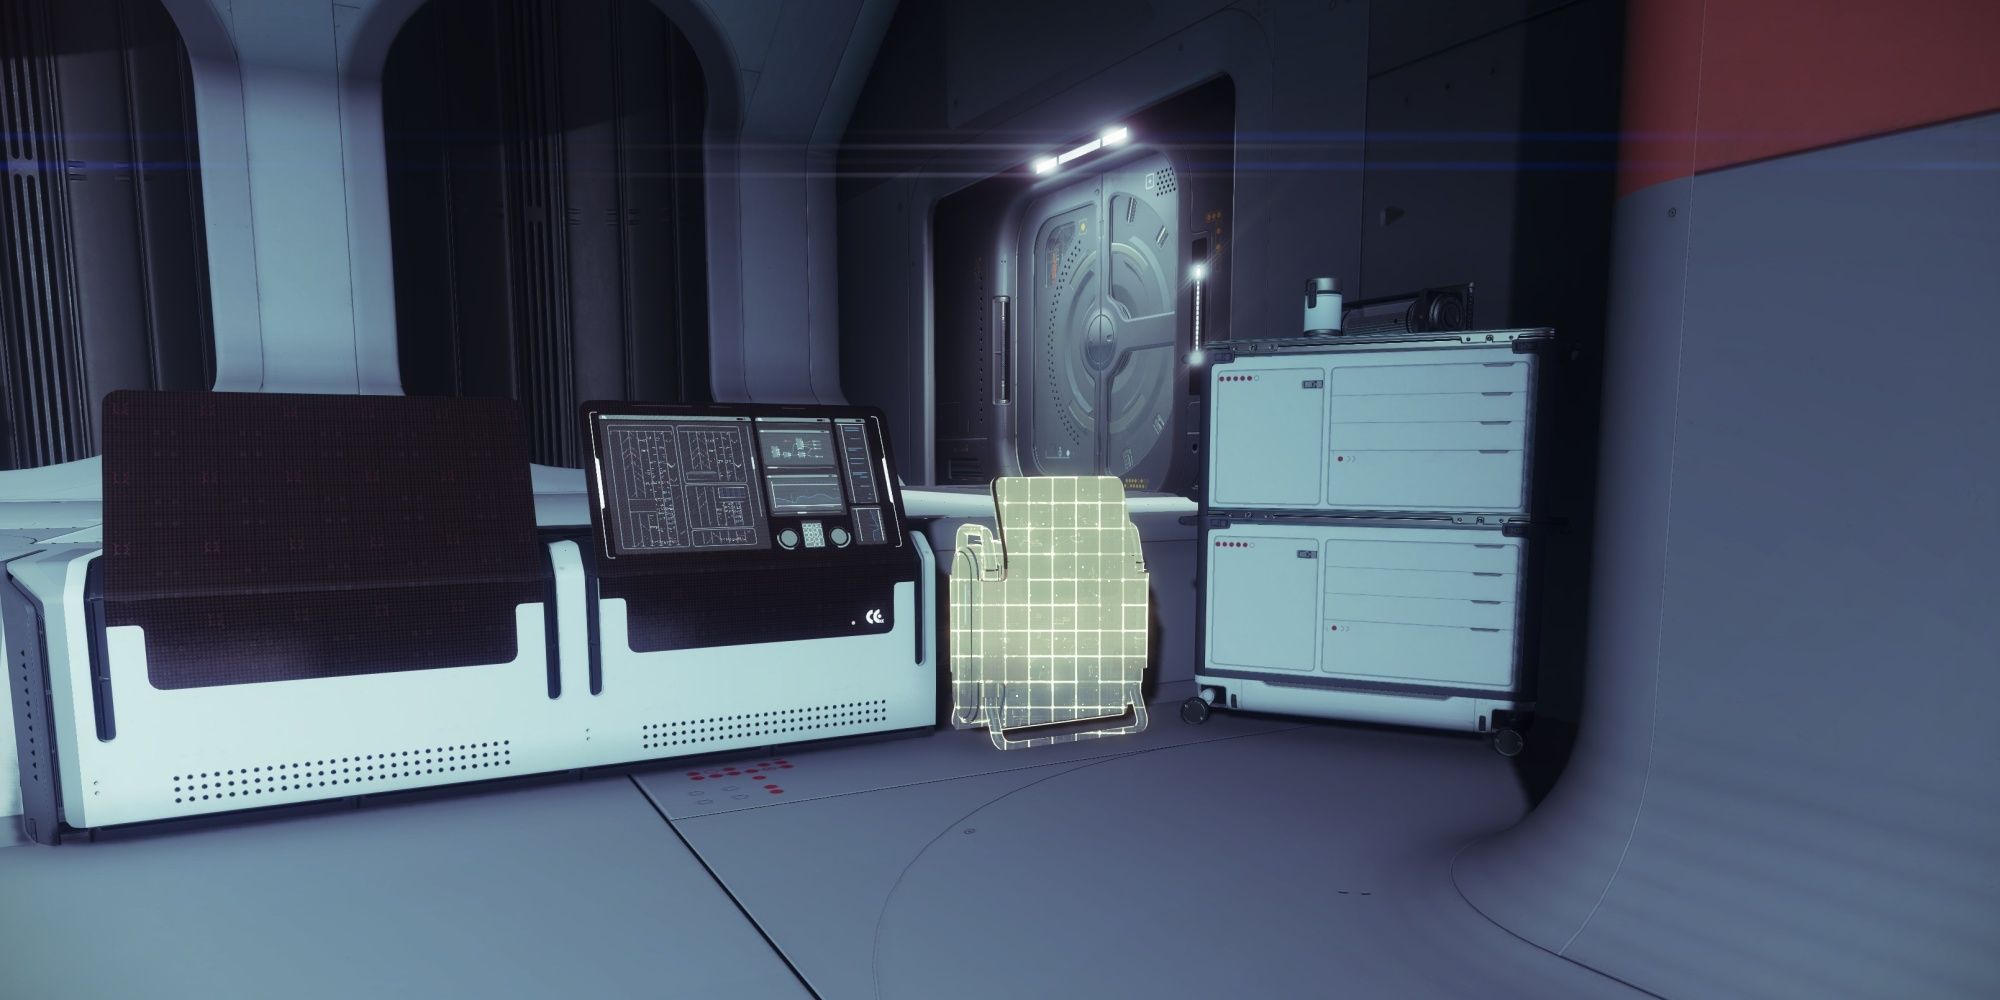
Now that you have the Scanner buff, you should see a glowing terminal to the left of where that Scanner Splicer was. Interact with it. A second terminal will begin to glow directly behind you. Activating that terminal will reveal one more across from you, this time to the right of where that Scanner Splicer spawned. Interact with all three terminals to call in orbital pods from Seraph Station. Hop in to launch yourself into space.
Board And Gain Access To Seraph Station
Before depositing the Scanner buff, destroy any glowing drones you find. This will spawn an additional chest near the end of your run. More details can be found in the "Hidden Chests" section.
When you're done admiring the beautiful view, deposit your Scanner buff into the Augmentation Terminal at the right-hand side of the room. It's the white kiosk that's emitting a dull yellow light. This will open the door beside you. On the other side will be a small band of House Salvation Fallen splicing their way through even more terminals. Once again, you'll need to clear out the Fallen, take the Scanner buff, then hack three different terminals. The terminals are in the following locations:
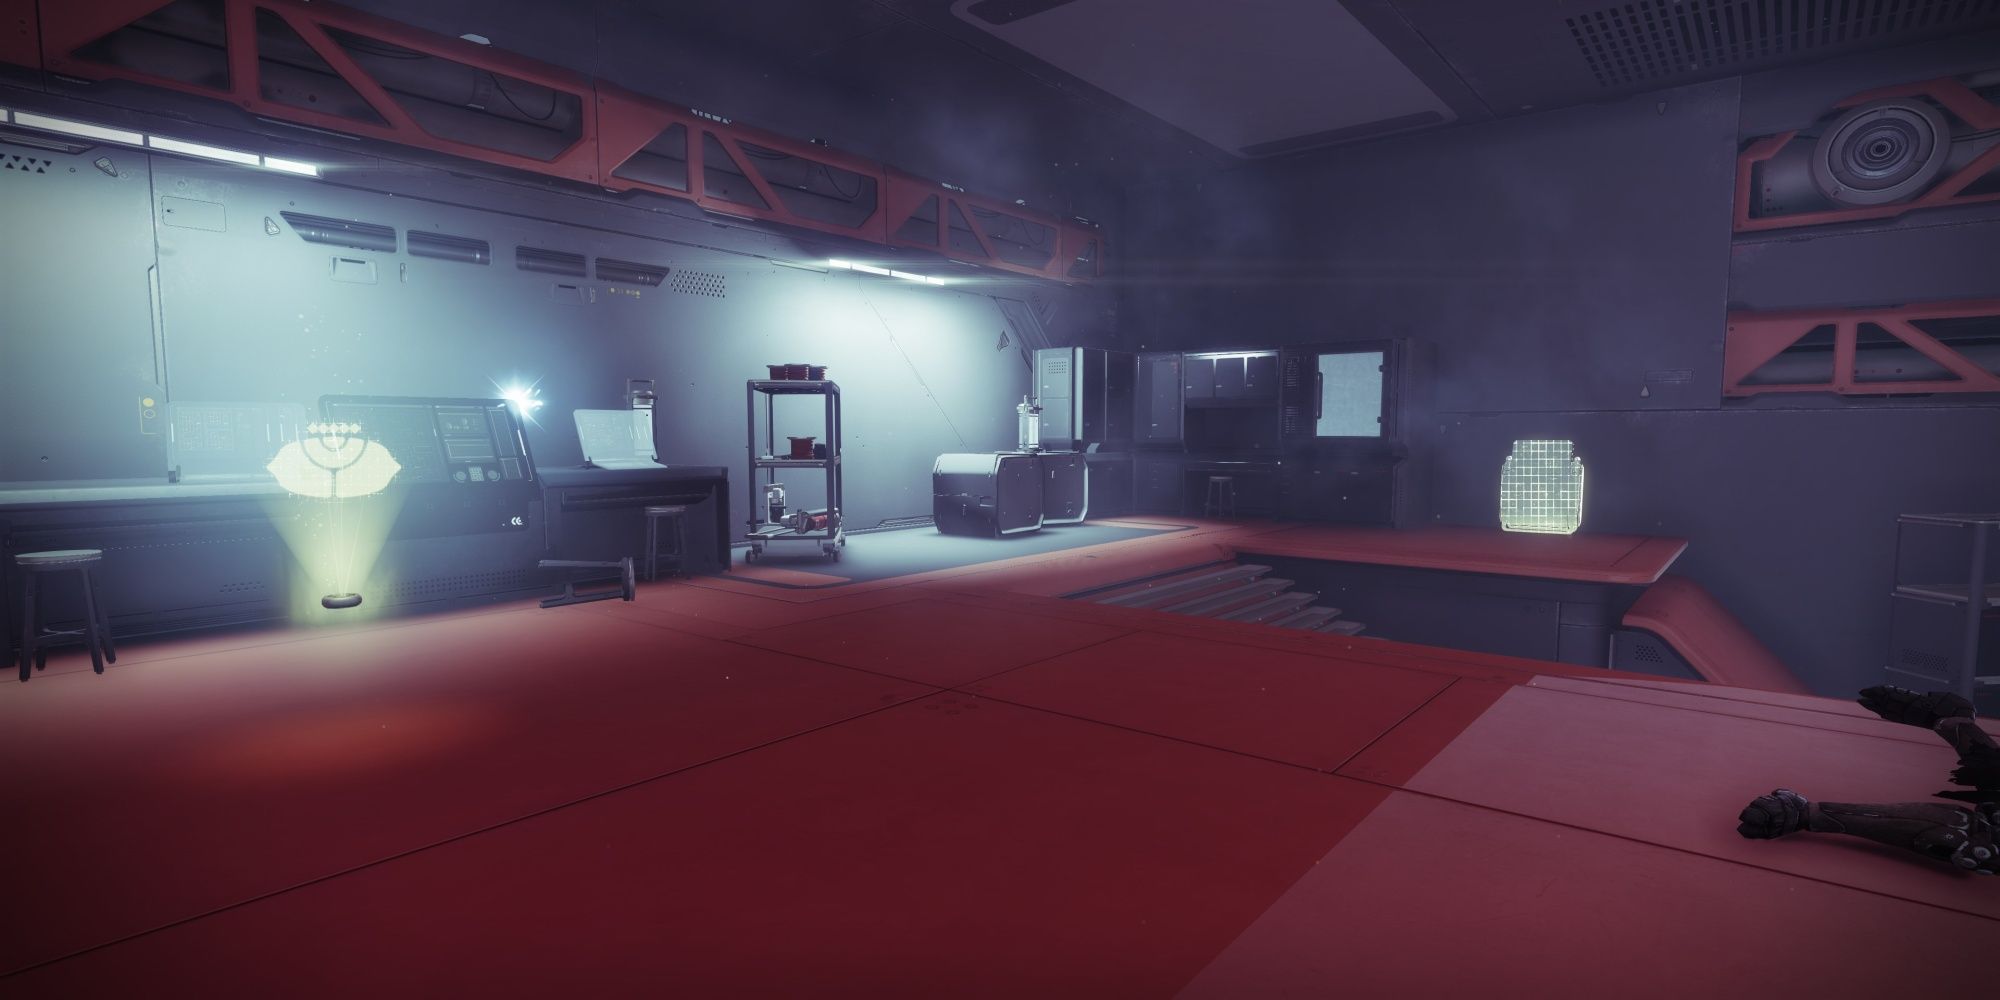
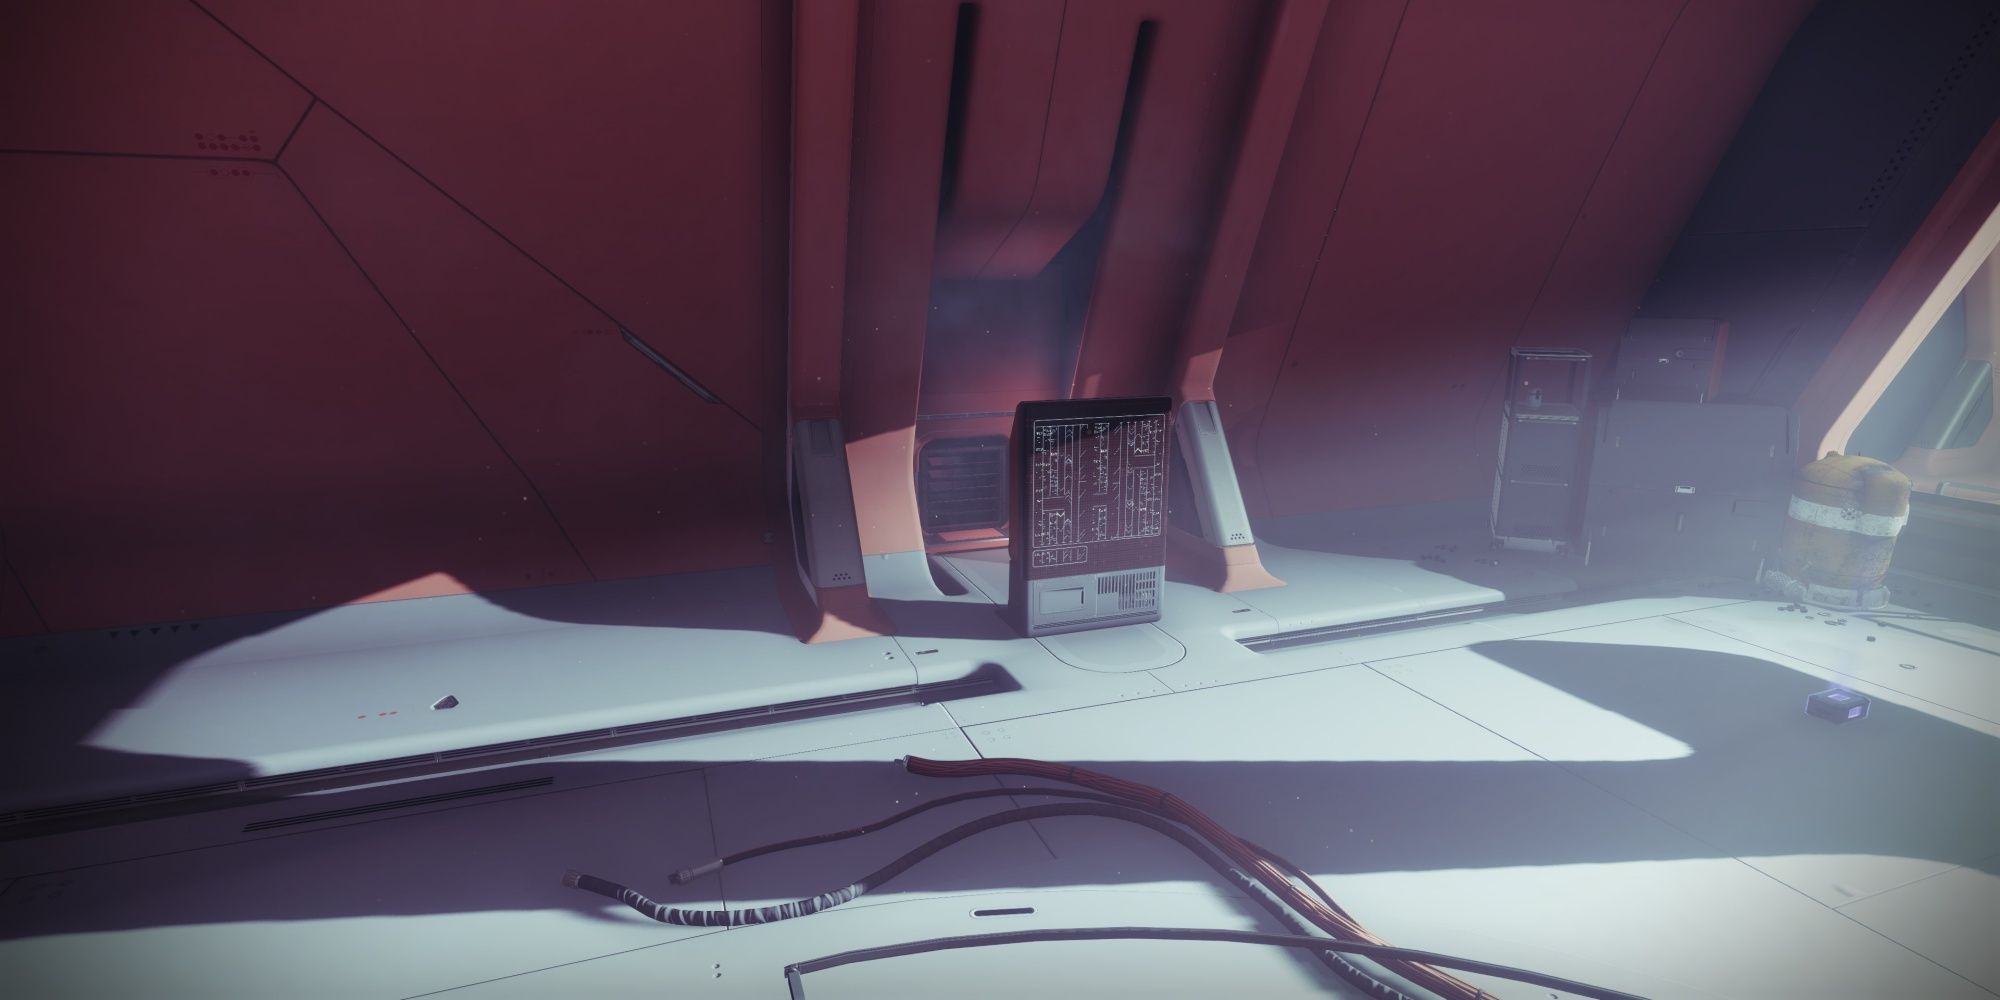
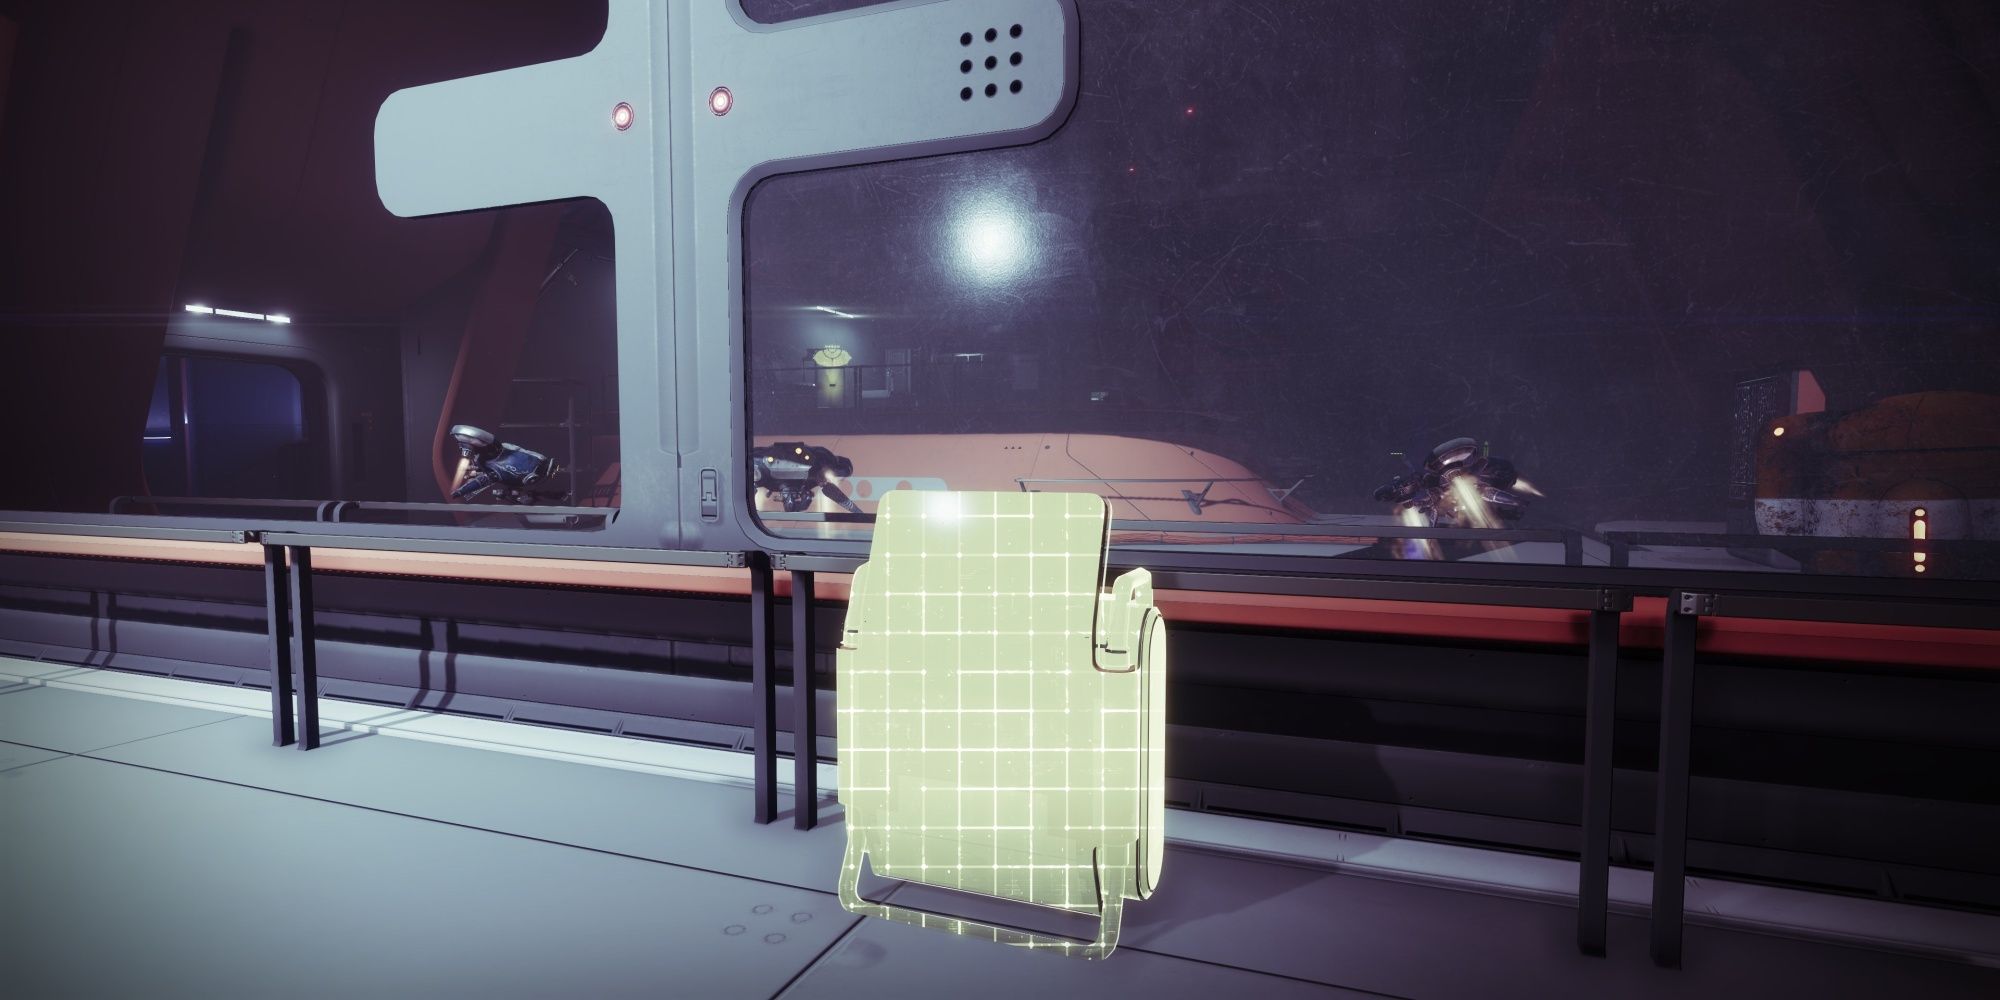
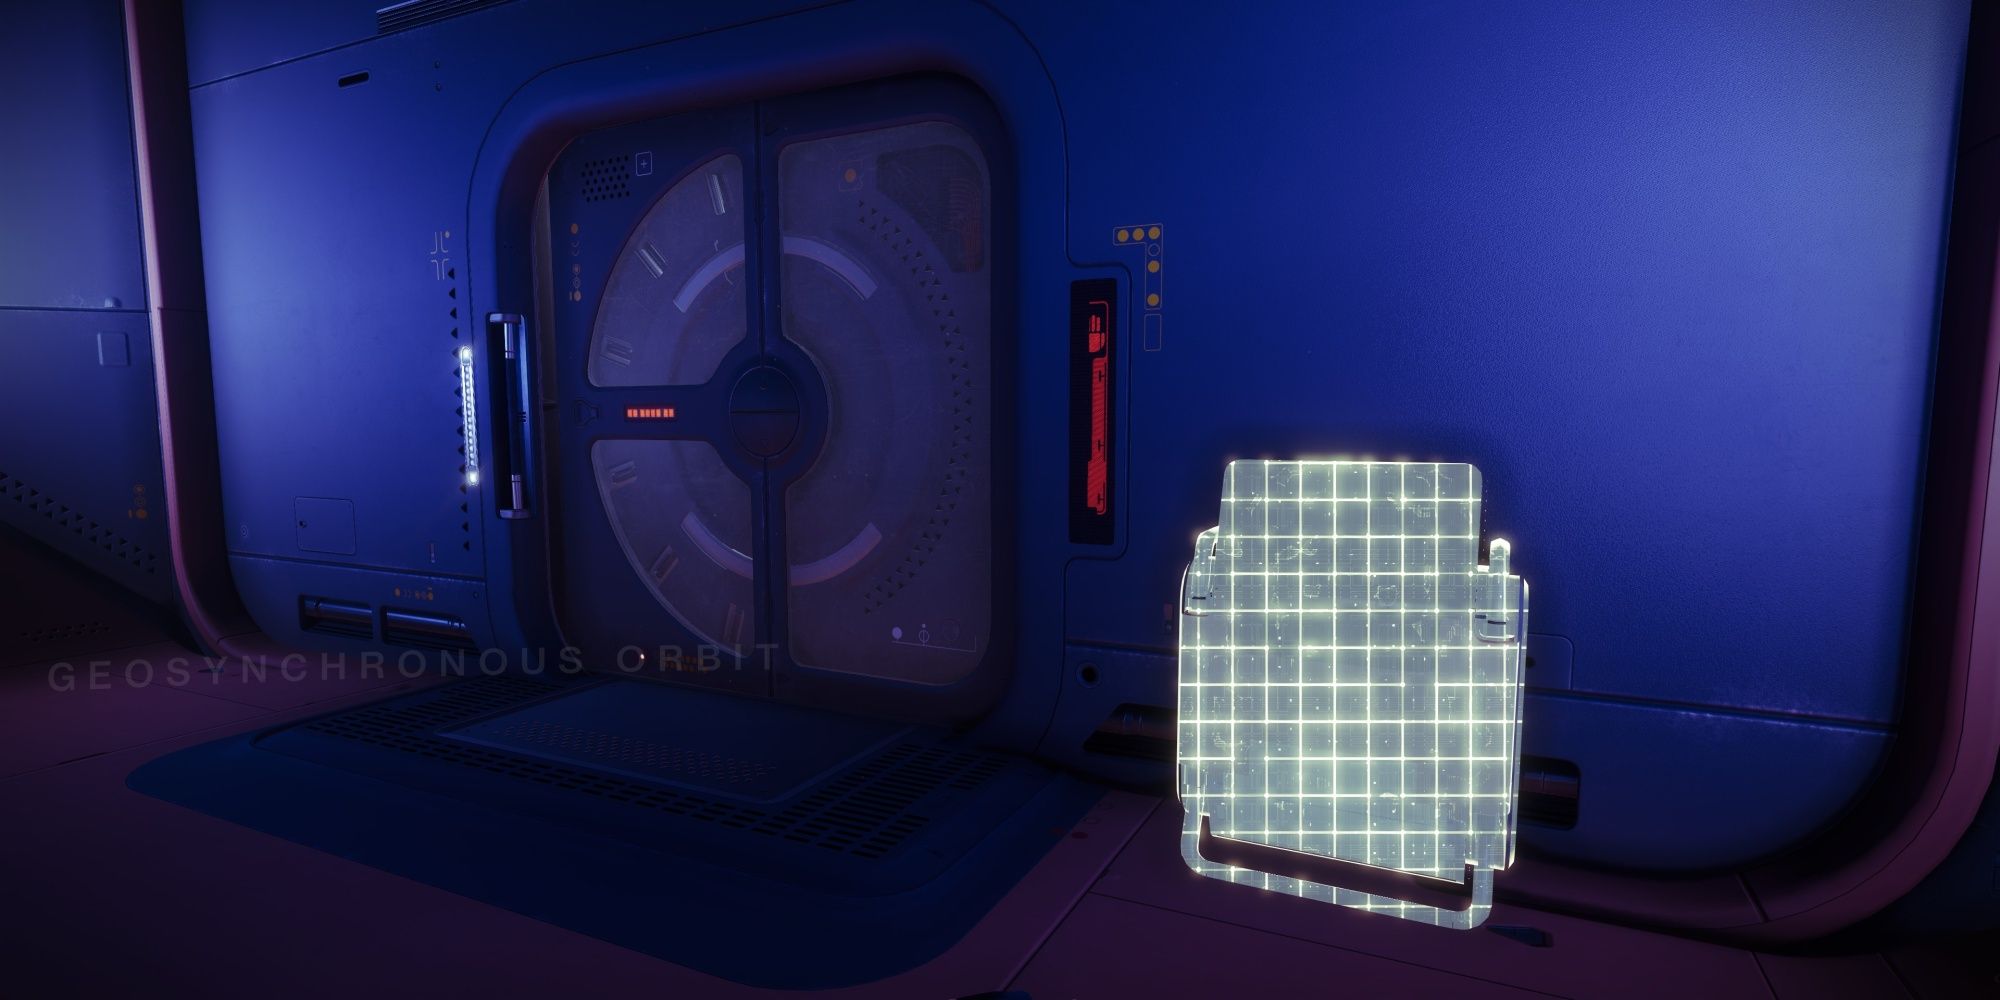
- To the right of the Scanner Splicer.
- From the Scanner Splicer's spawn location, turn around. You should see an air vent entryway on the wall. Break it open and crawl through the vent. The other room houses the terminal you need to hack.
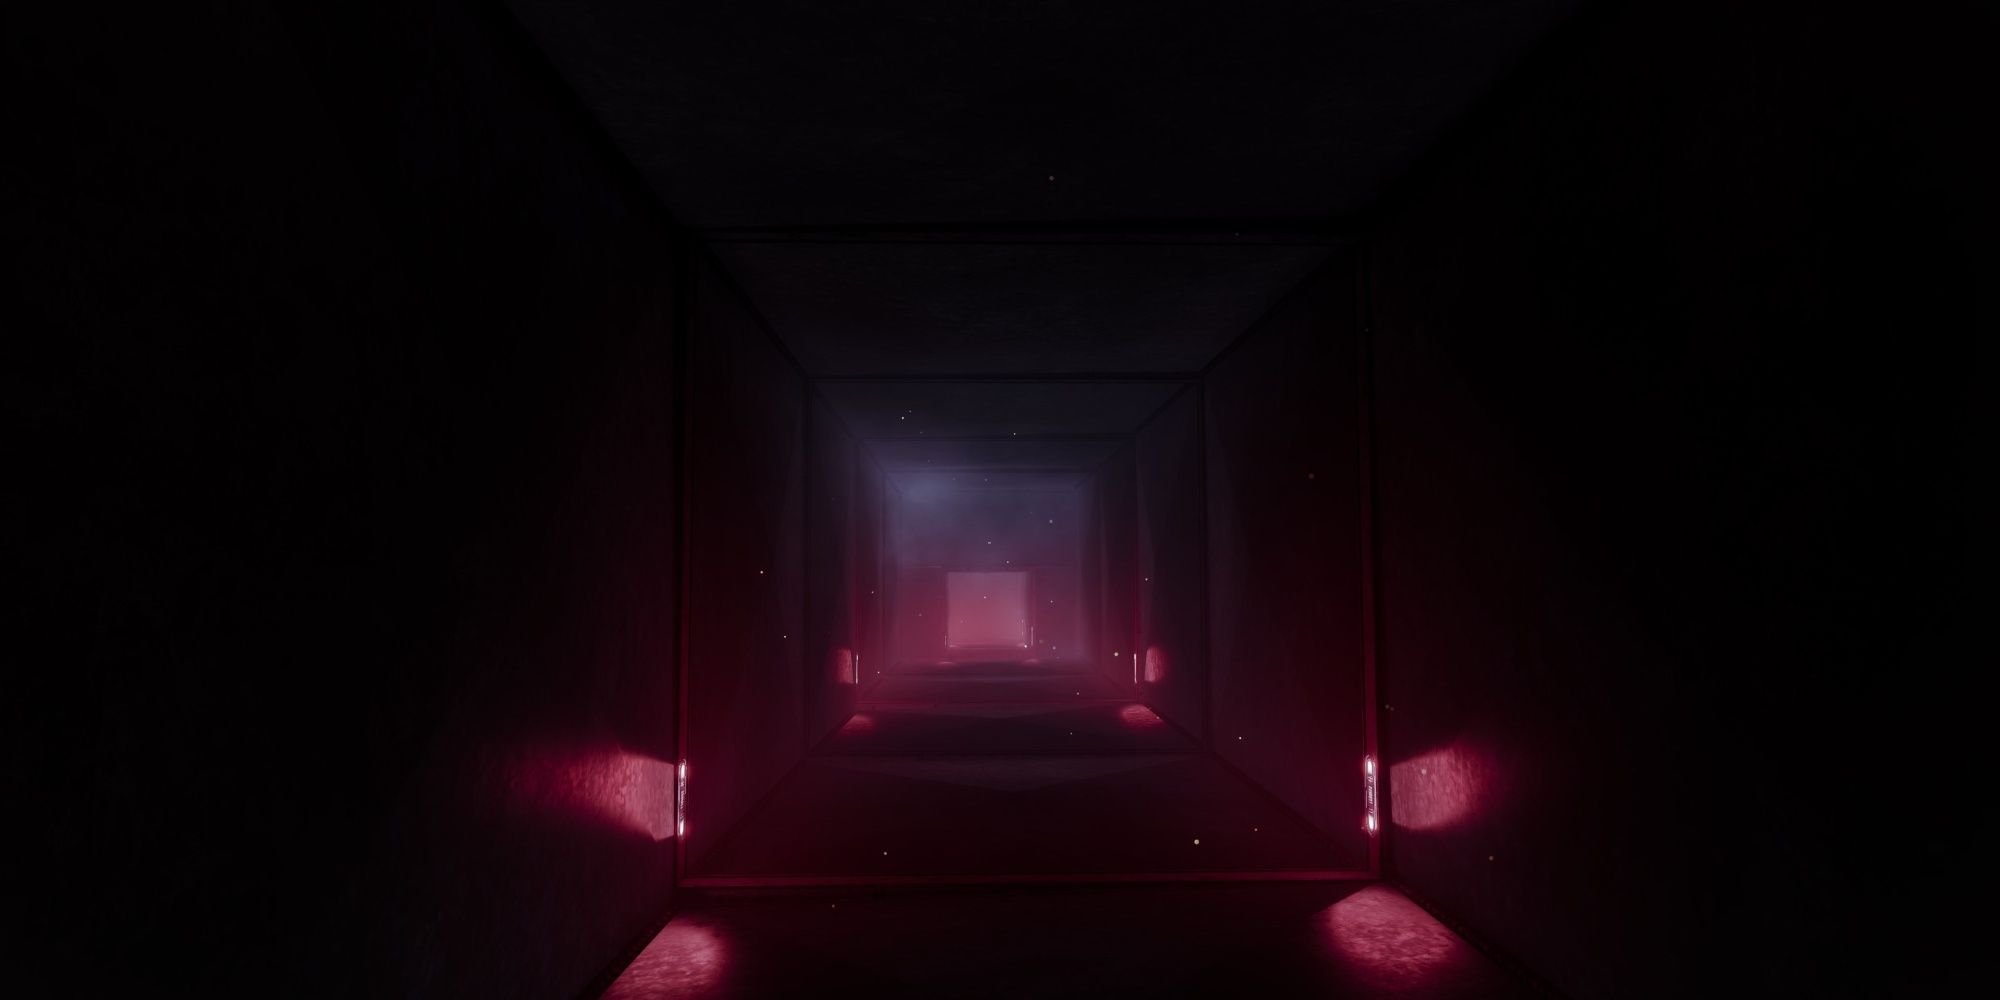
- Backtrack to the previous room. Kill the Shanks and reach the end of the corridor.
You should now be in a vertical shaft overlooking Earth. A Servitor will be guarding the Augmentation Terminal beside the main exit. Before you deposit the Scanner buff, destroy the drones floating nearby. Shooting them in the correct order (based on which one's glowing) will reward a hidden chest near the end of the mission. Deposit the buff when you're done.
Use The Scanner Protocol To Access The Decontamination Chamber
It's time to juggle the Scanner buff some more. This next room is just like the last. Clear out the Fallen, grab the Scanner buff, and look out for three terminals to hack. You'll find the terminals in these locations:
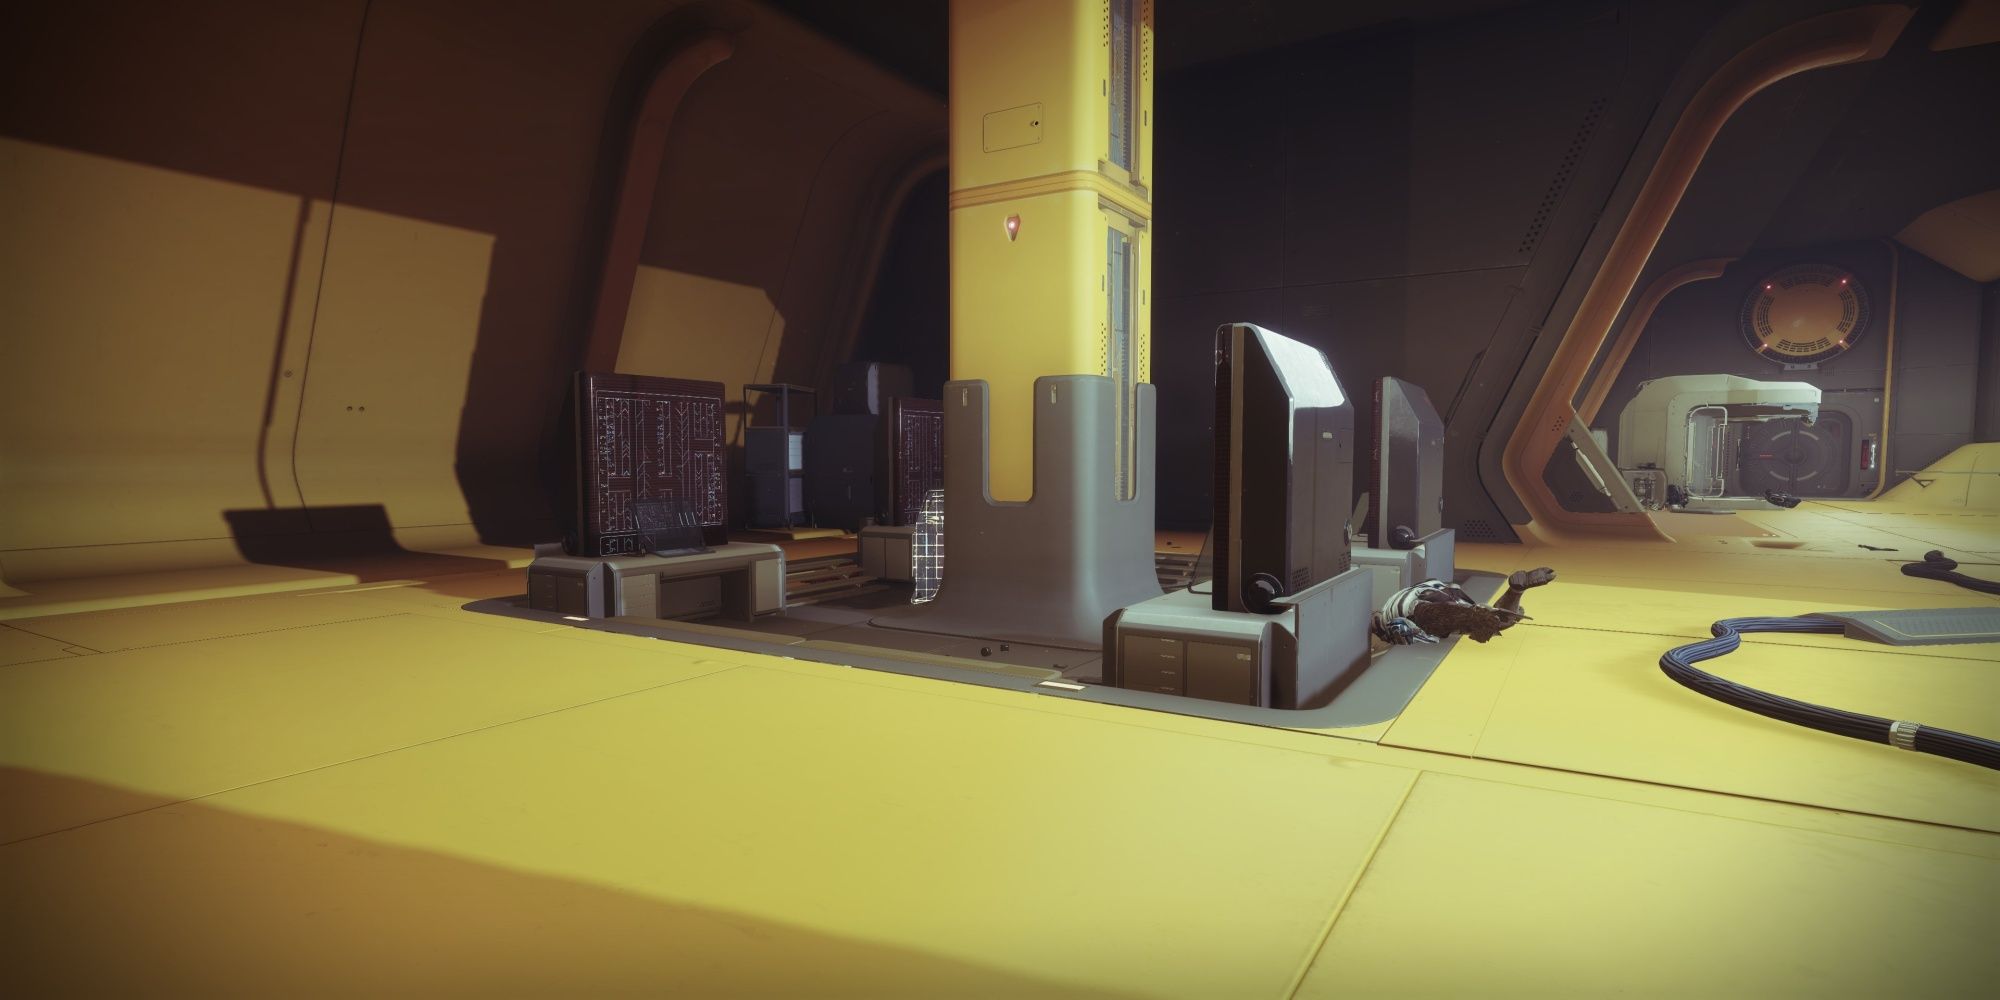
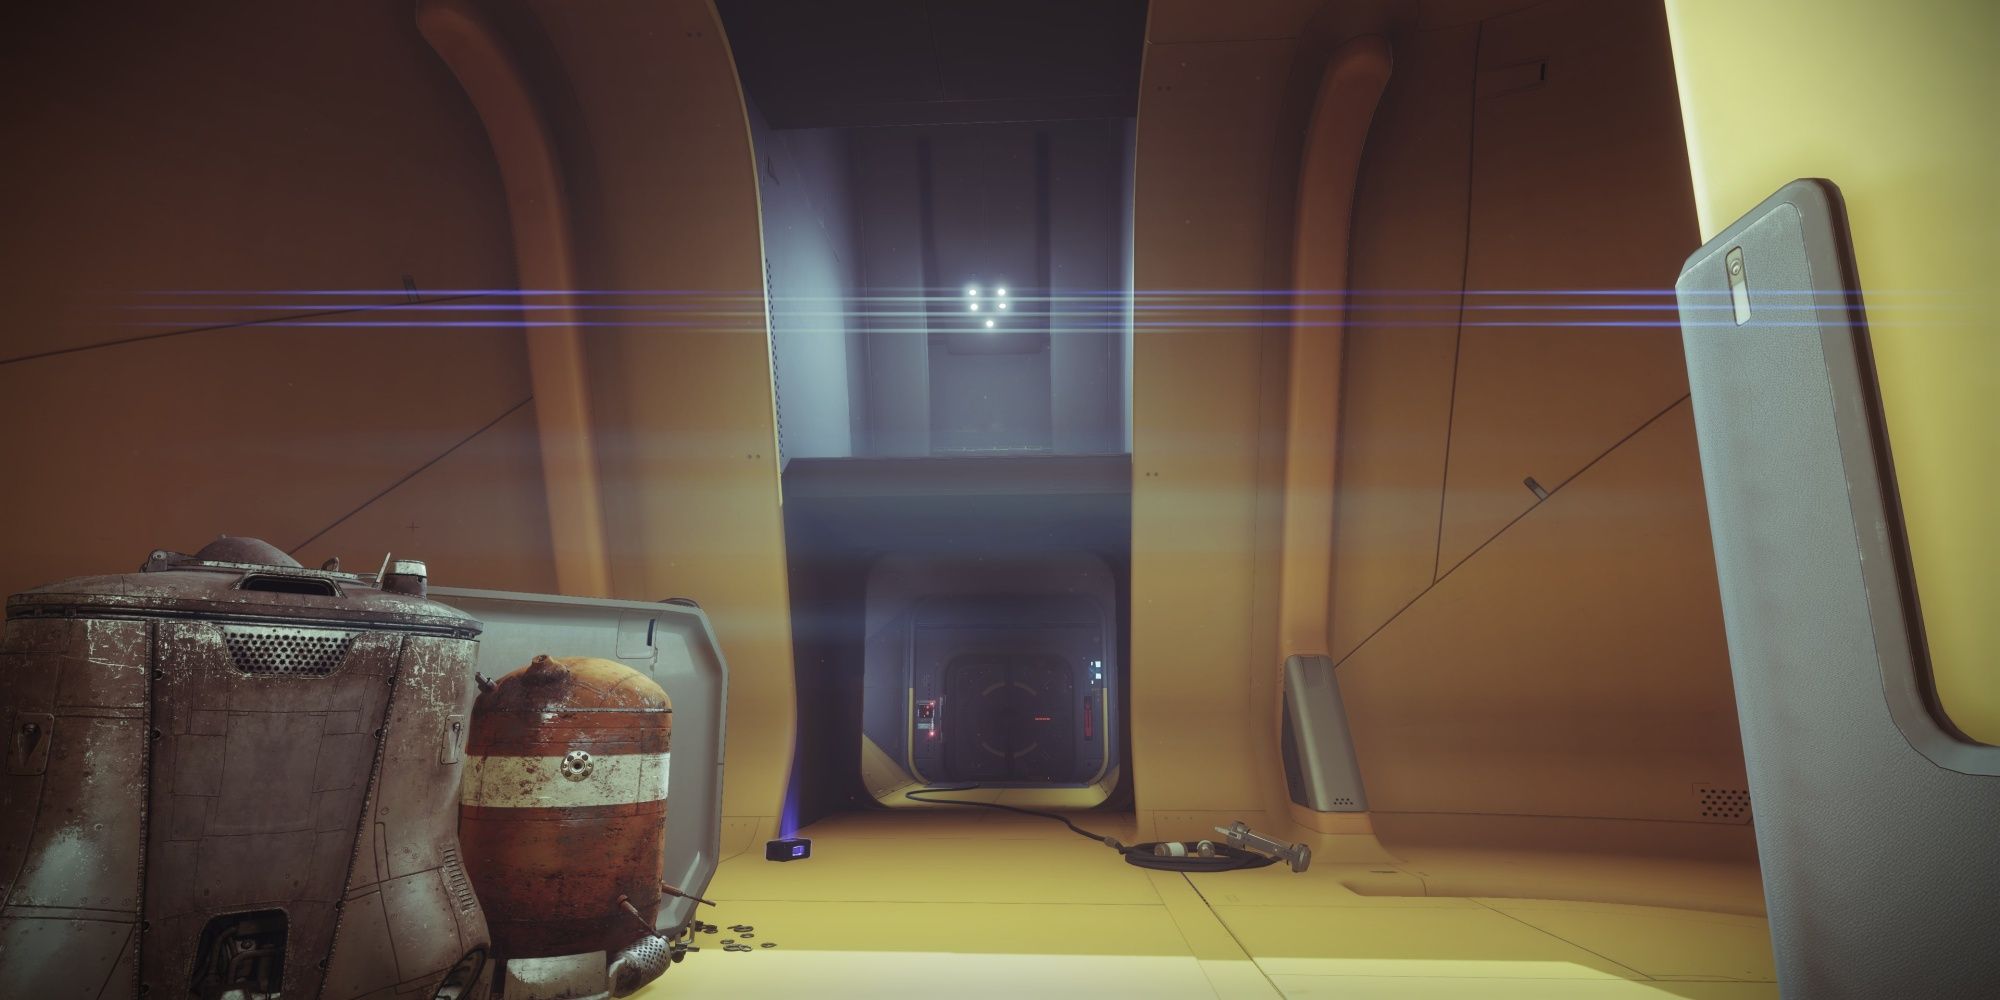
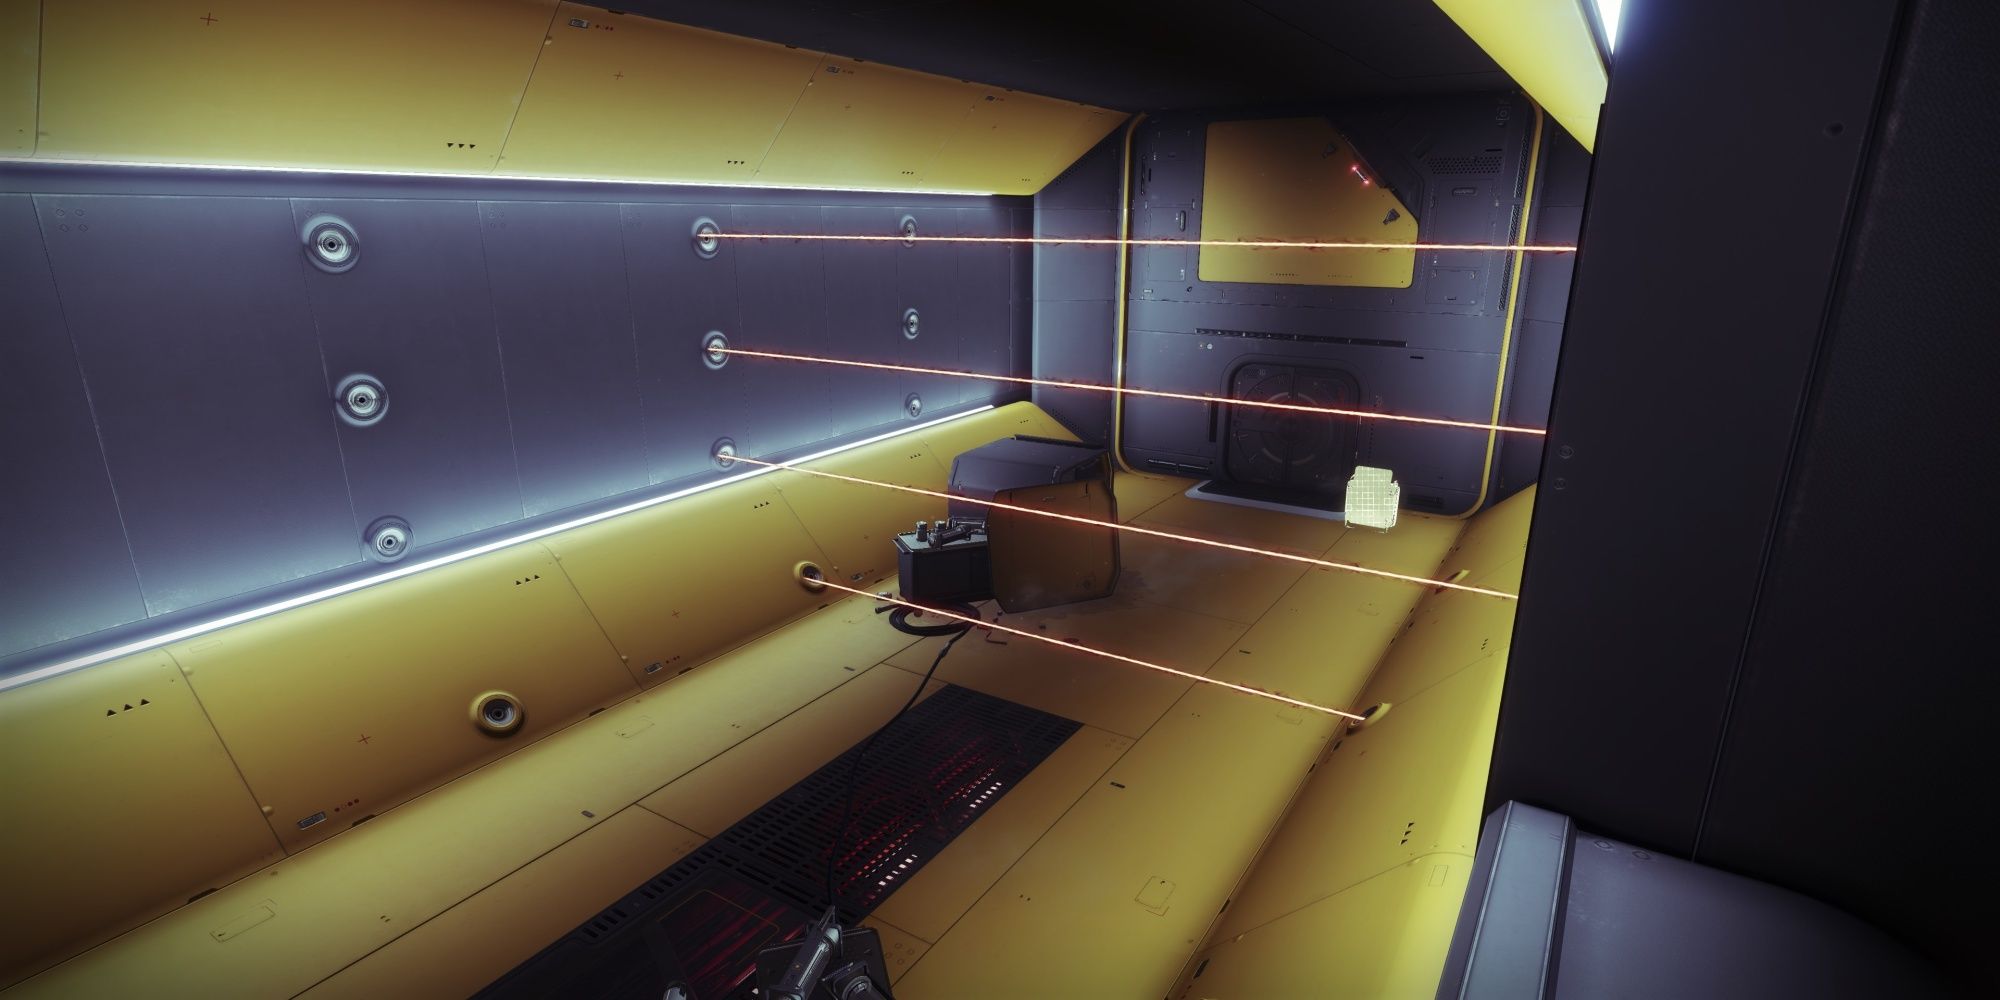
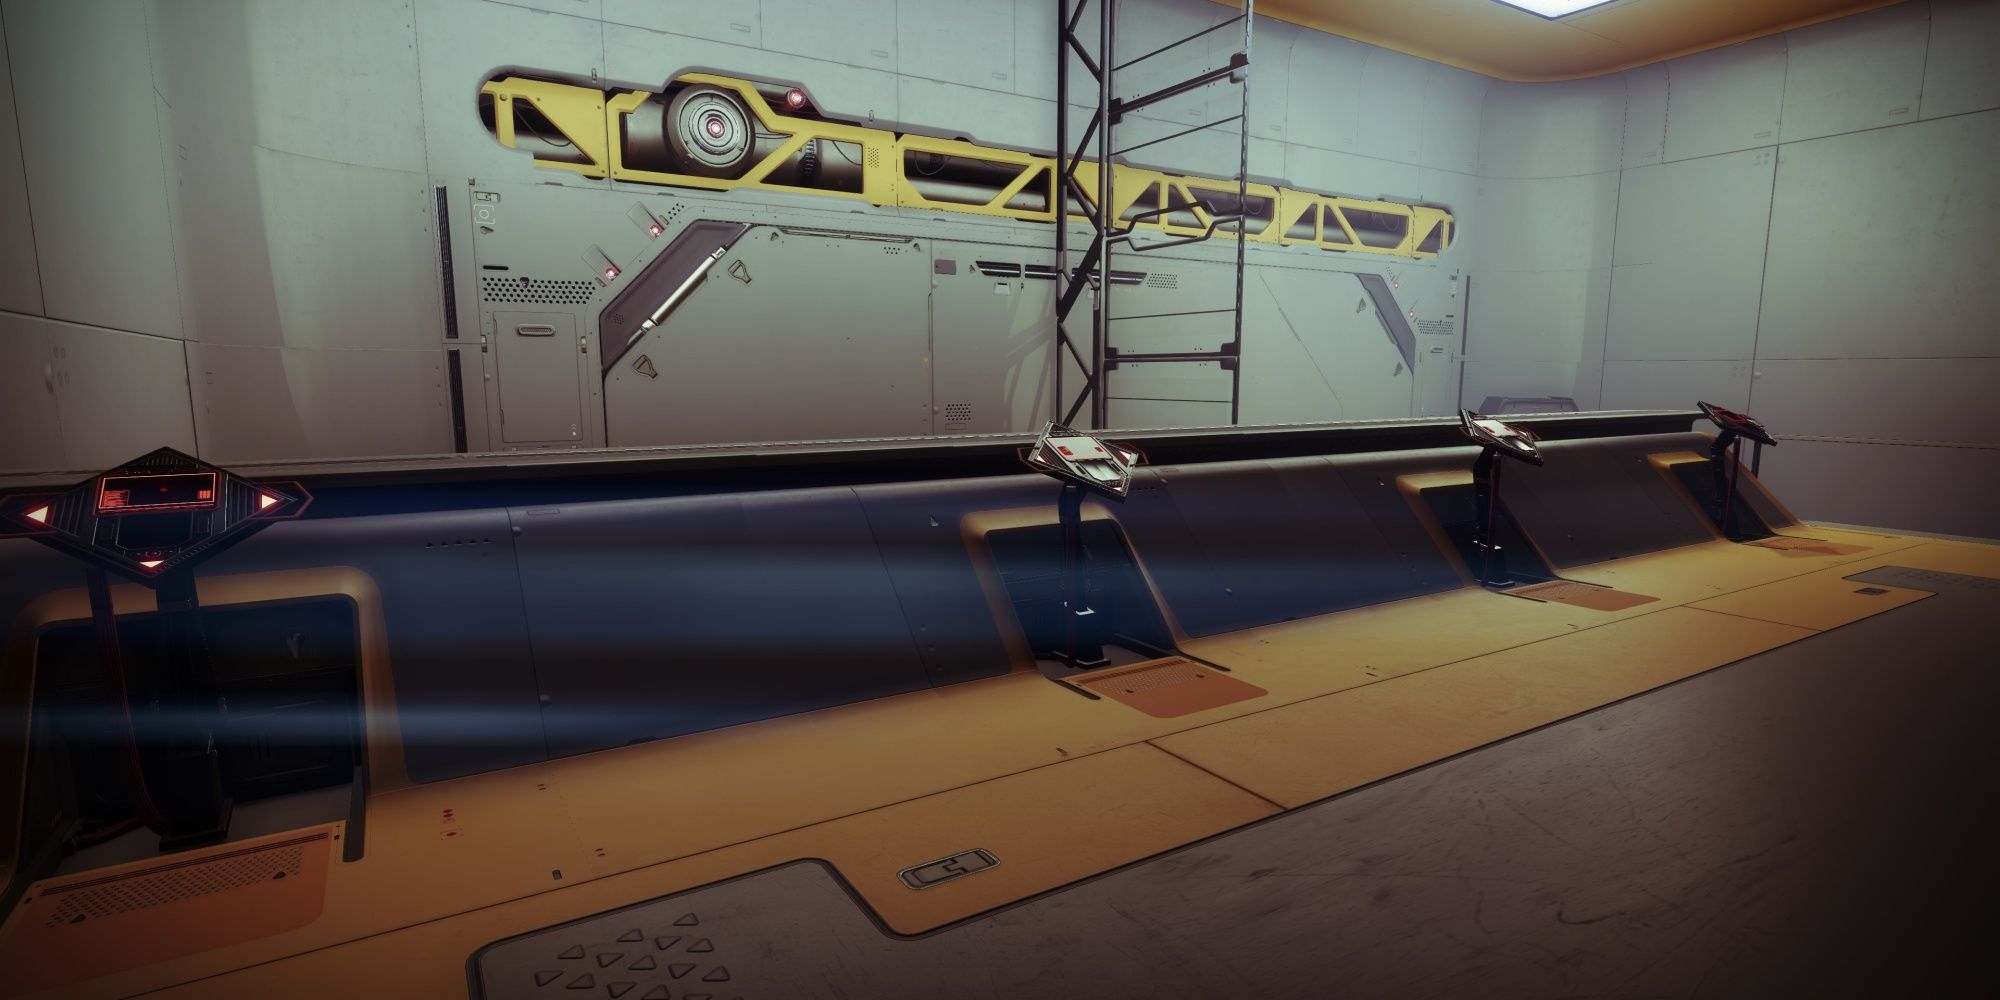
- Located on a yellow pillar to the left of the entrance.
- Across from that pillar is a ventilation shaft. A bunch of Shanks spawn beside it when you activate the first terminal. Crawl through the vents and weave through the lasers.
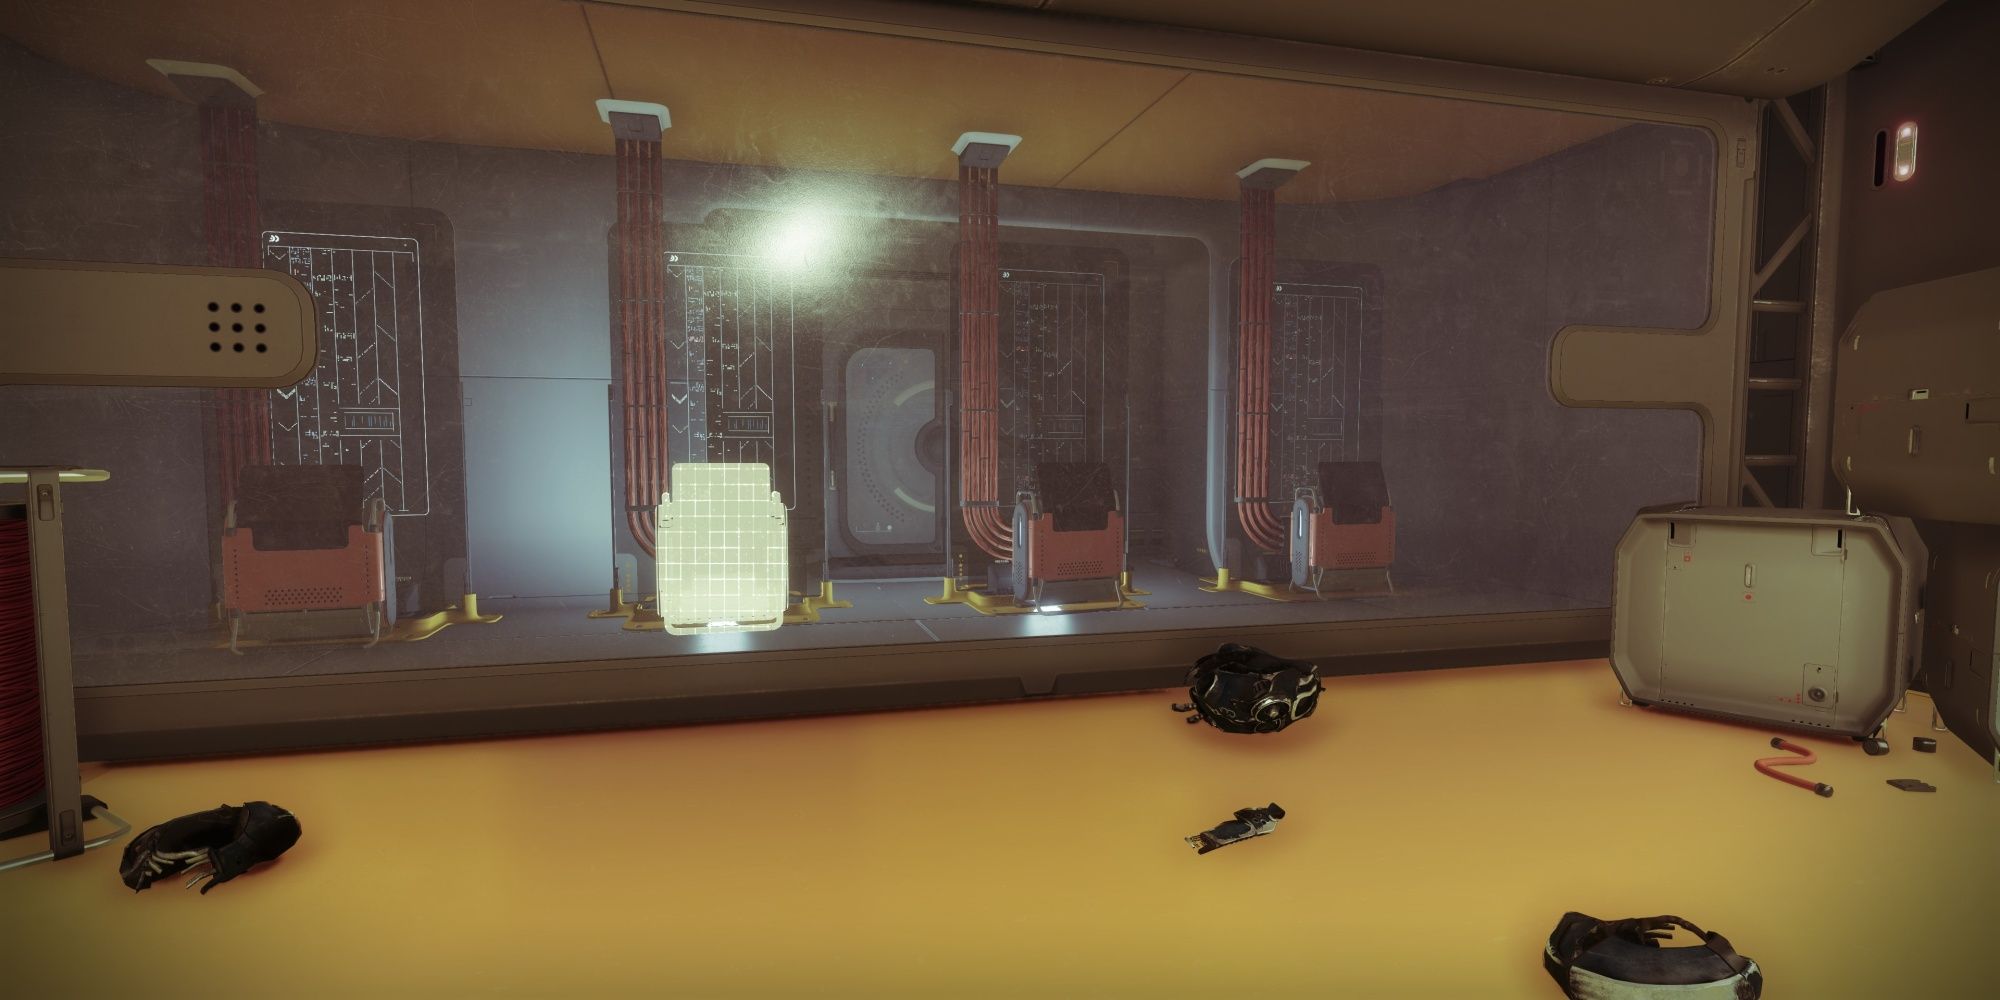
- Note which terminal is glowing beside the Augmentation Terminal. Deposit your buff, enter the adjacent room, then activate the console above the glowing terminal you last saw.
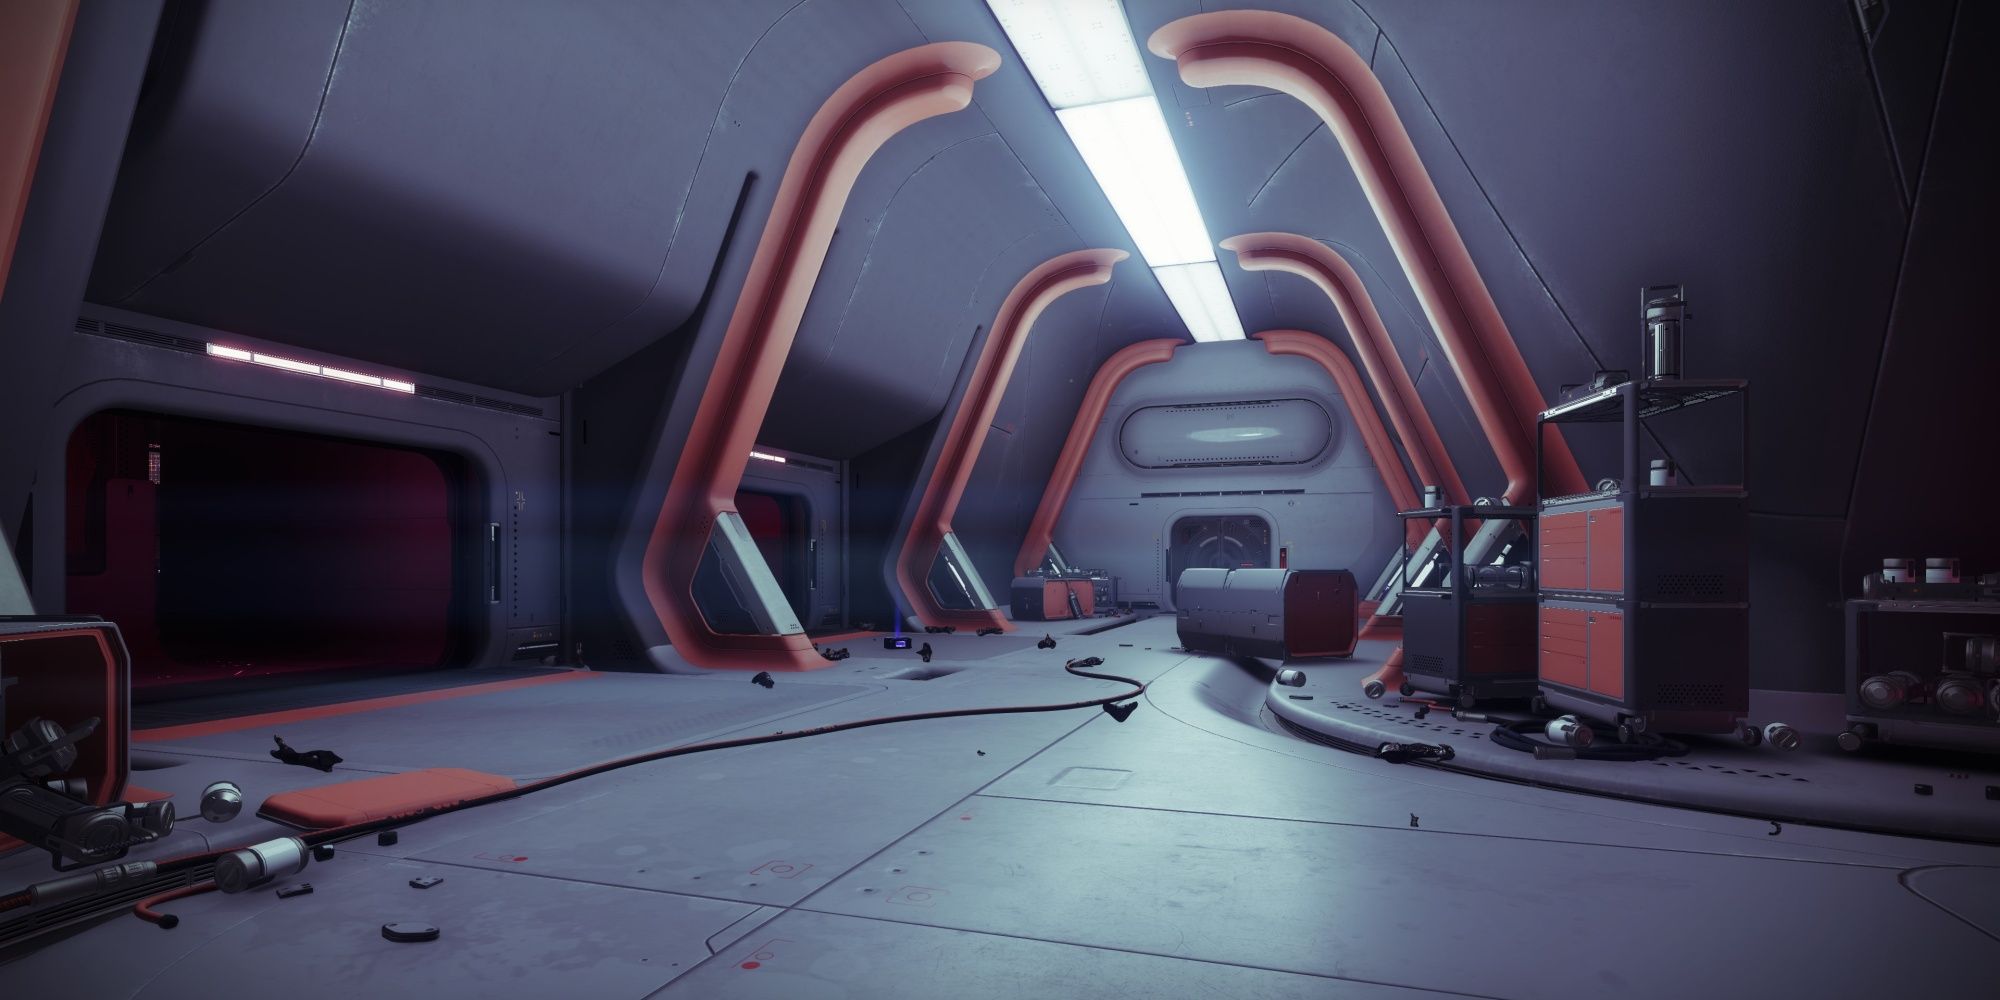
The first two terminals are straightforward, but the third one is slightly misleading. You'll find four different terminals beside the Augmentation Terminal. Make note of which terminal is glowing. You'll need to deposit your Scanner buff to access the adjacent room. Walk in and run up the stairs on your right. You'll find four consoles lined exactly like the terminals you just saw. You must activate the console that matches the glowing terminal you saw. For example, if the far-right terminal (or fourth terminal) was glowing, you'd activate the far-right console in the adjacent room. If done correctly, you won't immediately die to a set of lasers. Backtrack to the main room and run through the newly-opened Decontamination Chamber.
Watch out for the turrets in the next room. These turrets pack a serious punch and can easily kill you on Legendary difficulty. Use your Heavy to destroy them. Clear the room of hostiles and make your way upward.
Use The Scanner Protocol To Access The Security Sector
More of House Salvation's splicers can be found in the next room. Like before, clear out the Fallen and take the Scanner buff they drop. Three terminals need to be activated to reach the next room. The good news is that all three terminals are in the same room. The bad news is that the terminals are in a radiation chamber that, if navigated incorrectly, will instantly kill you. If you played the Zero Hour mission back in Forsaken, this is similar to the navigation grid puzzle just before you fought the final boss.
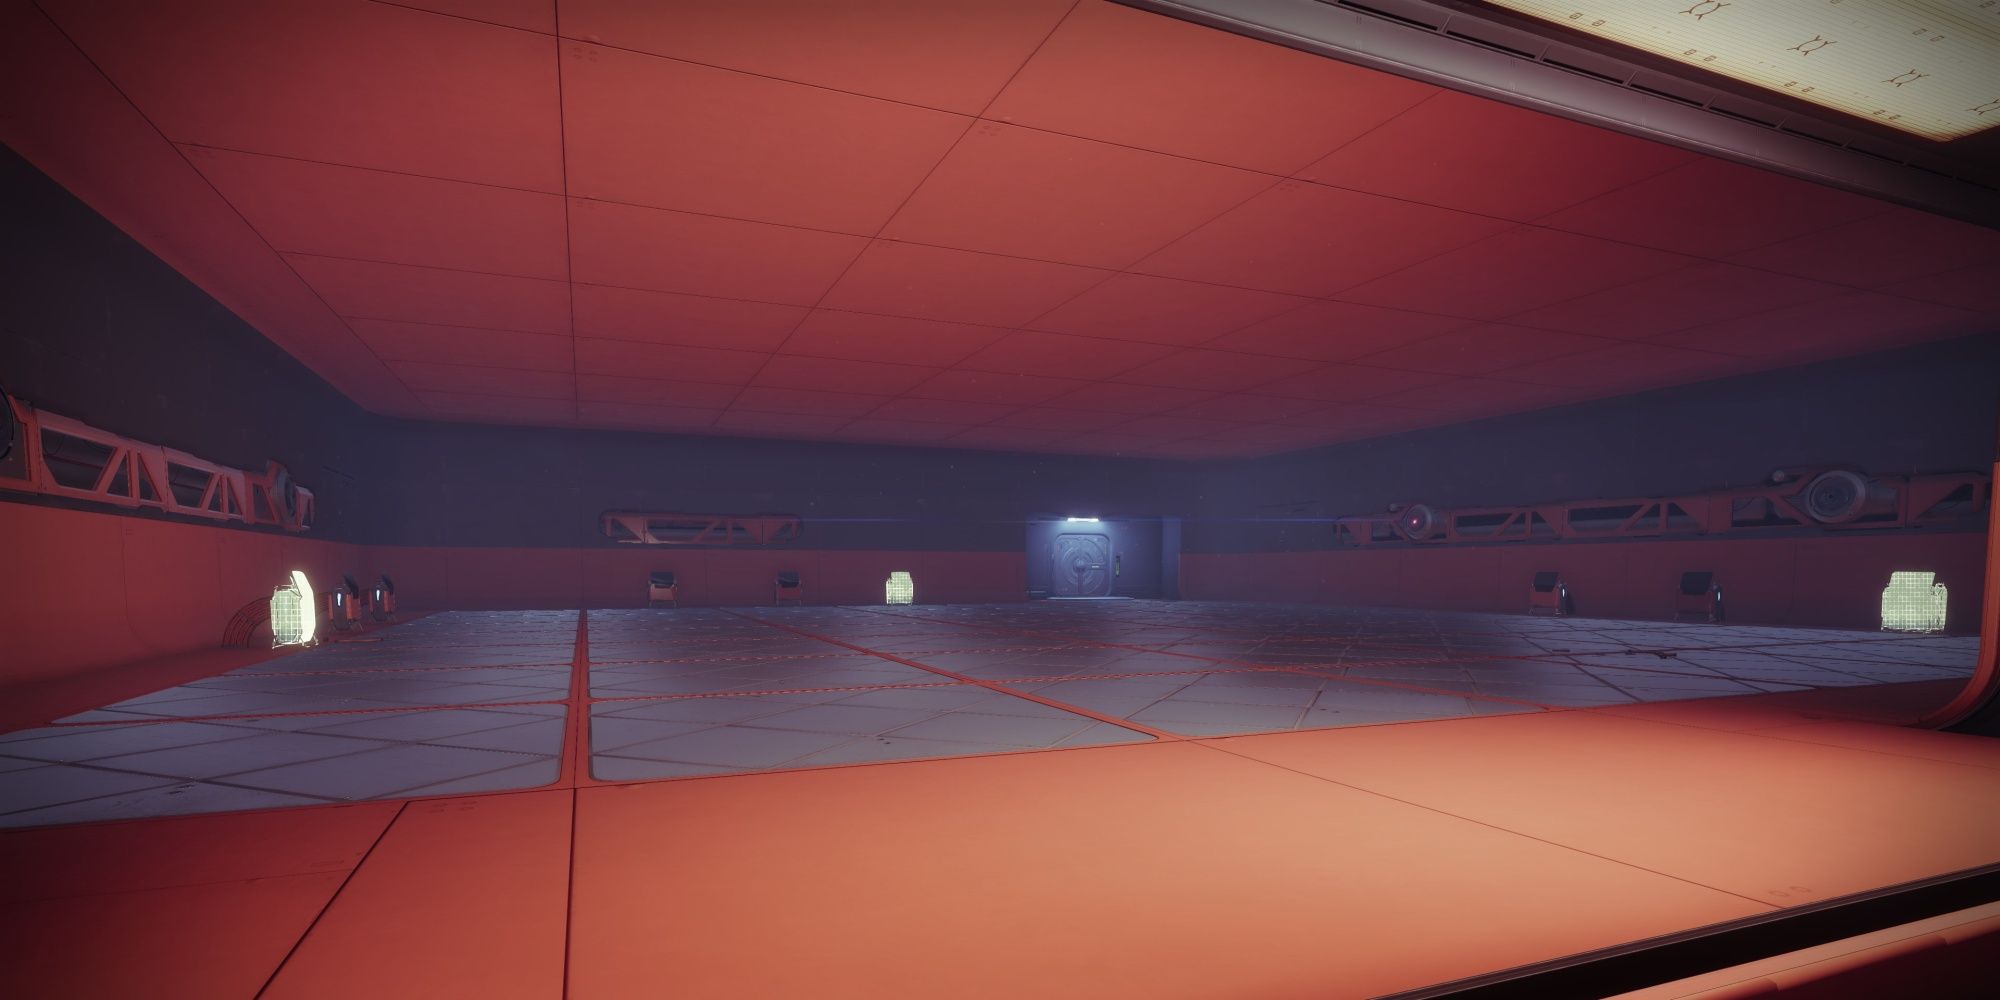
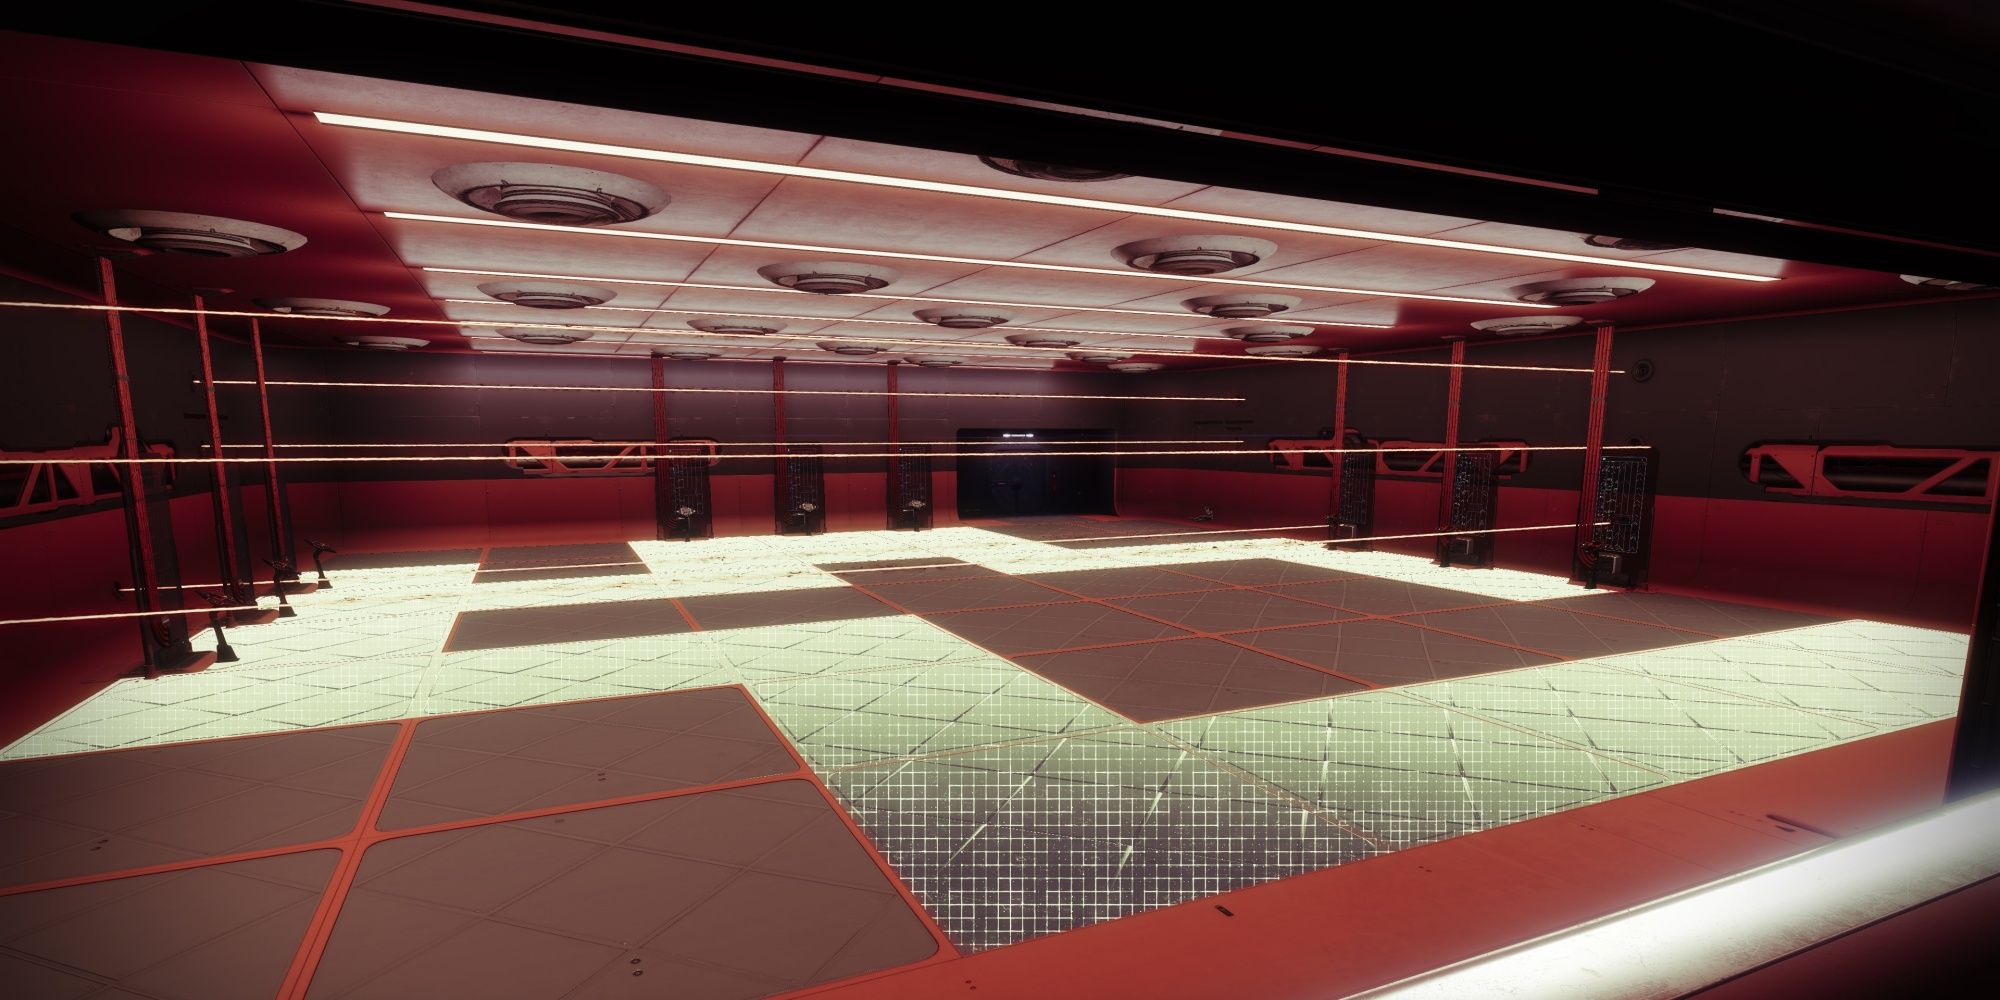
Hop up to the second floor and grab the Scanner buff. You should see a spacious room through the glass with three highlighted consoles. Take note of which consoles are glowing, as these are the terminals you'll need to activate on the lower floor. One terminal from each set will need to be interacted with. Now that you know which terminals to activate, drop down to the lower floor and look through the glass again. The Scanner buff will light up the correct path through the chamber. If you step on the wrong plate or jump across the maze, you'll trigger the security system and be cooked alive. We highly recommend taking a screenshot of the correct path and pulling it up on your phone or a second monitor before proceeding. The above path (image two) should be the same for all players, but we aren't sure if the path changes weekly like Forsaken's Zero Hour mission.
When ready, walk into the chamber and follow the path you saw earlier. Carefully make your way to each wall and activate the correct terminal you marked down, avoiding the lasers as you traverse the chamber. Interacting with the wrong one will kill you and restart the puzzle. Activating all three without triggering the wrong plate will lift the security lockdown and unlock the next room.
Use The Operator Protocol To Access The Officer's Lounge
Operator Buff
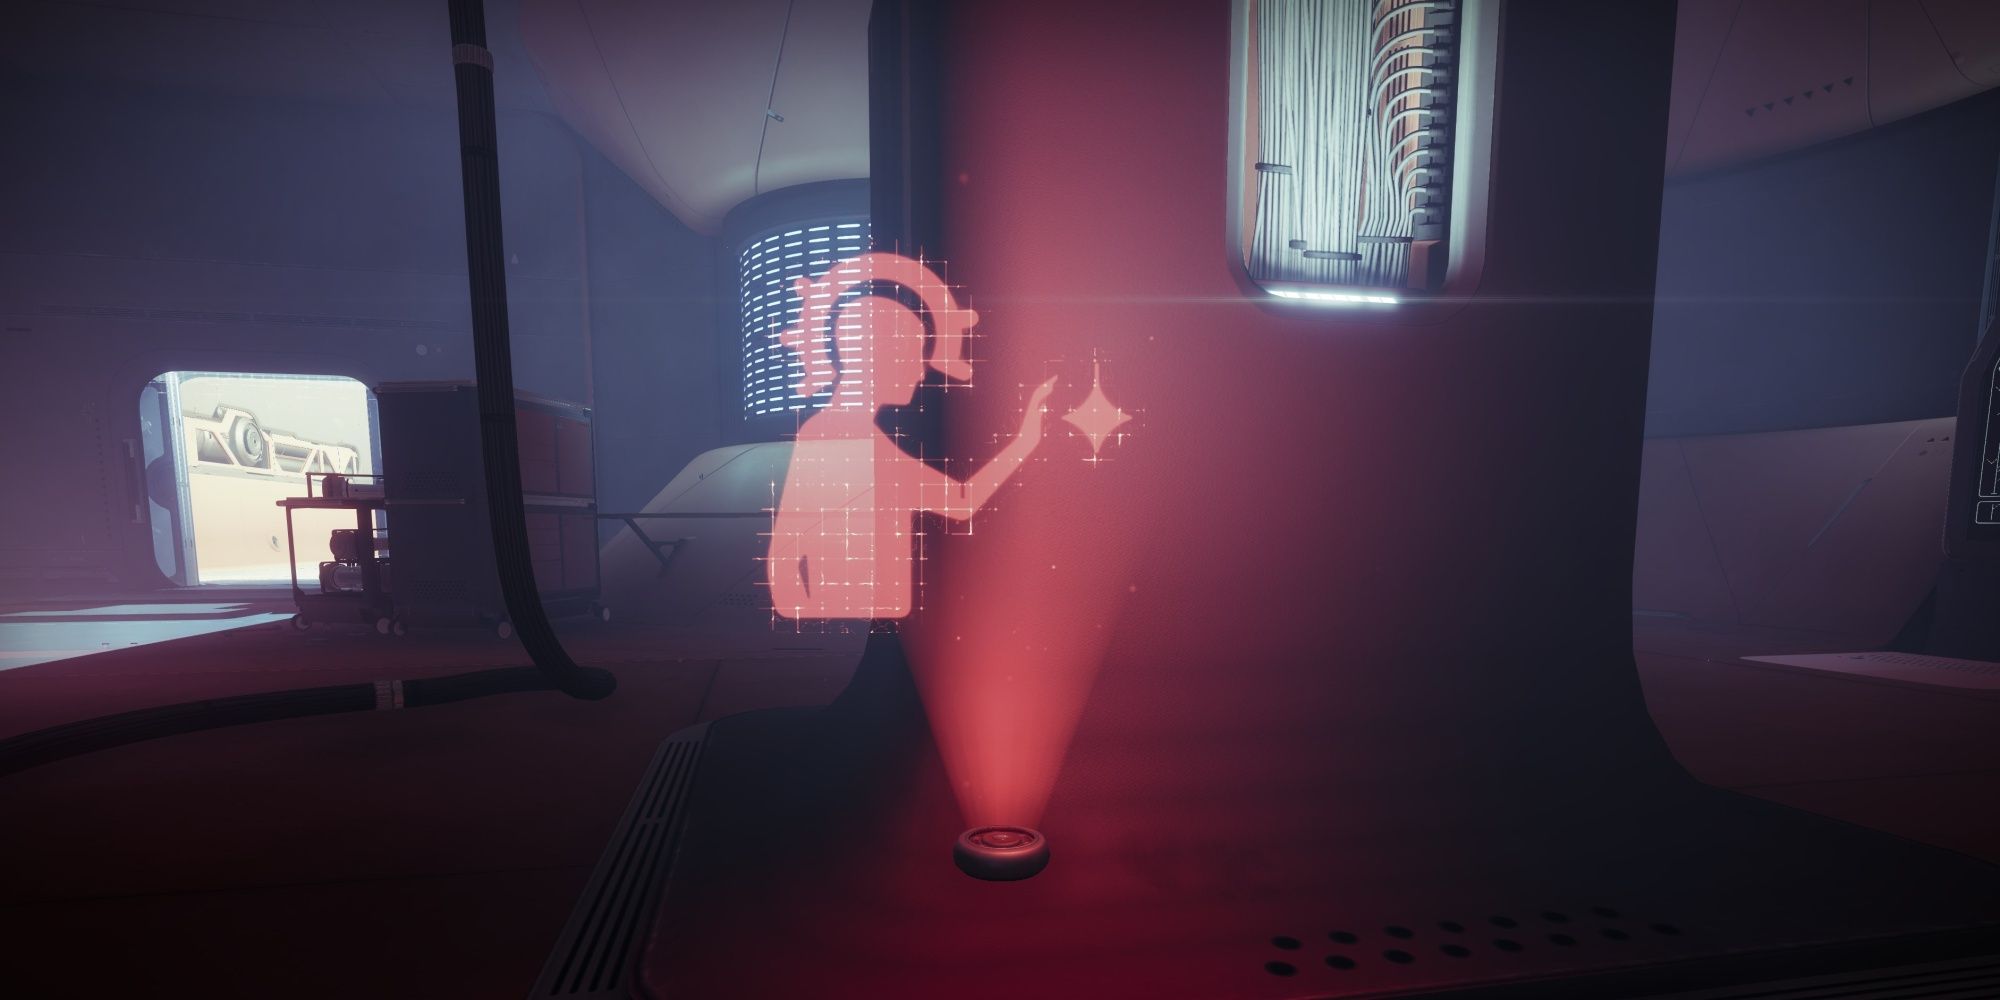
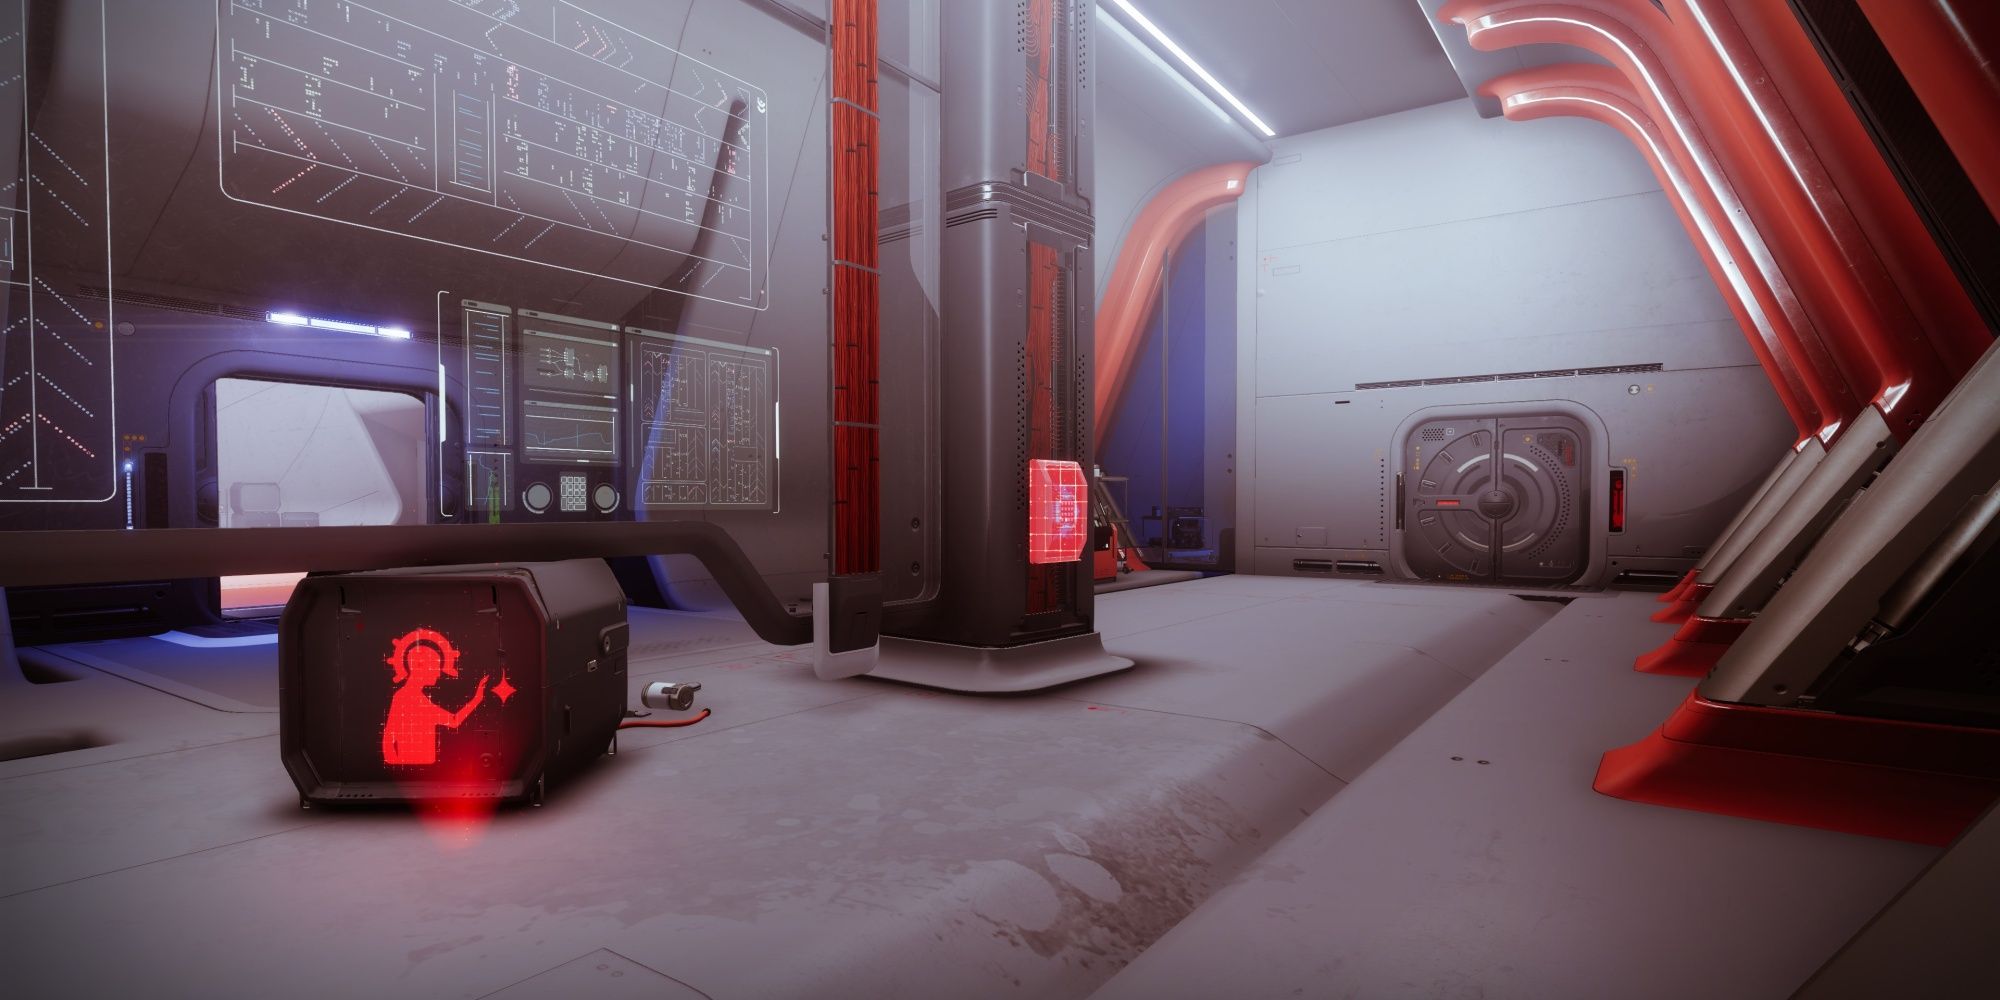
The Operator buff highlights control panels in a dull red color. Shooting the panel will unlock a nearby door or vent cover. Like the Scanner buff, only one panel will be glowing at any given moment, and each puzzle requires you to shoot three panels in total.
This buff has an infinite duration and persists after death. Only one augment may be active at a time; you can't have Operator and Scanner simultaneously.
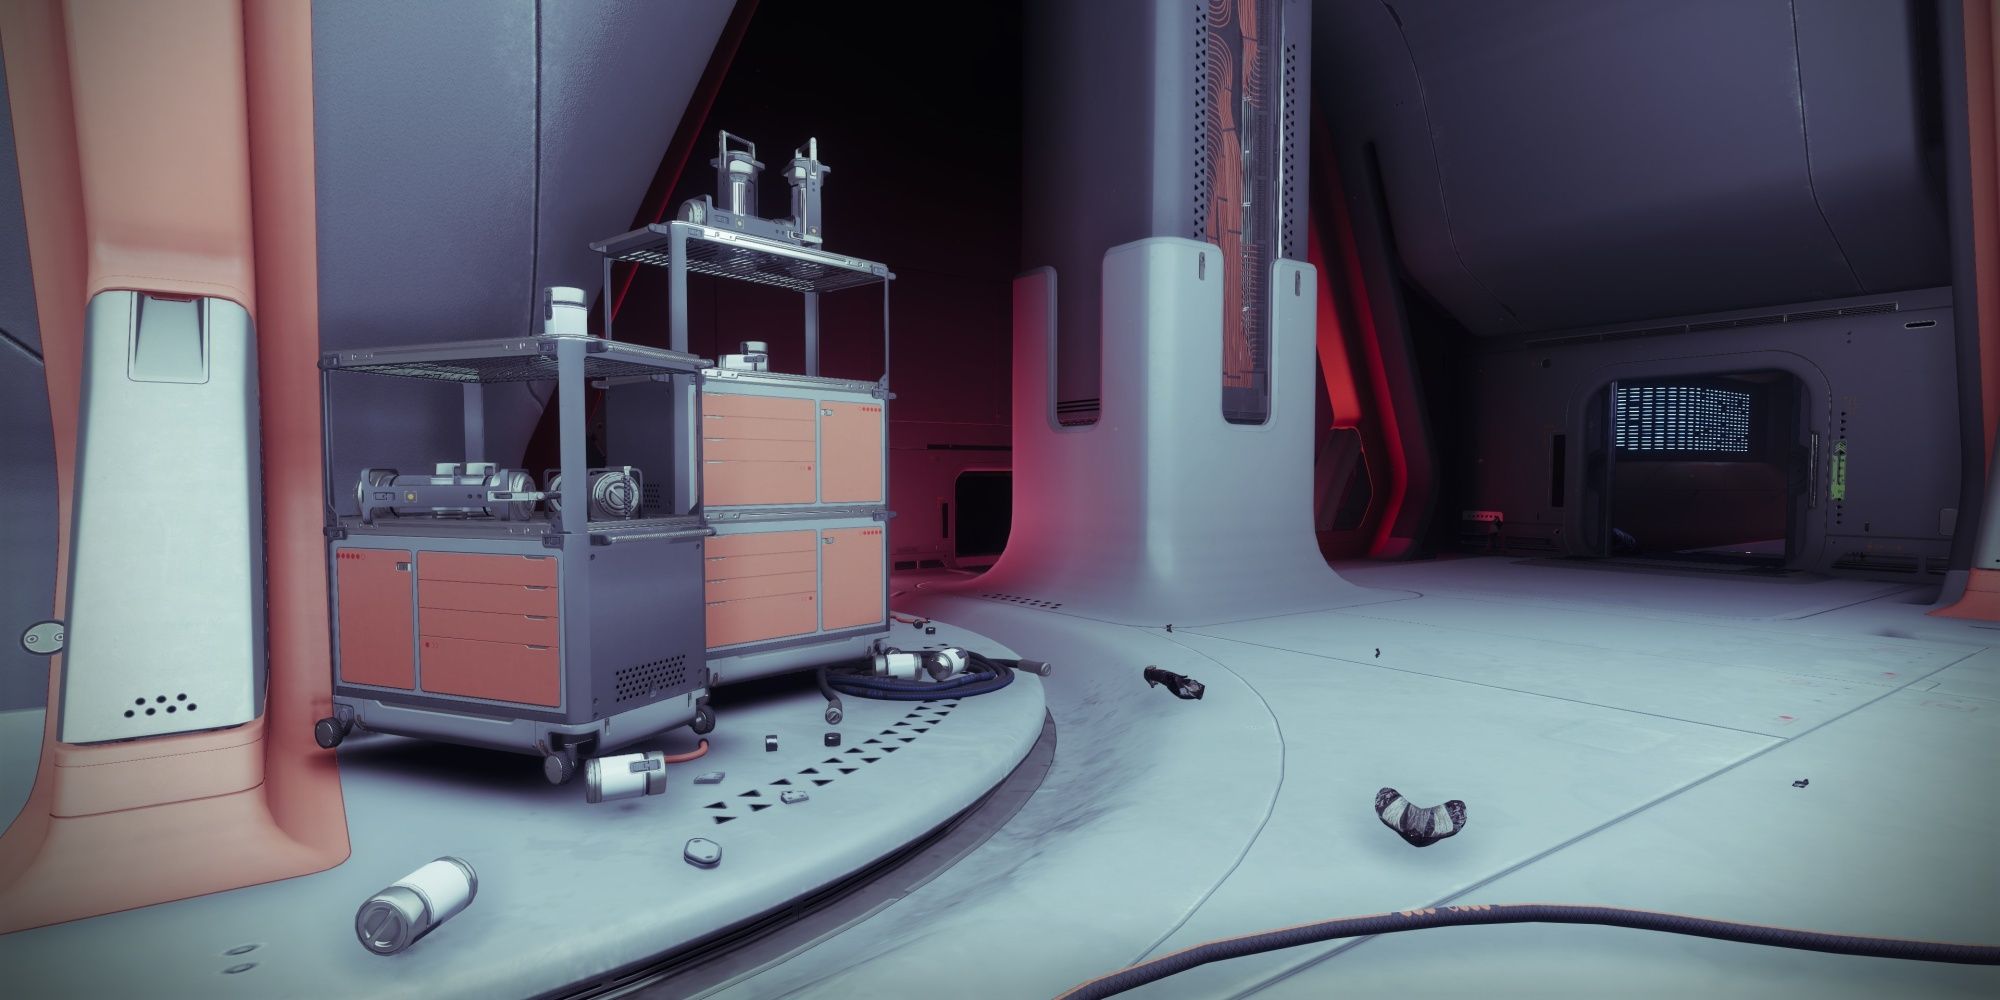
The next room will be housing a few Fallen splicers and the Operator buff, denoted by a red human with a halo around their head. Grab the buff and look for a red panel on the wall. Shooting the panel will open the door beside it. You'll be presented with yet another puzzle, this time requiring you to shoot three different panels with the Operator buff; Scanner isn't involved in this encounter. You'll find the panels in the following locations:
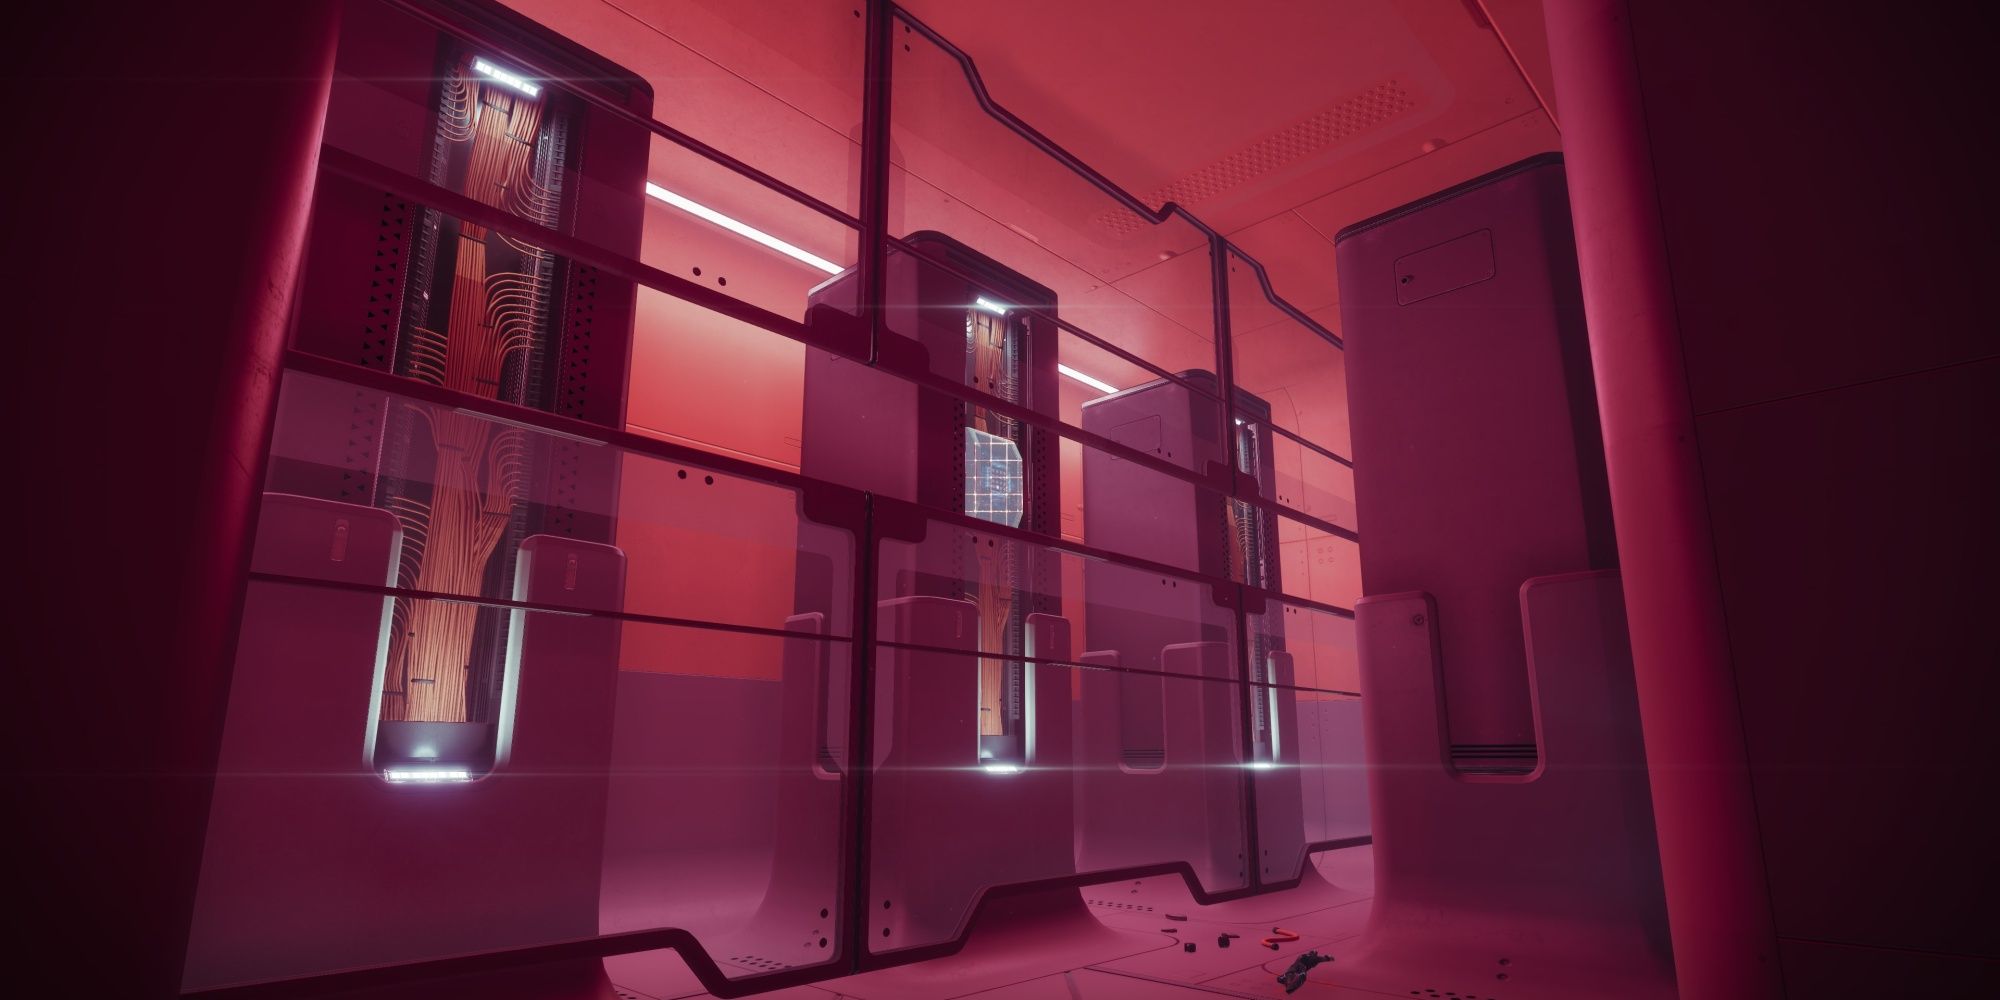
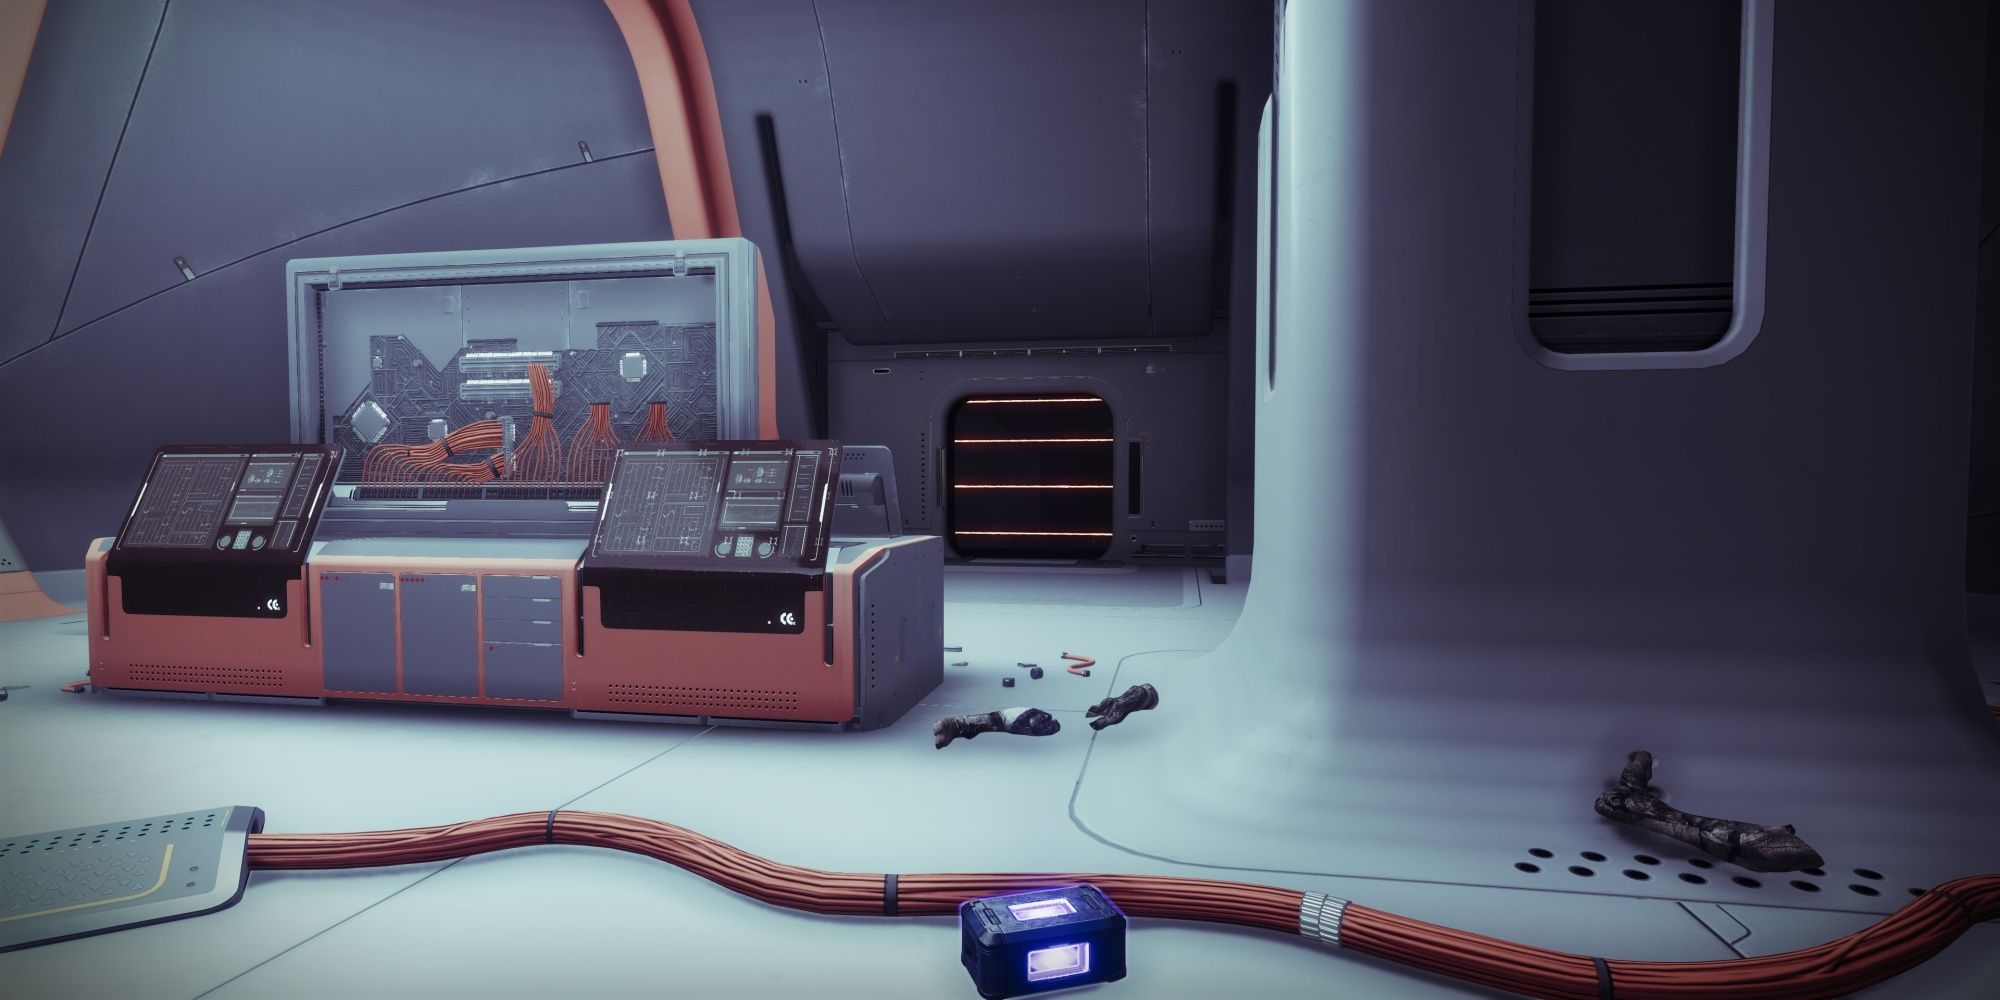
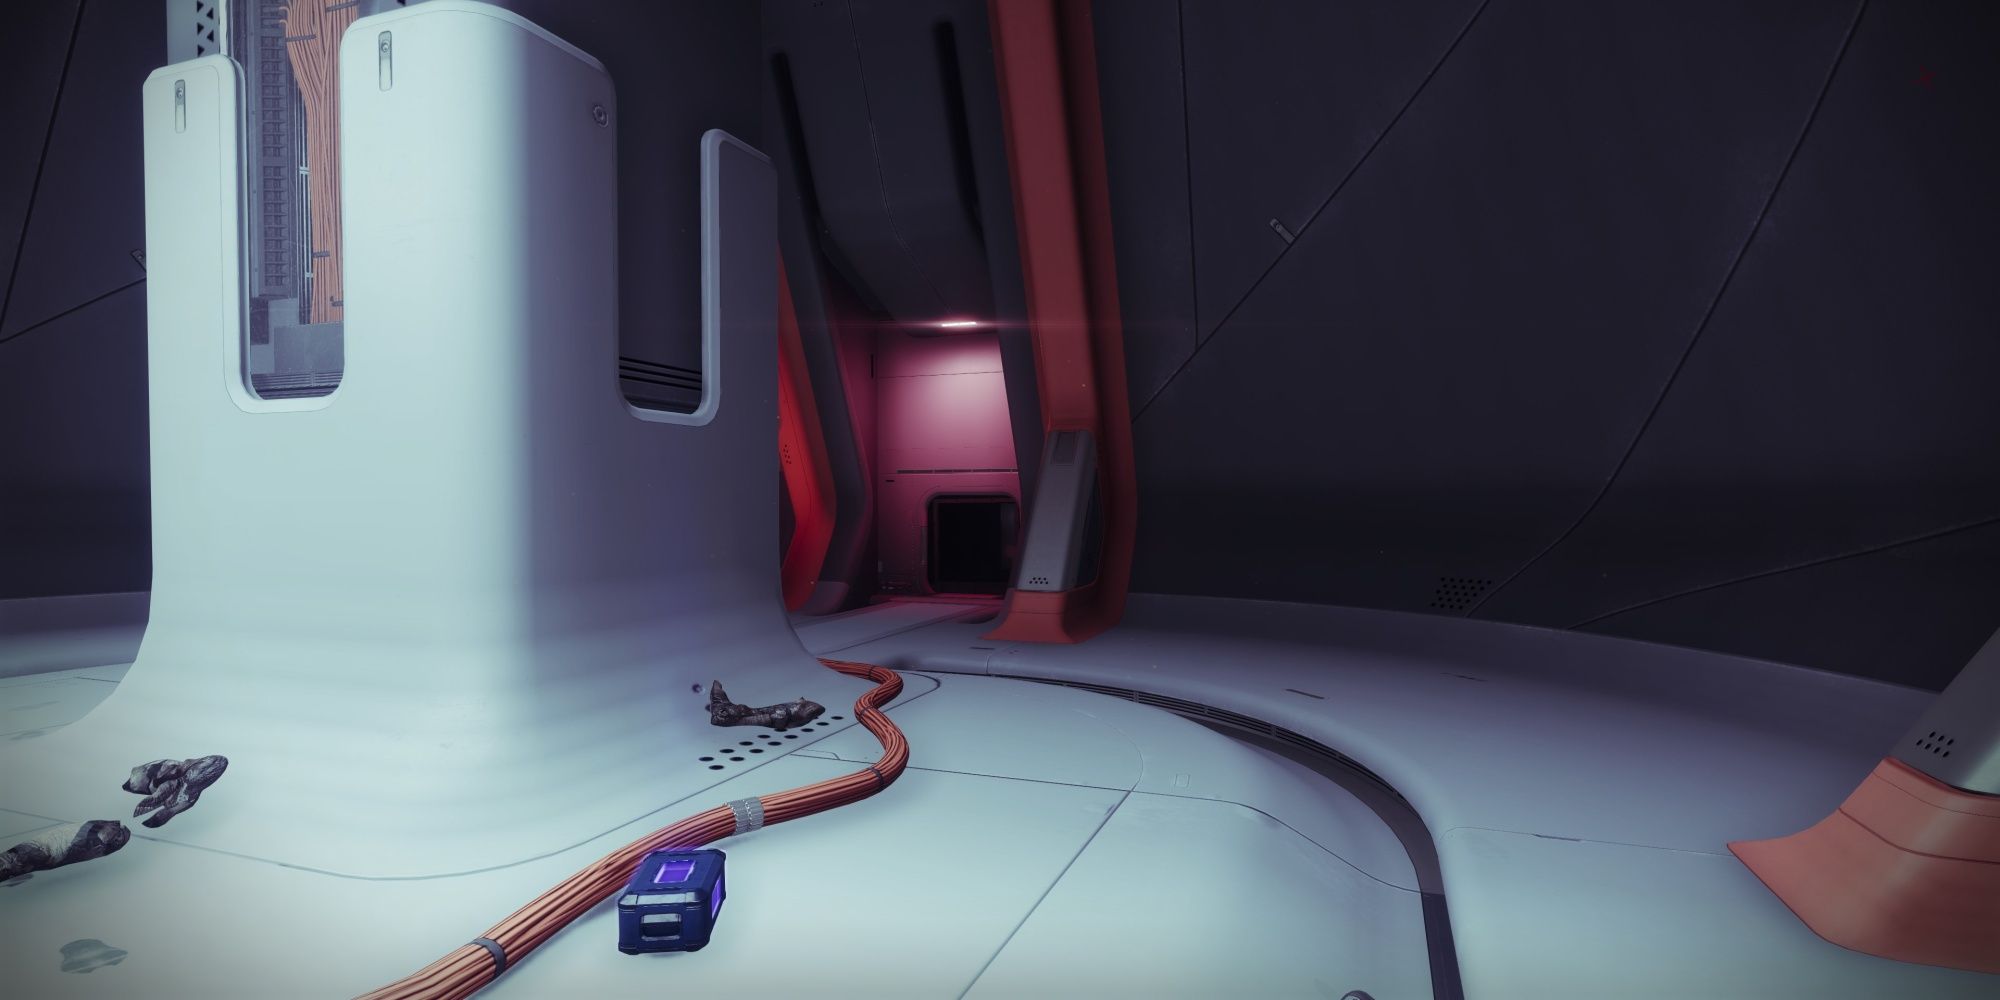
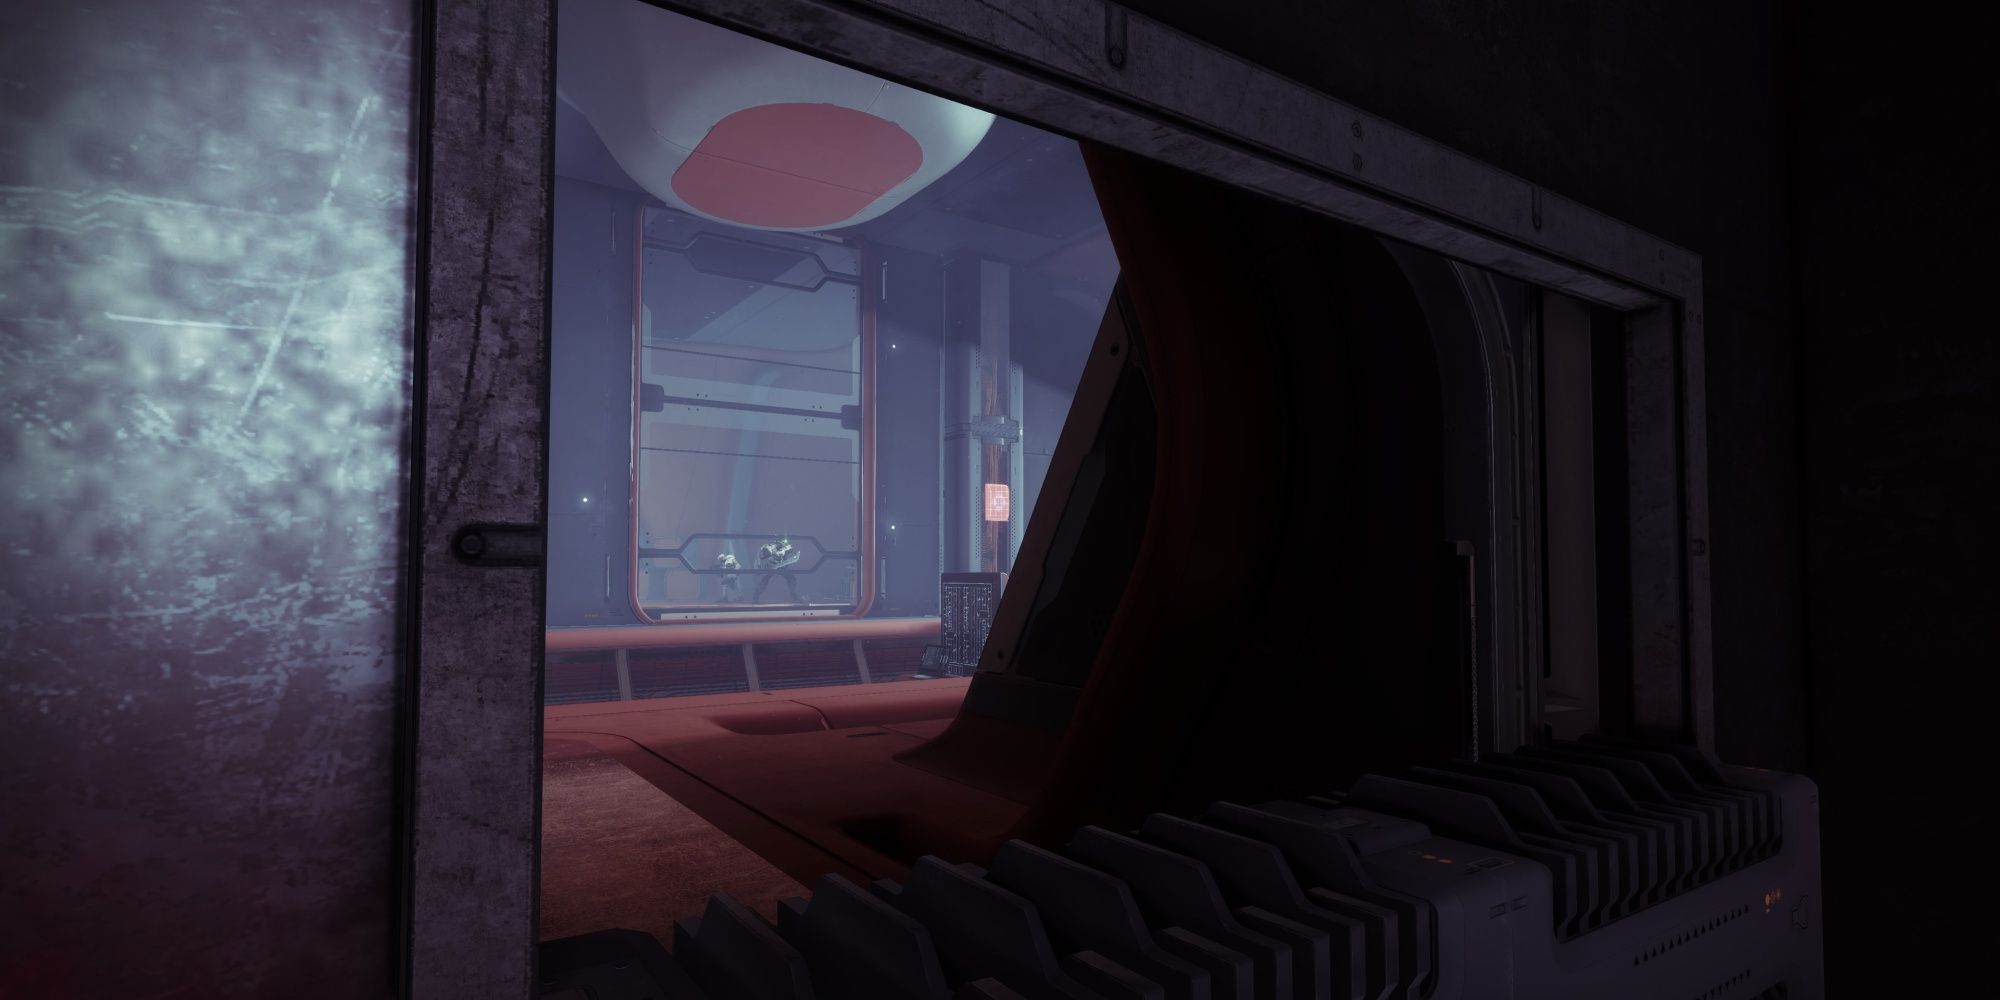
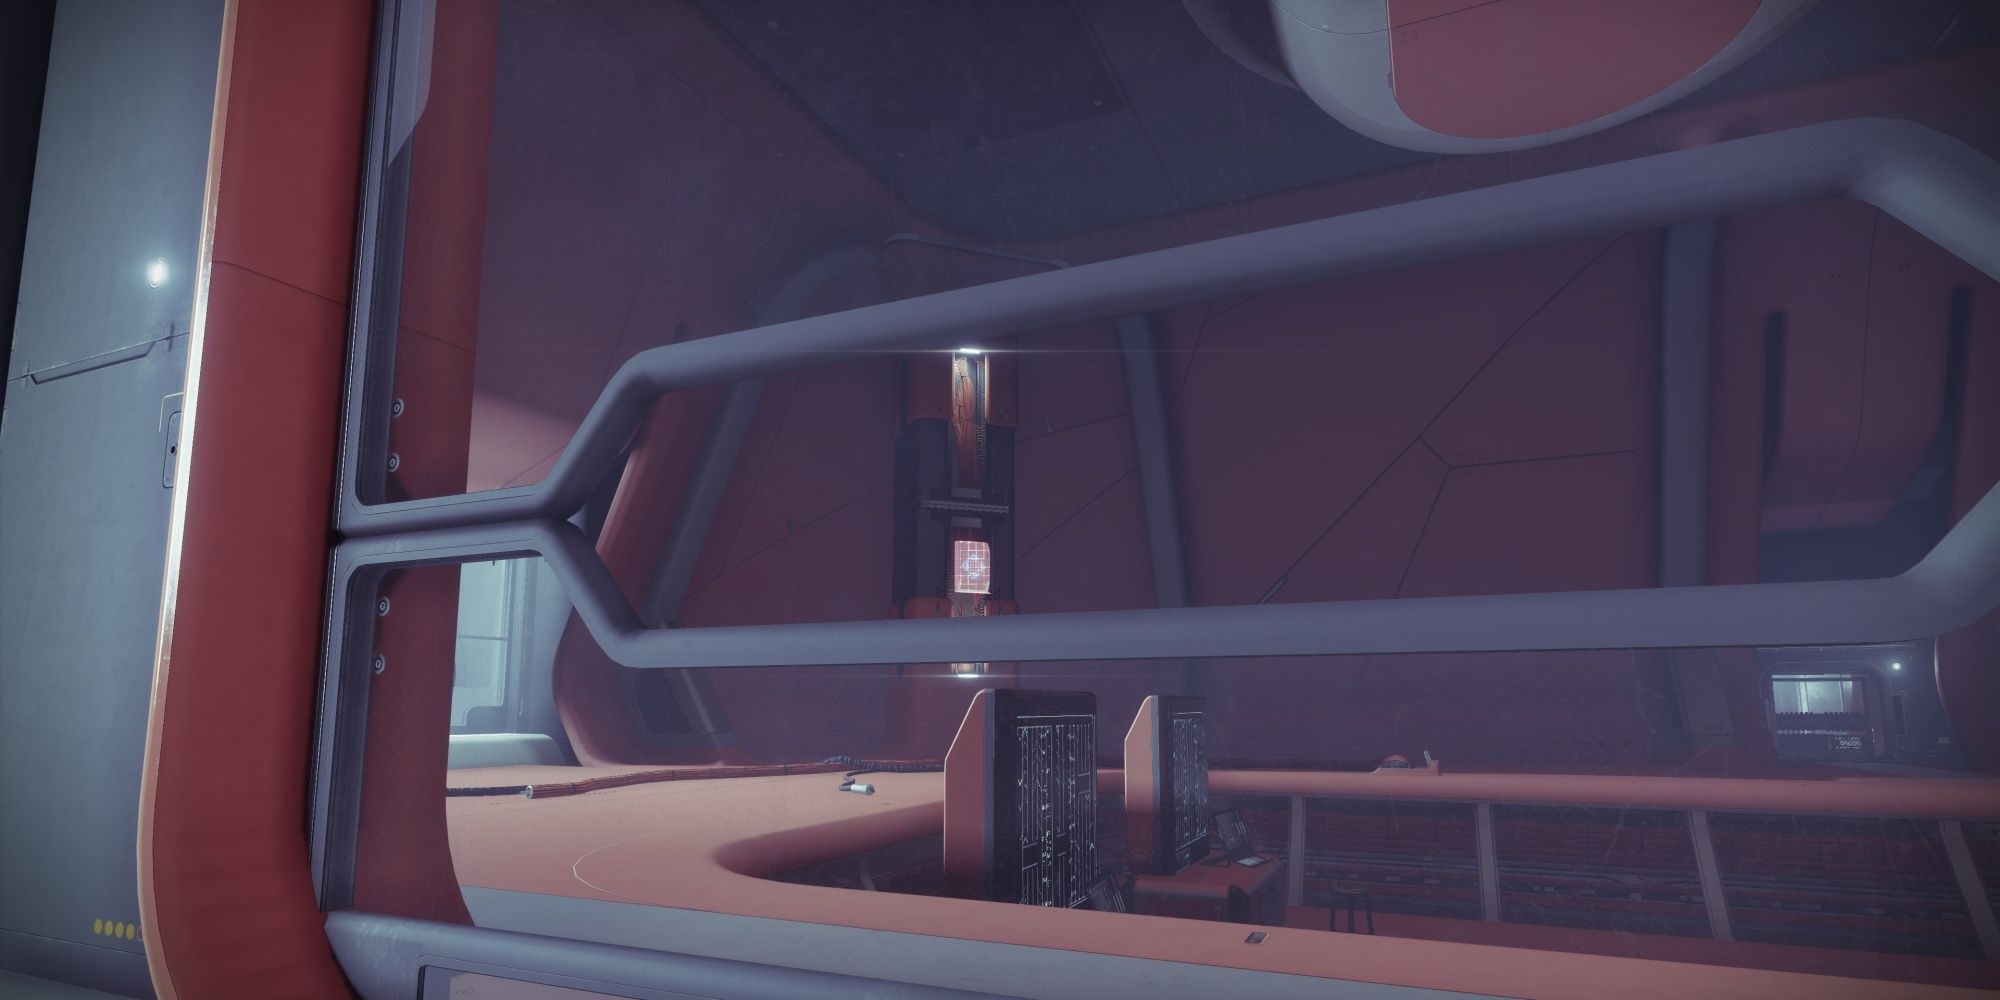
- Enter the red room to your left. The panel is behind a glass slit, mounted in front of a vertical pillar.
- Exit the red room and turn left. Clear out the Hive inside and access the ventilation on your right. You'll have a view into an adjacent room. Shoot the glowing panel in this room.
- Backtrack to the main room. From where you came in, turn right (directly across from the red-lit room) to find a ventilation shaft hiding behind a pillar. Slide through it, clear out the room, and fire the glowing panel from a slit in the window.
There's a lot of backtracking here, so use the enemies on your minimap as a guide on where to go. When you've shot all three panels, backtrack one more time to the main room. A few Hive should spawn and protect the newly-opened exit. Proceed through the corridor and carefully clear out the subsequent room. You'll find multiple Fallen Turrets here, so don't be afraid to use your Heavy or Super—a Rally Flag is right around the corner. Deposit your Operator buff into the Augmentation Terminal to unlock the next room.
Get Captured
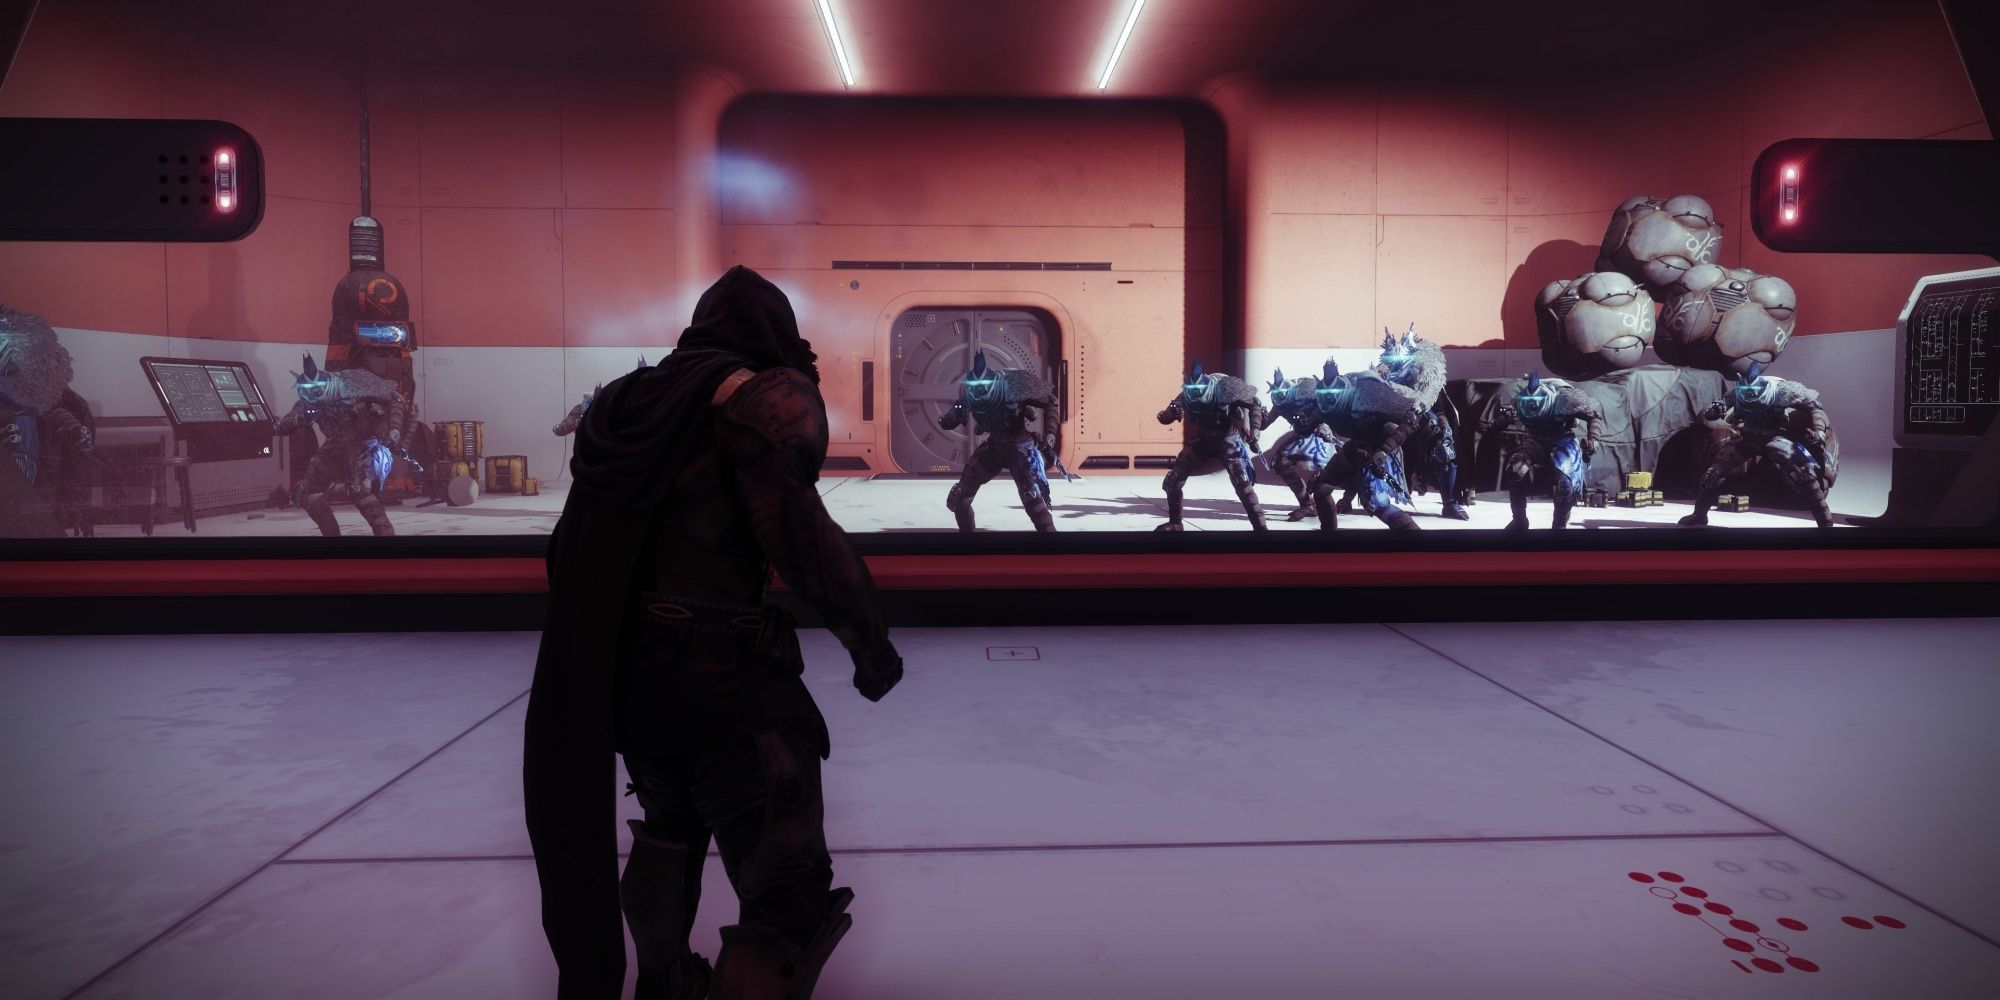
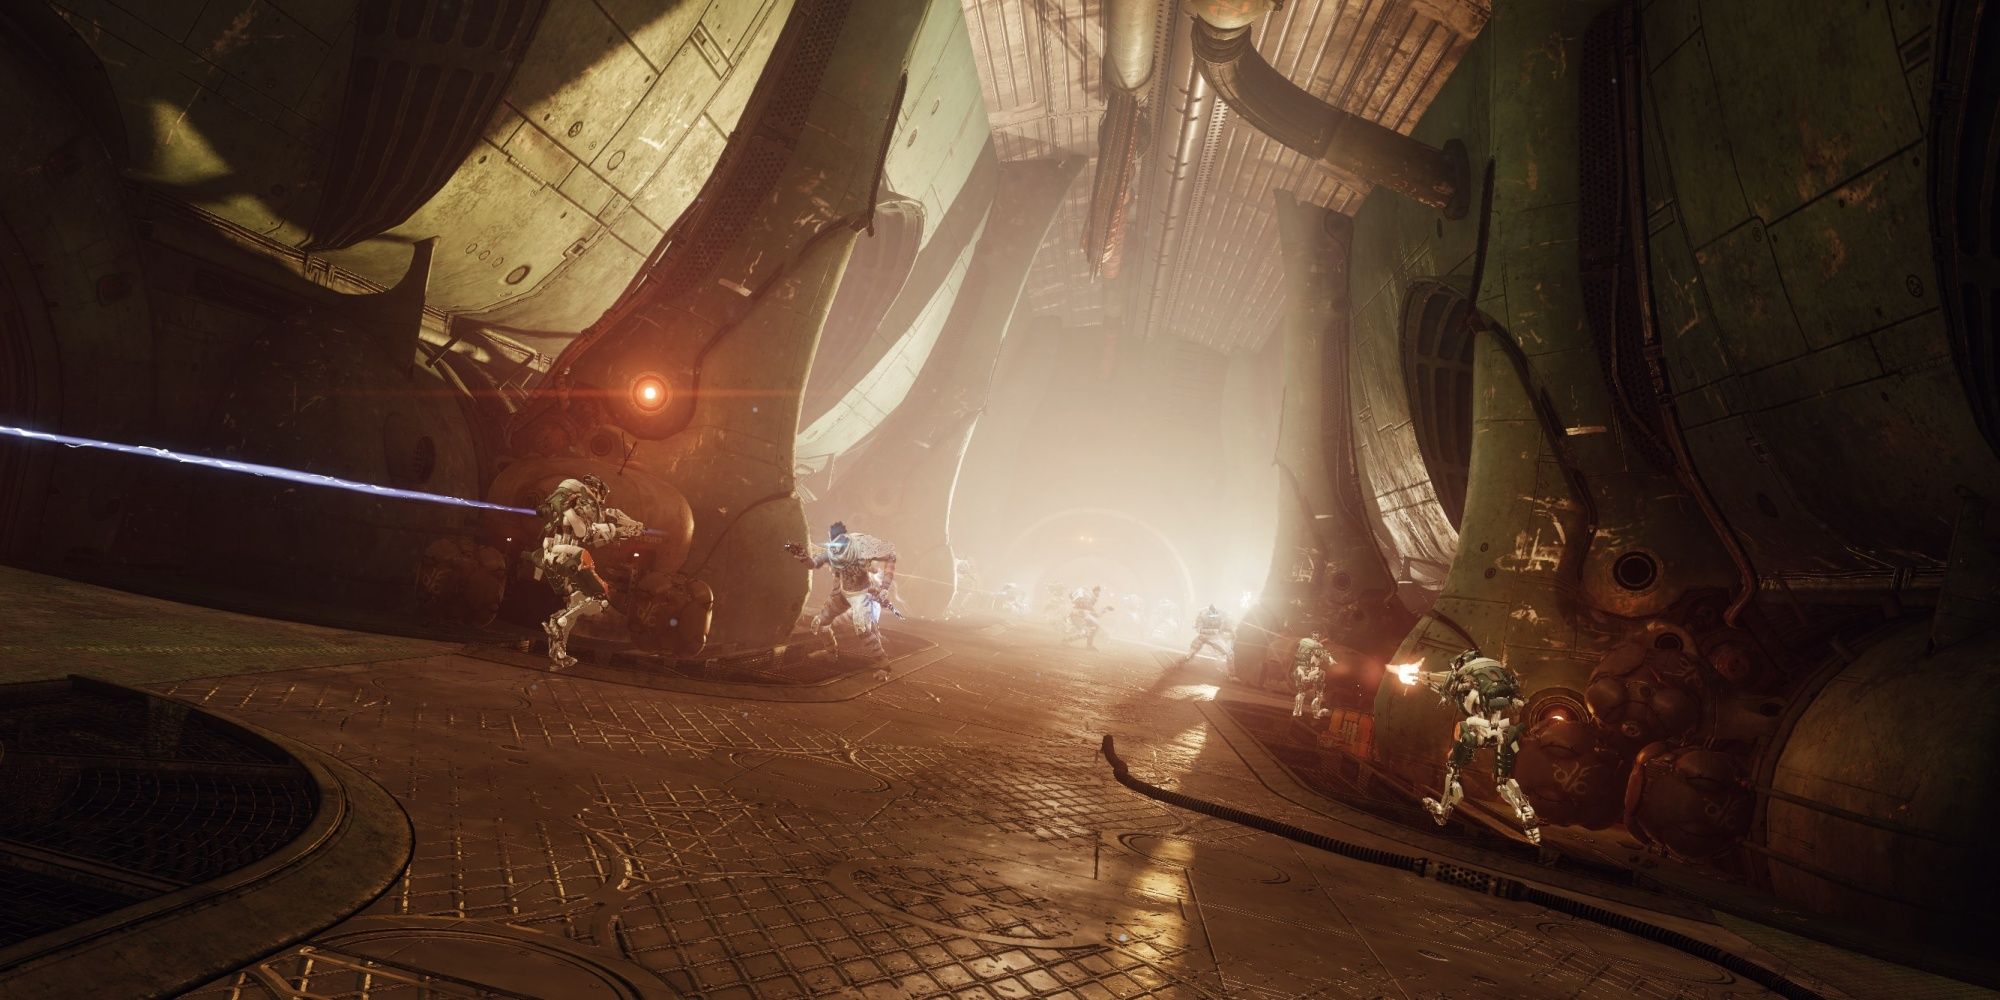
You'll need to get House Salvation's attention and fake your surrender to proceed. Start the encounter by damaging the Ether Tanks clumped together. This will spawn an Ascendant Knight and dozens of House Salvation reinforcements. Damage the Knight until it becomes invincible, then kill all the Fallen that spawn. Despite the objective's name, you don't want to die or reach critical HP here.
Enemies are going to swarm your location here, including the likes of Tracer Shanks and Brigs, mechs that pack some serious firepower. This is the toughest combat encounter in the mission besides the final boss, so don't be afraid to use your Heavy weapon and Super here. Add clear is your ticket out here. Riskrunner, Trinity Ghoul, weapons with Incandescent or Voltshot, and ability-centric builds should shine here. Your biggest issue is going to be survivability. Spec for 100 Resilience and have some means of healing or going invisible.
- Hunters: Use Gunslinger or Arcstrider. Gunslinger has access to Restoration (Healing Grenades), and Arcstriders can use the Assassin's Cowl Exotic to heal after each melee kill.
- Warlocks: Voidwalker with Devour is absurdly strong here. If you dislike playing Voidwalker, Shadebinder with Bleak Watcher turrets is a great alternative.
- Titans: Sunbreaker can spam Sunspots, buffing you with faster ability regeneration and Restoration.
Defeating all the Fallen will grant access to a lower floor within the space station. The Fallen will ambush you here and demand you surrender. Give up your weapons and let the Servitor teleport you onto their Ketch. Don't worry, you'll get your weapons back in a few seconds.
Escape The Ketch
Elsie's plan worked. The Fallen teleported you to their Ketch, so now is a perfect time to reclaim your guns and escape. Hold the interact key to reclaim your weapons and break free of your jail cell. Kill the Fallen Captain and fight your way past the prison cells. You can interact with a terminal to unlock all the jail cells, releasing six Exo frames to assist your escape. Fight alongside the Exos to reach the bow of the ship. Beware of the Fallen turrets as you do this.
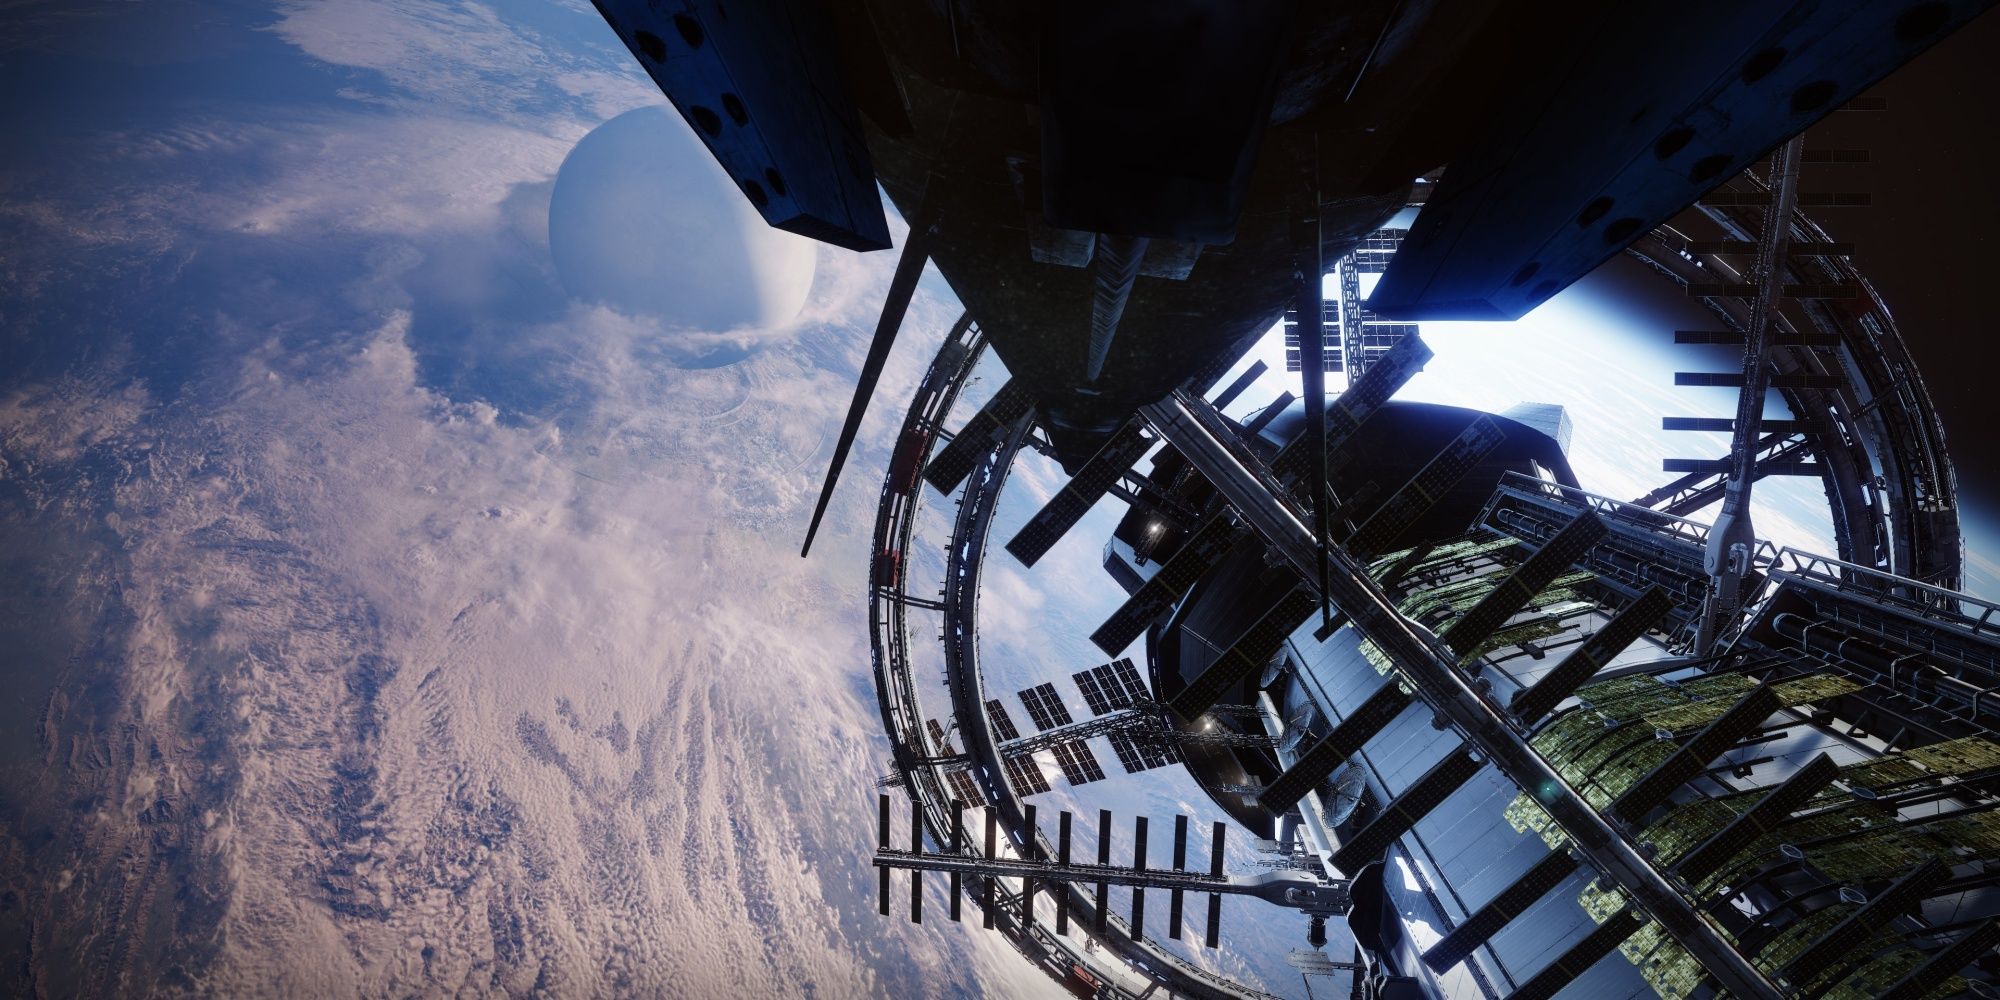
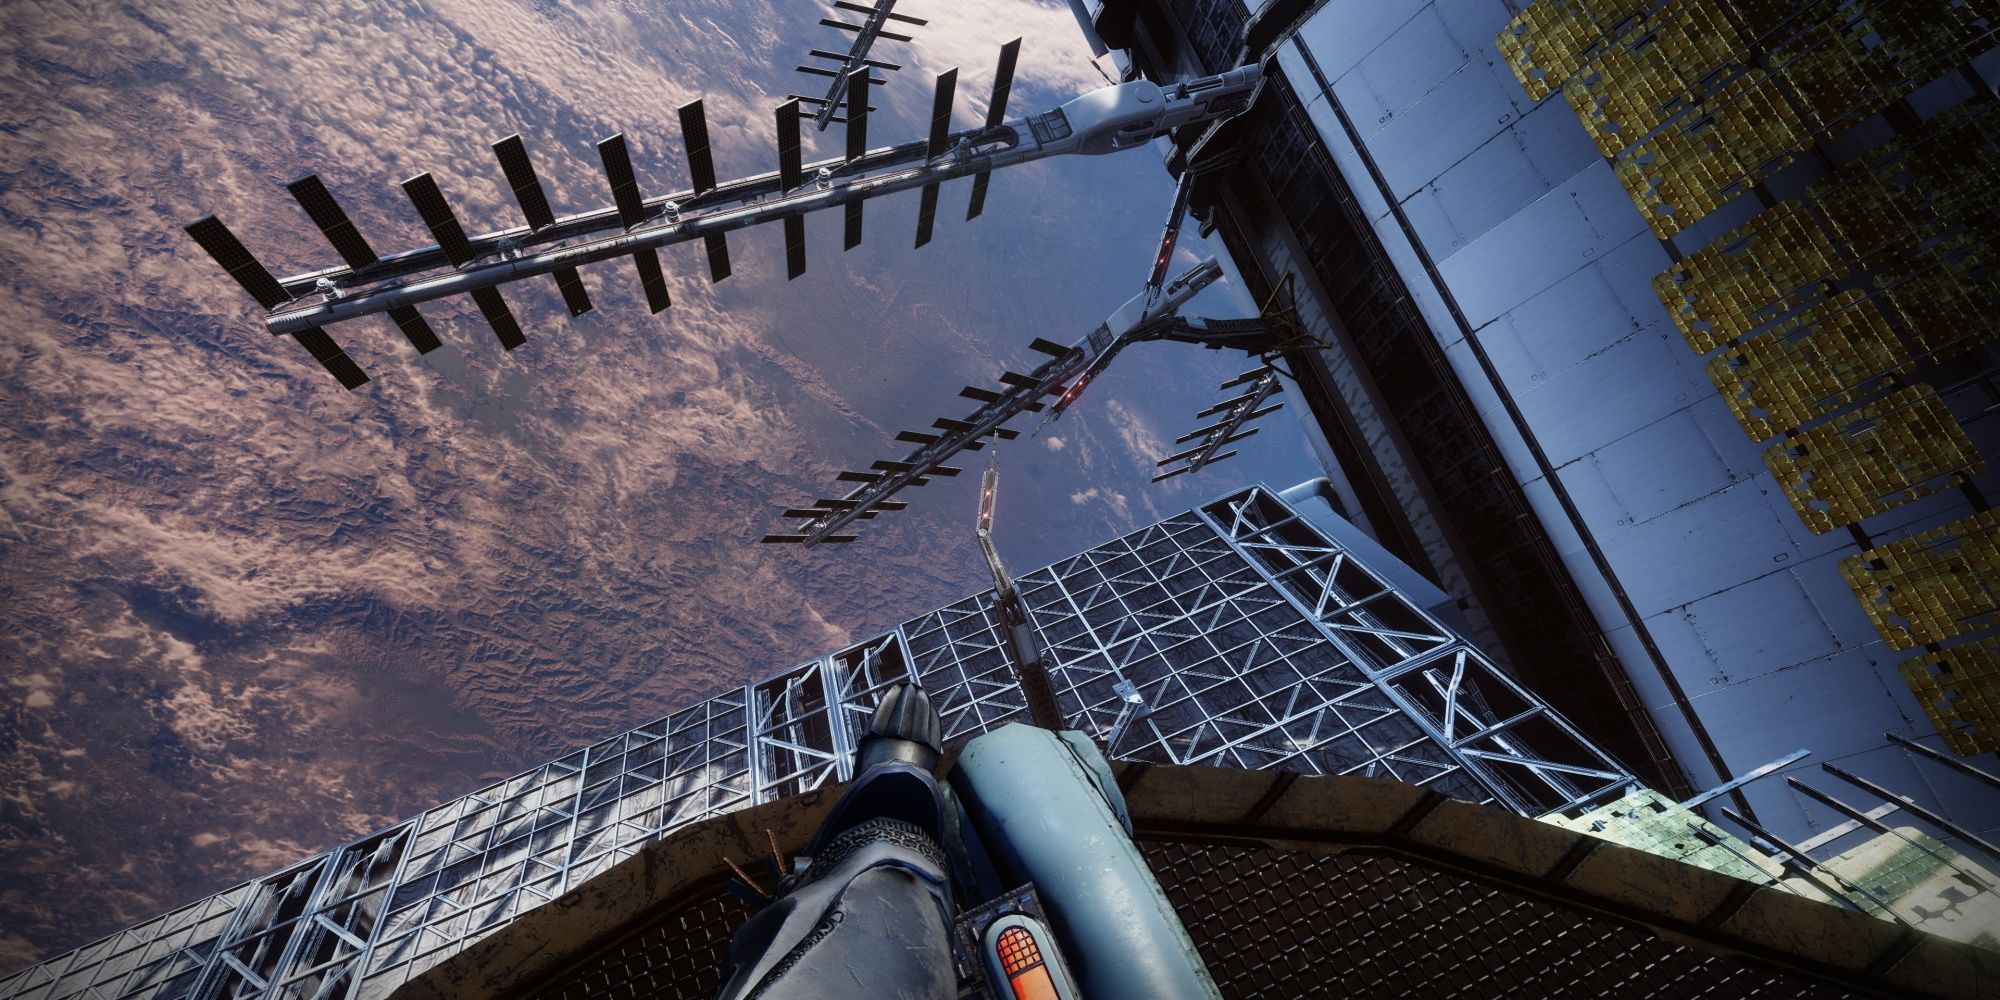
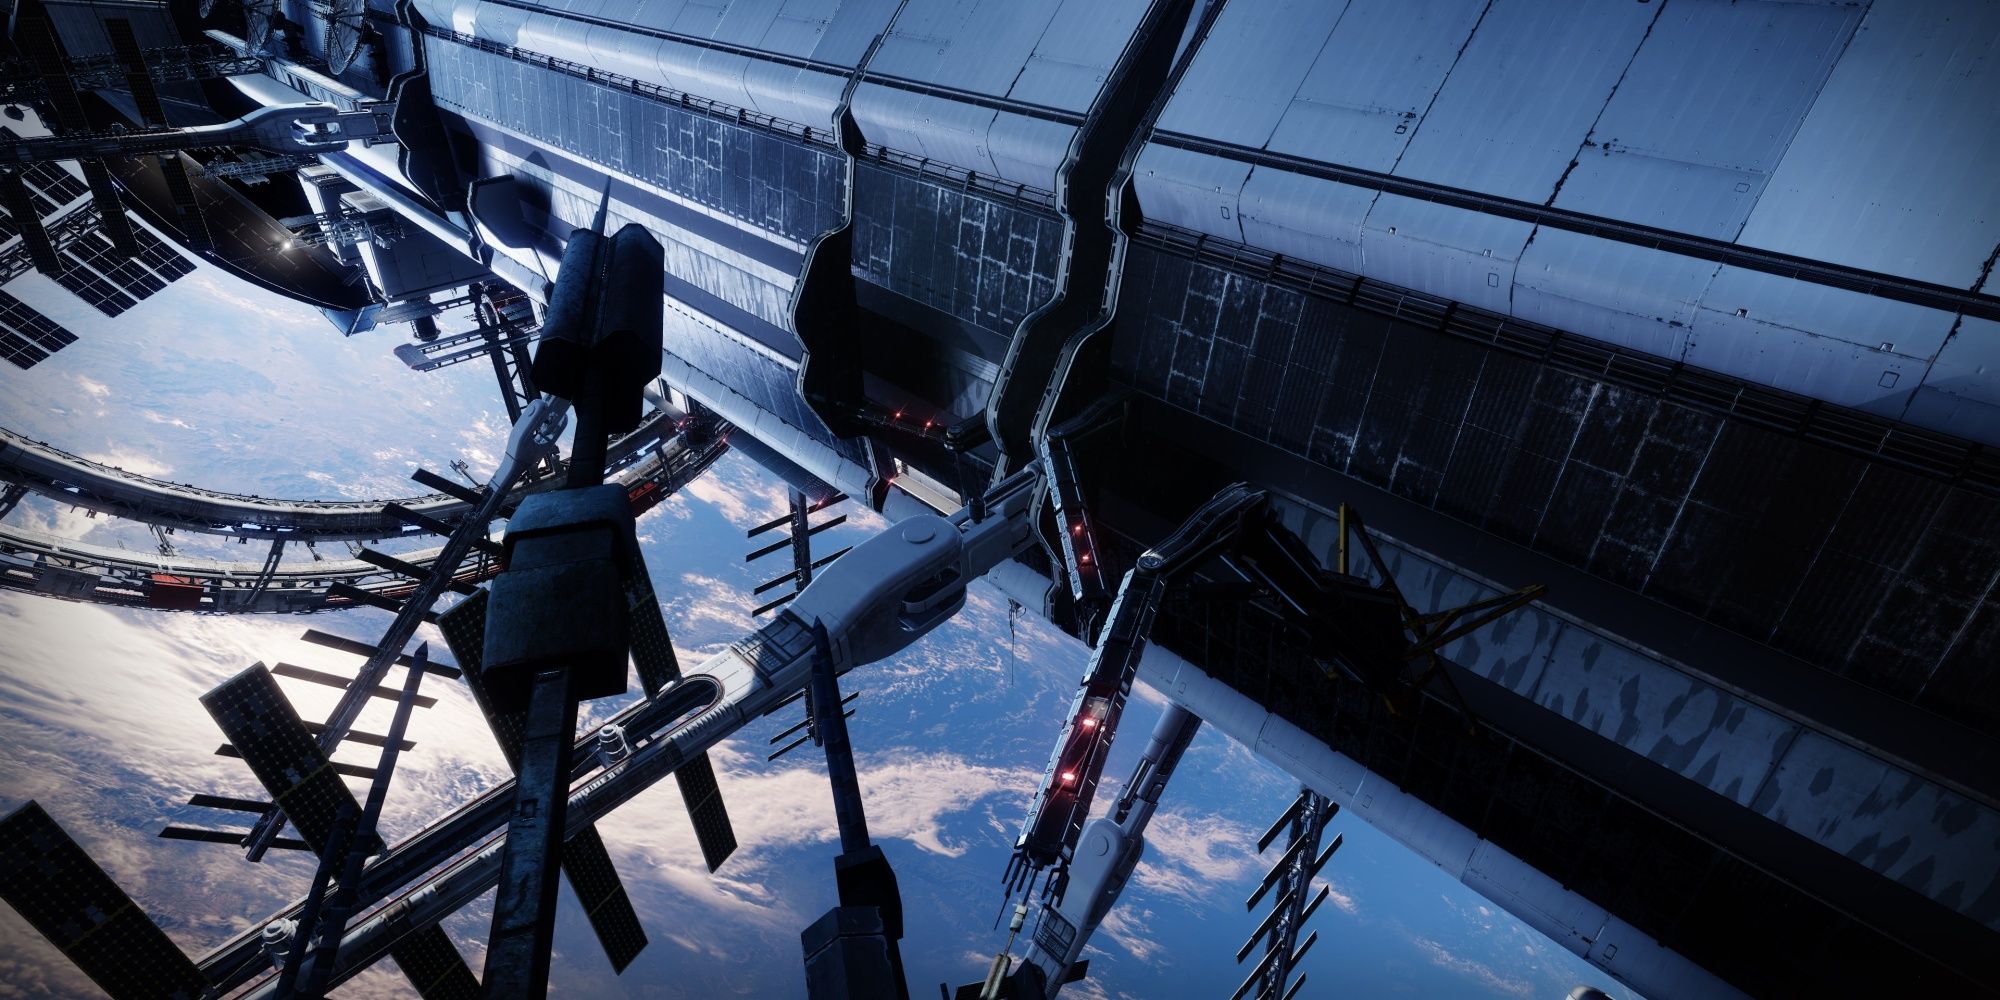
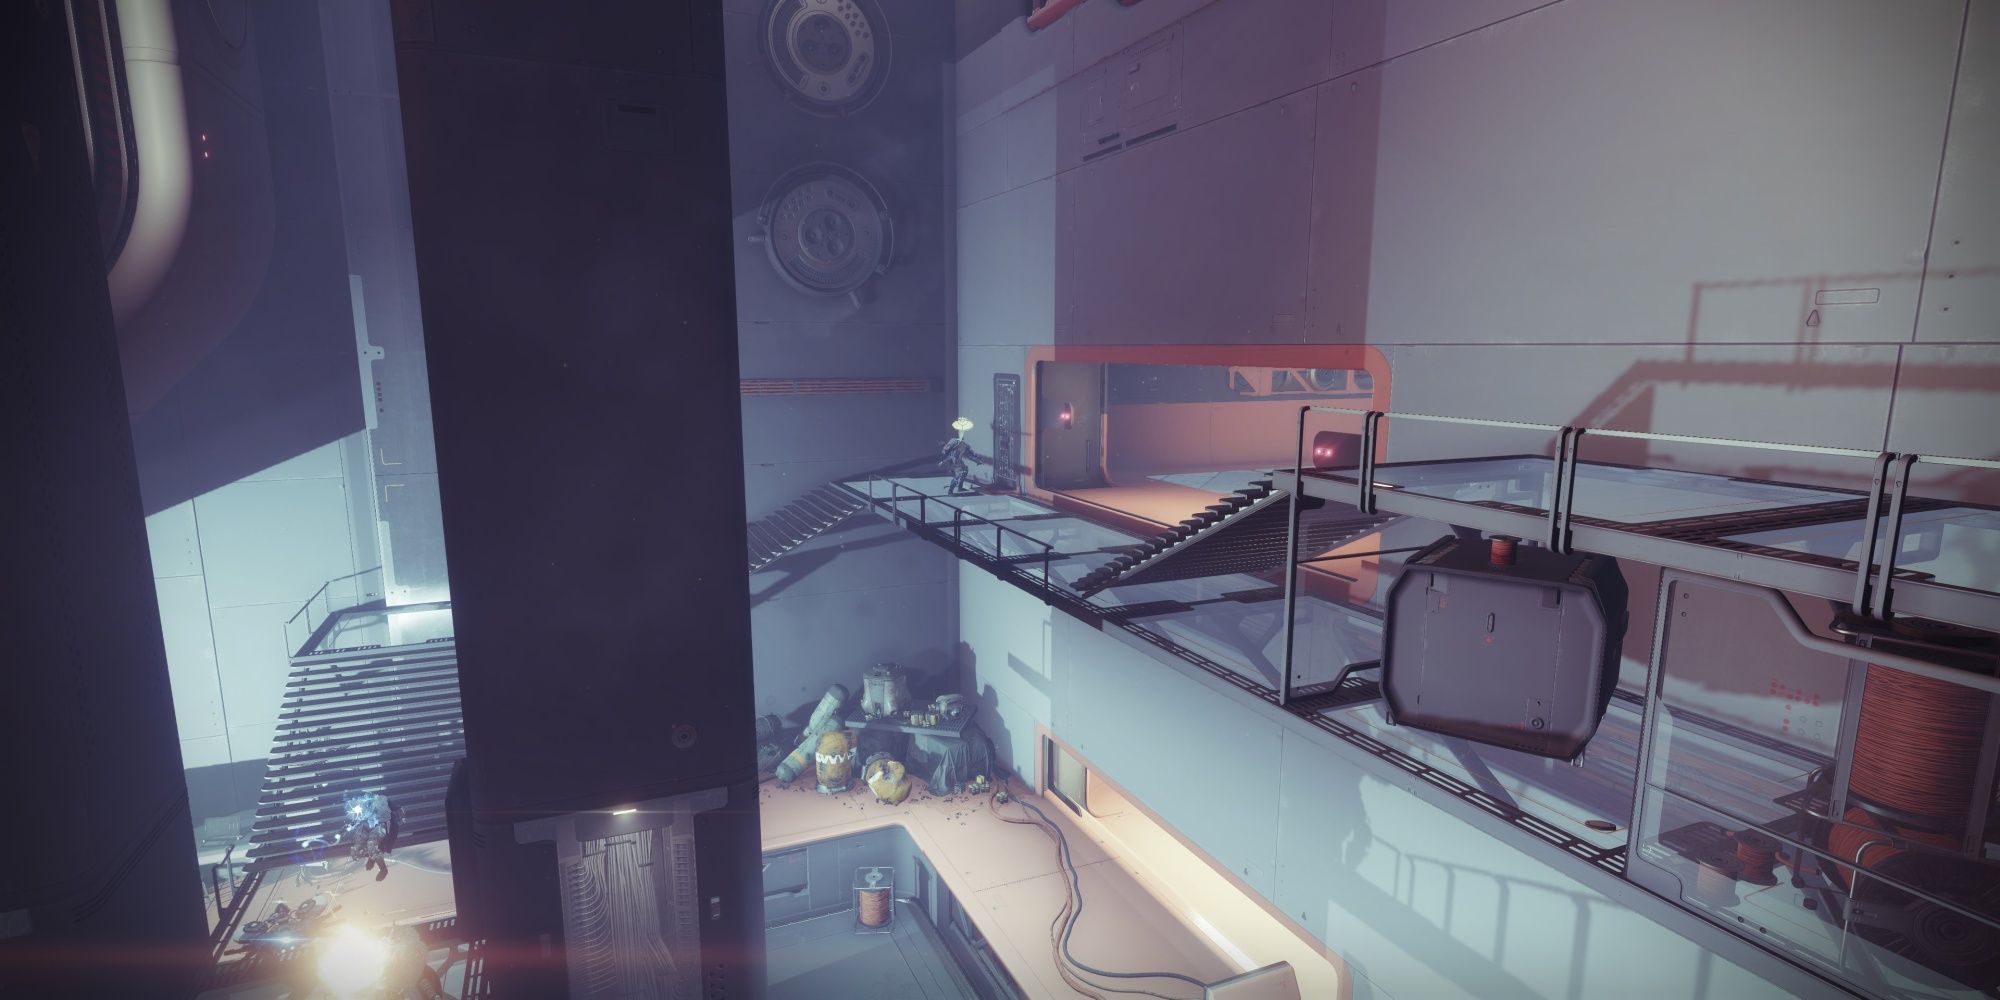
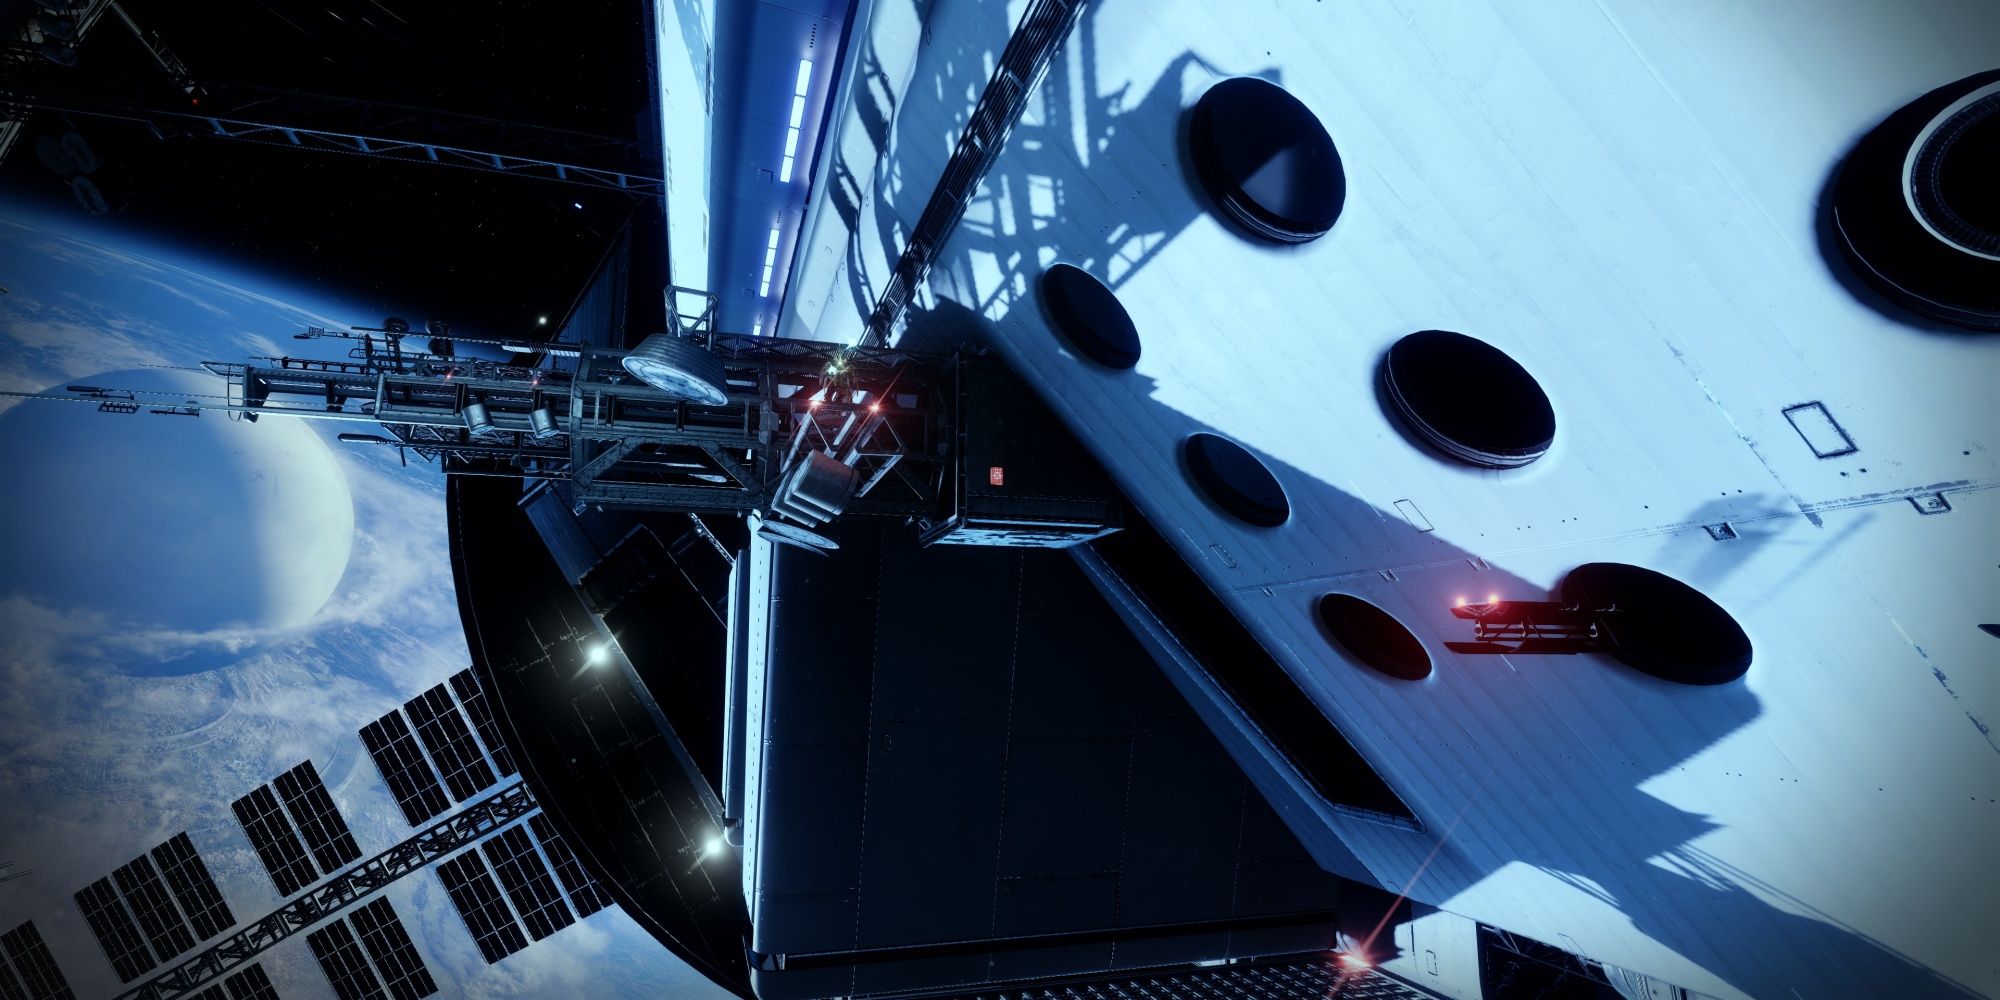
Seraph Station is located directly below the Ketch. Jump off the bow of the ship toward the space station platforms below. Use the red lights on the station's platforms as a guide on where to go. You'll find a small band of Hive and Fallen guarding the outskirts of the ship. Proceeding forward is impossible due to a massive gap. To bridge that gap, you'll need to use the Operator buff to shoot three panels on the space station that extend additional jumping platforms. The panels are in the following locations:
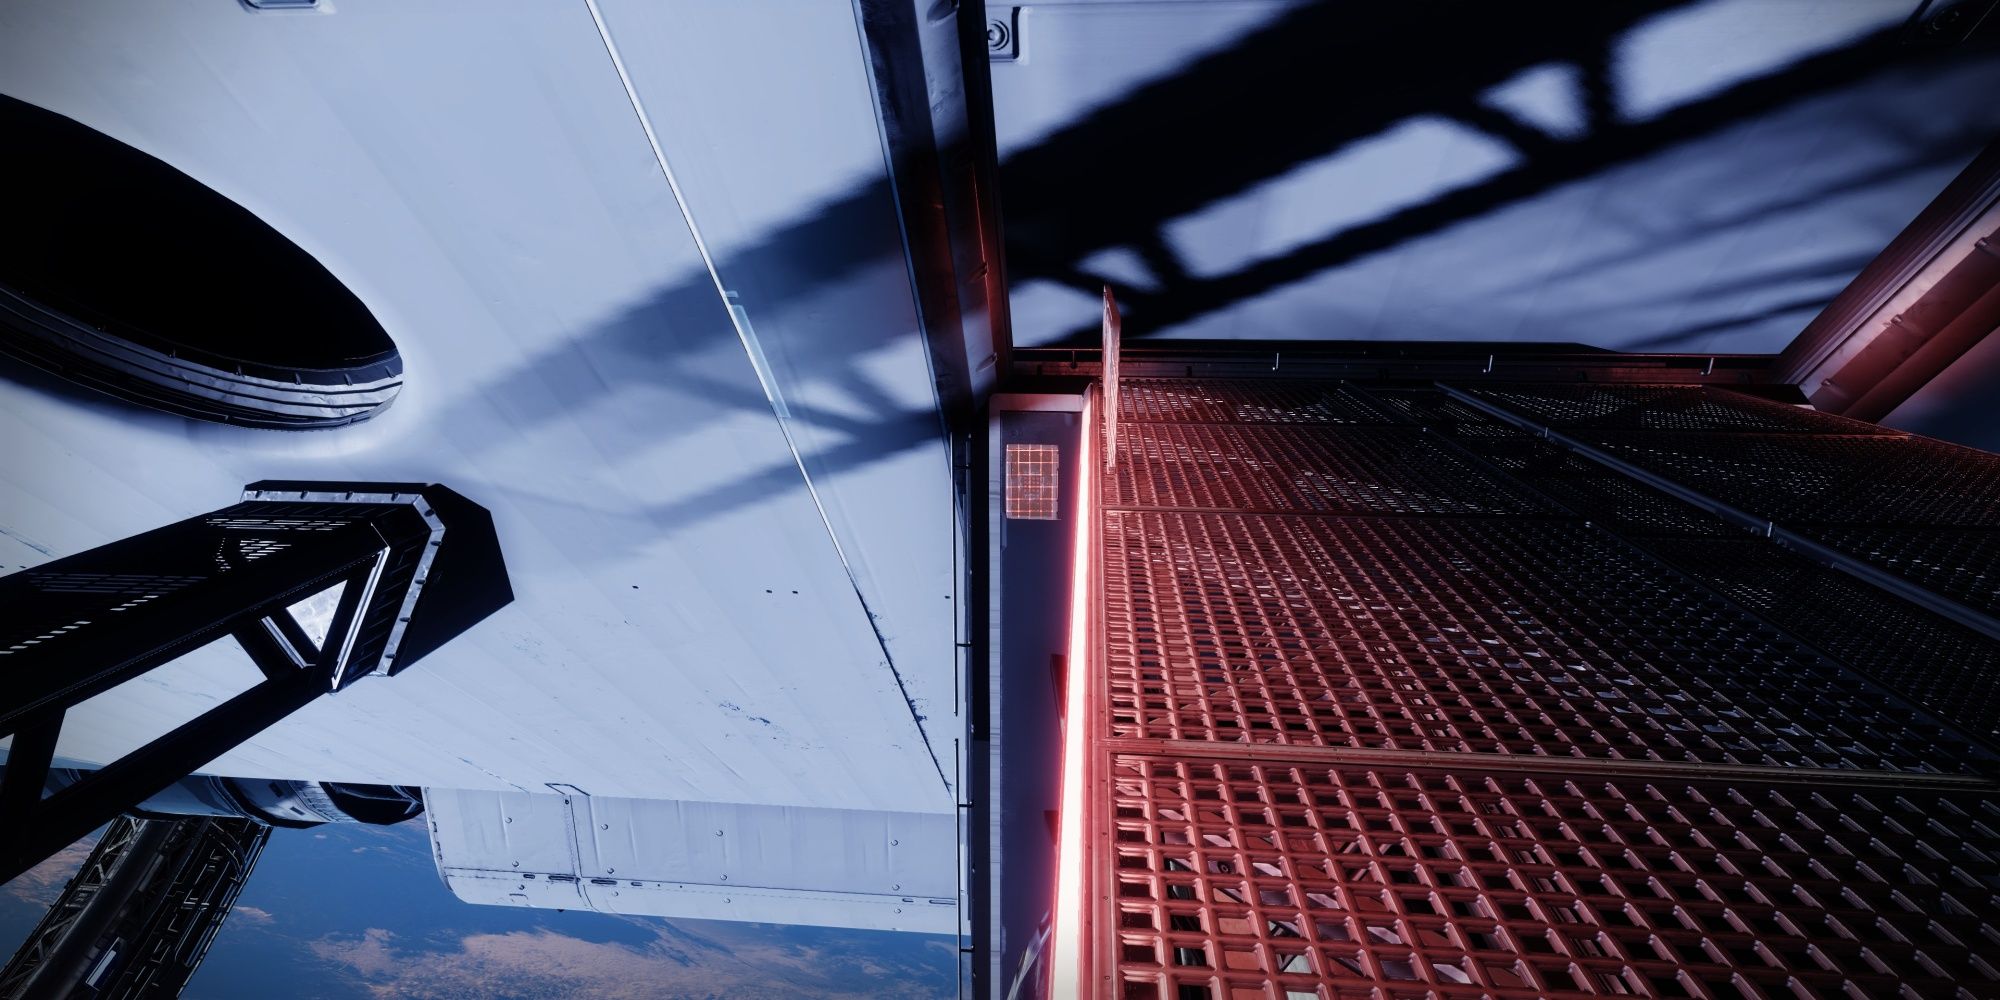
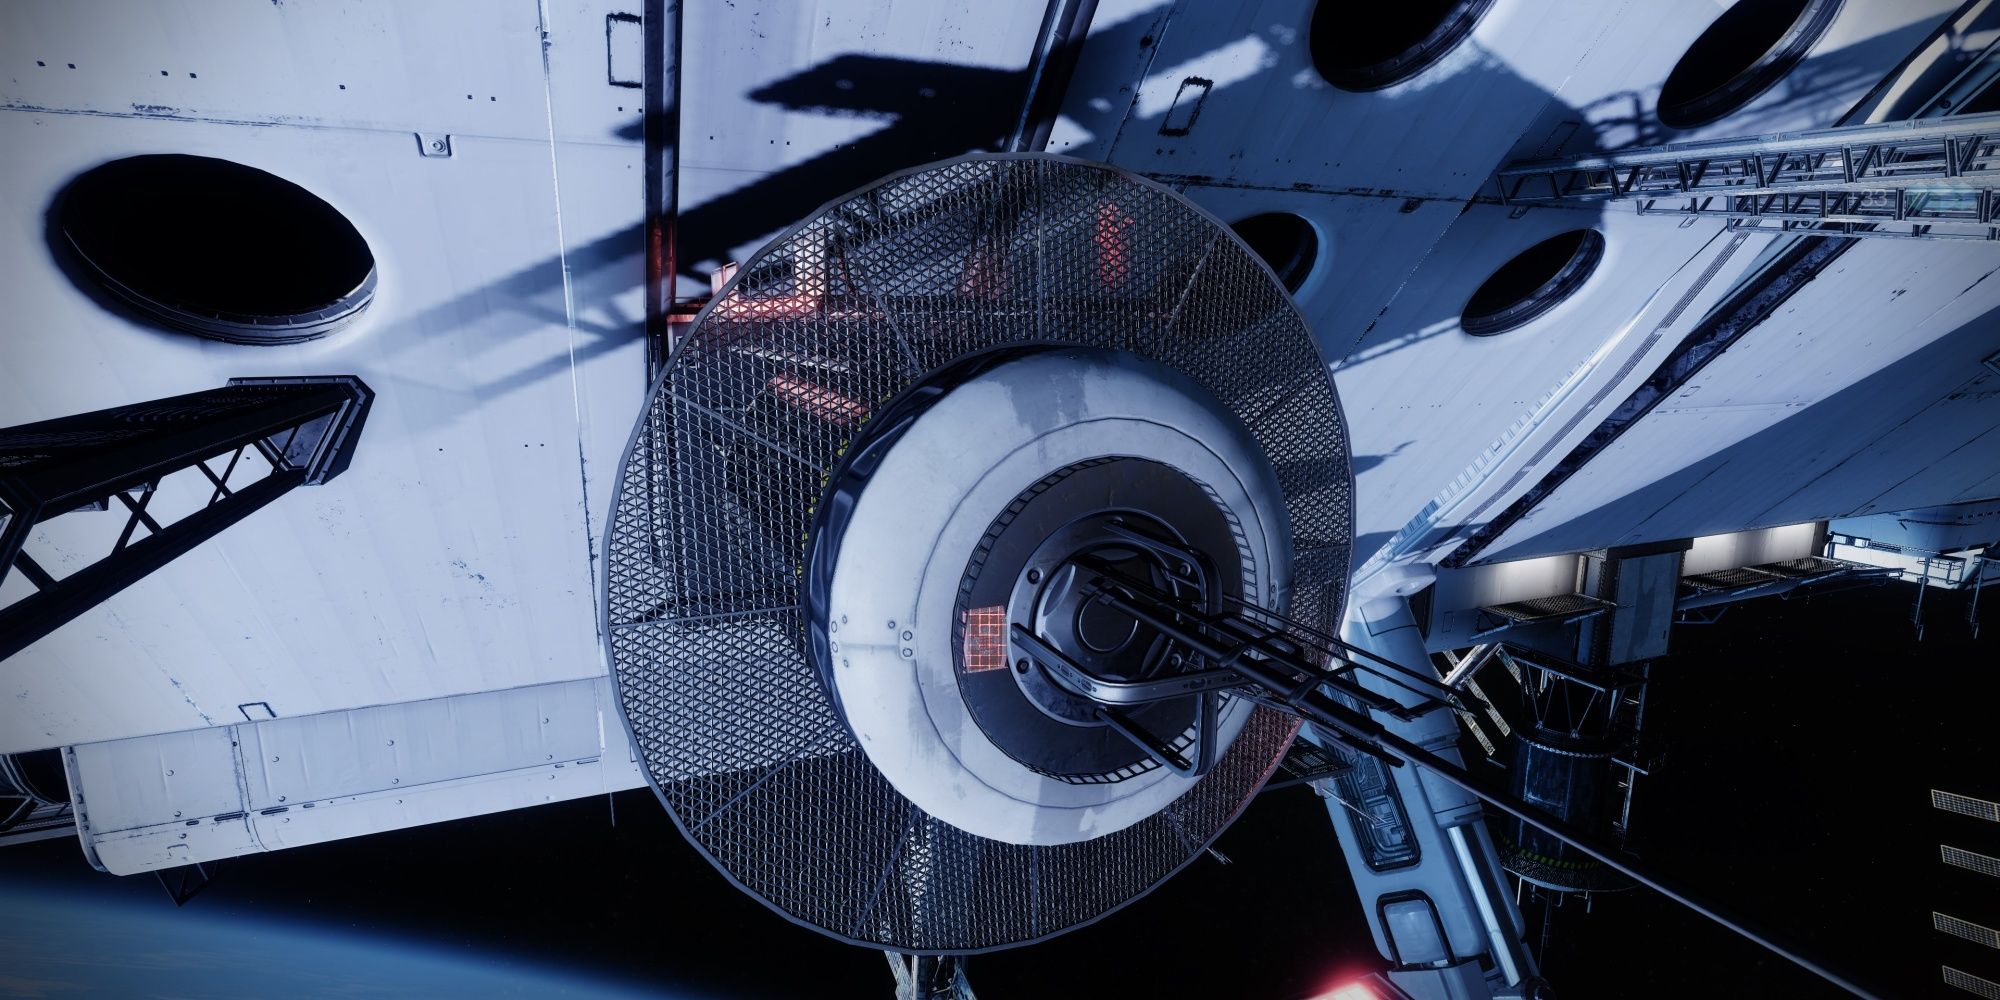
- Located on the wall of the space station right beside the Operator Splicer you just killed.
- Jump to the square platform right behind the last panel. Face the platform you were previously on to find the panel.
- Look slightly to your left and face the wall of the space station. This panel is to the right of the Hive Knight that's been shooting at you this entire time.
With all three platforms extended, make your way to the top of the space station. Kill the Hive units protecting the decompression chamber and head inside. That Ascendant Knight you fought earlier will spawn again, locking you inside a small room. Kill the Knight to lift the lockdown. We recommend using your Super and Heavy to kill the miniboss as fast as possible. The second that Knight dies, all of its reinforcements will despawn.
Use The Scanner And Operator Protocols To Access The Warsat Command Nexus
You're almost done with the mission. Two puzzles remain before facing the final boss, but these are fortunately quite easy. Kill the Operator Splicer and steal its buff. You'll want to shoot the two panels at the center of the room, mounted on pillars opposite of one another. This will open two side rooms. One of these side rooms has a Scanner Splicer. Deposit your buff at an Augmentation Terminal and take the Scanner buff. This will reveal the three terminals you need to hack:
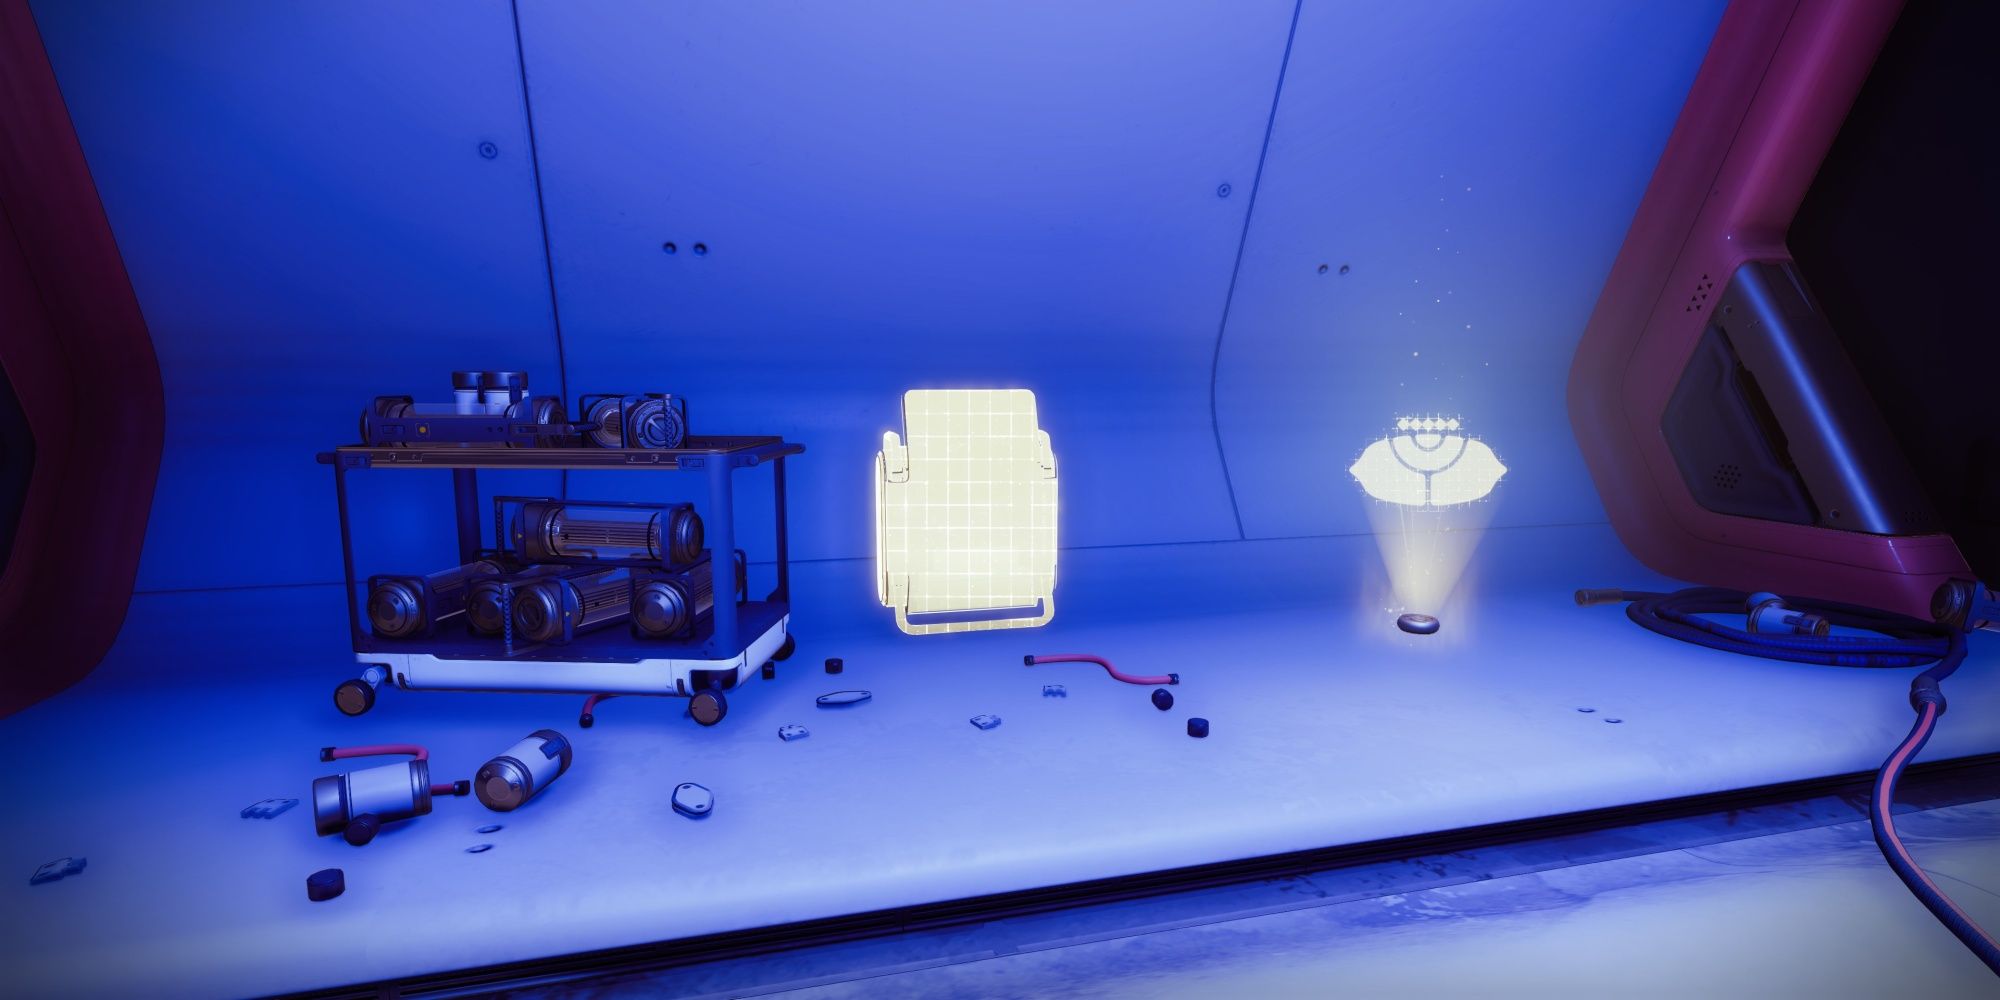
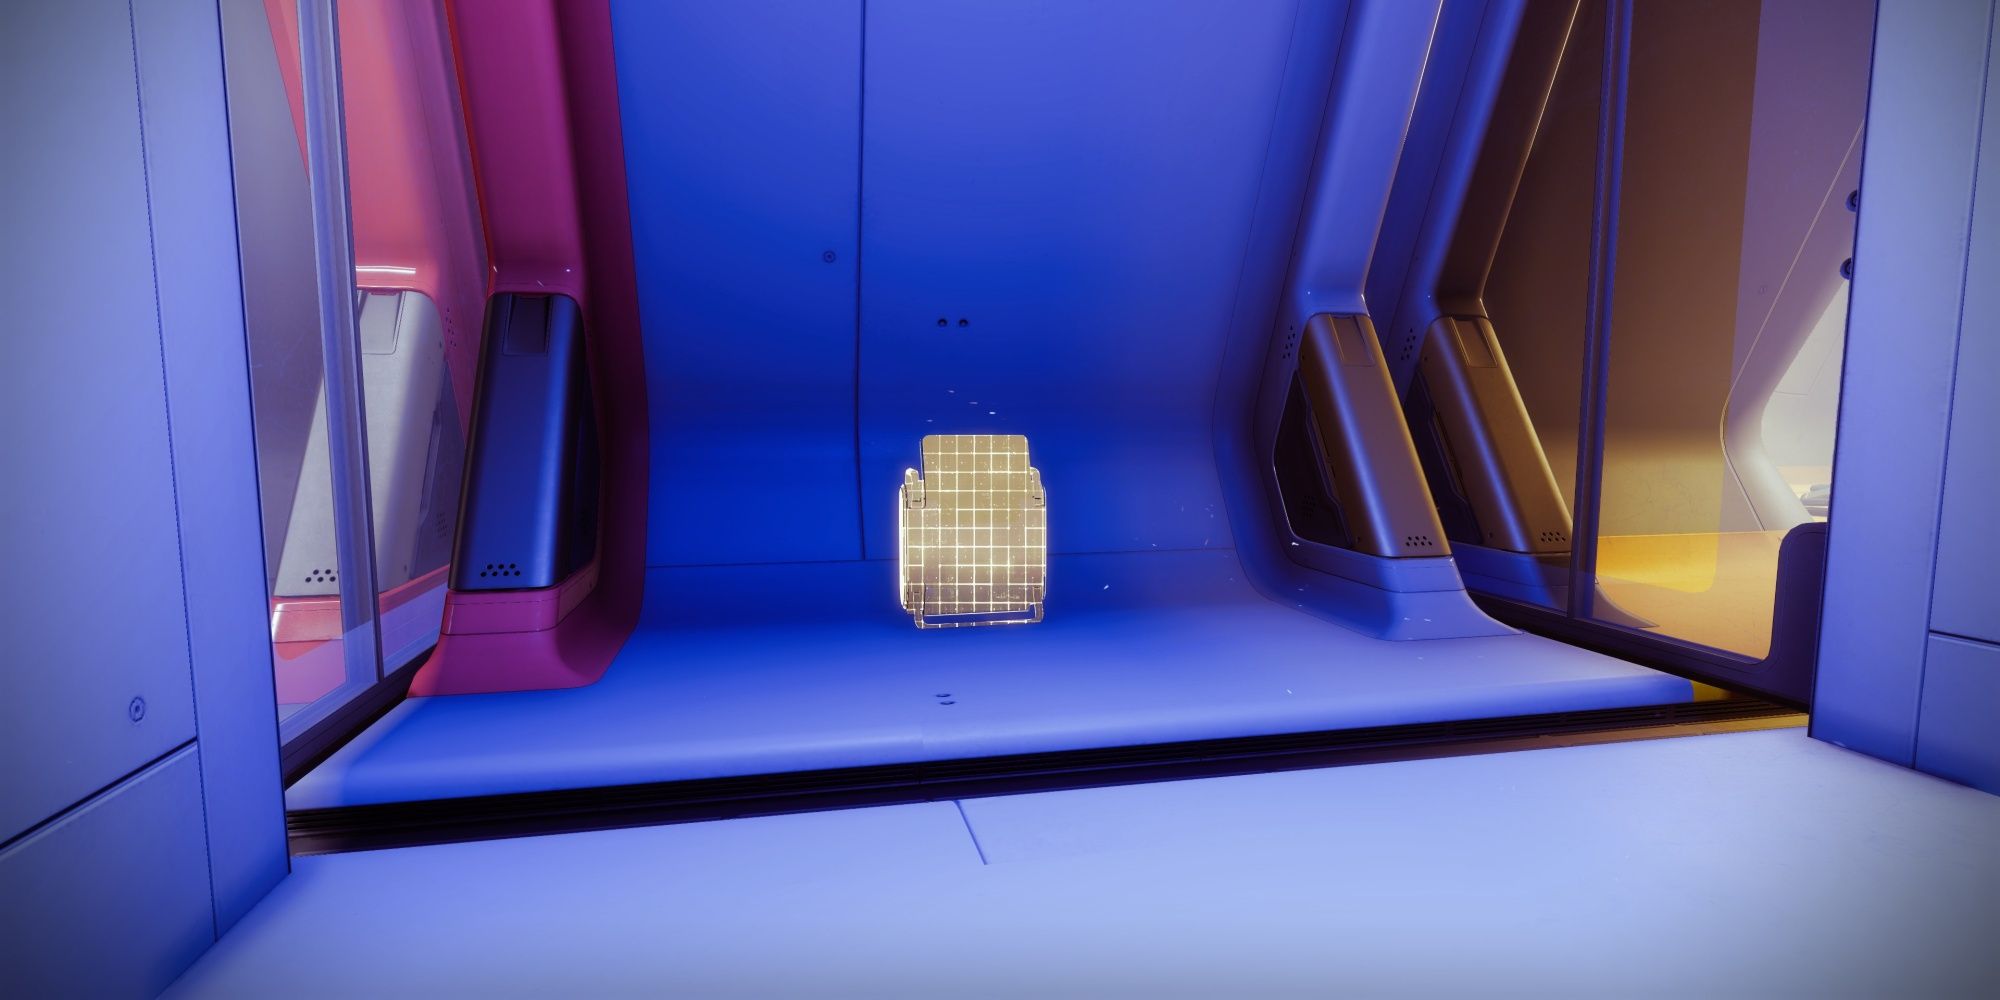
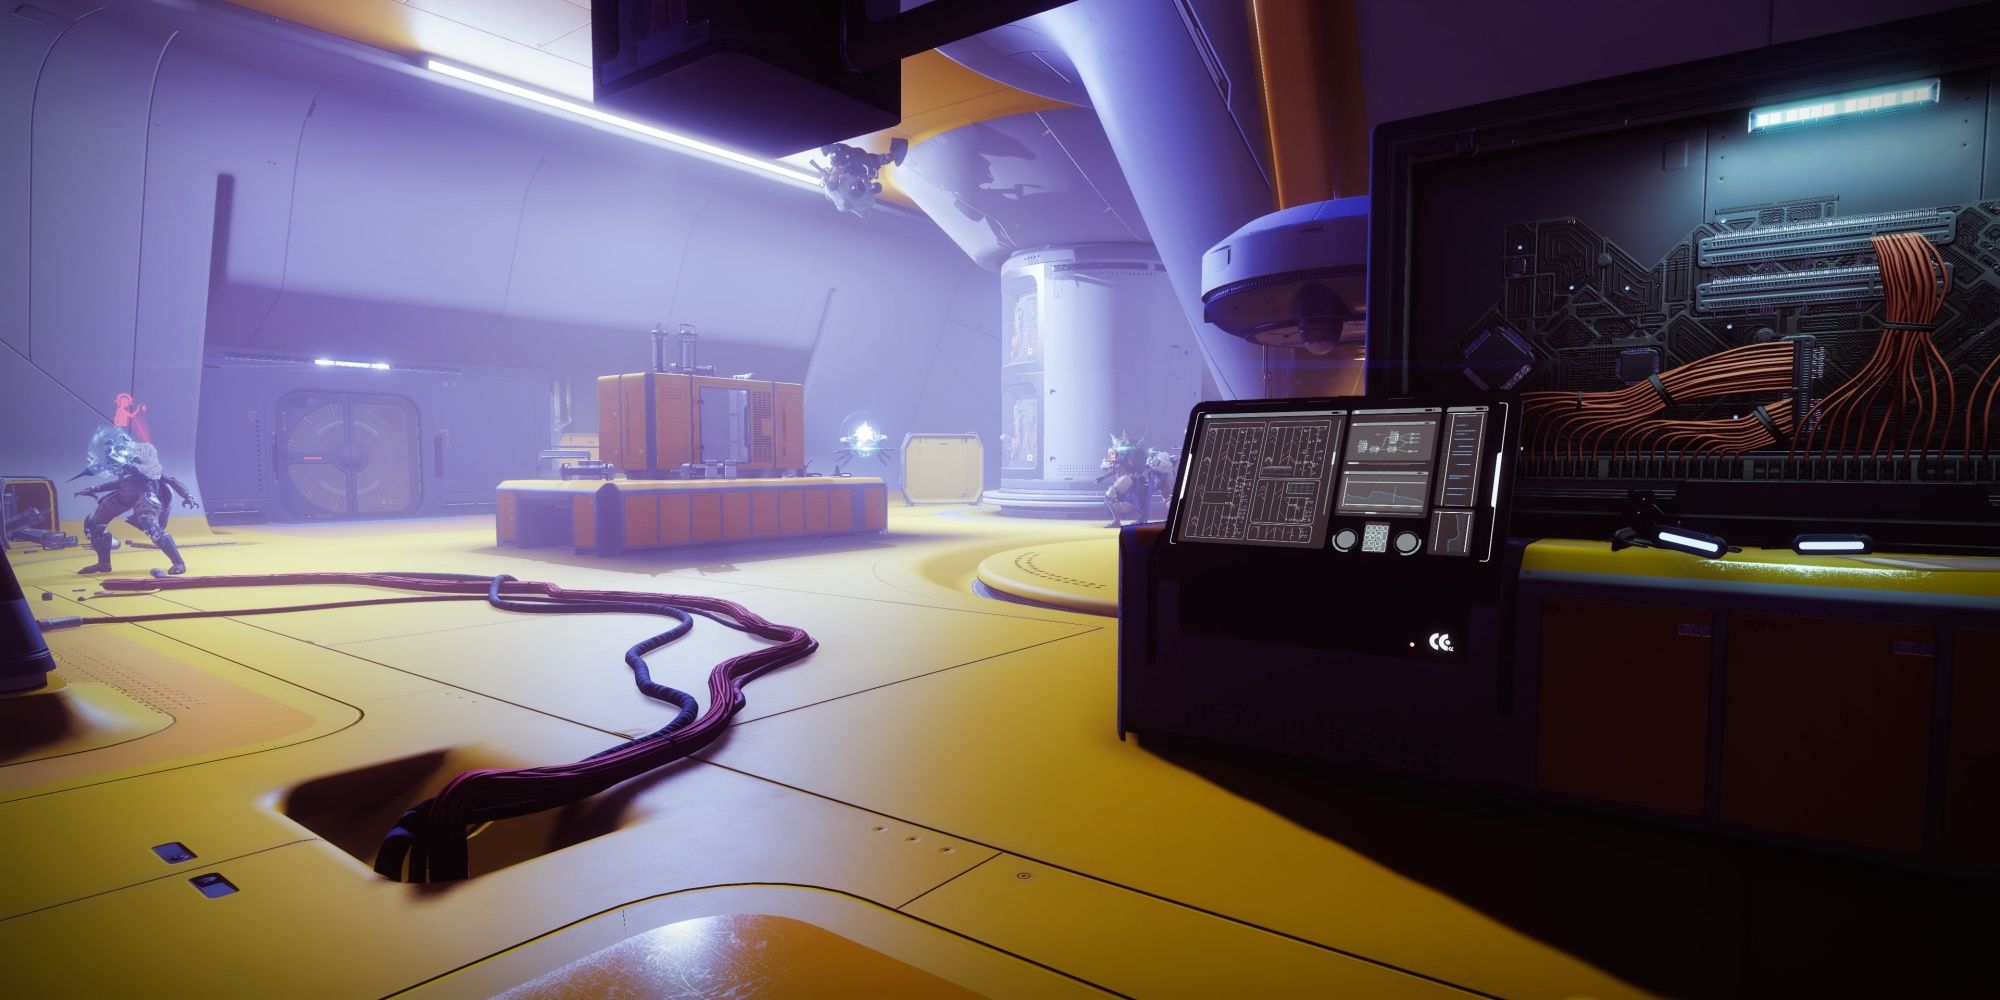
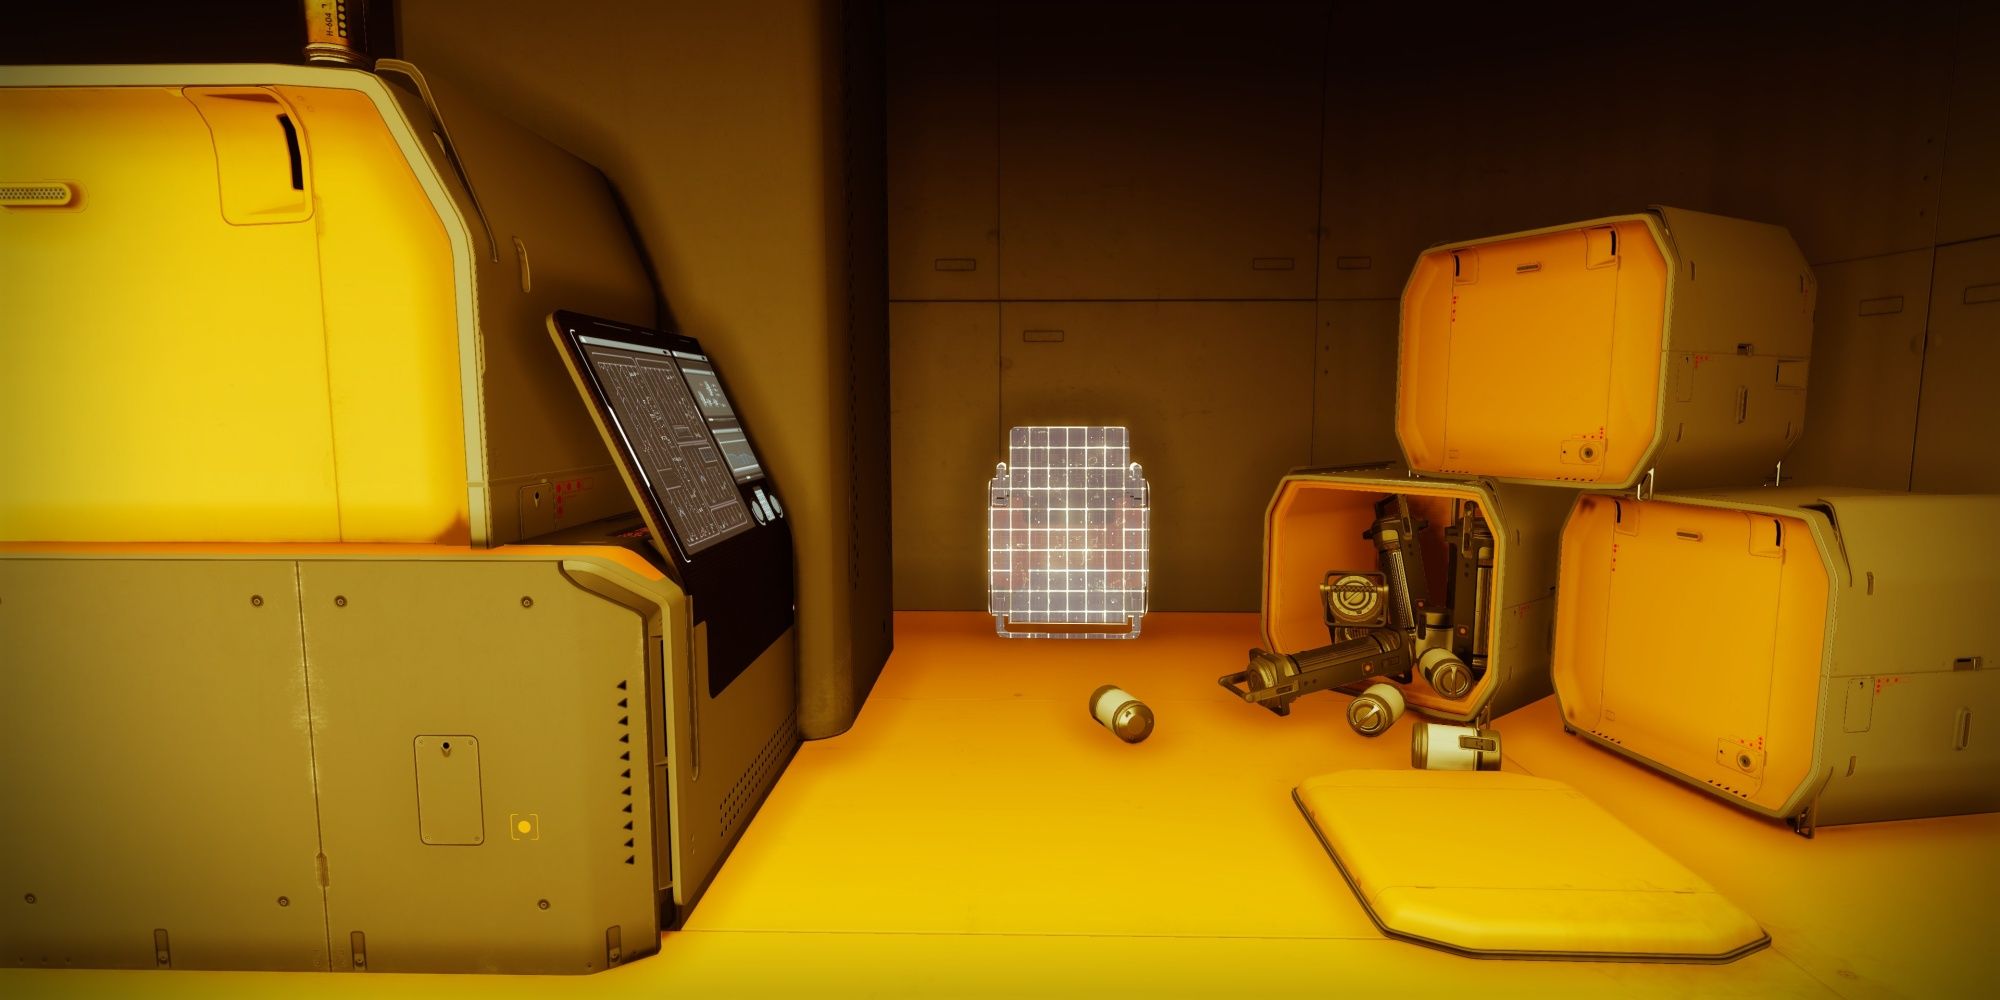
- Located in the same room as the Scanner Splicer.
- Head to the room opposite of the Scanner Splicer.
- A third and final room will unlock. You must unlock a door by swapping the Scanner and Operator buffs (explained below).
Hacking the first two terminals will reveal a much larger room, protected by a small band of Fallen and a deadly turret. One of the Fallen will be carrying the Operator buff. You must deposit your Scanner buff, grab the Operator buff, then shoot a panel mounted on a hanging pillar. This will open a door right behind you with the necessary Scanner terminal. Deposit your Operator buff, enter this newly-opened corridor, kill the Scanner Splicer inside and take its buff, then activate the terminal. A teleporter will light up when done correctly, allowing you to access the final section of this Exotic mission.
Create An EMP Glitch With Suppressor Rounds To Access The Bridge
Suppressor Buff
The Suppressor buff highlights floating Clovis drones in a blue outline. Stand under the drone to infuse your weapons with Suppressor Rounds, allowing you to stagger an invulnerable enemy. Shoot the target under three different Clovis drones to reveal multiple Fallen drones. Destroy these Fallen drones to remove the target's immunity shield.
This buff has an infinite duration and persists after death. Only one augment may be active at a time.
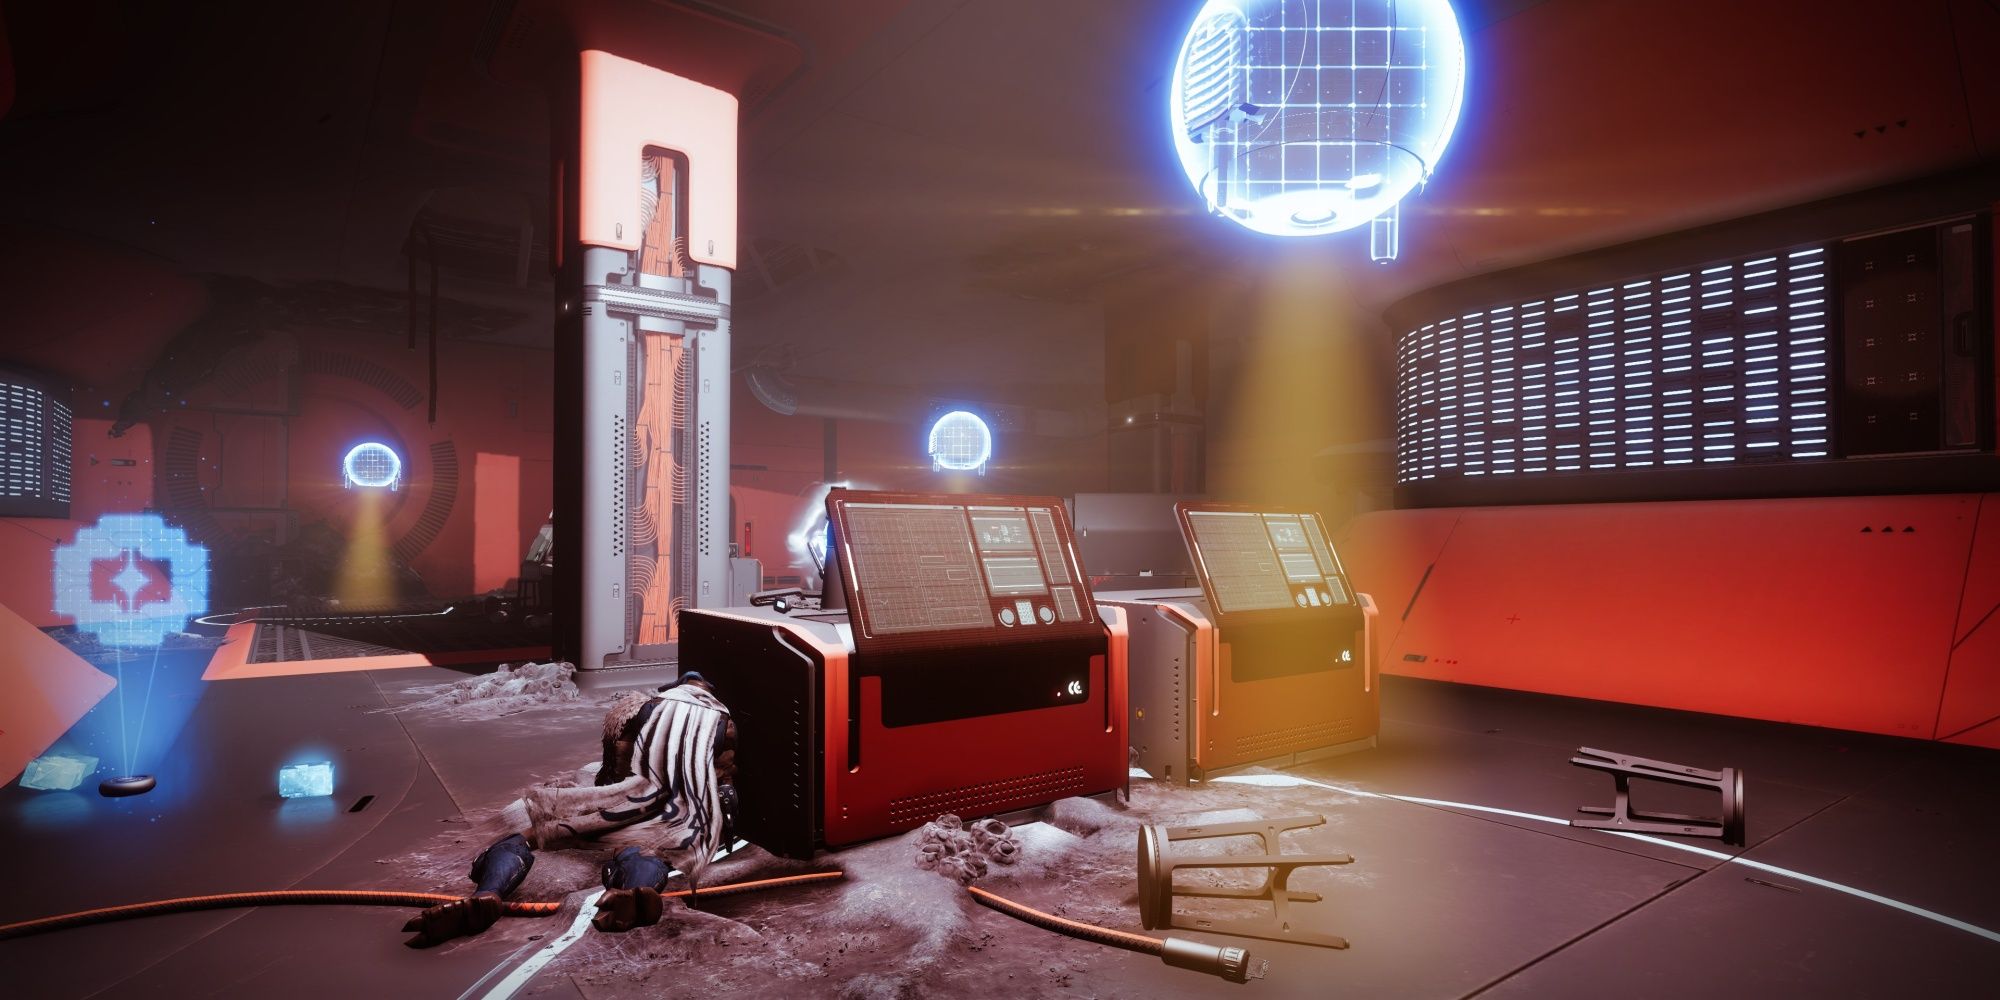
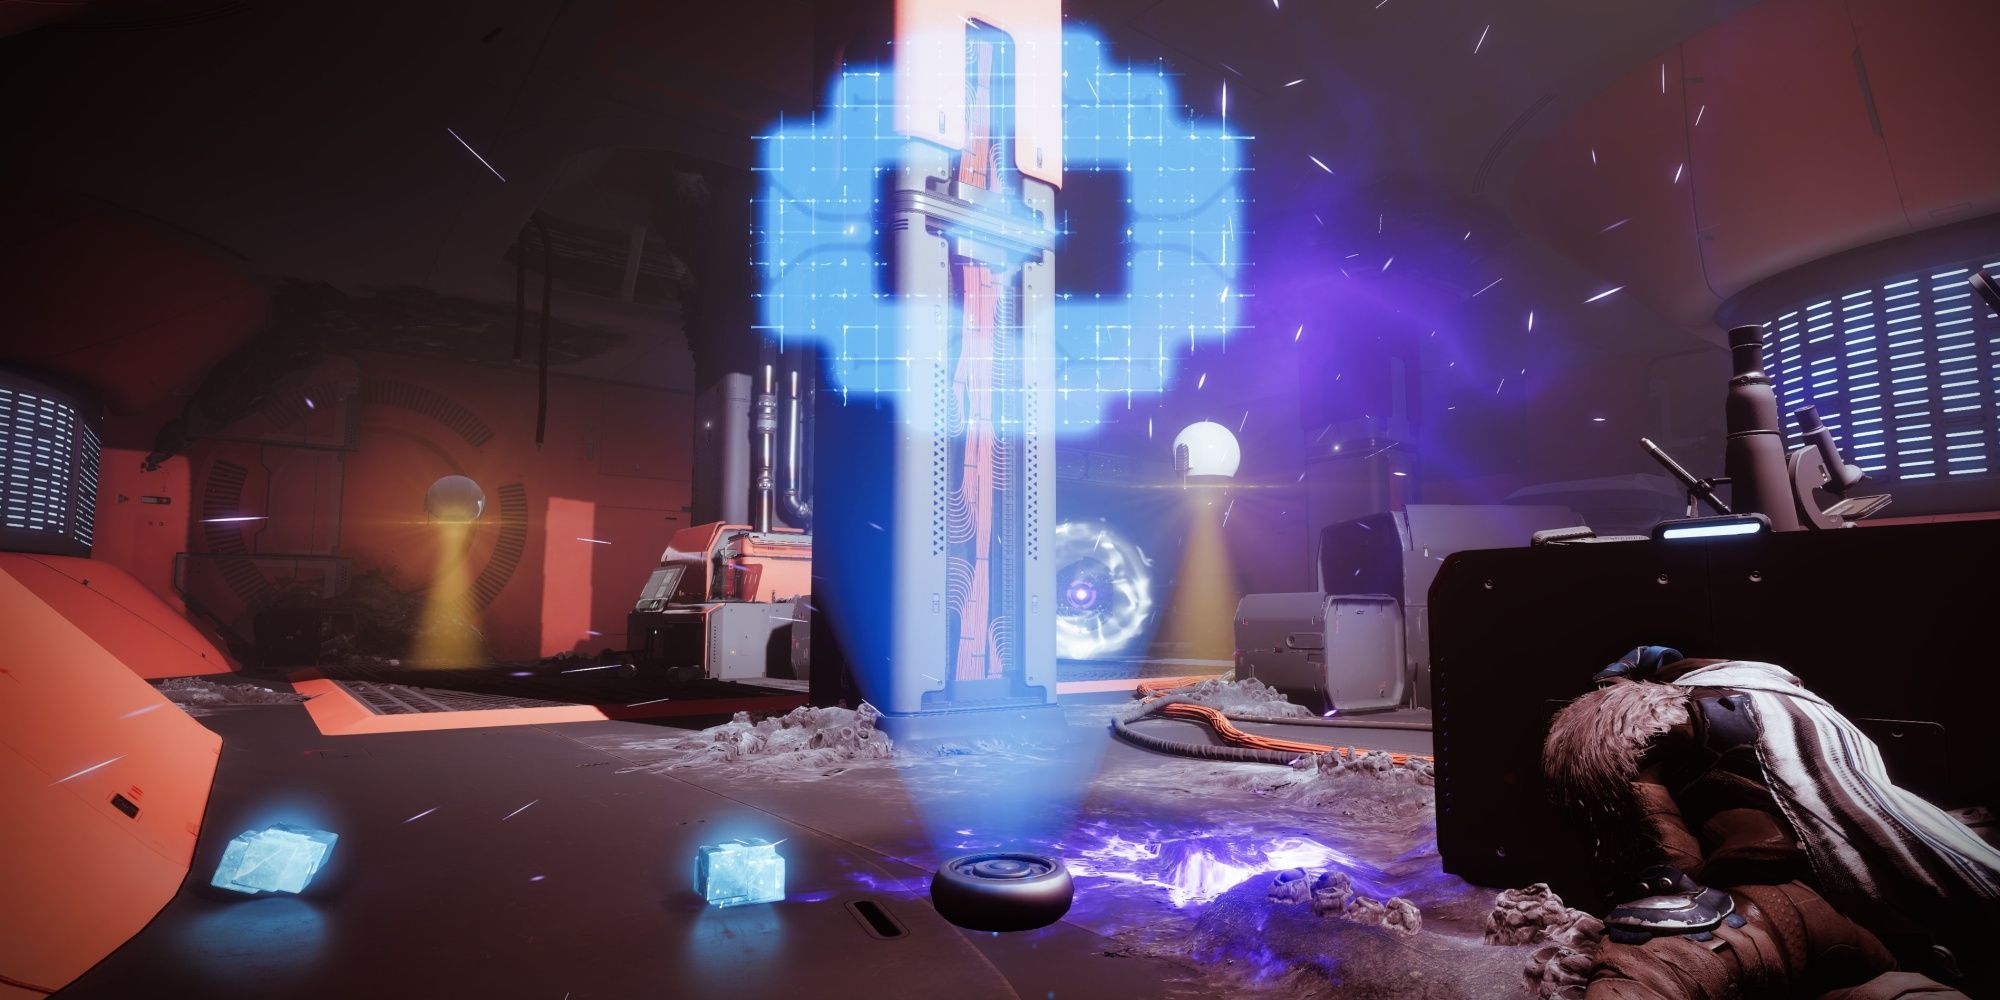
One more buff is required to reach the command bridge of the space station: Suppressor. This buff looks like a blue eye, buffing your weapons with Suppressor Rounds while in the presence of floating Clovis drones—spherical drones that hover a few meters off the ground. With the Suppressor buff, stand under the floating drones and shoot the invulnerable target. Doing this three times will unlock a nearby room that houses a Fallen drone. Break this drone to remove the immunity shield, allowing you to damage the invulnerable enemy. Remember this mechanic; you'll need it to kill the final boss.
Defeat Praksis, The Defiled
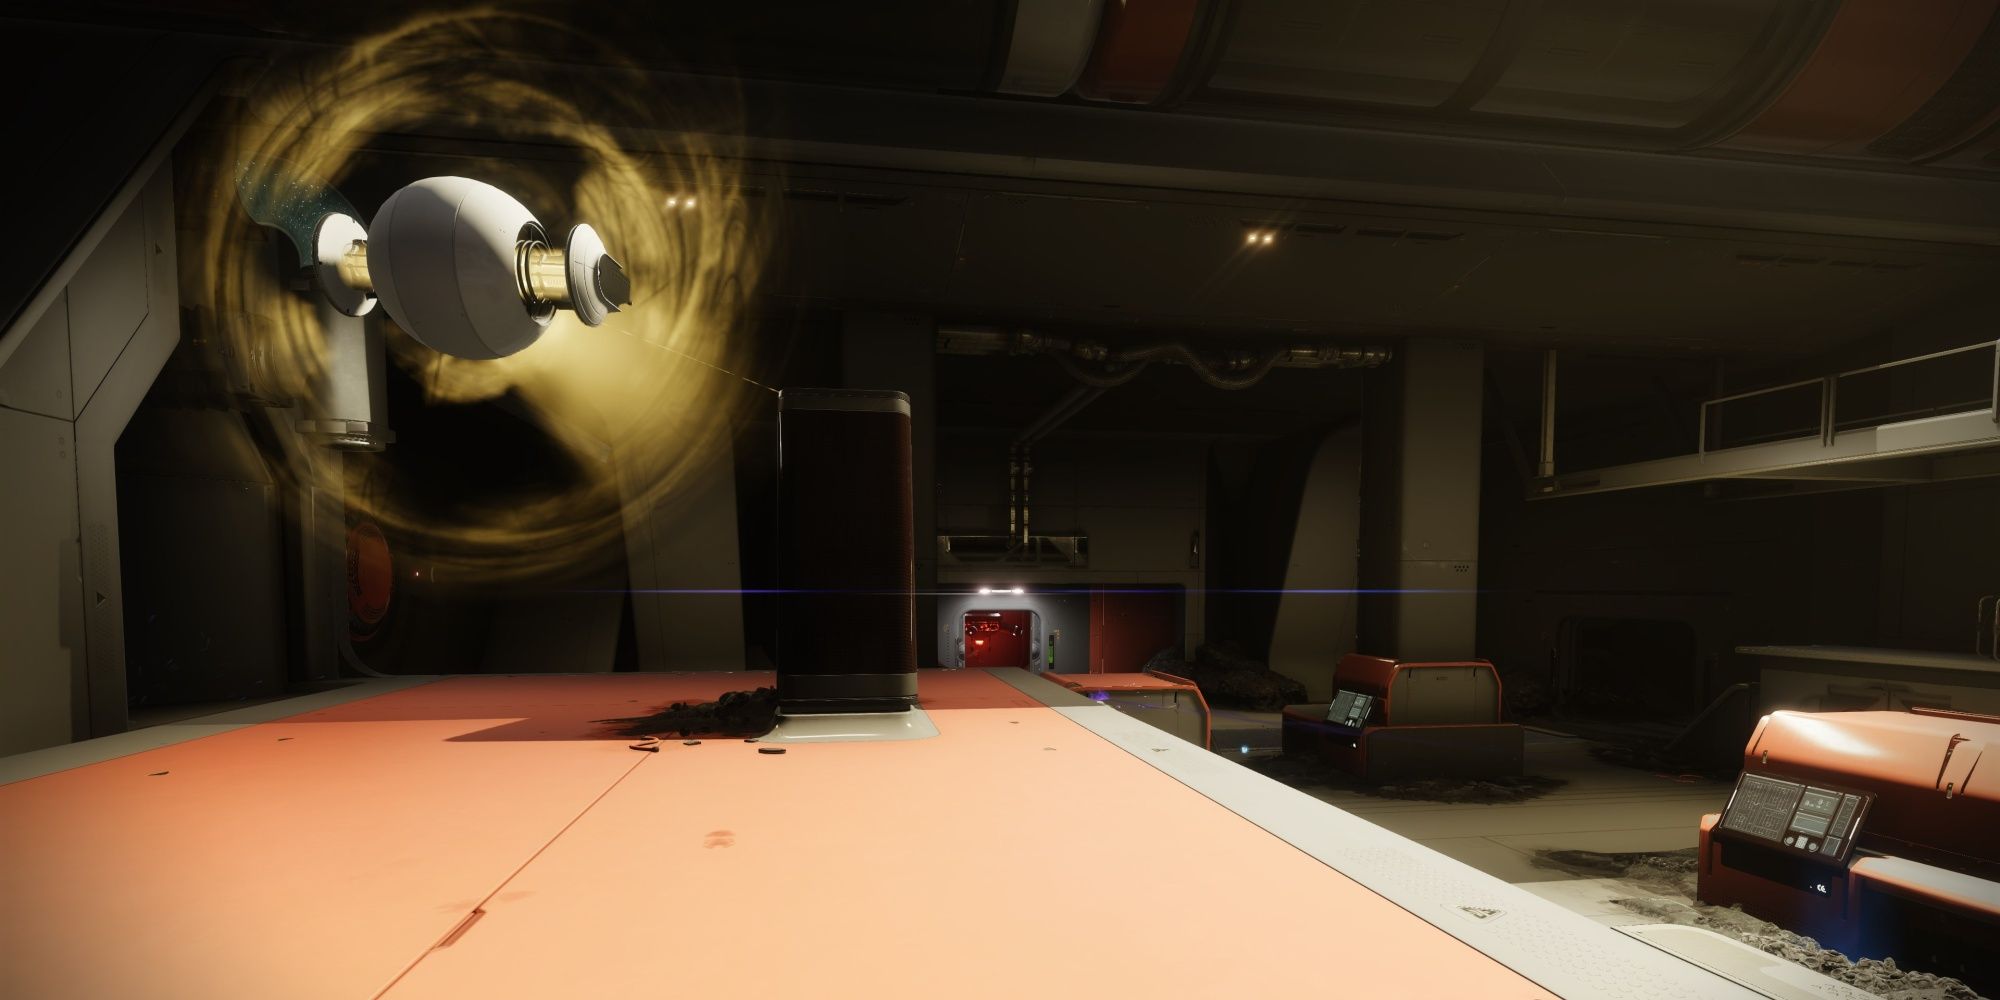
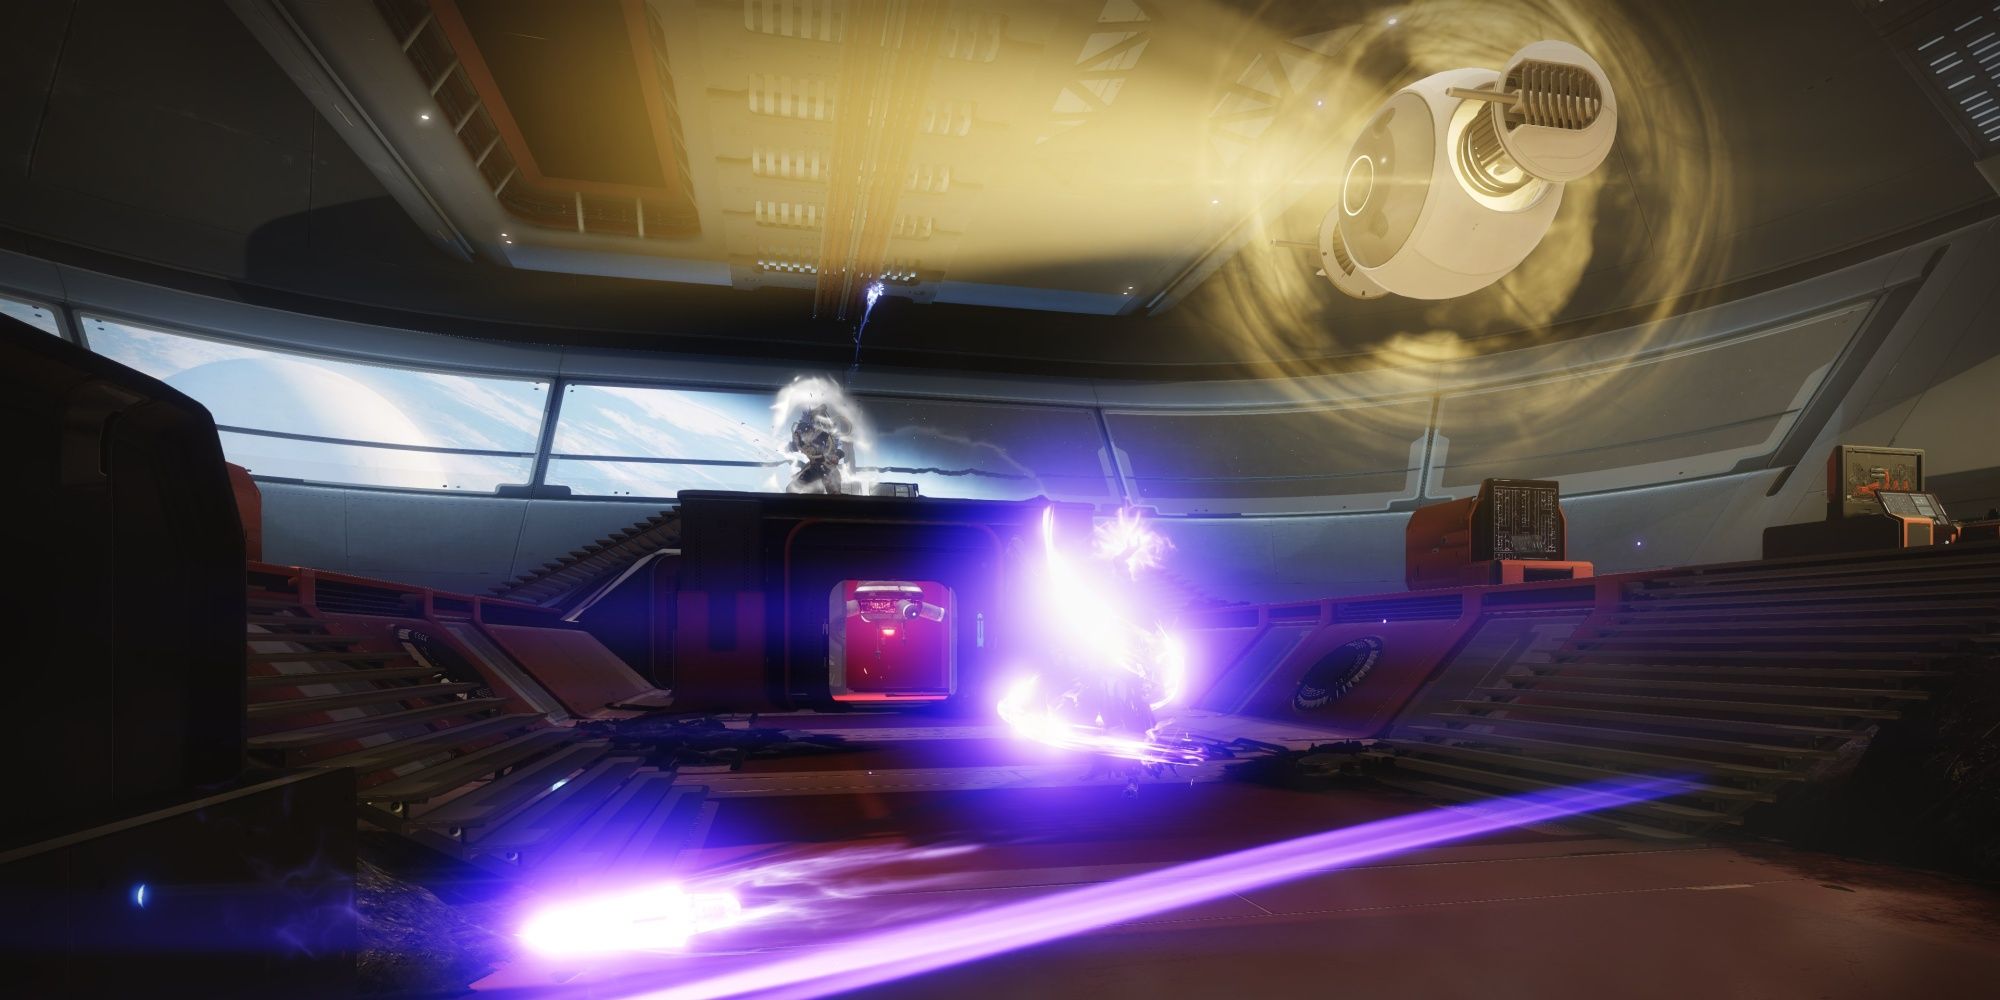
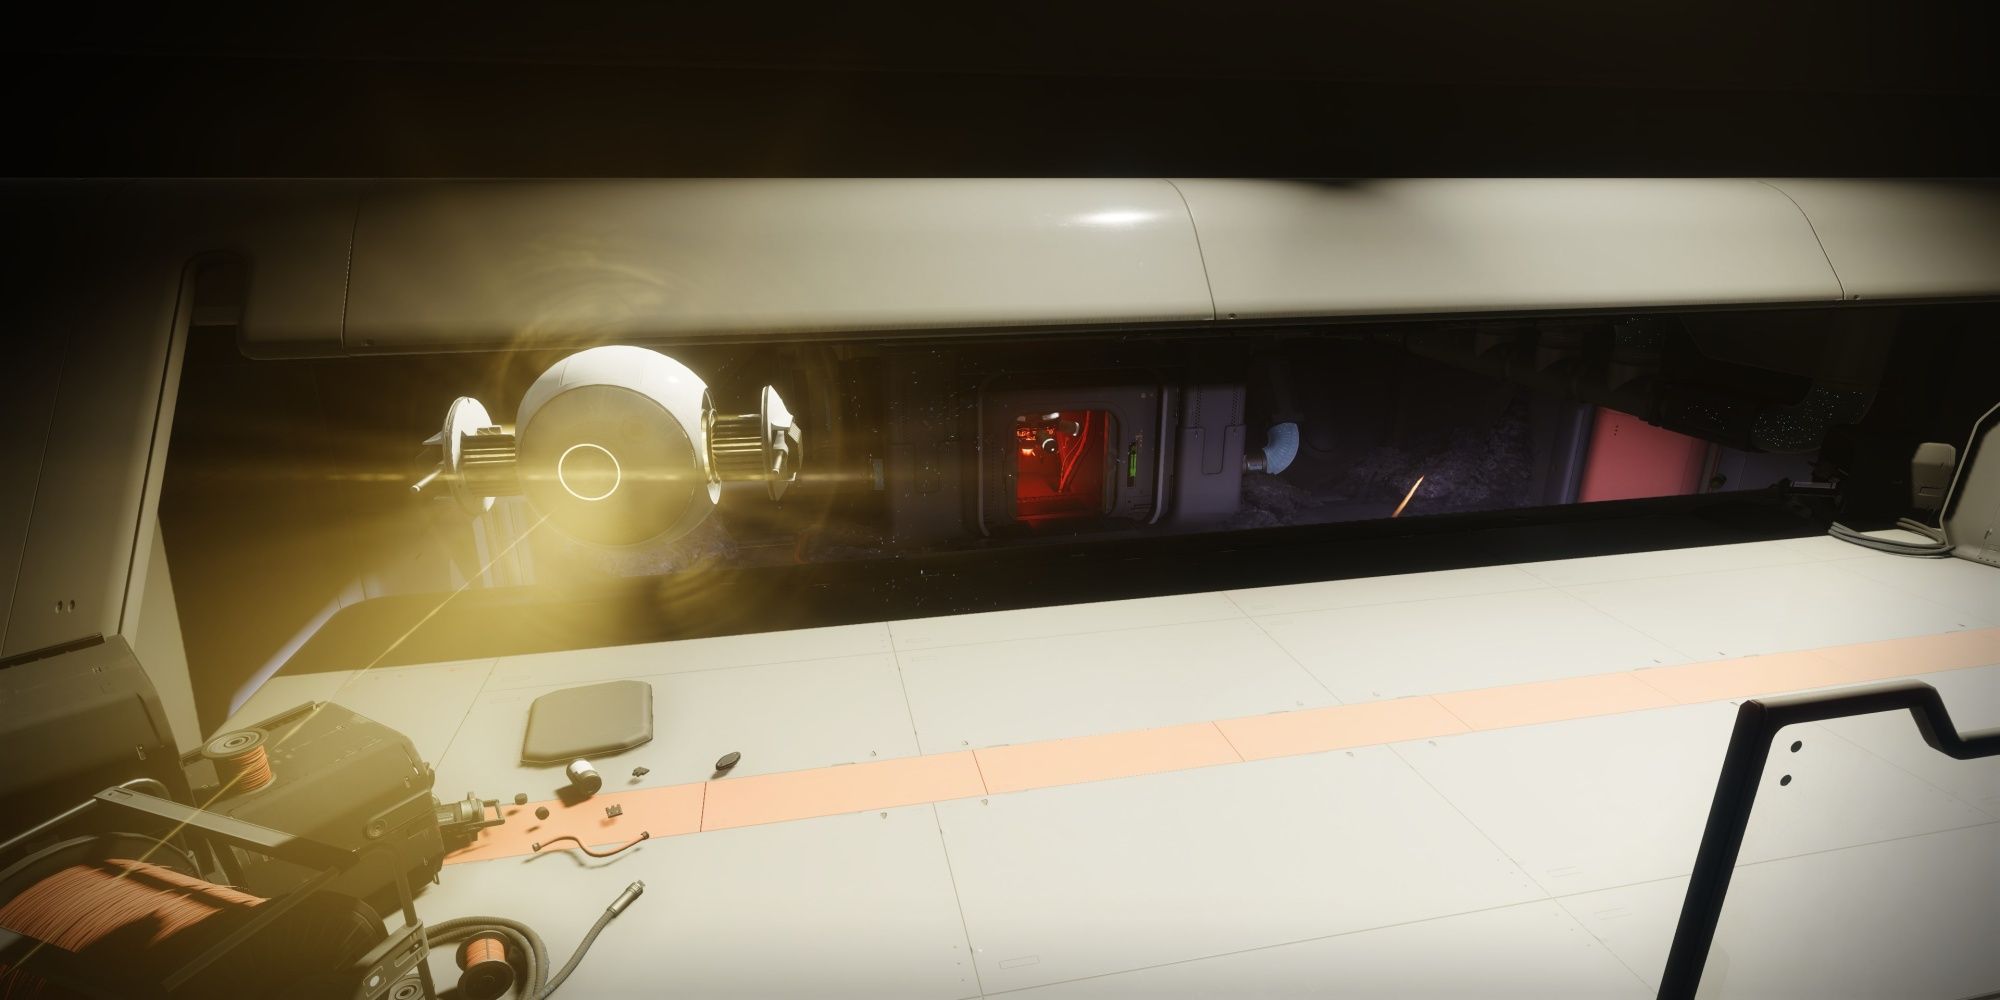
Praksis has been brought back from the dead, infused with the same Stasis abilities as seen in the Beyond Light expansion. If you've played Deep Stone Crypt, this is the Descent encounter with just the Suppressor buff present. Your goal is to suppress Praksis and destroy their Fallen drones to remove the boss' immunity phase. As with any encounter, you'll need to damage the boss first. Use your Heavy or Super to lower the boss' HP by 33%.
When Praksis becomes immune, you'll need to steal the Suppressor buff from a Splicer that likes to hang out atop the catwalks on the top floor. Grab the buff and look for the three Clovis drones in the arena. Stand under them and damage Praksis to stun them. Repeat this for all three drones to reveal three Fallen drones (shown above). Destroy the Fallen drones to make Praksis vulnerable to damage once again. Repeat this process one more time to kill the boss. When finished, upload the virus to the console in the next room to finish the mission and receive your loot. If this is your first clear, return to the H.E.L.M. to receive Revision Zero, one of this season's new Exotic weapons.
Operation: Seraph's Shield Rewards
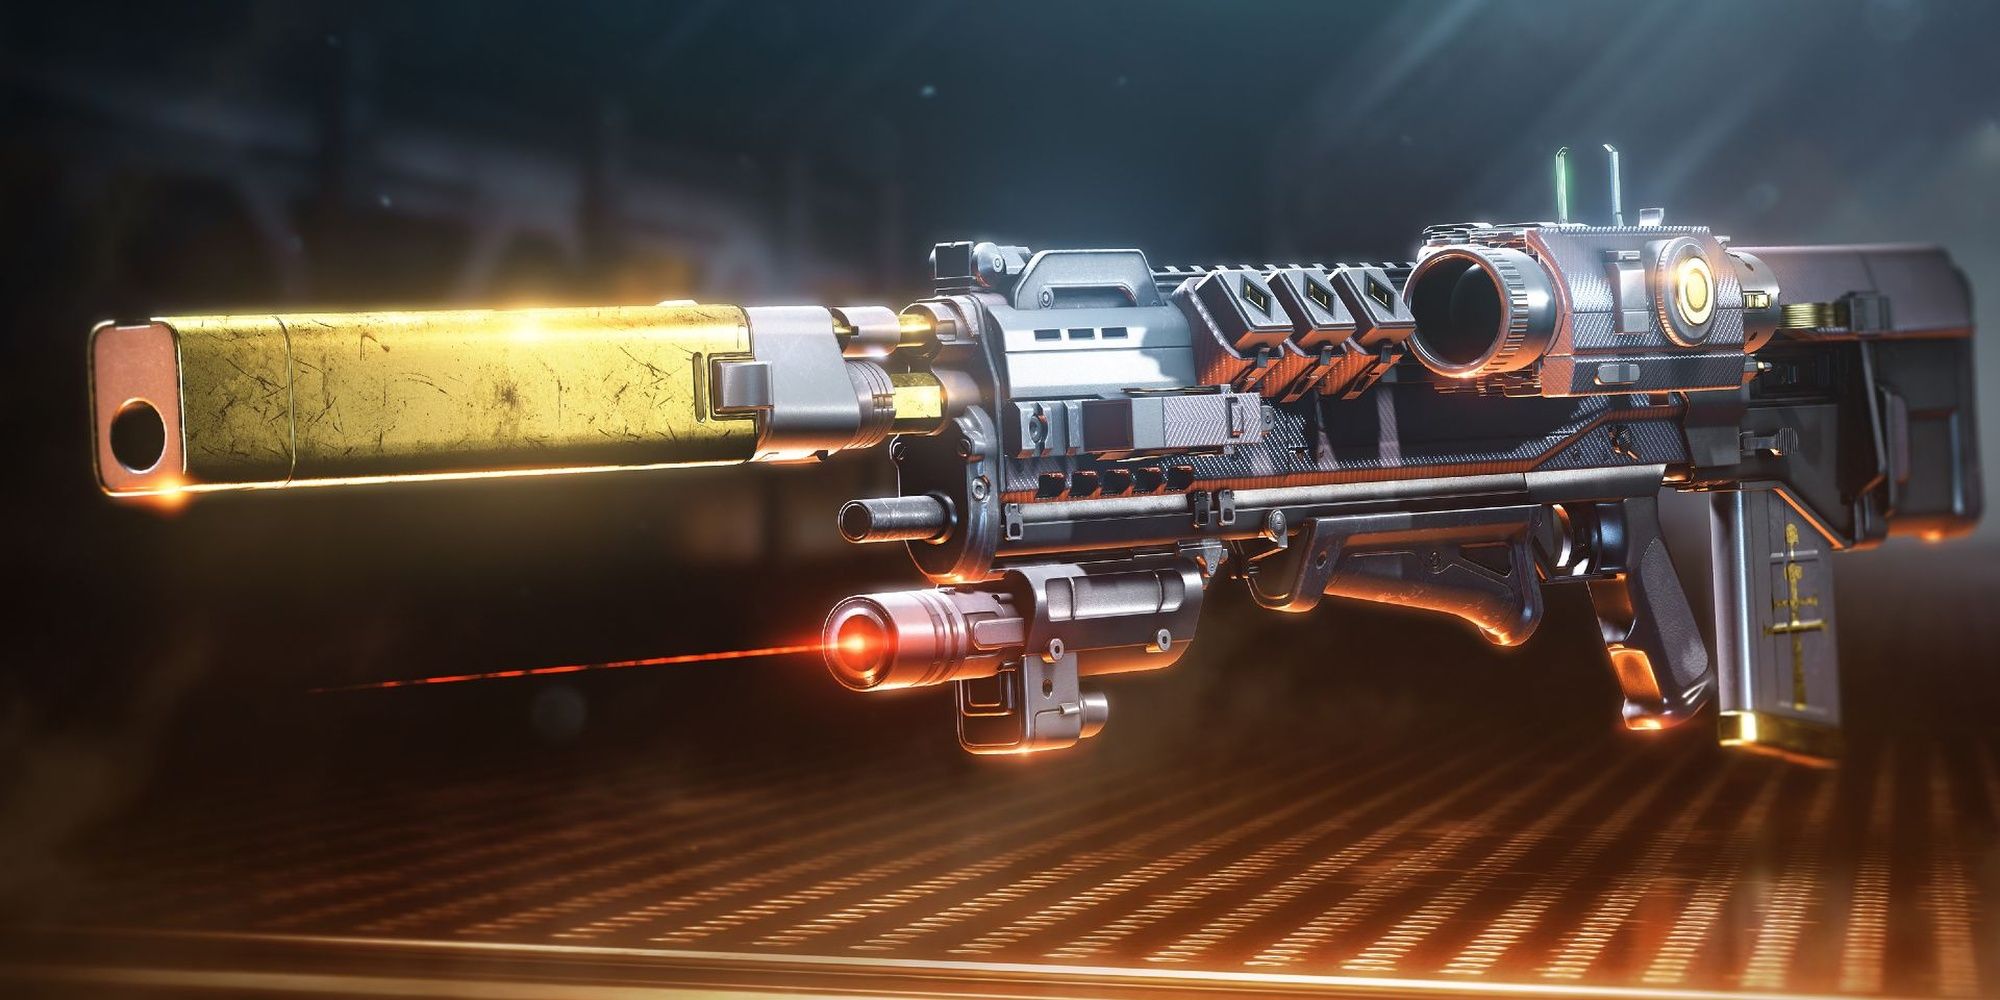
Clears of Operation: Seraph's Shield award Revision Zero, a Kinetic Pulse Rifle that is fully customizable through weapon crafting. Every aspect of this weapon can be modified, ranging from its main perks to the gun's RPM. Its Exotic perk allows the gun to morph into a Sniper Rifle after landing enough precision hits, capable of landing one-hit headshots in PvP. This gun can be tuned for PvE content with Fourth Time's the Charm and Vorpal Weapon, or you can tailor the gun's stats more towards aggressive PvP gameplay with perks like Elemental Capacitor and Under Pressure.
Each clear of Seraph's Shied awards Intrinsic Upgrades for Revision Zero. Normal clears grant one upgrade, and Legend grants two. Intrinsic upgrades will unlock new crafting options, including magazines, barrels, and Exotic Catalyst options.
Season 19 Loot Pool
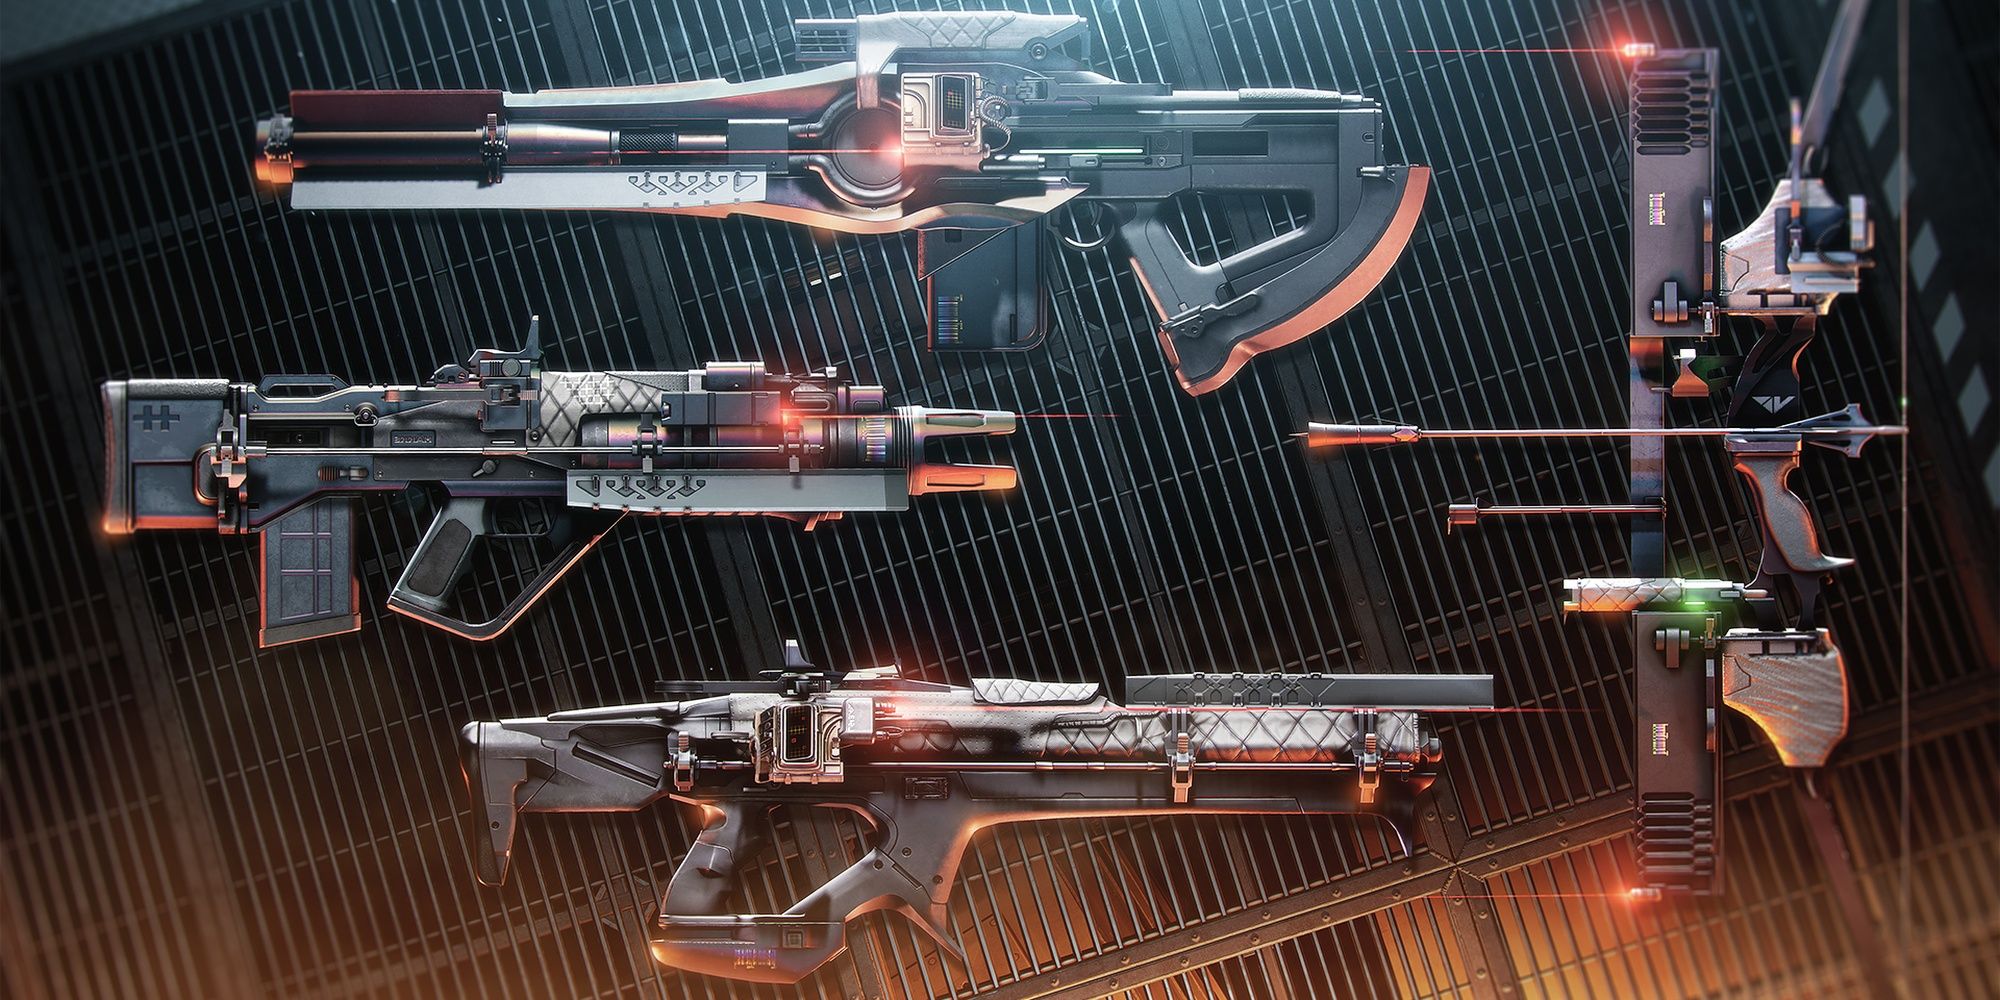
Beyond Revision Zero upgrades, each clear of Seraph's Shield awards a weapon from Season of the Seraph. This includes the unique Seraph guns like Disparity alongside the IKELOS 1.0.3 reprisals, all of which are craftable. All weapons added to this mission's loot pool may be found below.
|
Weapon |
Archetype |
|---|---|
|
Fire And Forget |
Type: Linear Fusion Rifle (Three-Round Burst) |
|
Damage: Stasis |
|
|
Tripwire Canary |
Type: Bow (500 Draw Time) |
|
Damage: Arc |
|
|
Disparity |
Type: Pulse Rifle (450 RPM) |
|
Damage: Stasis |
|
|
Judgment Of Kelgorath |
Type: Glaive (55 RPM) |
|
Damage: Solar |
|
|
Path Of Least Resistance |
Type: Trace Rifle (1,000 RPM) |
|
Damage: Arc |
|
|
Retrofit Escapade |
Type: Machine Gun (900 RPM) |
|
Damage: Void |
|
|
IKELOS Reprisals |
|
|
IKELOS_HC_v1.0.3 |
Type: Hand Cannon (180 RPM) |
|
Damage: Hand Cannon |
|
|
IKELOS_SG_v1.0.3 |
Type: Shotgun (140 RPM) |
|
Damage: Solar |
|
|
IKELOS_SMG_v1.0.3 |
Type: SMG (750 RPM) |
|
Damage: Arc |
|
|
IKELOS_SR_v1.0.3 |
Type: Sniper Rifle (140 RPM) |
|
Damage: Solar |
|


