Destiny 2's Season of the Lost has brought the Dreaming City and its Ascendant Realm back to the forefront. Players will have to work alongside Mara Sov to rescue corrupted Techeuns and unravel Savathun's plan. The Astral Alignment seasonal activity will take up most of your time this season, yet there's one more activity Season 15 brought: Shattered Realm.
Shattered Realm missions take players to the Ascendant Realm with the task of rescuing a corrupt Techeun. By activating Ley Line beacons found throughout the realm, you'll be able to rescue the Techeun and unlock new powers to uncover some of the realm's secrets. Here is a guide on how to complete this season's first Shattered Realm mission: the Forest of Echoes.
|
Note: This guide only covers how to clear the mission. For collectibles, consult our Trivial Mysteries And Ascendant Anchors guide. |
Updated October 26th, 2021, by Charles Burgar: The Forest of Echoes now has a Legend variant that can be cleared for additional season gear and progress towards the Realmwalker title. We've updated this guide to cover the basics of this Legend variant, including all modifiers present, the types of shields you'll face, and which weapons you'll want to bring to make this mission as easy as possible.
Legend Difficulty Differences

Forest of Echoes is arguably the easiest of the three Shattered Realm missions on Legend. So long as you can counter each shield type and both Champion types, you shouldn't have much issue with the following modifiers:
|
Modifier |
Description |
|---|---|
|
Recommended Power Level |
|
|
Champions: Unstoppable |
|
|
Champions: Overload |
|
|
Equipment Locked |
|
|
Match Game |
|
|
Denial |
|
|
Chaff |
|
|
Shields |
|
Since most enemies in this mission will have a shield, you'll want to either bring a fireteam that specializes in each element type or bring a loadout that can break all three element types. Denial is also more annoying than dangerous, causing Vandals to spawn shields whenever you engage them from range. Close the gap to take them out.
Recommend Loadout

Due to the vast array of shields in this mission, you'll need to be able to break all three shield element types. It's up to you whether you run with a fireteam to break these shields or run a weapon like Arbalest to take them out by yourself. Either way, this is arguably the most important aspect your build will need to succeed.
Beyond that, Forest of Echoes has quite a few mid to long-range engagements, so you'll want to consider running Hand Cannons, Pulse Rifles, or even Scout Rifles to deal good damage from a distance. The second beacon is arguably the hardest part of this mission, so consider a crowd control build utilizing Stasis or some defensive subclass for this mission.
Some good weapon options include:
- Borealis: This can break every shield type, allowing you to bring an Overload Bow and an Unstoppable Linear Fusion Rifle.
- Arbalest: Breaks every shield type on its own.
- Traveler's Chosen: Helps with ability regeneration and can stagger Unstoppables.
- Bows: Staggers Overloads and deals excellent damage from range. Le Monarque, Ticuu's Divination, and Accrued Redemption are good options.
Align The Beacons

Finding the Queen's Techeun will require the alignment of three different beacons scattered throughout the level. Despite the lack of guidance, you'll need to reach the beacons in a certain order. A purple beam in the sky will denote which beacon you need to reach, but making your way to that location can prove confusing and difficult. Here's how to reach each beacon.
Beacon #1
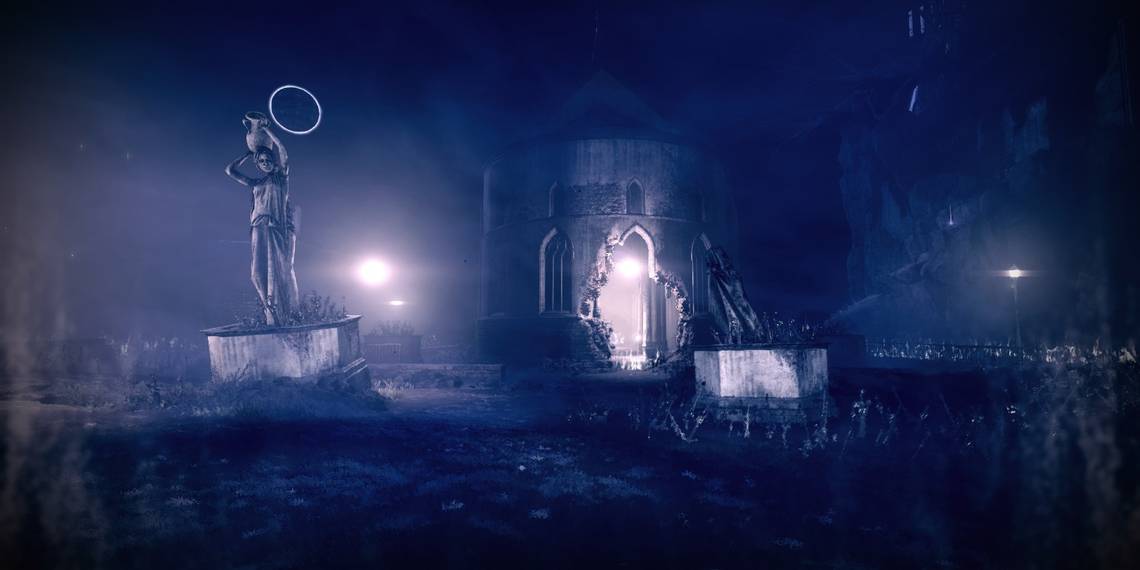
Right as you spawn in, follow the path until you descend to the base of a withered tree. You should see a small group of Taken patrolling a small building next to a church. You'll want to make your way to the church, killing all of the Taken in your path. They're fairly easy to kill, but you can use a Scout Rifle to snipe them from a distance if you're underleveled.
Surrounding the church is a strange Taken aura. Walking into this aura will inflict the "Slow" debuff on you, preventing your character from sprinting or using their jump ability. If there are enemies still near the church, you might want to retreat and kill them while outside of the field. Regardless, make your way to the church.
Inside the church is an Awoken beacon. Interact with it to start a defense section. You'll be swarmed by multiple waves of Taken Thrall, Knights, Wizards, and an Unstoppable Phalanx. The Phalanx spawns during the last wave. If you have any grenades or AoE weapons ready, you should be able to clear most of these waves without an issue. Be sure to stun the Unstoppable before damaging it to conserve as much ammo as possible.
Beacon #2
OK, you've activated the first beacon. Now what? You'll find the next beacon on the other side of the map, directly across from the church. Backtrack to the massive tree you came from earlier. If the church is facing north, you'll want to face south when you reach the tree. You should see dimly lit platforms that lead to the ruins of a building. Make your way across the platforms towards this building. If there are Taken enemies on the path, you're going the right way.
Once you've reached the destroyed building, eliminate the Taken guarding the premises. A path to your left will lead you to the next beacon. Follow the dim lights to climb up the mountain. The apex will have the beacon you're looking for. Activate it to start the defense section.
This time, the Taken will be spawning all around the beacon. Defending this beacon solo can be somewhat stressful, so consider using crowd control effects for this part. Multiple waves of Taken Hobgoblins, Acolytes, and Taken Centurions. The Centurions will likely give you the most trouble, so take them down as fast as you can. Like the first beacon, the final wave will spawn an Overload Hobgoblin alongside the rest of the Taken. Kill this Champion as soon as possible, using an Overload weapon to stun the Hobgoblin. Clear out the remaining enemies to finish the defense section.
|
Pro Tip: Overload Rounds will still disrupt Champions after they're stunned. This prevents a recovering Champion from teleporting or regenerating its HP. |
Beacon #3
Fortunately, the third beacon is much easier to find than the last. Backtrack to the isolated platform just after the ruins to find a portal. This Taken portal will take you straight to the third beacon. Hop through the portal, then interact with the beacon to start the final defense section.
Subdue The Techeun
To finish this mission, you'll need to defeat a Corrupted Techeun and her small army of Taken. If you've played The Corrupted strike before, this boss uses the same moves as Sedia. Her most notable attack is a repulsing scream. If a gravity circle appears right under you, immediately ground yourself and prepare to slide or melee. This shout flings you across the map, so be ready to counter its momentum.
This fight is divided into three phases that each play out the same. Every time the Techeun loses 33% of her HP, Hoarfrost Executioners will spawn that will make the boss immune to all damage. These are major Acolytes that use Stasis cannons. You'll need to kill every Executioner to remove the immunity shield. Try your best not to get frozen while fighting them. A scream from the Techeun can easily fling you off the map if you're frozen. Slay the Executioners, damage the Techeun, rinse and repeat.
Doing this three times will end the fight, granting 100 Parallax Trajectory and concluding the mission. Your first clear of this mission will unlock the ability to breach barriers by interacting with symbols found throughout the zone. You'll need to breach various Awoken barriers around the map to complete the Ley Line Rumors Seasonal Challenge.
Before you decide to ignore this mission for the rest of the week, you'll want to boot up this mission a second time to grab all of the Ascendant Anchors and Trivial Mysteries; it's required for a Seasonal Challenge that ranks up your Wayfinder's Compass. We'll have a guide on where to find all Ascendant Anchors soon. A link to the guide will be added once it's complete.