Quick Links
Destiny 2's Season of the Seraph launched with a new dungeon for Guardians to conquer, available to those who own the yearly dungeon pass. Named Spire of the Watcher, this Vex-themed dungeon is fairly easy compared to Duality, featuring a much simpler mechanic and more straightforward boss encounters. If you love chill dungeons or wild west-themed gear, this dungeon is for you.
But as with any dungeon, your first clear isn't easy. Learning new mechanics, boss strategies, and creating a loadout can be difficult if you're a new or returning player. That's what this guide is for. We'll give some loadout recommendations for the entire dungeon, showcase every encounter, and provide puzzle solutions and tips on how to defeat all the bosses in Destiny 2's Spire of the Watcher dungeon.
This guide does not showcase collectible locations. You can find a video walkthrough on YouTuber Esoterickk's channel. We'll have a god roll guide for the dungeon weapons soon; stay tuned. For now, visit light.gg to see dungeon weapon rolls.
Recommended Loadouts

A power level of 1,570 is recommended for Normal Spire of the Watcher. Master difficulty recommends a Power level of 1,610 or greater. Master difficulty features Champions and drops Artifice armor.
Spire of the Watcher has a few long-range encounters and a brutal short-range encounter, so you'll want to bring a little of everything. Linear Fusion Rifles, SMGs, Witherhoard, and Solar subclasses are fantastic here. LFRs are still your best, most consistent DPS option and shine for this dungeon's boss encounters, while your SMG should make short work of adds and this dungeon's unique mechanic. Witherhoard is just an incredibly reliable weapon with excellent ammo efficiency.
-
Hunters: Gunslinger and Nightstalker are great here. Gunslinger has high-damage supers and access to Restoration, while Nightstalker can easily go invisible and debuff targets.
- If you're attempting to solo this, consider using Arcstrider with Assassin's Cowl for most of the encounters.
-
Warlocks: Dawnblade provides ample healing and excellent damage output through your grenades. Shadebinder is also an option if adds are giving you trouble.
- If you're attempting to solo this, use Dawnblade with either Starfire Protocol or Sunbracers. Sunbracers might struggle to proc on the final boss, so keep a spare Exotic handy.
-
Titans: Striker and Behemoth are great picks. Striker is nimble and can spam Storm Grenades, while Behemoth has ample damage reduction and can easily trigger Font of Might.
- If you're attempting to solo this, use Sunbreaker. Sunspots make you virtually unkillable. Pair with Synthoceps for solid Throwing Hammer DPS.
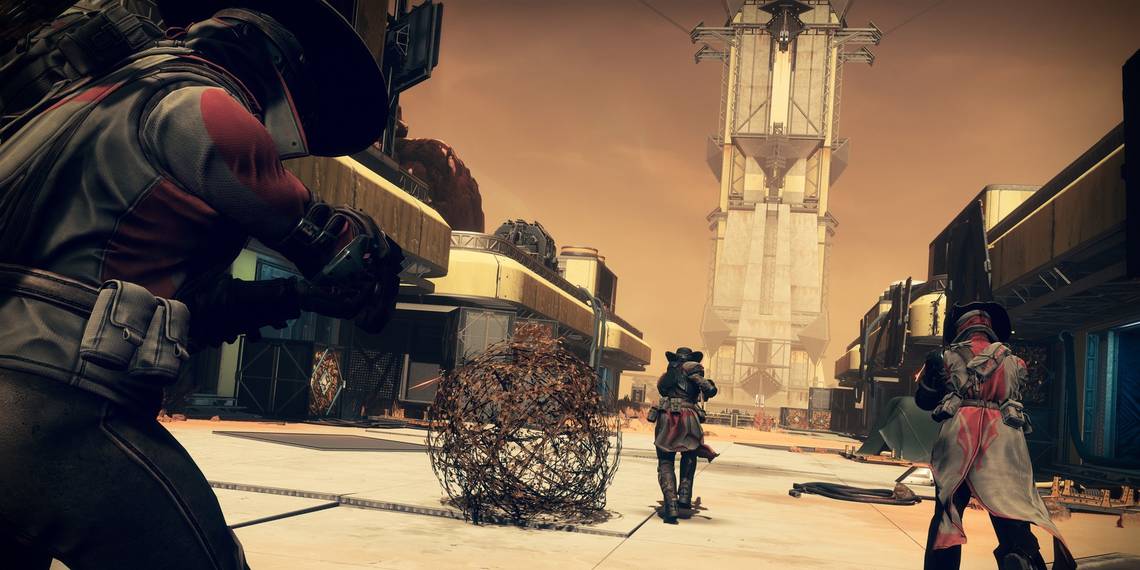
Reestablish Power

You'll start the dungeon outside an abandoned outpost on Mars, a massive Seraph tower looming over the area. A path toward the tower is locked by a set of electrical switches, all of which lack power. Start the encounter by defeating the Vex guarding the main circuit, keeping your eyes peeled for a Vex Minotaur. This will grant the Arctrician buff for 30 seconds, allowing you to activate diamond-shaped switches by shooting them.
DUNGEON MECHANIC: ARCTRICIAN

Throughout the dungeon, any Vex Minotaurs you kill will drop a pool of radiolarian fluid that grants the Arctrician buff for 30 seconds, allowing you to damage switches. Successfully powering a switch will add five seconds to your Arctrician timer. A successfully powered switch will have at least one blue-glowing cable.
Start by looking for a power source. These look like diamond-shaped switches with an electrical box strapped onto them. There are four in total:
- Left Building: Hop onto the roof and head to the small room at the lower half of the building.
- Left Building: Enter the building and look for a tunnel. This will lead you to a small cavern with the power switch in sight.
- Right Building: Enter the building and look for a hole in the ground. Drop down and look for a switch.
- Right Building: From the central circuit, run toward the Seraph tower and turn right. You'll see the switch sticking out of a wall.
Shoot the switch while you have the Arctrician buff to power them on. Follow the massive cable on the ground to the next switch and repeat the process. Should you shoot the wrong switch, the switch will remain open for a few seconds but remain unpowered. A successfully powered switch will have at least one cable glow a bright blue color. Power all four switches on the circuit to open the Seraph tower's entrance.
Top Left Switch Directions

- Jump atop the roof of the left building and run to the bottom-most room. A rogue Harpy might be protecting this switch.
- Run outside and shoot the first switch to your right.
- Jump off the roof and turn around. You should see the switch hanging from a lip on the building's roof.
- Get on the roof again. Head to the top-most room this time and shoot the switch.
- Turn around and exit the room. This switch will be on your right, mounted below three storage cylinders.
- Shoot the top left switch on the main circuit.
Bottom Left Switch Directions

- Enter the left building and look for a tunnel. It'll lead you to a small cavern with the power switch.
- Backtrack through the tunnel. Look to your left to find the switch. It's beside the entryway.
- Turn to your right and shoot the switch on the wall.
- Shoot the bottom left switch on the main circuit.
Top Right Switch Directions

- Run past the main circuit and turn right. You should see a power switch on the wall of the right building. Shoot it.
- Hop atop the roof and shoot the circuit at the opposite end of the building.
- Drop down and enter the building. Look for a switch mounted on a wall beside some computers.
- Shoot the top right switch on the main circuit.
Bottom Right Switch Directions

- Enter the right building. Look for a hole in the floor and drop down.
- Climb out of the hole and shoot the switch mounted beside some crates.
- Follow the wiring to find a switch mounted on a wall in the same building.
- Run to the entryway to find the switch mounted against the entryway.
- Head outside and hang a right. The switch will be hiding beside some boxes.
- Shoot the bottom right switch on the main circuit.
Begin The Ascent

You'll find yourself locked out of the bunker after sliding down the massive entrance ramp. Jump to the catwalk on the left of the bunker door. Run through the series of ventilation shafts, drop down when possible, and look for a slit in the ground with a bright red light to reach the very base of the tower.

At this point, you'll need to jump across hanging platforms to reach each pillar. Your goal is to reach the other side of this massive chasm, pathing in a sort of sideways 'U' shape. Kill the adds from a distance before moving toward a new pillar, as these Vex can easily melt you when you're away from cover. When the path seems to reach a dead end, jump around the pillar to find a gravity lift that will take you up the tower.
Ascend The Spire

Similar to the opening encounter, your goal is to defeat a Vex Minotaur and power two switches to power an elevator. Start the encounter by navigating upward and killing the Vex Minotaur waiting for you. Grab the Arctrician buff and start shooting switches. We recommend focusing on one switch at a time, powering the left or right circuit fully before working on the second one. Adds will periodically spawn during this part, but you should be fine if you have access to any form of healing or invisibility. Switch locations are quite straightforward here, so we won't be listing specific locations for this part. If you ever get lost, follow the cable.
Activating an elevator will bring you further up the tower. Each floor gets slightly more complicated:
- Floor One: Two switches, no complications.
-
Floor Two: Two switches, some of which are blocked by electrical barriers.
- Don't walk through the barriers; nothing more is required.
-
Floor Three: Two switches, one for each side of the tower.
- Complete one at a time, following the yellow cables as you shoot each switch.
It might take a few tries if you're attempting this solo, but Ascend the Spire is fairly straightforward once you start paying attention to where the cables are leading you. Don't ignore the adds, take things slow, and you should have this encounter finished in a few tries. Once the chest spawns, climb up the platforms behind it to reach the next encounter.
Silence The Siren

At the top of the tower is Akelous, The Siren's Current. This massive Vex Harpy is impenetrable to all incoming damage, protected by the fuel rods scattered across the edges of the tower. The goal of this encounter is to lead electrical current to each fuel rod atop the tower, allowing you to briefly damage Akelous. You aren't on a timer here, and there isn't an enrage mechanic in place, so solo players should take this encounter slowly.
Start the encounter by walking near the Harpy. This will spawn a Vex Minotaur to your right. Run onto the walkway, kill the Minotaur to receive the Arctrician buff, then run back to the center platform. Notice the four electrical switches on each corner. You must shoot these switches and route power to each fuel rod. The fuel cells are the glowing blue canisters located at the end of each walkway, so you'll need to power four circuits in total.

Each walkway has a different configuration of switches, but you'll be doing the same thing for all four: shoot the power source, then follow the yellow cables to reach your next switch. Each walkway has around six switches. When successfully powered, you'll see the message "Fuel rod activated" on your screen. Adds will spawn every time you activate a switch, so be extremely careful if you're speedrunning this. We recommend clearing the adds for every walkway you power, ensuring the Vex army doesn't become too much to handle during the DPS phase. Trinity Ghoul or anything with Volshot will make short work of the Vex.

Once all four fuel rods are activated, the DPS phase begins. This works exactly like the Garden of Salvation Harpy boss. Akelous will float to the last fuel rod you activated and reveal a series of red eyes. You must destroy all red eyes to reveal the boss' critical spot, allowing you to damage the boss. The longer this takes, the shorter your DPS phase will be. Breaking all eyes will cause the boss to begin backpedaling toward the central platform. Do not rush the boss or stand still. Your fireteam must maintain a medium engagement distance with the boss or you risk ending the DPS phase early. If your distance isn't optimal, the boss will start to glow a bright red color.
When the DPS phase ends, the Harpy will explode, pushing back all players out of cover. Drop down into the walkways when the Harpy begins to emit an intense glow to prevent getting knocked off the tower. Reactivate the fuel rods to start another DPS phase. No enrage mechanic is present here; you can kill Akelous in as many DPS phases as required.
Descend

The Vex aren't happy with your intrusion and have triggered the tower's self-destruction sequence. You'll need to reach the lower levels of the Seraph tower before it's too late. You'll find the path downward beside the reward chest from the last encounter.
Your goal is to open a vault door by receiving the Arctrition buff and damaging five switches quickly. Start by eliminating the adds protecting the exit. A second wave will spawn soon after, one of which will be a Vex Minotaur with the Arctrition buff. Unlike past encounters, these wires are red, signifying that they're wired to a timed circuit. You have roughly five seconds to shoot every switch before the circuit resets, requiring you to damage all five switches again. The good news is that these switches are right next to each other.

Each door that opens will lead you down a narrow ventilation system and a series of fans. Land on any solid platforms to avoid dying to the fan blades. This will lead you to a lower floor, requiring you to kill more adds and damage five more switches in rapid succession. Reference images for all switch locations can be found below:
- Floor One: Run up the catwalks and face the platform where the Vex Minotaur spawns from. Look slightly to your right to find all five switches.
- Floor Two: Drop down to the lowest floor and look up at about a 45° angle.
- Floor Three: You'll find a switch on each wall. The fifth switch is in the center of the room hiding just beyond the electrical barriers, the same place you dropped down from.
With all floors bypassed, you'll eventually reach the reactor core. Equip your hardest-hitting weapons and spec for general survivability. It's time to tango with a Wyvern.
Defeat Persys, Primordial Ruin

This encounter is quite similar to the Akelous fight but with a twist: you must also shoot time-sensitive switches. Your goal is to obtain the Arctrition buff and shoot five time-sensitive switches to open a blast door. Activate two power circuits, close the blast door, then damage the boss. You're still shooting four sets of switches to DPS the boss, but now two of those sets are under a strict time limit.
Start the encounter by walking near or damaging the Wyvern. Two Hydras and Supplicants (explosive Harpys) will spawn around the arena. Defeat the Hydras to spawn two Vex Minotaurs, granting you the Arctrition buff upon slaying either of them. Be on the lookout for the explosive Harpys while doing this.

Five switches will unlock near the center of the arena, denoted by red cables. Shoot all switches within five seconds to open the blast door. This will unlock the power switches on the opposite ends of each pillar, allowing you to feed a current through the reactor chamber. Once again, keep an eye on Persys and the Supplicants during this part, as you will get swarmed by projectiles and explosions if you try to rush this. Follow the yellow cable for each power connector. You'll need to shoot about five switches to complete a current.
Charging two circuits will start a meltdown in the reactor chamber. Leave the chamber, refresh the Arctrition buff, then shoot the red cable switches again. This will close the blast doors on the Wyvern and remove its immunity shield, giving you a brief DPS window. It behaves as your typical Wyvern, slowly walking towards you while pelting your position with powerful Void cannons.
You can avoid most of these shots if you strafe side to side, changing direction erratically to throw off the Wyvern's aim. Once it gets close, duck for cover and continue shooting its critical spot. Persys' shield will recharge after 15-20 seconds, locking all switches again and resetting the encounter. No enrage mechanic is present here, so take as many DPS phases as you need. Defeat this Wyvern to clear the dungeon and receive your loot.