Quick Links
Empire Hunts are a new activity introduced in Destiny 2: Beyond Light. These missions behave similarly to strikes, complete with modifiers and a final boss. While the normal variants are trivial for most players acclimated with PvE, the Master variants are a serious challenge.
Champions, Match Game, and additional modifiers make coordination necessary for success. The Dark Priestess is one of three Empire Hunts that can be completed on Master difficulty. Beating this mission on Master can be a serious challenge, especially for solo Guardians. However, it is worth the effort as there's a good probability that you'll receive the Cloudstrike Exotic Sniper Rifle for beating this mission. From loadouts to strategies, here is a complete guide to beating the Dark Priestess Empire Hunt in Destiny 2 on Master difficulty.
Updated August 1st, 2021, by Charles Burgar: The Dark Priestess is one of the toughest Empire Hunts in Destiny 2. Fighting an army of Brigs and Champions is anything but easy. We've updated this guide to include new recommendations for loadouts and mods that should make this mission easier to beat.
Modifiers And Recommended Loadout
The Dark Priestess Empire Hunt will have the following modifiers and key traits on Master difficulty:
Dark Priestess Empire Hunt Key Traits
|
Shields |
|
|
Champions |
|
|
Champions: Mob |
|
|
Arach-No! |
|
|
Equipment Locked |
|
|
Match Game |
|
|
Famine |
|
A Void weapon or Subclass is highly recommended for this Empire Hunt due to the sheer number of Servitors in each encounter. As with all pinnacle PvE activities, utilize the current Seasonal Artifact to counter certain Champion properties.
Most arenas in this Empire Hunt are open and harbor long sightlines, making Scout and Sniper Rifles a good choice. Plenty of rank and file enemies will populate each arena, making Warmind Cells and explosive weapons a good choice. Xenophage is a no-brainer here, capable of shutting down targets from a distance while spawning Warmind Cells. Spawning Warmind Cells will require the use of the Wrath of Rasputin mod.
Subclass
|
Hunter |
|
|---|---|
|
Warlock |
|
|
Titan |
|
Weapons
|
Anarchy OR Witherhoard |
Ammo-efficient weapons that deal great passive damage. Anarchy breaks Arc shields. |
|
Xenophage |
Annihilates majors, bosses, and Champions from a safe distance. |
|
IKELOS_SMG_v1.0.2 |
Breaks Arc shields and can spawn Warmind Cells. |
Mods
|
Wrath of Rasputin |
Allows Solar splash damage to generate Warmind Cells. |
|
Global Reach |
Makes Warmind Cells deal more damage from a further distance. |
|
Shield-Break Charge |
Grants consistent Charged with Light stacks. |
|
Protective Light |
Provides 50% damage resistance when your shields break, consuming all stacks of Charged with Light. |
|
Heavy Ammo Mods |
Scavenger and reserve mods make Heavy ammo much more common. |
Eventide Ruins
Eventide Ruin Enemies
- One Overload Captain
- Shanks
- Marauders
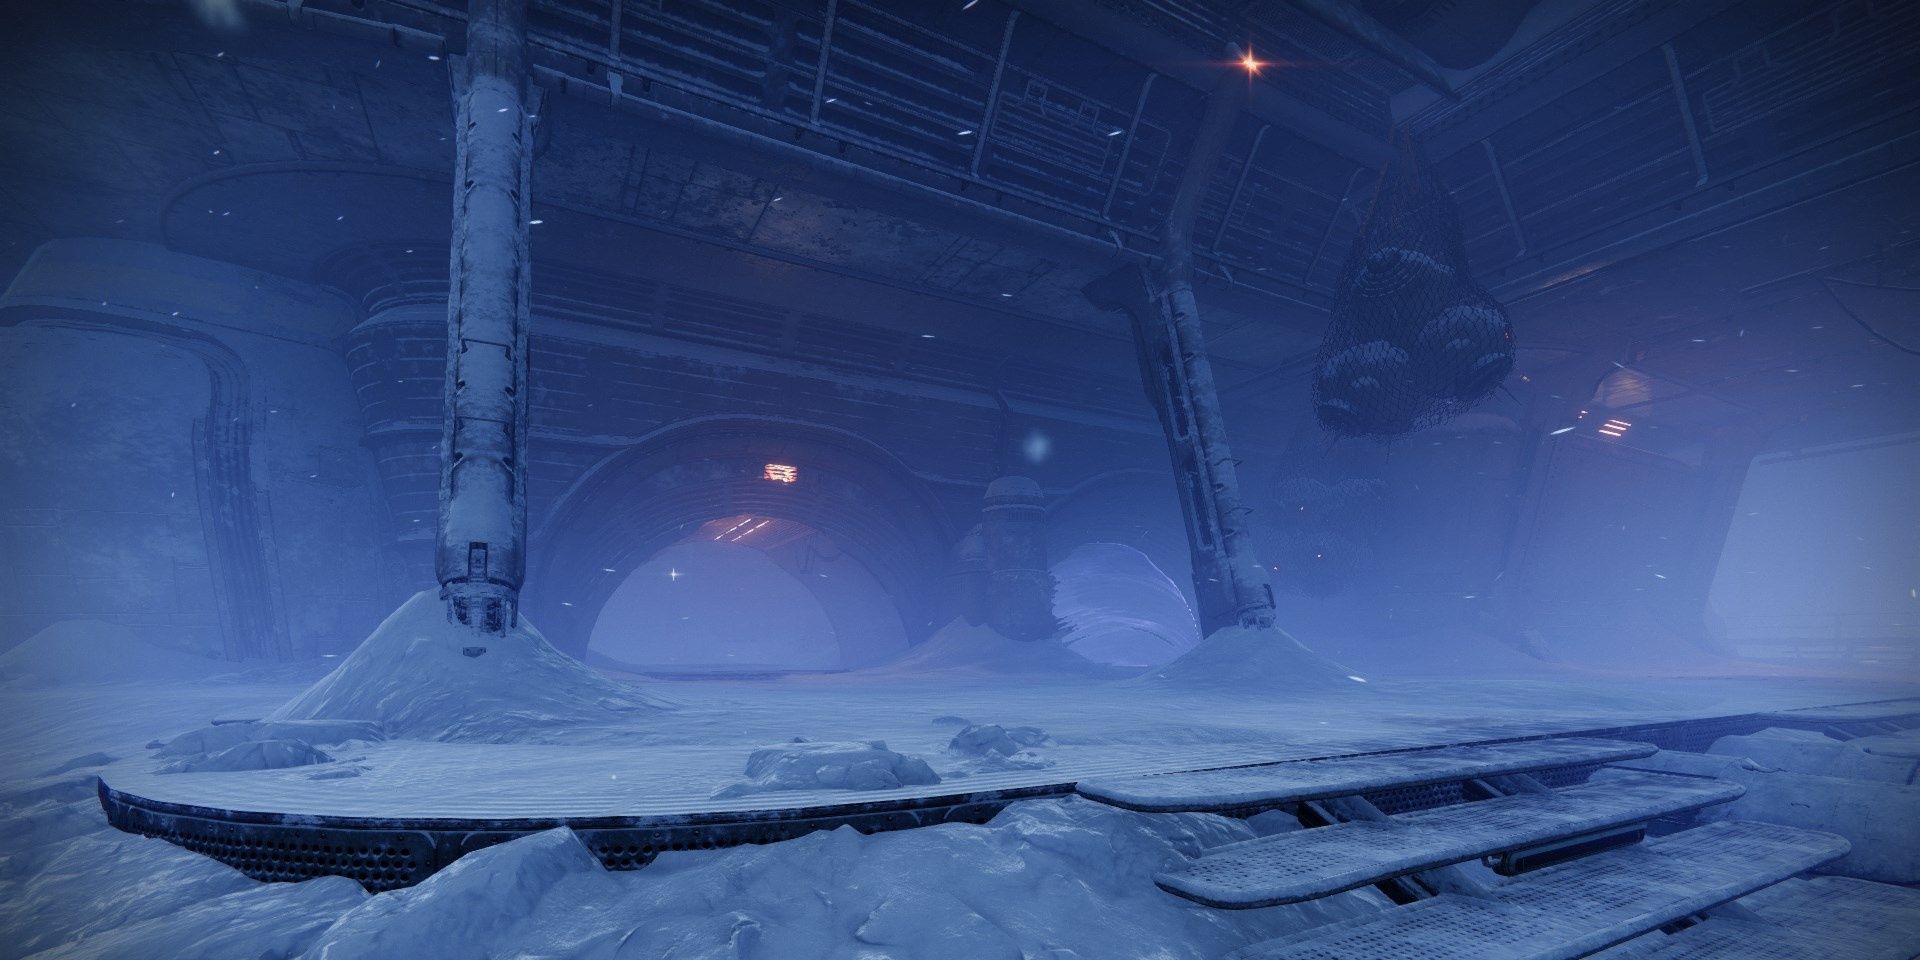
You'll spawn at the Eventide Ruins when they start this mission. To progress, travel to the gravity lift on the northern part of the map. Guarding the lift will be a series of Shanks, Marauders, and an Overload Captain. If any public events are active, they will also be a threat. It would be wise to ignore these enemies and push through the lift.
Once you are up the gravity lift, you will be pushed by a gang of Marauders. Use a grenade or explosive weapon to take them down. Push through the icy tunnel to reach the Riis-Reborn Approach.
Riis-Reborn Approach: First Floor
First Floor Enemies
- One Overload Captain
- One Overload Minotaur
- One Minotaur
- Servitors
- Goblins
- Hobgoblins
- Shanks
- Vandals
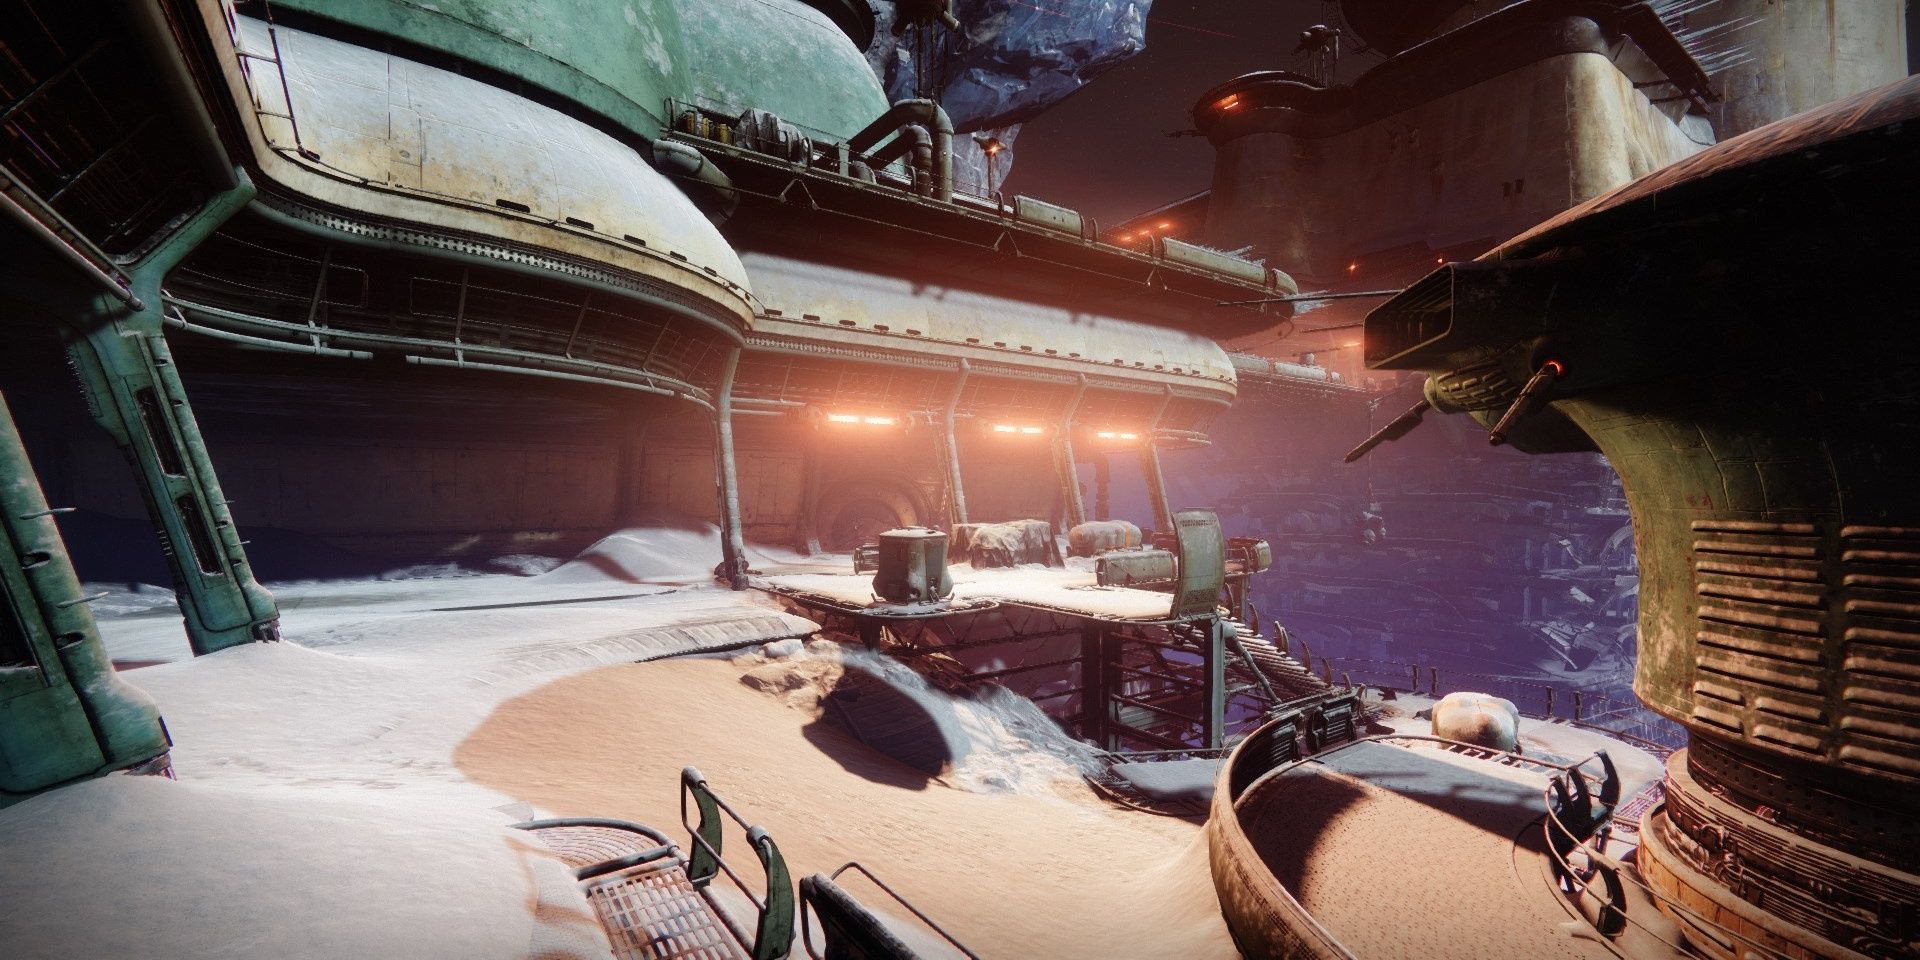
The Vex and Fallen will be fighting amongst each other when you reach this area. Use this distraction to reposition or throw a well-placed grenade. You will be confronted by numerous rank and file enemies from both factions alongside an Overload Minotaur at the front of the area. Near the back will be an Overload Captain and a Servitor.
Before dealing with the Captain, take out the Overload Minotaur and fodder enemies. A Warmind Cell will clear out most of the enemies in the arena. Once the Vex Champion is slain, focus on destroying the Servitor. If you wait to kill the Servitor, it can make the Champion immune in an inopportune moment.
Four Servitors will patrol the stairs that lead to the upper floor along with a few Vandals. Use any Void weapons to bring their shields down. Be sure you and your fireteam have Heavy ammo before proceeding to the floor above.
Riis-Reborn Approach: Second Floor
Second Floor Enemies
- One Barrier Hobgoblin
- Two Barrier Servitors
- One Minotaur Major
- One Brig
- Goblins
- Shanks
- Marauders
- One Overload Captain
Immediately up the stairs will be a small group of Vex fighting a band of Fallen. Goblins and a Barrier Hobgoblin will be closest to you. Try to lure the Hobgoblin away from the carnage. When the Champion is down, kill the rest of the Vex.
Destroying the Fallen Brig is tricky since two Barrier Servitors protect it. Fortunately, both Servitors tend to clump together. Use a grenade or a few rounds of Xenophage to weaken them. Try to get both Servitors to activate their shields. Break both shields at once, then focus your attention on only one of them. Since both of their shields were broken, the second Servitor can't make the first one immune for a short period. Kill the first Servitor, weaken the second one, break its shield, then land the killing blow.
Now that the Servitors are dead, redirect your attention to the Fallen Brig. Stay back towards the stairs while damaging it, preferably using Xenophage or a Scout Rifle. As long as you stay far back, the Brig can't hurt you with its cannon. Destroy it to reach the next room.
The room leading to Kell's Rising will have a handful of Shanks, Marauders, and one Overload Captain. This should be trivial after the Brig fight. Kill them to open the left door entry, leading to the room with the Darkness Shard.
Darkness Shard Room
Darkness Shard Enemies
- Two Barrier Servitors
- One Captain Major
- Shanks
A large wave of Shanks will spawn when you approach this room. Instead of charging head-first into the room, stay back near the entrance. Now would be the perfect time to spawn and detonate a Warmind Cell.
Near the circular plate in the center of the arena are two Barrier Servitors and a Captain major. This is easily the most frustrating part of the Empire Hunt. You will need to destroy both Barrier Servitors to prevent the Captain from going immune. Use the same trick as before; force both Servitors to spawn their shields before breaking both of them. Once both shields are broken, focus on killing one of them. This can be tricky since the enemies will try to body block your shots. Be patient, don't push up, and this encounter should play itself out.
Gale's Watch
Gale's Watch Enemies
- Two Overload Captains
- One Brig
- Shanks
- Wretches
- One Captain Major
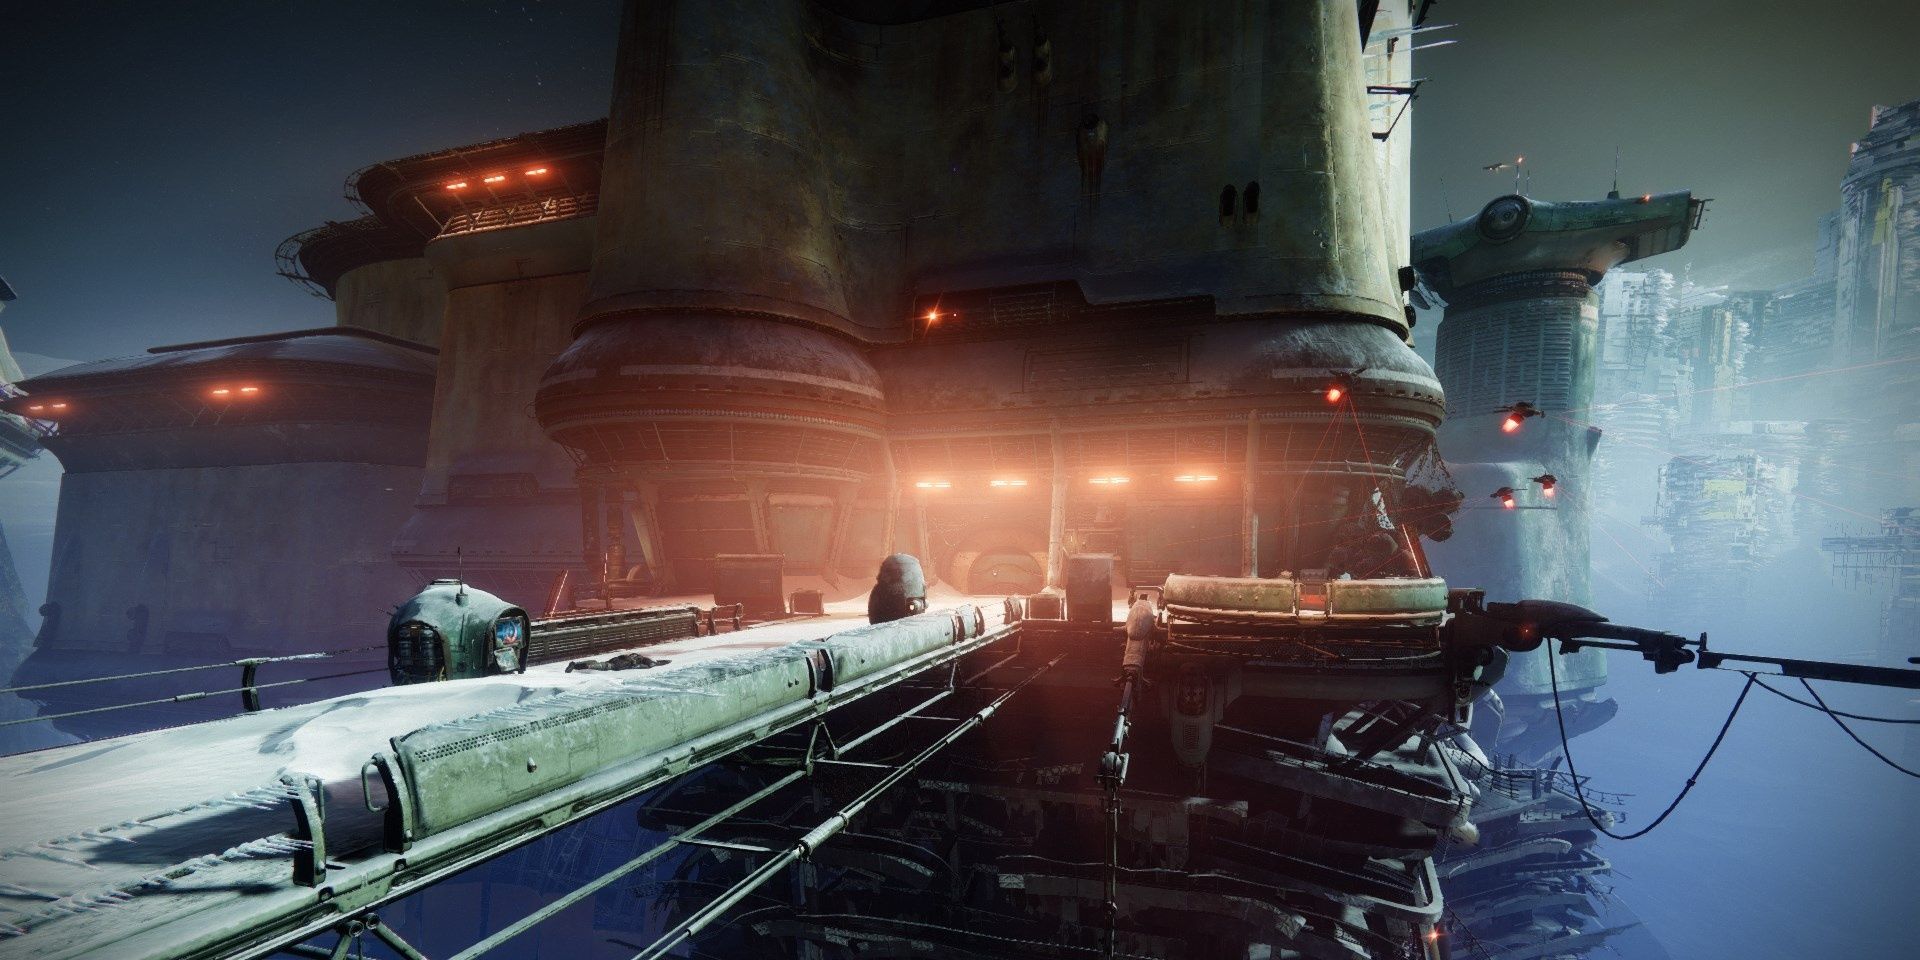
Combat will all take place in the stairway that leads into Gale's Watch. Try to damage the Fallen Brig in the center of the room. If someone is using Anarchy, Witherhoard, or the Attunement of Chaos Subclass for Warlock, now is the perfect time to deal passive damage from cover. Stick the Brig with a few rounds or a grenade, then double back up the staircase and wait. While boring, pushing the Brig outright is suicide.
With the Brig destroyed, focus on the two Overload Captains at the back of the room. Besides a few supporting Shanks and the Brig, they are the only other threat in the room. Kill them to open up the next room.
This small room will spawn a handful of Wretches and a Captain major. Lure them into the room you just fought the Brig in. Eliminating the Captain and Wretches will open the path to the boss.
Kridis, Dark Priestess
Final Arena Enemies
- One Barrier Servitor
- Dregs
- Vandals
- Kridis Boss
- Wretches
- Marauders
- Servitors
One Barrier Servitor will spawn when you enter the room. Backtrack to the doorway so the Fallen don't swarm you. Pick off the Dregs, Vandals, then the Servitor to open up the path to Kridis, Dark Priestess.
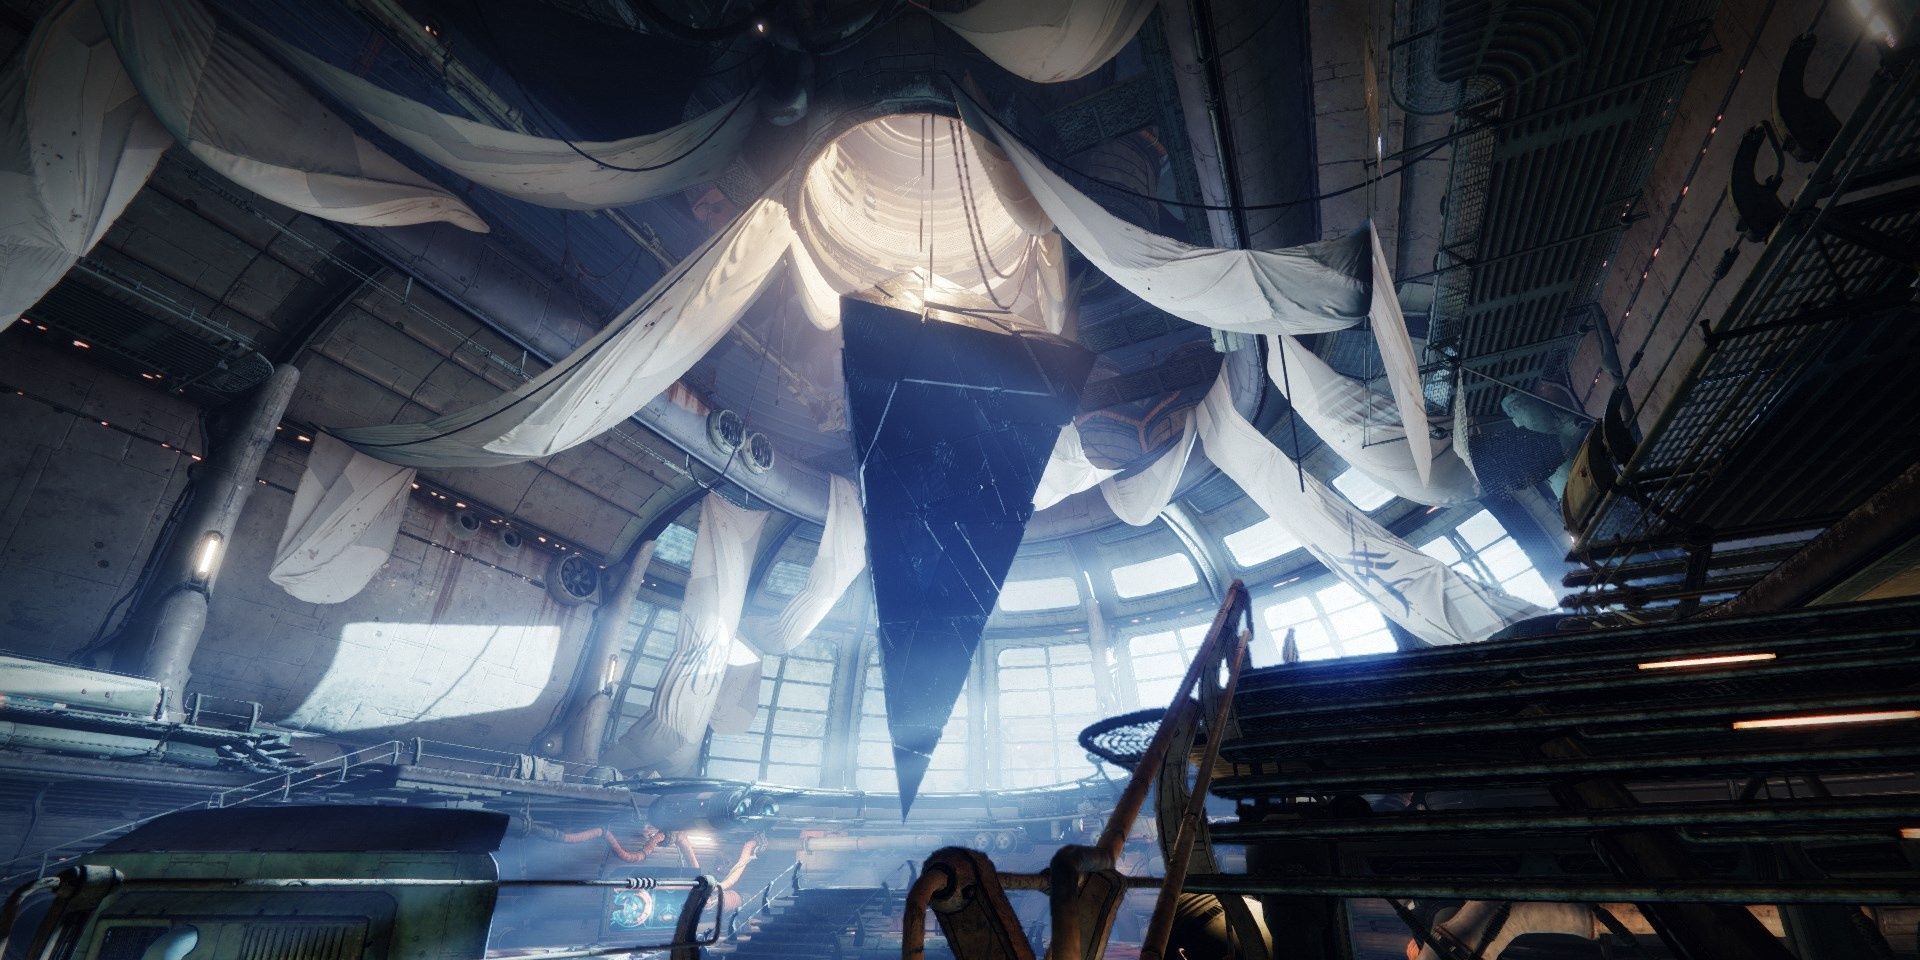
Kridis will be residing near Eramis' frozen body. This fight behaves similarly to the Eramis fight at the end of the Beyond Light campaign, only this time the boss will become immune to all damage after losing 25% of her health. Attacking from medium to long-range is recommended since Kridis uses a variant of the Shadebinder's Penumbral Blast ability, which will instantly freeze any Guardian it makes contact with.
Removing a quarter of Kridis' health will cause three Servitors to spawn along with a few fodder enemies. To make Kridis vulnerable, all three Servitors must be destroyed. One spawns on each plate of the arena. Use a Void weapon to break their shields.
Repeat this process three more times to kill Kridis. There are no additional mechanics or enemies added with each phase; simply kill the Servitors to make the boss vulnerable. Remove all four chunks of Kridis' health to complete the Empire Hunt.

