While Destiny 2: Beyond Light took away more strikes than it added, Bungie somewhat made up for this with the introduction of Empire Hunts. These missions pit up to three Guardians against a Fallen boss that harnesses Stasis powers in some form. The Technocrat Empire Hunt is one of the harder missions.
Many Champions and Brigs dot this Empire Hunt. Luckily, there are quite a few ways for players to trivialize this mission. Xenophage, Warmind Cells, and a safe strategy for the final boss can all be used to make this mission significantly easier. Going over various loadouts and strategies, here is a complete guide for the Technocrat Empire Hunt in Destiny 2: Beyond Light.
Modifiers And Recommended Loadout
The Technocraft Empire Hunt has the following modifiers and key traits on Master difficulty:
Key Traits
- Shields: Solar (Shanks) and Arc (Captains)
- Champions: Barrier and Overload
Modifiers
- Hot Knife: Shanks now have Solar shields.
- Equipment Locked: You cannot change your equipment once the activity starts.
- Match Game: Enemy shields are highly resistant to all unmatched elemental damage.
- Togetherness: Base health regen is reduced. If near another player, health regen is increased.
Subclass
- Hunter: Way of the Pathfinder makes repositioning much easier during the first few sections. Way of the Sharpshooter is a good alternative in a team setting if you need more damage.
- Warlock: Attunement of Grace can break Solar shields and heal allies. The Well of Radiance Super is also fantastic for the final boss. Use Sunbracers if you need more Solar damage.
- Titan: Code of the Siegebreaker is the best choice for Titans. Ability kills heal you, generate Sunspots, and spawn Warmind Cells if the Wrath of Rasputin Mod is equipped.
Weapons
- Xenophage: Downright mandatory for this Empire Hunt, especially for solo runs. It destroys Solar shields, melts Champions, and can generate Warmind Cells if the Wraith fo Rasputin Mod is equipped. Be sure to have a means of generating Heavy Ammo while using this gun.
- IKELOS_SMG_v1.0.2: Destroys the Arc Captain shield near the beginning and can spawn Warmind Cells.
- Any Scout Rifle: Most gunfights happen in areas with long sightlines. Scout Rifles are great for taking down rank and file enemies from a distance. If Overload Rounds are available, find an Explosive Payload Scout Rifle to stun Champions in two shots.
Mods
- Wrath of Rasputin: Allows Solar splash damage to generate Warmind Cells. Xenophage becomes a top-tier weapon when this Mod is in use.
- Global Reach: Makes Warmind Cells deal more damage from a further distance. Allows IKELOS weapons to generate Warmind Cells as well.
- Shield-Break Charge: You'll always have Charged with Light all the time due to the sheer number of Shanks in this mission.
- Heavy Weapon Ammo Mods: Scavenger, finder, and reserve armor Mods are great if you're using Xenophage. The seasonal Artifact sometimes has Heavy Ammo Finisher Mods, a must for this Empire Hunt.
Cadmus Ridge
Cadmus Ridge Enemies
- One Barrier Servitor
- Captain
- Shanks
- Dregs
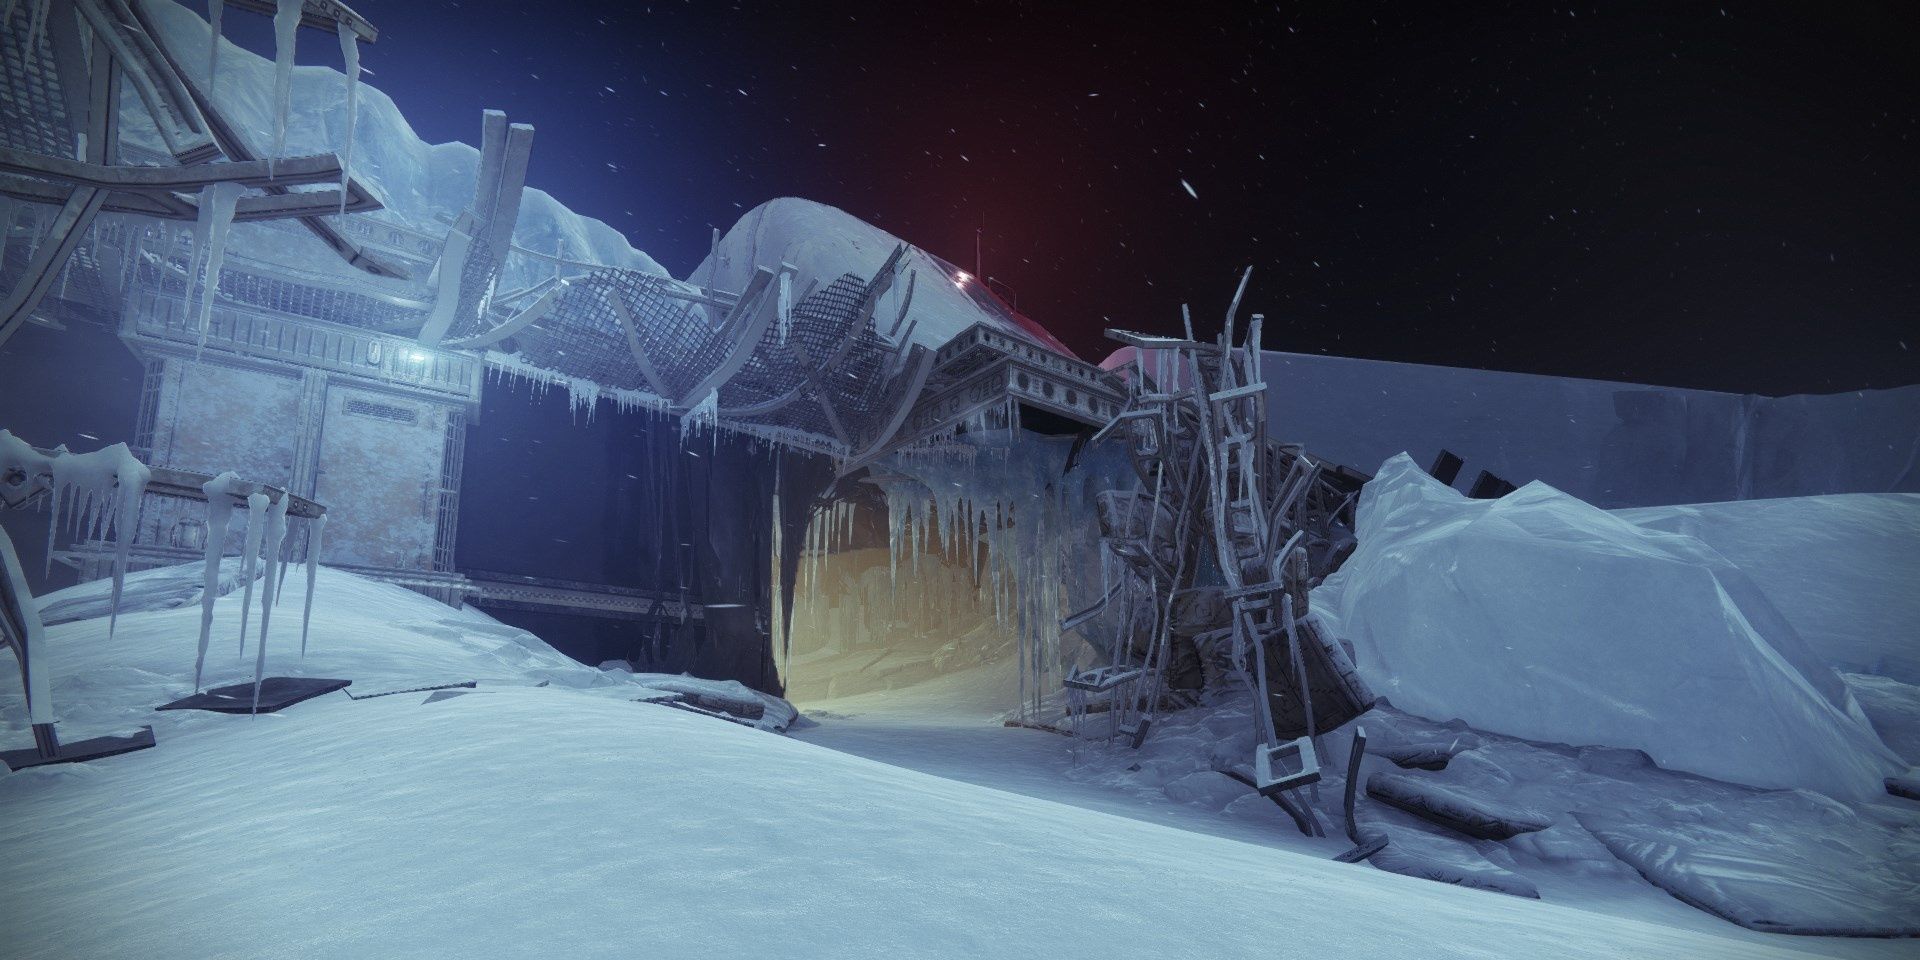
Fireteams will spawn just outside of the Bray Exoscience facility entrance. A Barrier Servitor will be protecting a small group of Fallen Shanks and a Captain. Take out the unprotected enemies with a Scout Rifle or Xenophage before killing the Servitor. Once the Servitor's barrier breaks, all nearby Fallen will become vulnerable to damage. Head inside the facility once all of the enemies are dead.
Bray Exoscience Entrance
Bray Exosciene Entrance Enemies
- Two Overload Captains
- One Brig
- Shanks
- Vandals
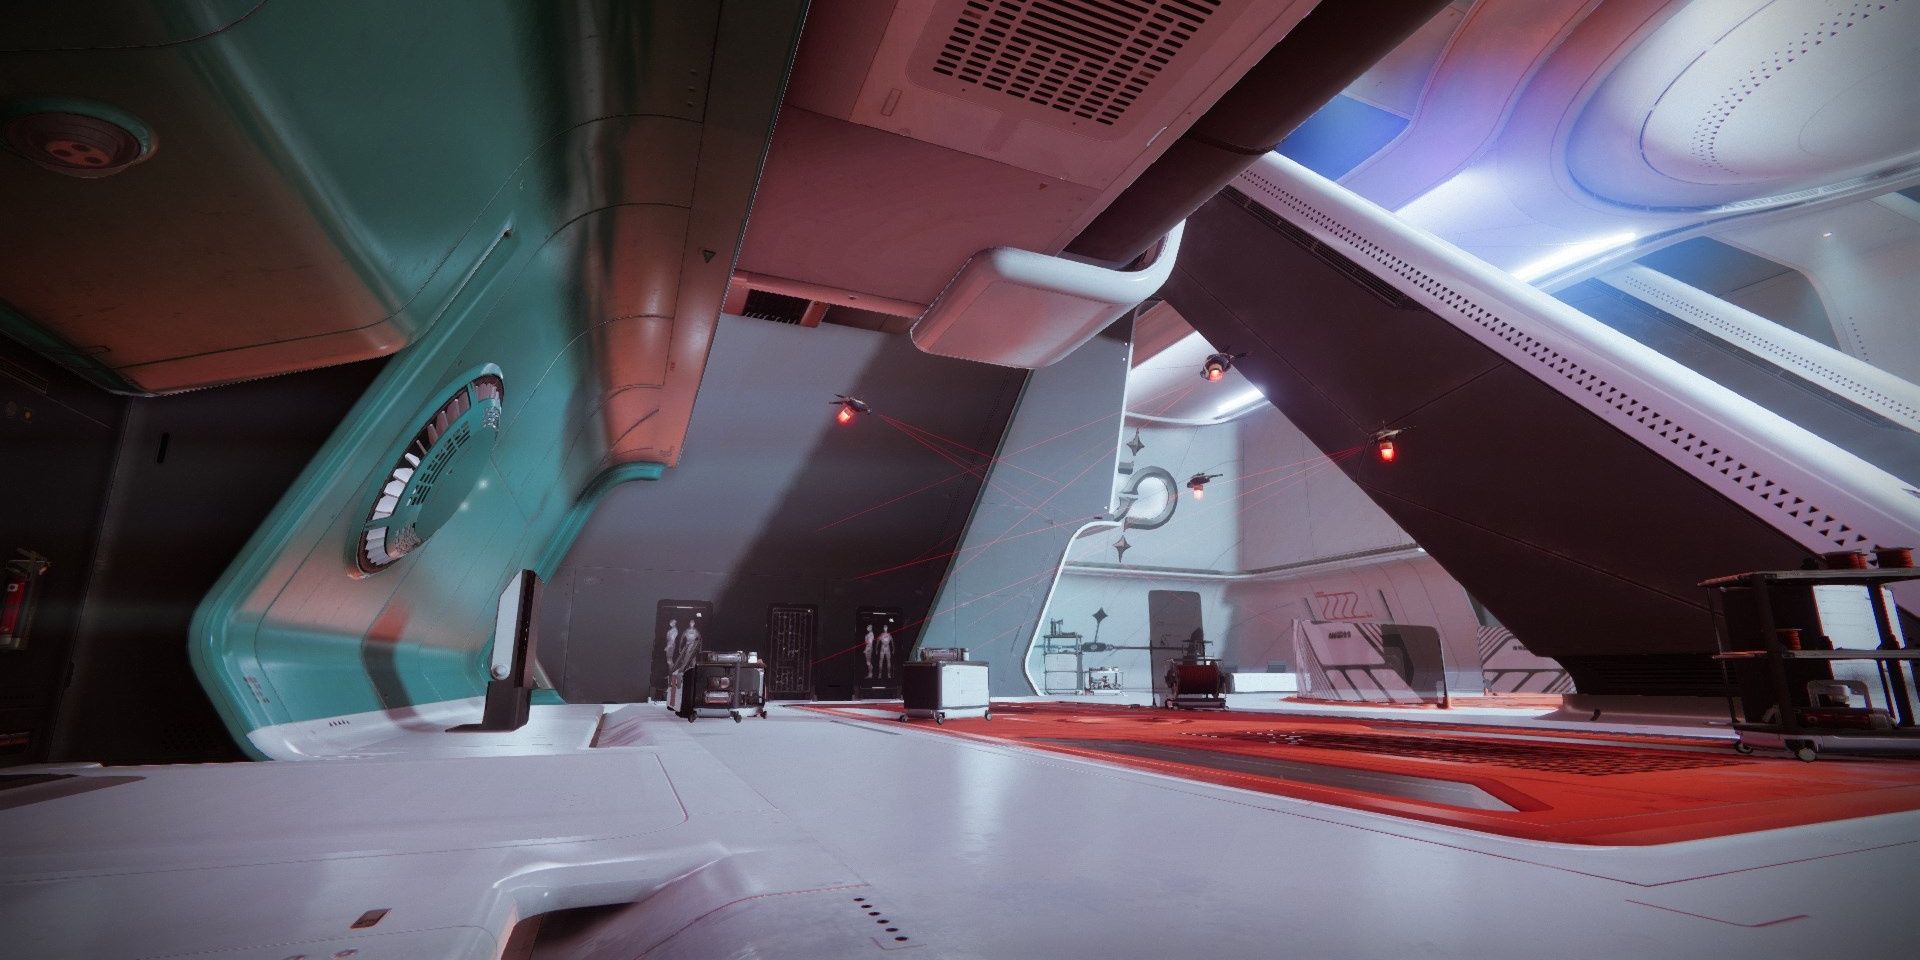
One Fallen Brig will be present near the center of the room. Try to use the entrance as cover to prevent the Brig from one-shotting you. Supporting the Brig are two Overload Captains and a swarm of Shanks and Vandals.
Focus on taking down the Overload Captains first. Don't push up while dealing with the Champions. Otherwise, the Brig will kill you. Stay at a distance, and pelt away at them with Xenophage and other long-range weapons.
Clean up the Shanks and Vandals nearby, then focus on the Brig. Dealing enough damage to it will cause its front plate to break off, allowing you to deal critical damage. Retreat to the doorframe that leads into the facility when the Brig beings to float. When the Brig is destroyed, head towards Eternity.
Bray Exoscience Corridors
Bray Exoscience Corridor Enemies
- Two Barrier Servitors
- Two Overload Captains
- Shanks
- Vandals
- Explosive Shanks
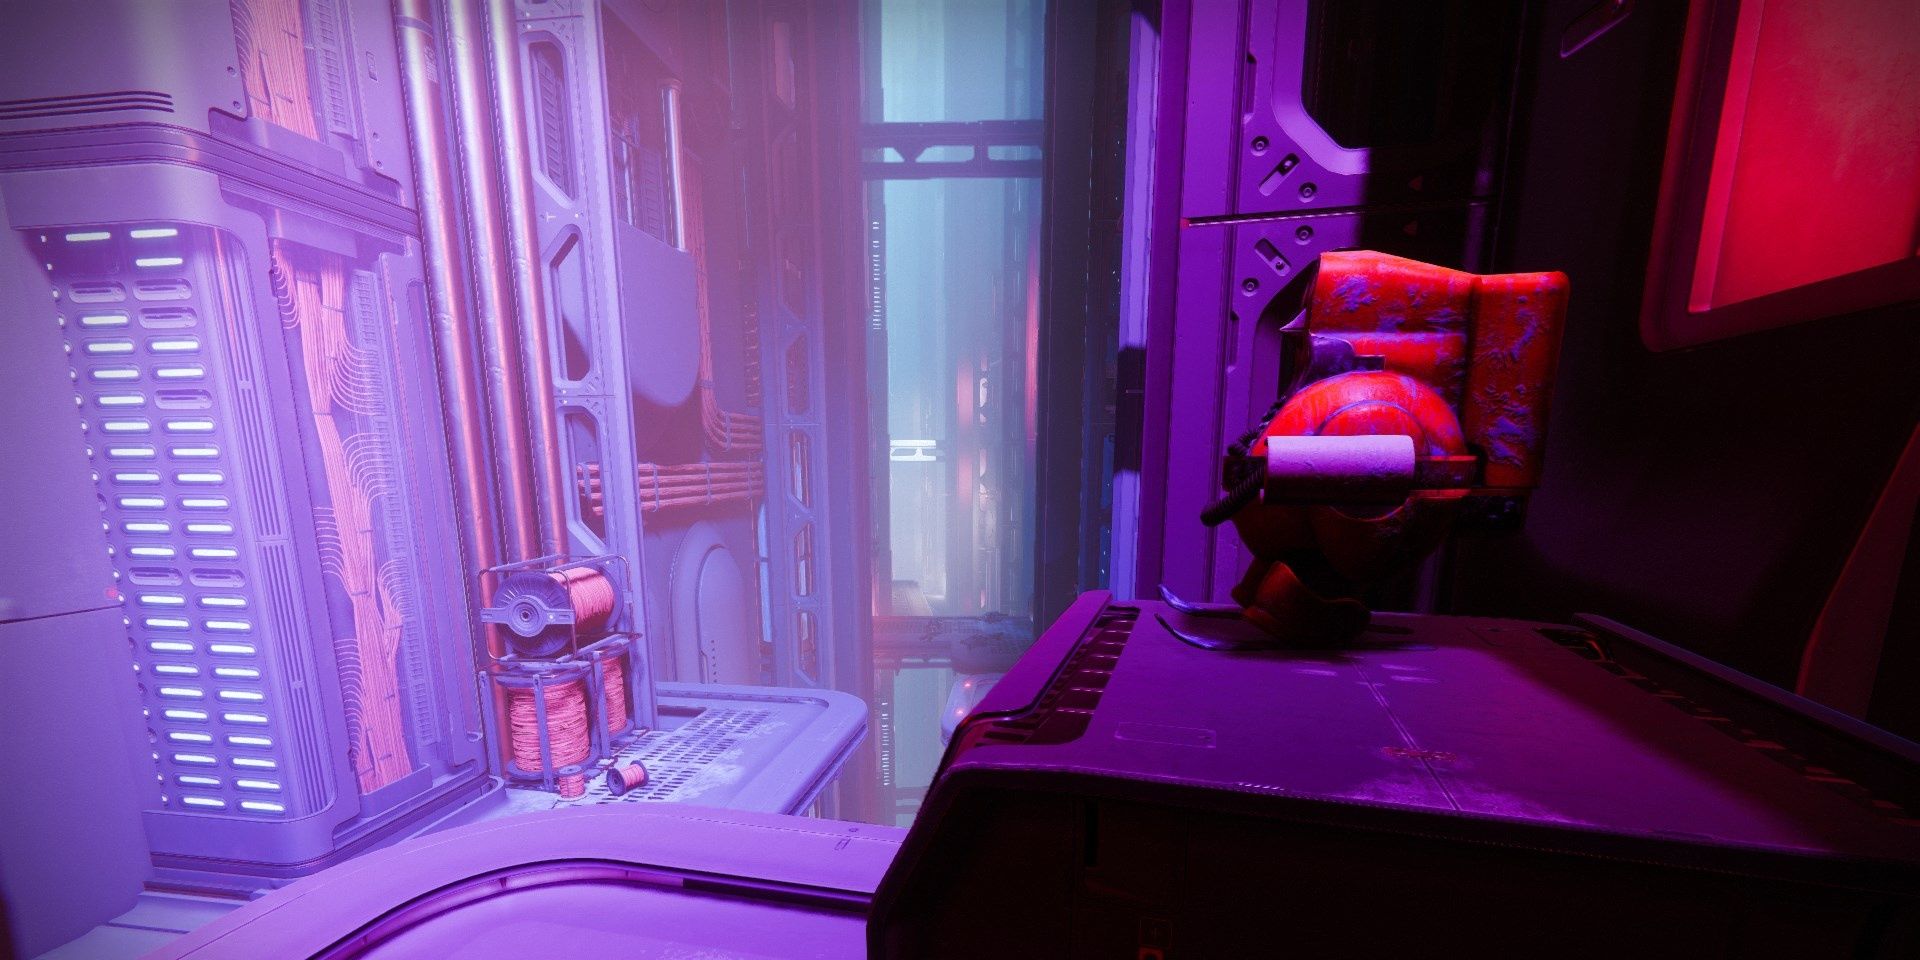
To deal with the tripmines in the first room, Guardians can either shoot them to cause a chain reaction or stick near the right side of the wall. Around the corner of this room will be a handful of Vandals, Shanks, and a Barrier Servitor.
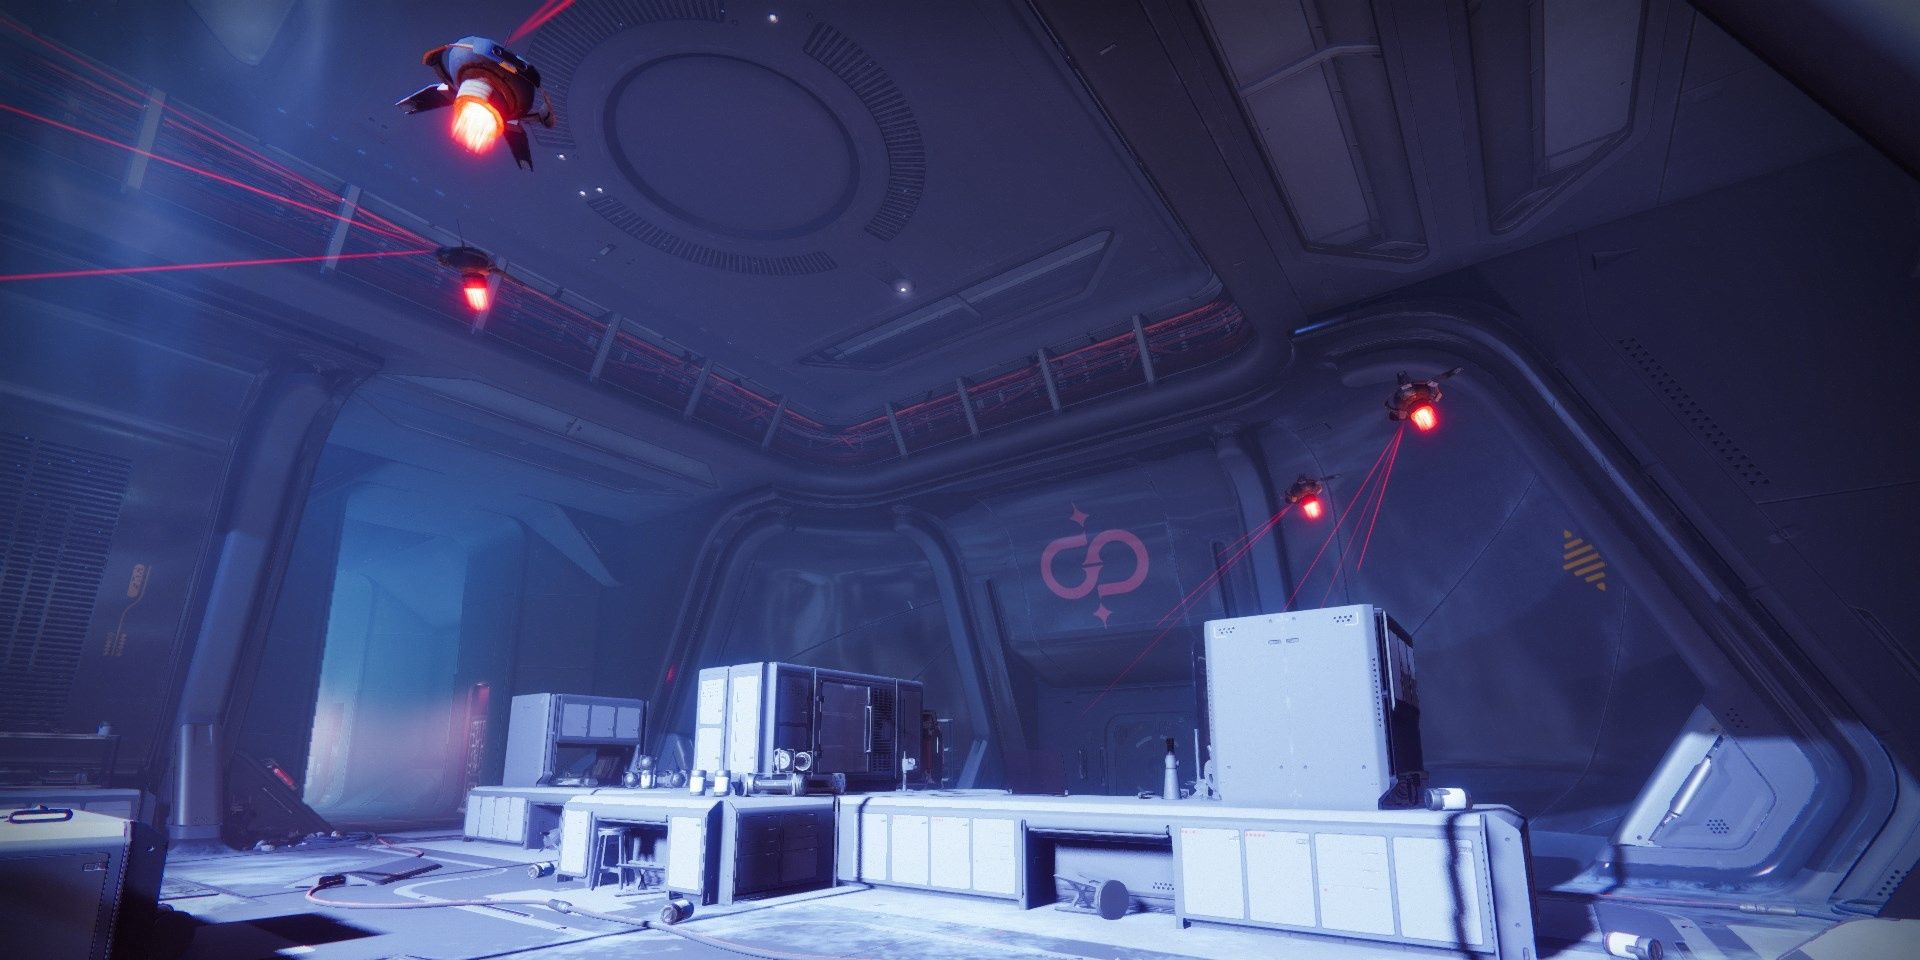
Past the Servitor will be a large generator room with a large number of Shanks. Near the back of the room is an Overload Captain that needs to be slain. Use the generators as cover while you do this.
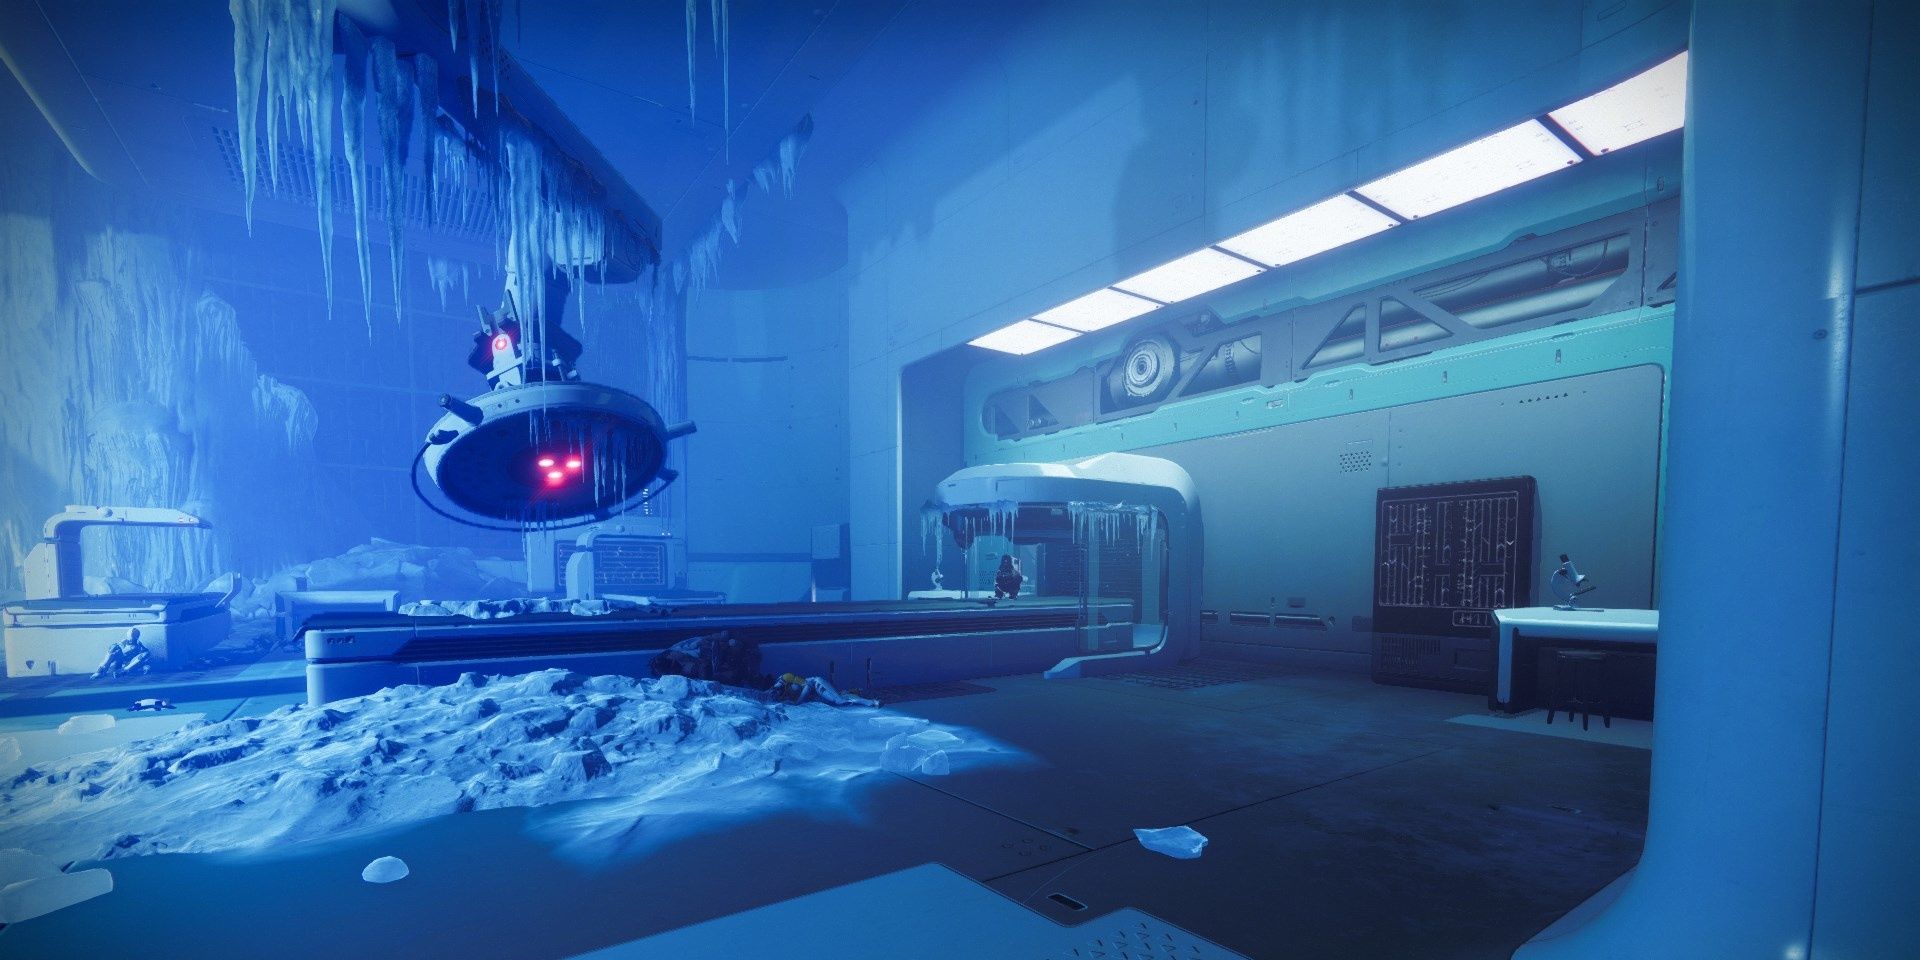
Continuing on the linear path, you will come across an icy hallway filled with Explosive and standard Shanks. Destroy those enemies, then creep towards the end of the hall. The room at the end of the hall has an Overload Captain and a Barrier Servitor. Try to damage the Overload Captain from the hallway to keep the Servitor at bay. If this does happen, focus on damaging the Servitor until it deploys its shield. Break the shield to remove the immune tethering to the Overload Captain and nearby Fallen. Kill every enemy in the room, then continue past the chasm to reach Eternity.
Eternity Entrance
Eternity Entrance Enemies
- Two Barrier Servitors
- One Overload Captain
- Shanks
- Dregs
- Vandals
Similar to the last section, the first room in Eternity is rigged with a handful of tripmines. Shoot them to cause a chain reaction. The following corridor houses several Shanks and Dregs. A Warmind Cell will easily clear out this part.
Drop down the elevator shaft at the end of the corridor to reach an open area with two Barrier Servitors and various Fallen rank and file combatants. Dealing with both Servitors is a top priority. Damage both enemies until they both deploy their barriers. Break both of them, then focus on only one Servitor. Fighting the Servitors with this strategy will make sure you have a window to damage one of them. Destroy the second Champion and other Fallen enemies.
Eternity Path
Eternity Path Enemies
- Two Overload Captain
- One Barrier Servitor
- Praksis, the Technocrat
- Marauders
- Shanks
- Wretches
The next room will have Praksis, the Technocraft. Despite the health bar and music, this is not the actual boss fight. Destroy the shield generator floating above Praksis to make him vulnerable. He will flee after a few seconds, allowing you to push forward.
Once you reach the bridge section outside, use Xenophage to take down the Barrier Servitor at the end of the path. One shot of Xenophage should take out the Shanks accompanying the Servitor.
In the next room will be an Overload Captain overlooking the entrance. Stay back, disrupt the Captain, then pelt away at him with Xenophage or a Sniper. The rest of the room is filled with standard Fallen enemies who pose little threat.
Continue on the path to the Technocrat's boss arena. When you reach outside, turn right to snipe the Shank swarm from afar. One or two Xenophage shots should cause them all to explode. Climb up the platforms directly ahead to reach the boss, but be careful. Sniper Vandals are near the end of the path and can easily one-shot Guardians that aren't 1,270 Power or above.
Praksis, The Technocrat
Final Arena Enemies
- Praksis, the Technocrat
- Wretches
- Marauders
- Shanks
- Vandals
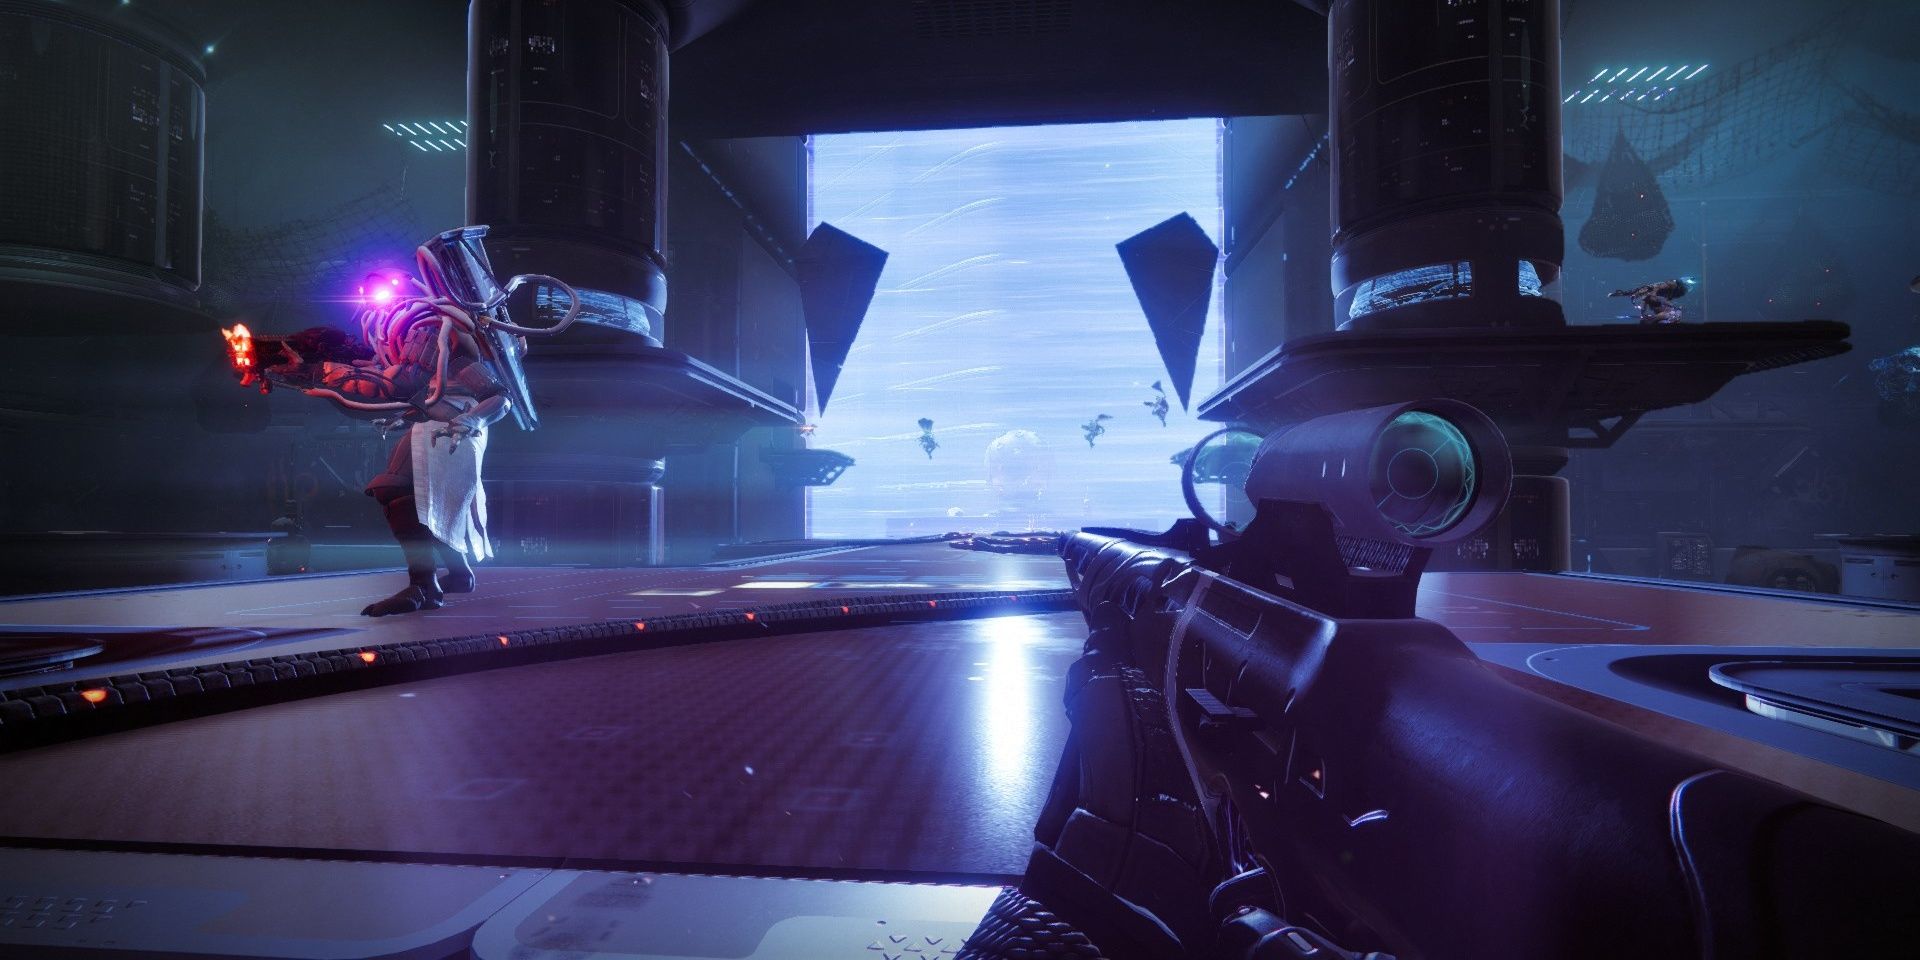
Right as you enter the Technocrat's boss arena, immediately run towards the back left or back right corner of the room. A set of Fallen boxes can be used as cover, preventing you from taking damage from the boss while giving a great vantage point of the arena.
Peak out of cover to damage the boss and any Fallen enemies. When Praksis loses 25% of his health, he will become immune. Shield generators will spawn around the arena that make him invulnerable. You must destroy these generators to damage him again. They spawn in this order:
- 75% HP: One at the center of the room.
- 50% HP: One at the center, two in the back where Praksis spawns from.
- 25% HP: Two in the back, two in the front of the room.
Note that these generators can be destroyed by detonating Warmind Cells near them. A Warmind Cell near the center of the room will destroy all of them if Global Reach is equipped on your armor.
To beat this boss safely, stick near one of these corners and damage him. You can use a roaming Super to break generators that aren't in your direct line of sight. Play it safe, and this fight should be over with little issue.

